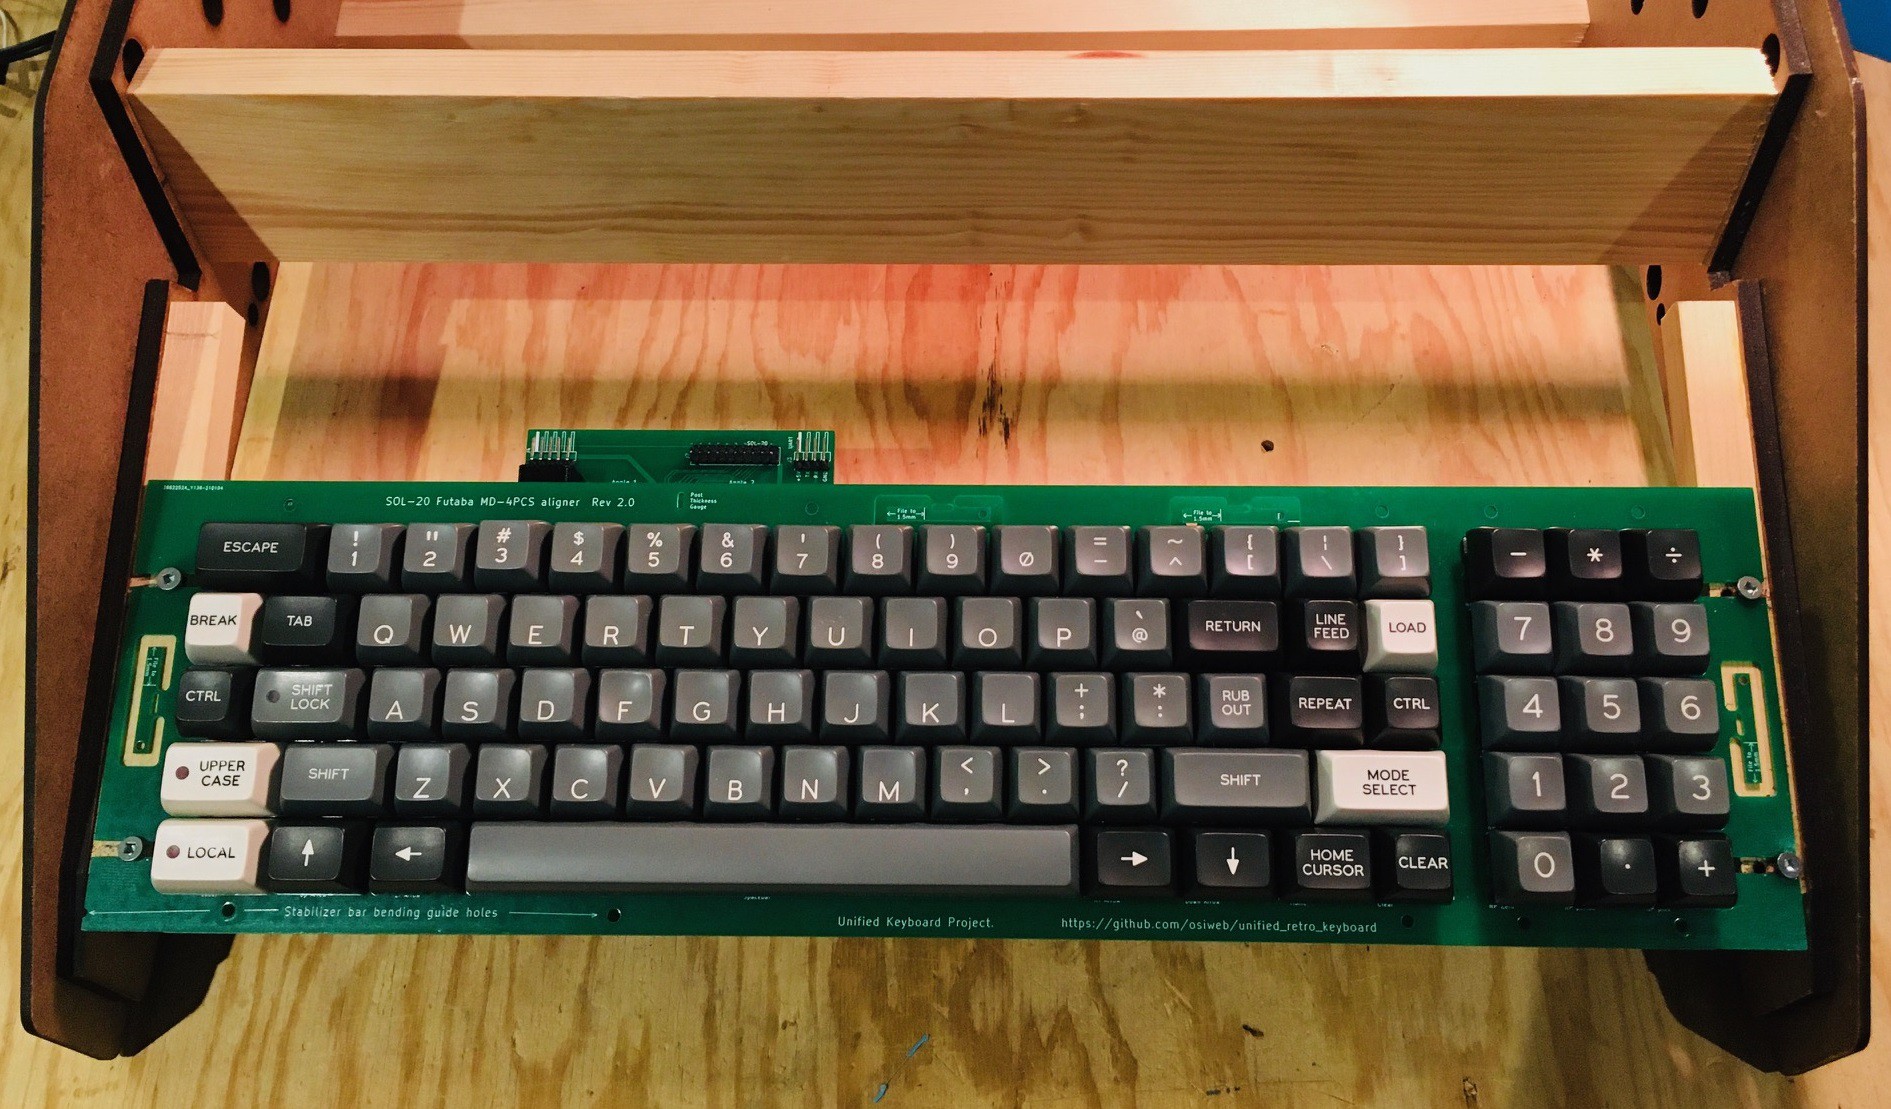
I wired the keyboard up to the Raspberry Pi 4 I will be using to run the Sol-20 emulator. I did enough testing to ensure that all of the keys are working as expected. At first some of the keys were not responding, but with Dave's help I discovered I had missed installing a couple of jumpers and also I found a solder bridge that shouldn't have been there. When I was satisfied all was well I installed all of the keycaps.

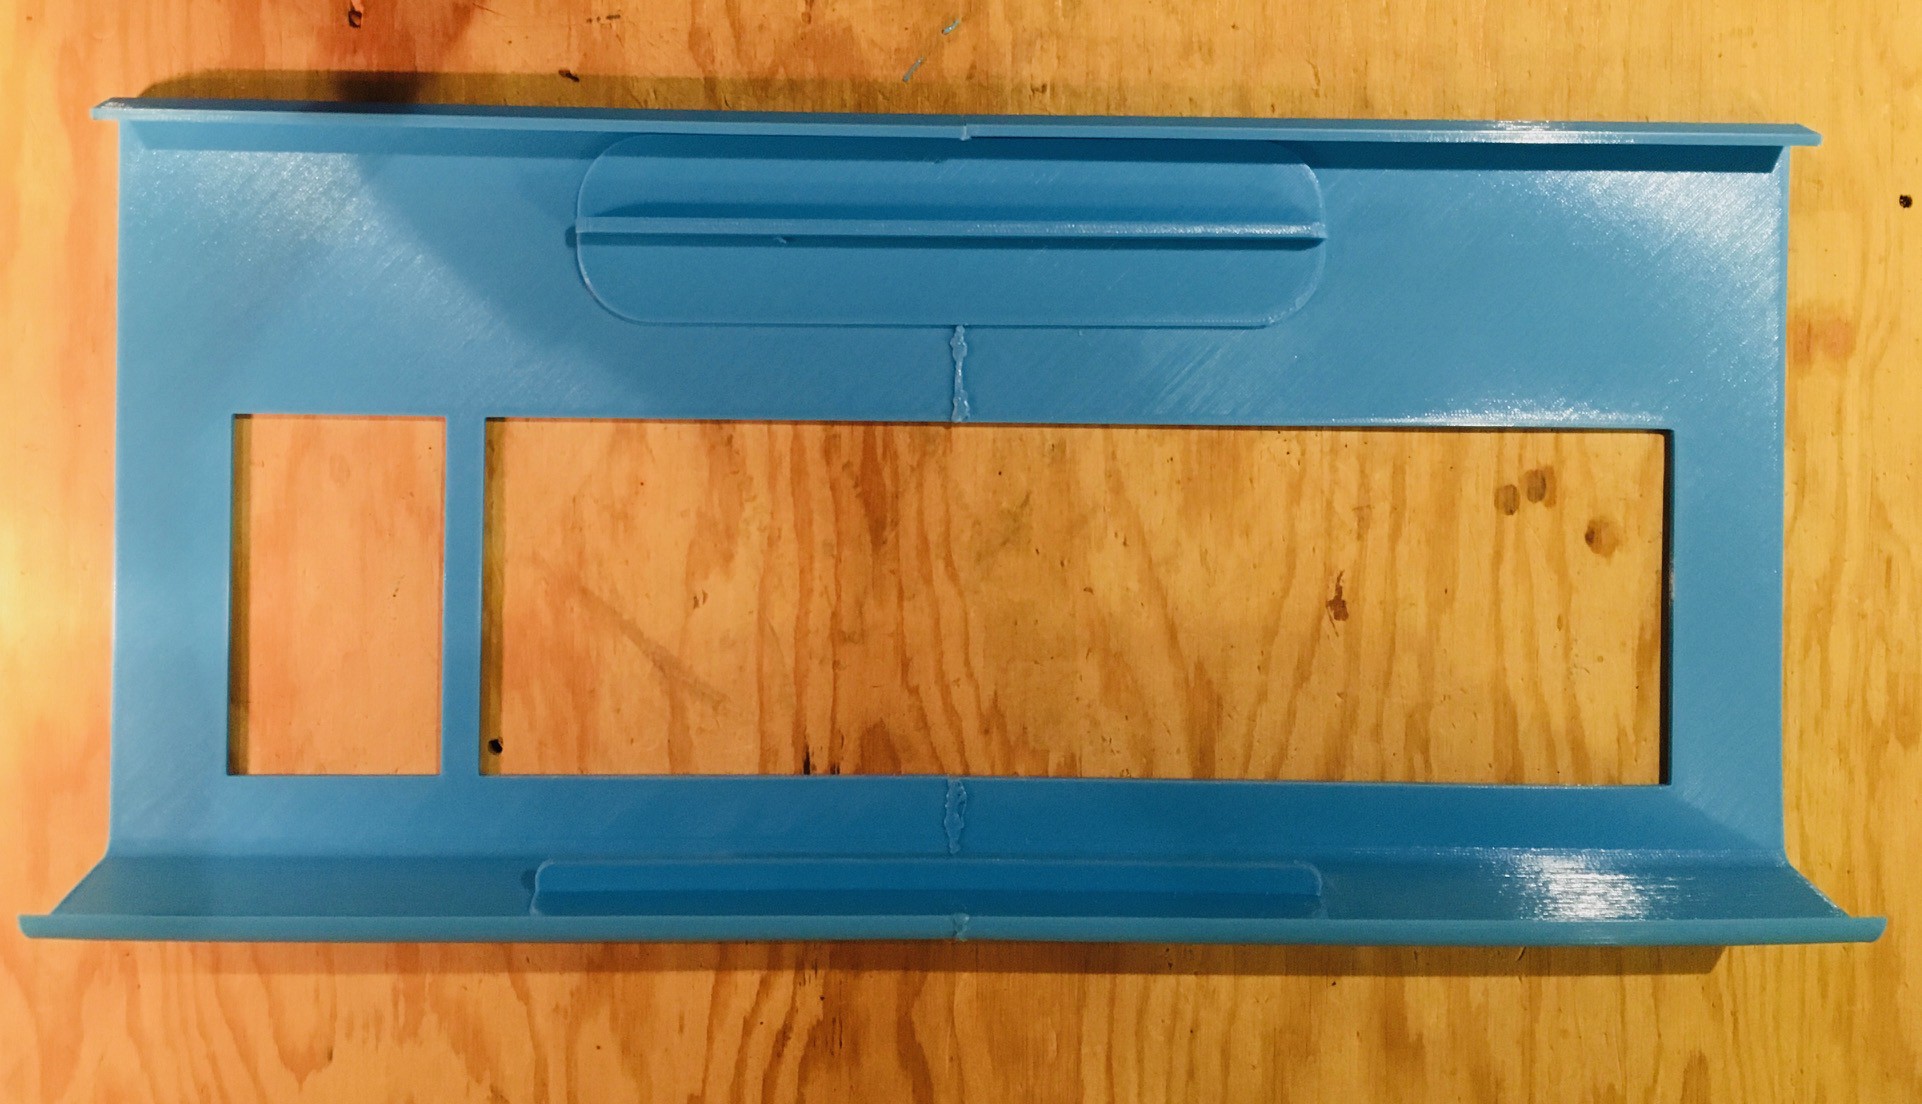
Using the finished keyboard I was able to refine the measurements for the keyboard cutouts in the front panel. I reprinted the panel with the changes in the "new" light blue filament and reinforced it as I had the first one.

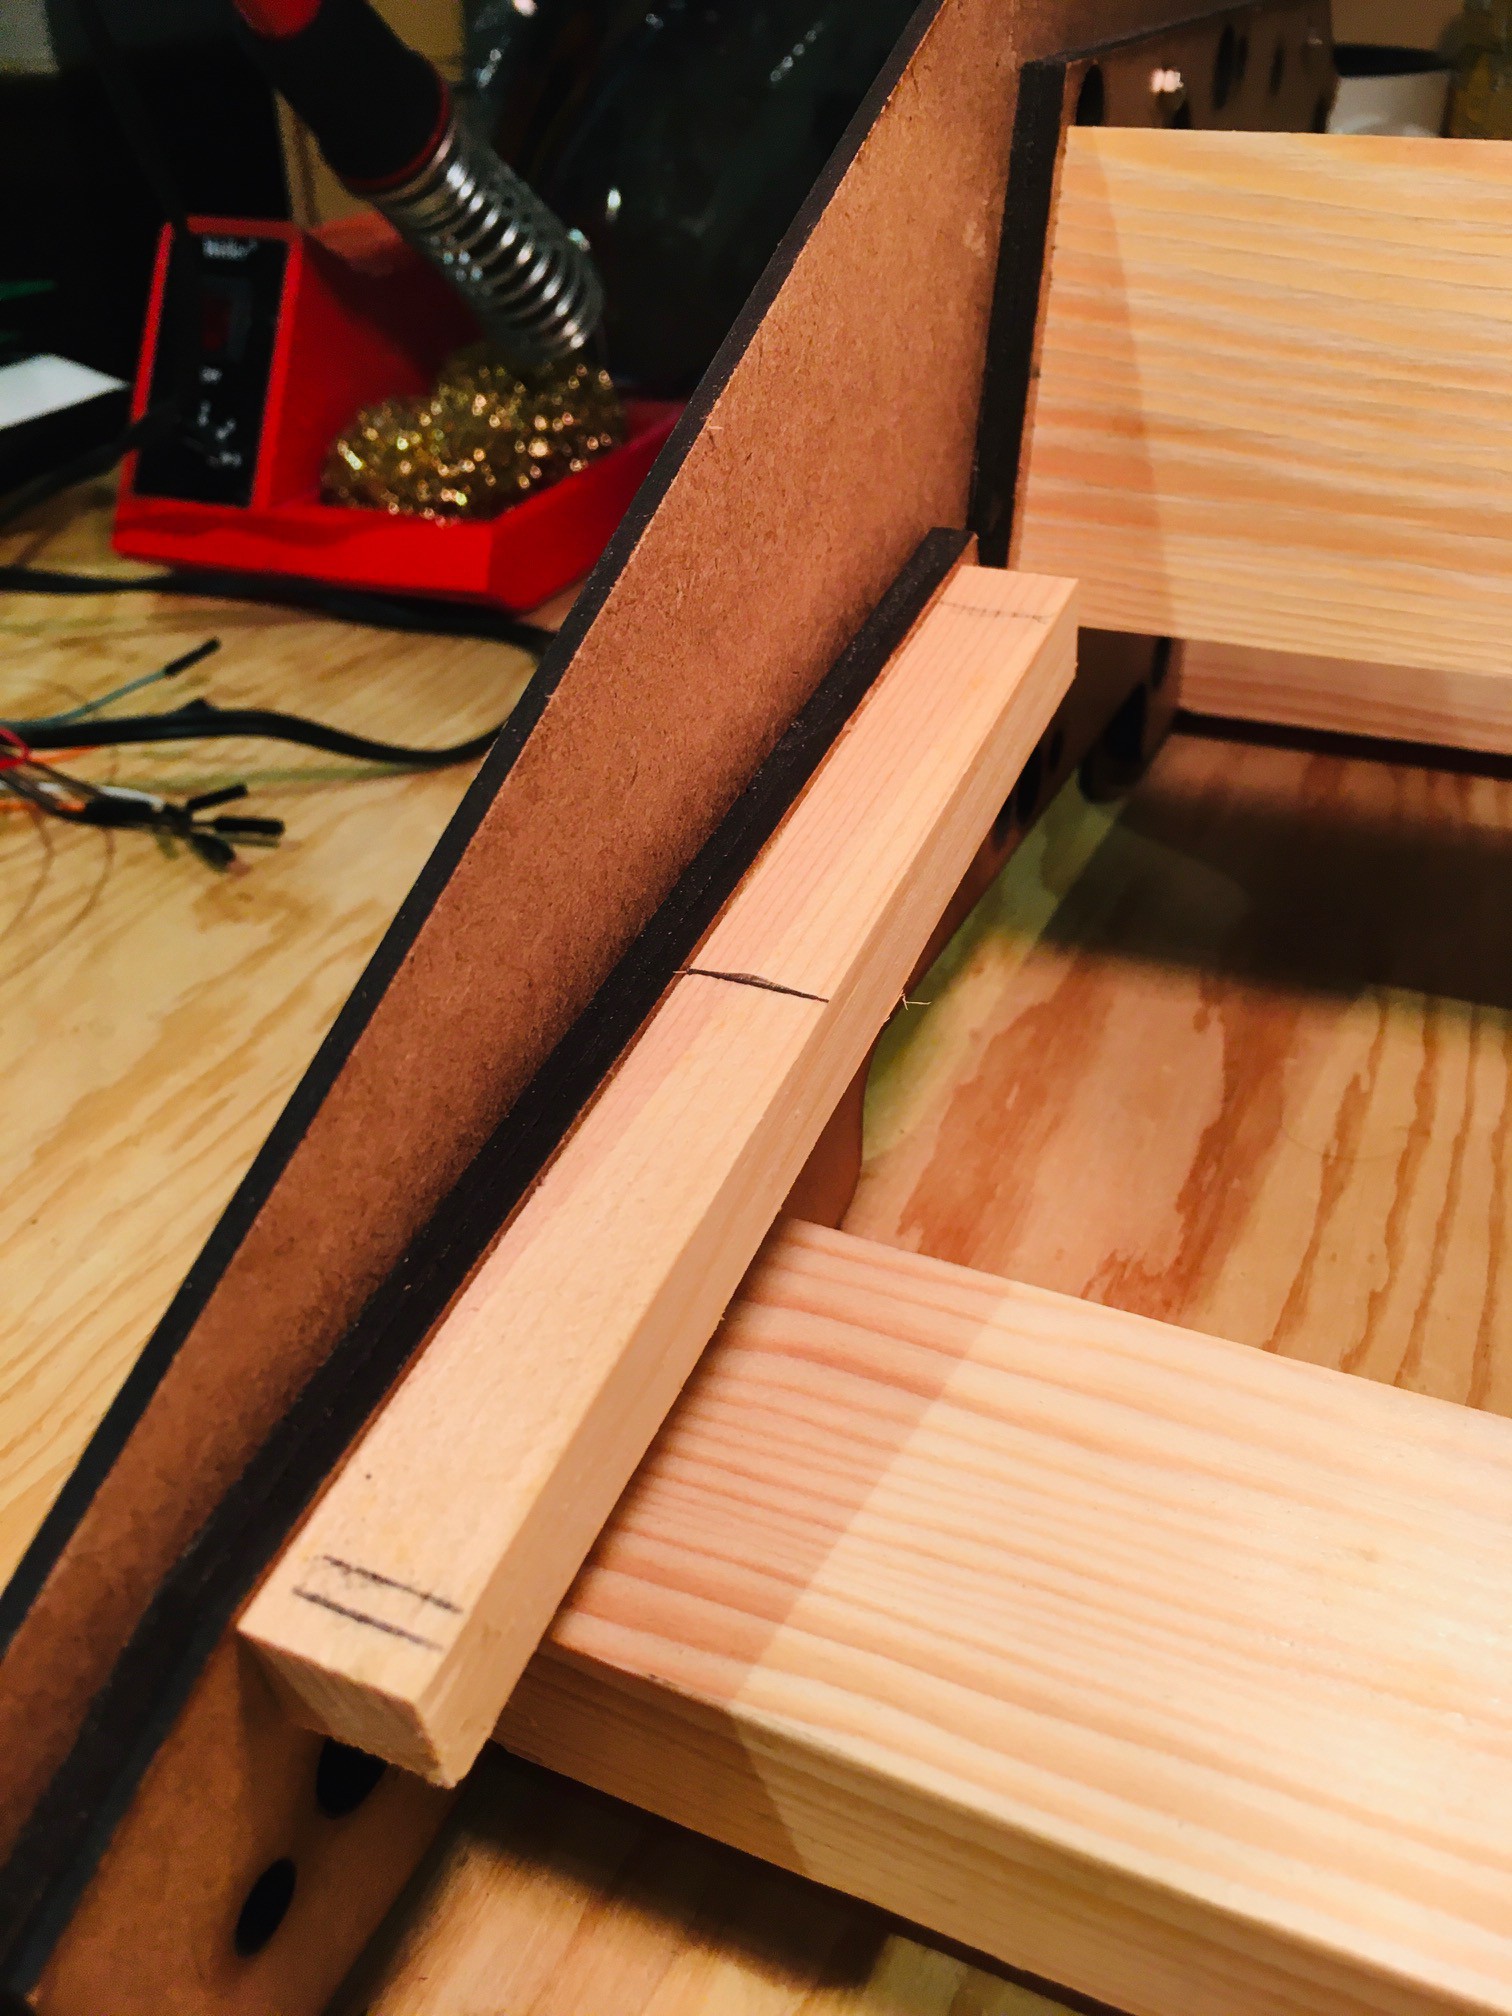
I added some 1/2" x 1/2" wooded supports for the keyboard on the side frame positioned about 2mm below the top edge that the front panel will be resting on.

Using the printed front panel as a guide, I positioned the keyboard and locked it in place with four #6 x 5/8 inch wood screws.

 Michael Gardi
Discussions
Become a Hackaday.io Member
Create an account to leave a comment. Already have an account? Log In.