-
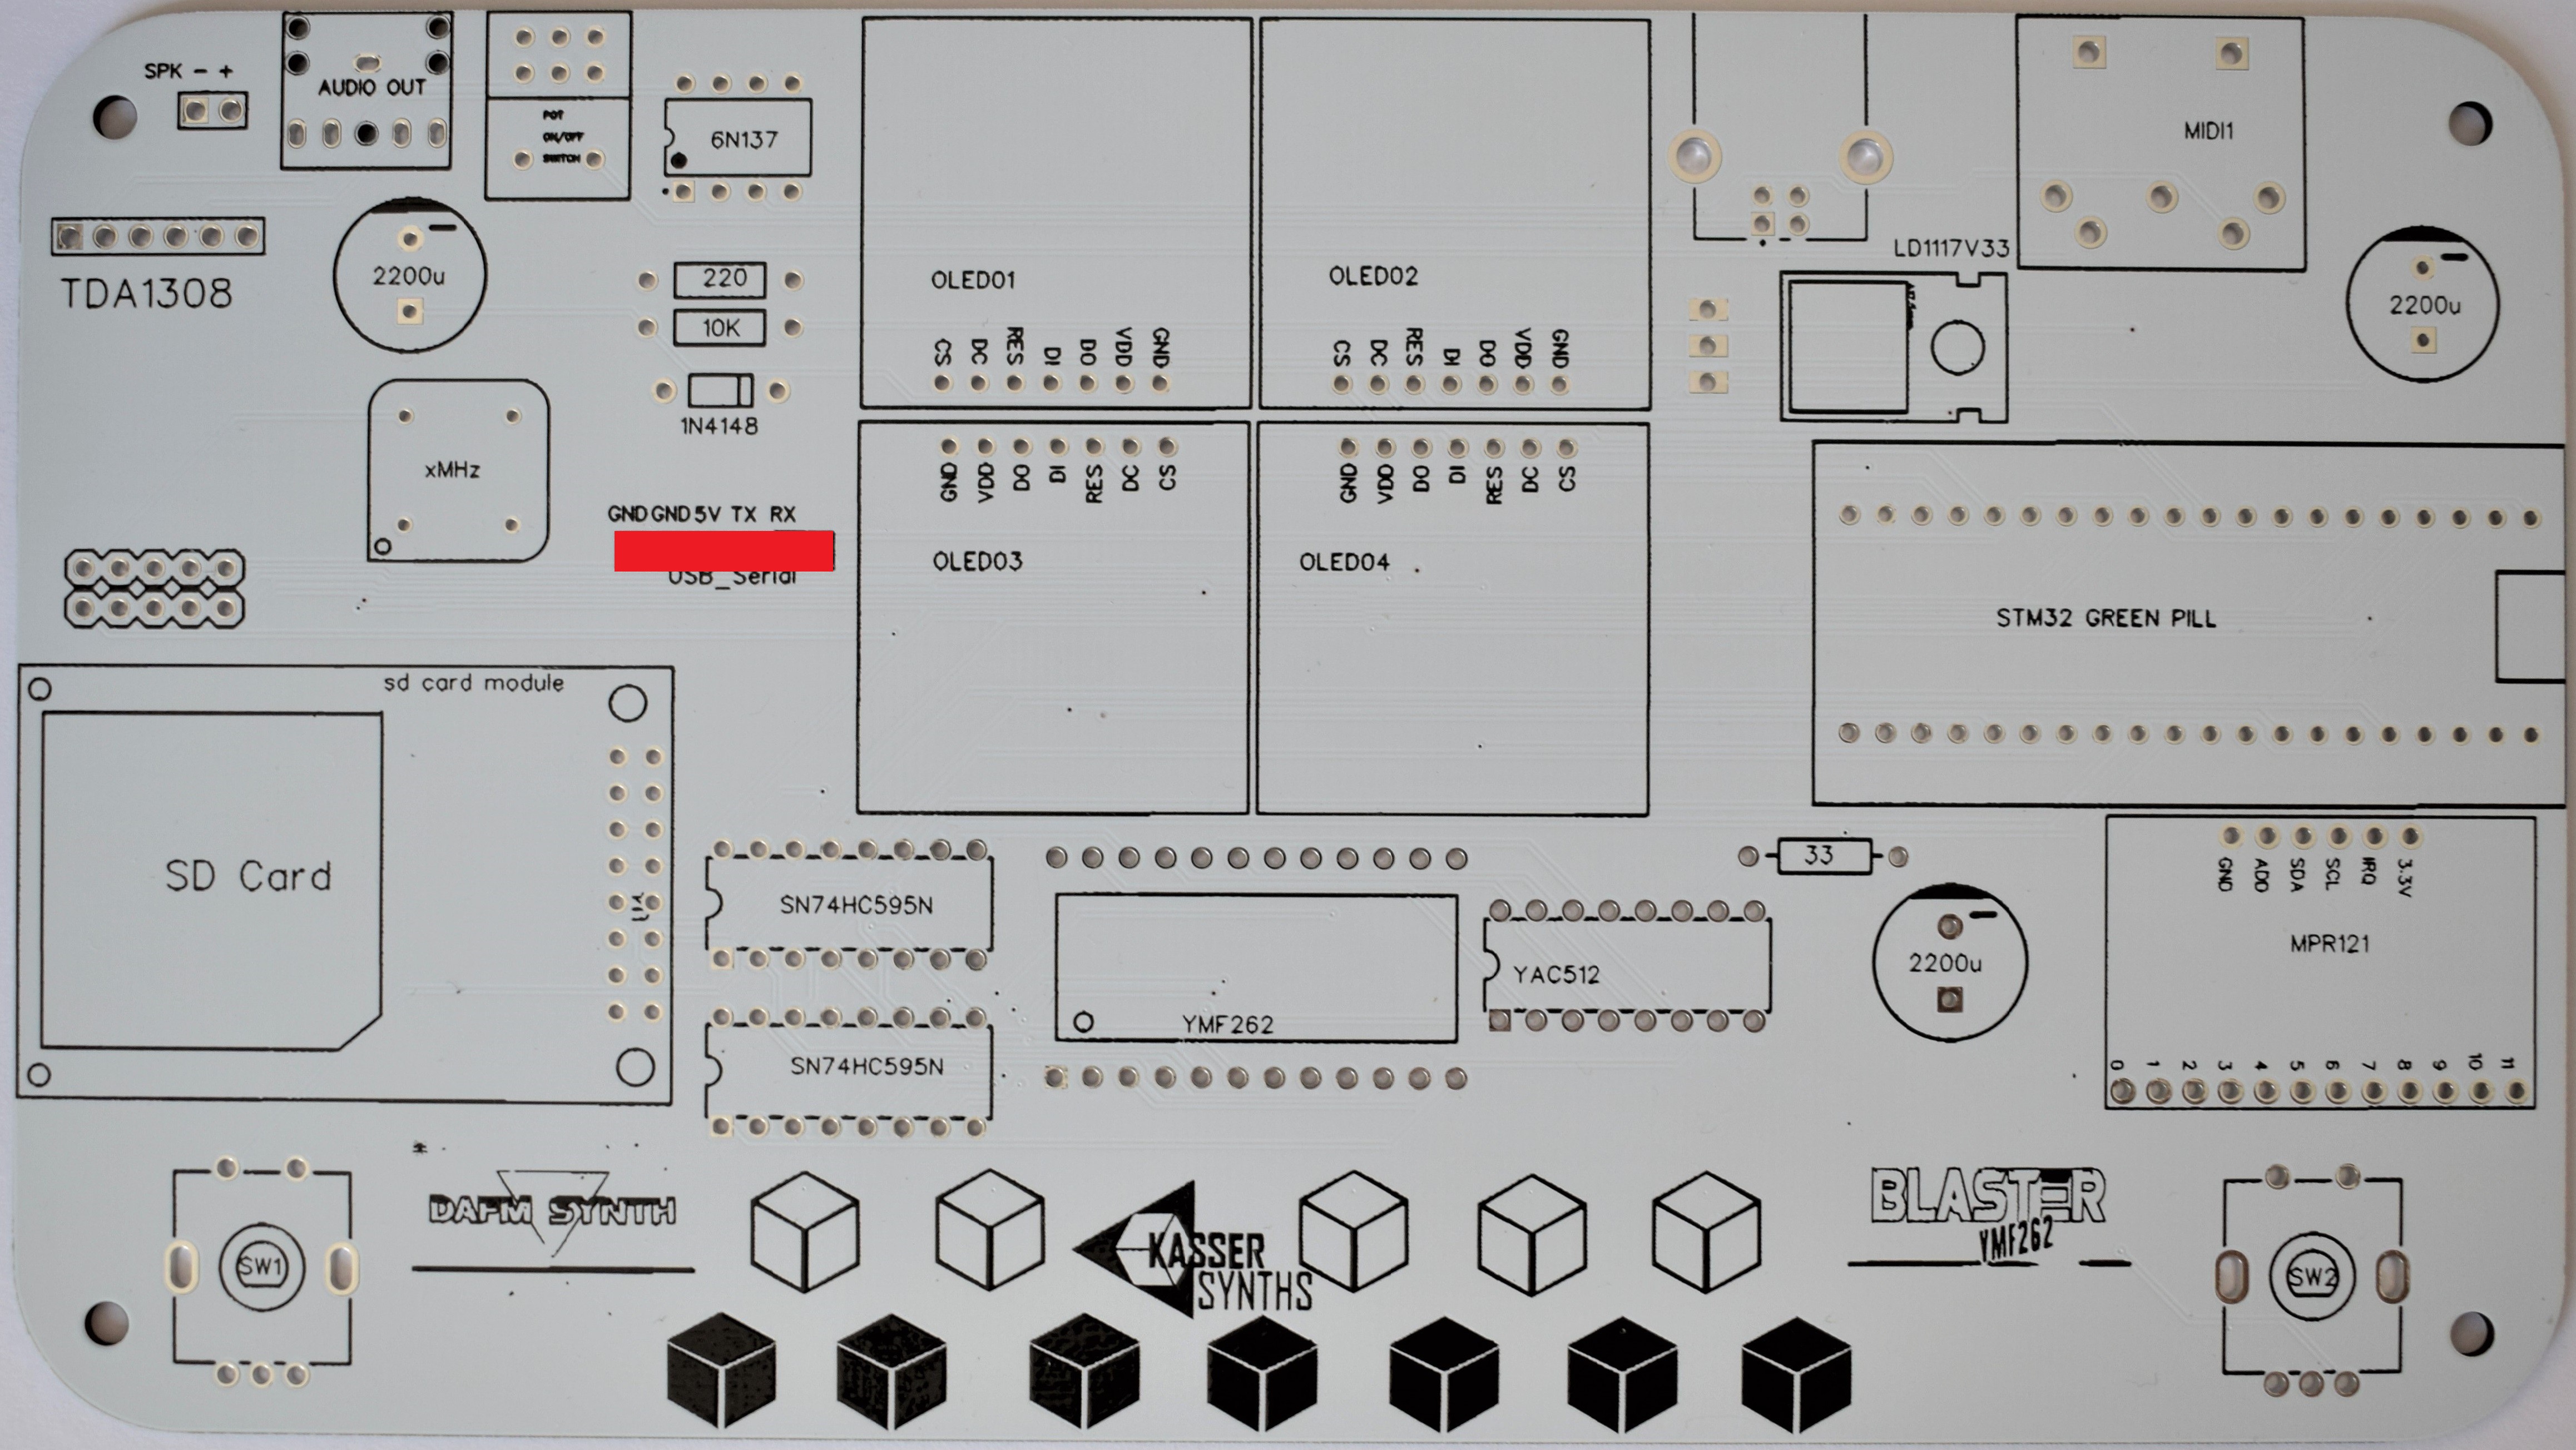
11Header for serial connection to Green Pill Microcontroller
Solder the header as shown in the picture.
![]()
-
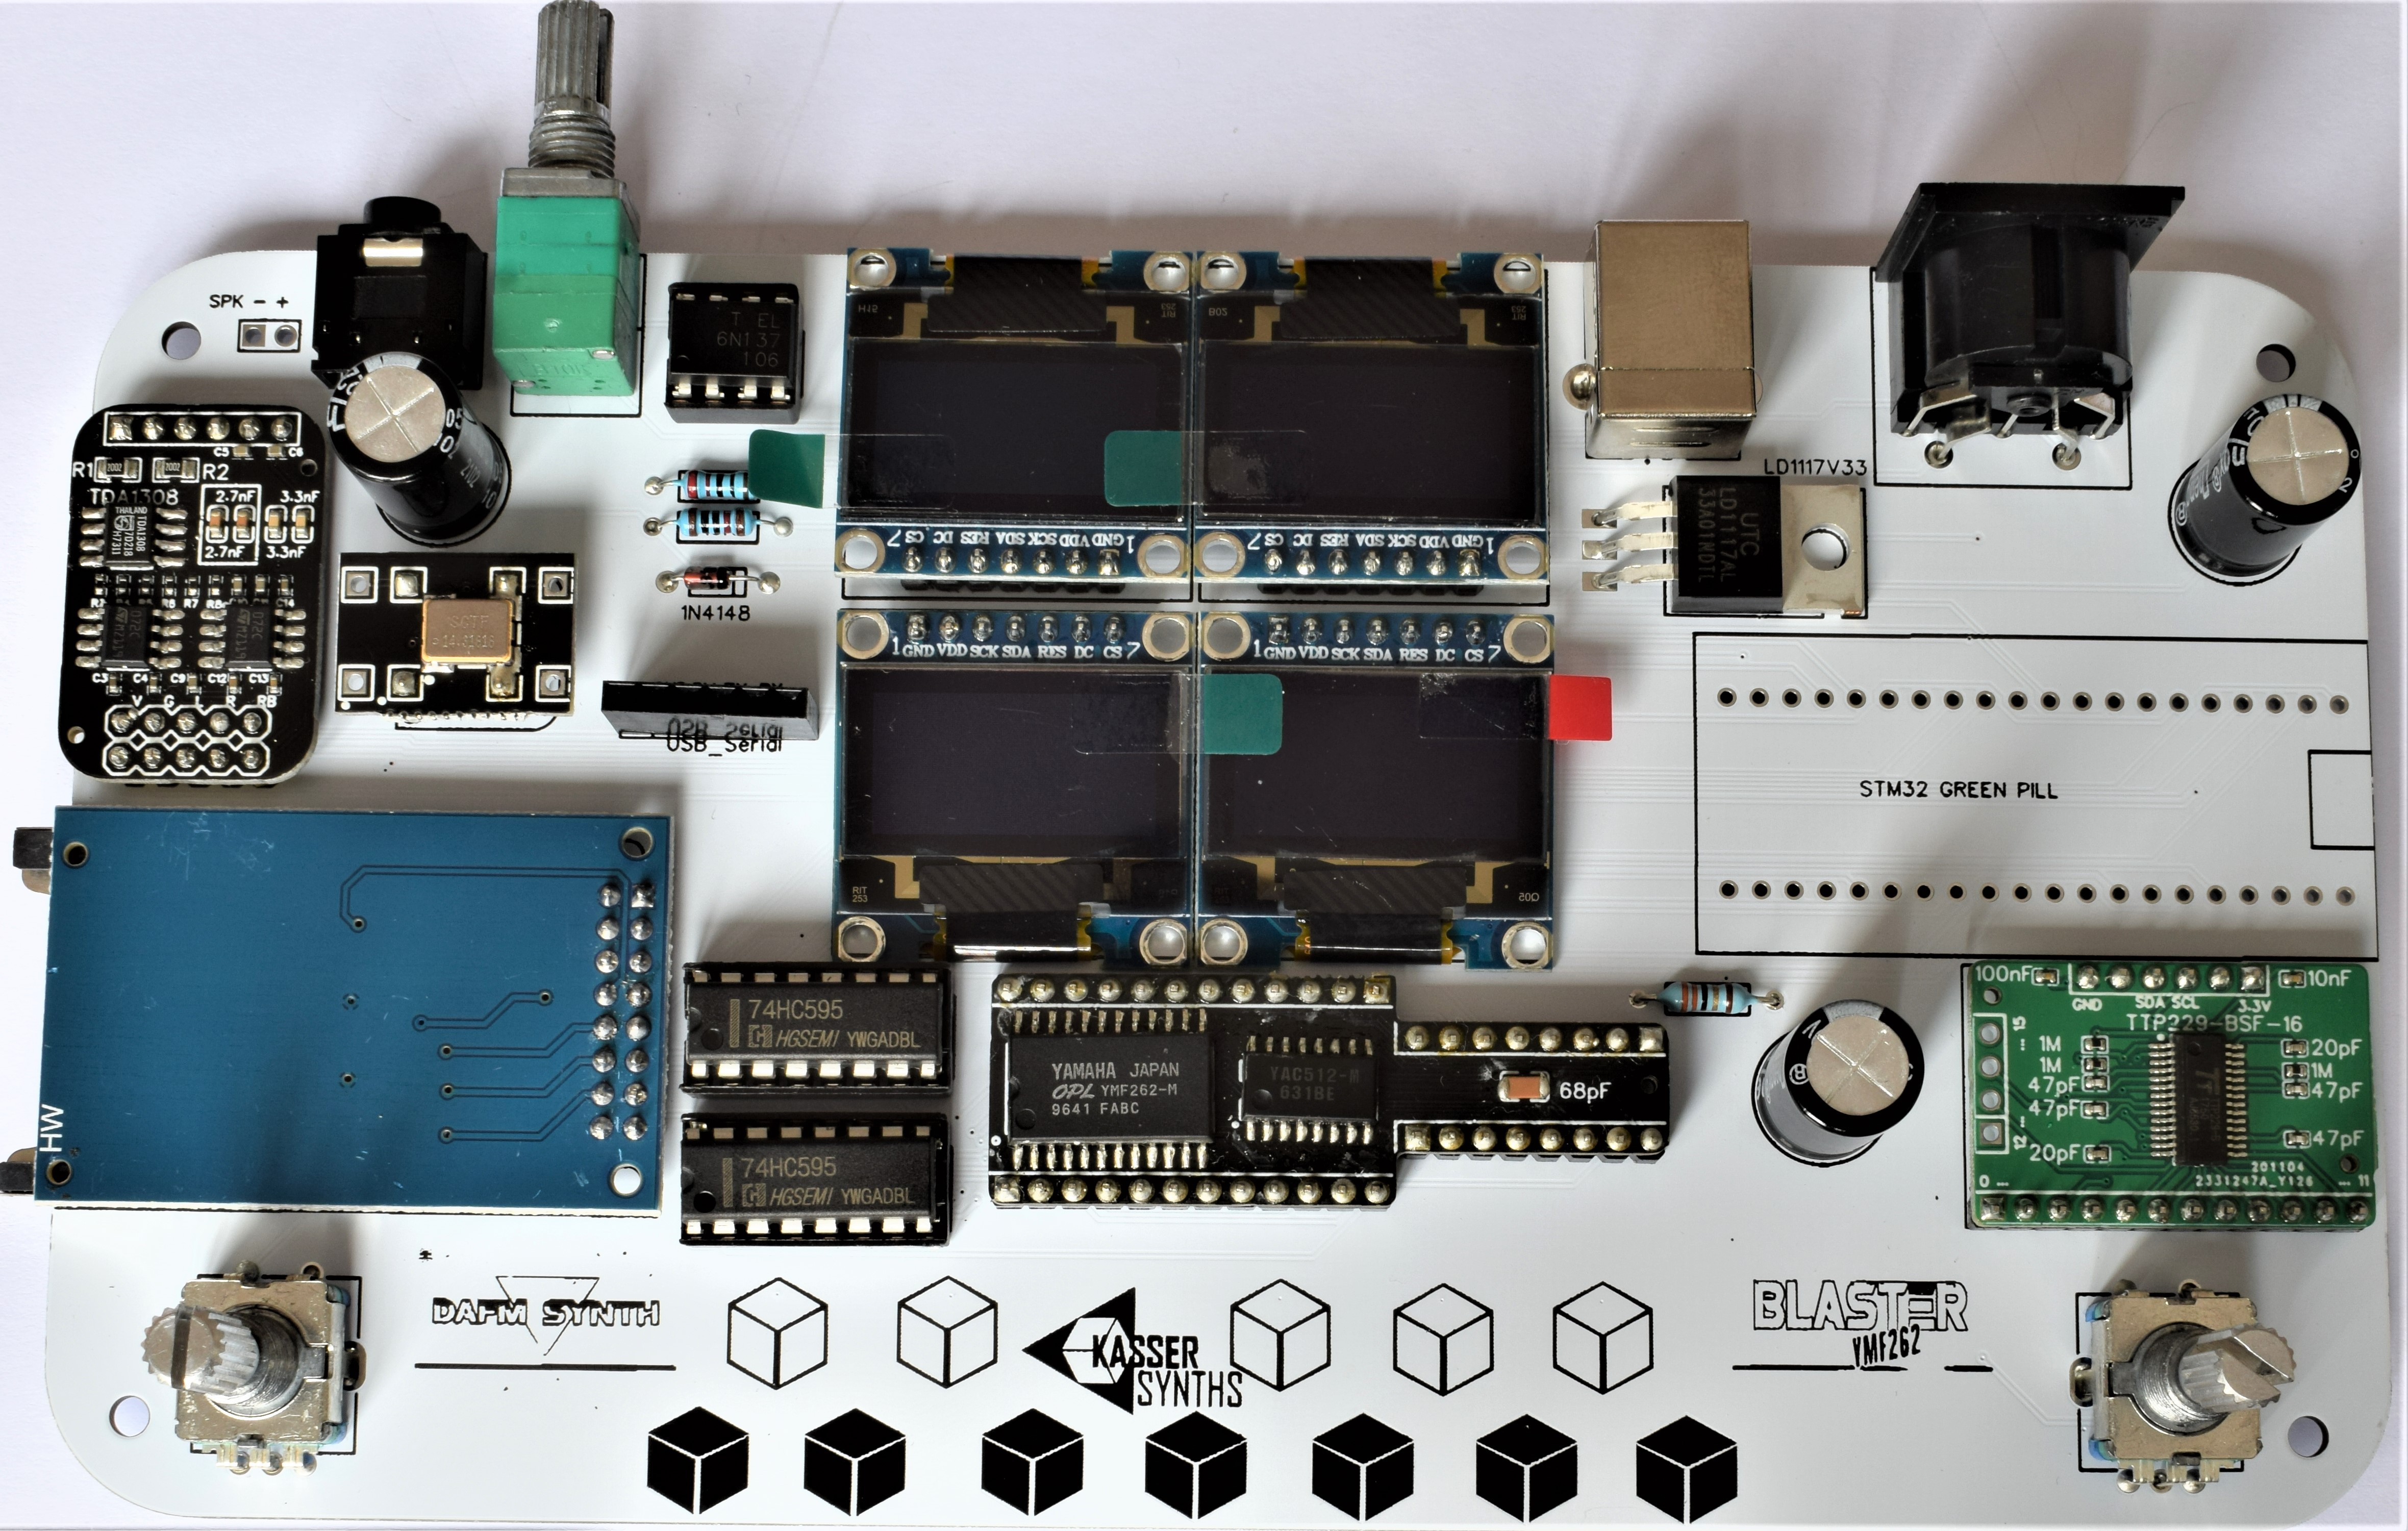
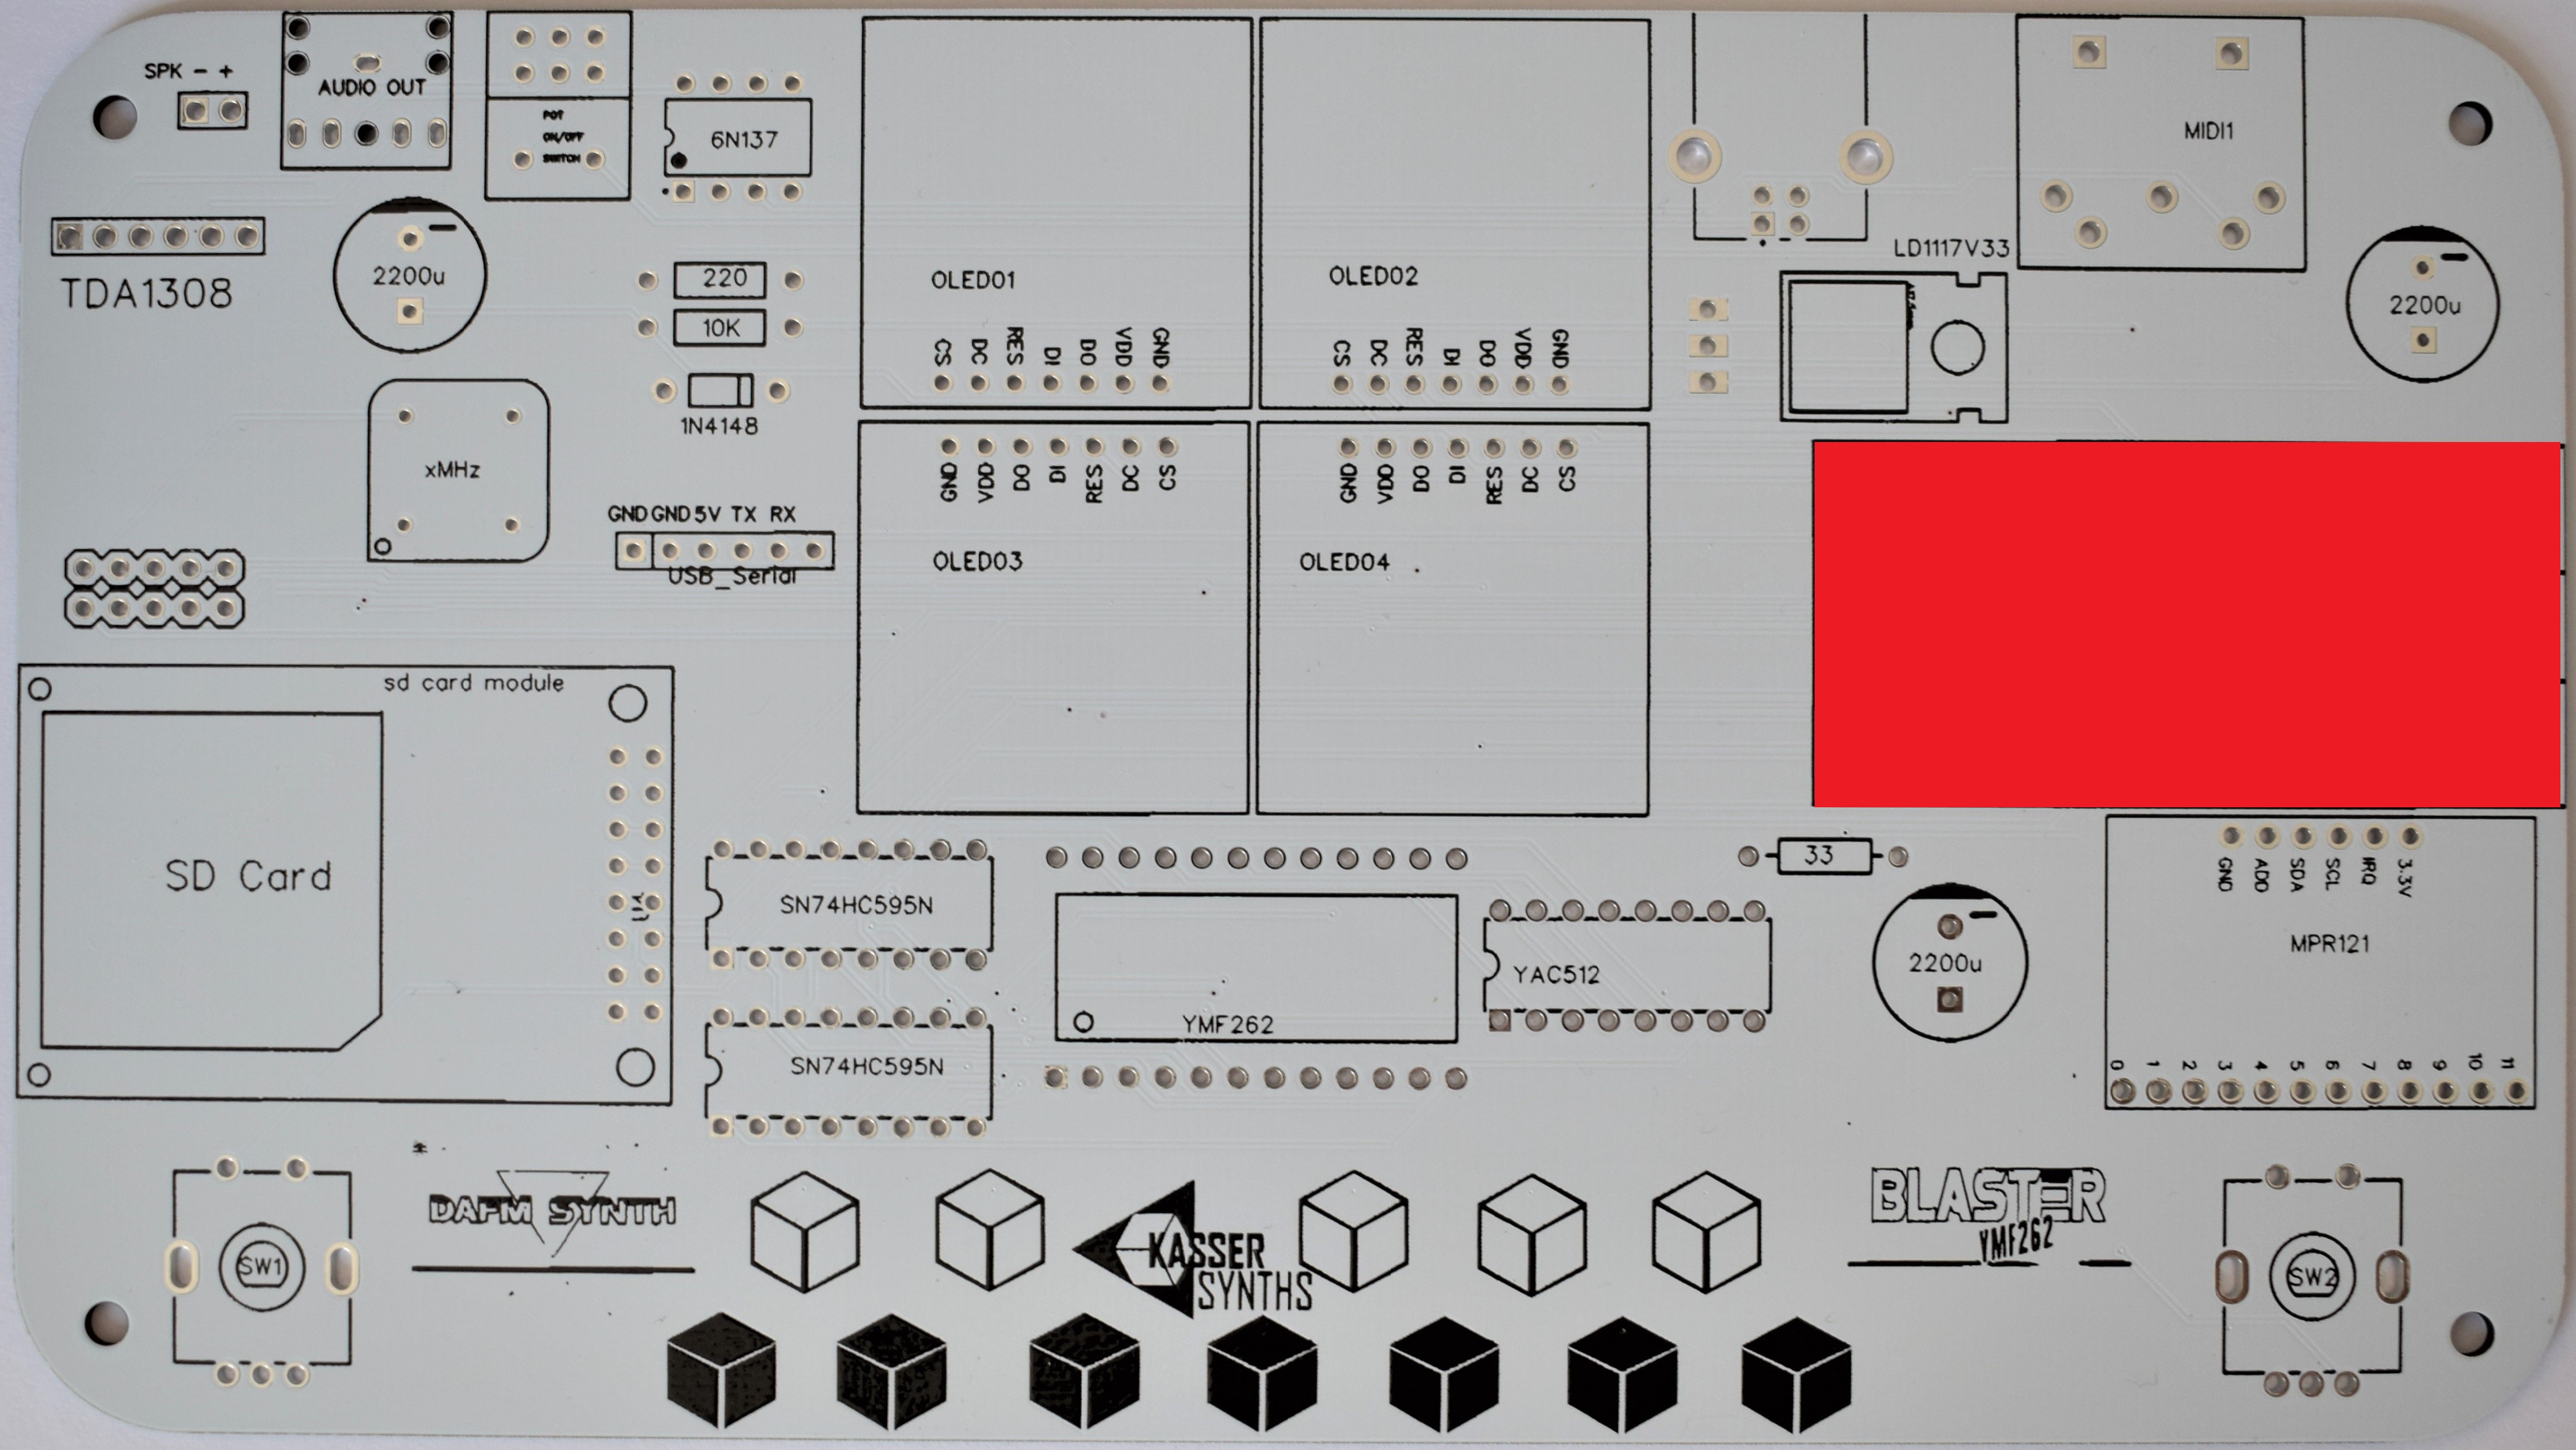
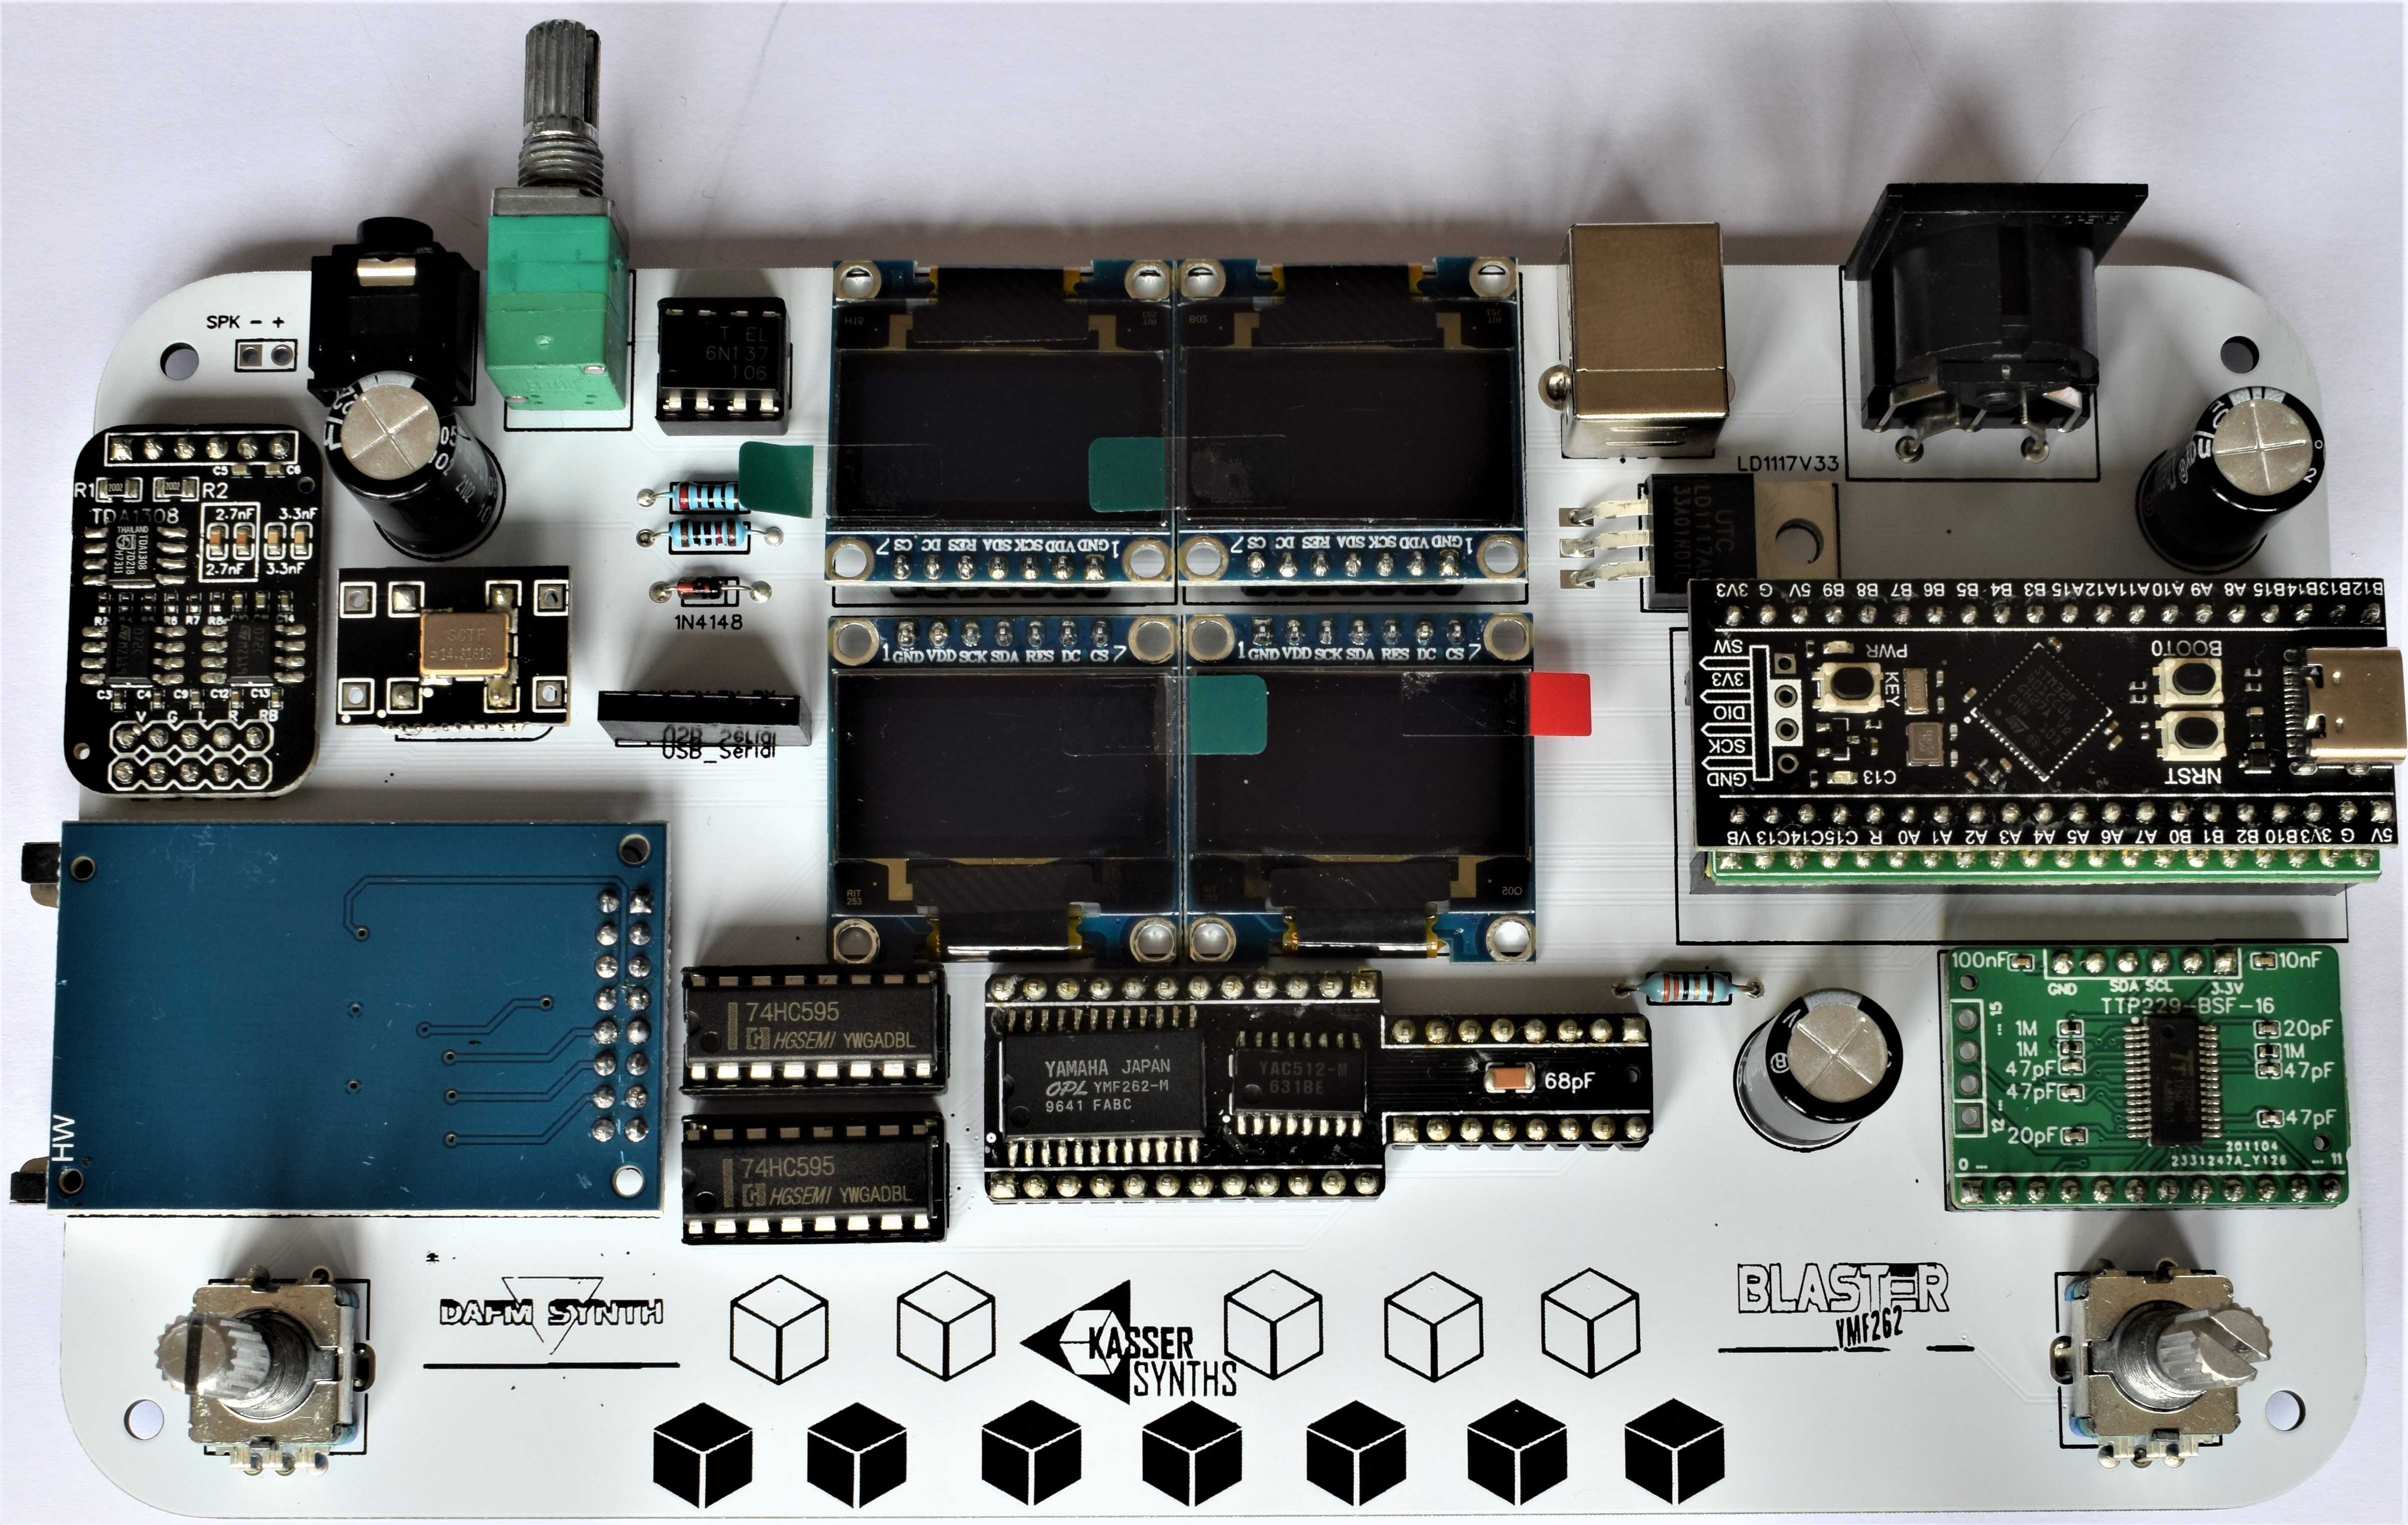
12Black/Green Pill Microcontroller breakout
The microcontroller unit (MCU) used for the original DAFM synth was the STM32F103C8T6, commonly found as "blue pill" breakout. In the new kit you can find an improved "green pill" STM32F103CBT6 with bigger memory (128kb instead of the 64 kb in the original version) preloaded with the last version of the DAFM synth firmware. Other versions are based on STM32F401CCU6 (as a green pill or a black pill).
First place the pin headers and then the MCU on top. Thanks to the headers, you can replace the MCU easily if you need it for future versions.
![]()
-
13TROUBLESHOOTING
The great moment has arrived. After several hours soldering you connect the battery, the headphones and the MIDI instrument and something is not working correctly ...
Do not panic, all the parts have been tested and work correctly before shipping. So you just have to check the soldering joints. Check that all the elements have been soldered correctly and there are no cold joints. But where to focus first...?
- No LEDs light on the microcontroller.
- Check the power supply
- Make sure to turn the power button
- Check that the microcontroller has been installed in the correct position.
- If the LED on the microcontroller lights up but no OLED screen lights up
- Check that the toggle switch of the microcontroller (if exists) is in the lower position (position 0) and reset
- Some OLED displays do not turn on
- If they still do not turn on, resolder all solder joints on the microcontroller and displays. Remember to use flux.
- All the OLED displays turn on but no sound is coming from the touch keypad (you get sound from a MIDI instrument)
- Resolder all solder joints on the microcontroller, LD33V voltage regulator and the touch sensor breakout (MPR121 or TTP229). Remember to use flux.
- All the OLED displays turn on but no sound is coming from the MIDI controller (you get sound from the touch keypad)
- Check the configuration of your MIDI controller. DAFM synth recognises midi channels from 1 to 6.
- Check the correct position of the 6N137 IC and the 1N4148 diode
- Resolder all solder joints on the microcontroller and the following parts. Remember to use flux.
- MIDI DIN5
- 6N137 IC socket
- 220 ohm and 10k ohm resistors
- 1N4148 diode
- All the OLED displays turn on but no sound is coming neither from the touch keypad nor the MIDI controller
- Check that your headphone or audio line cable work properly. Turn the switch potentiometer to increase the volume
- Check the correct position of the YMF262 and YAC512 chips, 74HC595 chips and 14.318MHz Clock
- Resolder all solder joints on the microcontroller and the following parts. Remember to use flux.
- YMF262 and YAC512 IC sockets
- 74HC595 IC sockets
- 14.318 MHz clock
- TDA1308 audio amp
- Audio jack connector
- B103K switch potentiometer
- 33 ohm resistor
- All the OLED displays turn on, sound is correctly coming from either the touch keypad and the MIDI controller but there are some issues during menu diving (menu scrolling, selecting or cancelling)
- Resolder all solder joints on the microcontroller and the following parts. Remember to use flux.
- Rotary encoder left
- Rotary encoder right
- Resolder all solder joints on the microcontroller and the following parts. Remember to use flux.
- All the OLED displays turn on, sound is correctly coming from either the touch keypad and the MIDI controller, menu diving is ok but I cannot load the presets from the SD card.
- Use SD formatter software to format your card.
- Save the presets as patch0x.opli where x goes from 1 to 6 in the root directory.
- Resolder all solder joints on the microcontroller and the SD card module
- Everything works fine but even though the Yamaha sound chip gets too hot.
- Don't worry, it's normal for this kind of chips
- Everything works fine
- Congratulations. You made a great job. But this is only the beginning. Now enjoy your DAFM SYNTH
- No LEDs light on the microcontroller.
DAFM synth BLASTER YMF262 (OPL3) - DIY kit
DAFM Synth is a FM multitimbral synthesizer serie based on mythical YAMAHA chips used for home consoles, arcades and 80s PCs sound.
 KASSER SYNTHS
Discussions
Become a Hackaday.io Member
Create an account to leave a comment. Already have an account? Log In.