-
1Step 1. Part list
1. Node MCU Ver 0.9
2. Solenoid lock
3. H-bridge
-
2Step 2. Code work
Code for download
https://bit.ly/3ylwNE9 -
3Step 3. Test run
After compile and download the code, ESP8266 will be a Wifi station (Access Point).
Now you can use smart phone to connect to wifi station named Engineer2you-Home with password is "123456789" (Of-course you can edit the name and password in Arduino code)
![]()
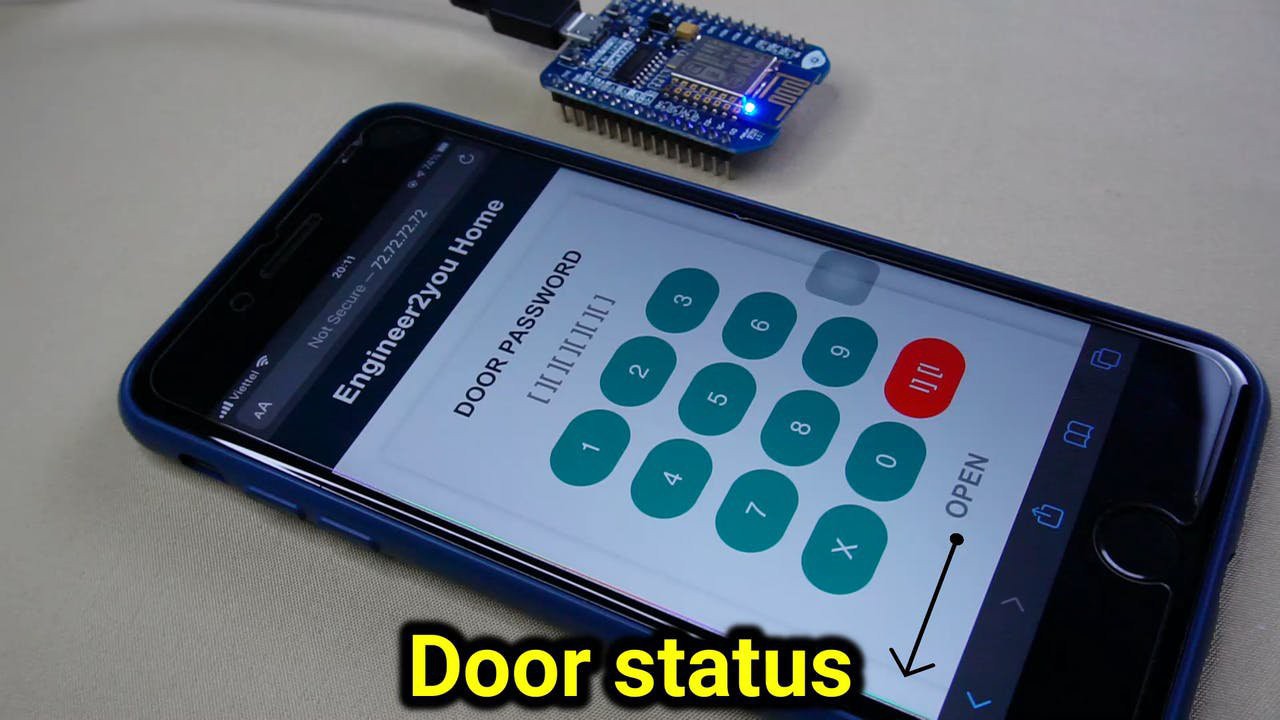
After connection successful, go to web browser on phone and type address 72.72.72.72 (again, you can also edit this address in Arduino code). The web screen of lock status will appeared!
Press "door button" |]||[ : if lock is opened, it will close the lock (without password)
Input password to open the lock: password is "123456", ofcourse you can change this password in Arduino code. If wrong password, you can not open the lock.
-
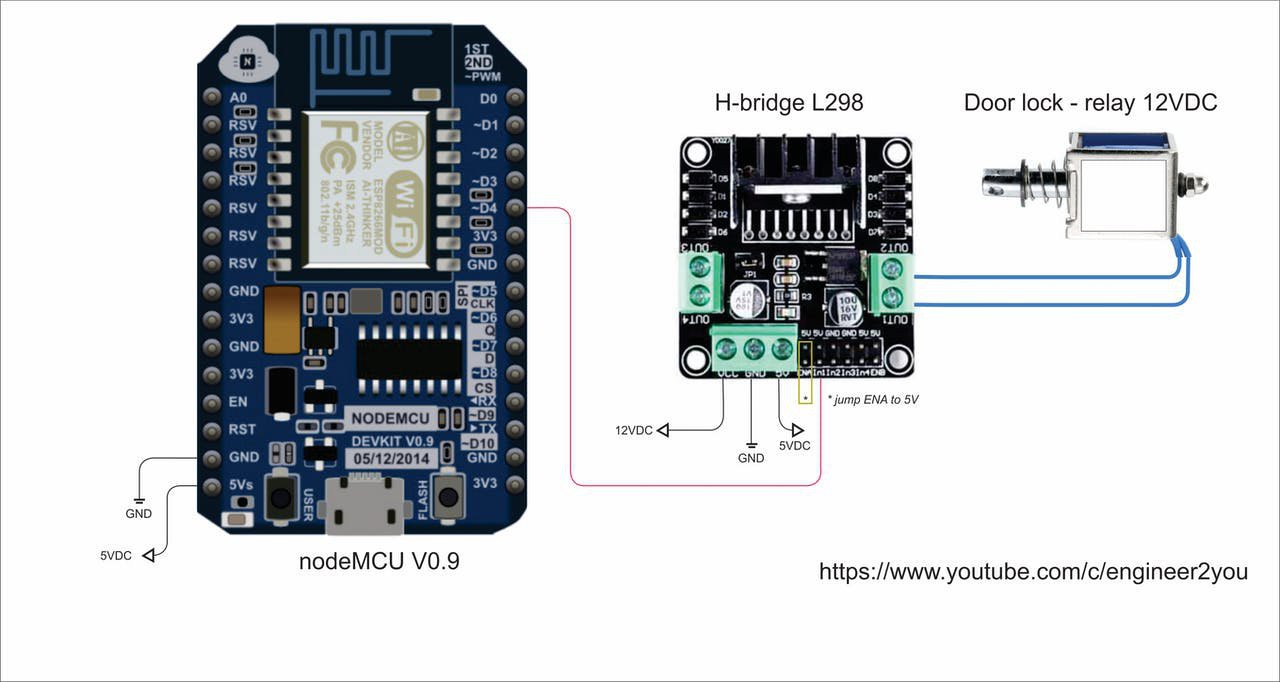
4Step 4. Make circuit and installation
![]()
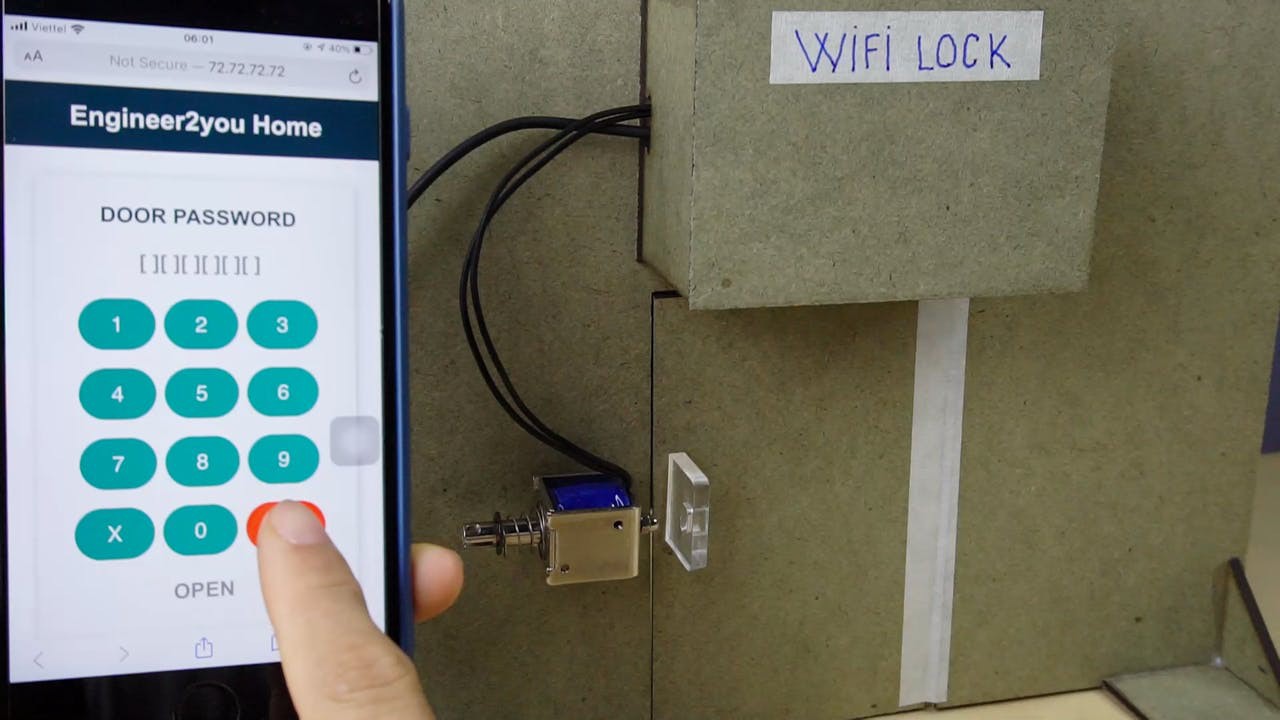
I made small home model, then install solenoid lock, "WIFI LOCK" controller box, then test again. It works fine!
![]()
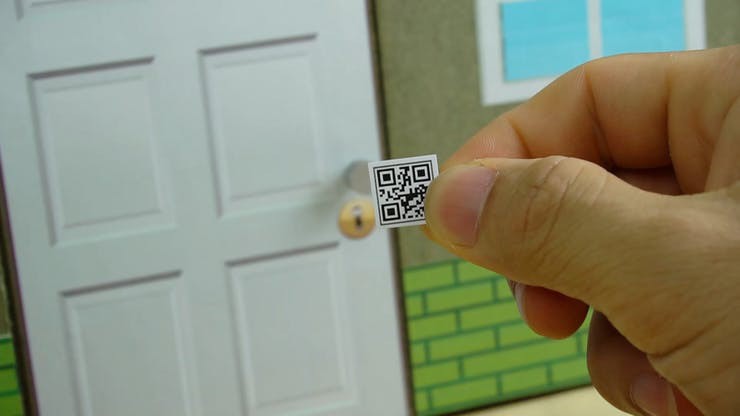
Then I print QR-Code for address 72.72.72.72 and stick on door. Imagine that, you get home, use the phone to scan QR-Code and input password to open the door, so cool! haha
![]()
-
5Step 5. Finished
Let's see the final for beautiful works
WIFI door lock DIY
Make wifi door lock by yourself, open/close door lock by Phone. This project is based on ESP8266
Discussions
Become a Hackaday.io Member
Create an account to leave a comment. Already have an account? Log In.
Please leave your comment here, thanks
Are you sure? yes | no