 controlmypad
-
1Disassemble the Macintosh
First step would be to carefully take the Macintosh apart. There are some delicate components and high voltage could remain in the CRT screen, so take extra precaution with isolating gloves to be extra safe. If you are careful and take it out as a unit, not touching connections, most of it is just disassembly. Be sure to look for the famous signatures in the back half of the case. Or by one of the new clear acrylic cases here: https://maceffects.com/collections/all
-
2Mounting the Mac to the Mill
![]()
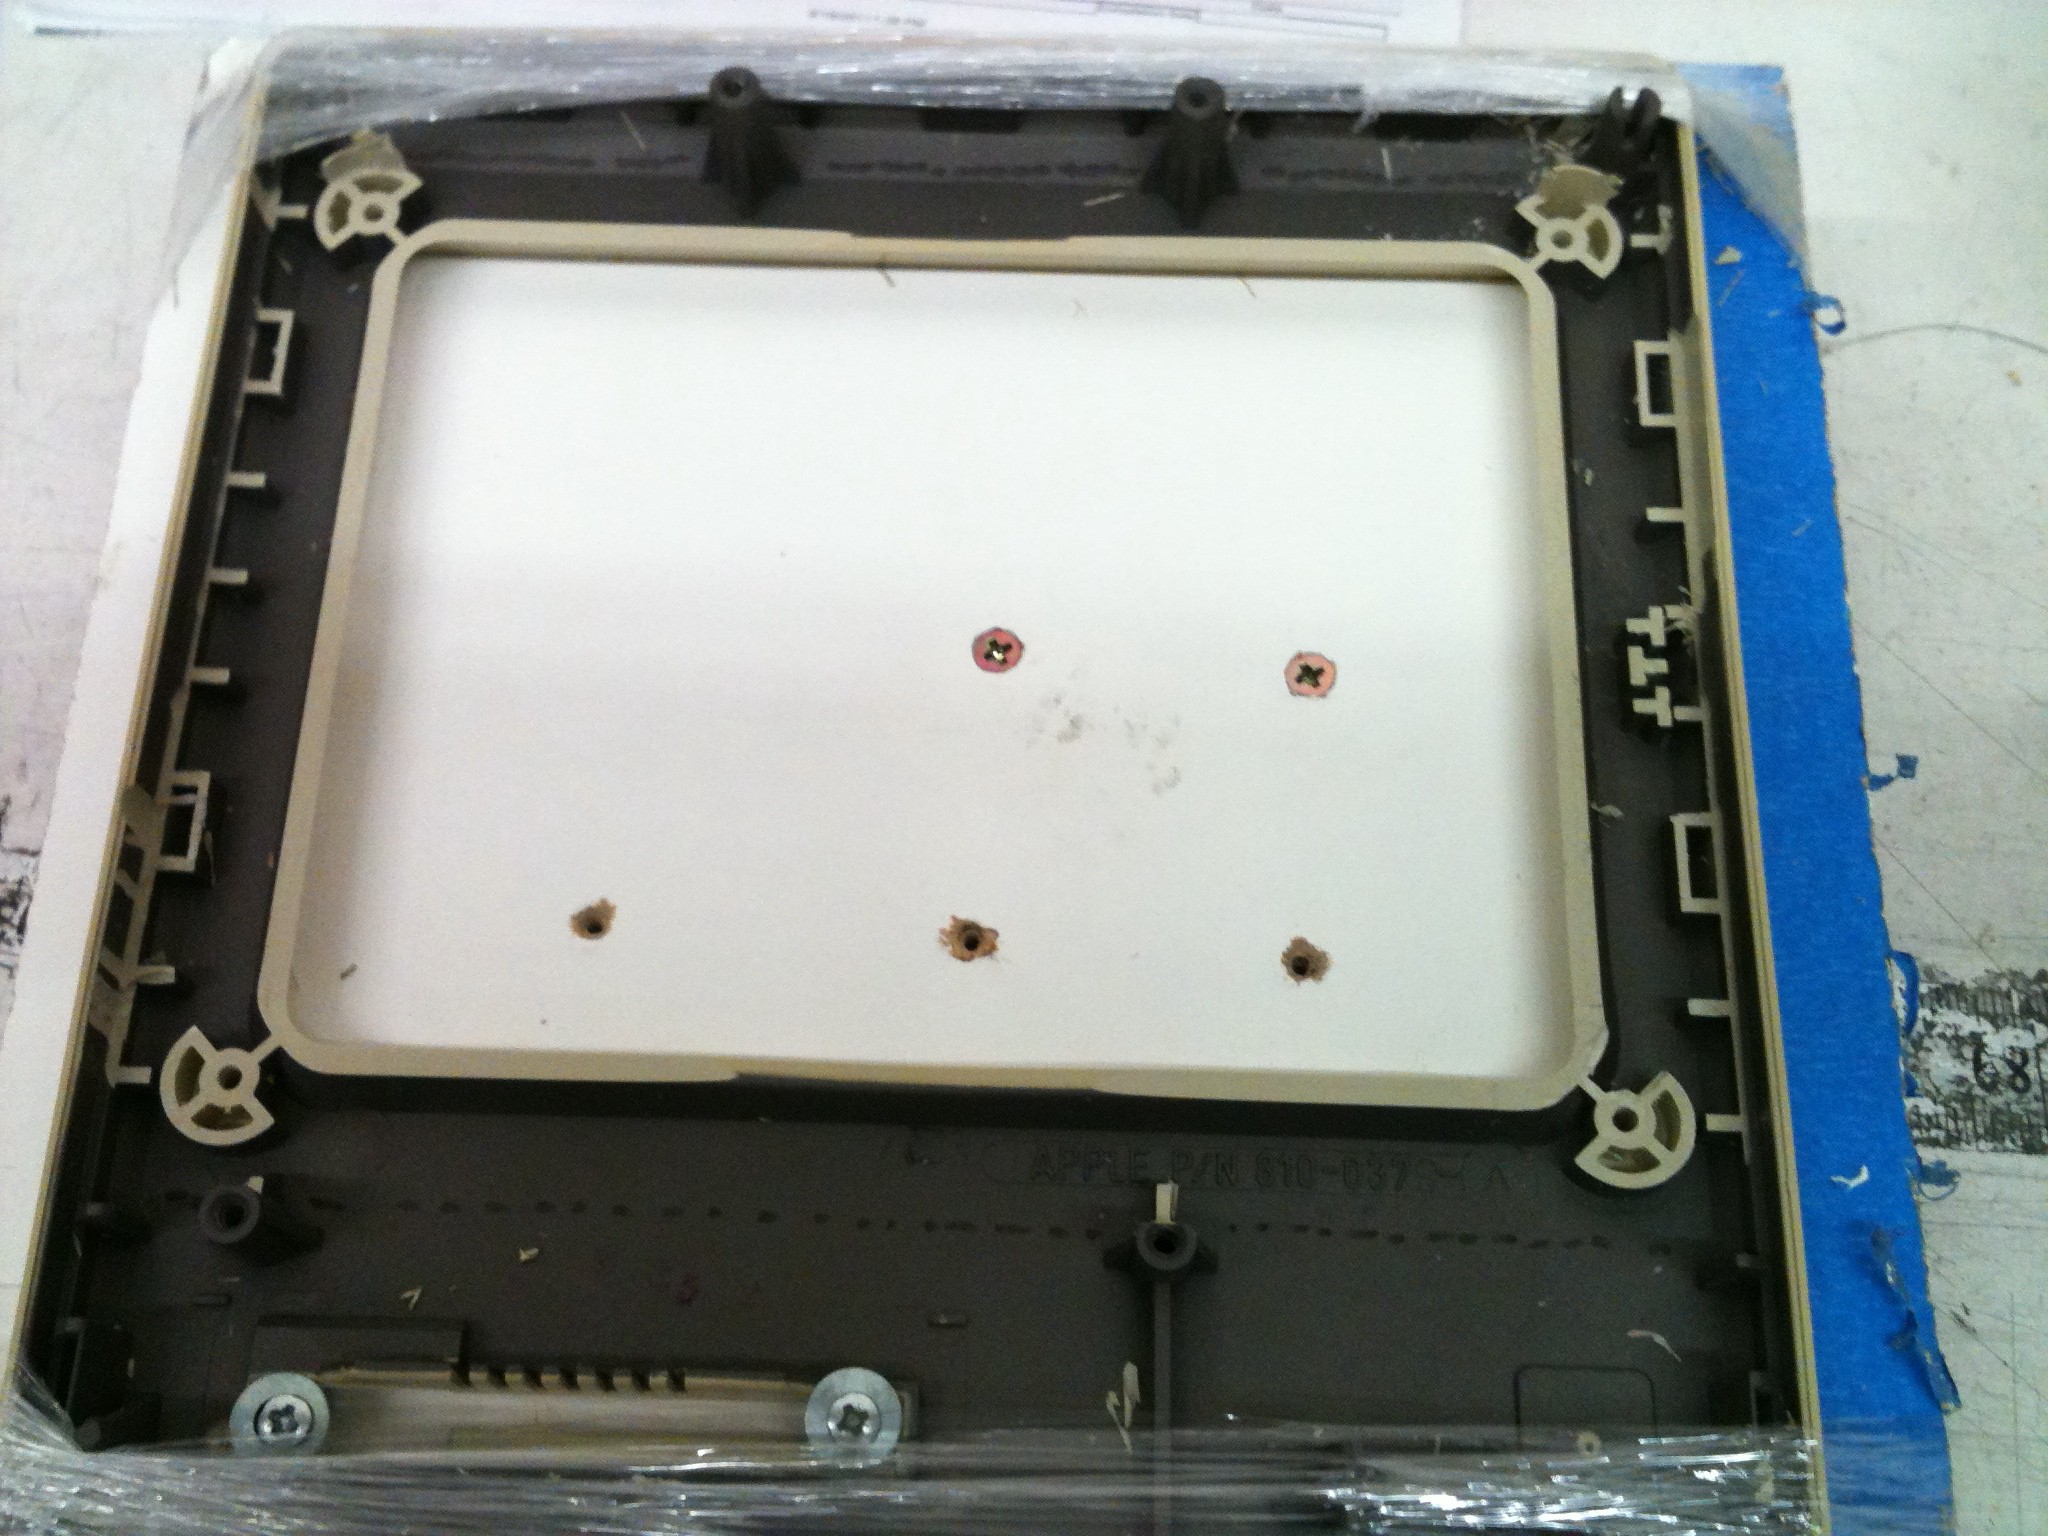
So I struggled with a safe way to hold the front panel of the Mac steady while I milled the plastic away. I took a scrap piece of shelving wood and under it I screwed it to a 2x4 scrap which will go into the vice. Then I used the disk slot with a couple of rubber-backed washers to hold the front panel to the board with screws. Finally I used several wraps of 'shrink wrap', which I felt was cleaner and stronger than tape to really steady it to the board and keep it from moving under the mill.
-
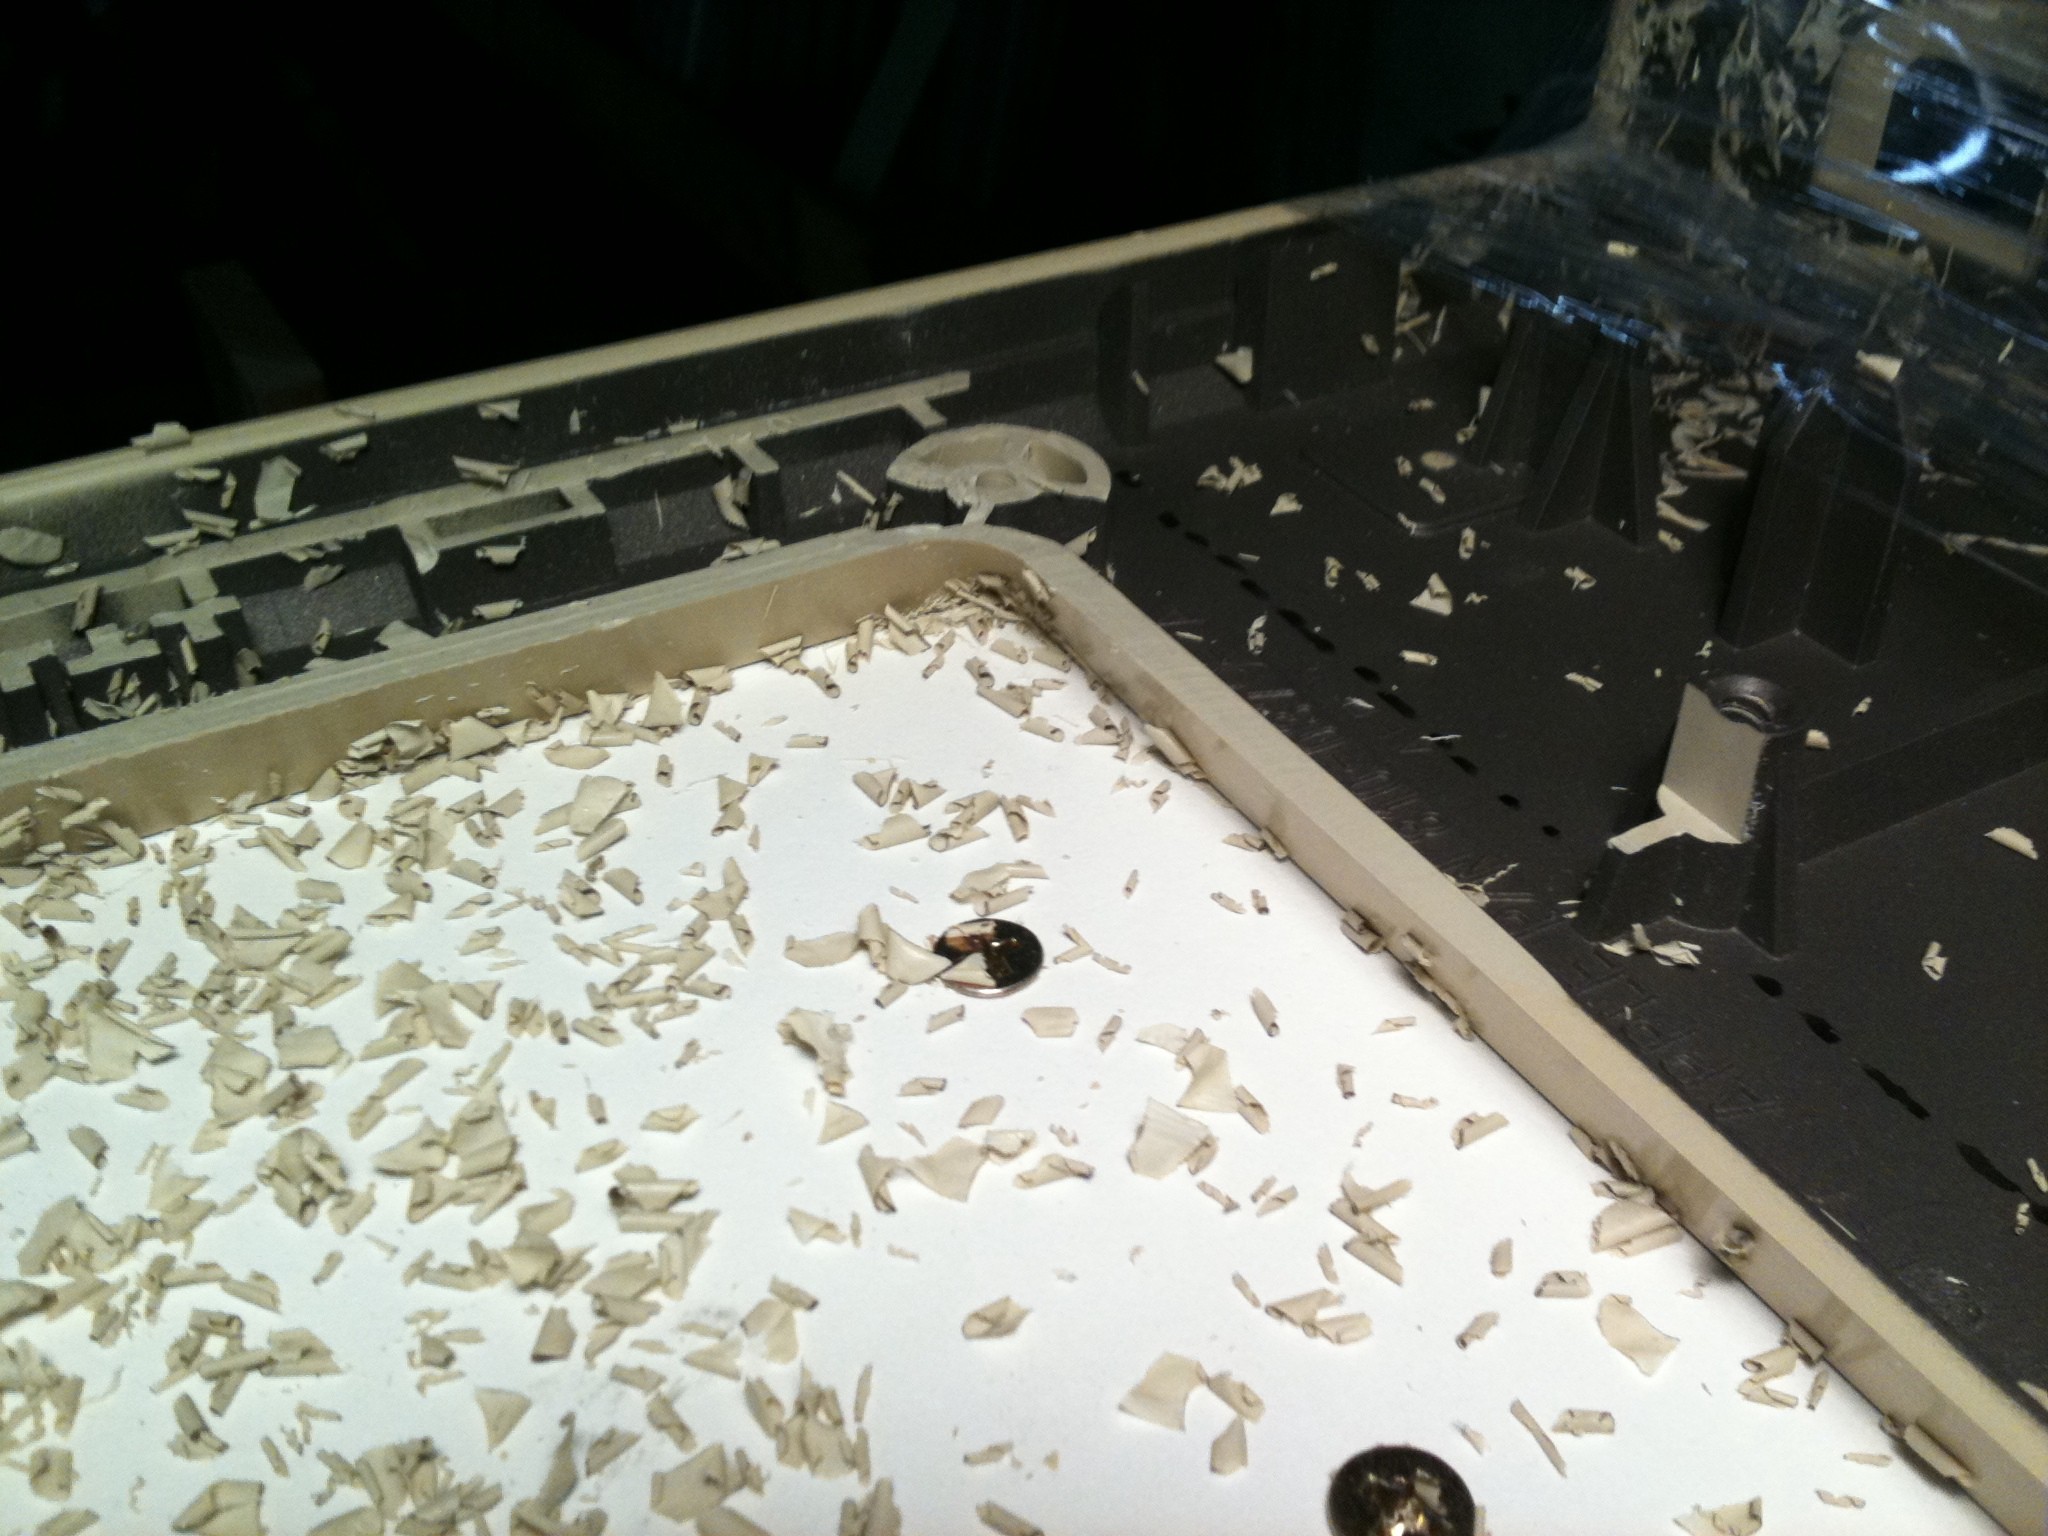
3Determining Depth of Cut
![]()
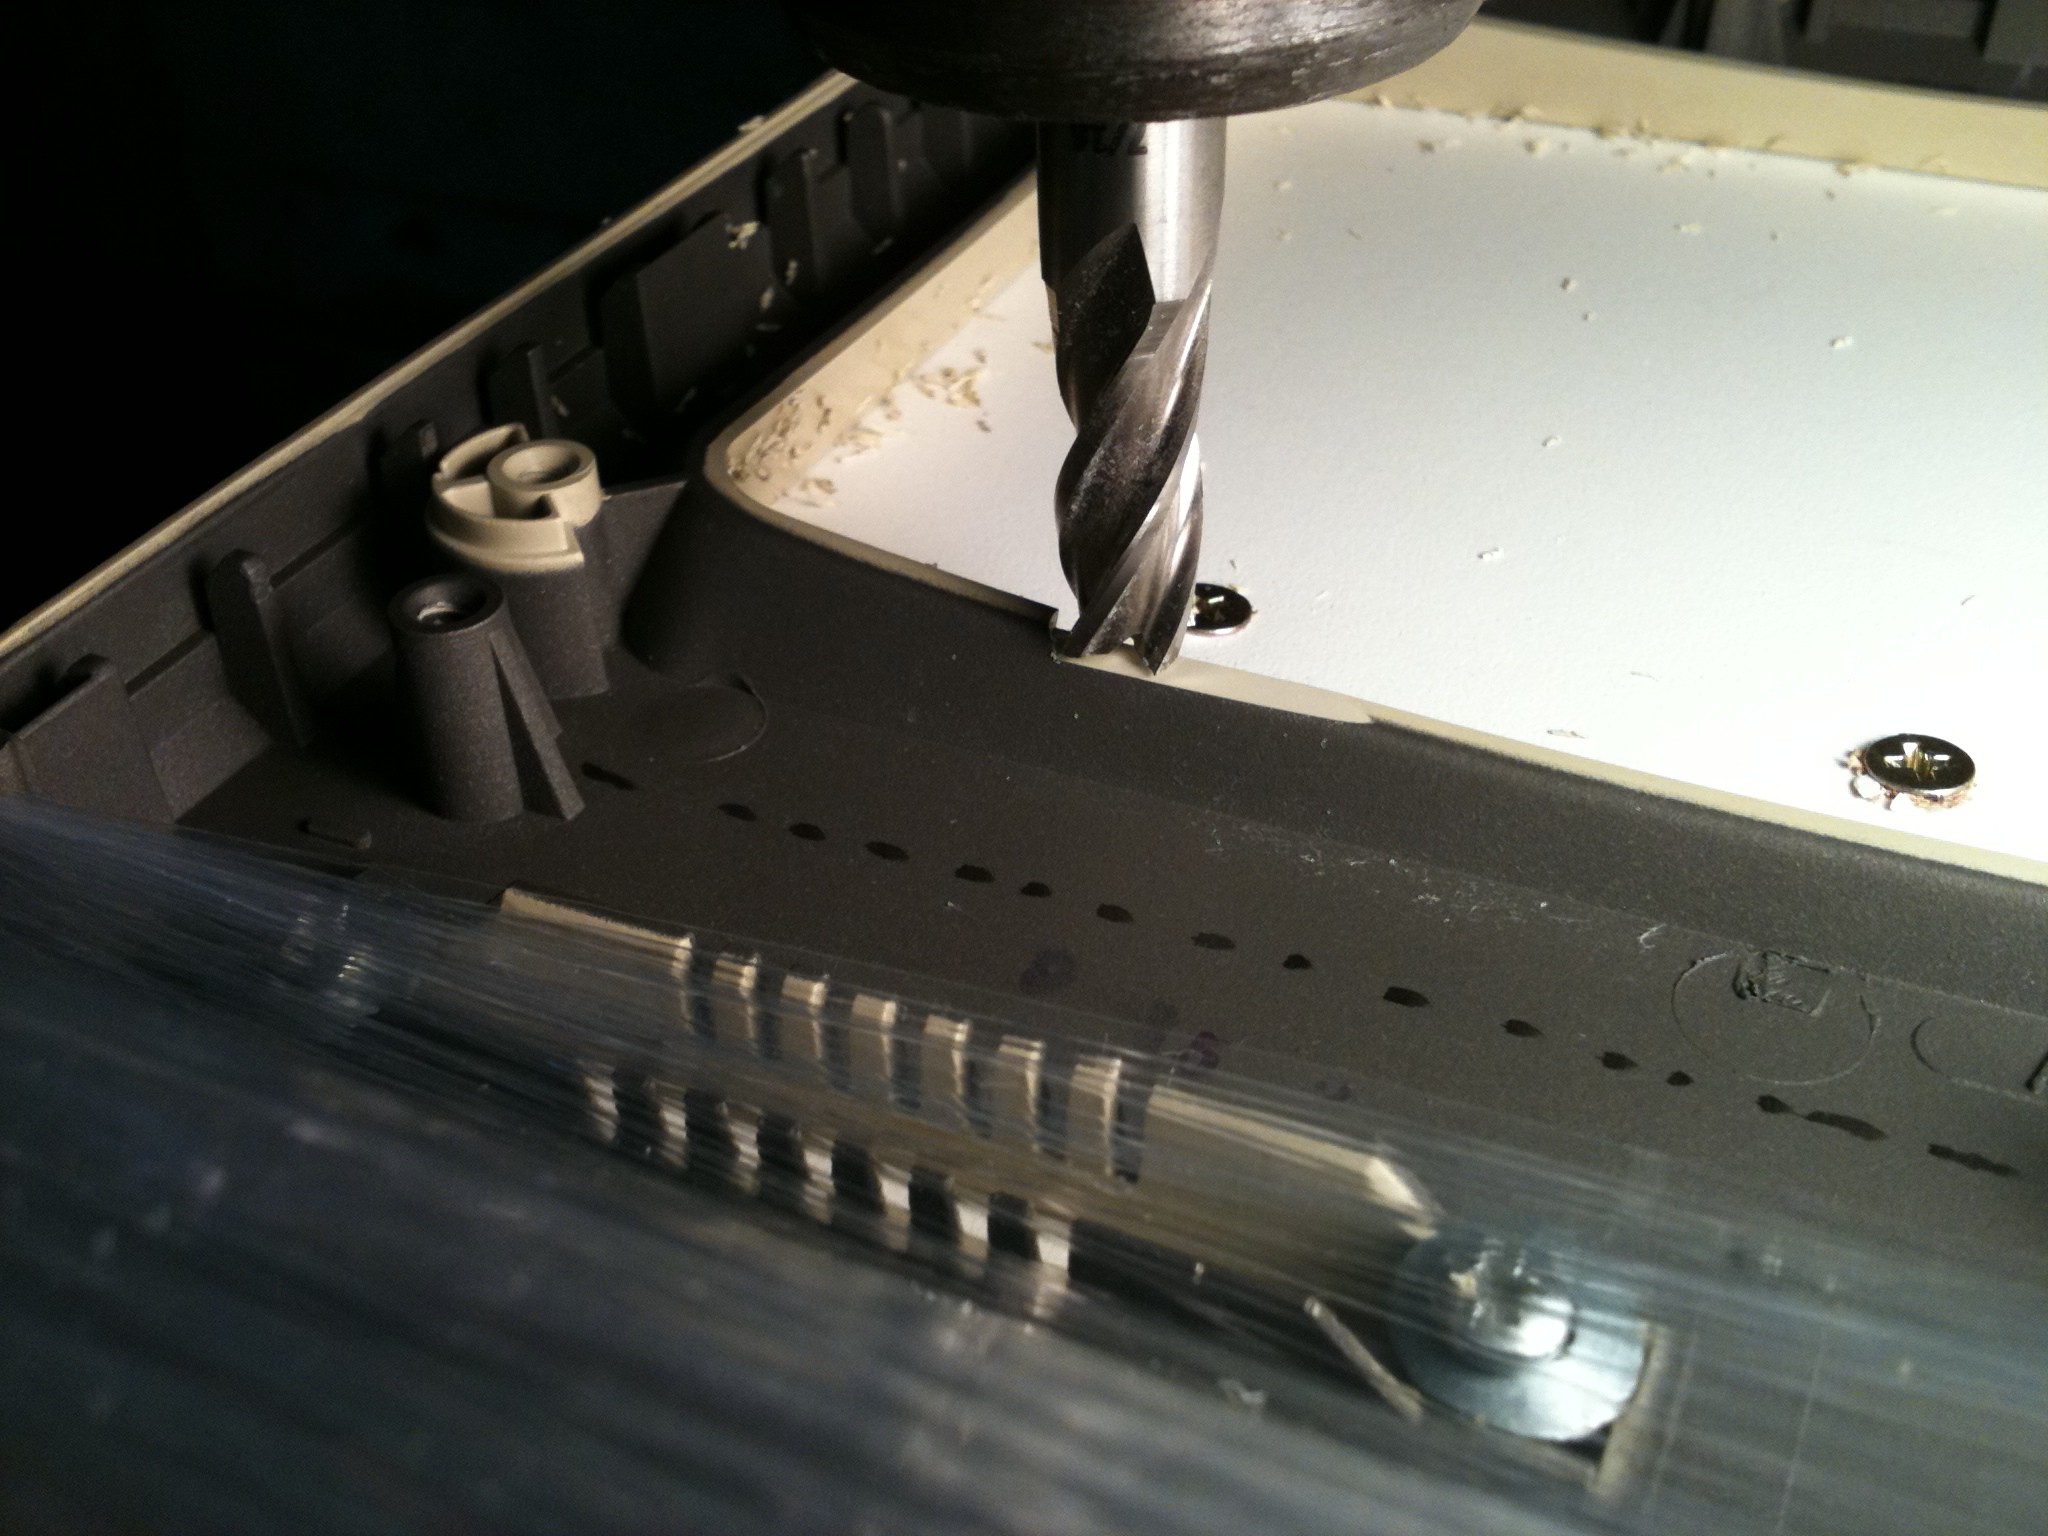
As with most of my projects I think I got lucky, but I also believe in allowing your brain to do its job (like allowing your brain to calculate the prefect trajectory to toss a piece of trash into the bin). A good rule of thumb is to cut a little and then test fit, then cut a little more, as we all know you can't add material as easy as you cut it away. Since all tablets are flat, we really just need to start by taking the CRT curve out of the Mac opening. So I started from the low center and worked my way out to the sides.
![]()
-
4Ride the Plane
![]()
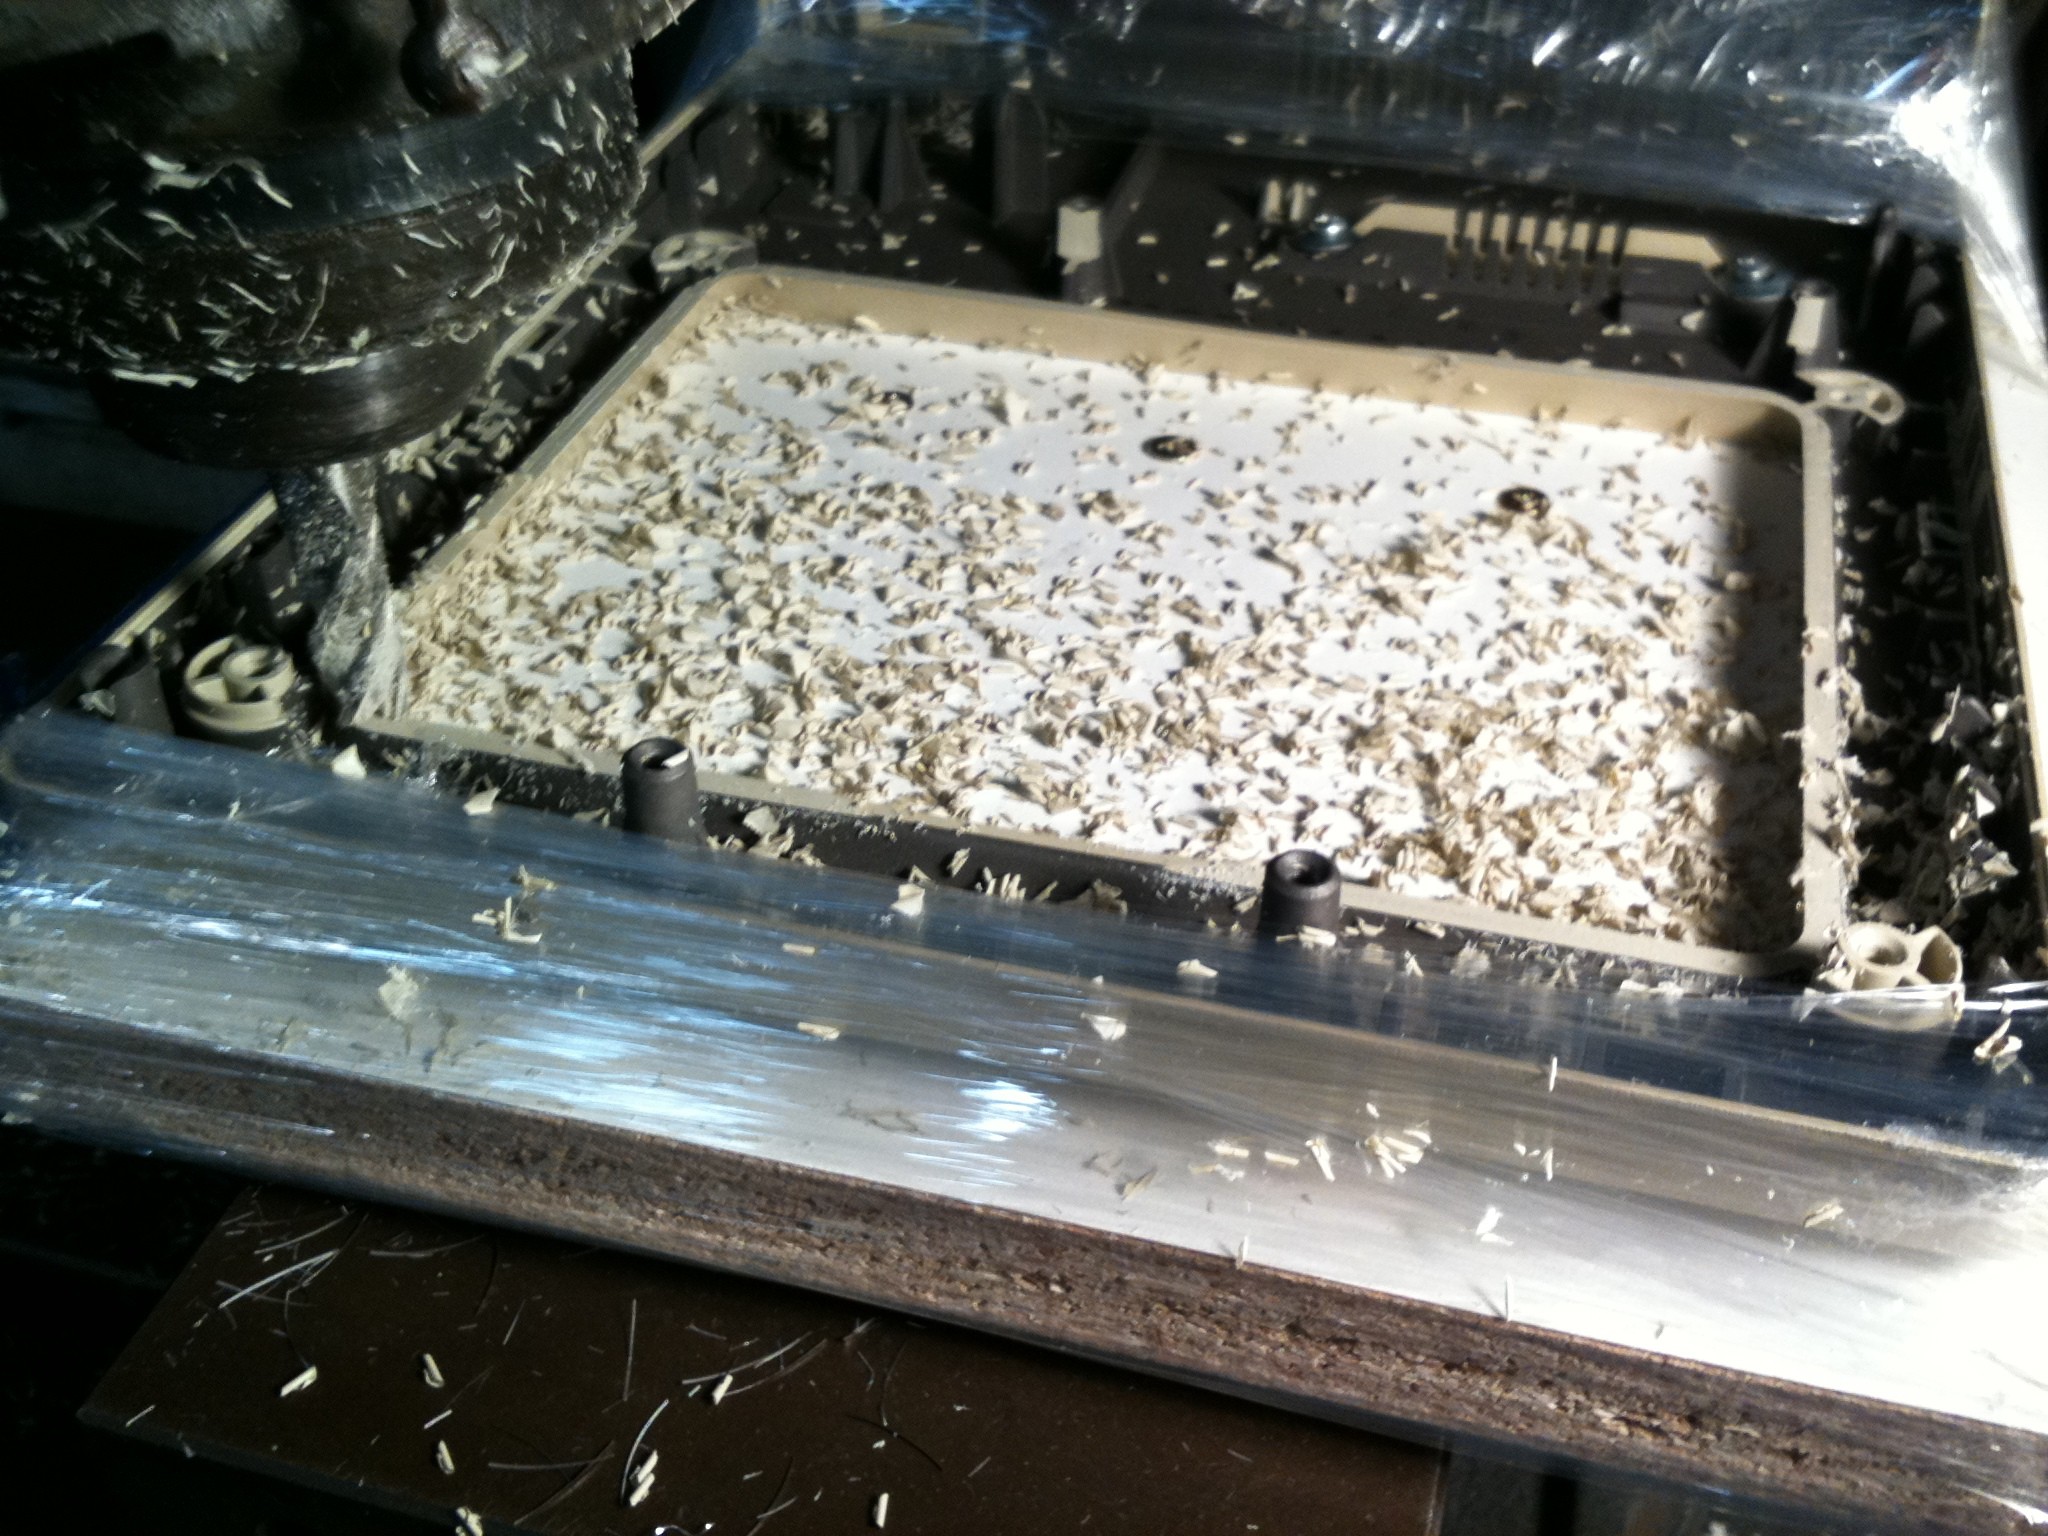
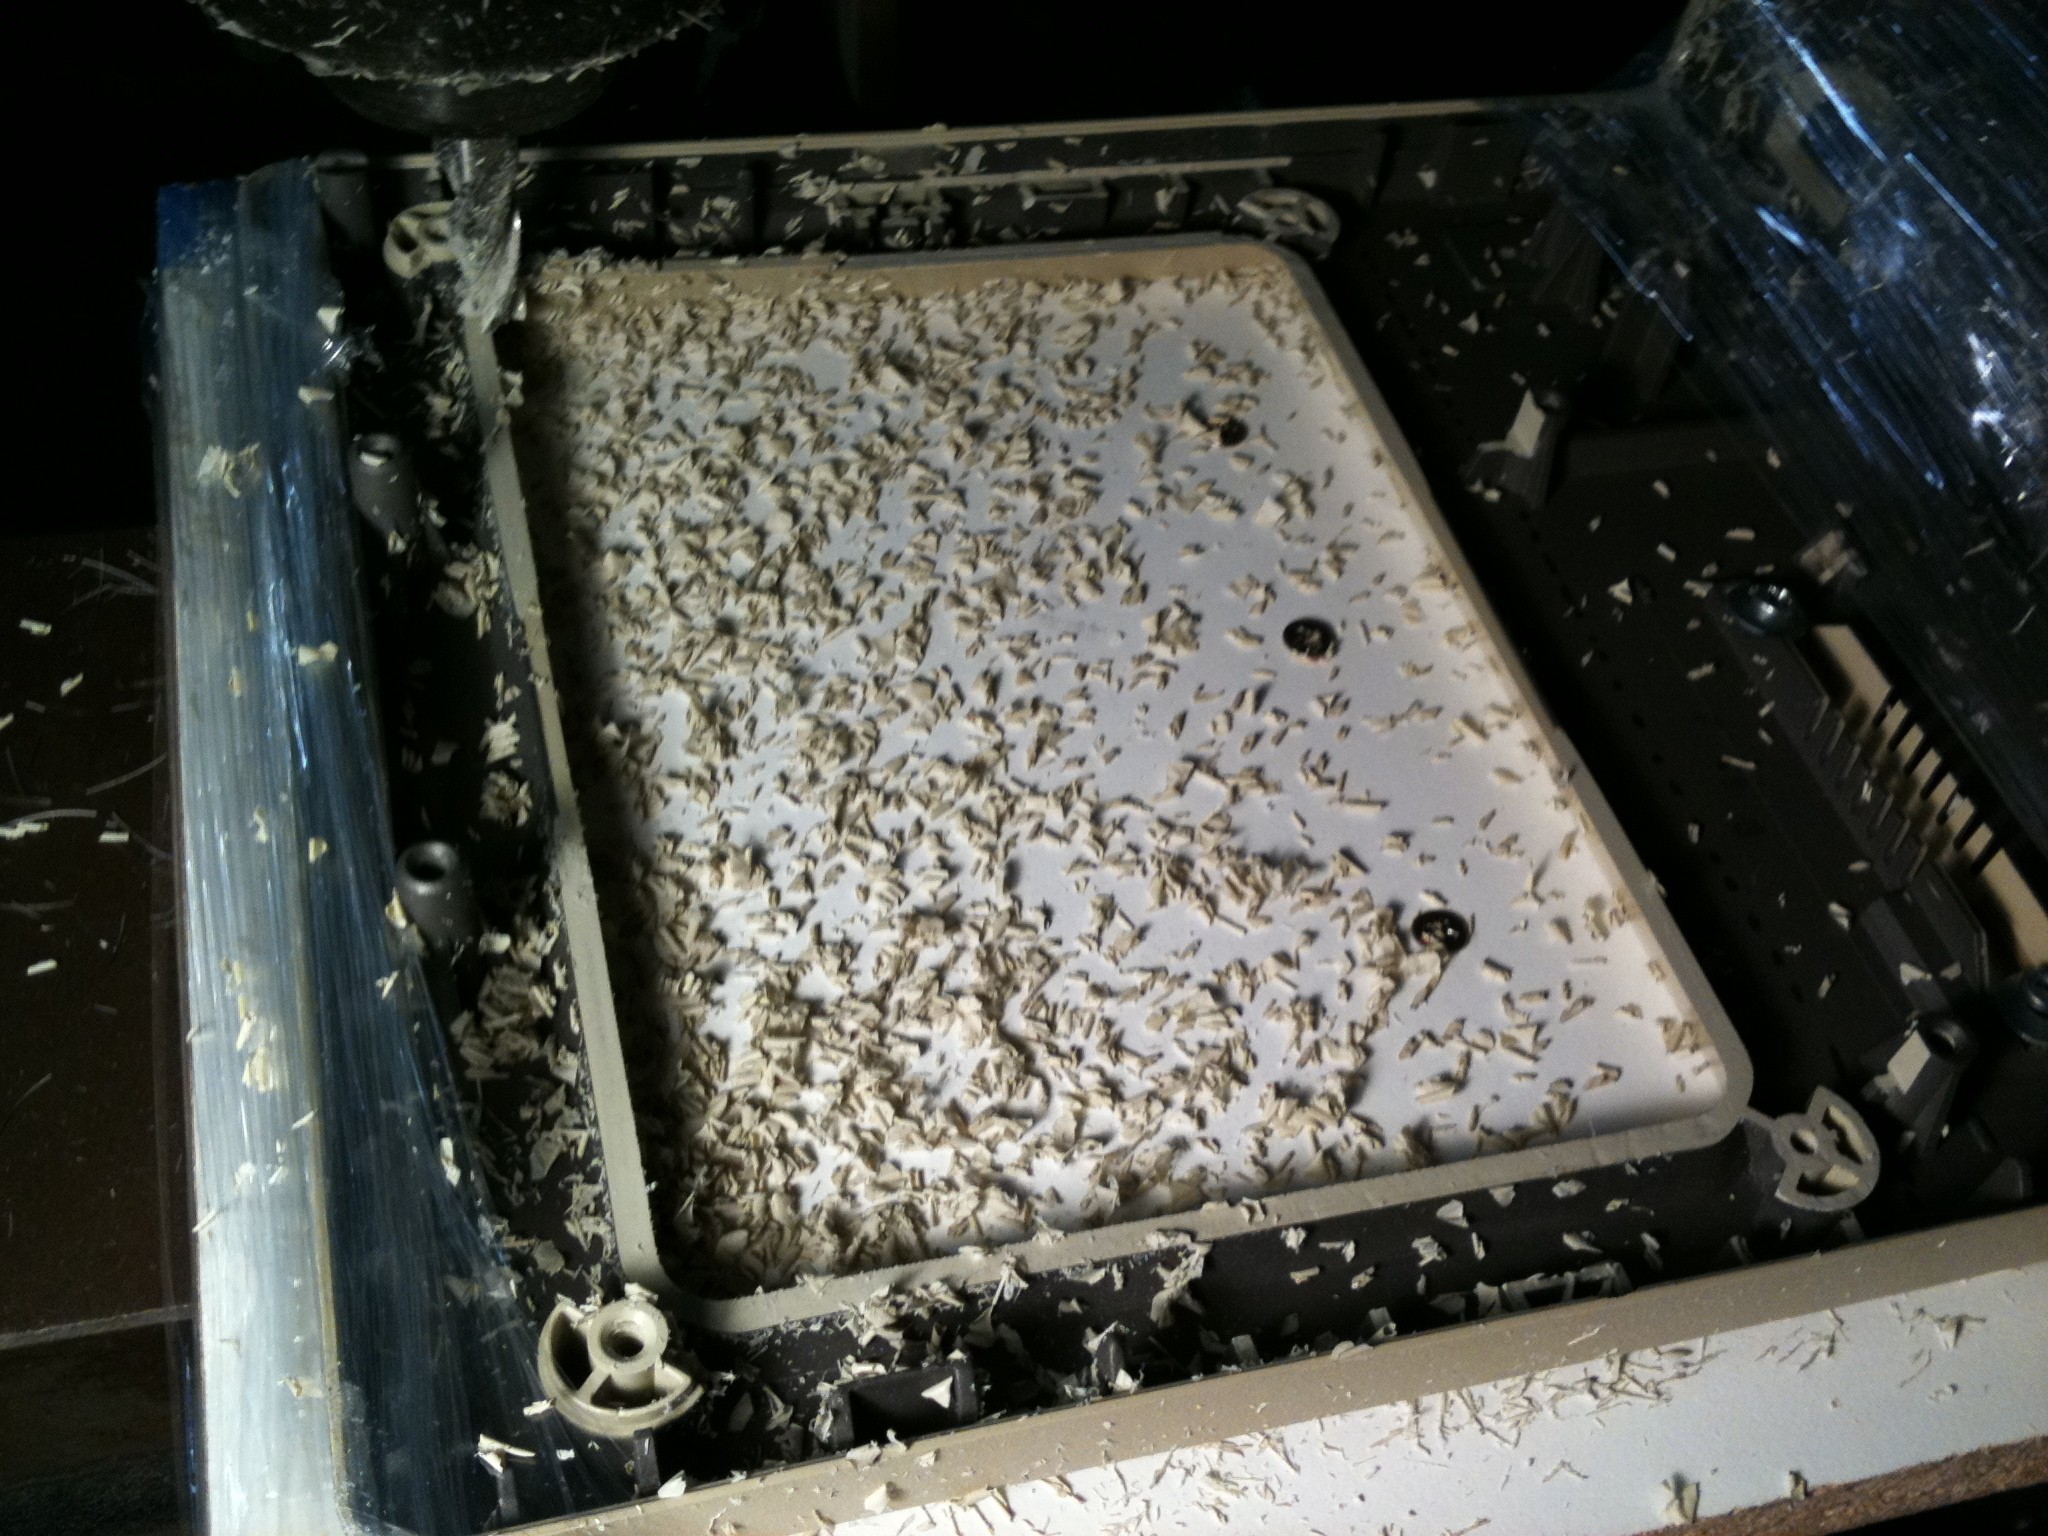
Once you have determined your depth, the beauty of a Bridgeport Mill is that you can ride that plane and slowly remove plastic at a uniform depth. Just be mindful of your movements and take it slow, don't be afraid to stop and check things or to clean the tool or work surface. I first tried to remove as little material as possible, just in case I wanted to "go back to Mac", but in reality I had to remove/flatten all 4 of the CRT screw bosses.
![]()
-
5Save the Lower Bosses
![]()
I plan on having the tablet slide in and out from the side of the Mac, I will be using the two lower screw bosses in the middle of the screen opening to support an aluminum guide channel/rail to guide the tablet in and out. So some material had to be removed to form a flat surface on both screw bosses, but leave enough "meat" so they are still structural to support the tablet.
***Notice the dotted Sharpie line showing where the channel/rail will run
-
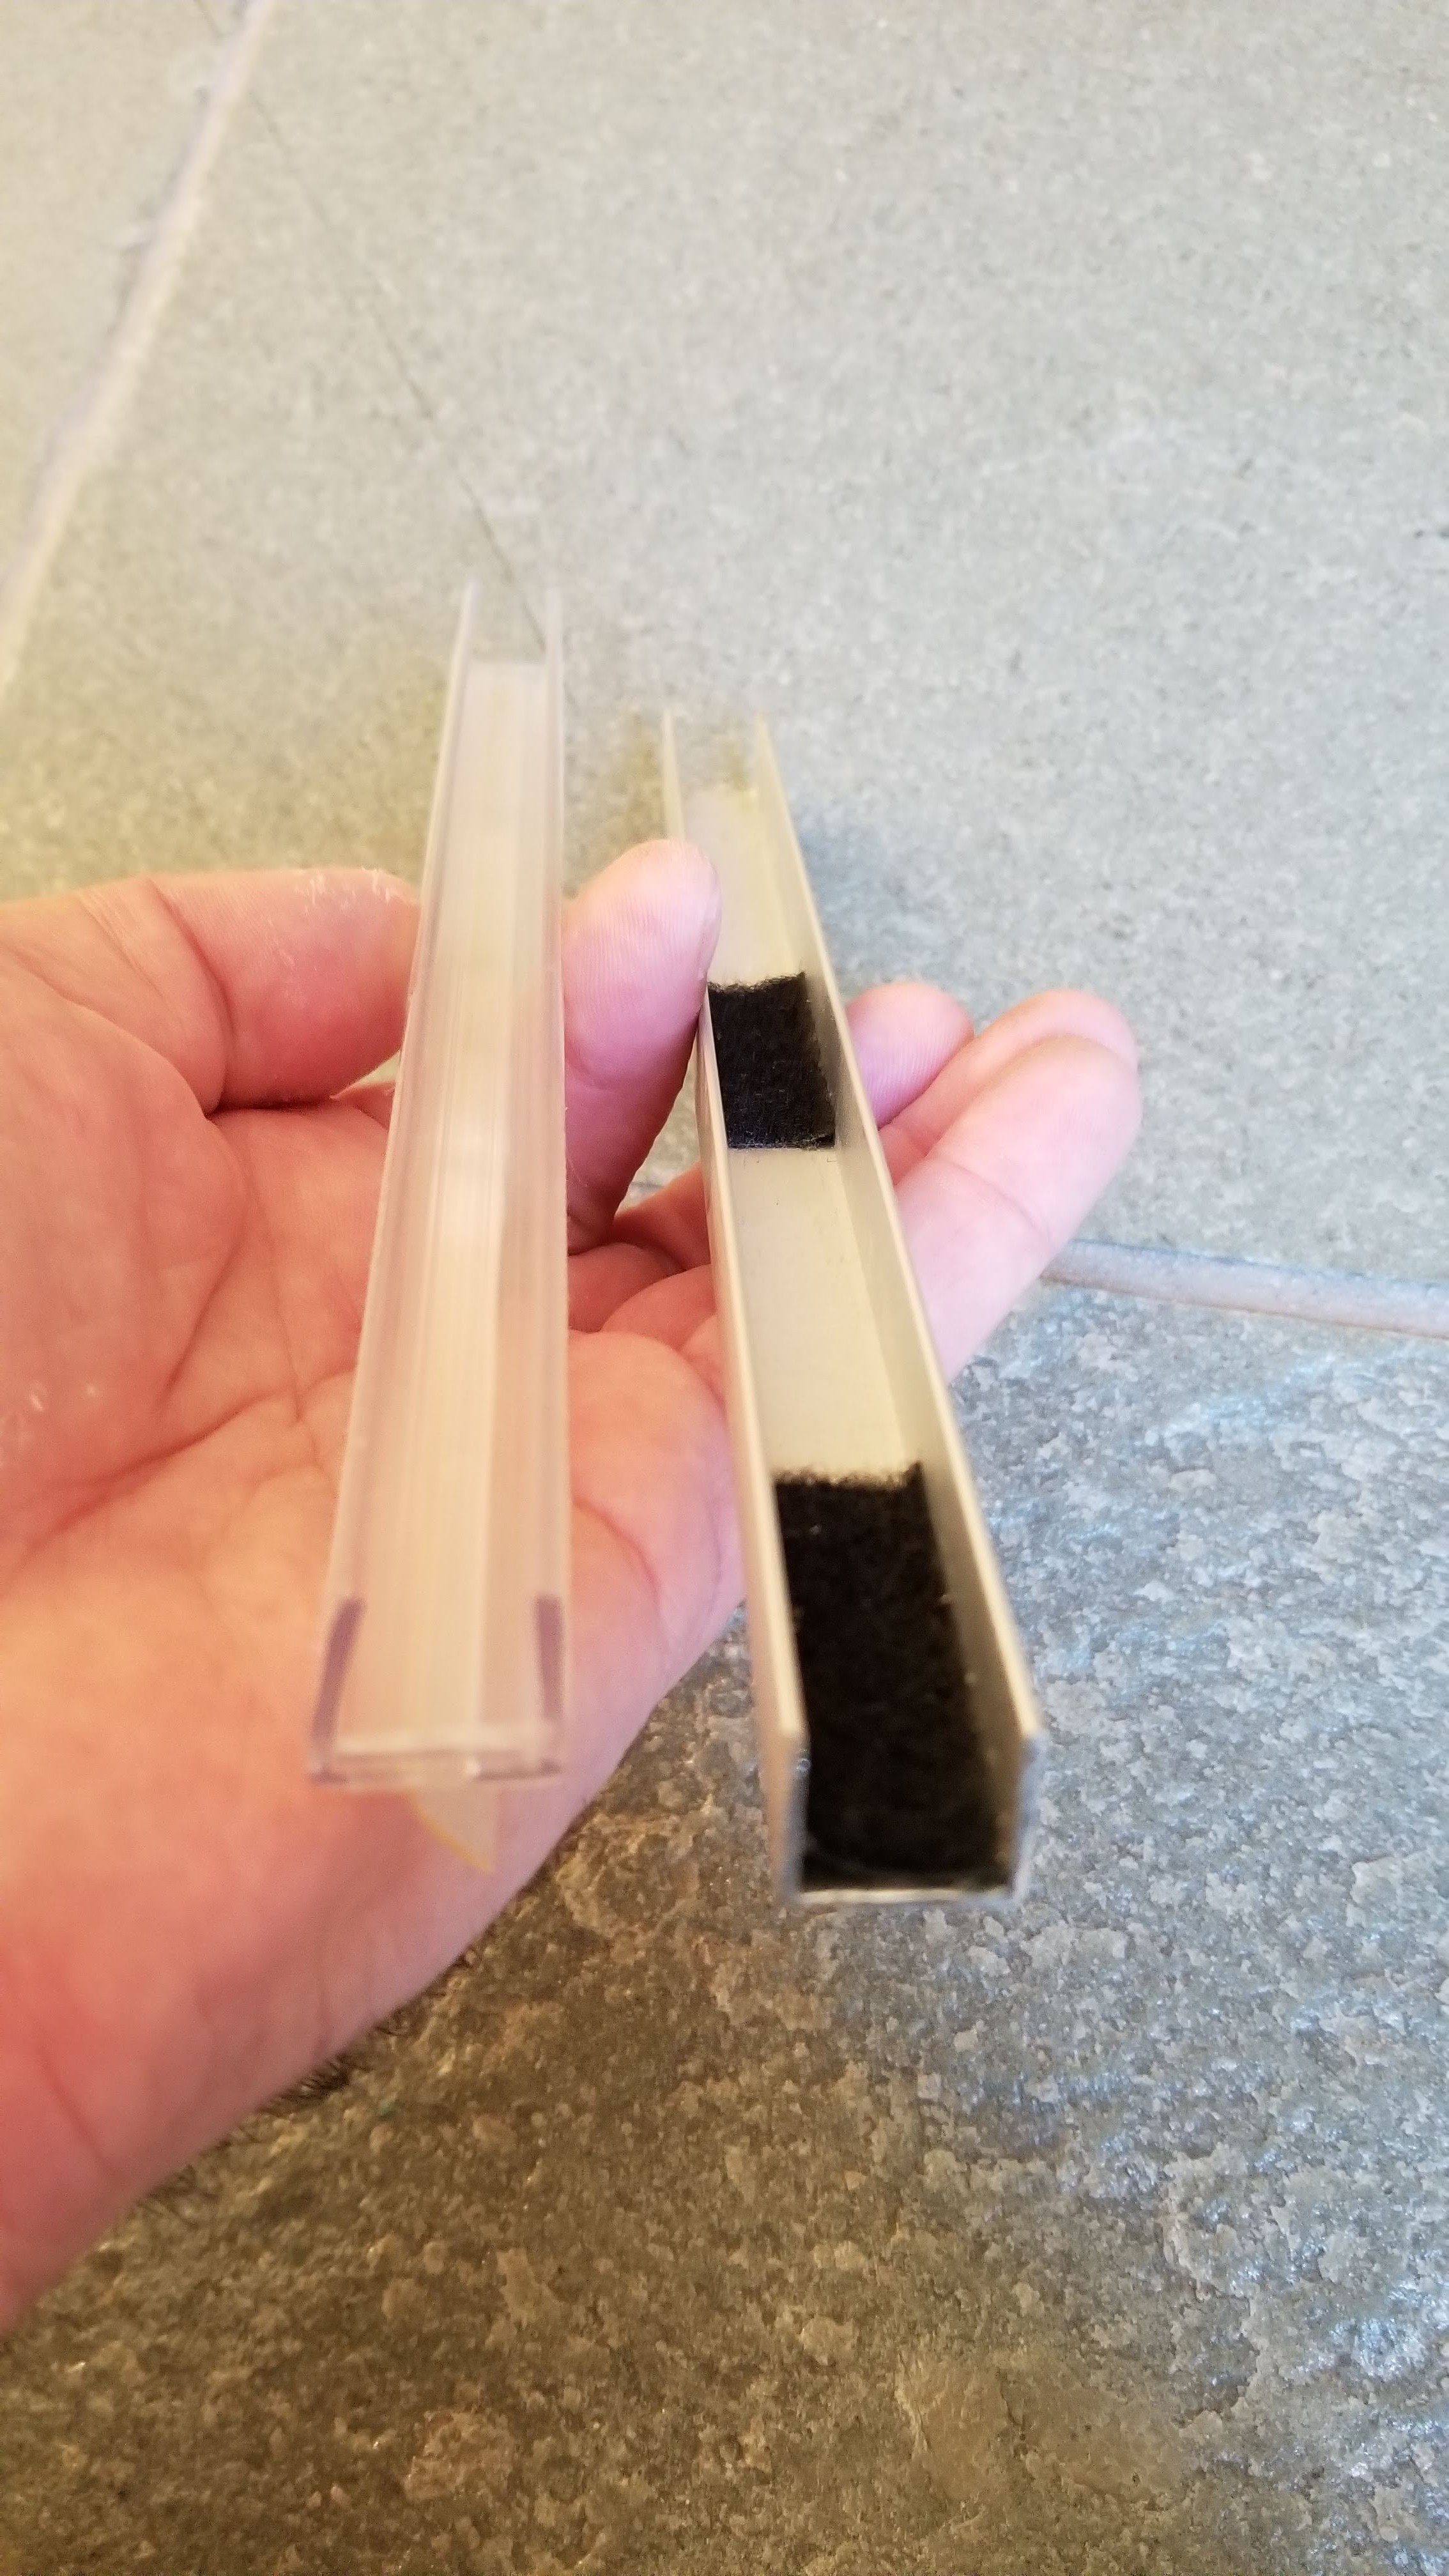
6Find a Channel You Like
![]()
Find a guiding channel that fits your tablet and won't scratch it as the tablet slide in/out from the side of the Mac. The plastic one on the left worked for a thinner iPad (an old iPad 2 in my case), but I wanted wireless charging so I used a thicker HP Touchpad with built-in inductive charging. Therefore I used the wider aluminum channel for my old HP Touchpad and lined the bottom with the soft loop side of adhesive velcro.
![]()
-
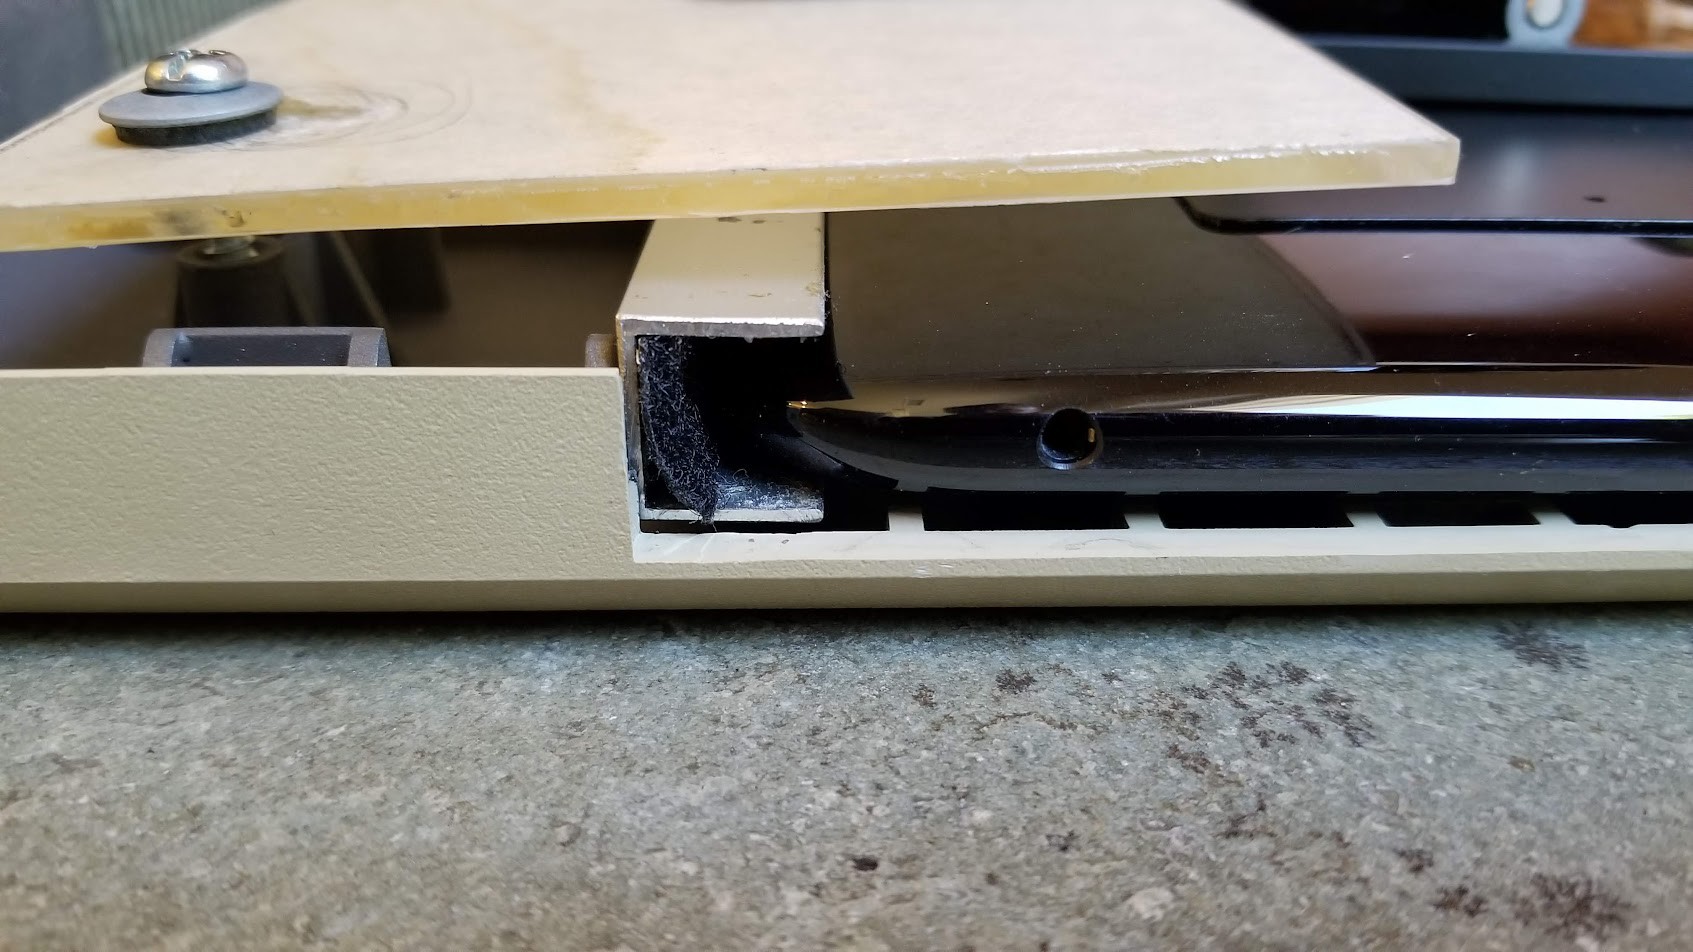
7No Top Channel Required
As you can see an upper guiding channel isn't needed since the Mac has a flat area at the top to guide the tablet and once the front/back of the case are assembled it tends to hold the tablet against the screen opening. I used a "hack" sawed piece of acrylic to hold my HP Touchstone wireless charging dock and also notched out the guide channel since it has a bottom lip that supports the tablet and sits in the channel a little. Notice how you can use the factory screw bosses to attach supports, excuse the appearance until I can clean it up.
Future improvements include making/bending a custom curve on the acrylic to fit better and flatter. Also on the list is to create a slot to allow a diskette to be faux-inserted in the front slot, my acrylic sheet currently blocks it.
![]()
-
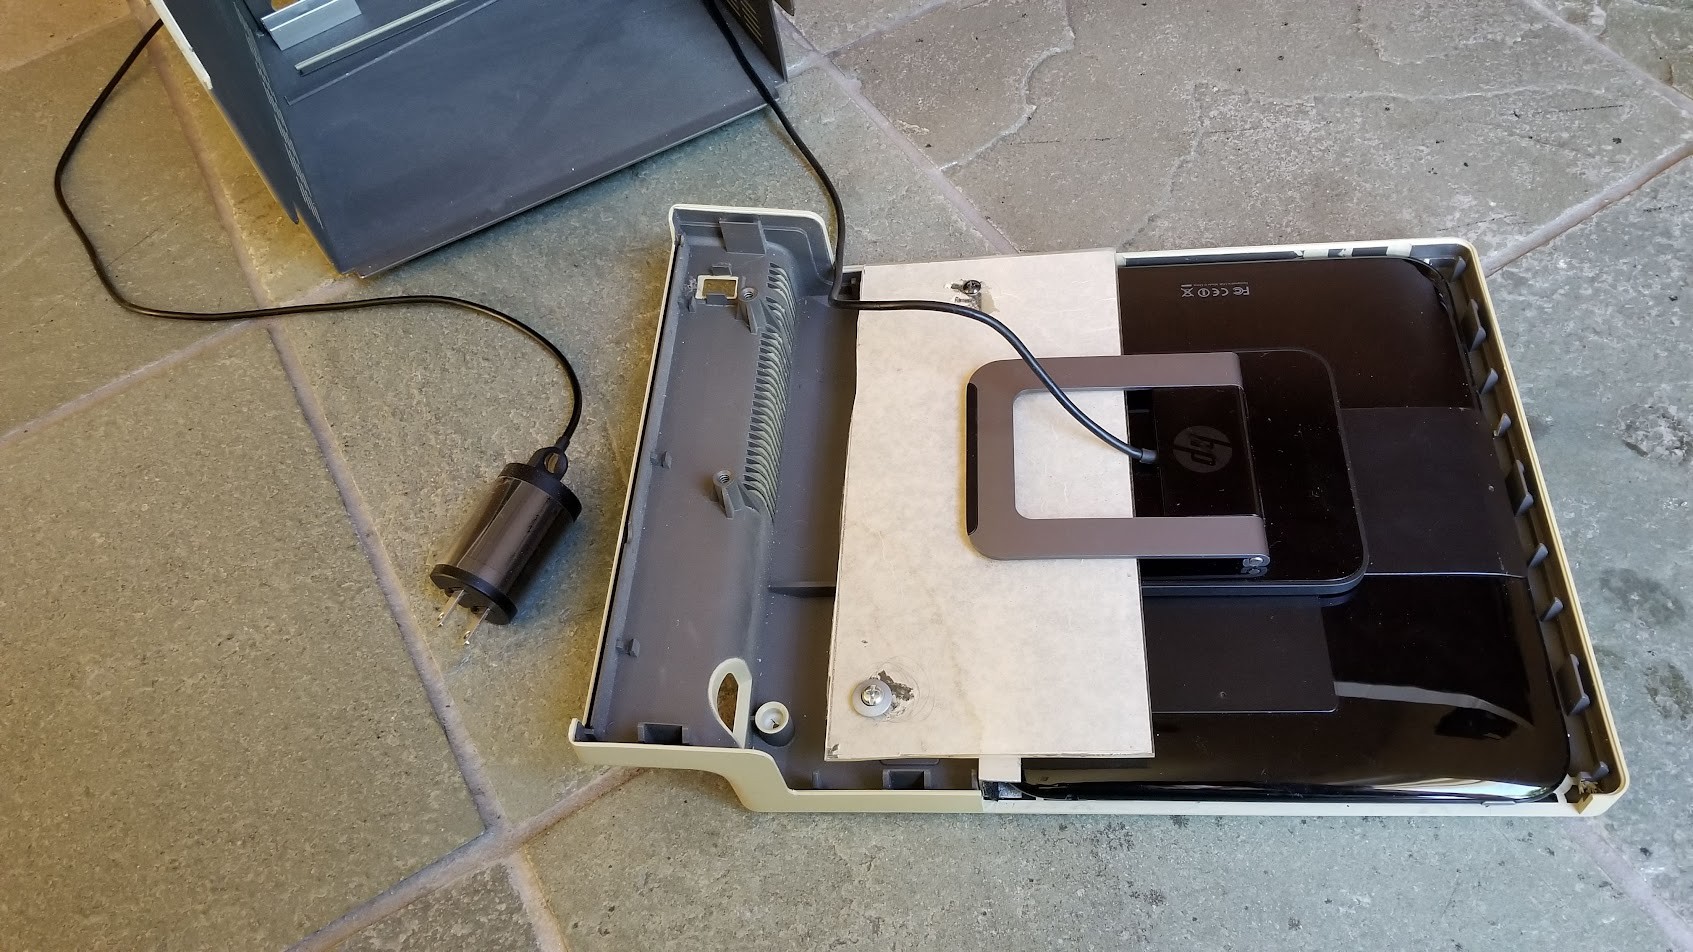
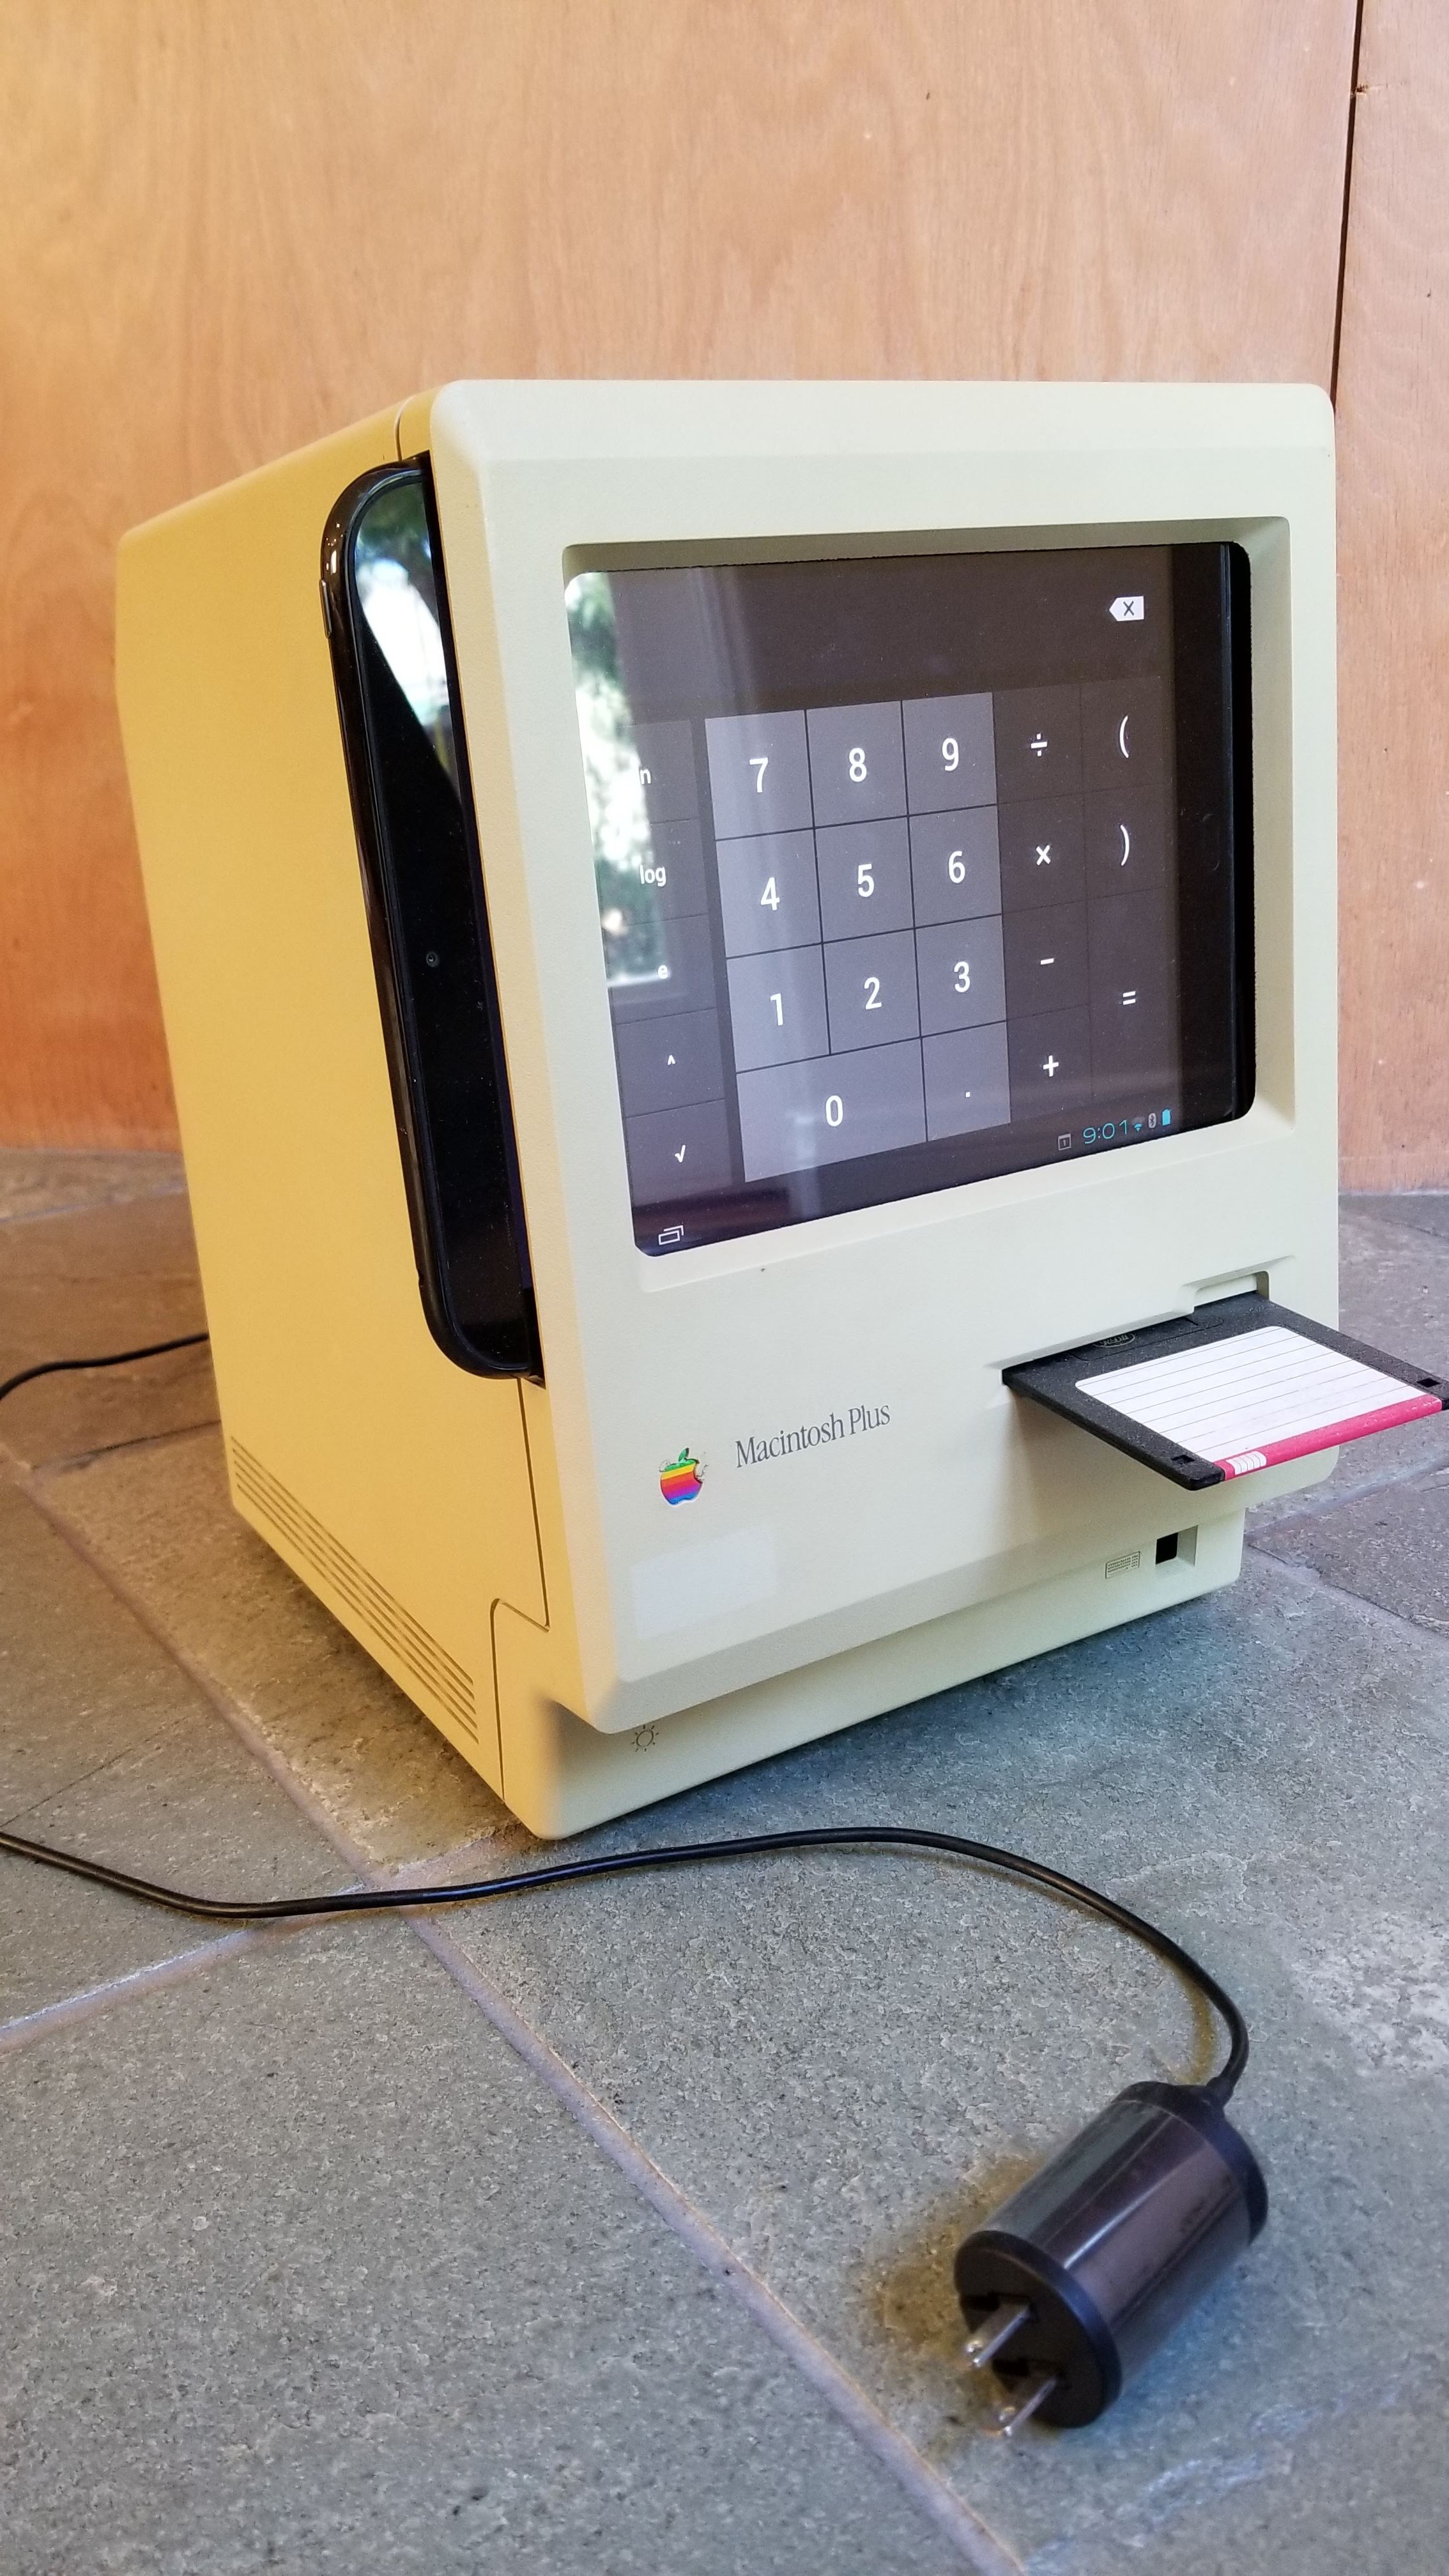
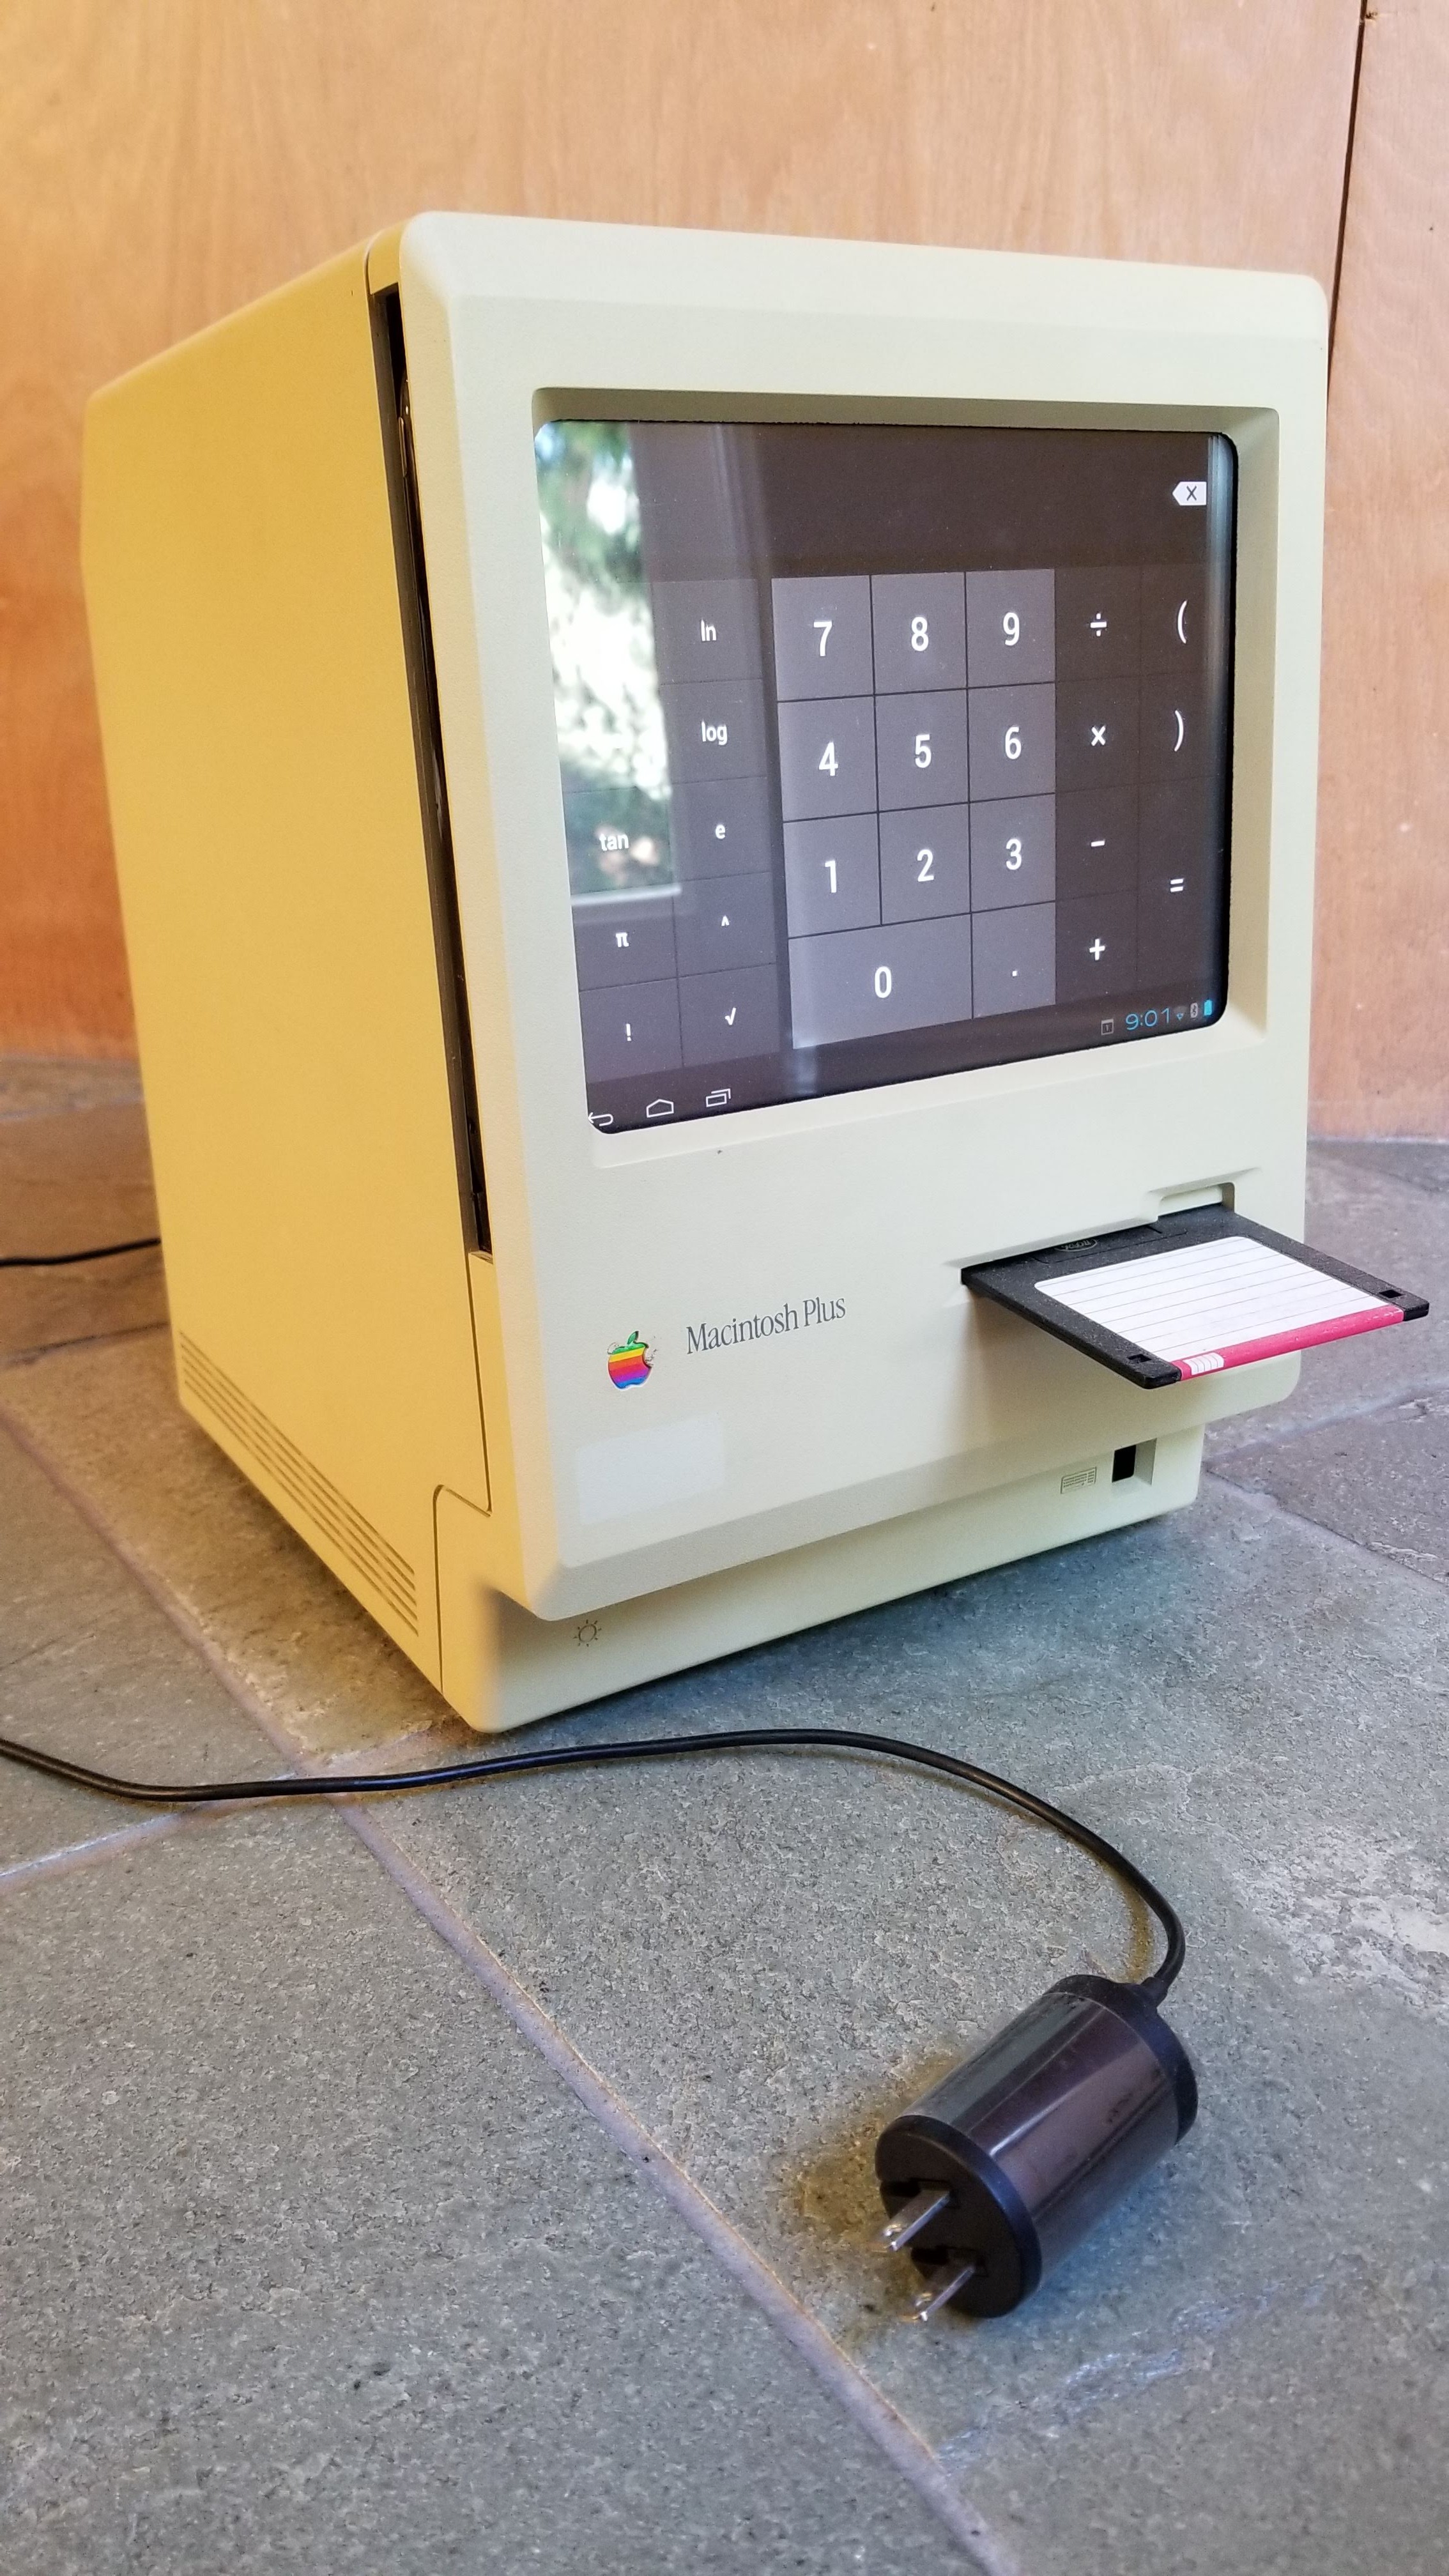
8Tablet Slides in Like Flynn
You don't have to create an opening for it to slide out, most 10" tablets will fit internally. But the sliding does allow it to swapped out for an iPad or allow you to hide "stuff" inside of the Mac case. I just push on the screen to start it and them pull the tablet out.
![]()
![]()
-
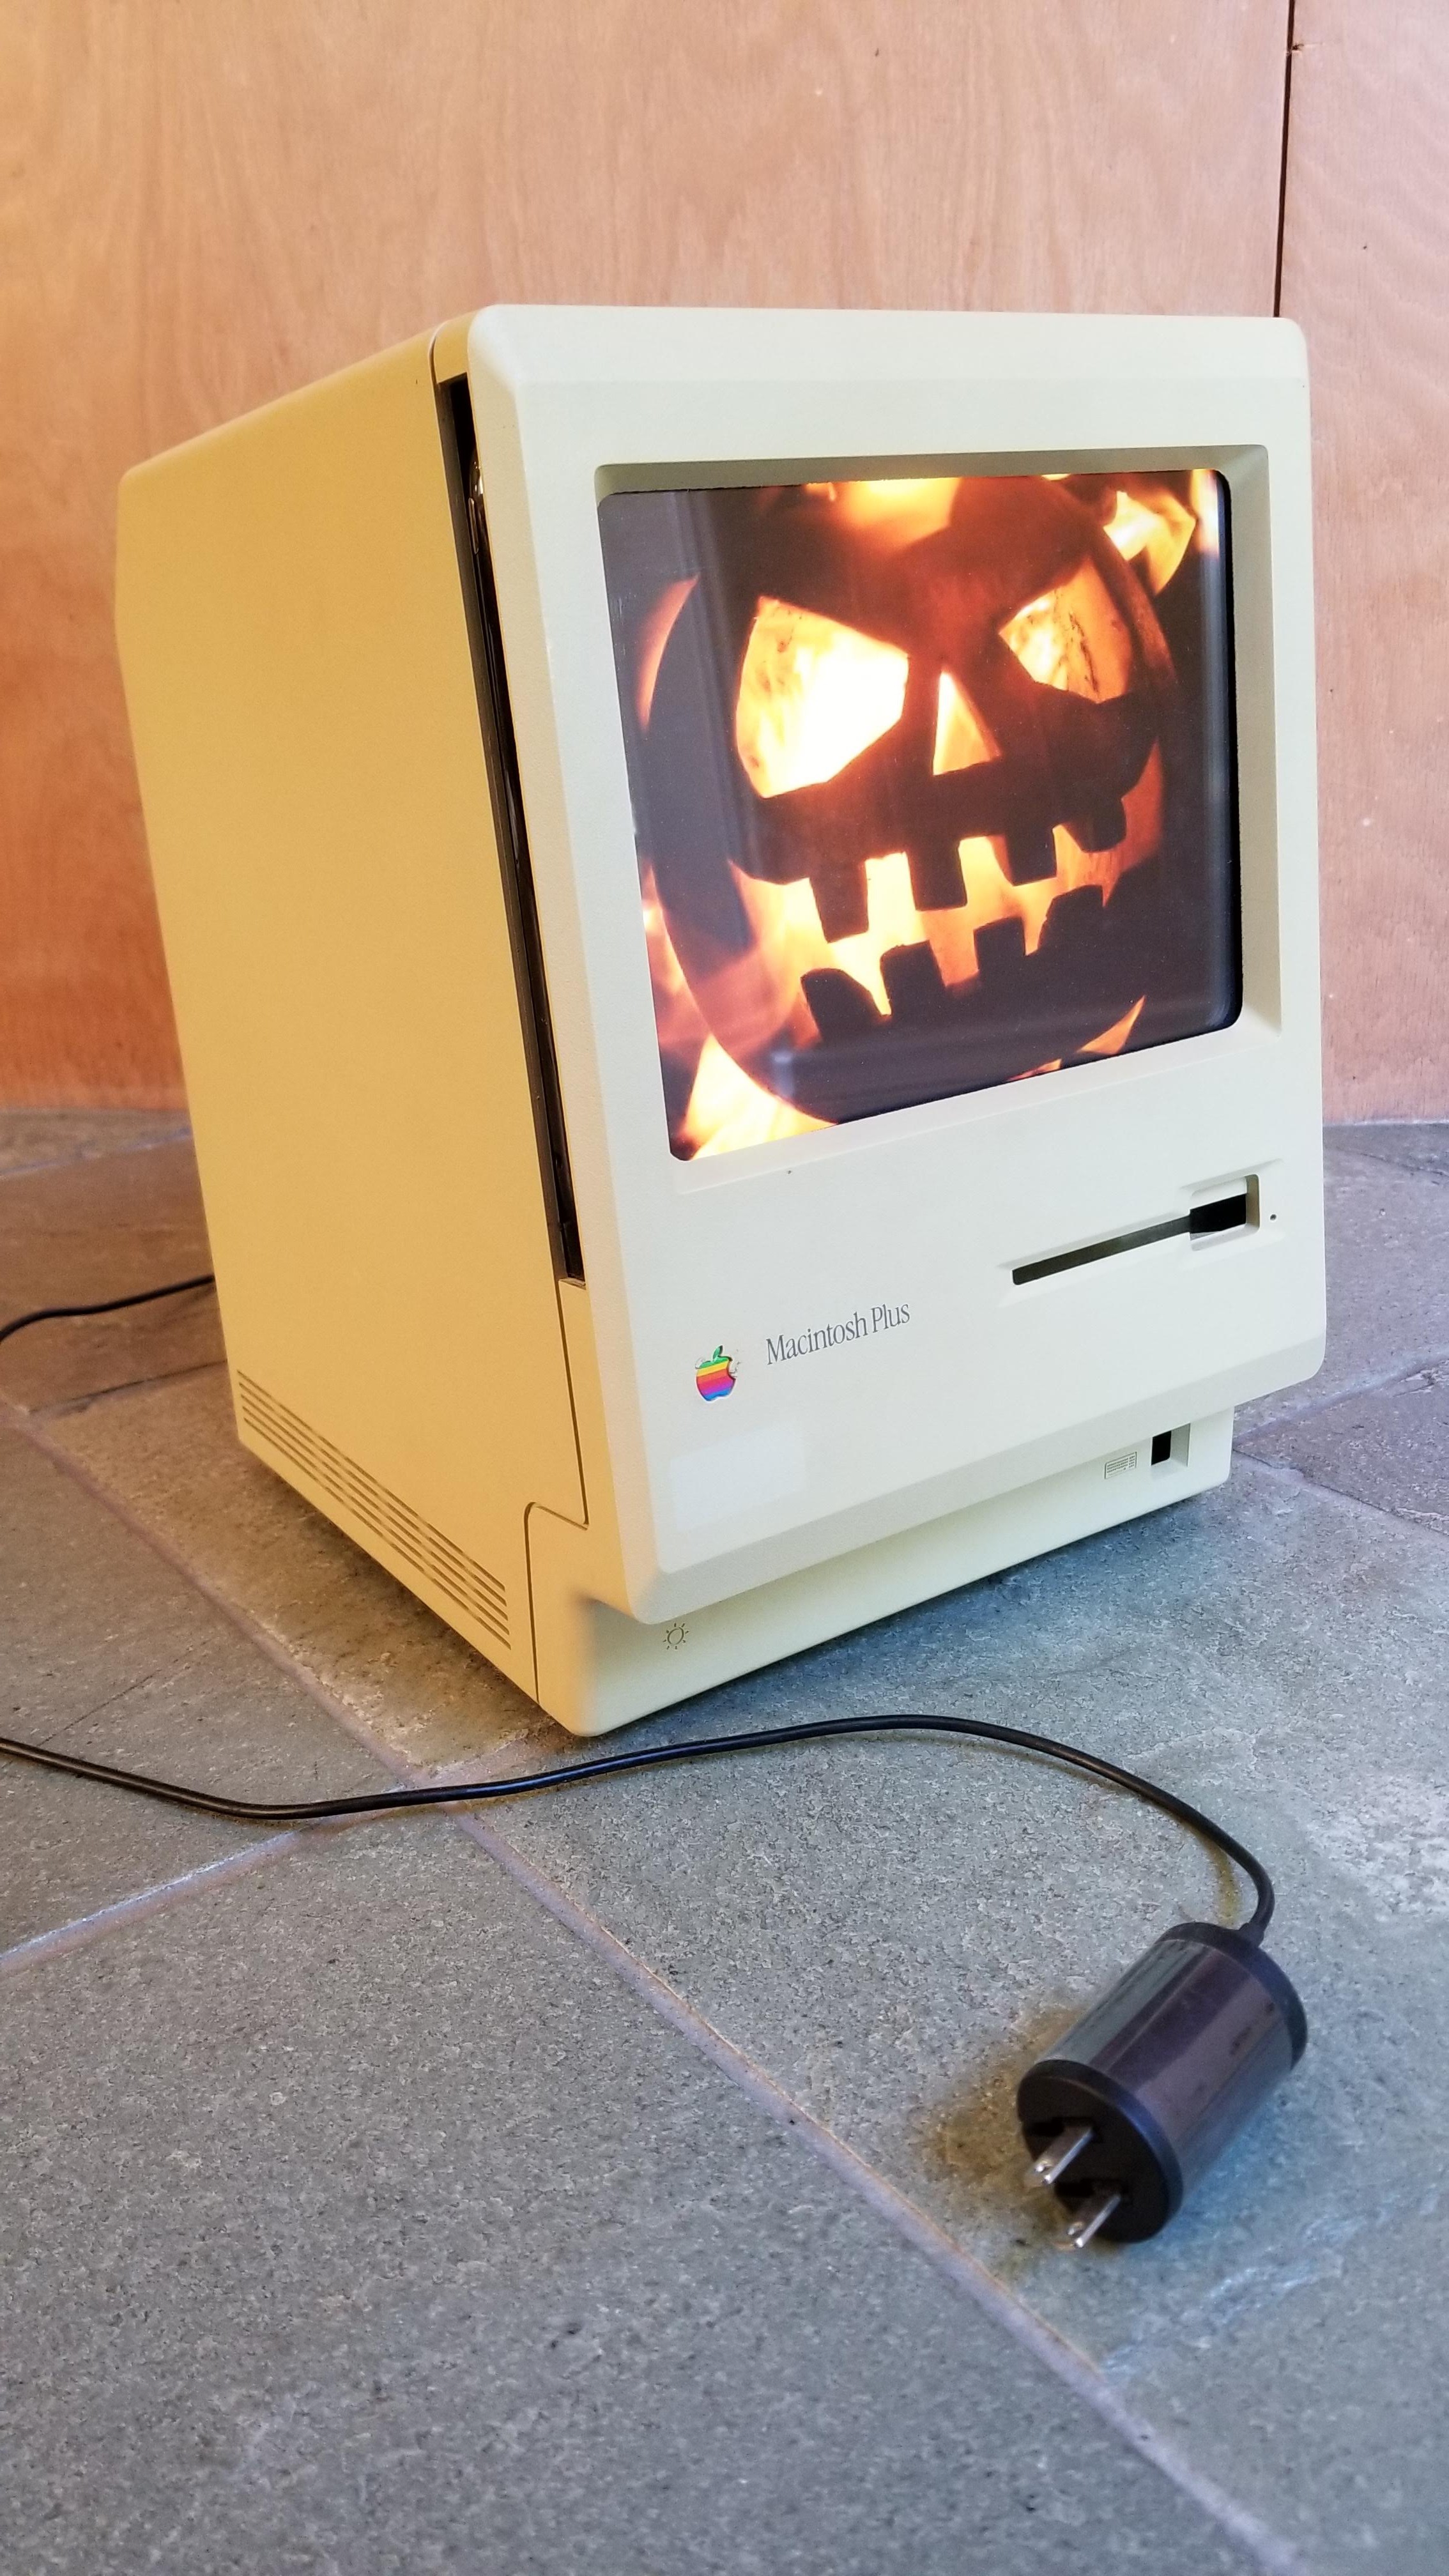
9Create Your Scary Slideshow or Video
All that is left is to have a scary slideshow of Jack-O'-Lantern faces or something scarier. I am trying to keep mine kid-friendly, but you could make the faces talk, you could have a video with some horror scenes, blood dripping with scary soundtrack, or even Facetime your own scary face.
![]()
Mac-O'-Lantern for Halloween
I converted an old Macintosh to allow a tablet to charge wirelessly inside. Making a Mac-O'-Lantern for Halloween made perfect sense.

Discussions
Become a Hackaday.io Member
Create an account to leave a comment. Already have an account? Log In.