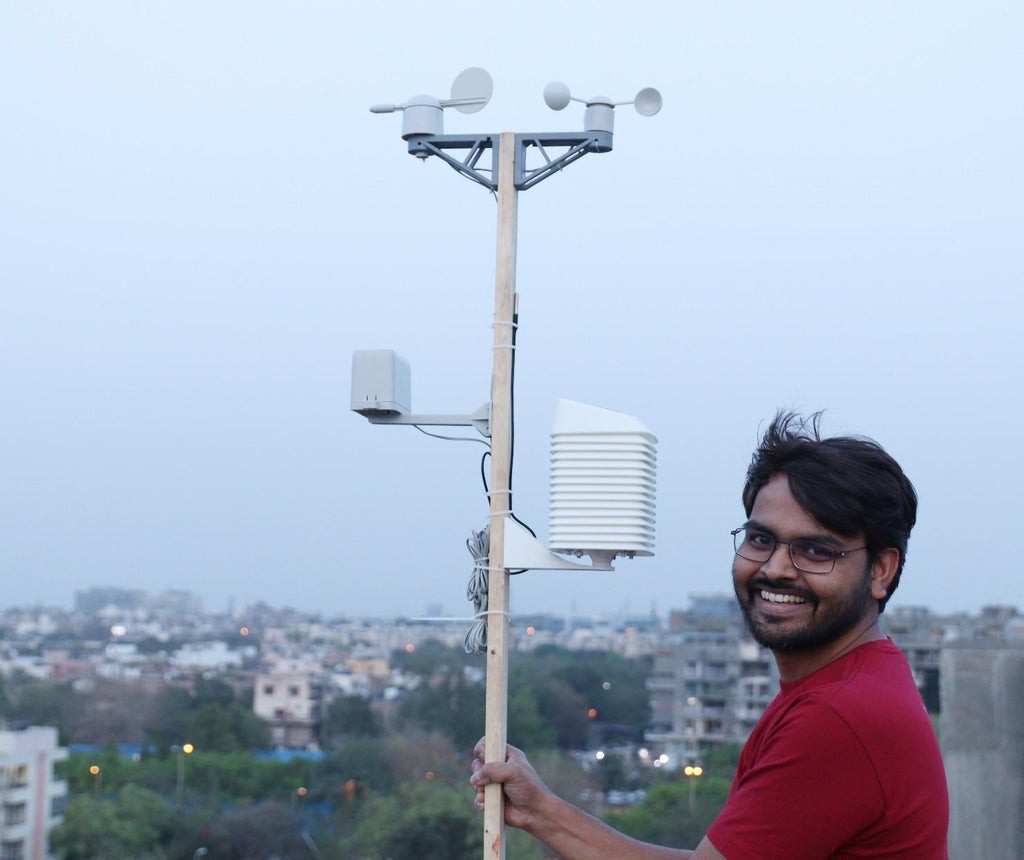
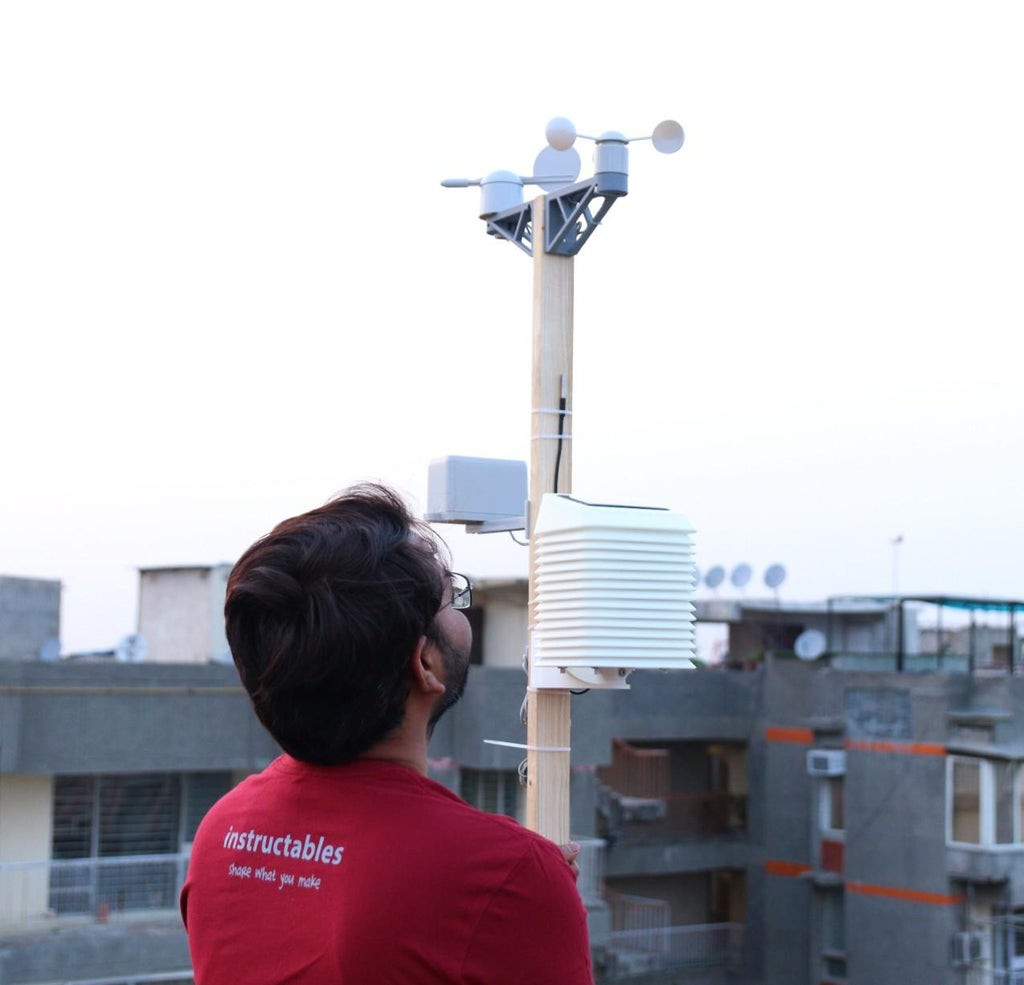
Once you have confirmed that your weather station PCB along with all the sensors, working perfectly, you need to design and make a mount for it. I have used a wooden pole ( 4cm x 8cm x 300 cm ) to mount the sensors and the 3D-printed Stevenson Screen.
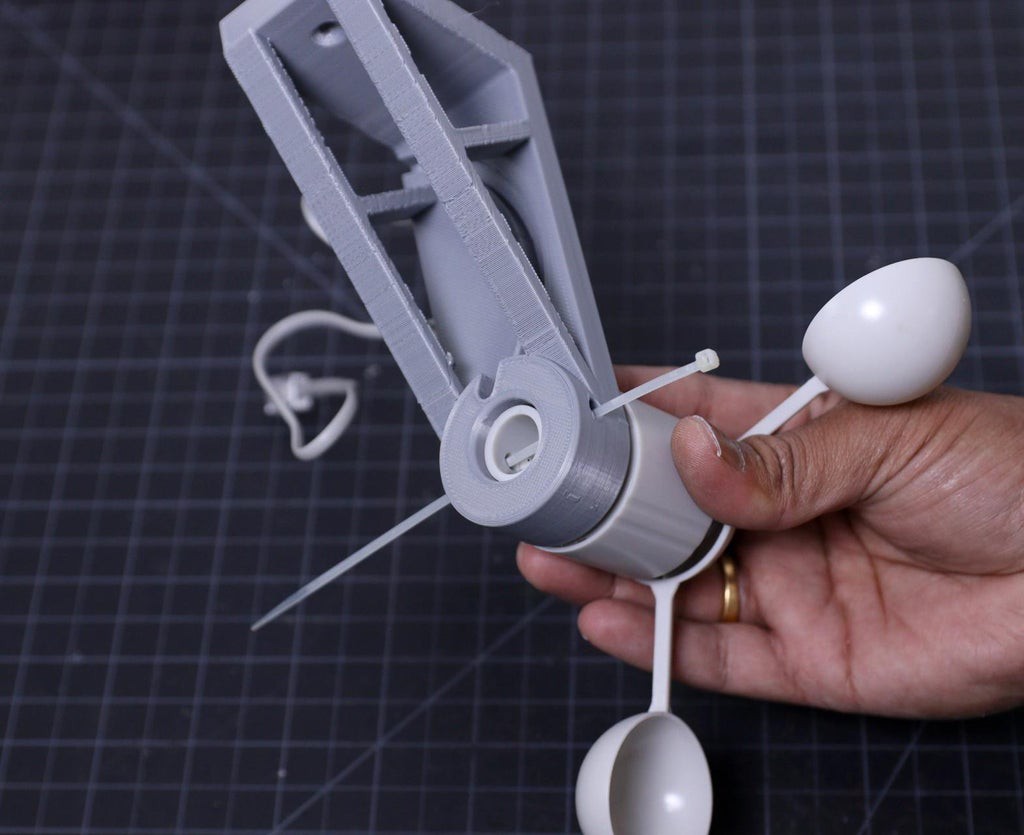
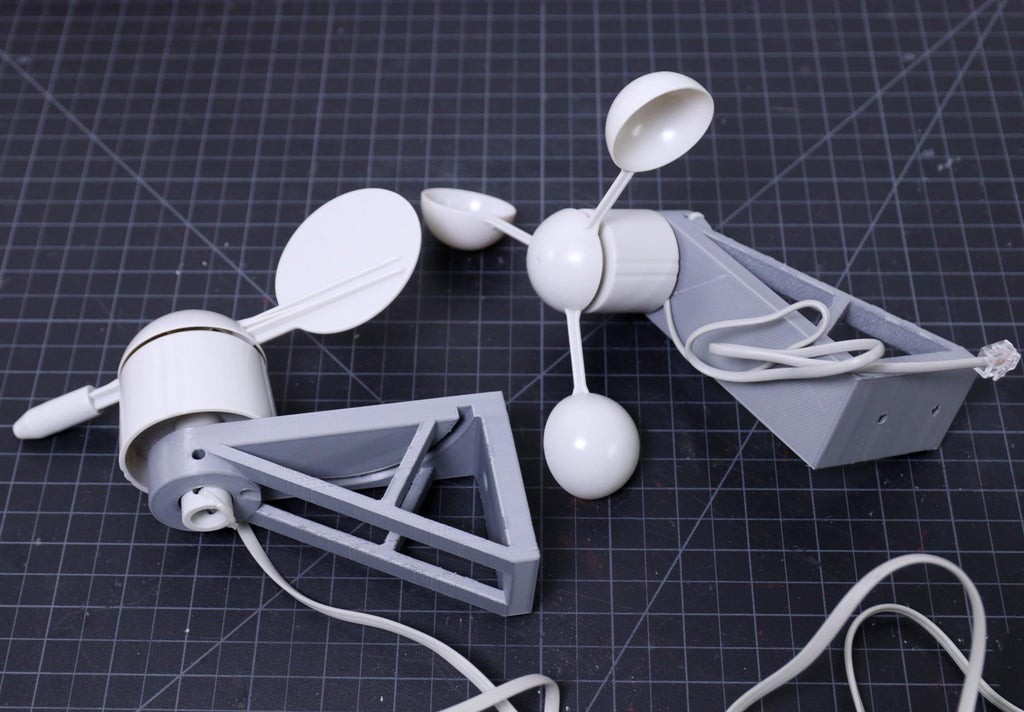
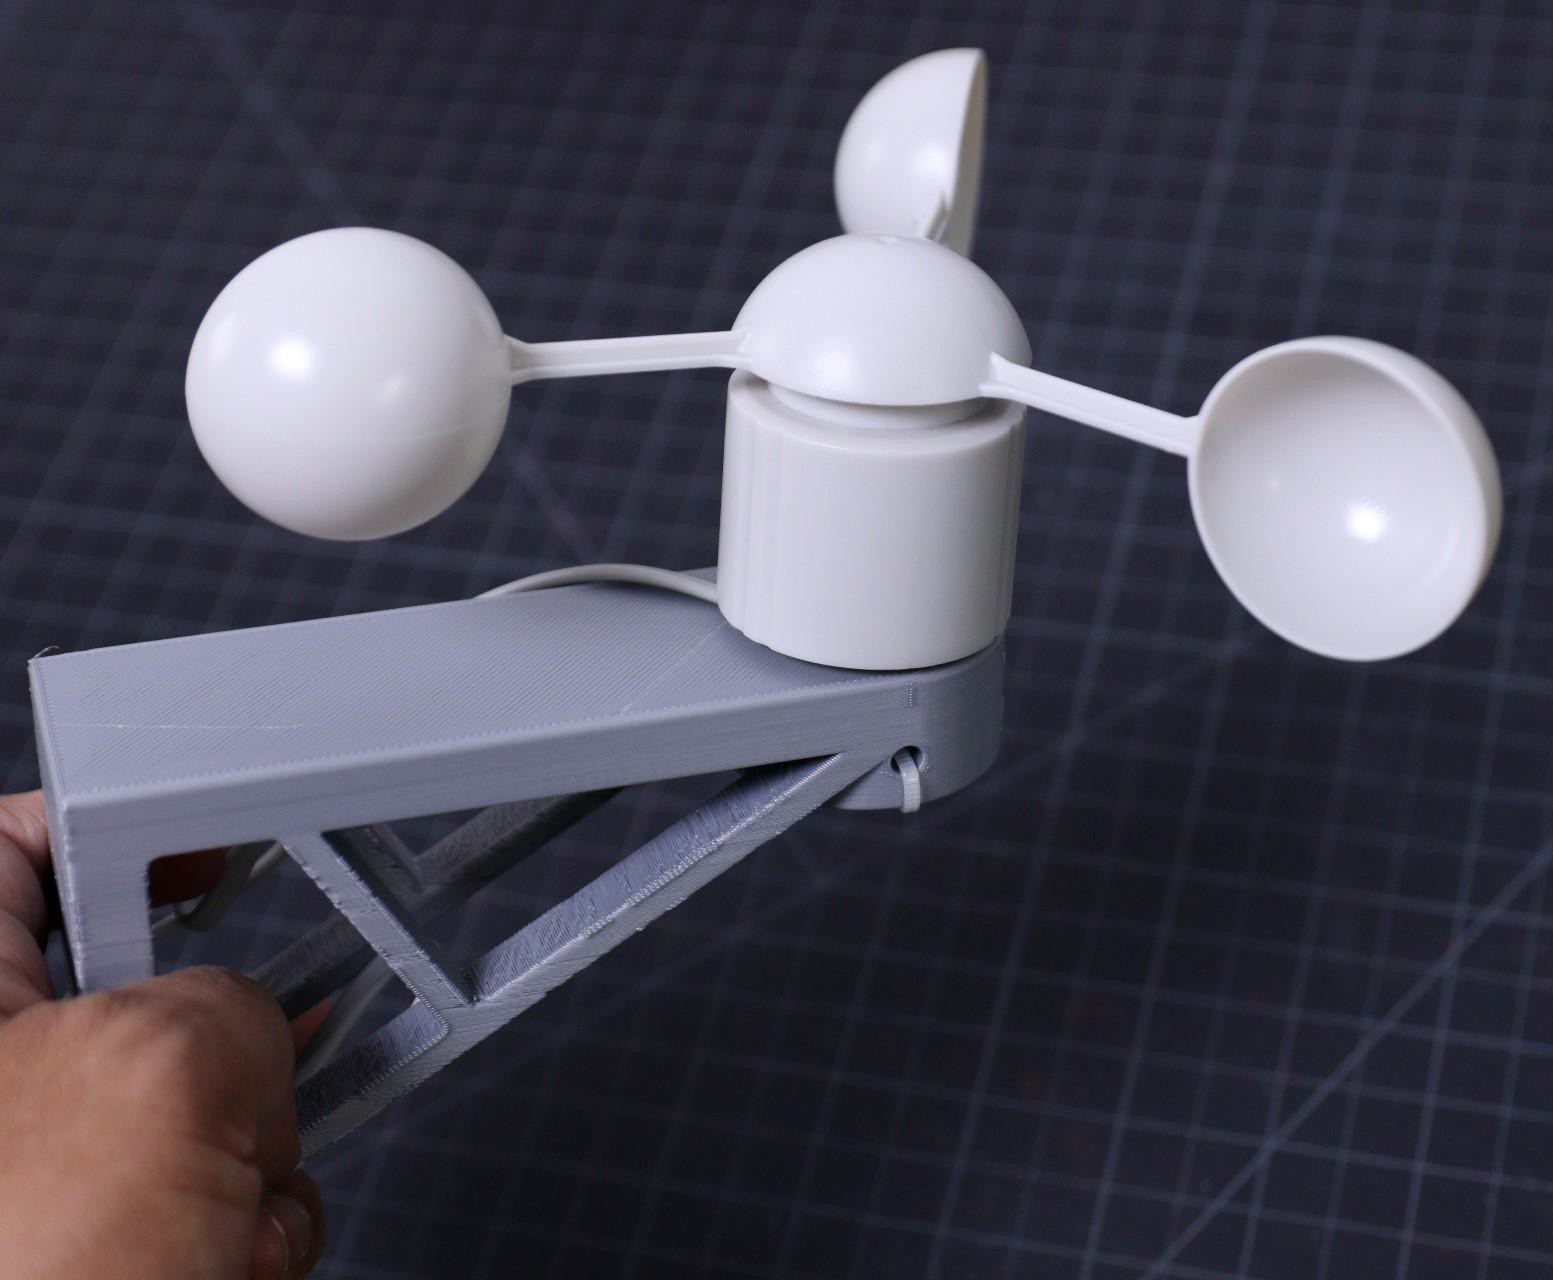
If you purchase the entire Weather Meters Kit, then you don't have to worry about mounting the wind and rain sensor. But if you purchase the independent sensor, you may need some mounting arrangements. I found a nice wind sensor holder from Thingiverse.
First I mount the wind sensors ( Wind Vane and Anemometer ) by using the 3D printed wall mounts. I have installed the wind vane and anemometers by using cable ties. After that, mounted them on the wooden pole by using two screws. You can see the above picture for a better understanding.
Similarly, I have mounted the rain sensor on the wooden pole. But the holder used for it is a ready-made one. In the future, I will make a 3D printed holder for it so you don't have to buy it.
At last, mount the external temperature sensor ( DS18B20 ) on the pole by using cable ties. After installing all the sensors, you have to route all the cables from the sensors to the Stevenson Screen.
Note: Always use good quality cable ties which is specially made for outdoor use ( UV-resistant ).
Now it is time to install the Stevenson Screen which we have made earlier. Install the Bottom Mount on the wooden pole by using 4 screws.
Suitable Location for Installation:
The location of your weather station is the most important part of the installation. If your weather station is located under a tree or an overhang, the rainfall data measured by the station will not be correct. If you place your weather station in an alley, you could very well get a wind tunnel effect on the anemometer, resulting in erroneous wind data. If you want to measure sunlight you cannot have the sensor in a shadow. So make sure that there is sufficient clearance around and above the weather station.
You can read this nice article on Weather Station Installation.
 Open Green Energy
Discussions
Become a Hackaday.io Member
Create an account to leave a comment. Already have an account? Log In.