 Steve Kasuya
-
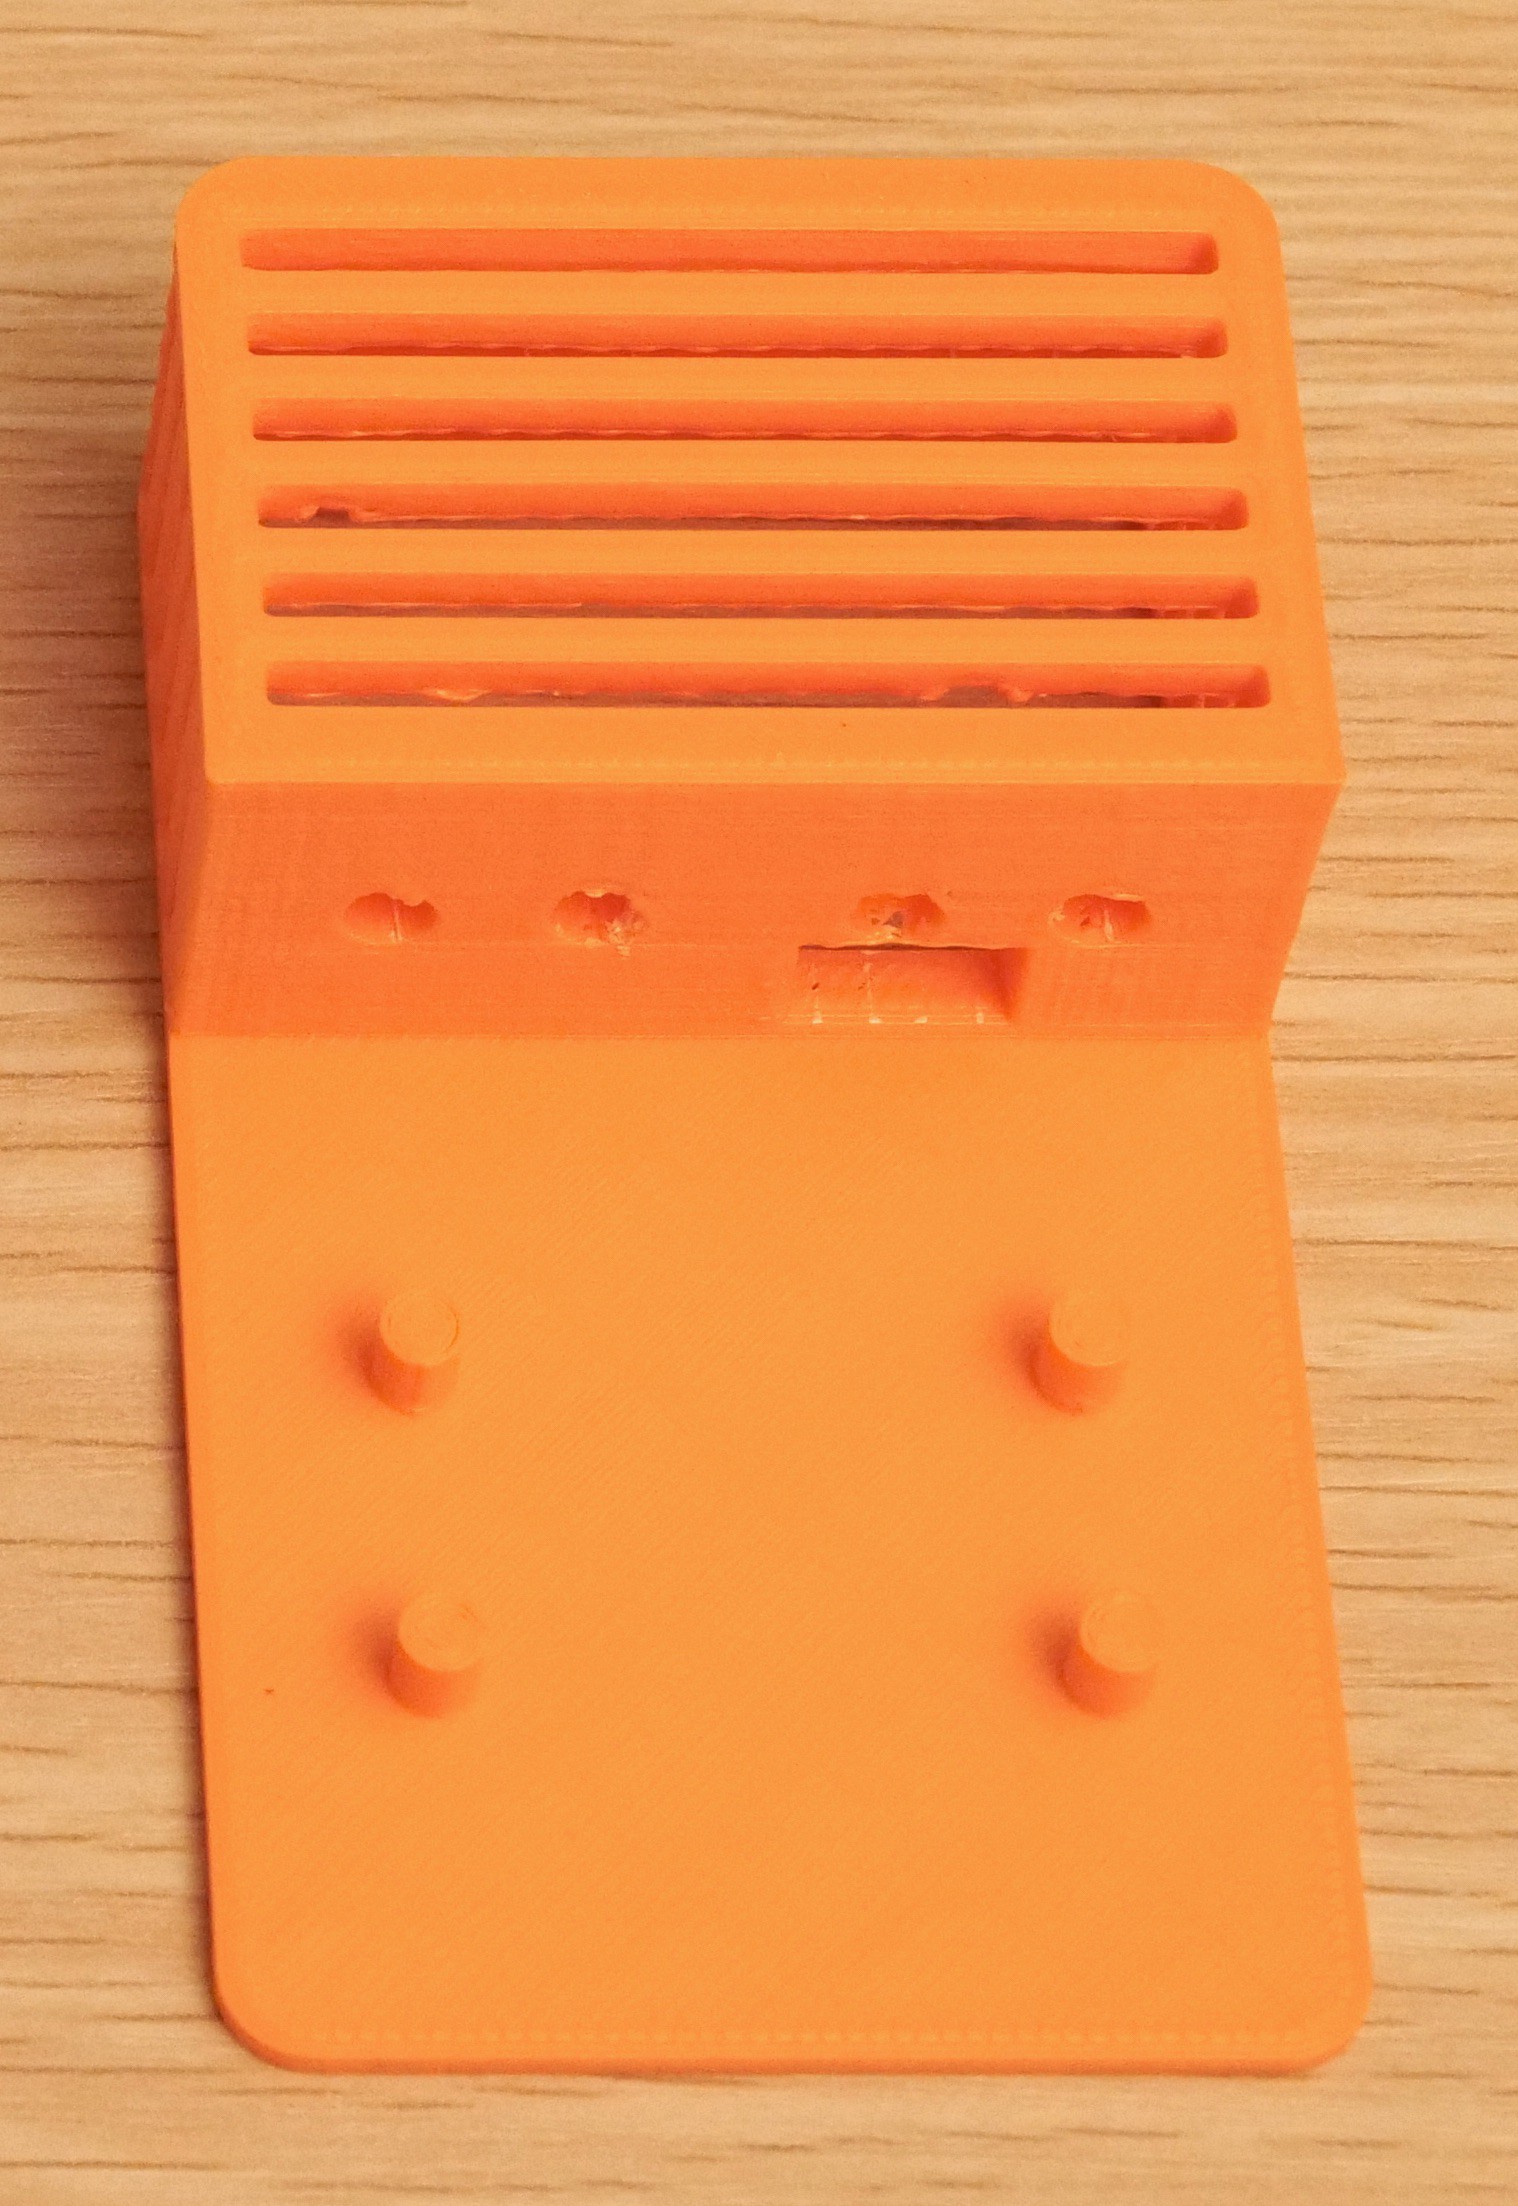
13D Print custom hats x5
Print 5 custom hats for M5Stack Core2 for AWS IoT EduKit using the provided .stl file.
![]()
-
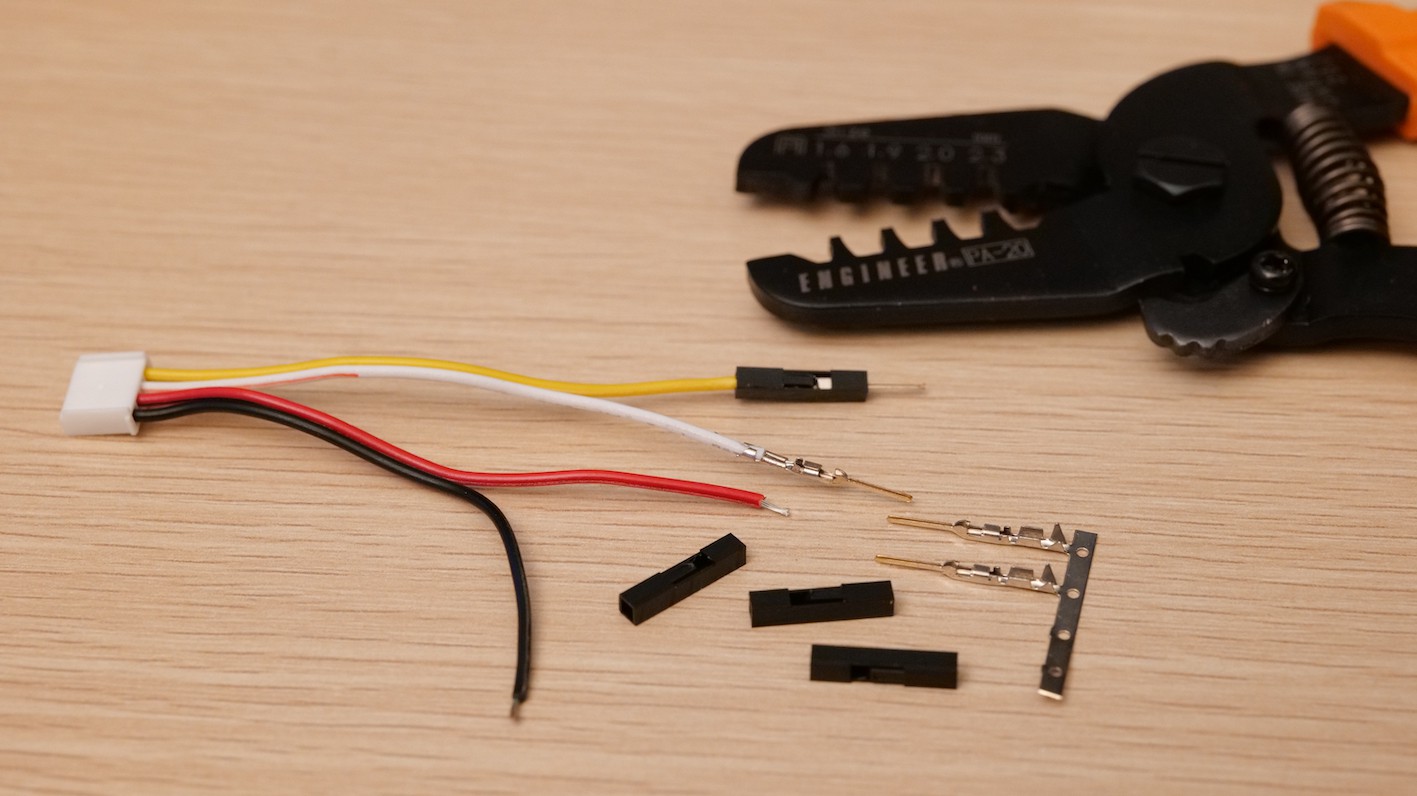
2Make custom jumper cables x5
Cut Grove universal 4-pin cables into a half and attach male crimp pins and black housings.
![]()
-
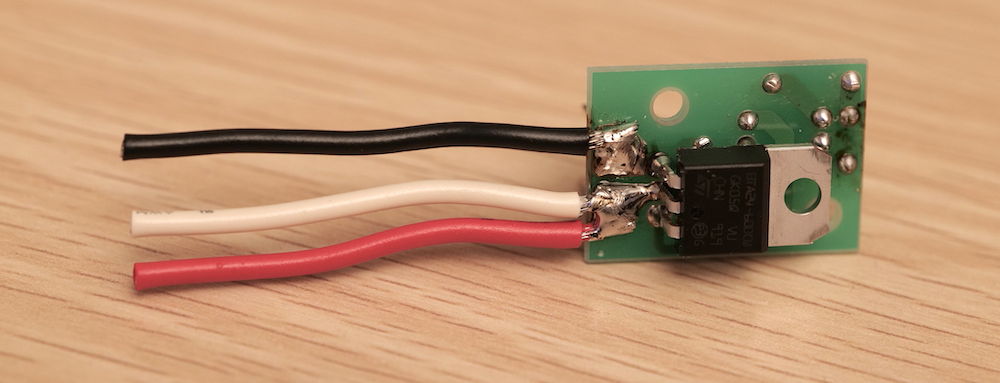
3Build an SSR kit
Build Akizuki Electric's SSR kit (K-00203 SSR)
![]()
![]()
-
4Assemble CO2 monitors x4
Attach a CO2 sensor and 4-pin cables to two mini mini breadboards.
![]()
Attach the custom hat and the CO2 sensor unit to M5Stack Core2 for AWS IoT EduKit.
![]()
Place the CO2 sensor unit inside the custom hat.
![]()
-
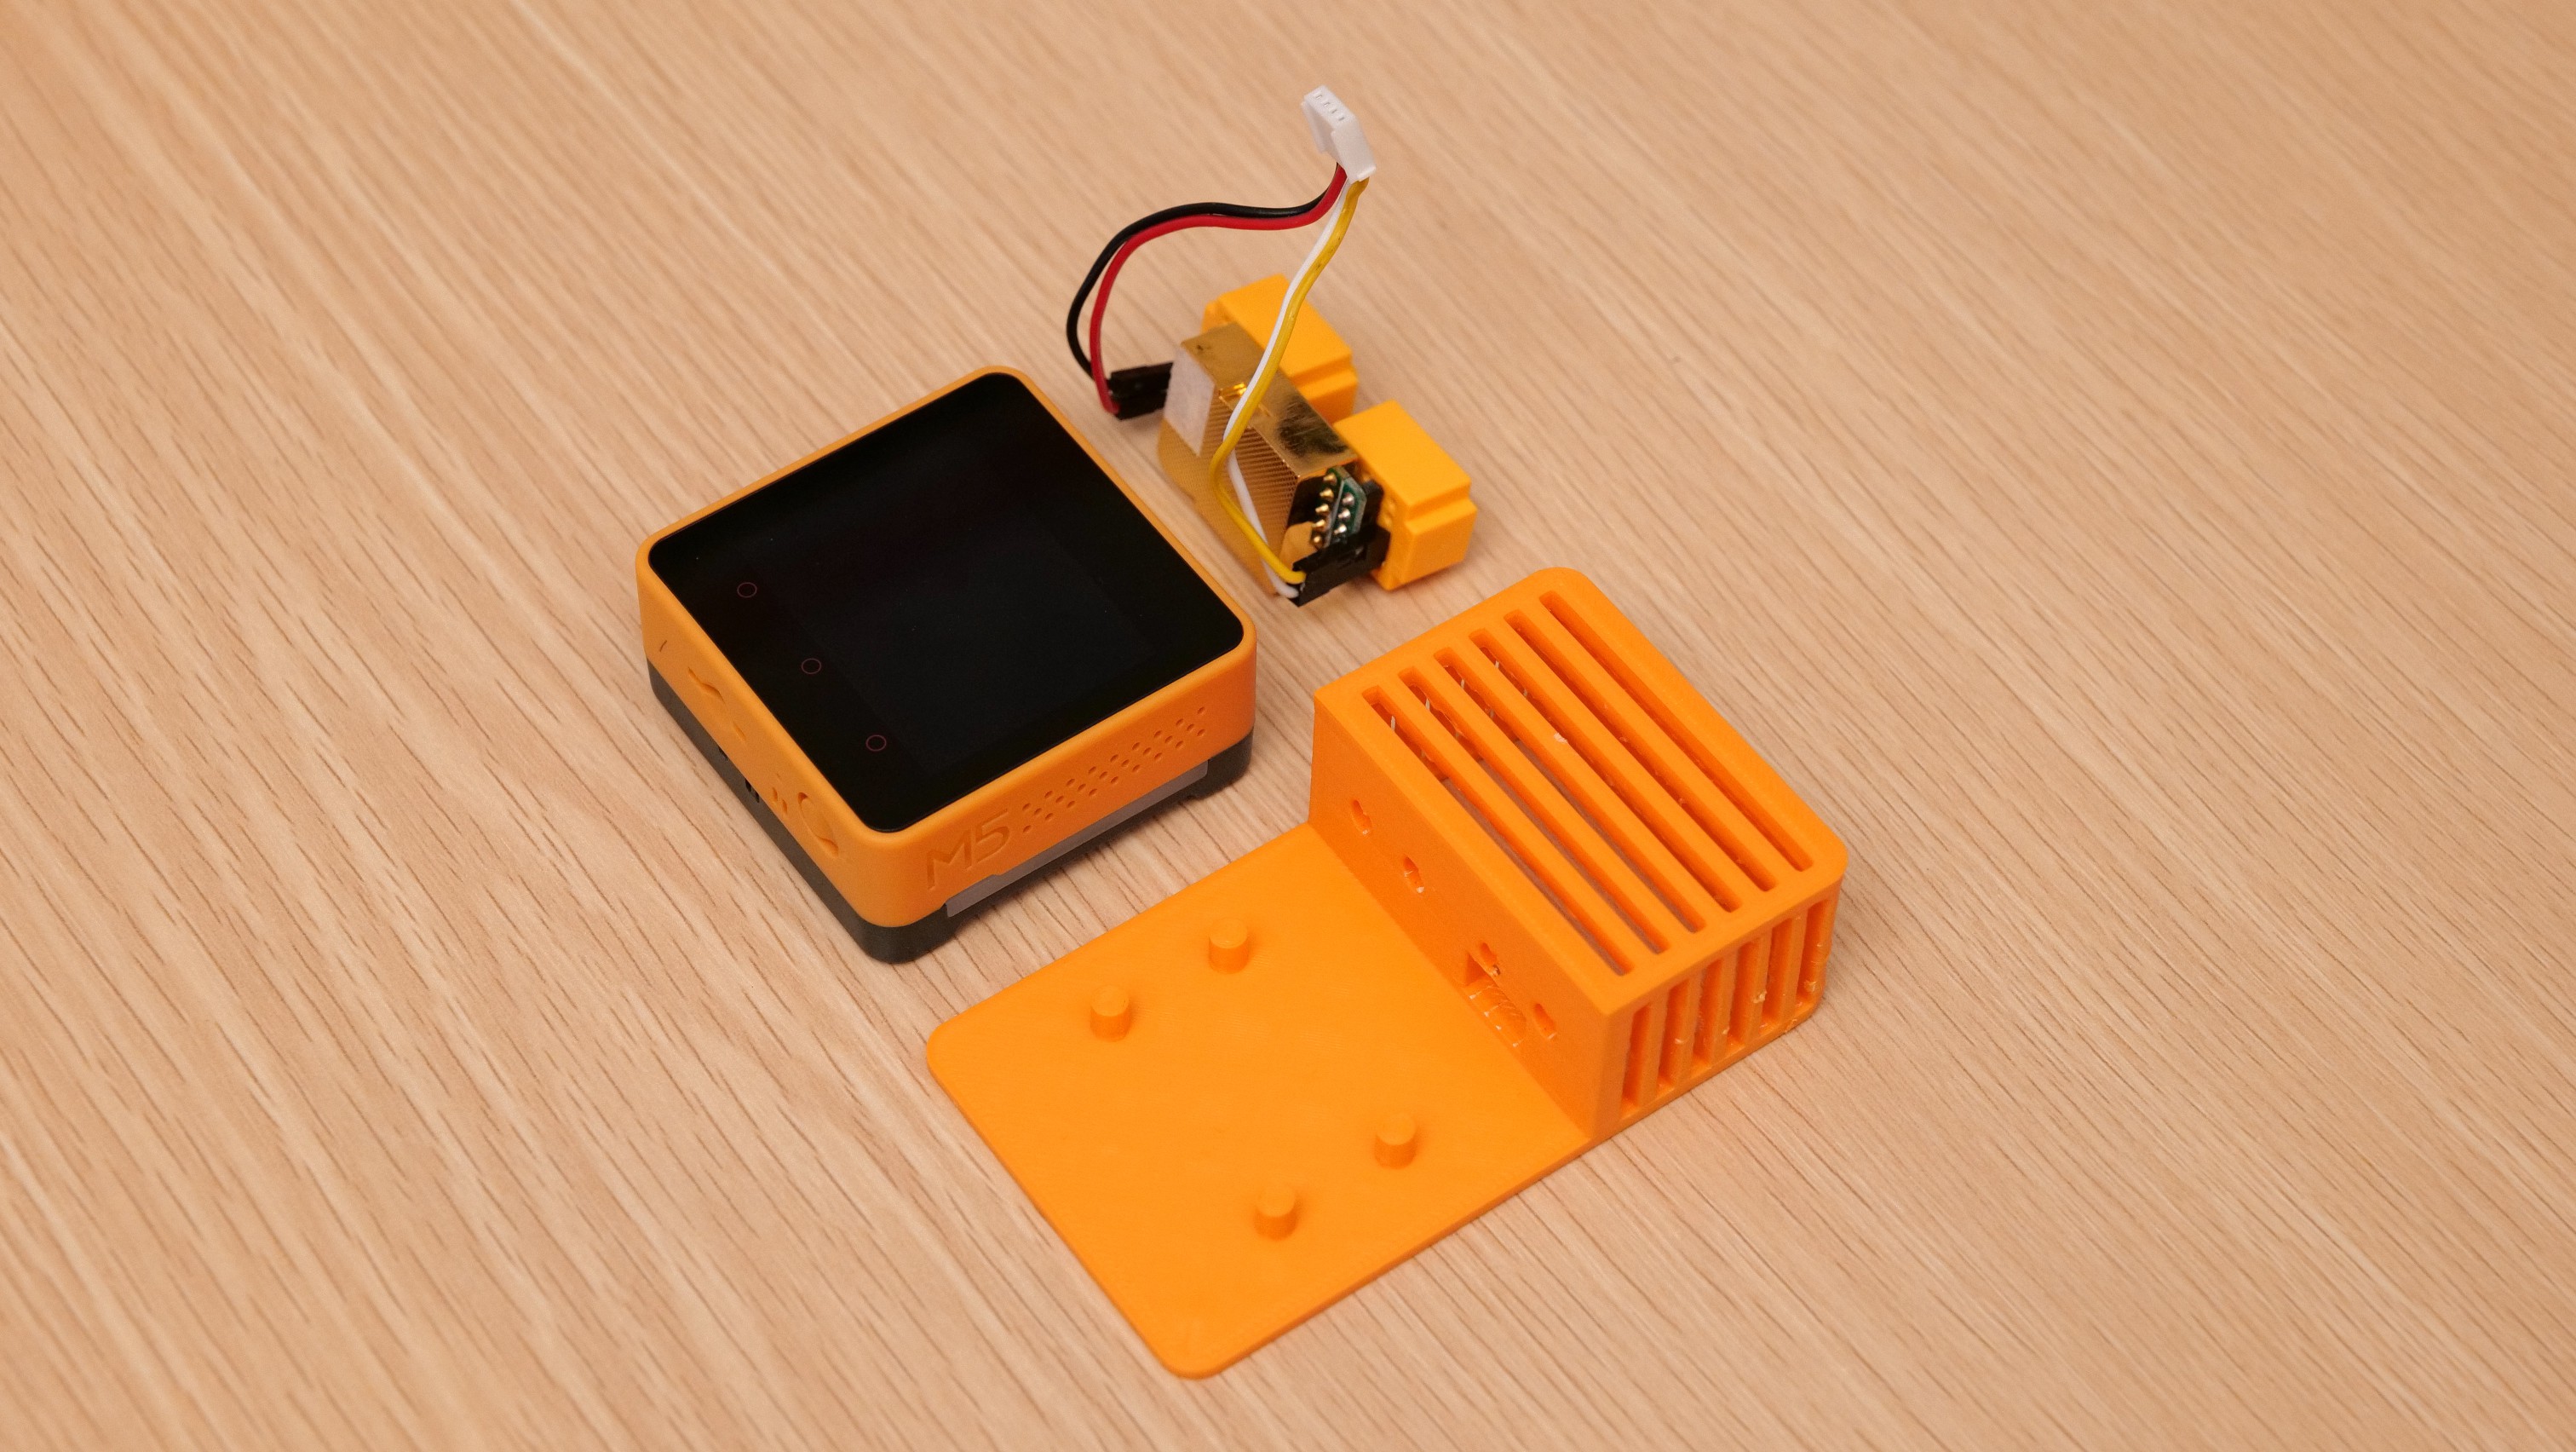
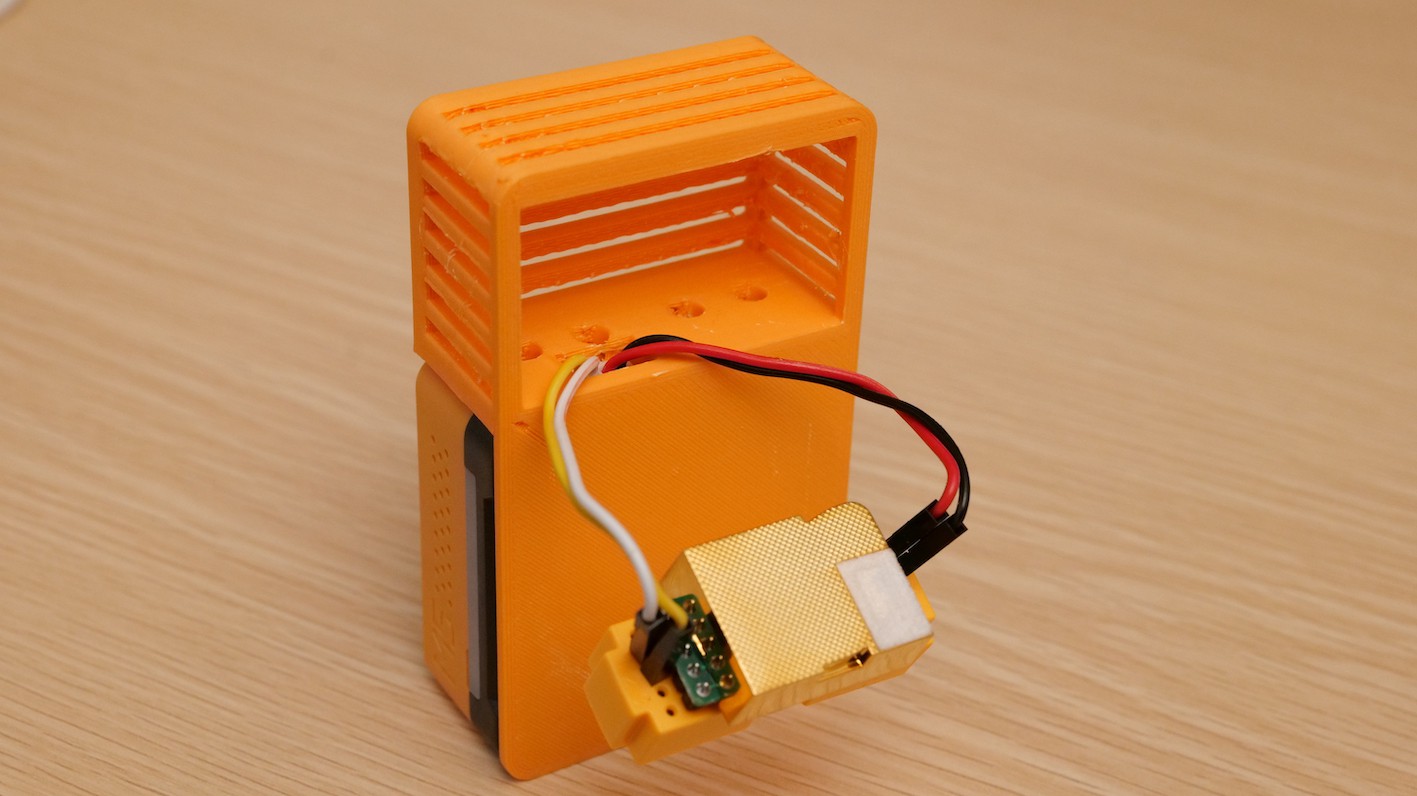
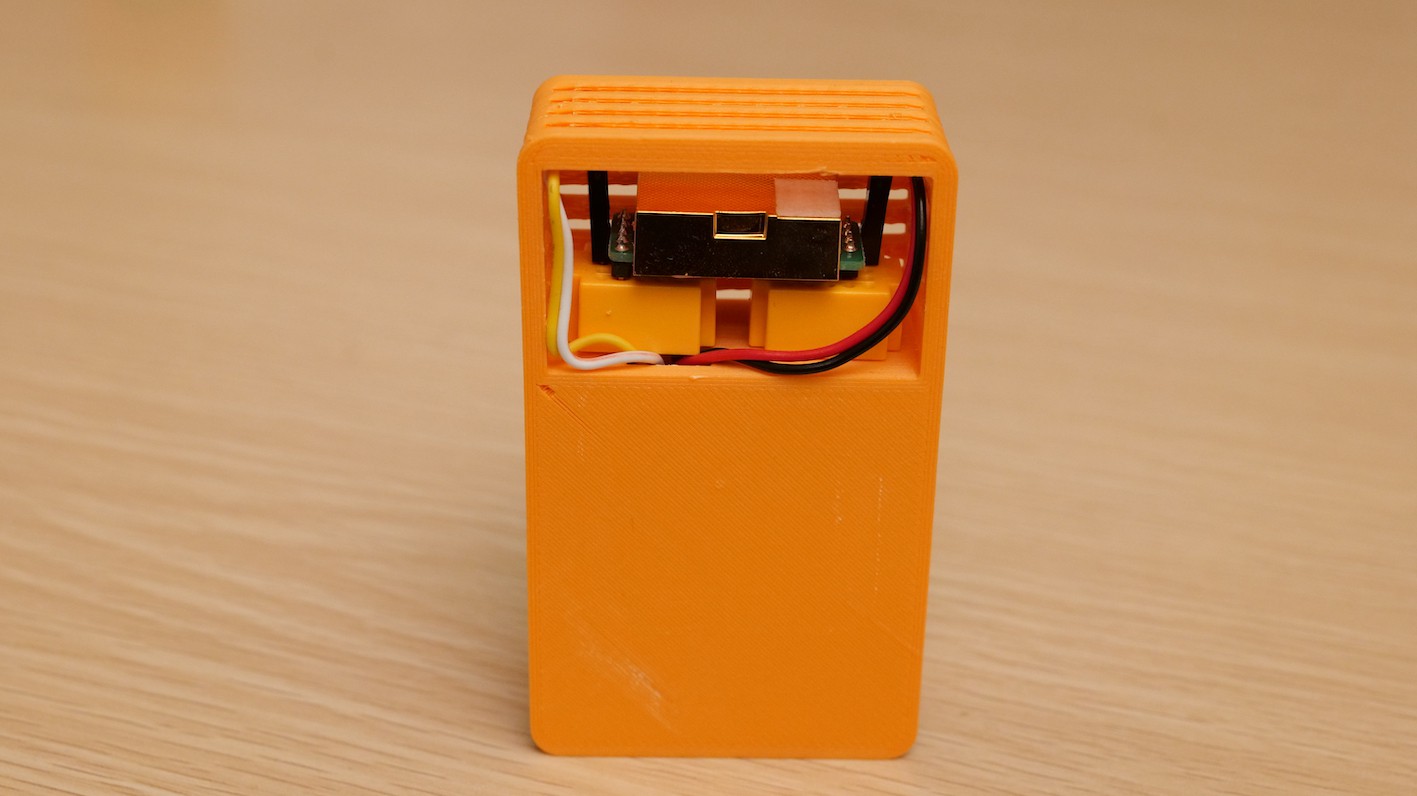
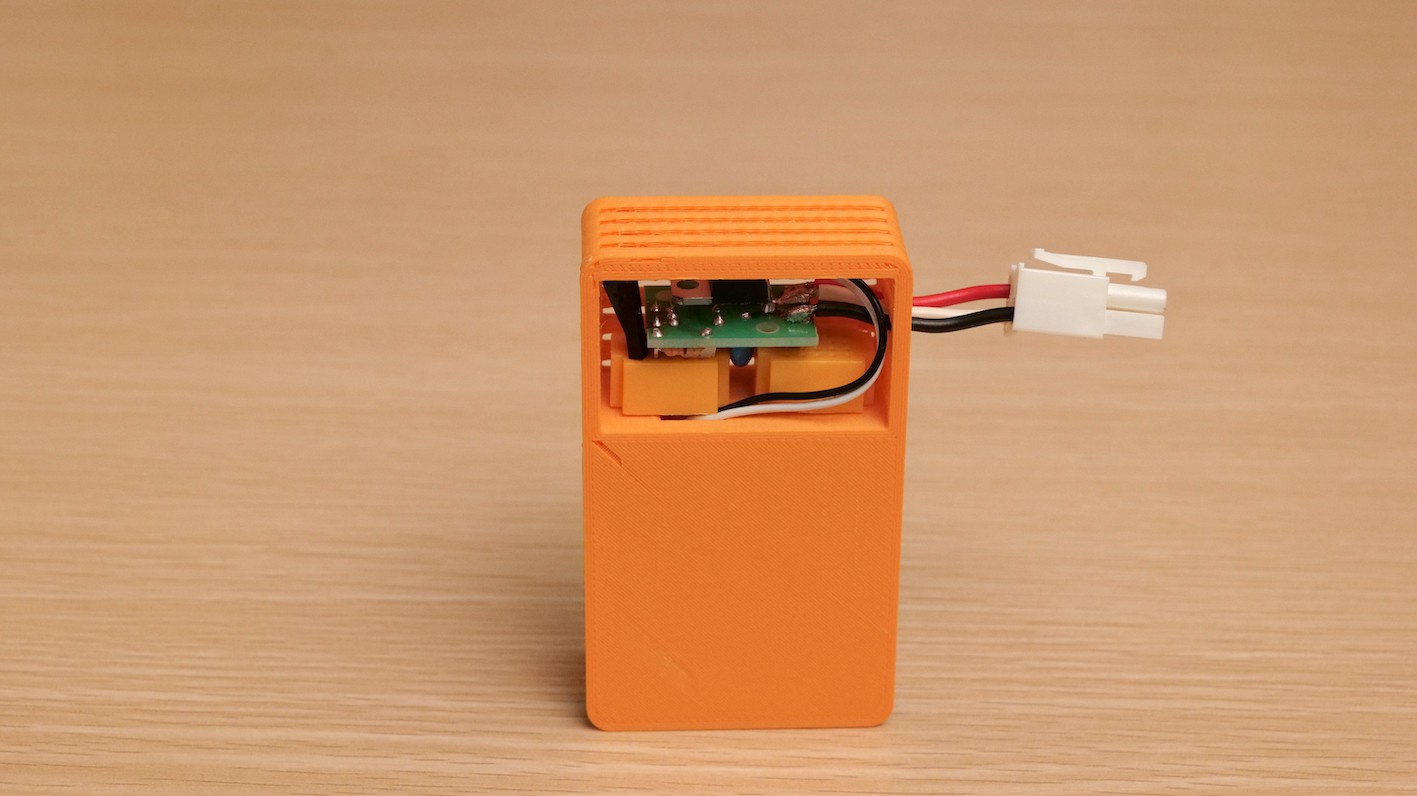
5Assemble Fan controller
Attach the custom hat and the SSR kit to M5Stack Core2 for AWS IoT EduKit, and then attach a connector to the power cables.
![]()
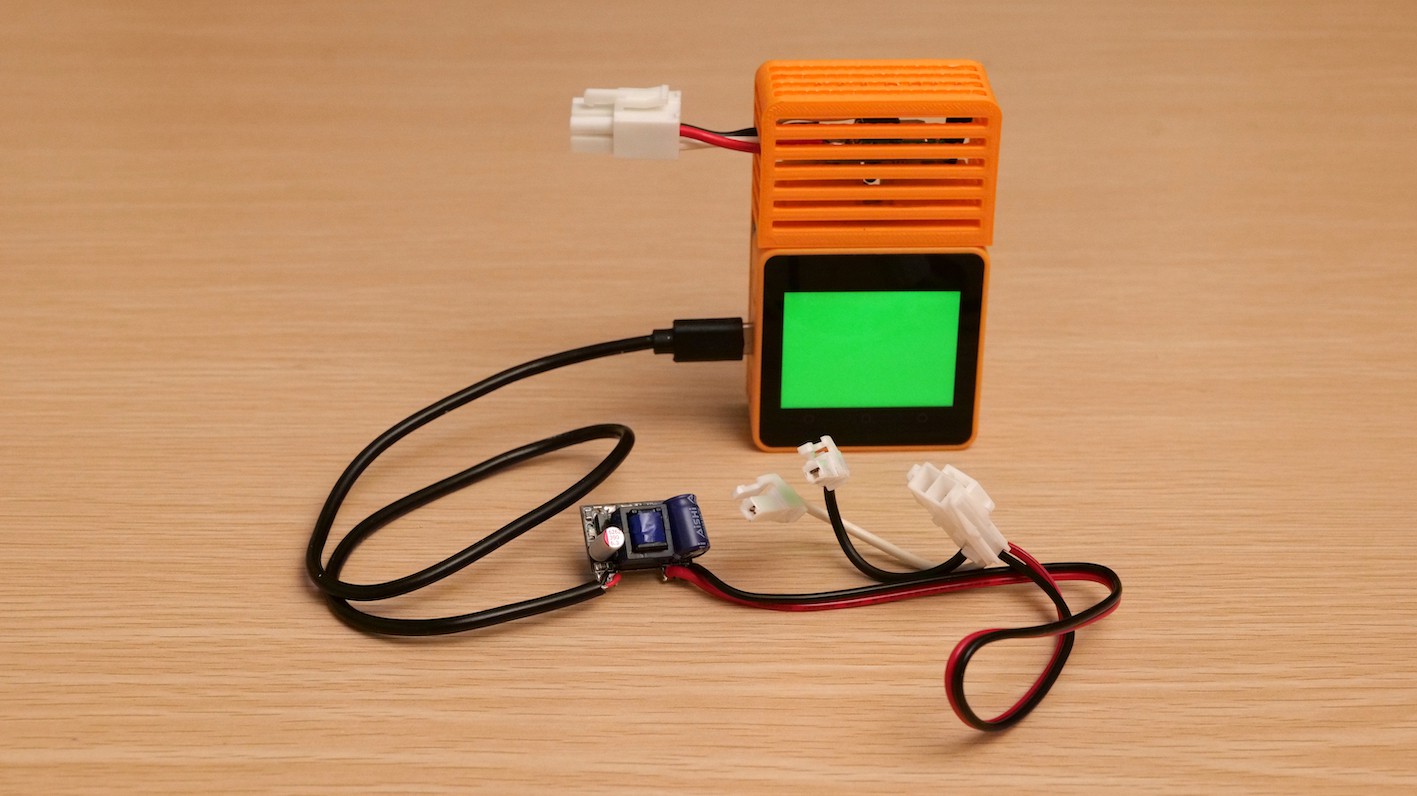
Make an AC 100-240V to DC 5V power supply module unit that draws current from the AC power lines inside the kitchen hood for the EduKit.
![]()
-
6Write programs to M5Stack Core2 for AWS IoT EduKit
Before writing programs (main.cpp) to the EduKit, complete the Getting Started and Cloud Connected Blinky tutorials. Use the following command to write the programs.
pio run -e core2foraws -t upload -t monitor
-
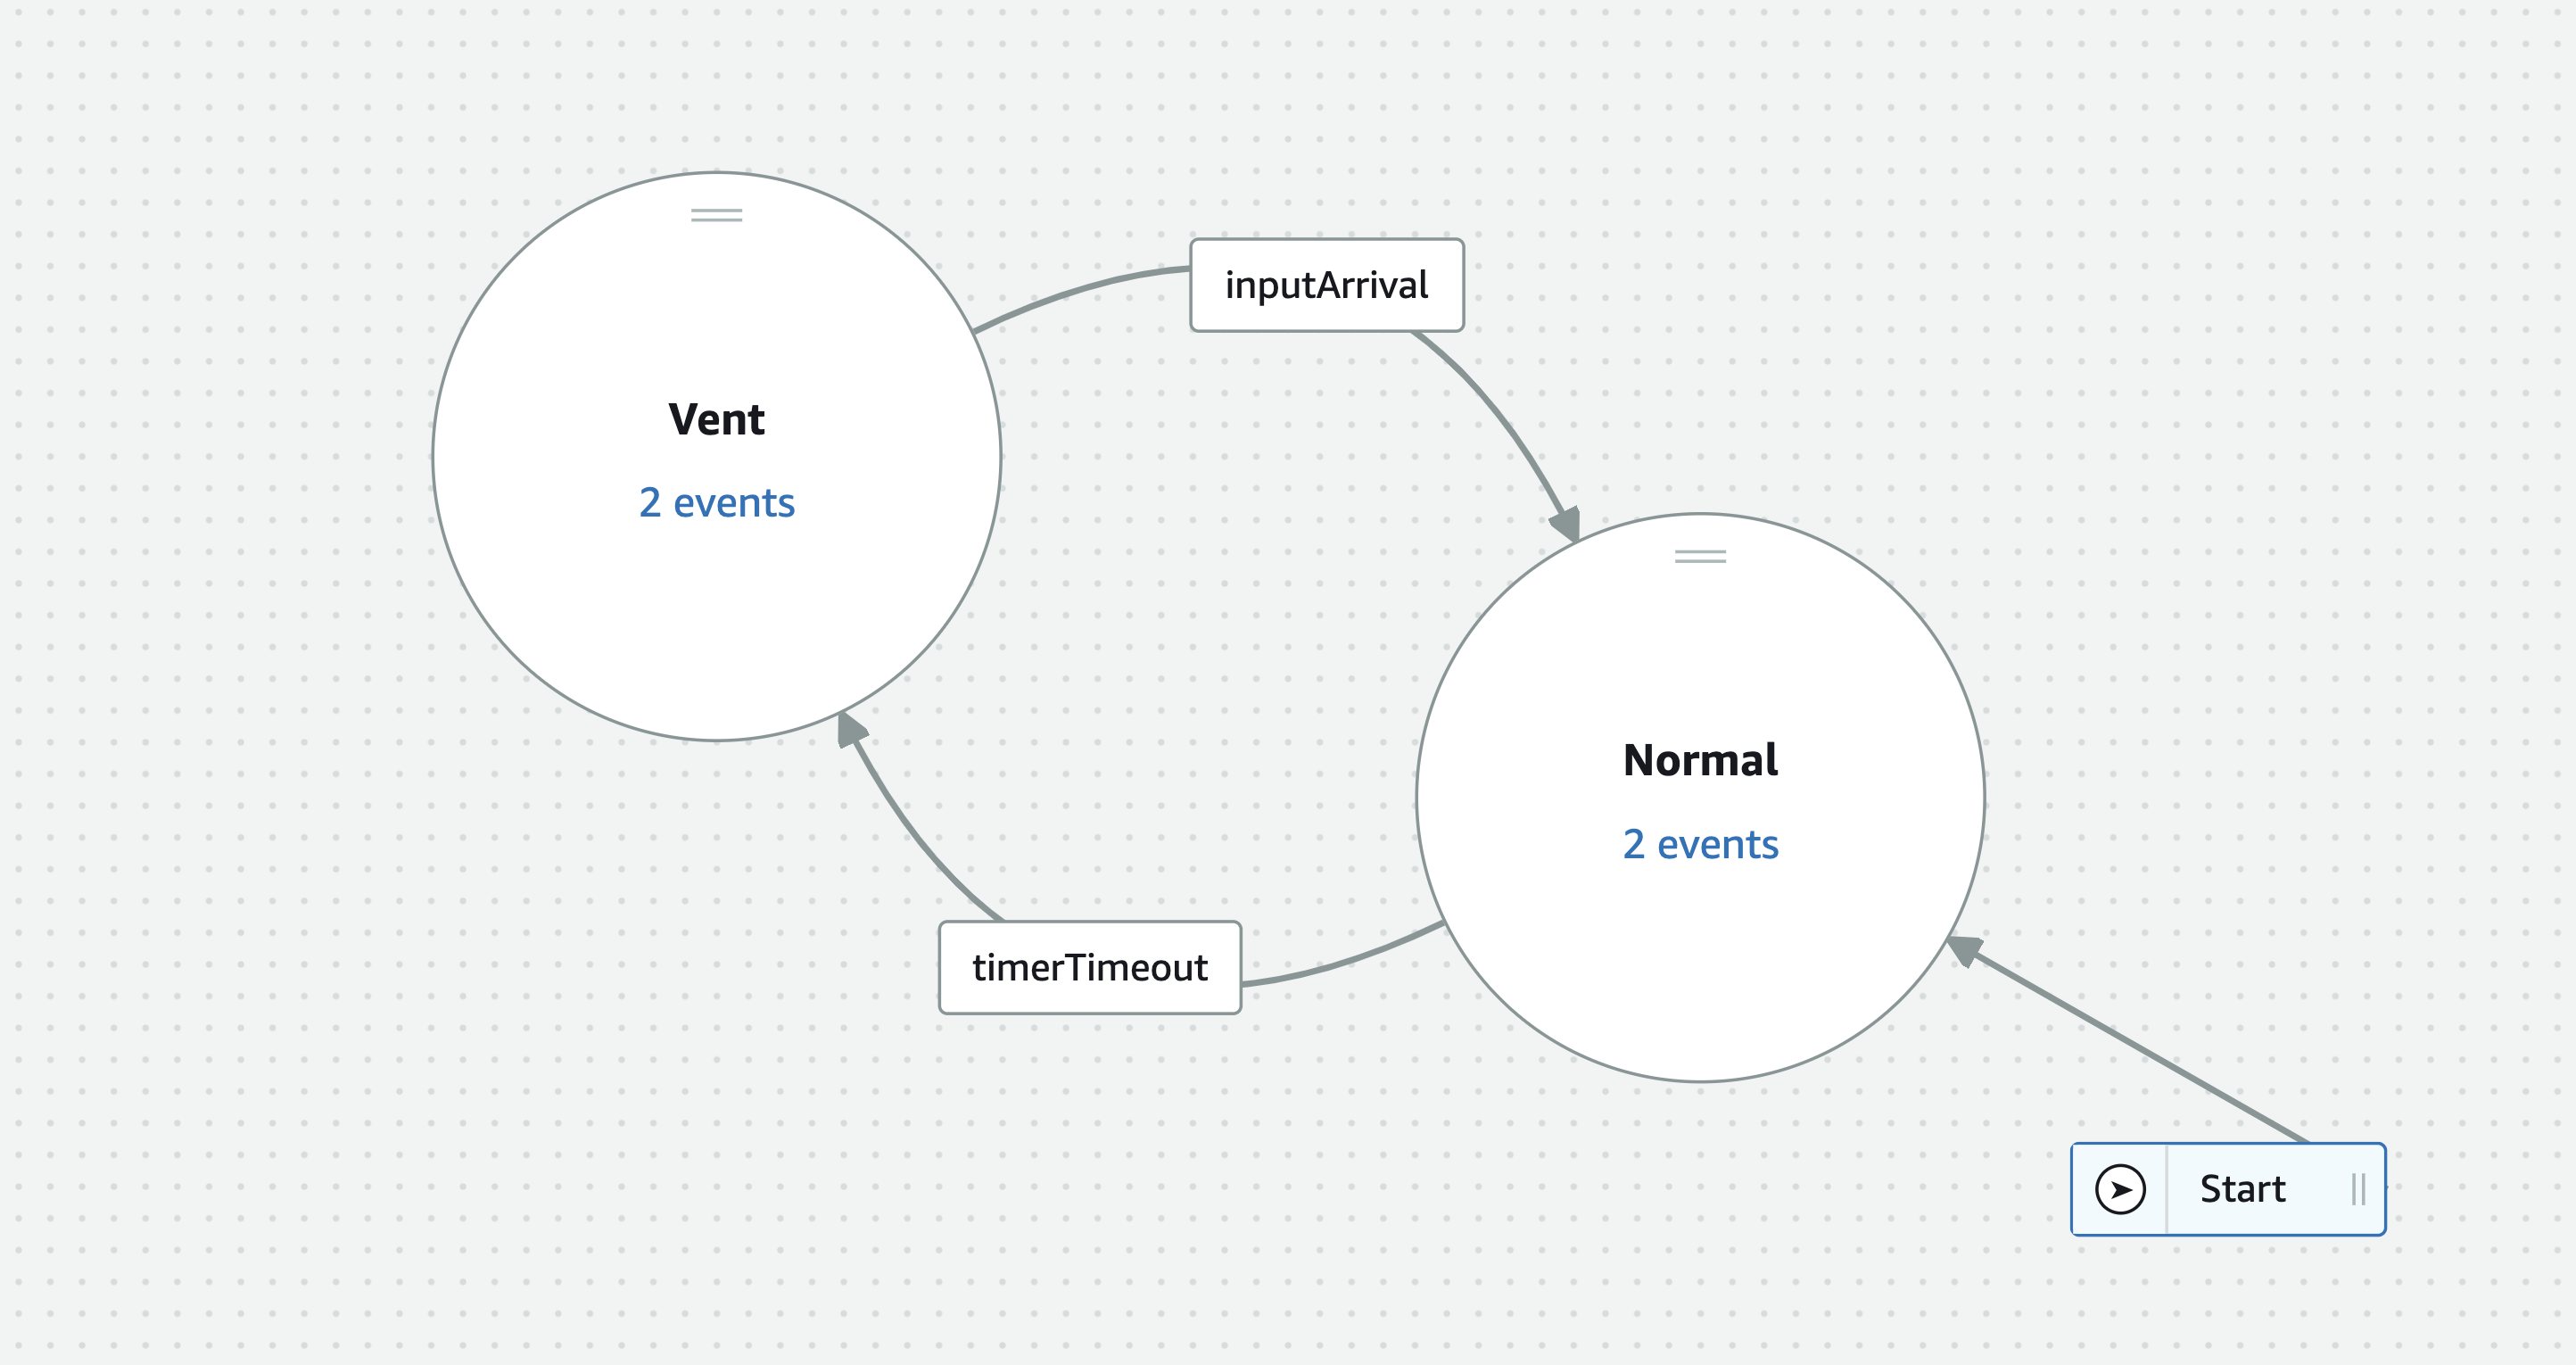
7Set up AWS IoT Events
Use the AWS Console and input.json to create the input. Use the AWS CLI and detector-model.json to create the detector model.
![]()
-
8Set up AWS IoT SiteWise
Use the AWS CLI, model.json, and asset.json to create the model and assets.
-
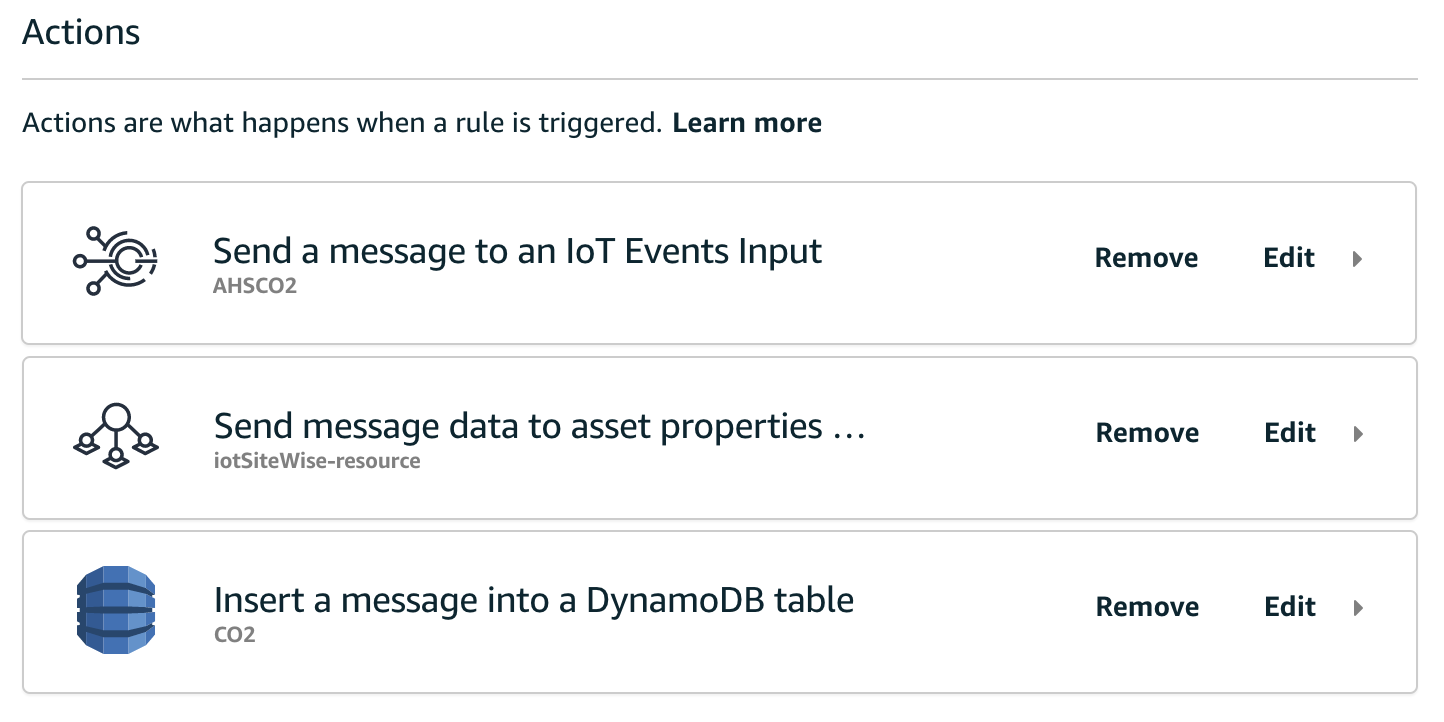
9Set up AWS IoT Rules
Set up a total of 4 Rules for 4 CO2 monitors so that they send measured CO2 levels to AWS IoT Events, AWS IoT SiteWise, and Amazon DynamoDB. Use the AWS CLI and rule.json to create rules. Make sure you change the topic name, the input name, the property aliases, the asset name, and the table name, as needed.
![]()
-
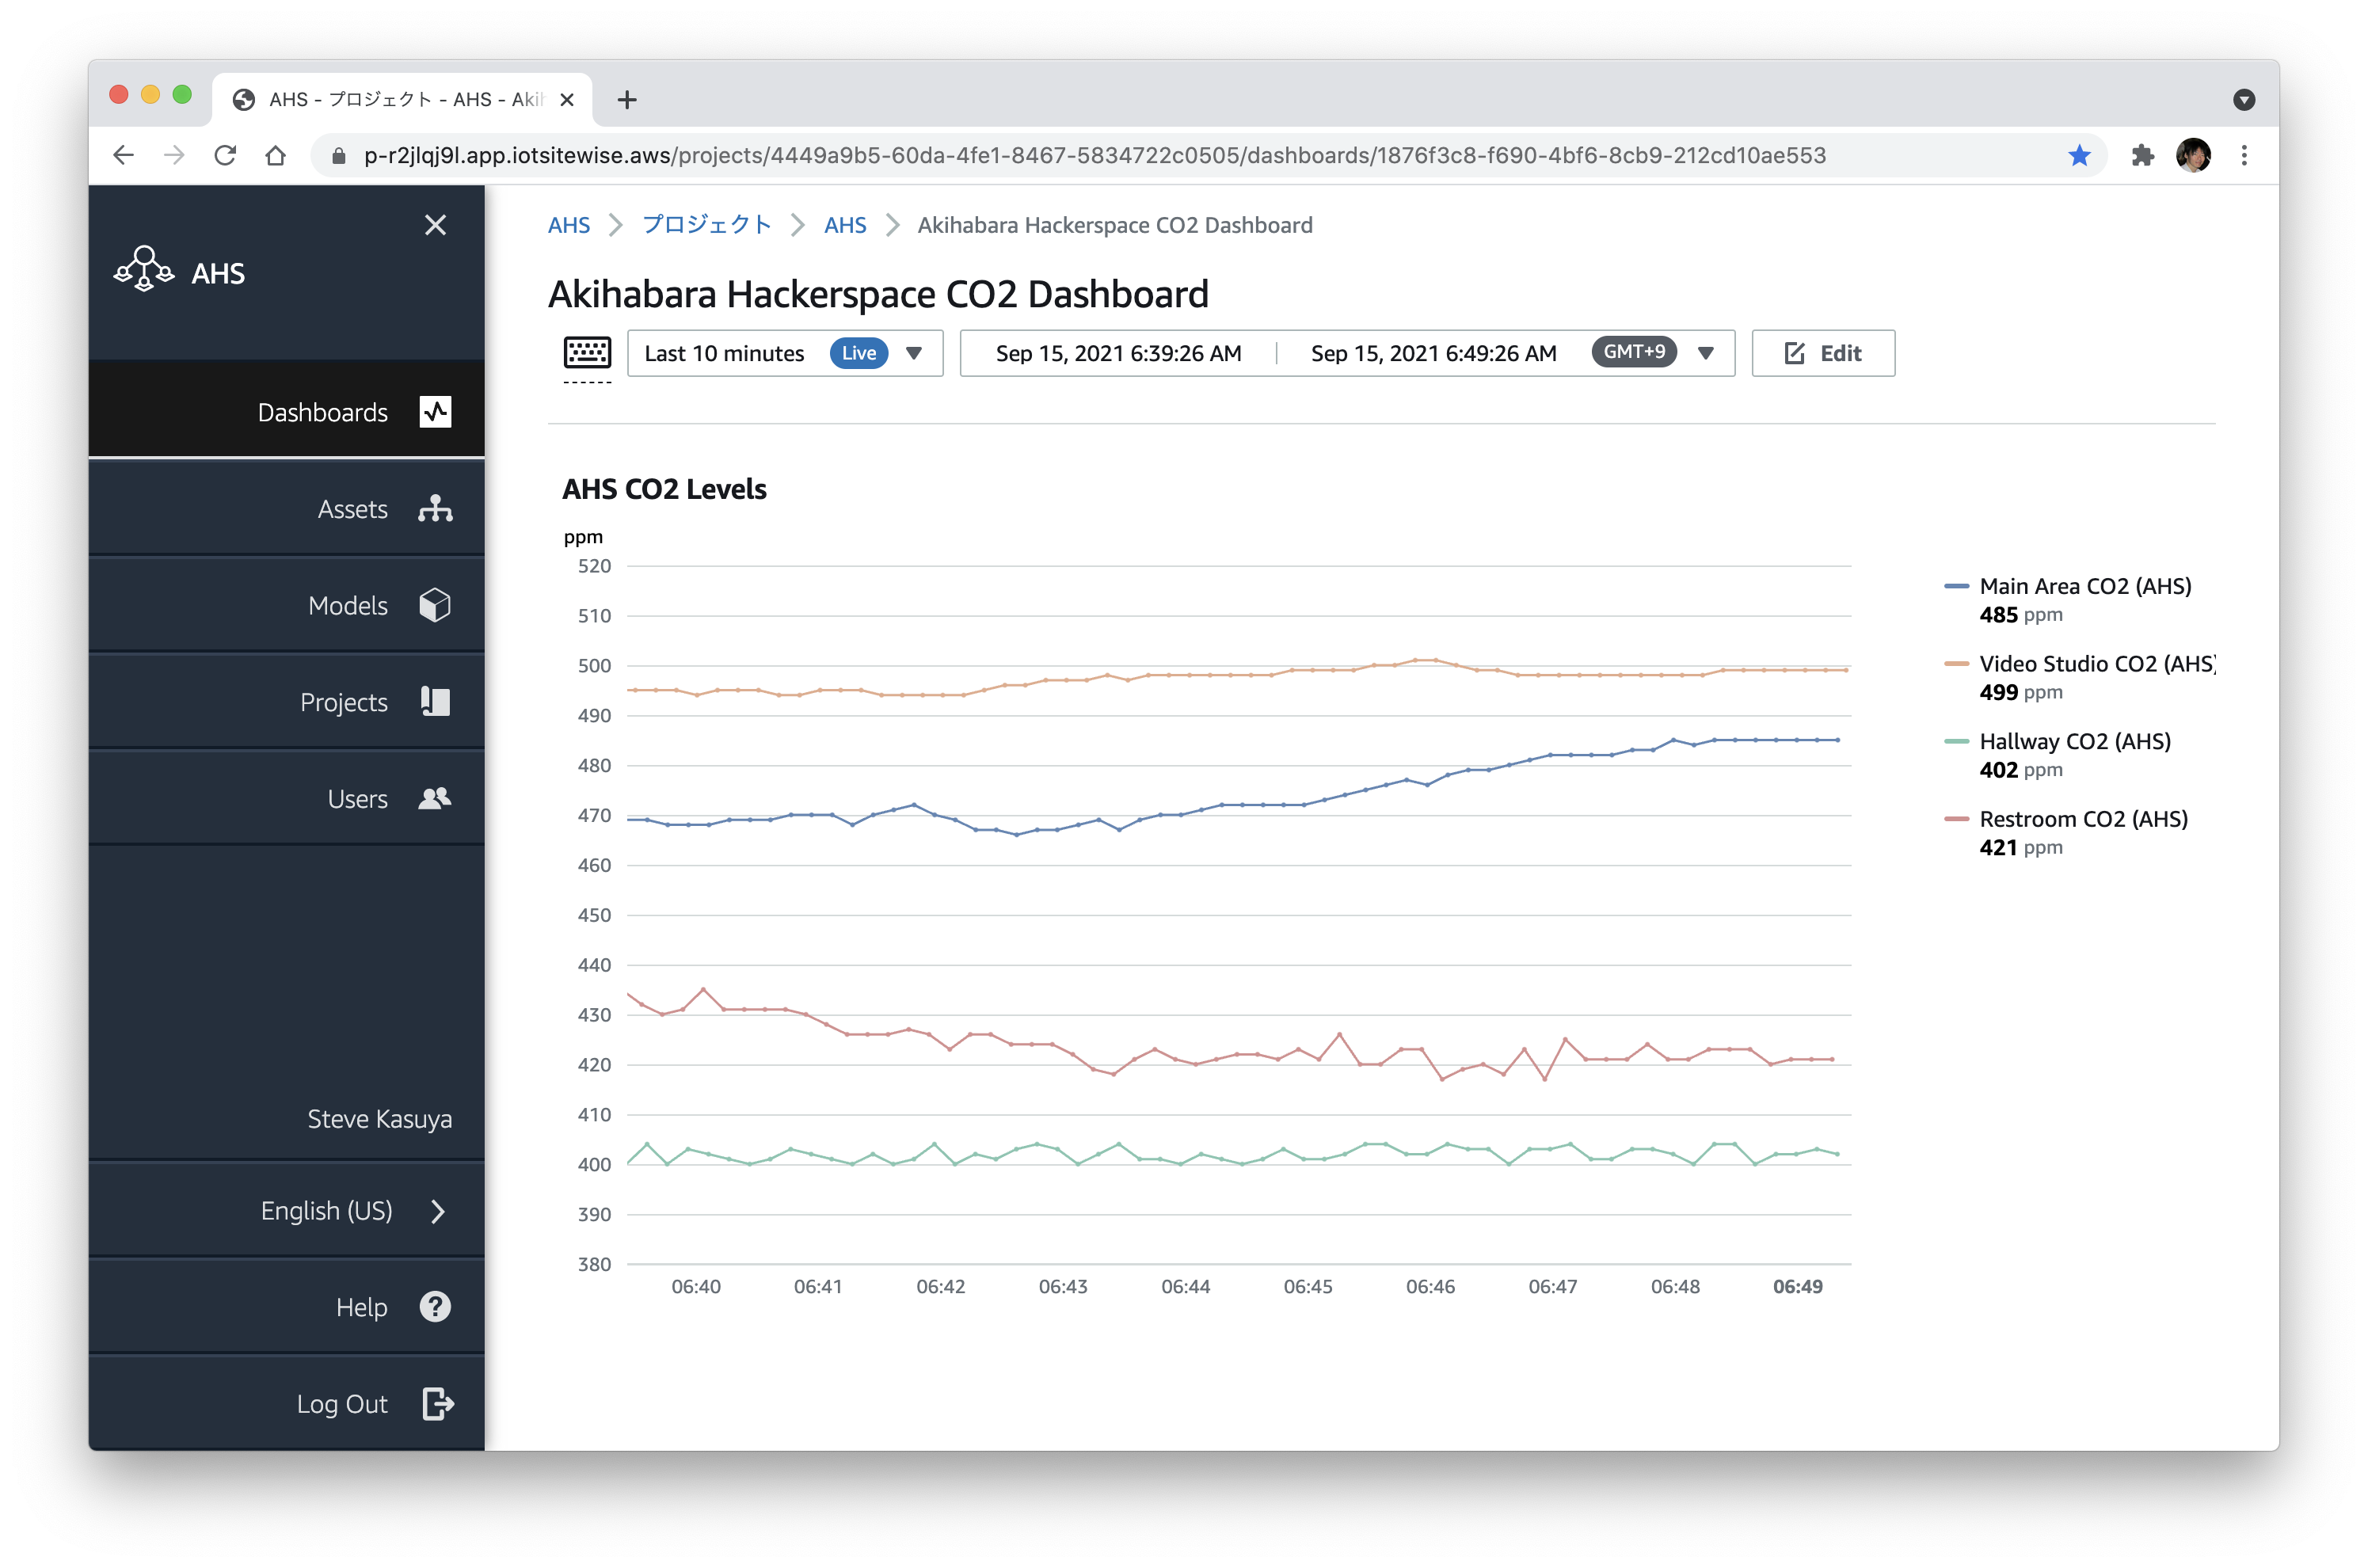
10Make a dashboard
Use the AWS IoT SiteWise console to make a CO2 monitoring dashboard.
![]()
Automatic Ventilation System with CO2 Monitors
At Akihabara Hackerspace, we have automated the ventilation process with CO2 monitors, a fan, AWS IoT Edukit, and IoT-related AWS services.

Discussions
Become a Hackaday.io Member
Create an account to leave a comment. Already have an account? Log In.