 HYuiii
-
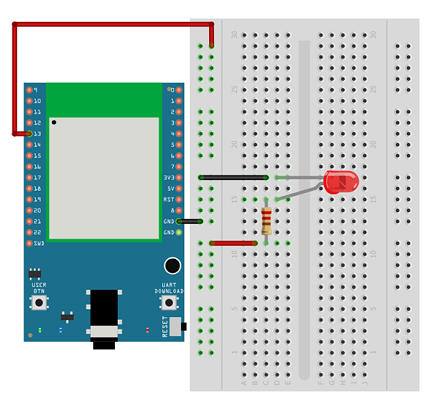
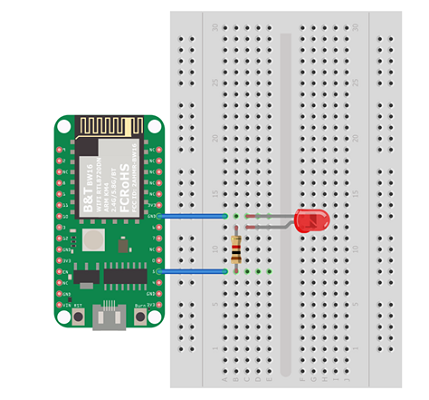
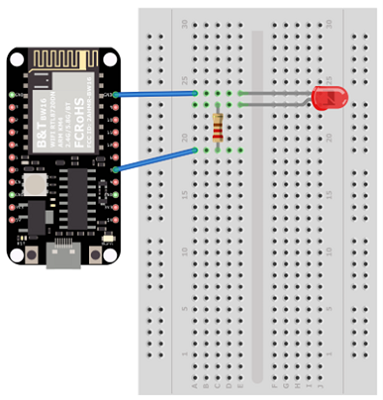
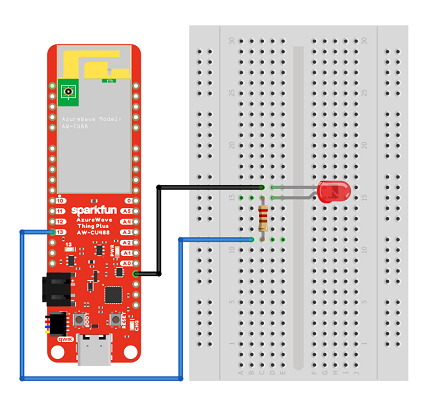
1Connect Ameba with the LED
In a LED, the longer pin is the positive pole, and the shorter pin is the negative pole. So, we connect the shorter pin to GND and connect the longer pin to D13. Additionally, to avoid the electric current exceeds the tolerance of the LED and causes damage, we connect a resistance on the positive pole.
![5-1]()
-
2Edit code
Open Arduino IDE.
Then open “File” -> “Examples” -> “AmebaWiFi” -> “SimpleWebServerWiFi”
![5-2]()
In the sample code, modify the highlighted snippet to corresponding information.![5-3]()
-
3Upload and Execution
Upload the code and press the reset button on Ameba. When the connection is established, you will see the message “To see this page in action, open a browser to http://xxx.xxx.xxx.xxx” in the Arduino IDE, as shown in the figure:
![5-4]()
Next, open the browser of a computer or a cell phone under the same WiFi domain, enter the address in the message.
![5-5]()
In the webpage, you can turn on/off the LED.
Ameba Arduino: Use Ameba as Server to Control LED
This project connects Ameba to WiFi and uses Ameba as server, the user can control the LED on/off through a webpage.

Discussions
Become a Hackaday.io Member
Create an account to leave a comment. Already have an account? Log In.