 Alpenglow Industries
-
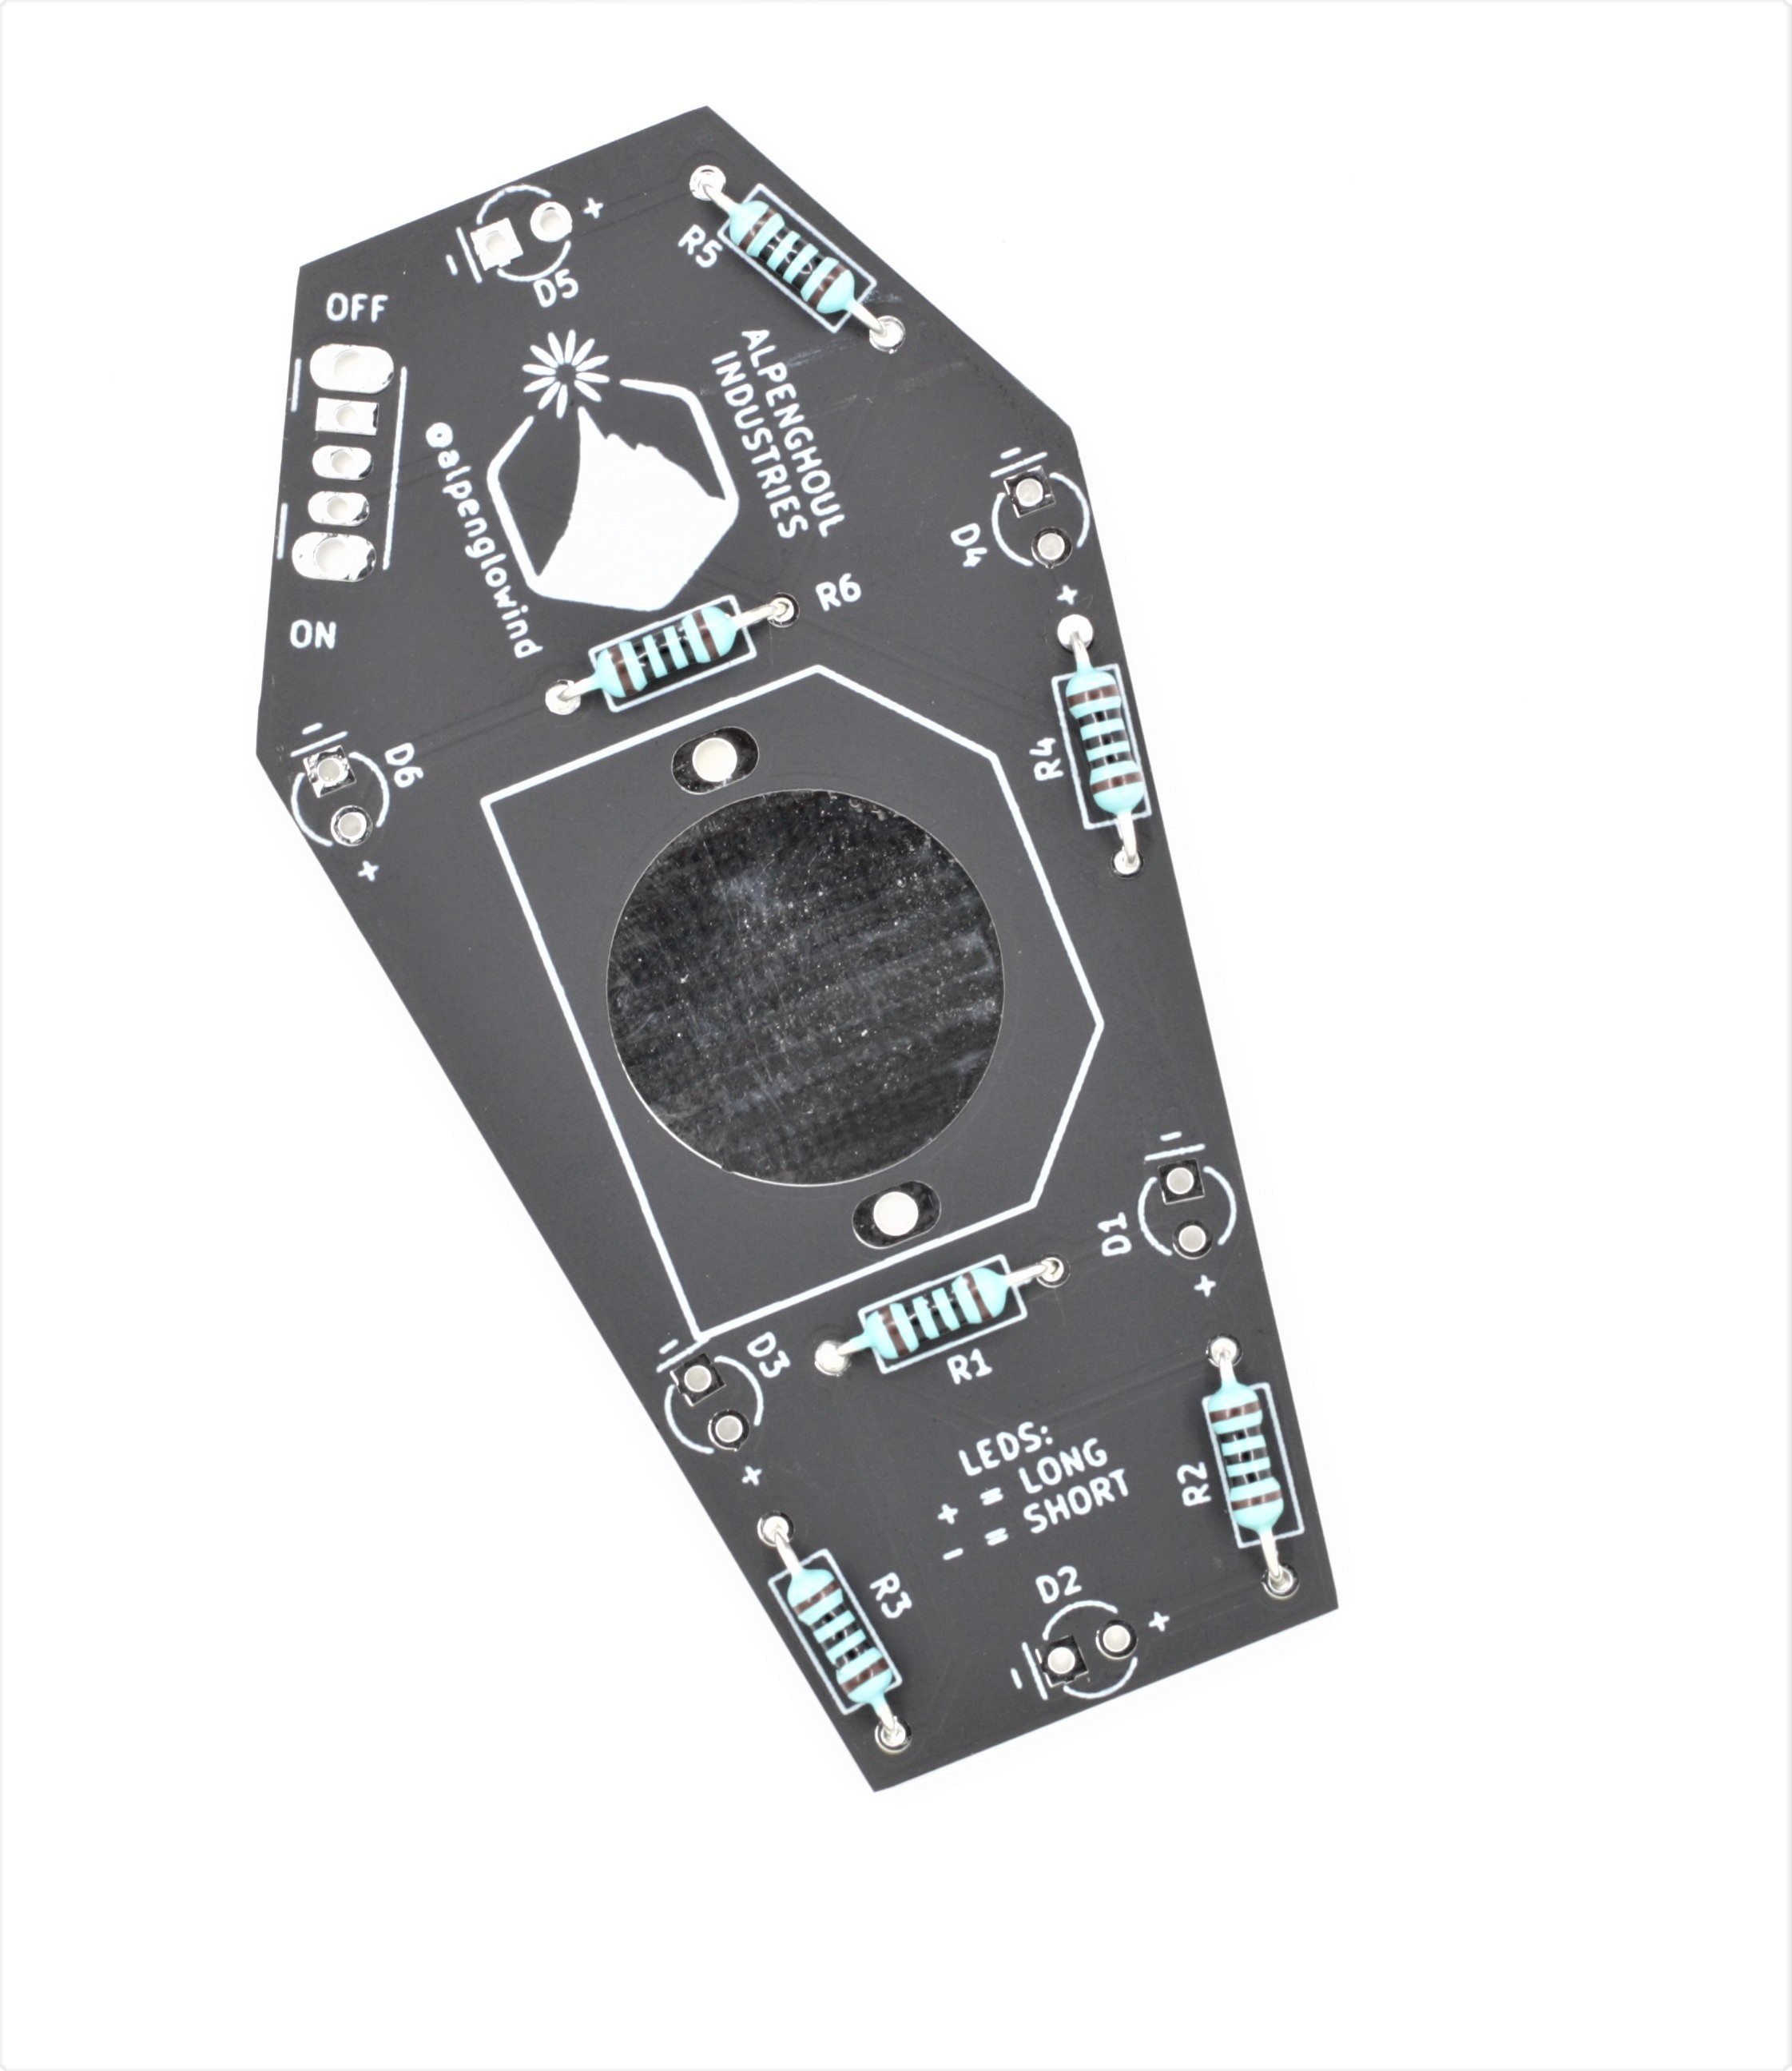
1Step 1: Resistors
I trying to go in order of height when soldering components. I start with resistors because they are closest to the board.
If you're having trouble keeping the board from moving when soldering you can use a piece of tape to hold the board down. Just be sure not to have the tape too close to where you are soldering your joint!
![]()
-
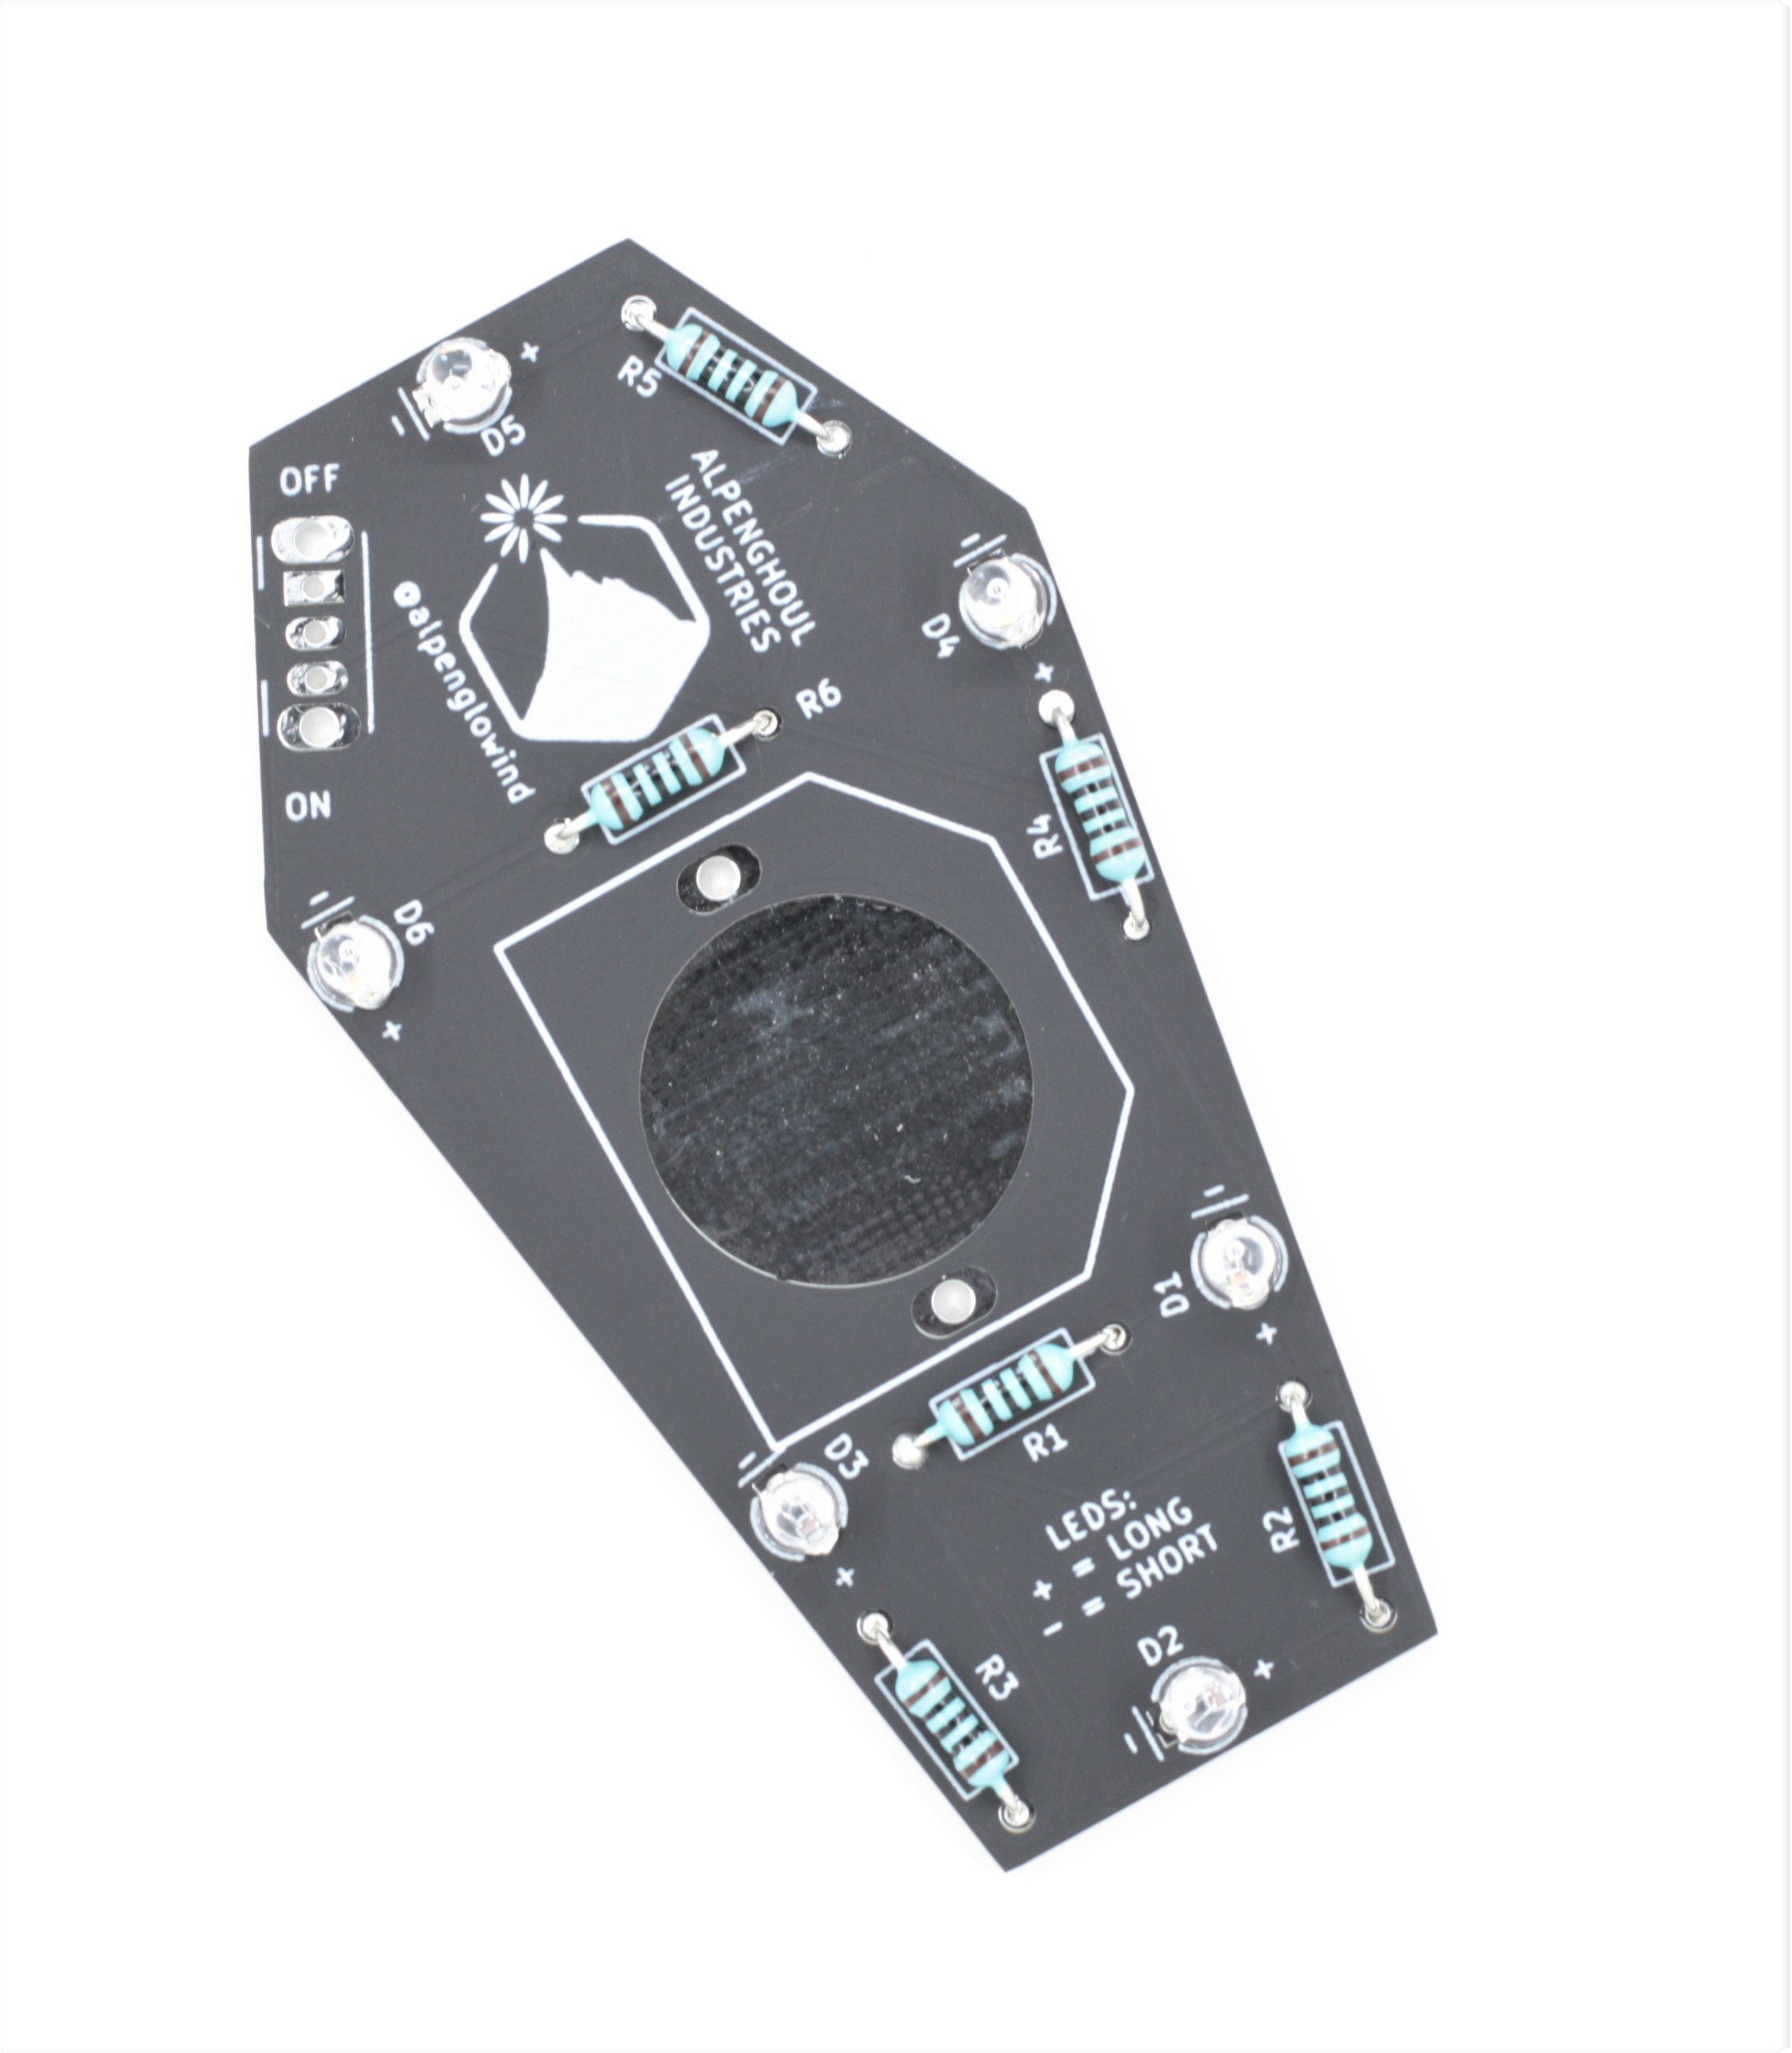
2Step 2: LEDs
If you're confused about which side is positive or negative, we added a reference in silk screen at the bottom of the board!
![]()
-
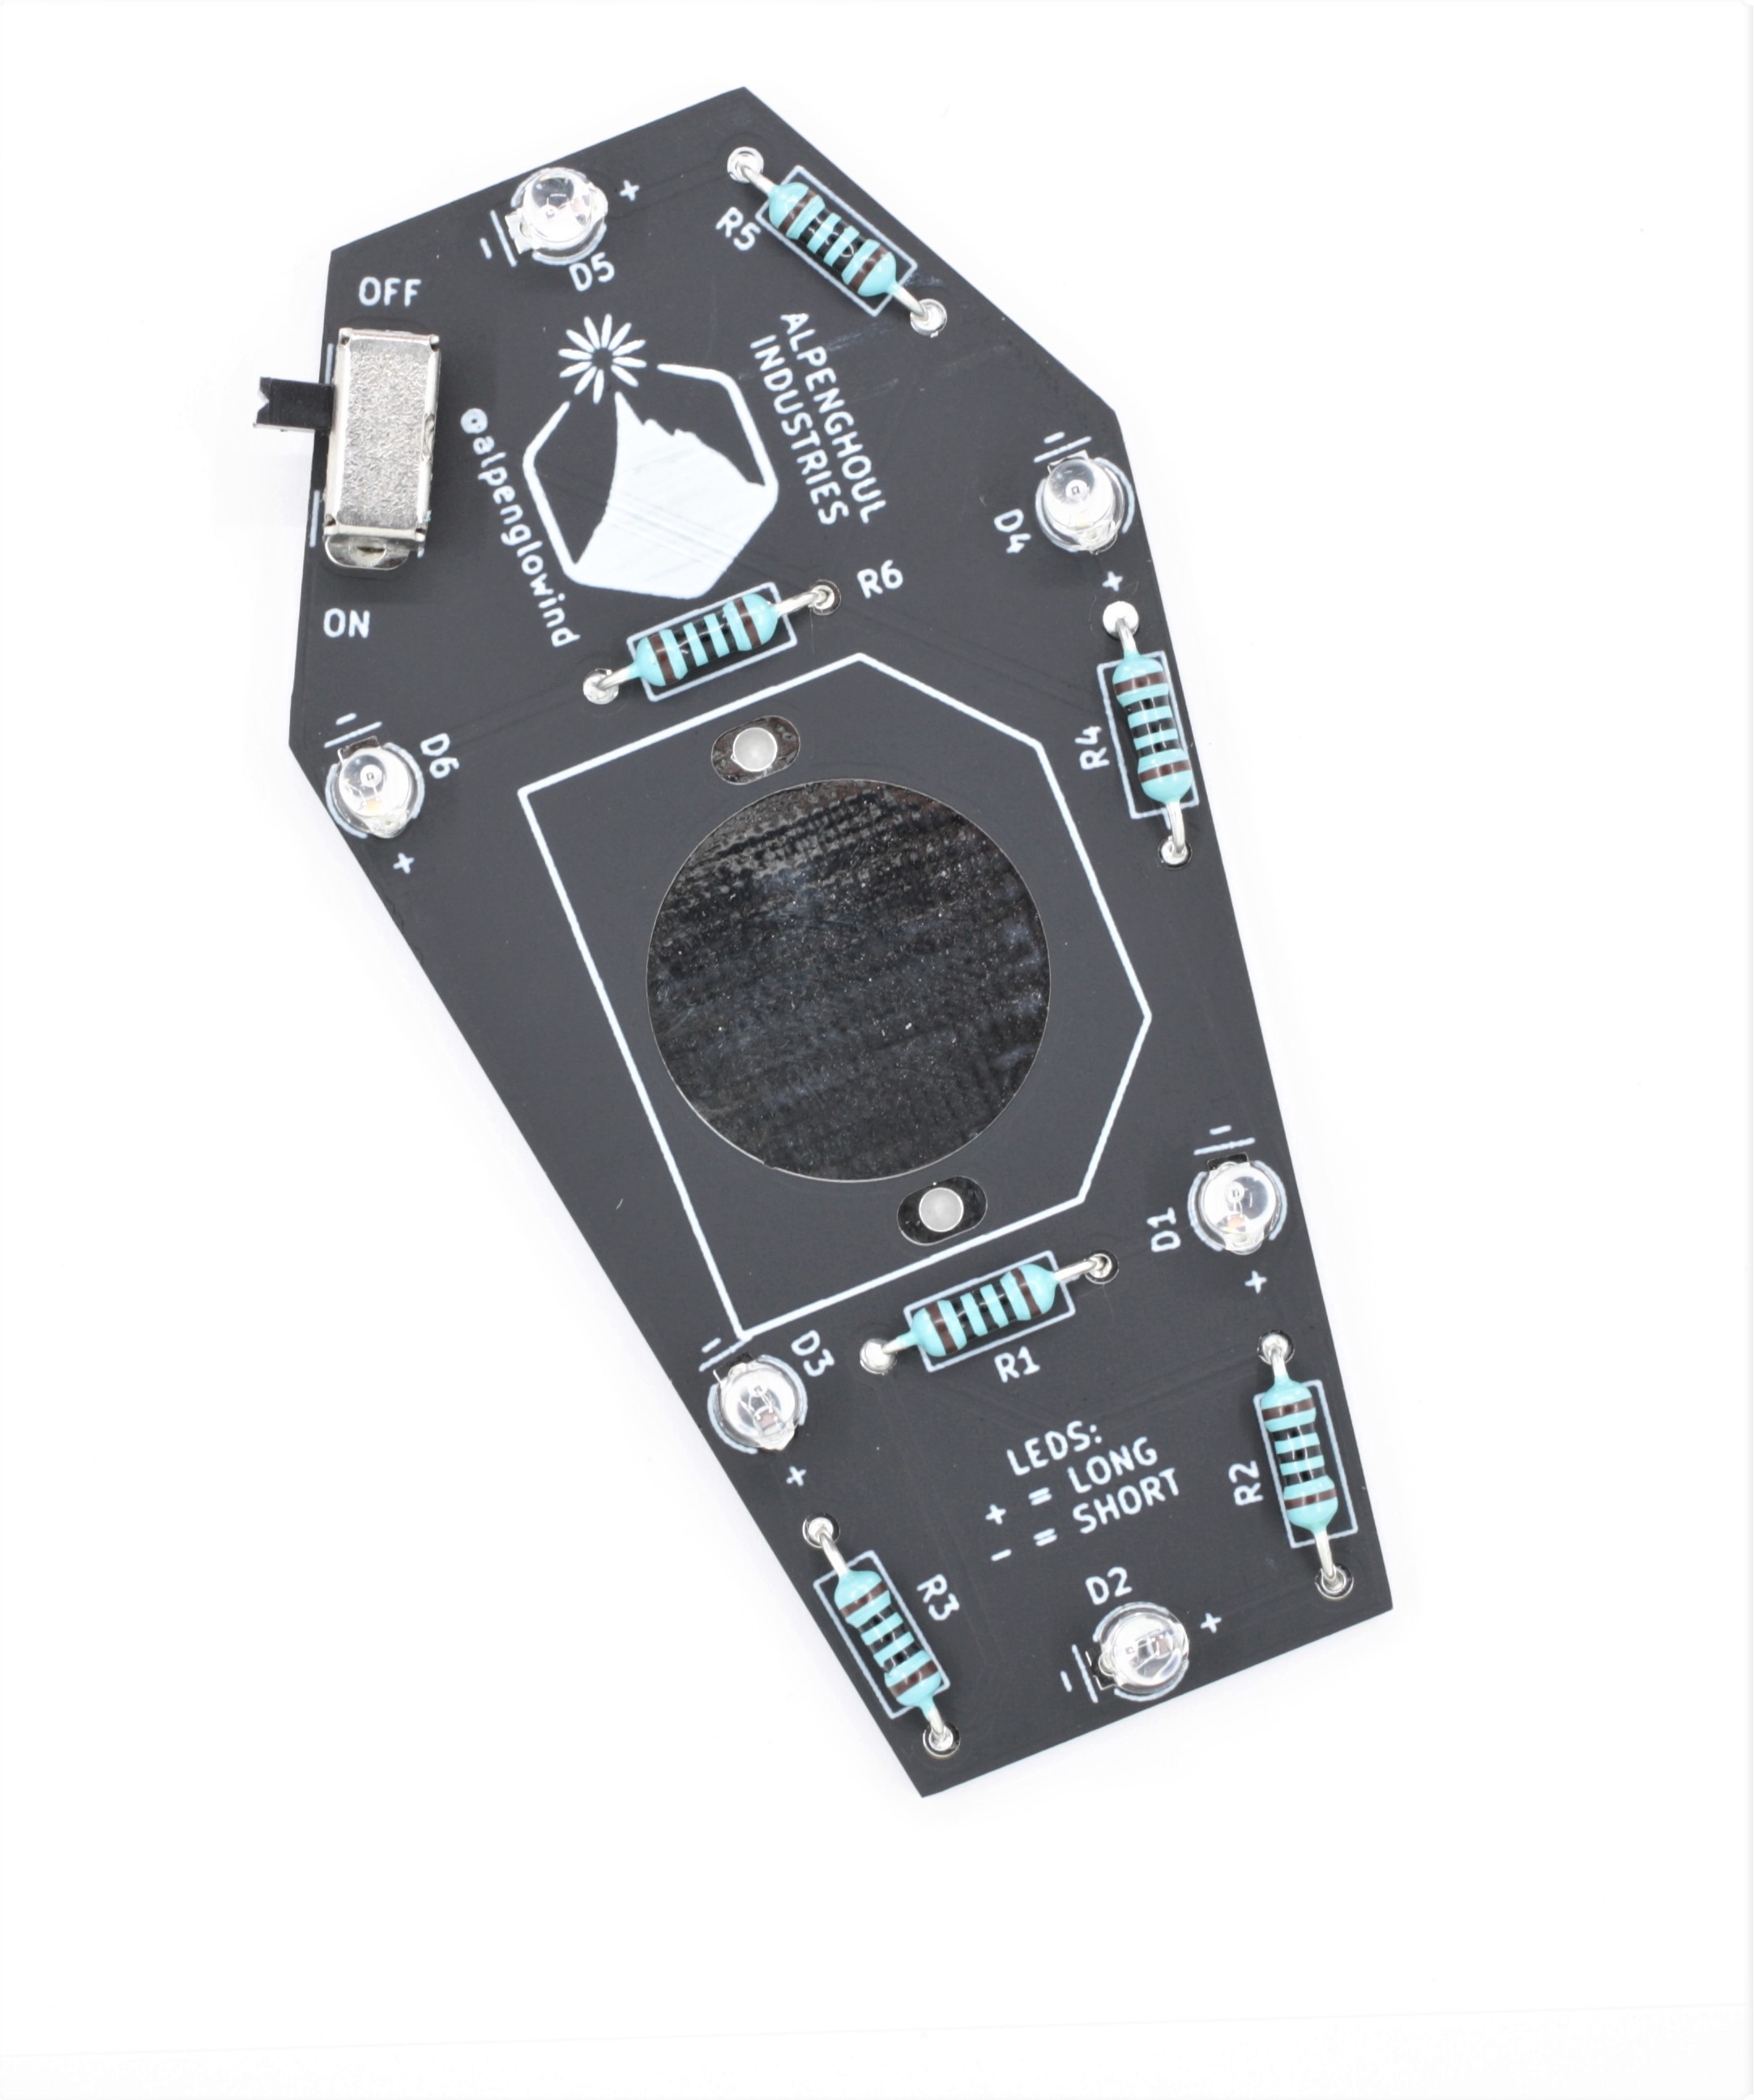
3Step 3: Switch
The switch is easy to bridge so be sure to not use too much solder!
*Note: The switch is made of metal so it gets hot when soldering. Be careful touching it during and directly after soldering!
![]()
-
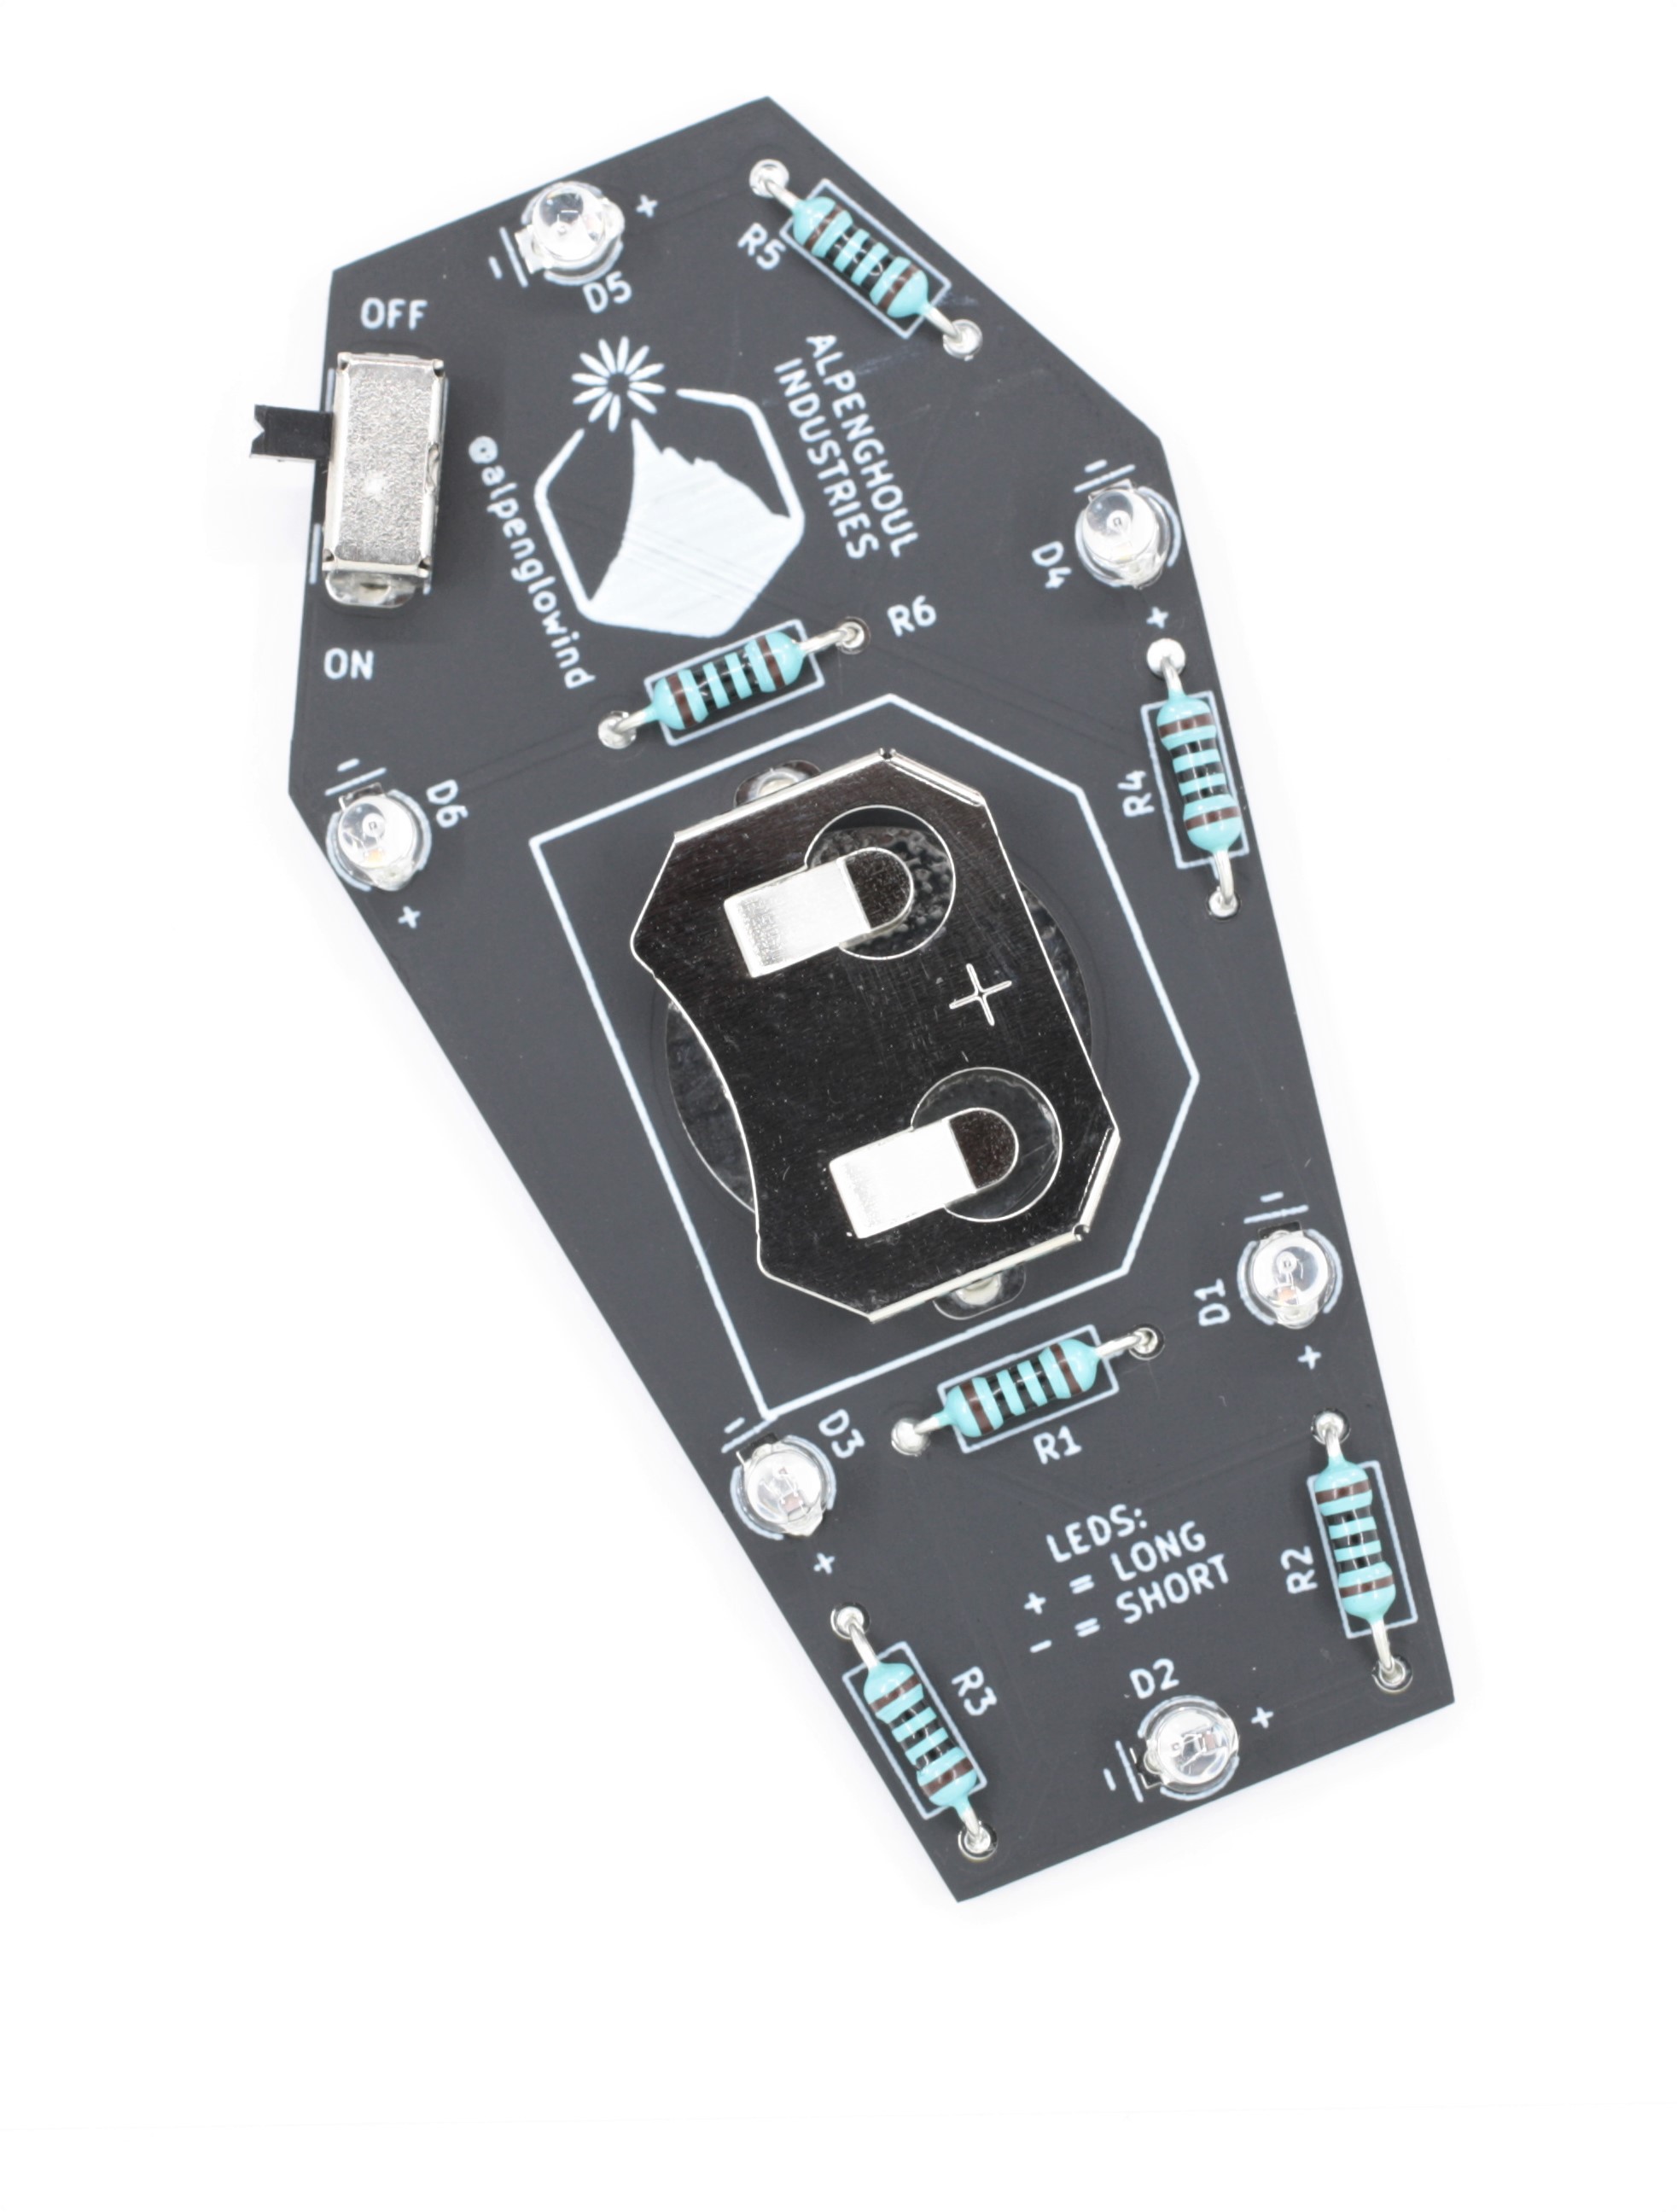
4Step 4: Battery holder
The battery holder should "click" into place which makes it easy to solder!
*Note: The battery holder is made of metal so it gets hot when soldering. Be careful touching it during and directly after soldering!
![]()
-
5Step 5: Insert battery and enjoy!
![]()

Discussions
Become a Hackaday.io Member
Create an account to leave a comment. Already have an account? Log In.