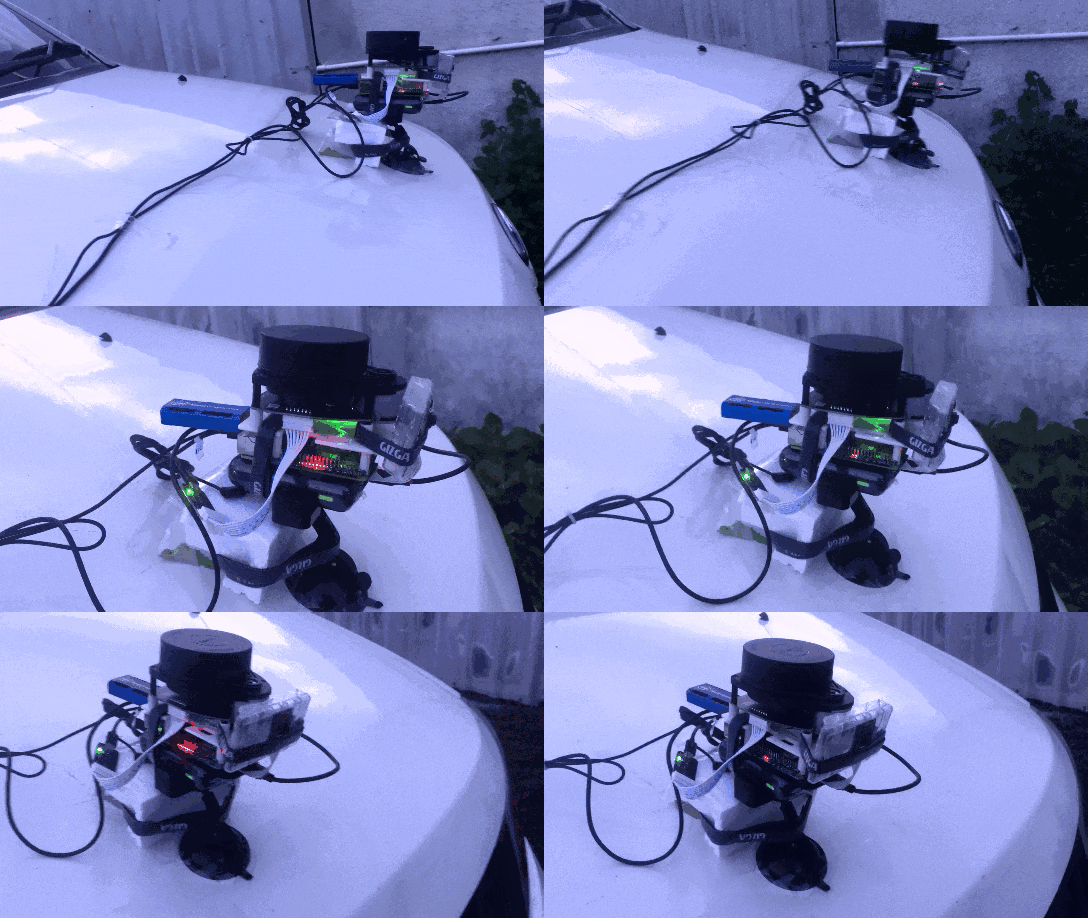
Real-World Implementation with RPi and RPLIDAR A1
First, assembled the Pi with RPLIDAR A1, Pi Cam, LED SHIM, and NCS 2. 2D LIDAR is used instead of 3D LIDAR as we aim to make the gadget, cheapest possible. The unit is powered by a 5V 3A 10, 000 mAH battery.
Connected RPLIDAR A1 with the USB adapter that is connected to the Pi USB using a micro-USB cable. LIDAR's adapter provides power and converts LIDAR's internal UART serial interface to a USB interface. Use an Aux-to-Aux cable to connect RPi to speakers.
Due to physical constraints, an LED SHIM is used instead of Blinkt to signal warning messages. While the total cost of the ADAS gadget is just around US$ 150-200, one may have to shell out at least $10-20K more, to get a car model with such advanced features.

First, I tried to solve 3D LIDAR-Camera Sensor Fusion on the above gadget. Just imagine, a 3D LIDAR is connected the same way as above. Further, I thought to do the variation for 2D LIDAR-Camera Fusion, to make it work on RPLIDAR A1 as the multi-layer laser scan in 2D LIDAR is different from 3D LIDARs.
 Anand Uthaman
Discussions
Become a Hackaday.io Member
Create an account to leave a comment. Already have an account? Log In.