-
Timeout
12/30/2022 at 04:58 • 0 commentsAs the year draws to close I decided to shake of the dust on my account with an update on this iteration of what I'm now calling the "Dumbwatch."
Over the time spent with this project I have learnt much about building up a wearable device from scratch. While on the home stretch with this particular project I had hit a wall comprised of two major factors: the case design and power supply issues.
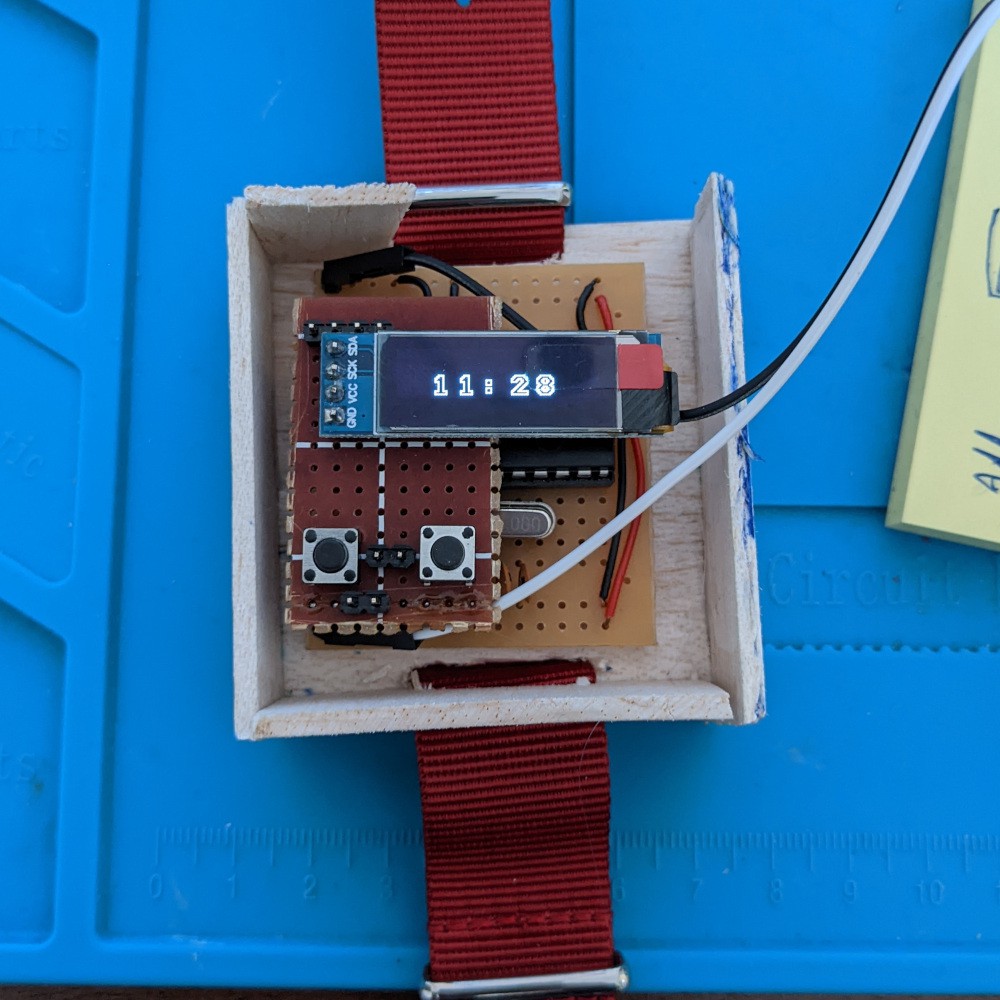
I had always the intention to build this version would of balsa wood and while numerous mockups (in thick cardboard) were made, I found that I couldn't incorporate the LiPo and supporting USB-C charger board without adding to the already significant heft that was already present with the device. Thanks to the ATmega I became very aware of how little I was using this particular MCU. With the significant amount of time (and money) that I already invested in this project I pushed to have it encased with much haste. As noted by the chunk missing out of the right hand section in the photo below.
![]()
The power supply became the final nail in the proverbial coffin for this watch. As I fumbled to fit the battery assembly with socketed breadboard cables, it soon became clear that I wouldn't be able to fit it in. Then a short happened and after much debugging with the desktop PSU I found that I had cooked a second ATmega.
To be so close to a somewhat wearable device and have this happen actually broke me for a while. I had drawn up plans for an ATtiny85 based followup as soon as I finished this but had to take a break. I boxed the case as best as I could and now this watch now hangs on my wall as a reminder for me not to be too hasty with finishing a project.
I do hope to return to this form of the watch as all other parts of the device (codebase and UX) were pretty much complete hence the current "shelved" status of this project.
-
Through the eye of the needle
03/29/2022 at 04:39 • 0 commentsThings were on track to have a working version as I soldered up the components on the veroboard. In my enthusiasm I had decided to use solid core wire to hookup all the components, which progressed well until it didn't.
Today, I learnt a harsh lesson about working with material on such a small scale. Here I was, with not a lot of soldering experience trying push a proverbial camel thorough the eye of the needle. My mistake with committing to solid core wiring become apparent as I found certain pins become close to inaccessible as more wires criss-crossed the board. Like Icarus, I persevered to the point I was faced with a populated board with everything connected (with joins of varying quality).
Finally came to the time to power it up. All my runs appeared to test ok on the multimeter but as soon as the 3V from the power supply was connected...nothing. Not even a flicker on the screen, had it not been for a small status light on the power supply fading out very quickly on each attempt I would've been chasing my tail for hours.
The application of a button cell battery with a capacitor in line produced similar results. Upon reflection I had a sinking feeling that I cooked the ATmega as I assembled the board. One painful exercise in desoldering later I salvaged the OLED and crystal but alas the ATmega remained stuck.
A walk around the block has led me to pursue the following steps:
-Rebuild board with more resonable dimensons using a socketed CPU and display
-Implementing a more stable power supply with support components rather than hooking a battery directly into the circuit.
-
Moving off the board
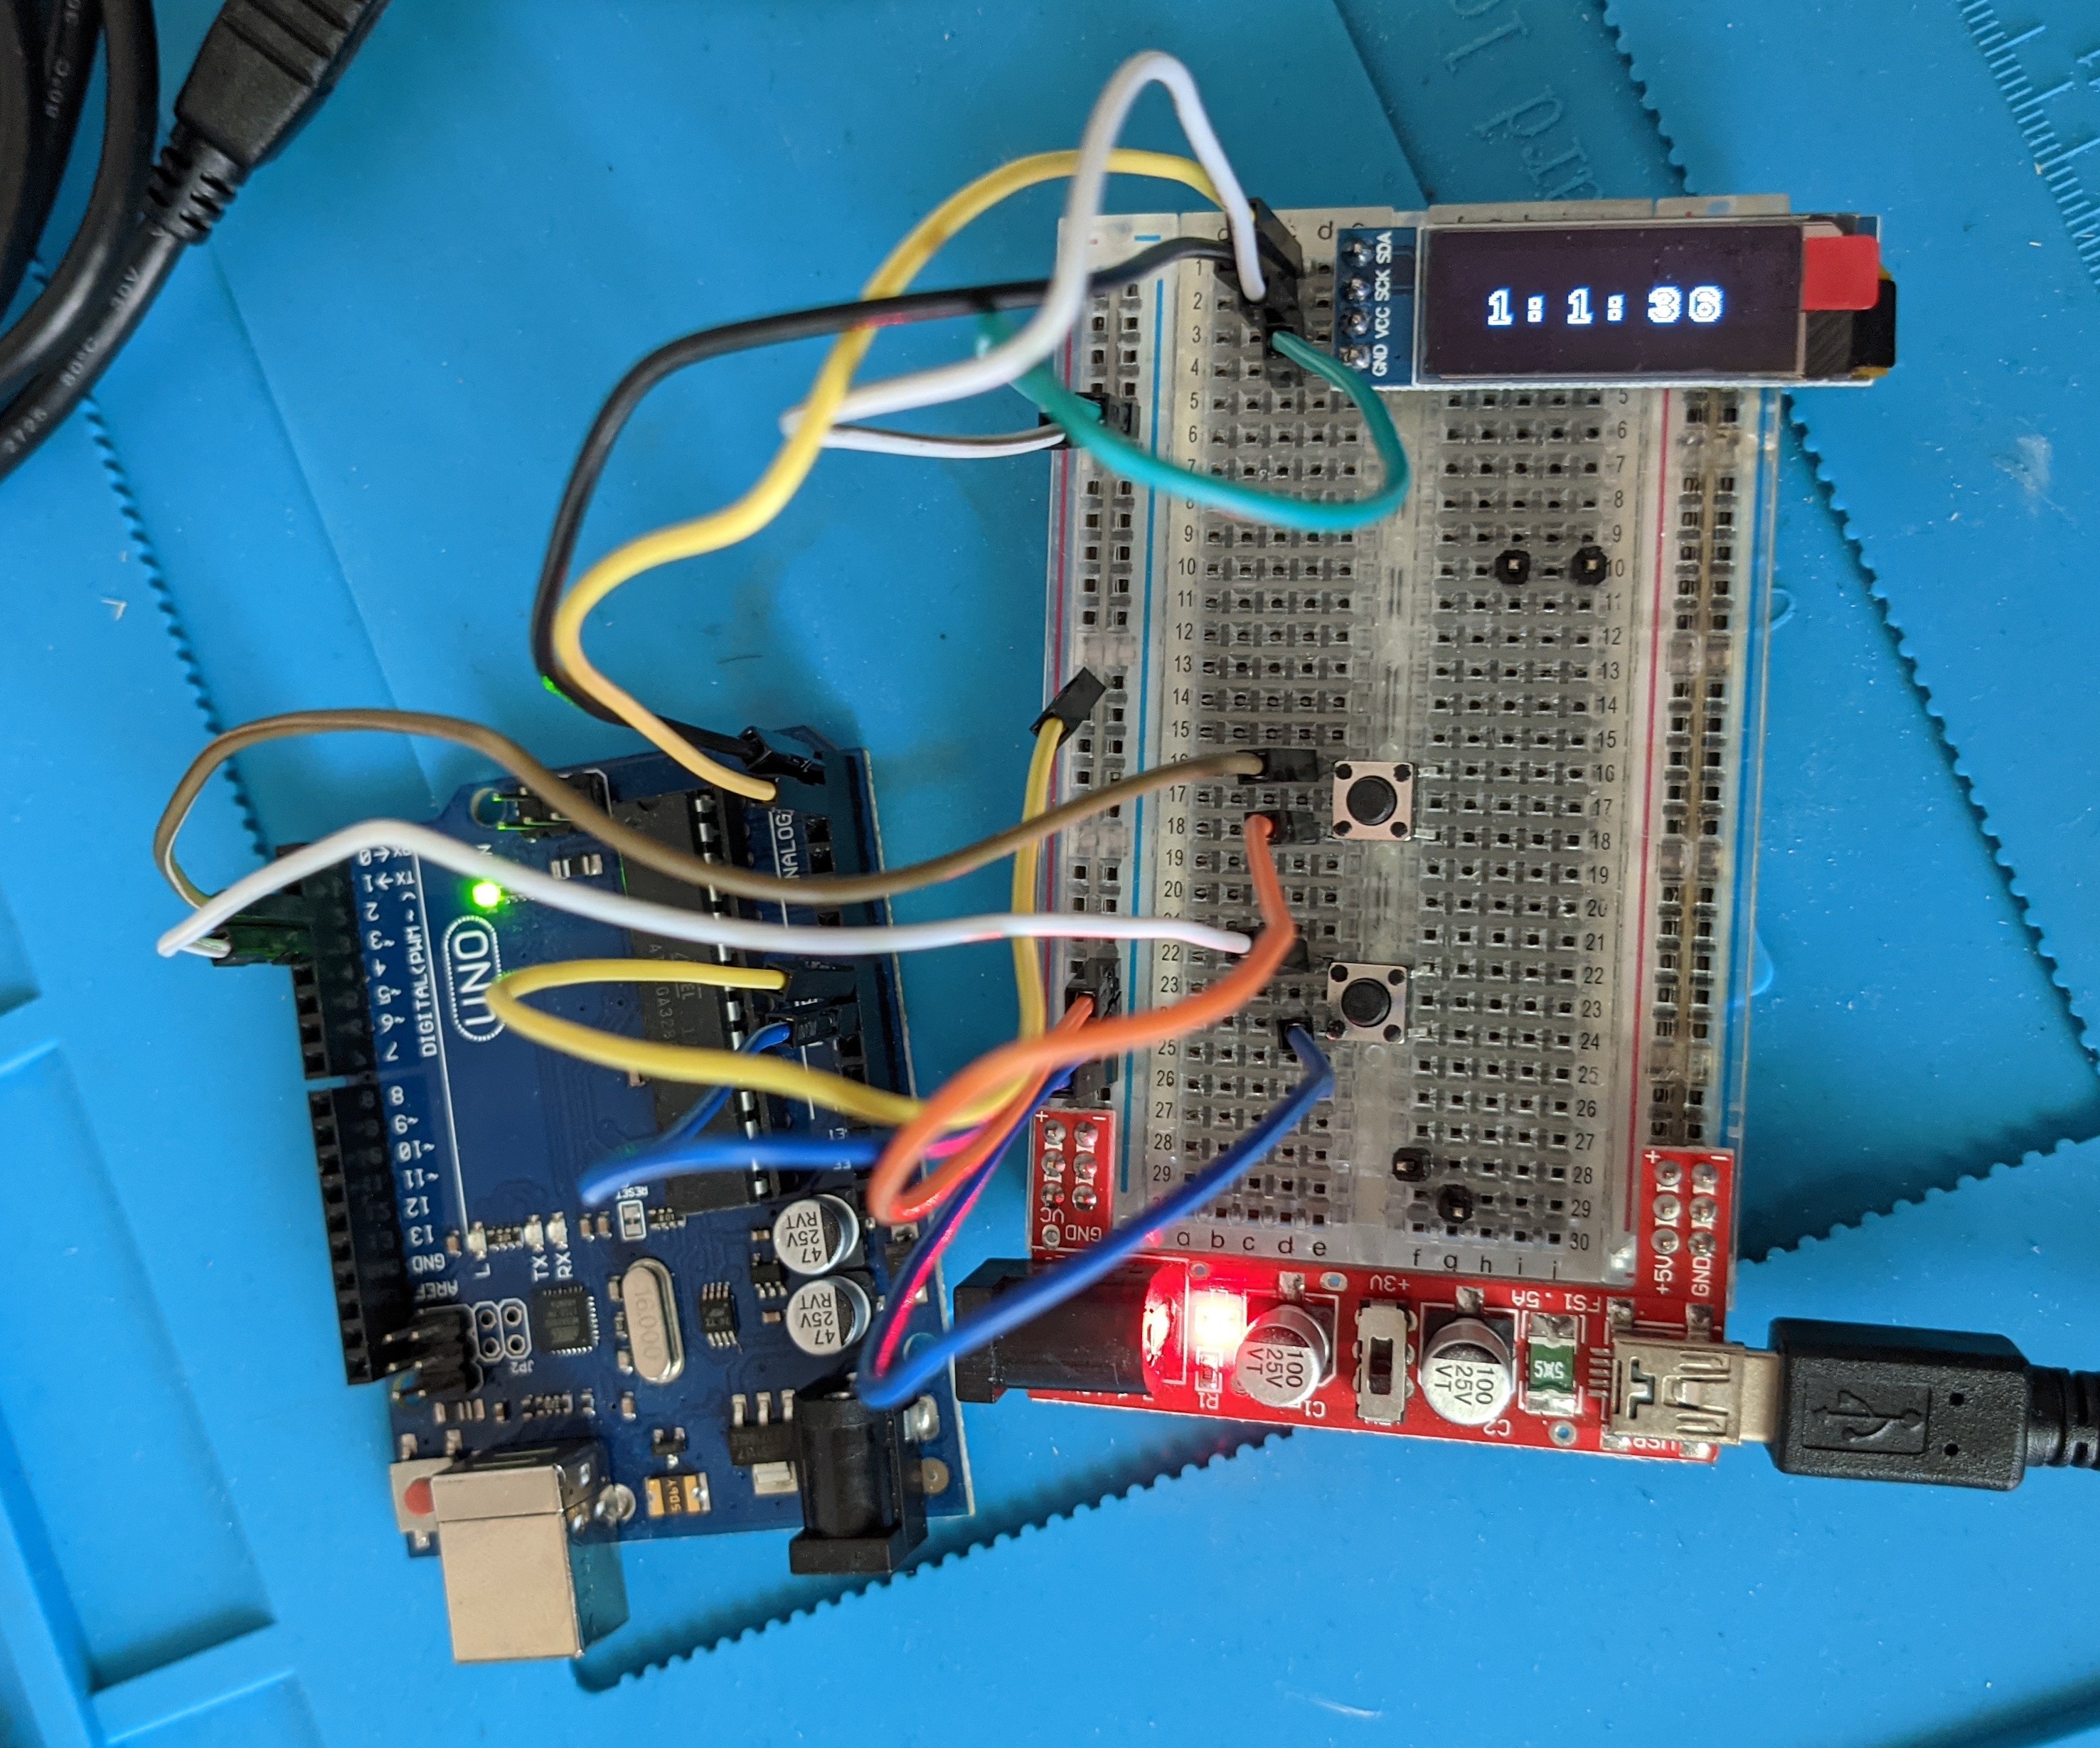
01/18/2022 at 08:41 • 0 commentsA brief update on how the watch is progressing on the breadboard. The below image is the watch in its current state. Still using the UNO for some final debugging of the code. Currently at version 4.5, I'm trying to figure out why a spin on the "blink without delay" example is running four times faster.
![Minimal Watch on Breadboard Minimal Watch on Breadboard]()
The next big step for this build is to start focusing more on the breadboard rather than having the devboard tethered to my laptop for code and more importantly power. As demonstrated in the image, a handy breadboard power module is now running the setup. When I first implemented this item I was keen to test the setup on a 3V power source as I intend to use button cell batteries. However, I quickly found out that while the ATmega328 was ok with 3V; the UNO board's regulator wouldn't let it run unless there's 5V going into it. Nevertheless, it was a big lesson in the relationship between devboards and the raw chips that this device will eventually use.
All the parts for the final build have been sourced. Once the quirks in the code are squashed it will finally be time to leave the UNO and ascend to the final barebones form.
-
Visually Speaking
11/23/2021 at 13:36 • 0 commentsIn between big things going on in the personal sphere the watch has been biding its time in breadboard form (photos to come soon). To keep the creative juices following I feel down the rabbit hole of software packages that I've read many makers deem essential. From the friendly Fritizing to the more comprehensive KiCad, it's been a interesting few weeks seeing how different packages handle the same tasks.
While plotting many revisions of the watch I started to visualise how I could present the completed item as a wearable timepiece. This lead to yet another software package, the oft mentioned Inkscape that is common amongst vector graphic's aficionados. I had to admit, I felt a twinge of familiarity as I faced it's illustrator (circa CS6) looking interface. The updated project photo is a quick mock-up of how I want the watch to appear.
I am still keen on having the components on display I feel that a sandwich of transparent acrylic will be the way to go depending on how the battery situation plays out.
-
So far, so long
10/26/2021 at 21:54 • 0 commentsThe project has been steadily progressing for the last three months. Starting in the IDE with a "hello world" on the display (using the u8x8 subset from the u8g2 library). Then building up the clock aspect with a simple count up loop every second to then expanding to accommodate minutes and hours.
Once this was established and displaying successfully, I then moved my attention to the physical interface of the watch. In the early days I was thinking of setting up two buttons, one with the "change variable" and "add" like an Ikea Klockis. However, I then decided to go even simpler for this first version and settled on each button adding minutes and hours respectively. After remembering how to enable internal pullups on the chip the watch started to take shape in its operation.
As it stands now, I've got the breadboard running off it's own power supply but am still tied to the UNO board and it's 5V power requirement. The code needs a little bit more finessing to preserve that "accuracy" (an RTC is not in the scope of this project as I wanted it to be as minimalist as possible...for this revision). Once that's done I can go down the rabbit hole of prepping a standalone ATmega chip and completely breadboarding this contraption of mine.
 Maso
Maso
