Disassembly
Getting the Pidock 400 apart was far easier than I thought it would be. It looked like there was super glue holding the front corners together, but it was just some crappy plastic work. It's held together by clips and quite easy to get into with some sort of prying tool. I used a small flat head screwdriver. The hinge covers are side specific, so just switch them if they leave a gap on the back side. There is a bit of 3M VHB tape that holds down the center bit at the back. This may be tough to remove, so take your time. I was luck in that someone put tape on the bottom AND top but never peeled the backing off the lid side, so it came right apart. I left it like that for easy disassembly. I'd use adhesive double sided Velcro there in the future. I used to use it for RC planes and it was very handy. I don't have a picture of the case open without the fan installed, but there is actually a small grate there with mounting holes for a fan. I have 4 of these fans on hand...Perfection.
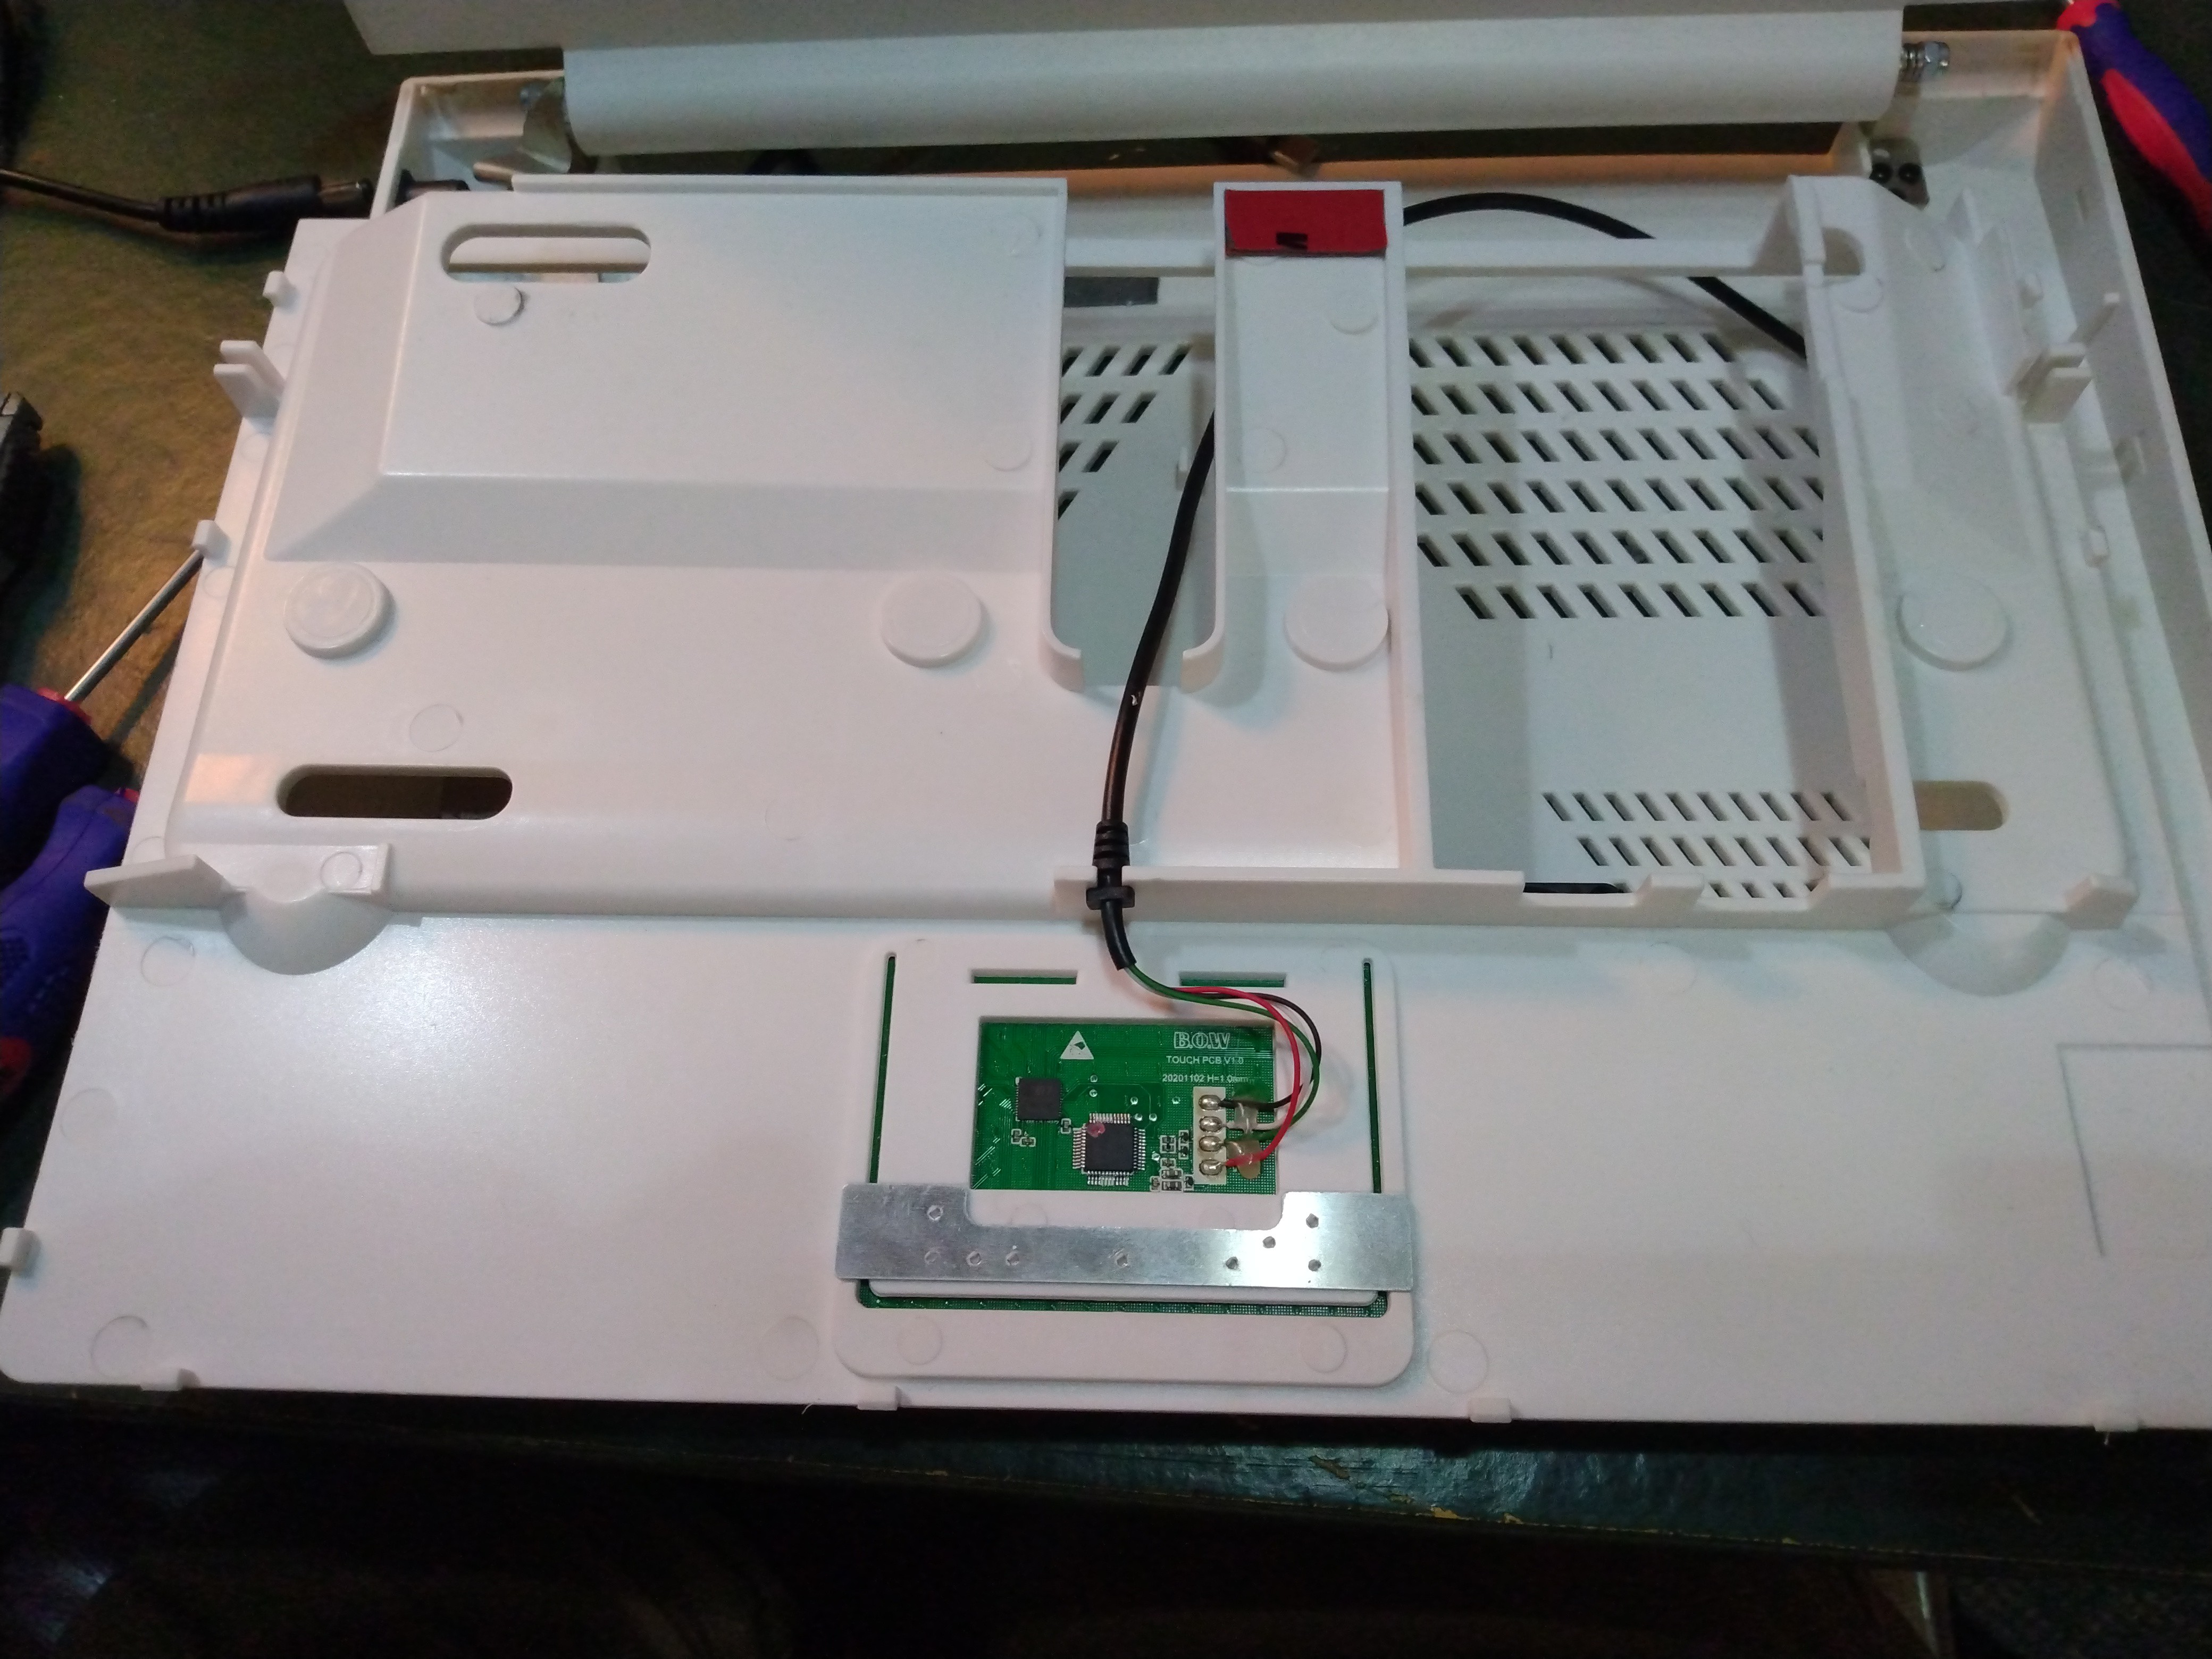
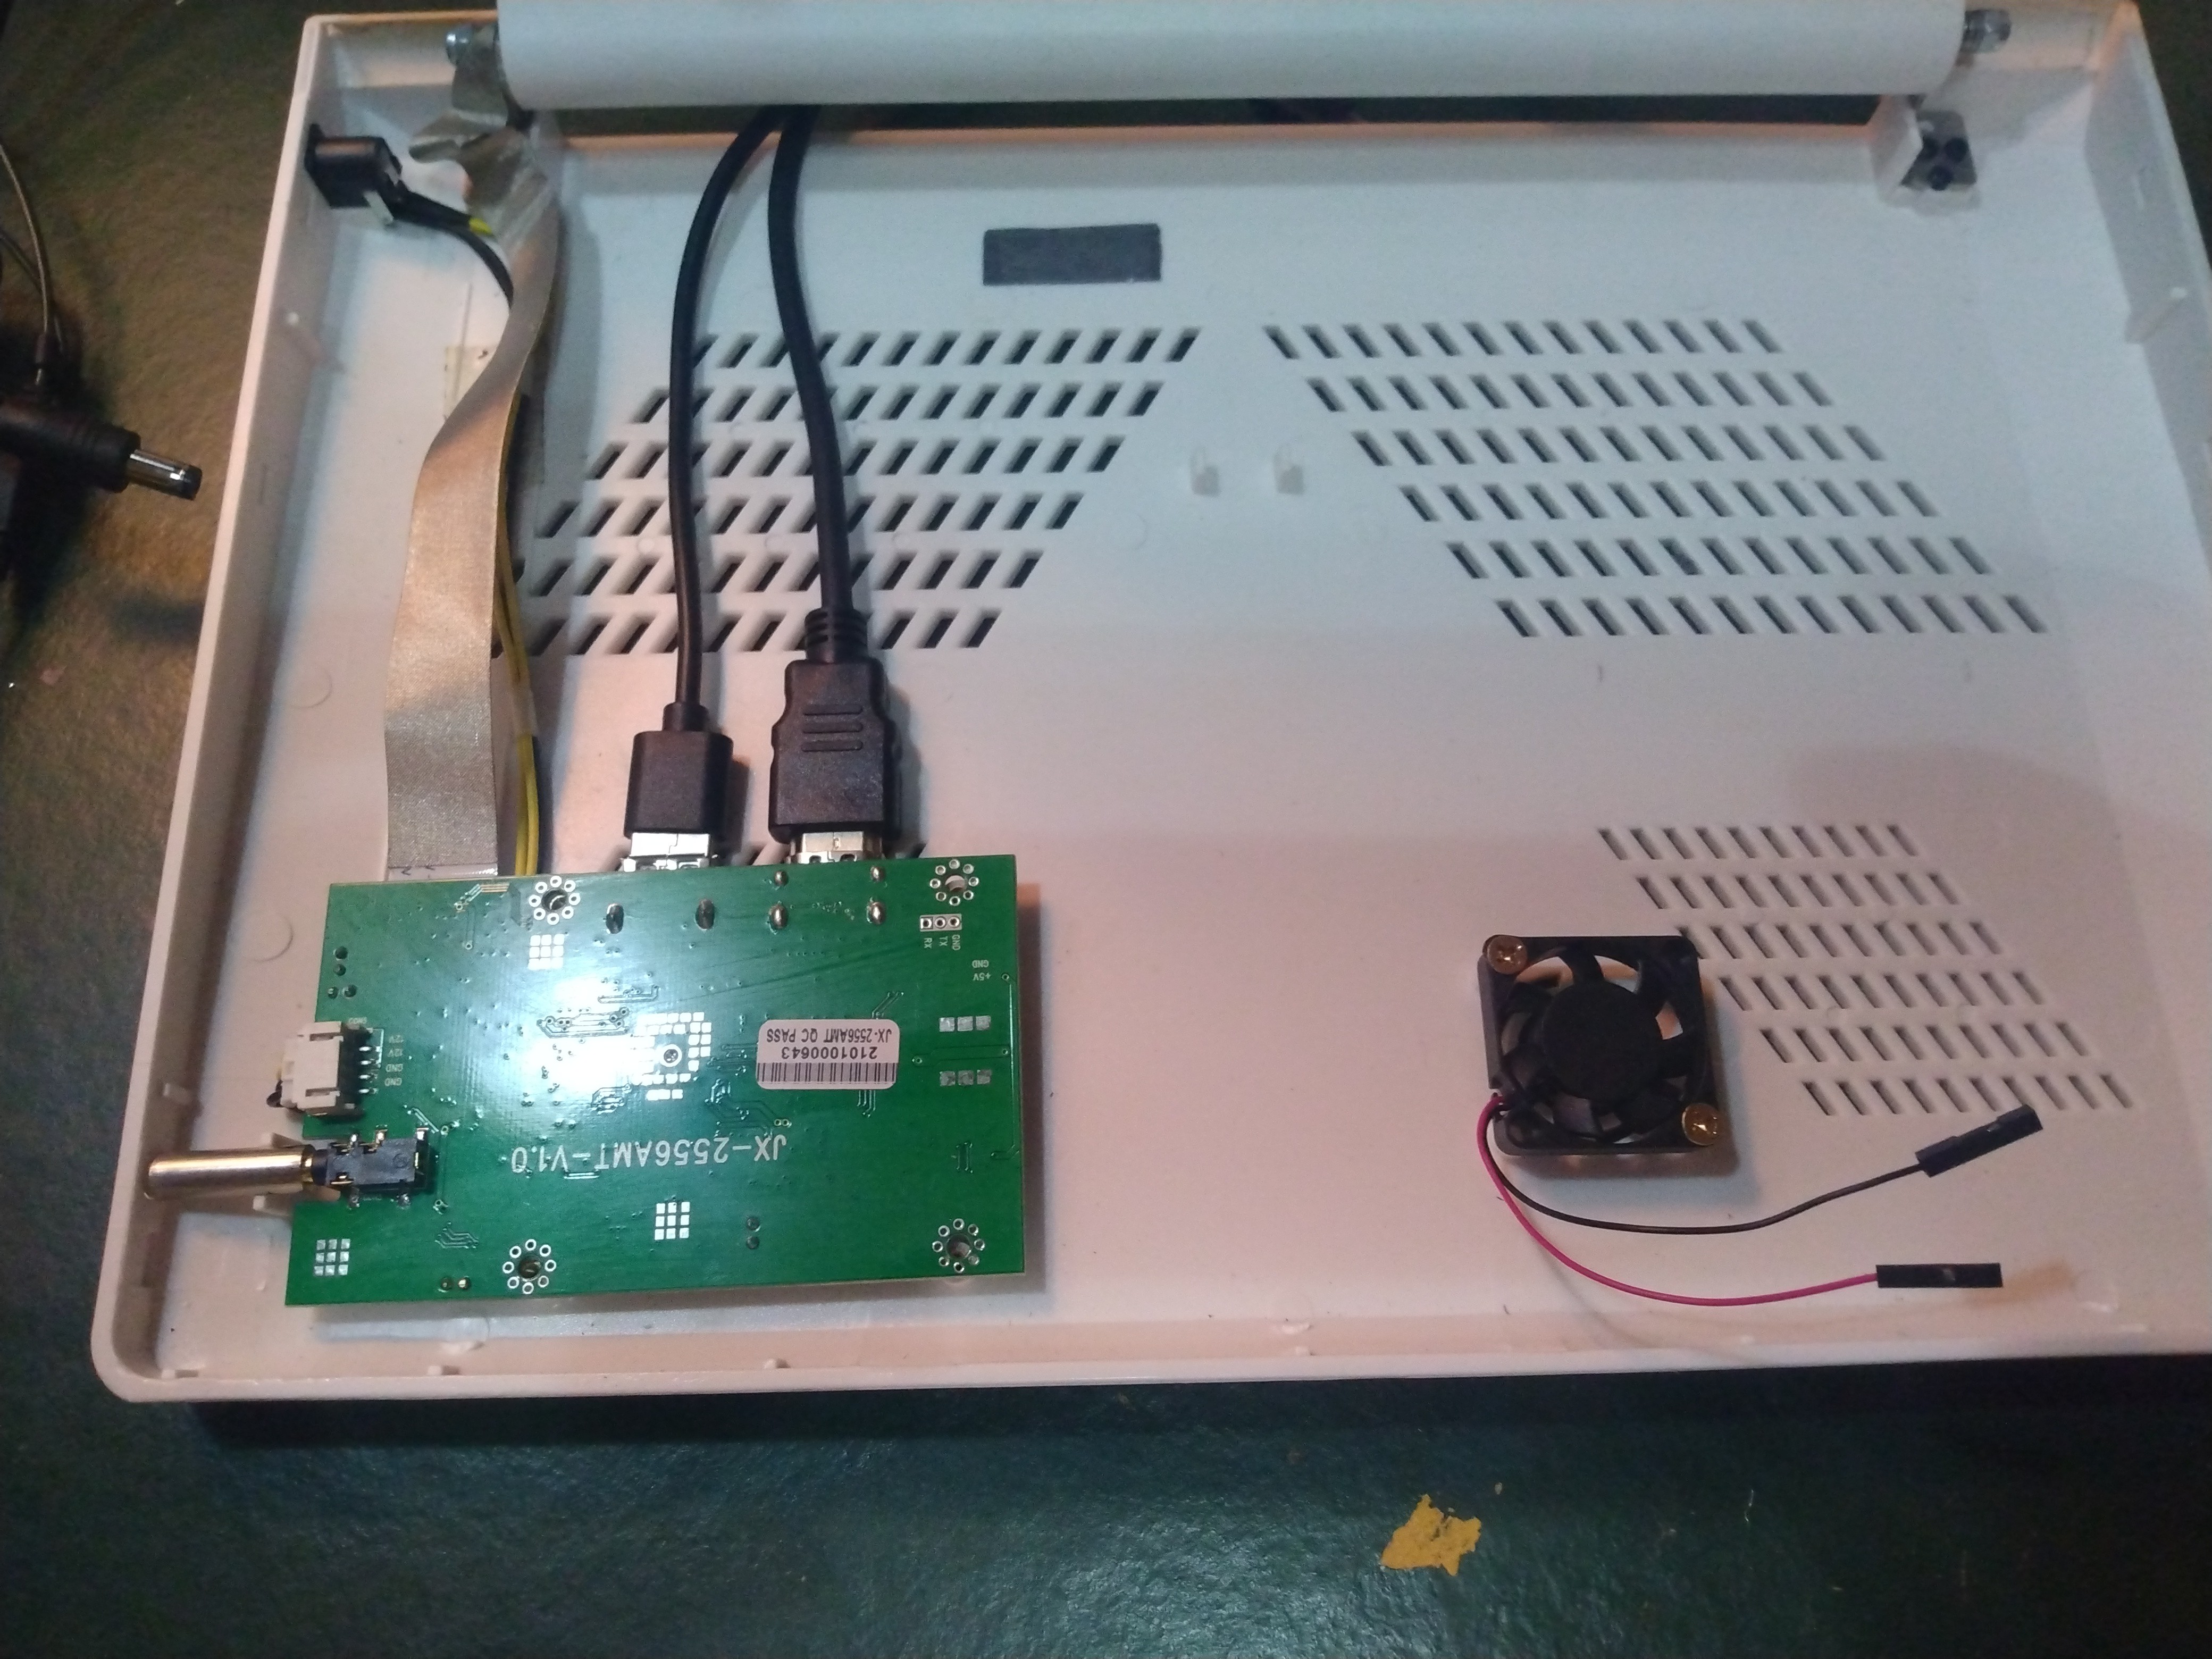
Fan Installation
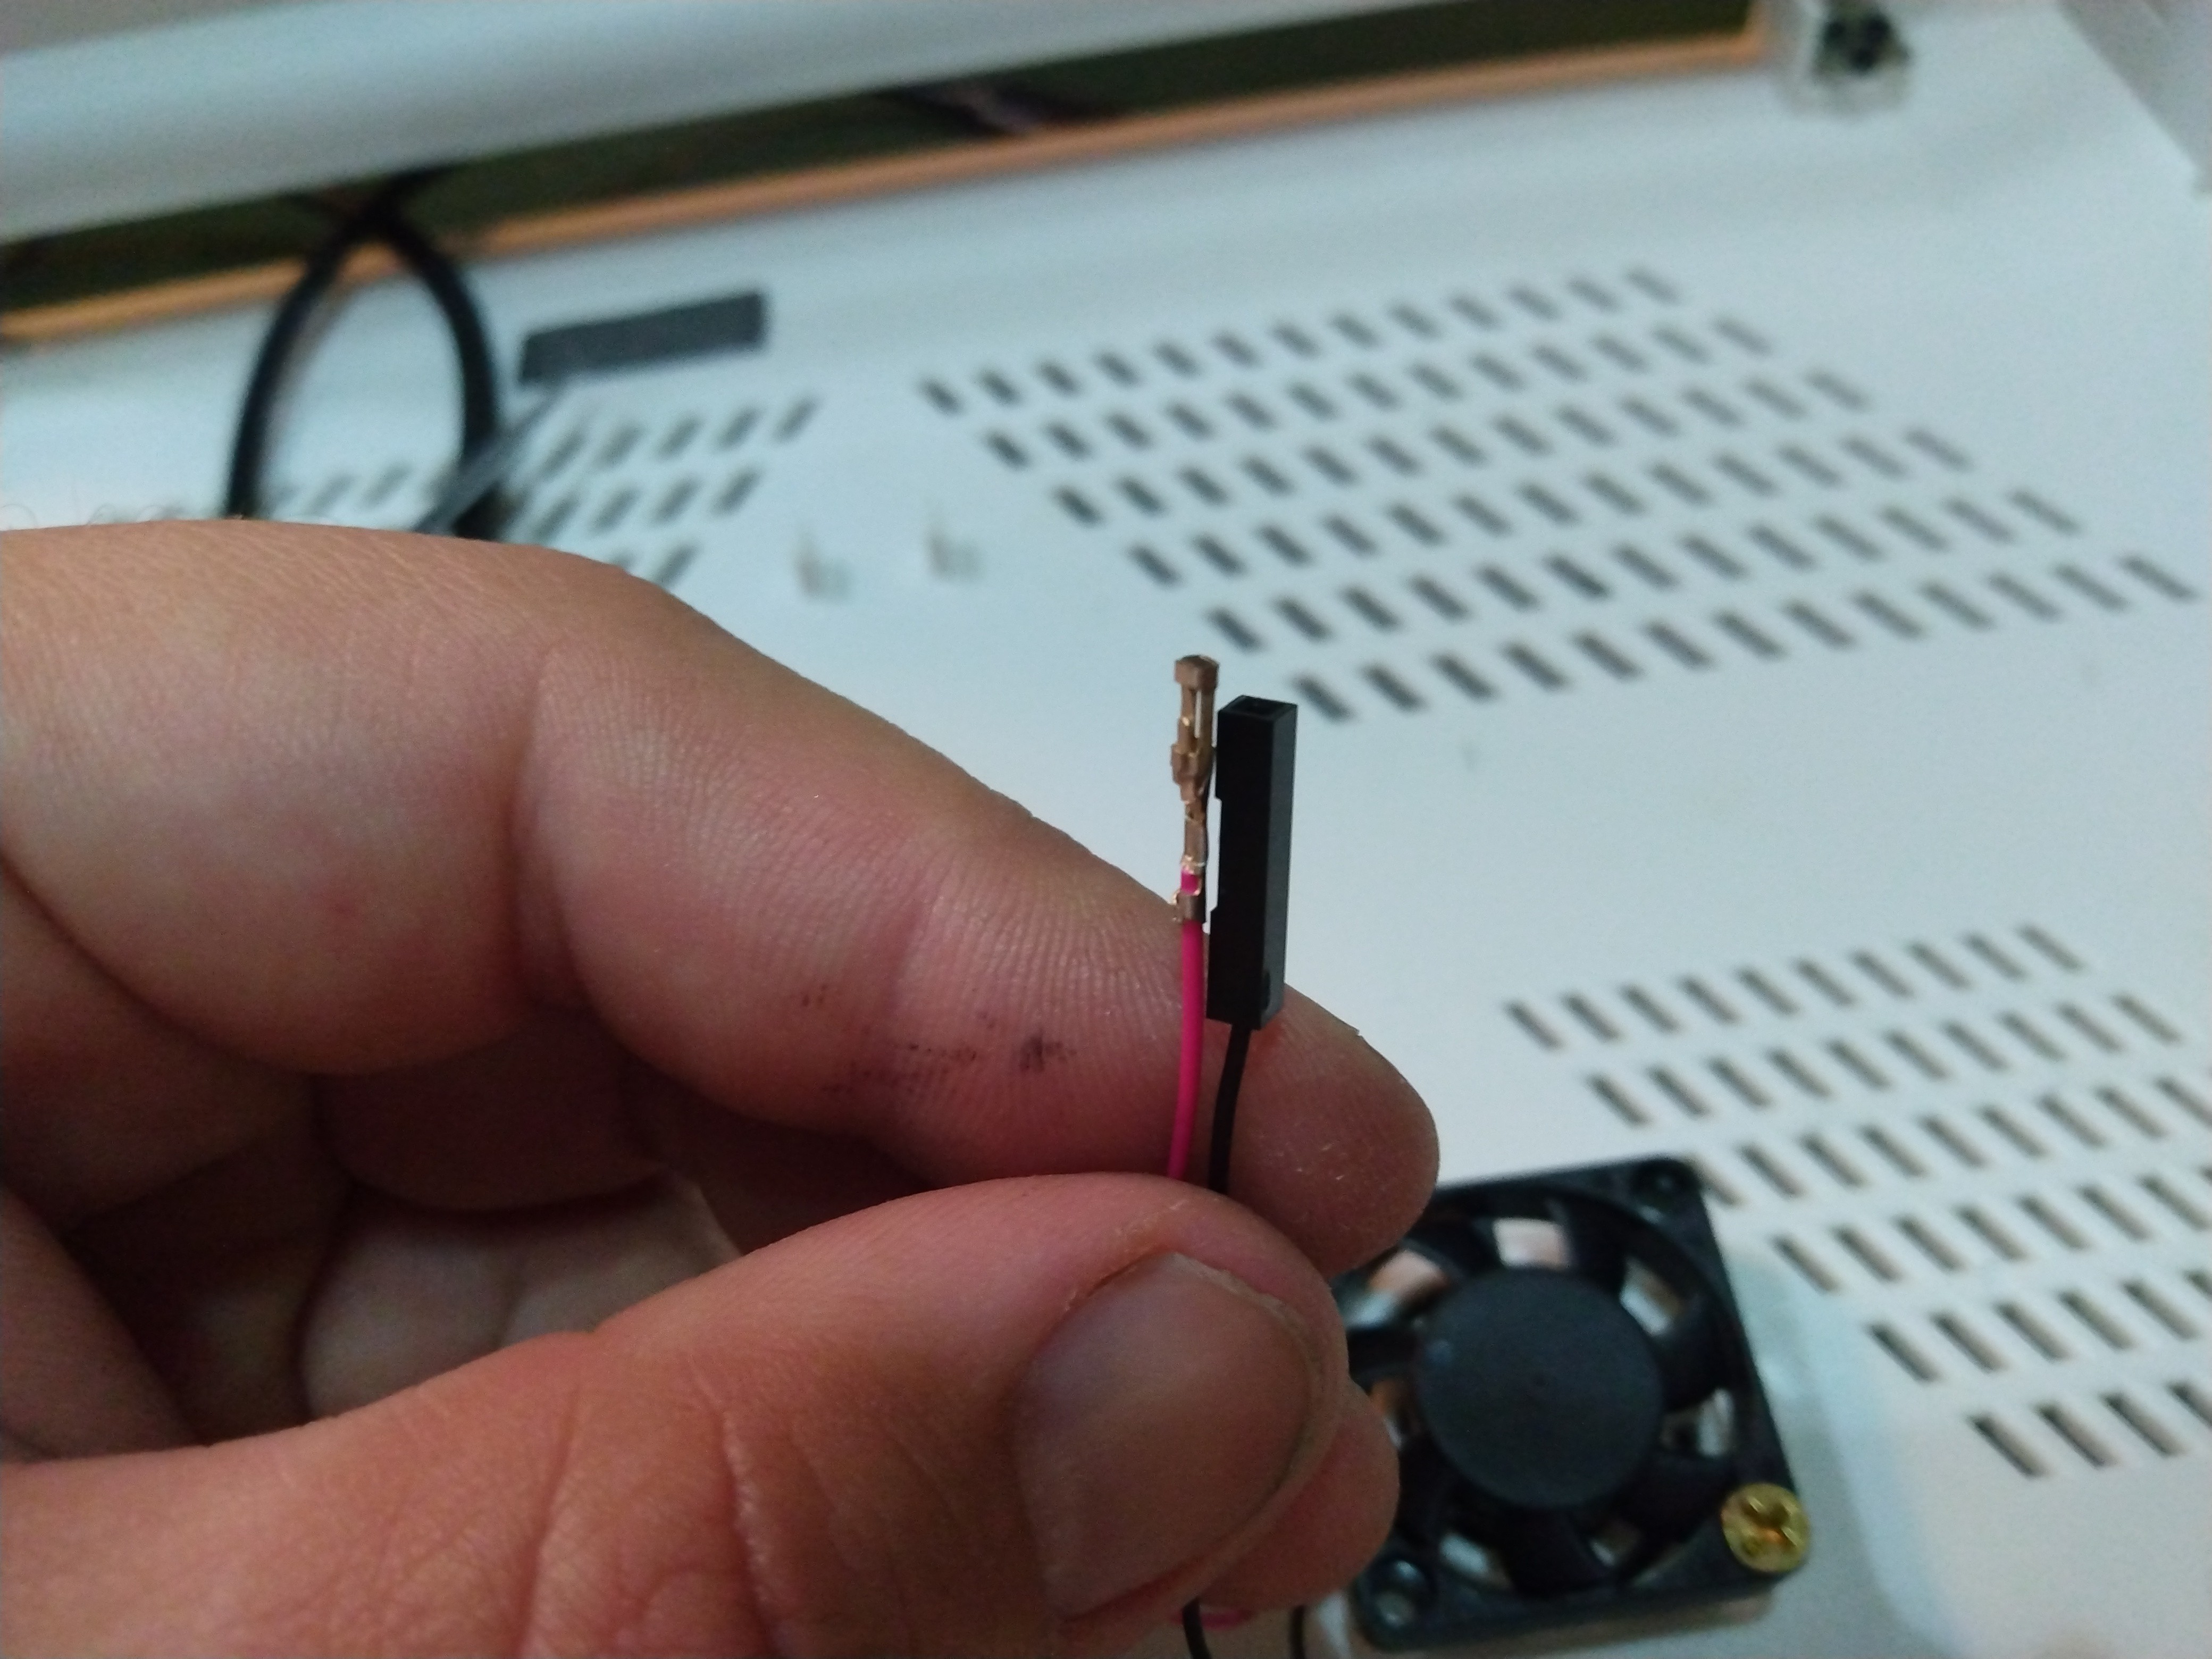
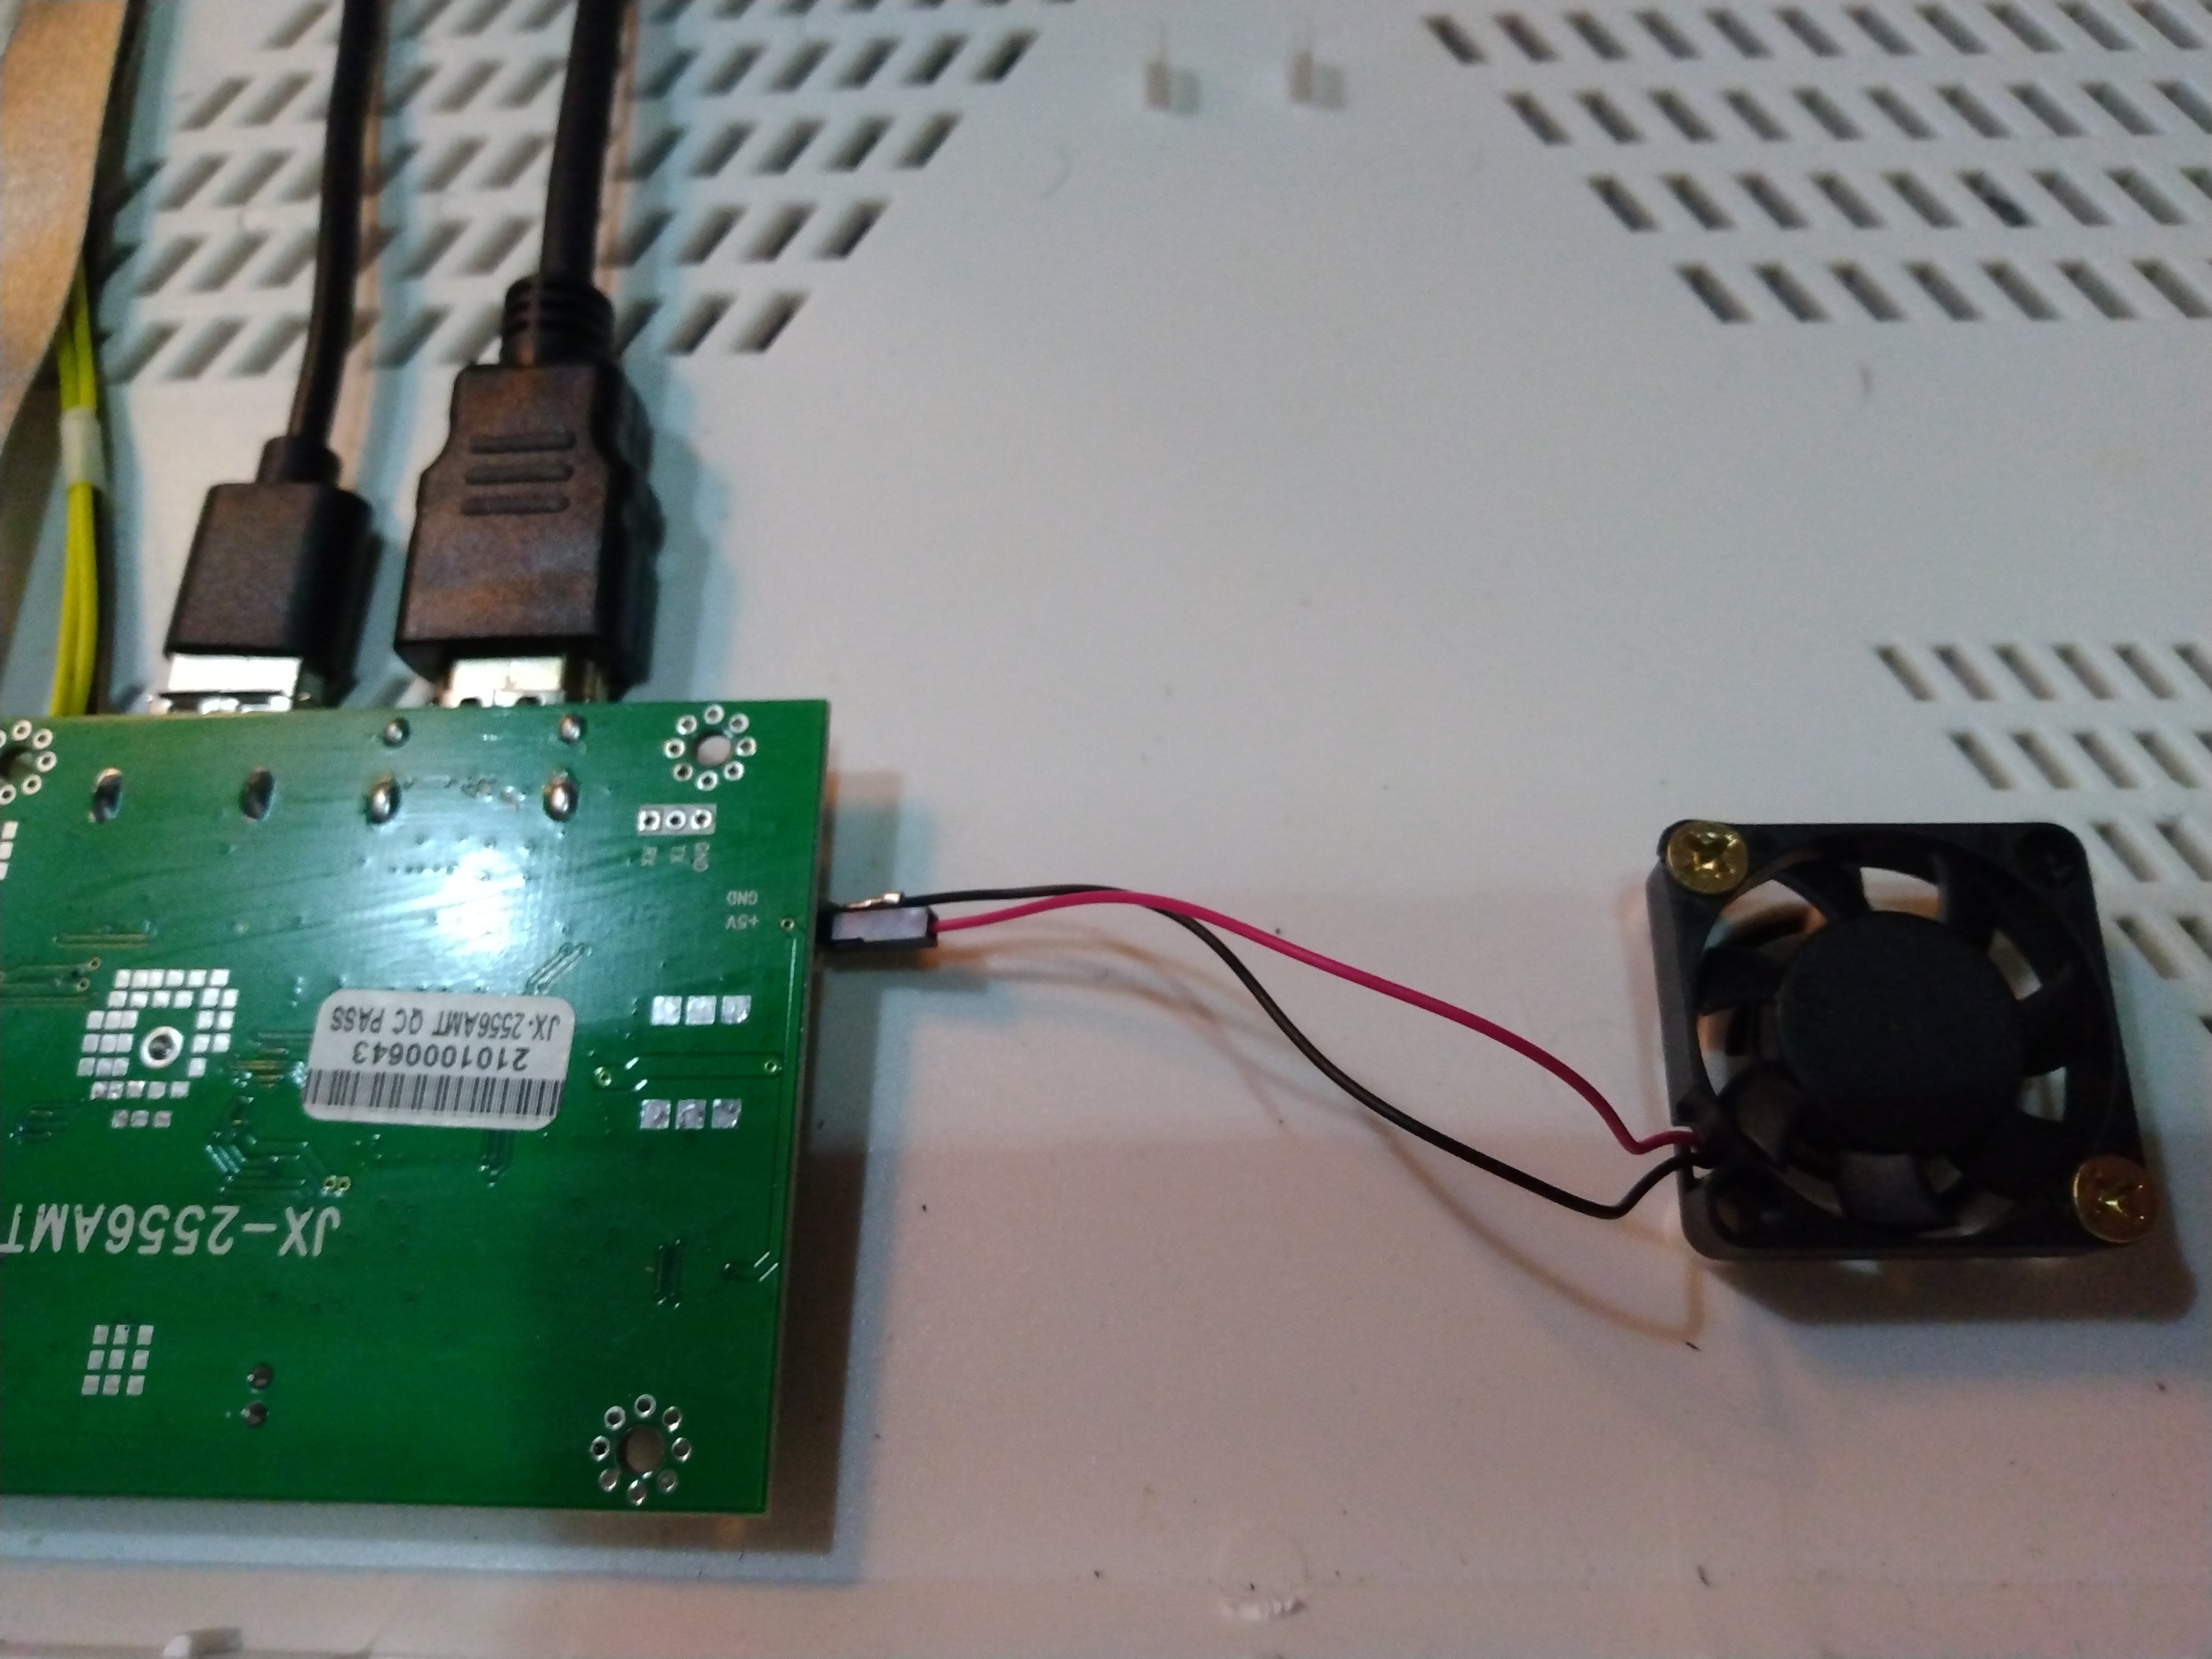
Installing the fan was far easier than I thought. There is a place with screw mounts and vent holes that seem to be designed for the exact size fan I had on hand. The holes line up, everything fits, the cables even reach the 5 volt socket on the board. I ended up pulling off the black plastic end on the ground cable of the fan, as the two side by side wouldn't fit into the socket on the LCD driver board. This worked well enough and I used tape to hold the wires down. This worked better than I thought it would. Not too much to say, so check out the pictures.
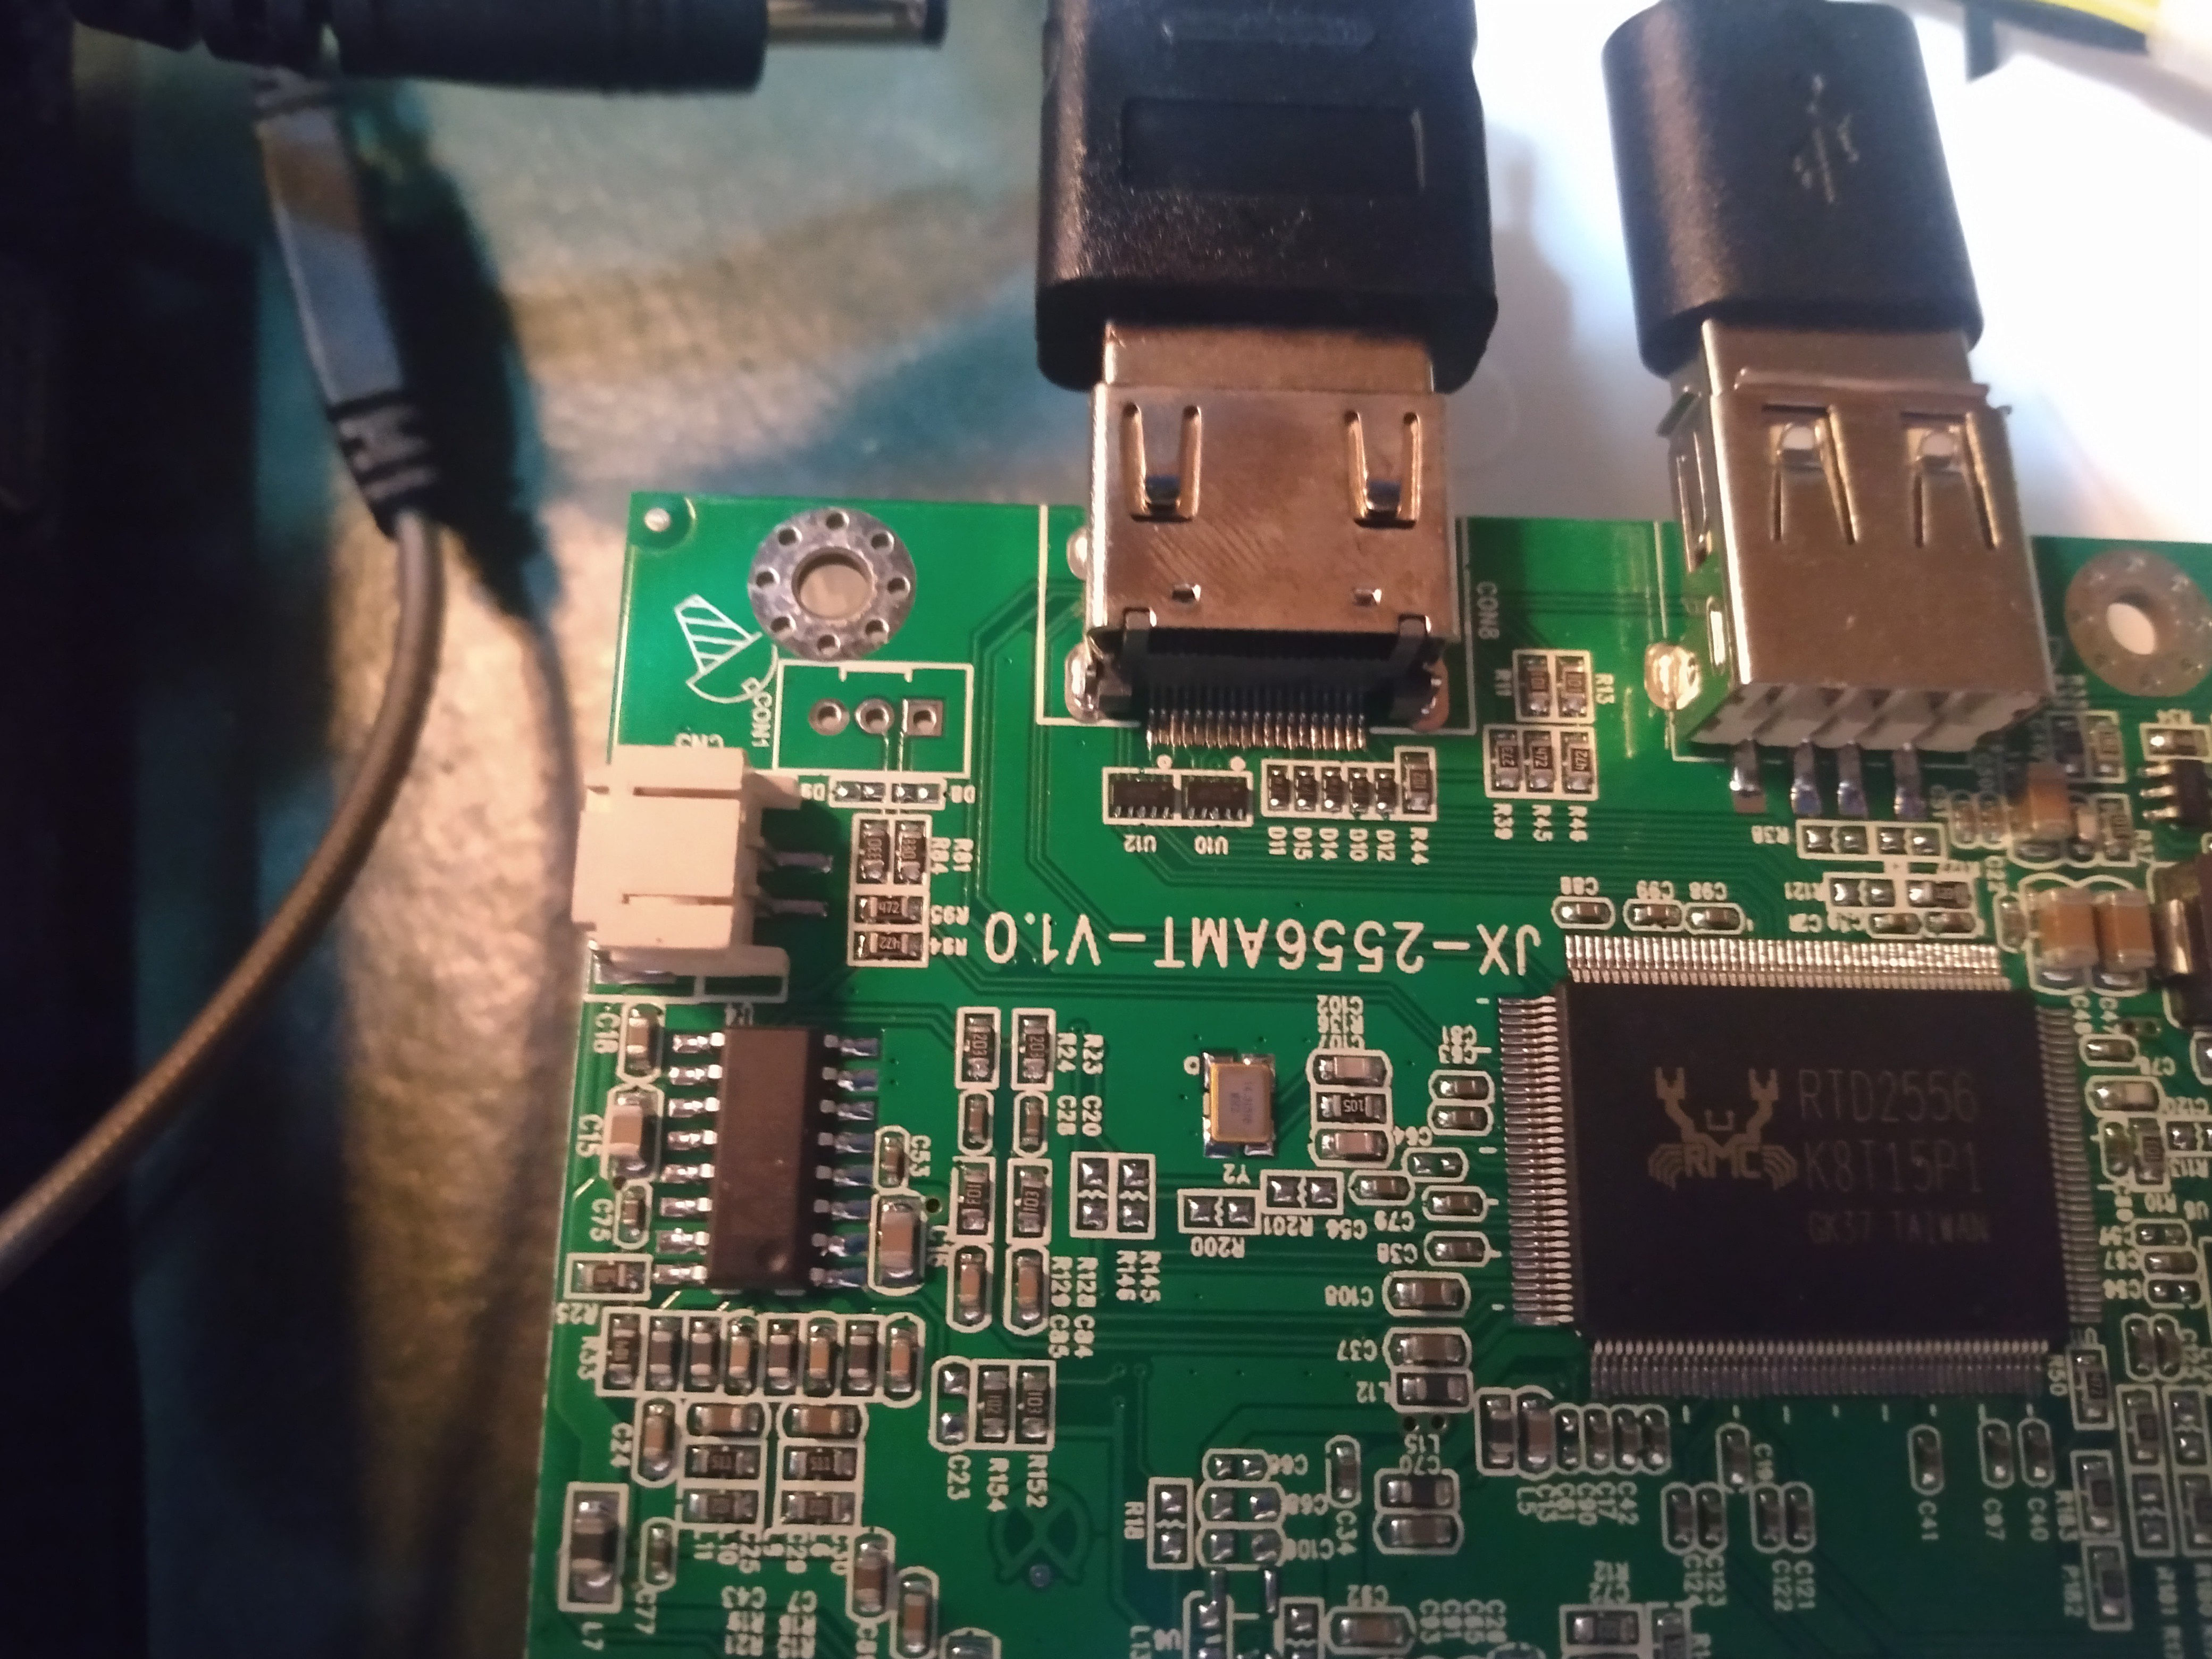
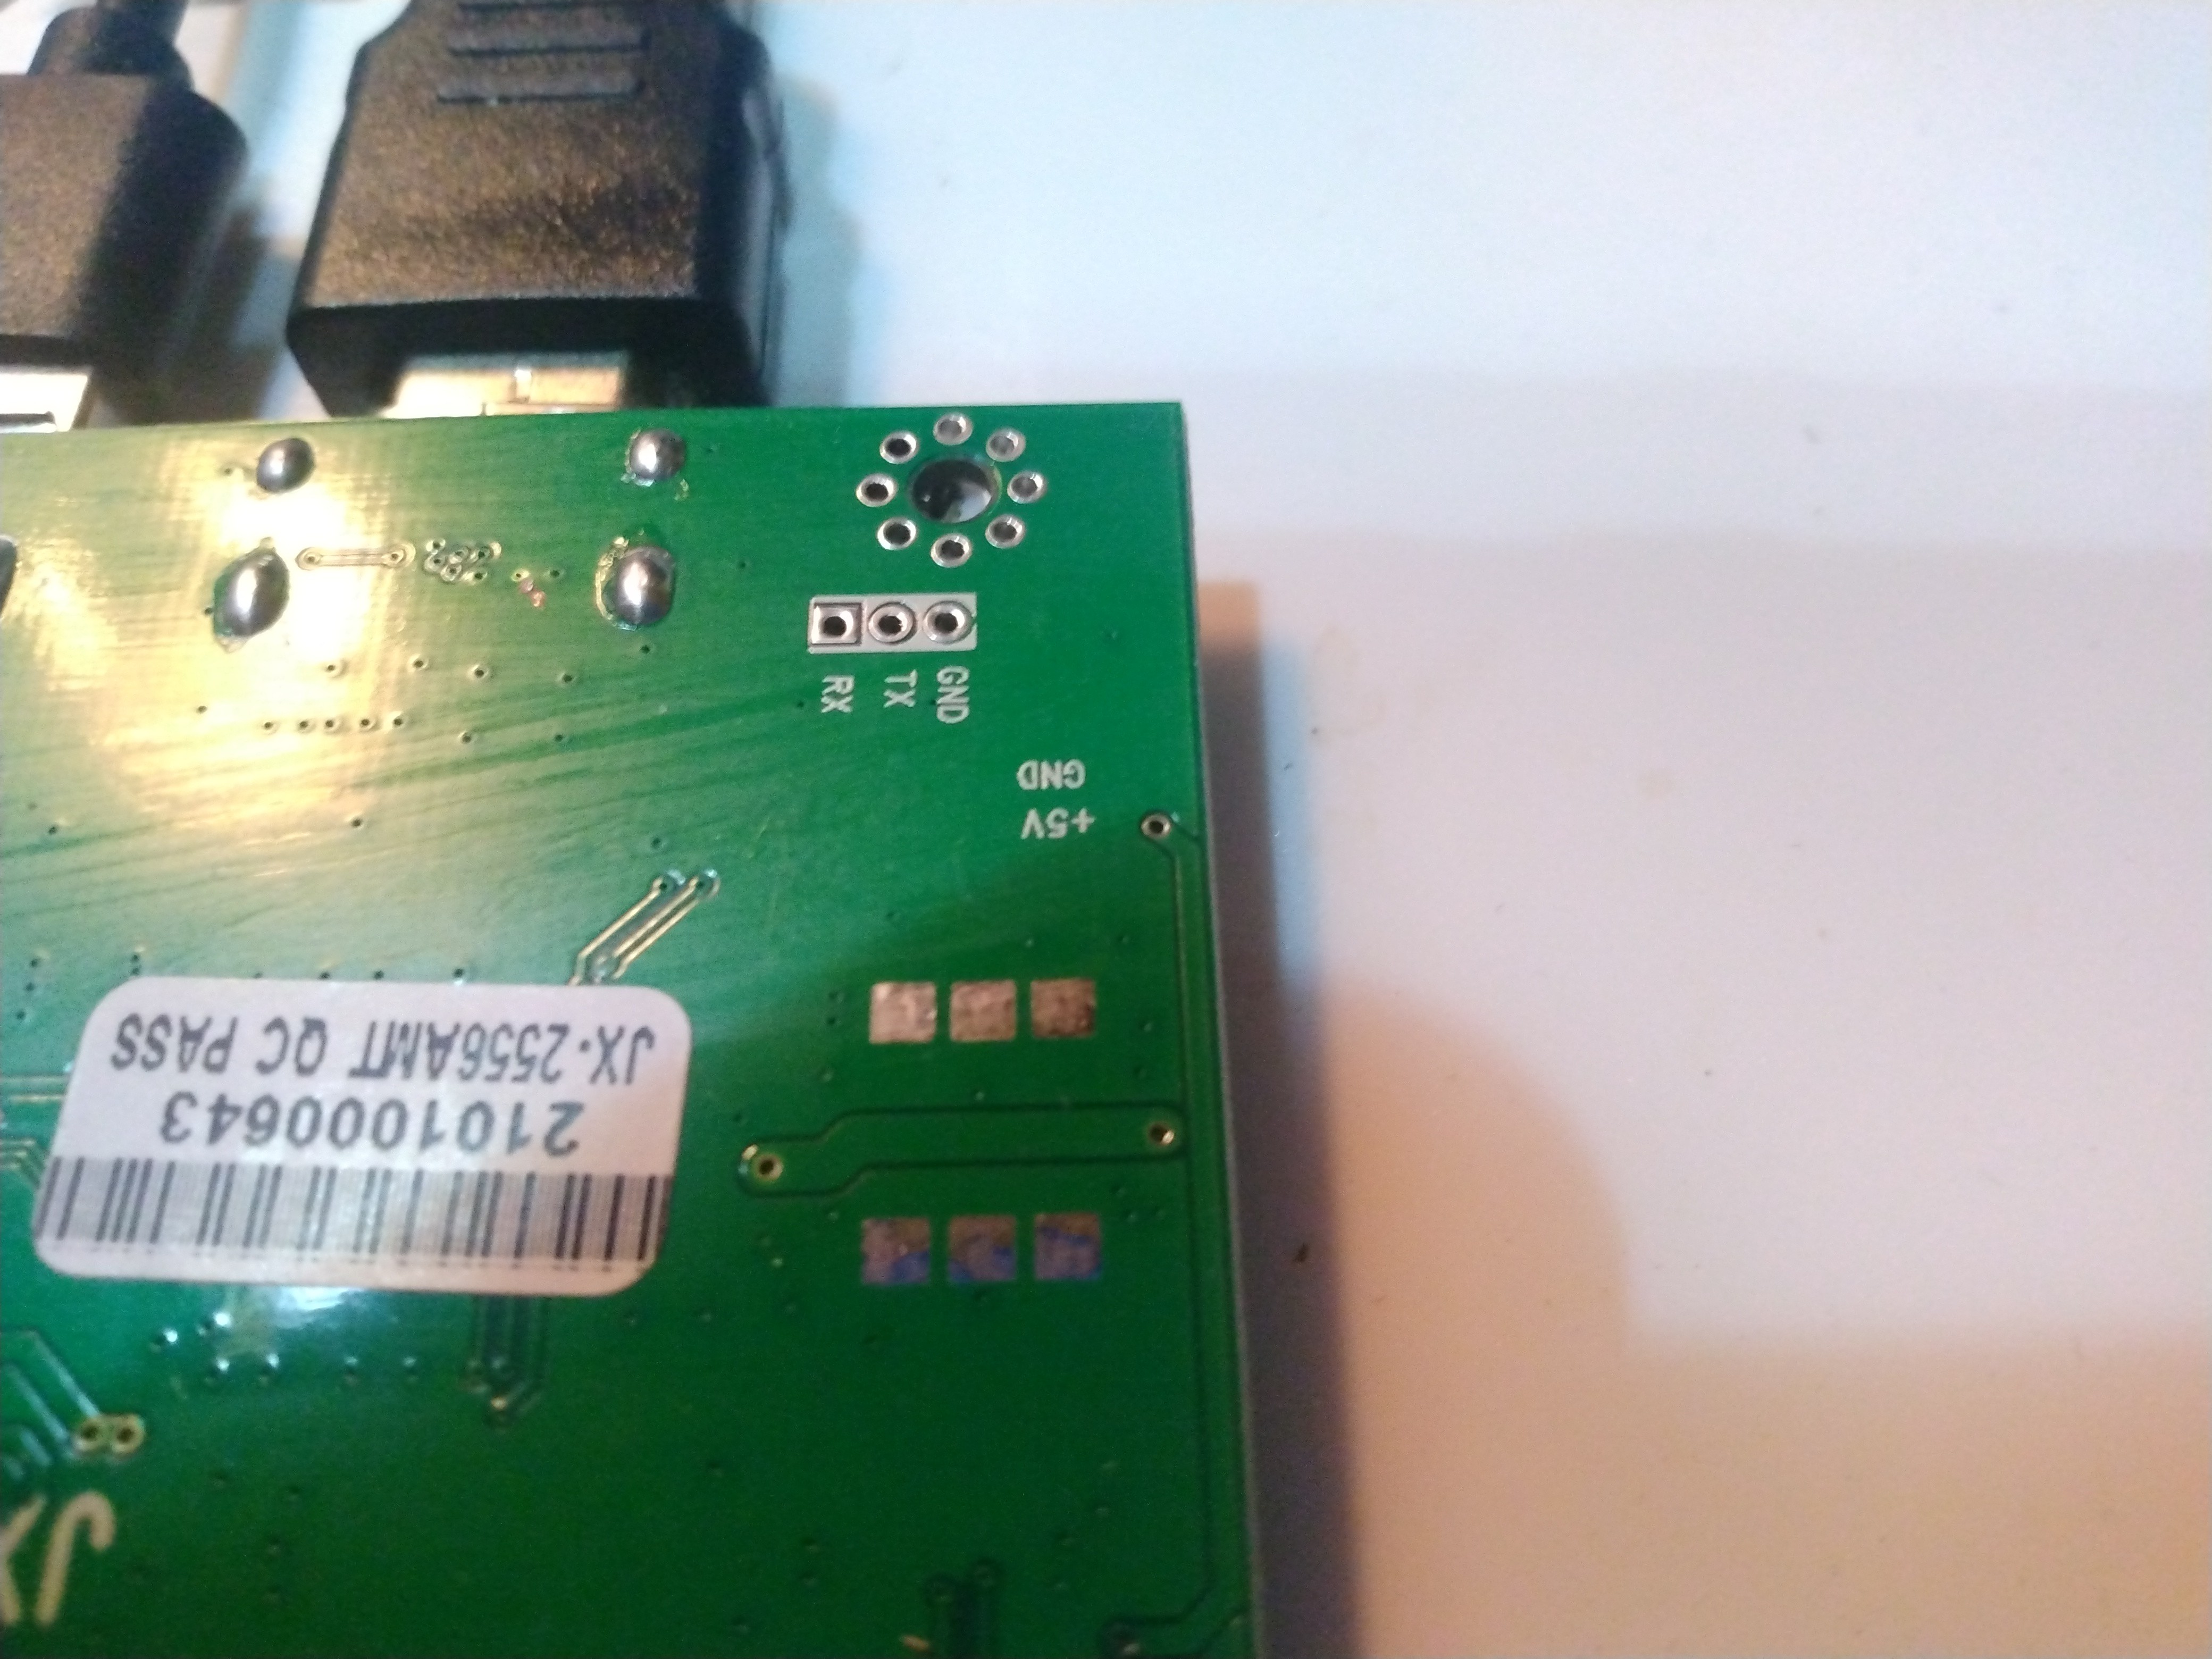
Assembly
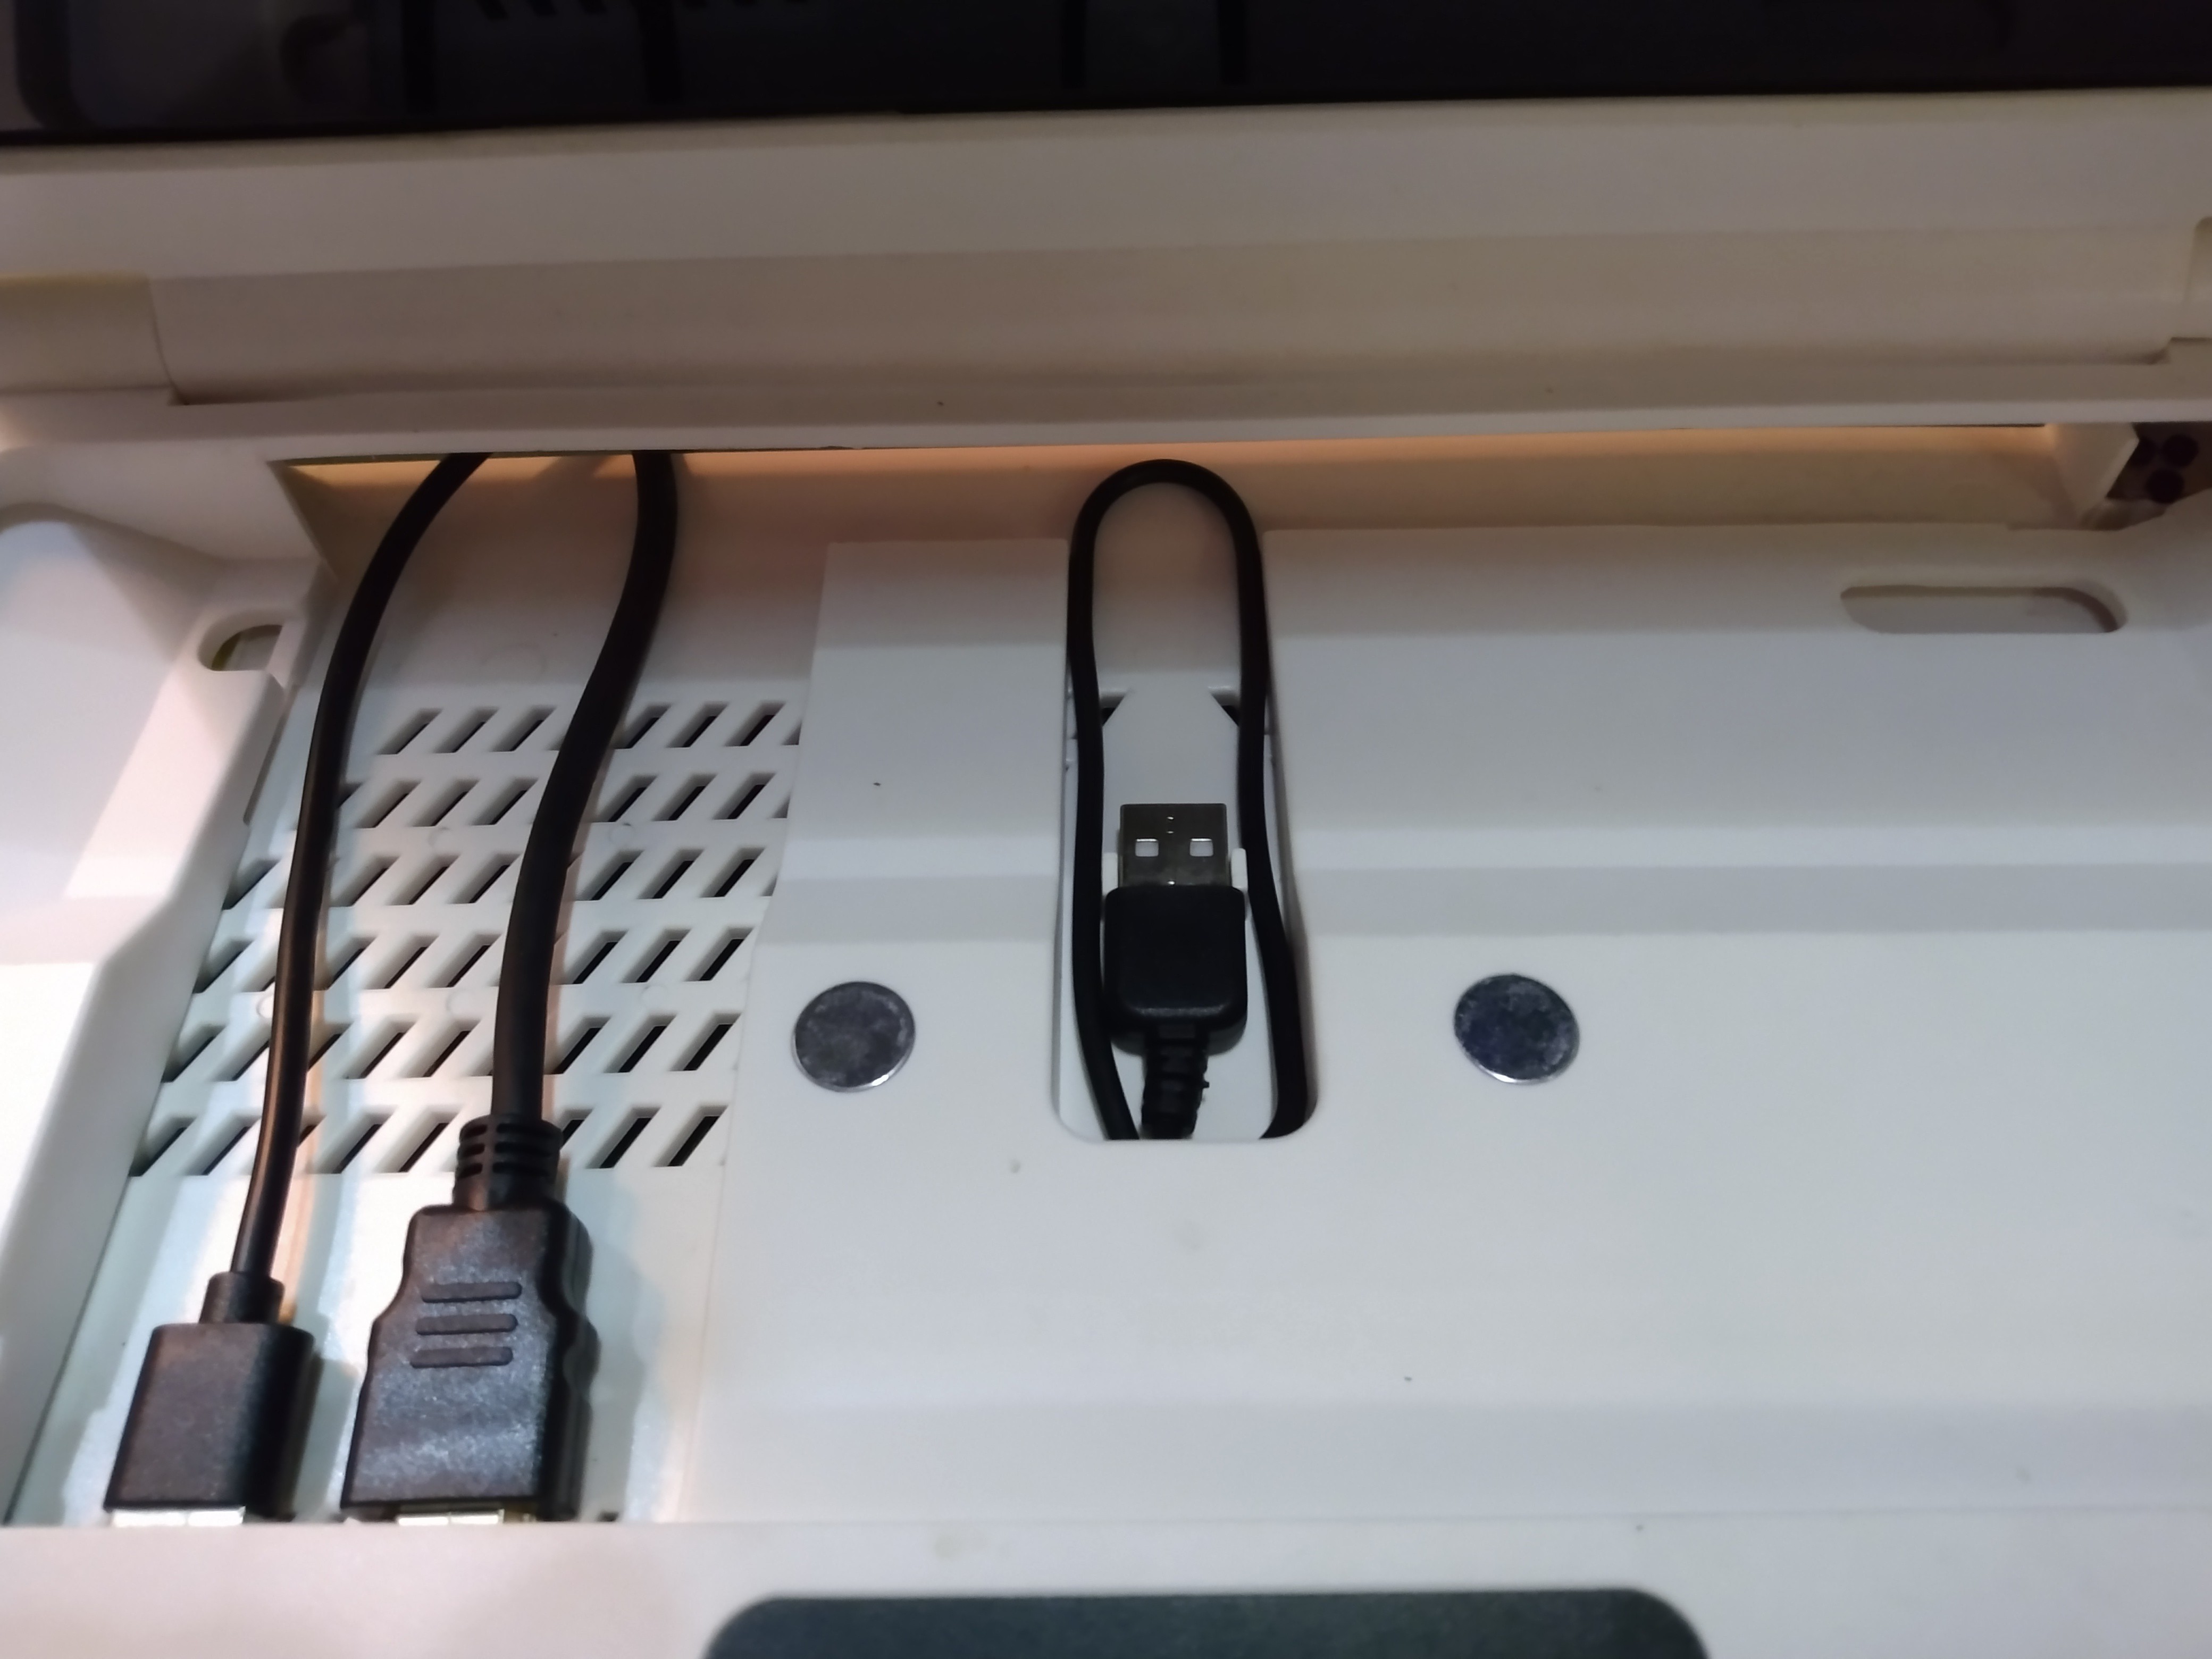
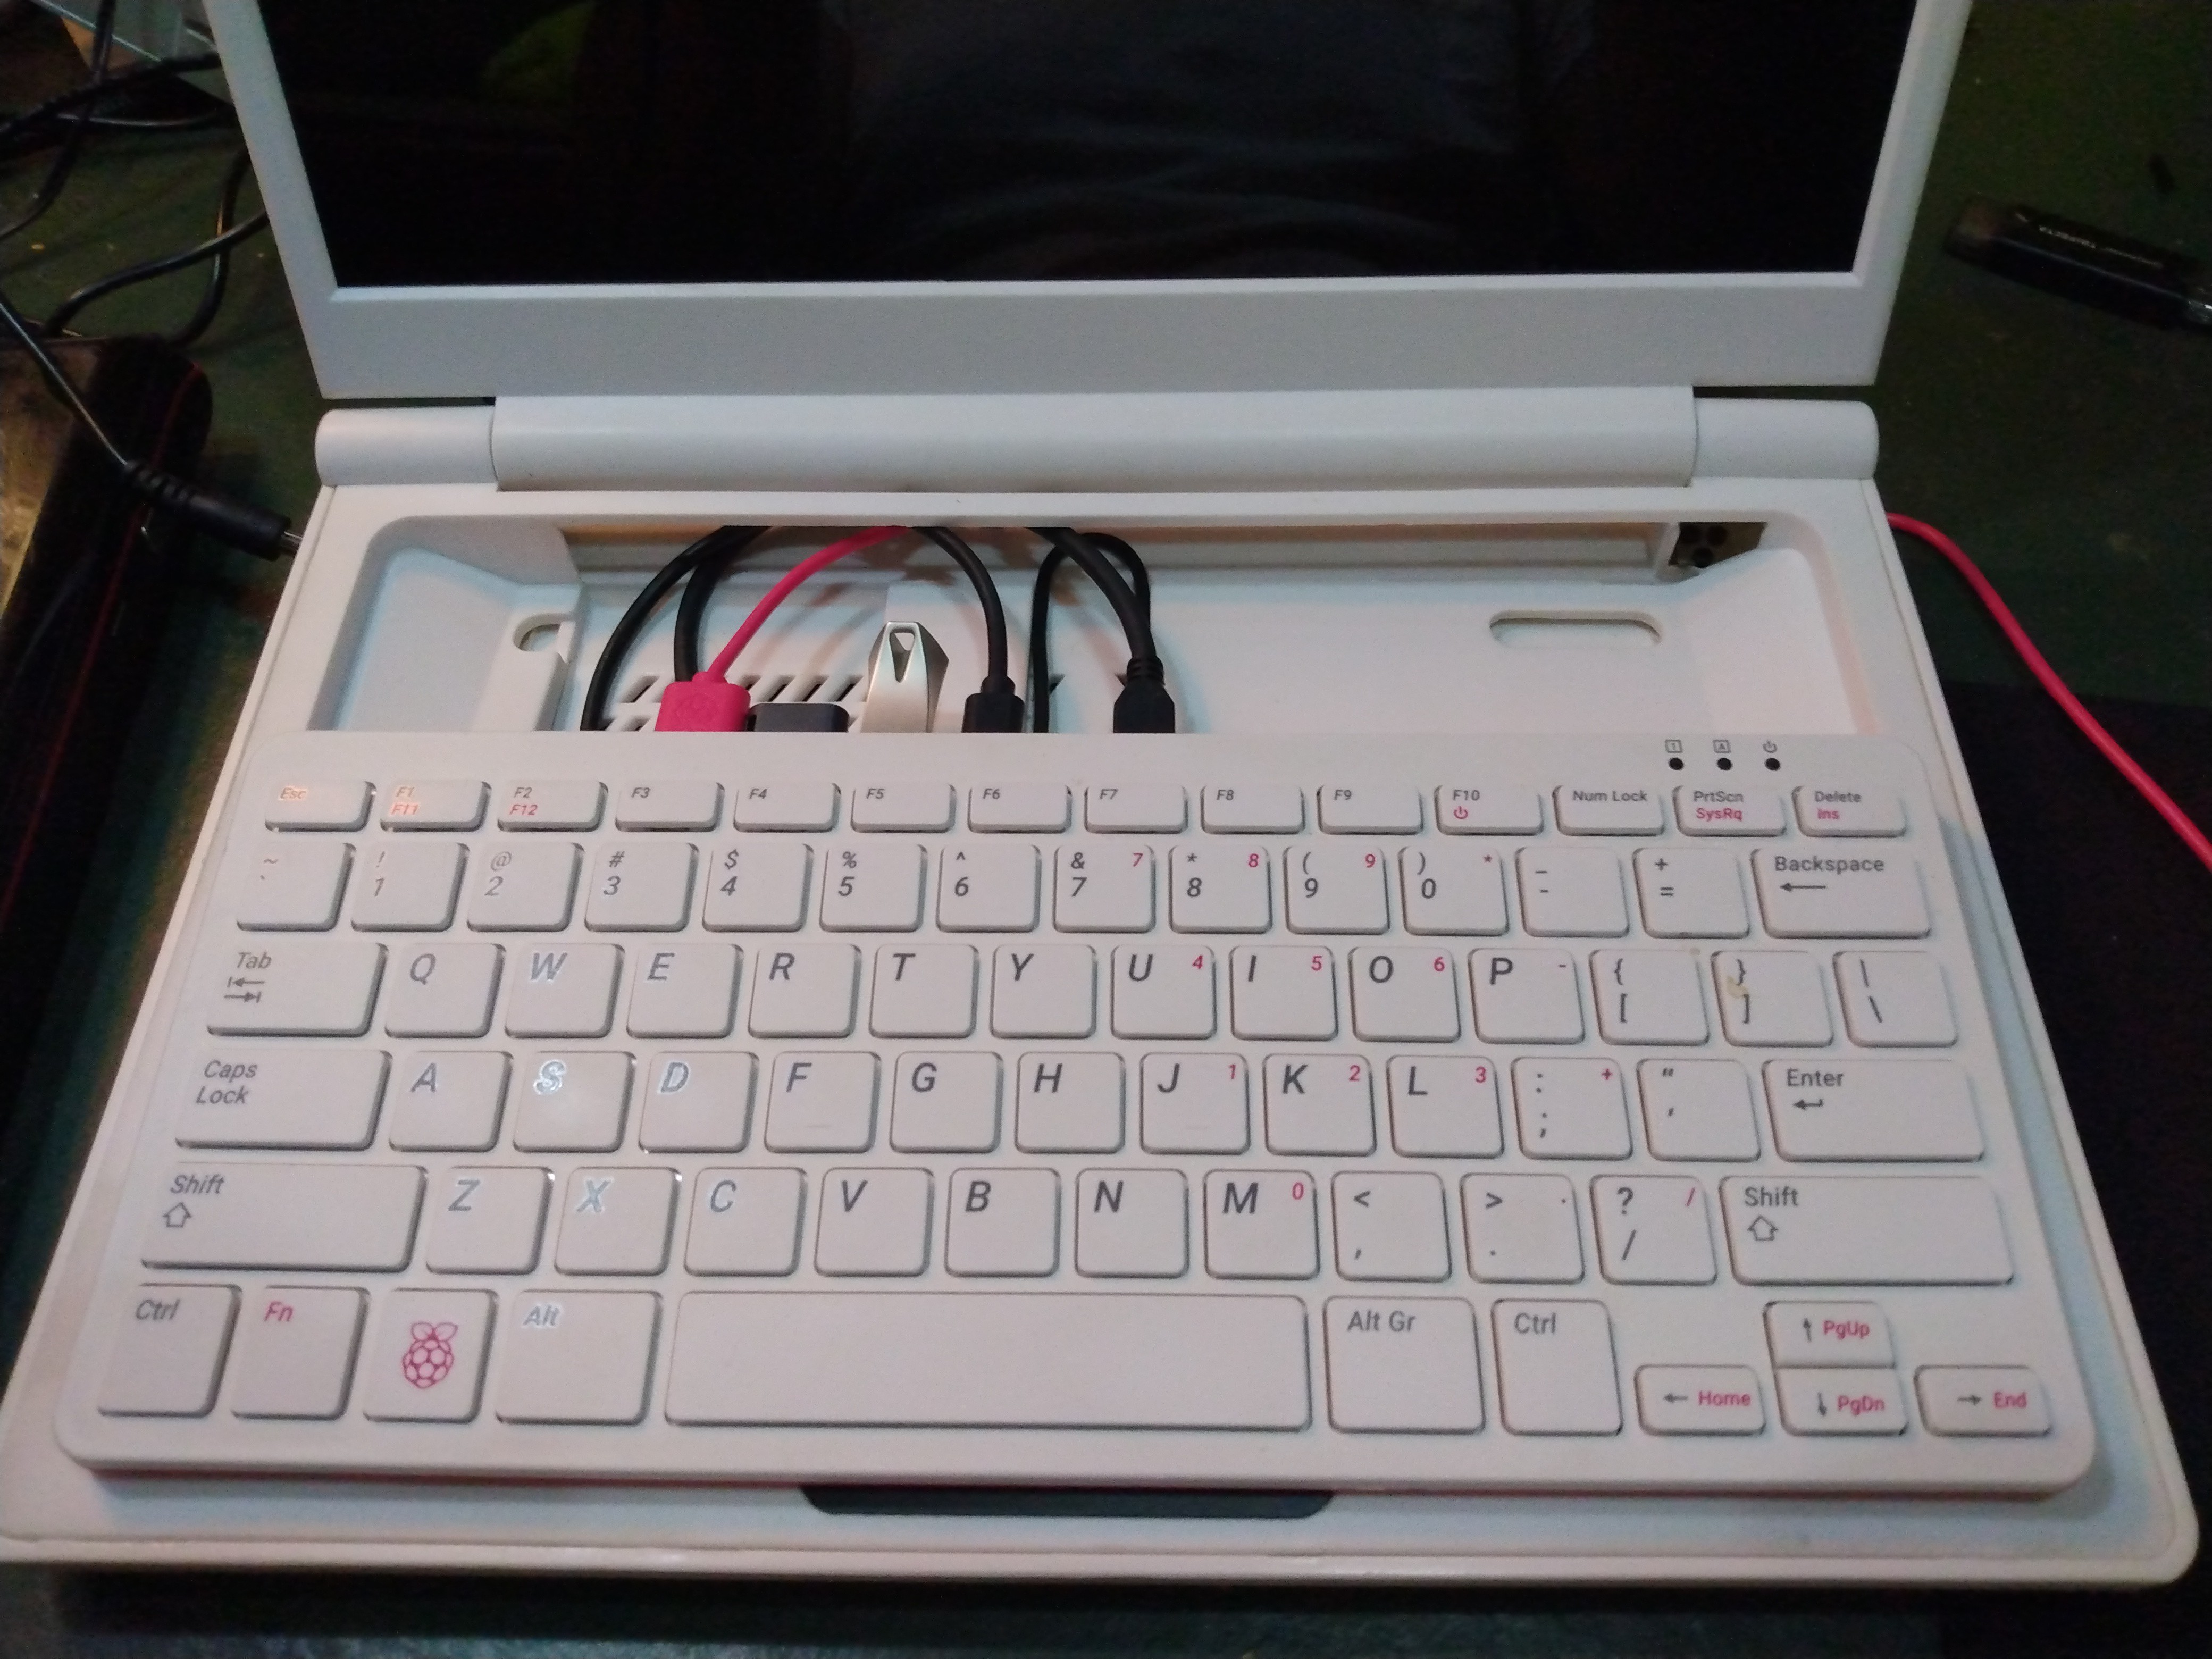
After verifying the fan runs and the Pi boots and has video, I assembled the case. I ran into some trouble getting the corner over the driver board clipped in, but I suspect it's because the entire case has warped since it has been in use. I know good plastic mold making when I see it, and this is decent, but not great. It looks like proper trash compared to my Hilti hammer drill, but Hilti is known for proper industrial quality, not budget niche electronics. Overall, this thing is great quality for the price. I would personally pay double for better plastic, more ventilation, tons of cooling, an SSD mount and adapter cable, keyboard light above the display, power button on the case, and built in battery and speakers. That would make a proper Pi 400 laptop, which would make me very happy. I might just design that one of these days. If I ever have the time, skill, and energy. Until then, the Pidock 400 will work fine. The rest of the assembly went just fine. I did get the hinge covers on the wrong side, which left a puzzling gap. I immediately suspected they weren't symmetrical as I first thought, and a closer look at the tabs verified they are different lengths. Switching them around had it back together once more. The entire bottom seems to have warped, causing the Pi to sit up a little higher than it should. I may heat the case and gently straighten in back out later, but it's a very minor problem right now. It does not effect the user experience at this time.
Future Considerations
This little fan may or may not help the system run cooler, but I feel it's well worth investigating. The Pi will not likely benefit from this at all, but time will tell. The left side of he palm rest may feel a little cooler, which would be good enough for me. Anything to help the system last longer. I don't think the power draw from this fan will hurt the board. It has a 5 volt output for a reason. I'm curios as to what it is originally for. I have plans to add a 12 volt 5015 blower fan, normally used for 3D printers. I'll tie this into the 12 volt power jack so it doesn't put extra strain on the LCD driver board. This fan will be to cool the Pi, and I may add a few if needed. There is a fair bit of room inside the Pidock case and I may even have room for the boot SSD inside with the fans. I'll order the fans and if they don't work out in here, I'll find another use for them. I just peeled open the display bezel a bit and found there should be enough room in there to add a keyboard light where a camera would usually go. I never use webcams, so an LED here would be perfect. I think I'd add a red LED as I find red light very pleasing in the dark. I'll add a switch to the Pidock case when I get around to adding the LED. I can pull the power from the 5 volt port the fan is connected to. Now if I could only dim the LCD....
The fan I just installed may be useless, but I at least know what is possible and how to work on this thing. I recommend the Pidock 400 to normal users and hackers alike. It has loads of potential and very well thought out features that make it daily driver friendly and hacker friendly.
I think I may be the only person tinkering with this thing and posting the results online at this moment in time. I can't find any hacks or info on the Pidock 400, which is why I started doing them myself.
Discussions
Become a Hackaday.io Member
Create an account to leave a comment. Already have an account? Log In.
Thank you for writing about what you’re up to! I can’t quite justify a Pidock 400 to myself at the moment, but I’m fascinated by what you’ve been up to.
Are you sure? yes | no
You're quite welcome! I couldn't find anyone else documenting this, so I figured I might as well be the one. I love the Pidock 400. I'm using it at the library right now, actually. I find the antique woodwork, leather chairs, and stone fireplace very cozy. It's nice to be able to use my Pi here without drawing any attention! I ordered a blower fan to cool the Pi itself. Check back next week for that log! Thanks for commenting. I really enjoy talking to other hackers.
Are you sure? yes | no