 re4mat
-
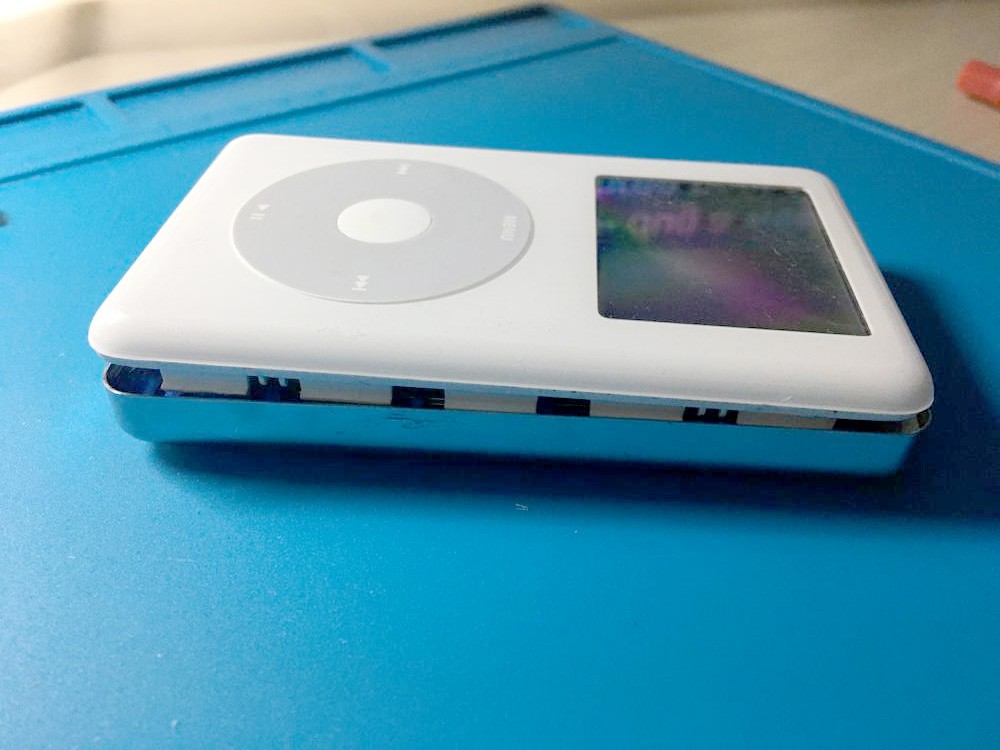
1Opening the device
By far the hardest part was just getting the iPod open in the first place! I only had a crappy spudger with me as part of my travel kit (yes, I travel with a spudger) and it took me around 30 minutes just to free the front face.
Make sure the "Hold" switch is in the lock position, indicated by an orange colour. Starting at the top of the device, work the spudger in and around the corners, down the sides. There's five tabs on the left and five on the right which must be pushed in to release.
Be careful, though, because there's a data cable still connected to a little board that has the headphone jack and lock switch. So just open it like a book and there you go!
![]()
![]()
-
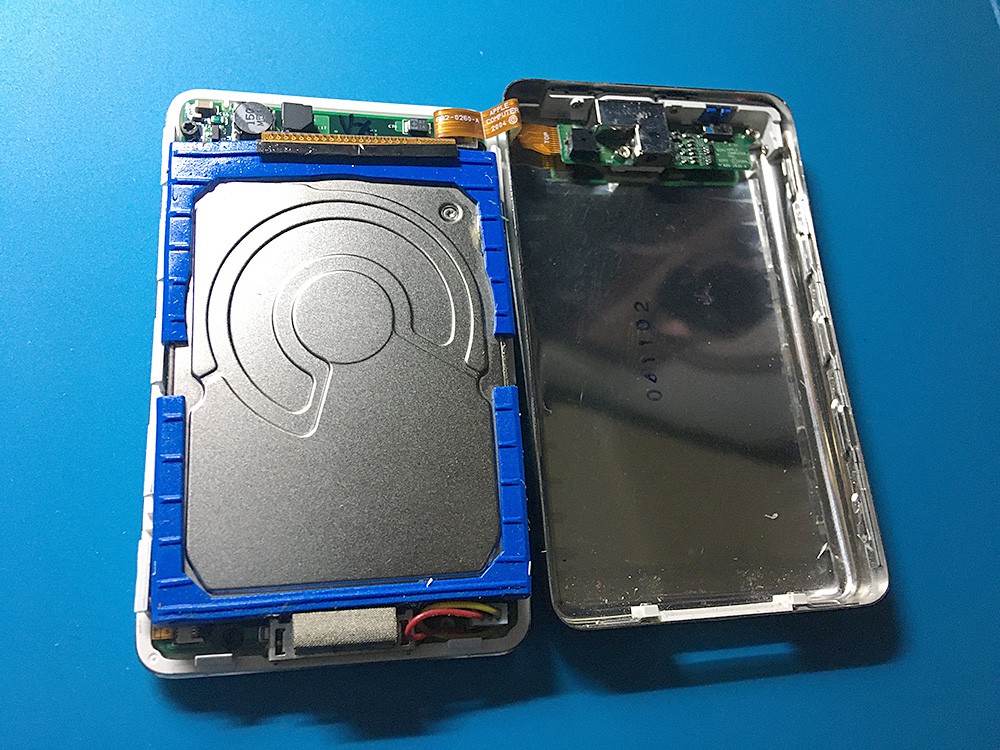
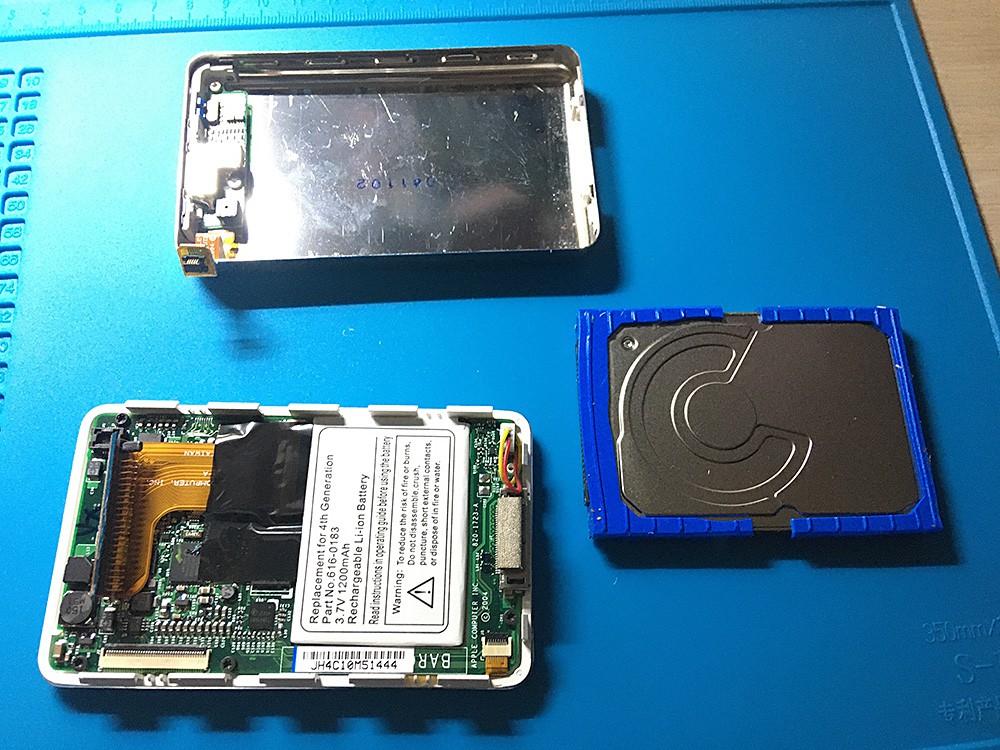
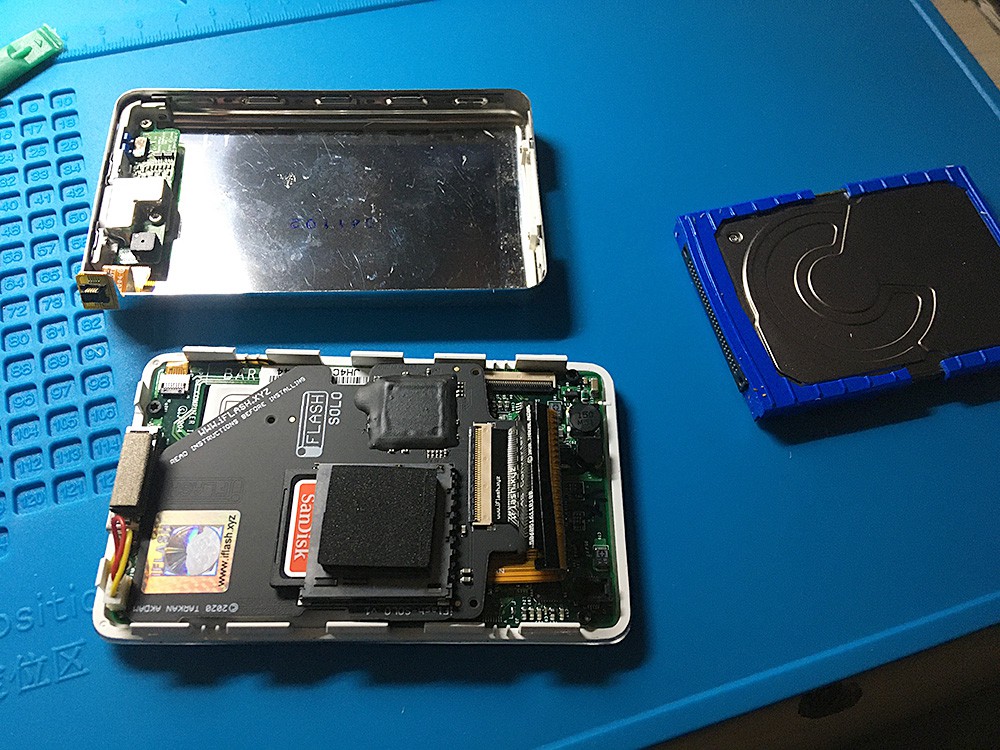
2Removing the hard drive
After disconnecting the data cable, the next step was pulling out the hard drive. I used the spudger to gently push against the plug, being careful to not stress the ribbon.
![]()
-
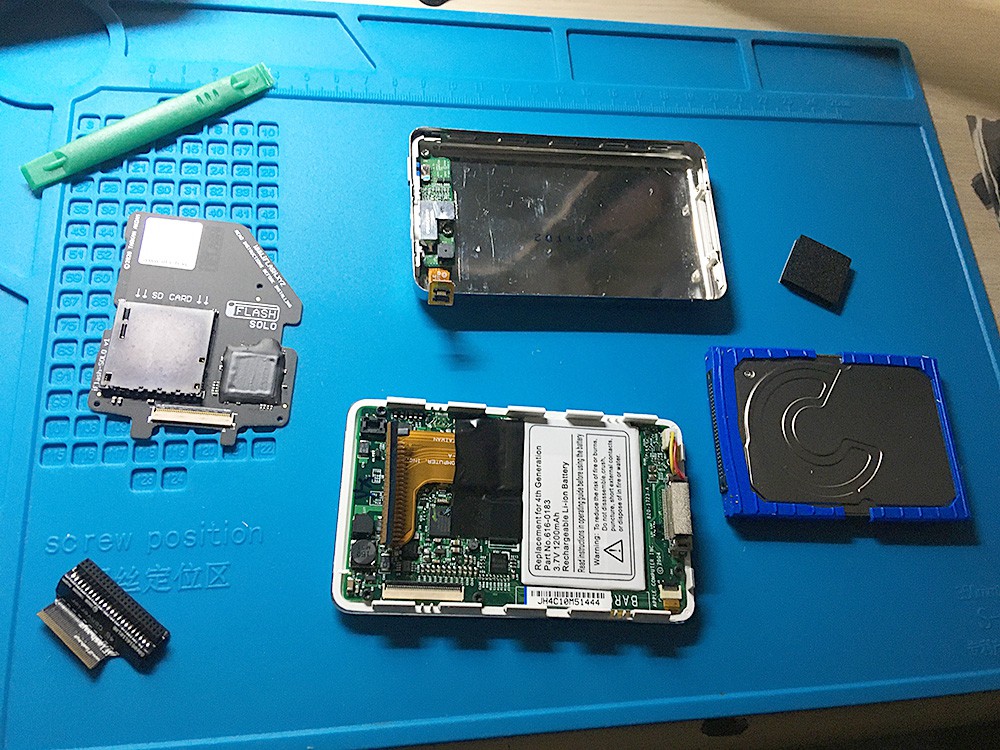
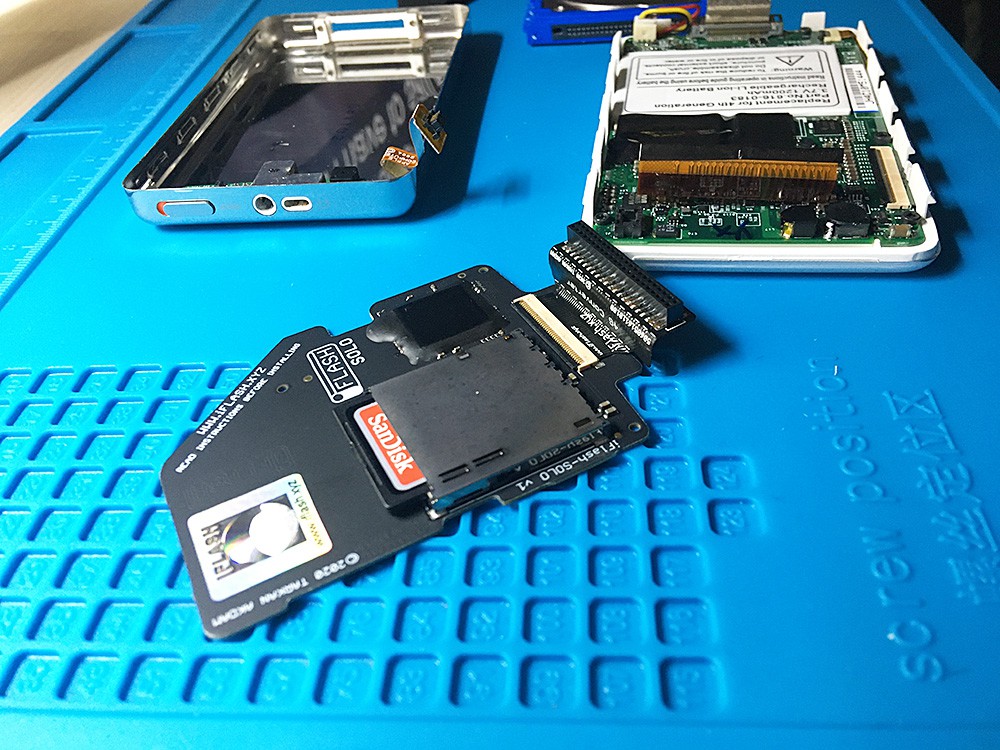
3Preparing and installing the iPod 4G Converter
The next step was to prepare the iPod 4G Converter, which is a rigid ribbon cable and plug that you have to bend in two spots. I was a little wary about bending it too hard and breaking something, but it ended up being okay. In this shot you can also see the crappy spudger I used during this project.
![]()
![]()
-
4Plugging in the board
The next step was, of course, to plug in the board! This part was a little fiddly with the adapter card, but pretty straightforward. Once in place, I attached the two included foam pads to the top of the SD slot, which helps keep the board from rattling around inside the iPod. Then I reconnected the data cable for the headphone jack/lock switch, and then folded it back over. But I didn't completely close it back up yet! Plugging in the iPod cable, it was moment-of-truth time: would iTunes detect it?
![]()
-
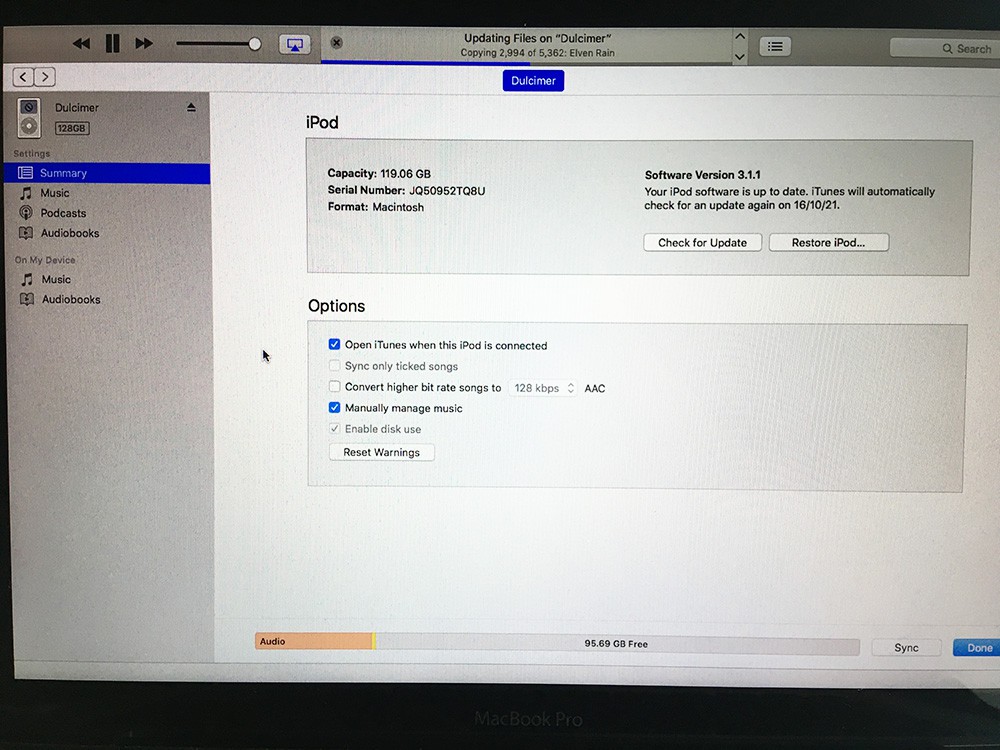
5Success!
iTunes recognised it right away, and after a quick setup process I was copying music and audiobooks over to it!
![]()
iPod (4th gen) with 128GB SD Storage
A quick upgrade of my venerable 20GB iPod from 2005, replacing the spinning hard drive with an SD card reader.
Discussions
Become a Hackaday.io Member
Create an account to leave a comment. Already have an account? Log In.