Please note, these instructions are still very much a work in progress - hopefully they'll be finished over the next week or so. But, in the meantime, please bear with me
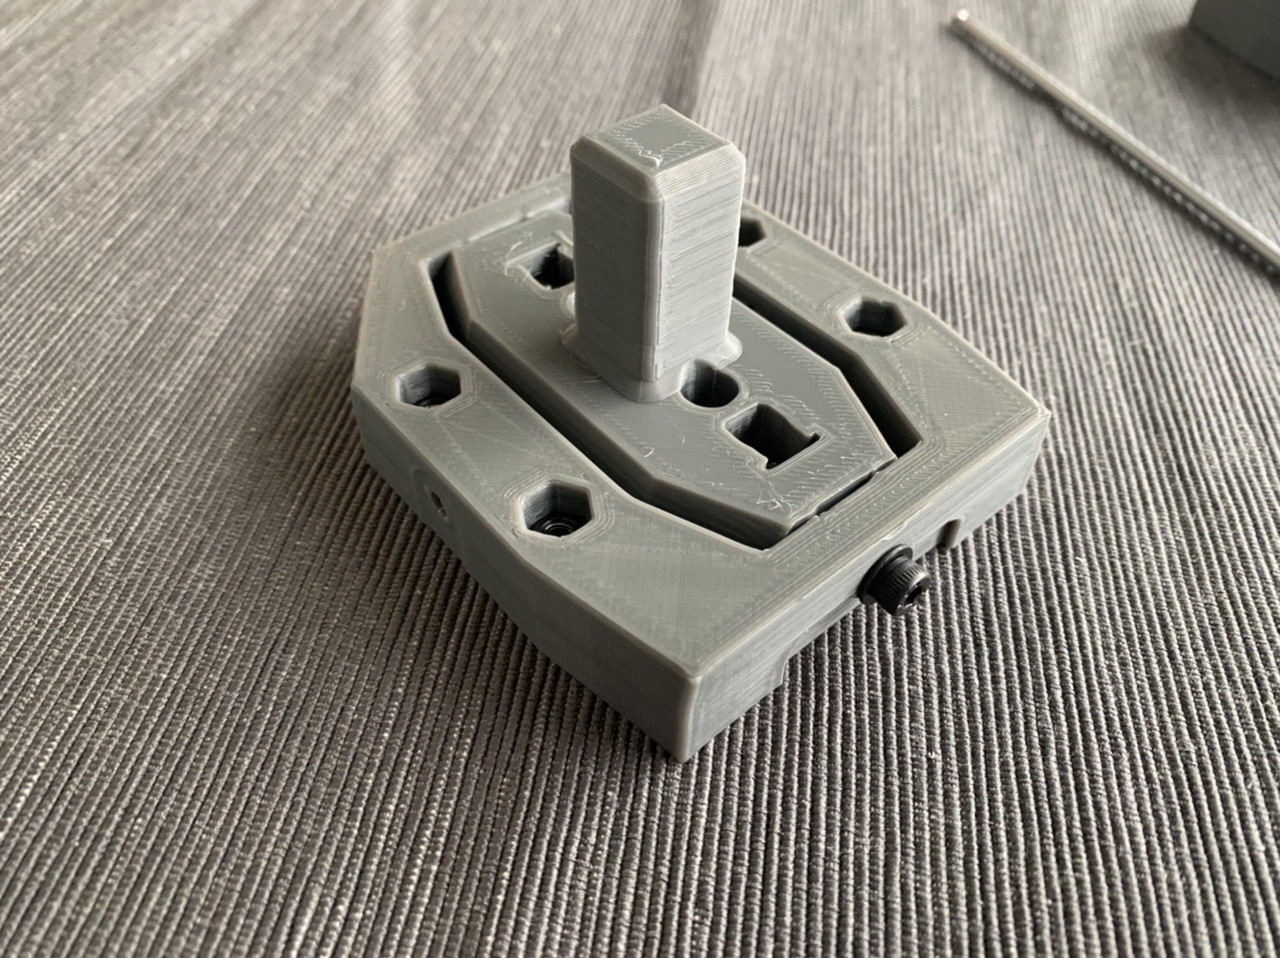
We'll start with the attitude controller, the joystick that we'll use to control pitch, yaw and roll. The instructions are pretty similar for the other controllers (translation and thrust), but I'll cover those next.
Please note that these instructions are still a work in progress and I've already found a few places that I've made mistakes and made assembly a bit difficult. I'll add notes to address these here, and once I have a better solution I expect to update the instructions and files
2
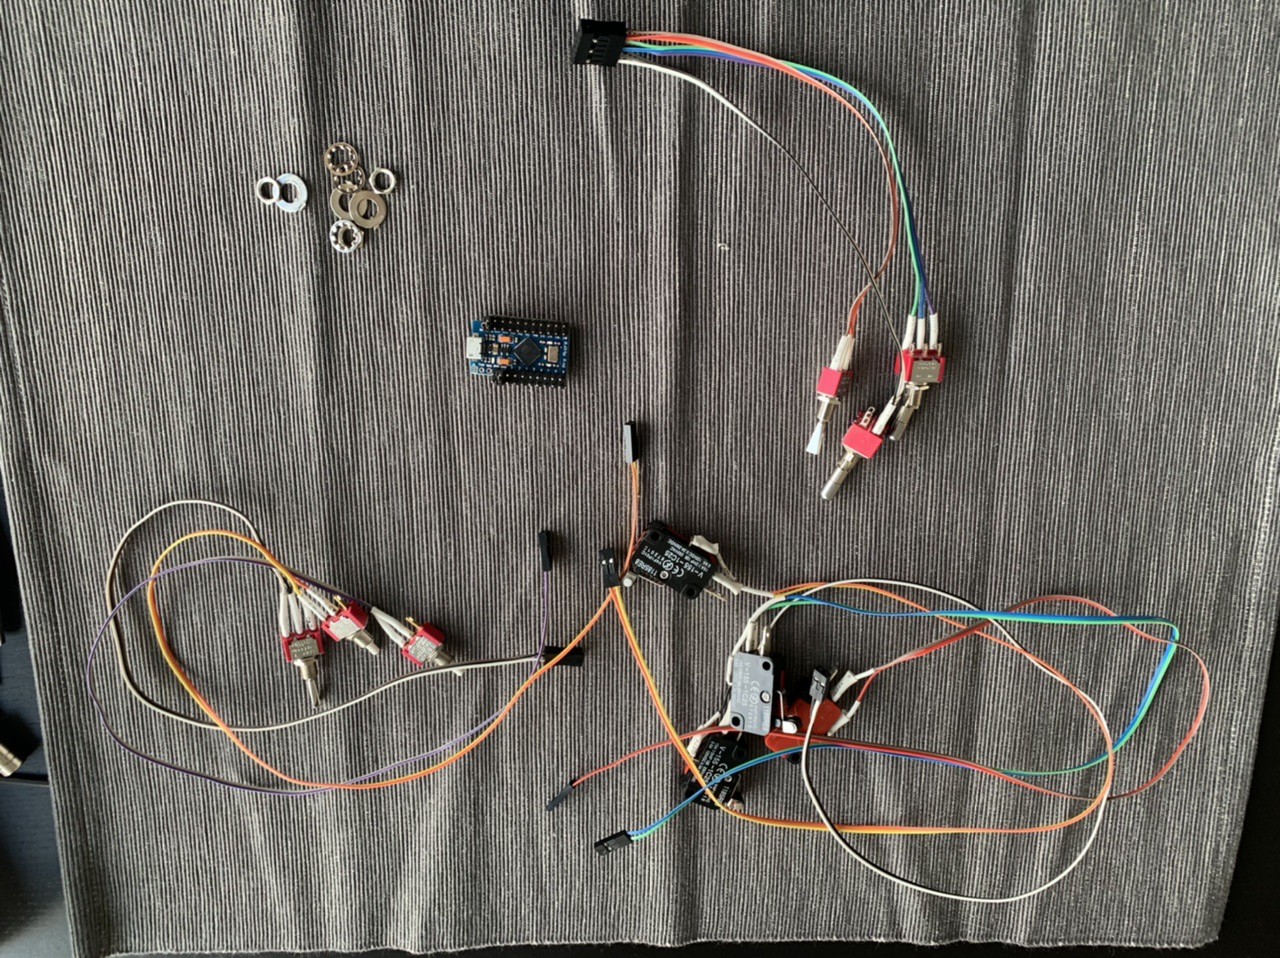
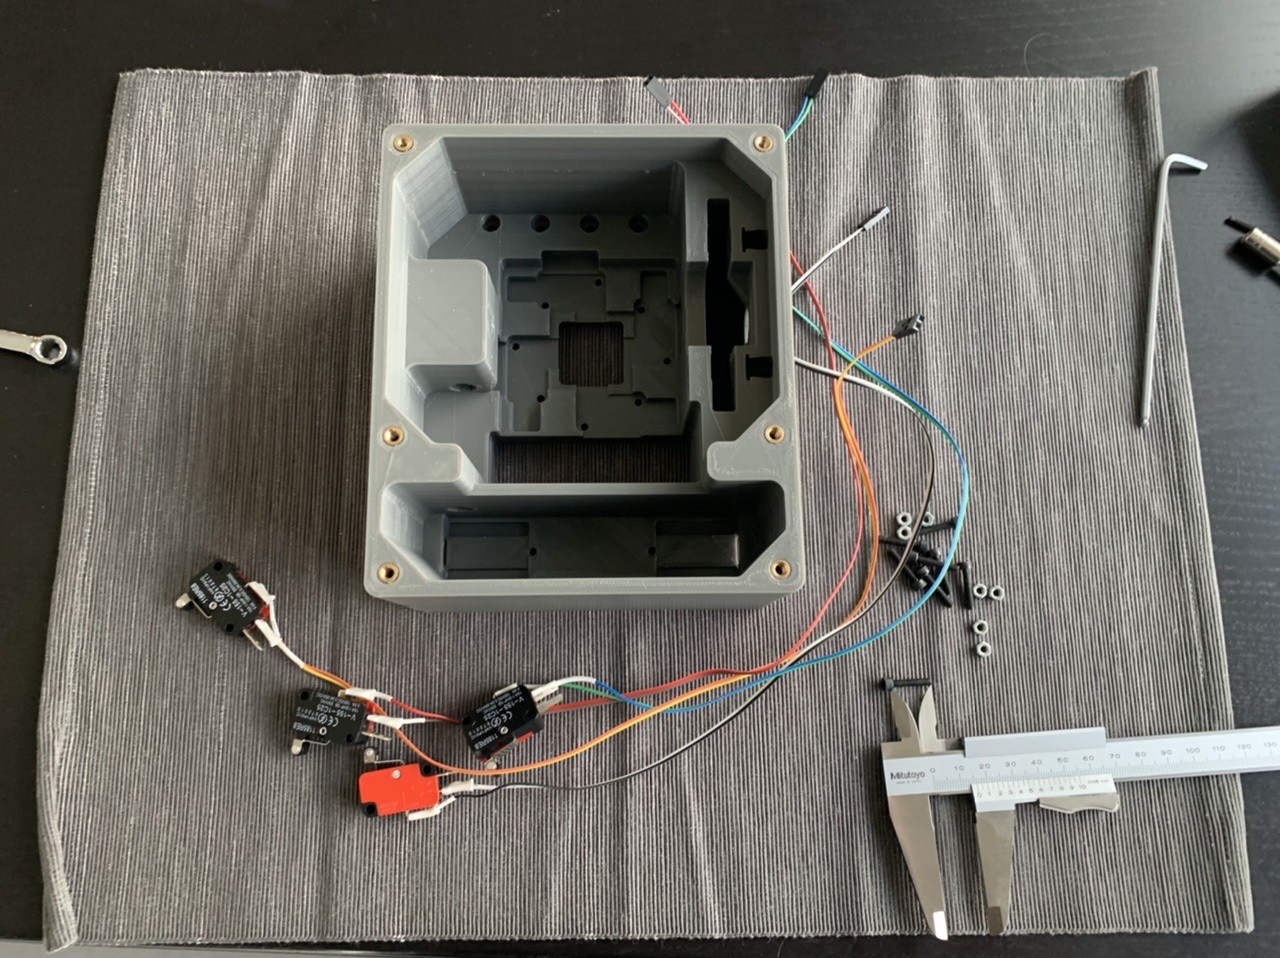
Prepare electronics
Unfortunately this is the step with the most problems - and they're because I made all the wires too short. What you really want to do is make the wires way longer than you think, and then terminate them once they're installed. live and learn.
3
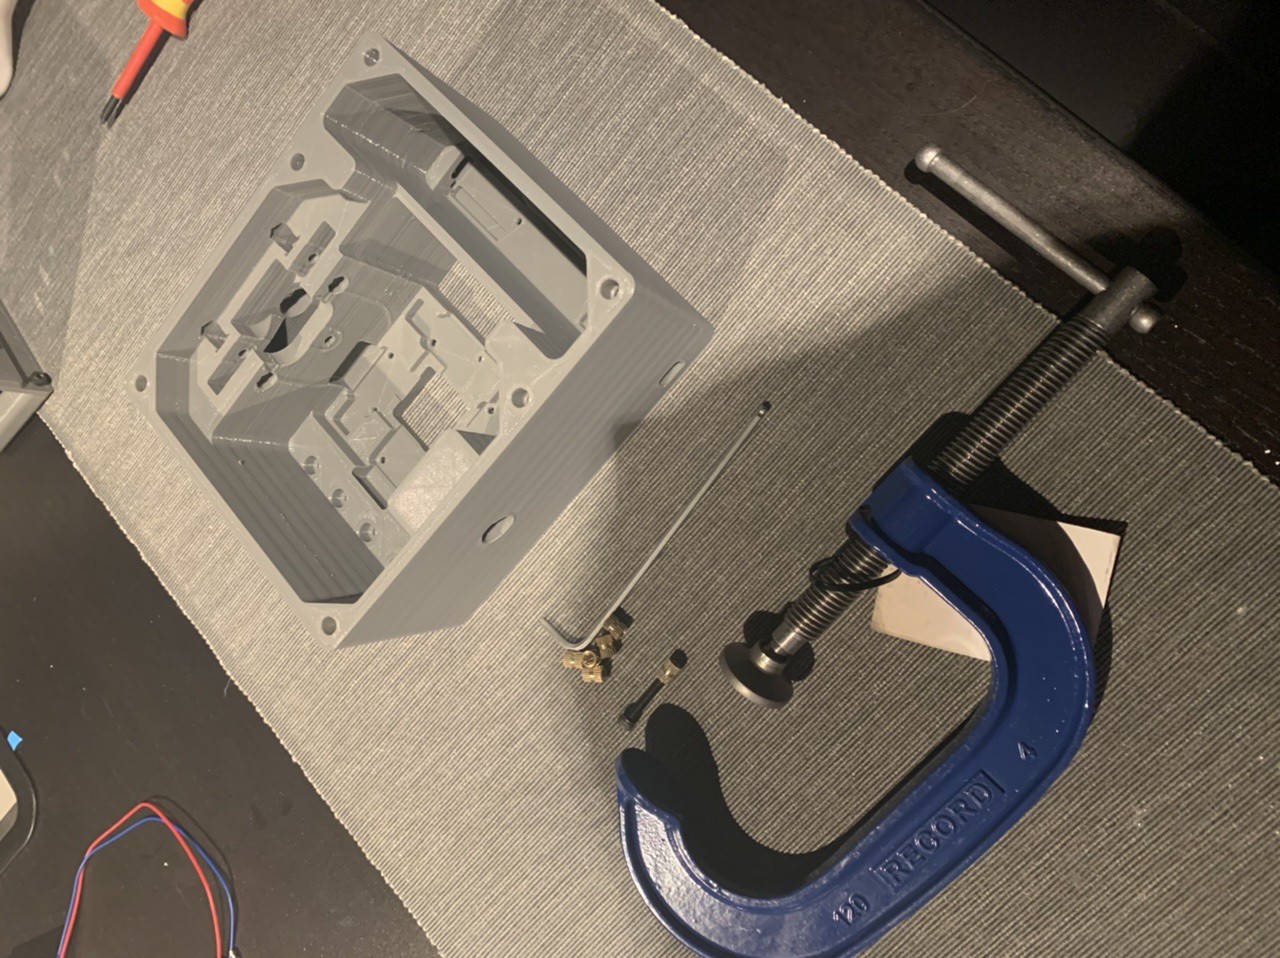
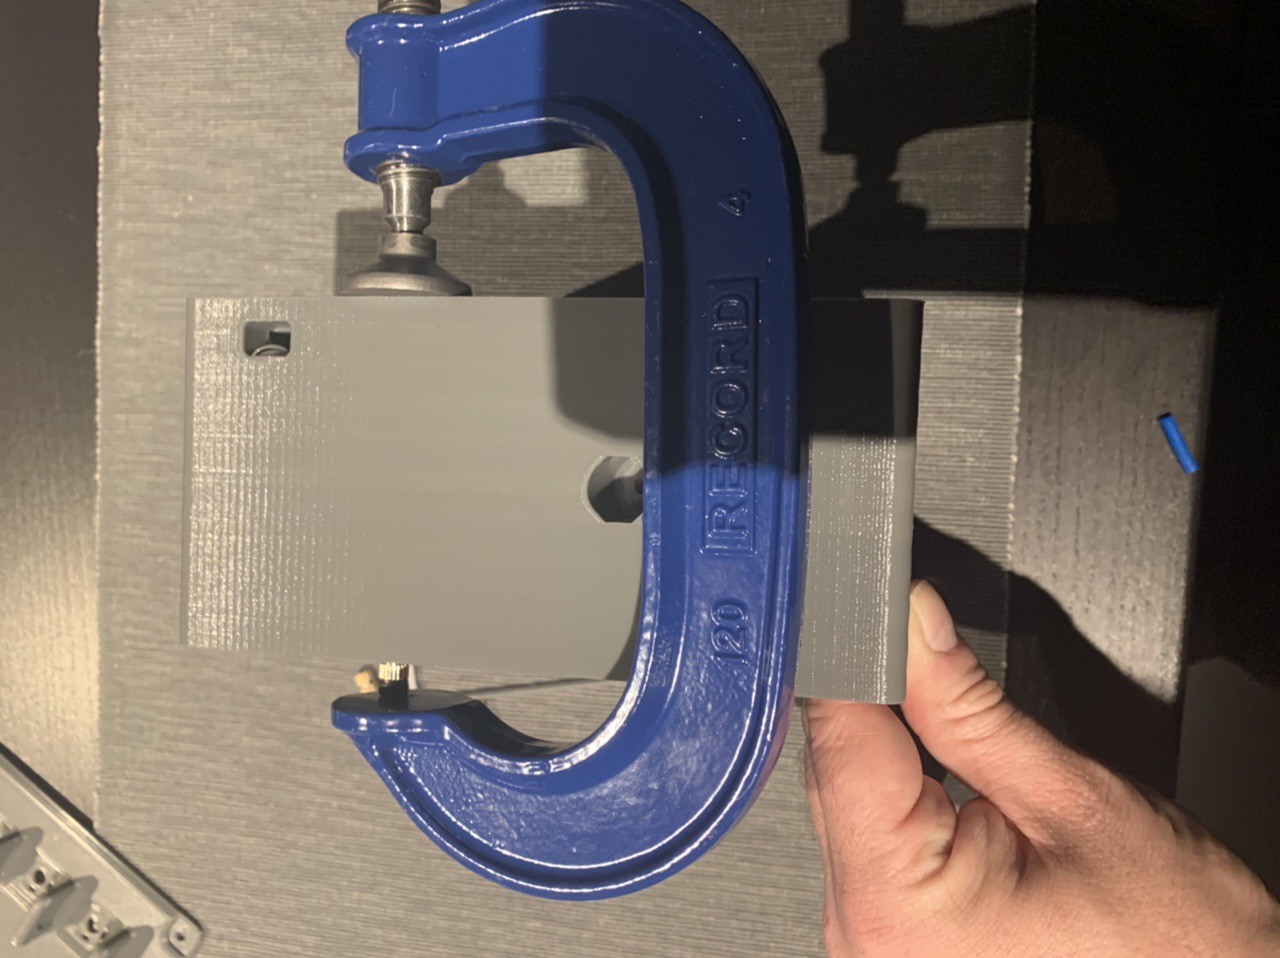
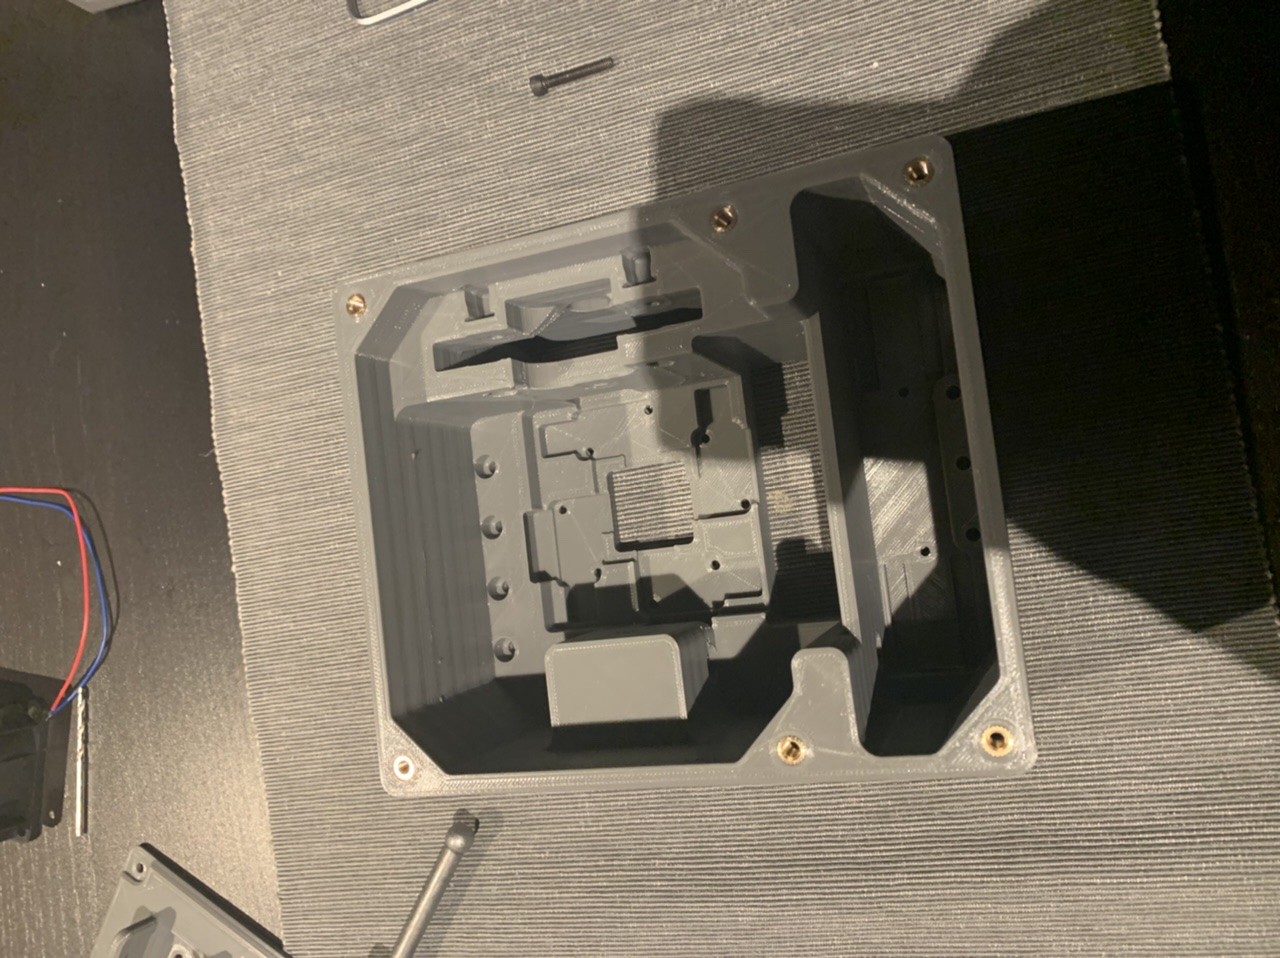
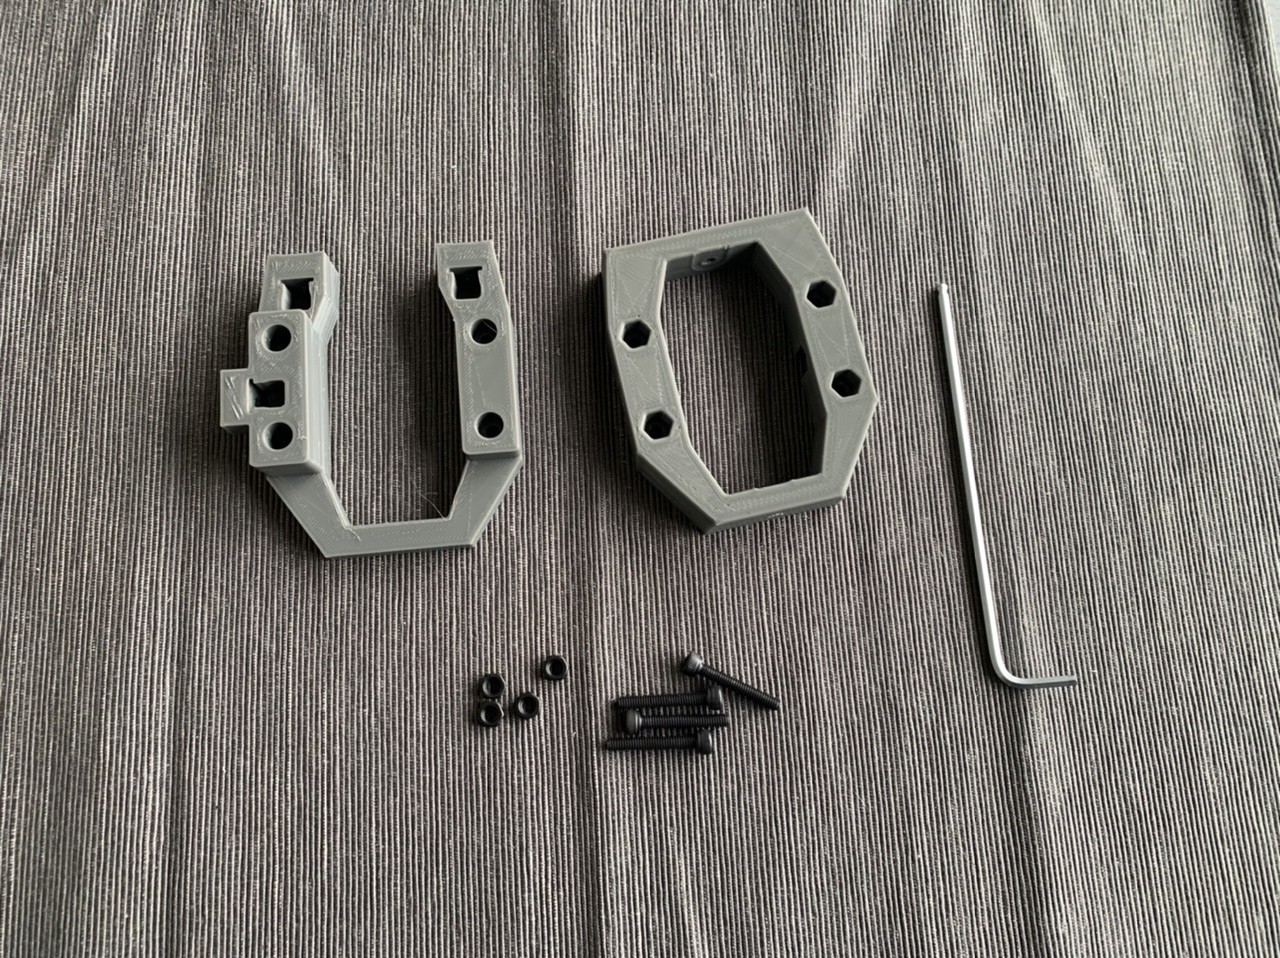
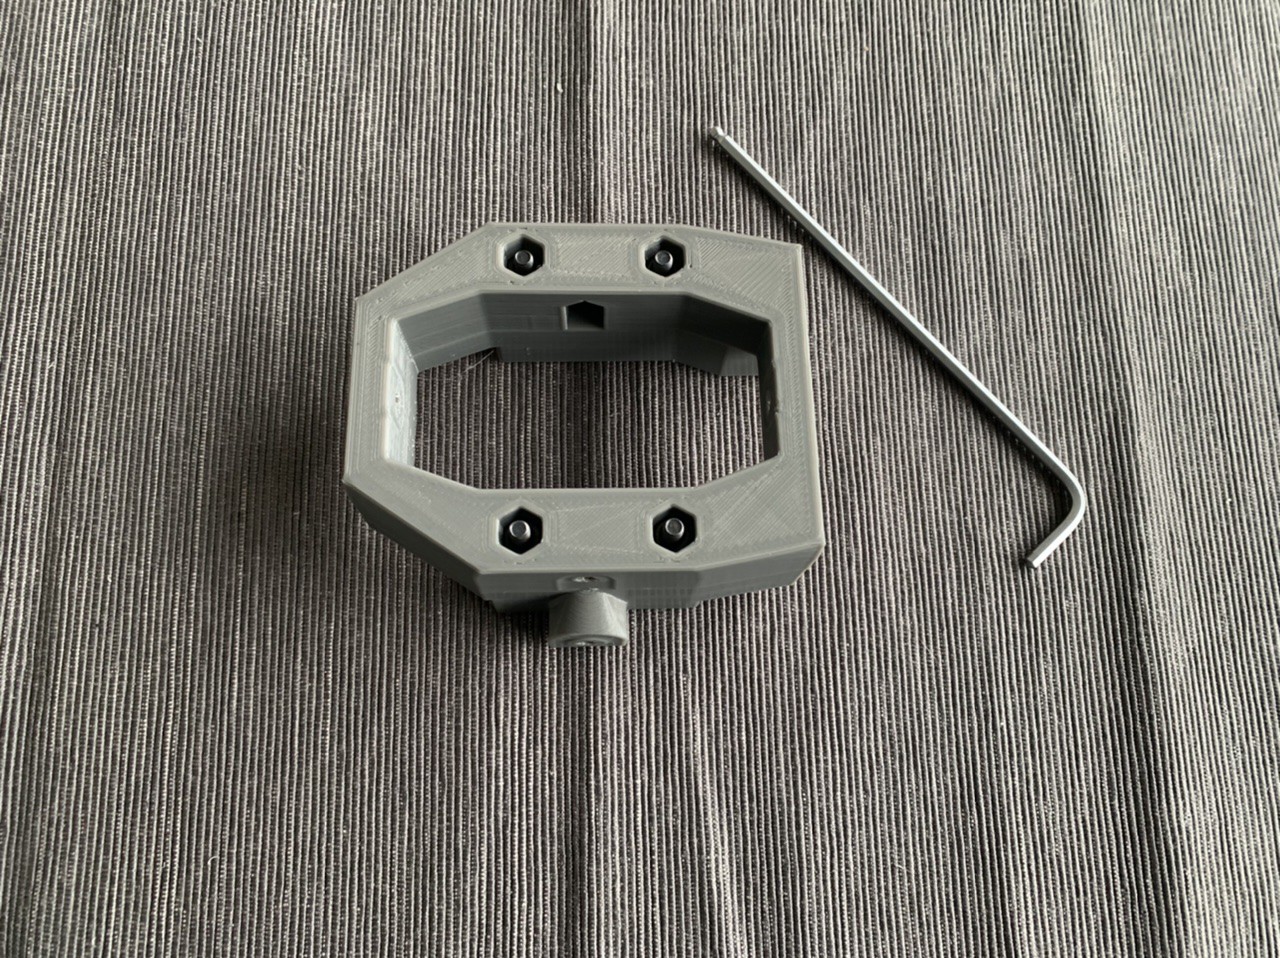
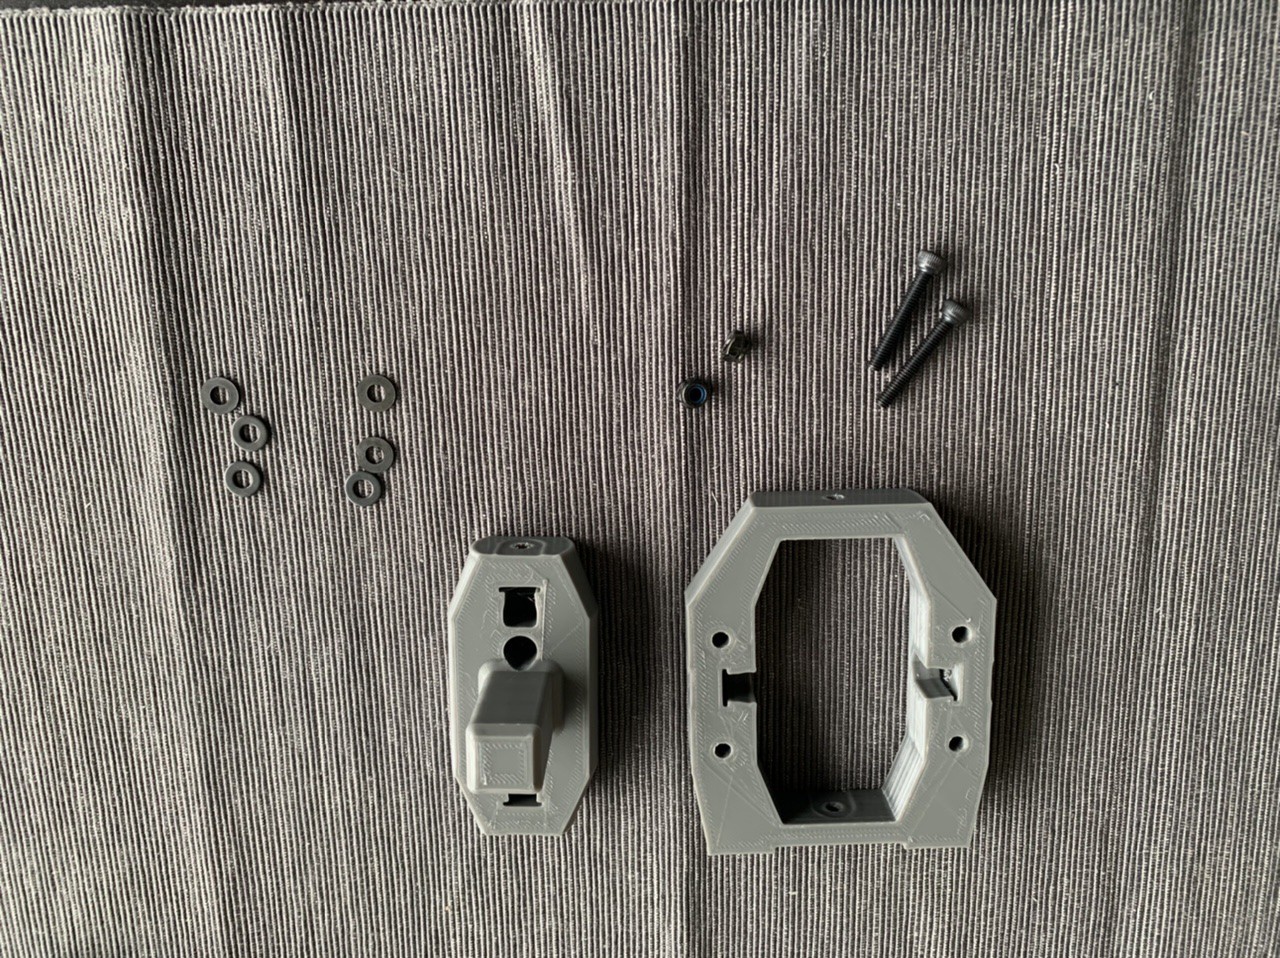
Install threaded nuts into base
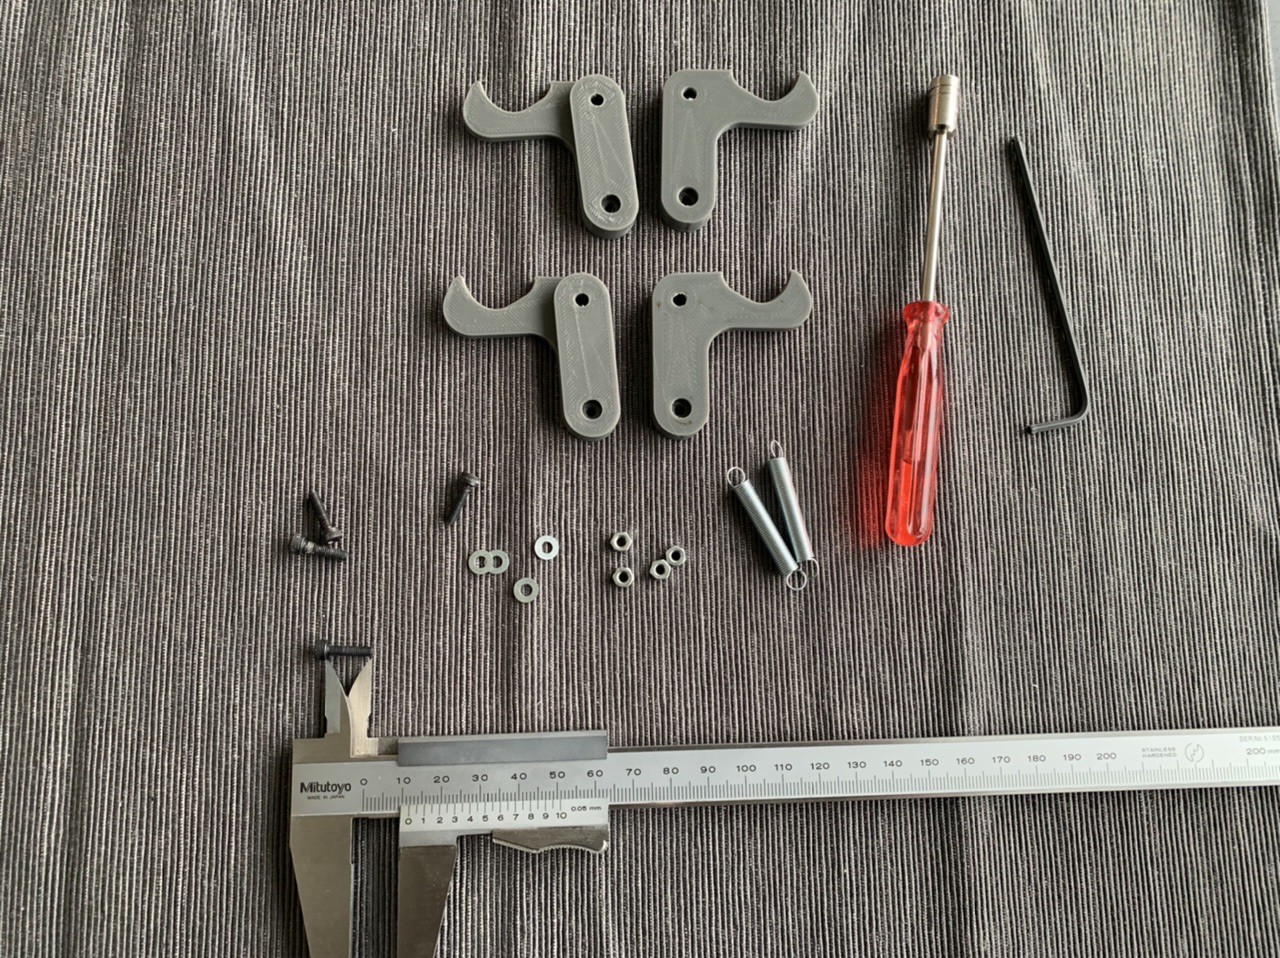
Parts required:
1 x printed part mk2_base2.stl
6 x threaded insert nuts M4 x 6.3mm (outer diameter) x 8mm (length)
If you have an arbor press that's fantastic, but you can install them just fine with a g-clamp. It also helps to use a M4 bolt when installing the nuts
4
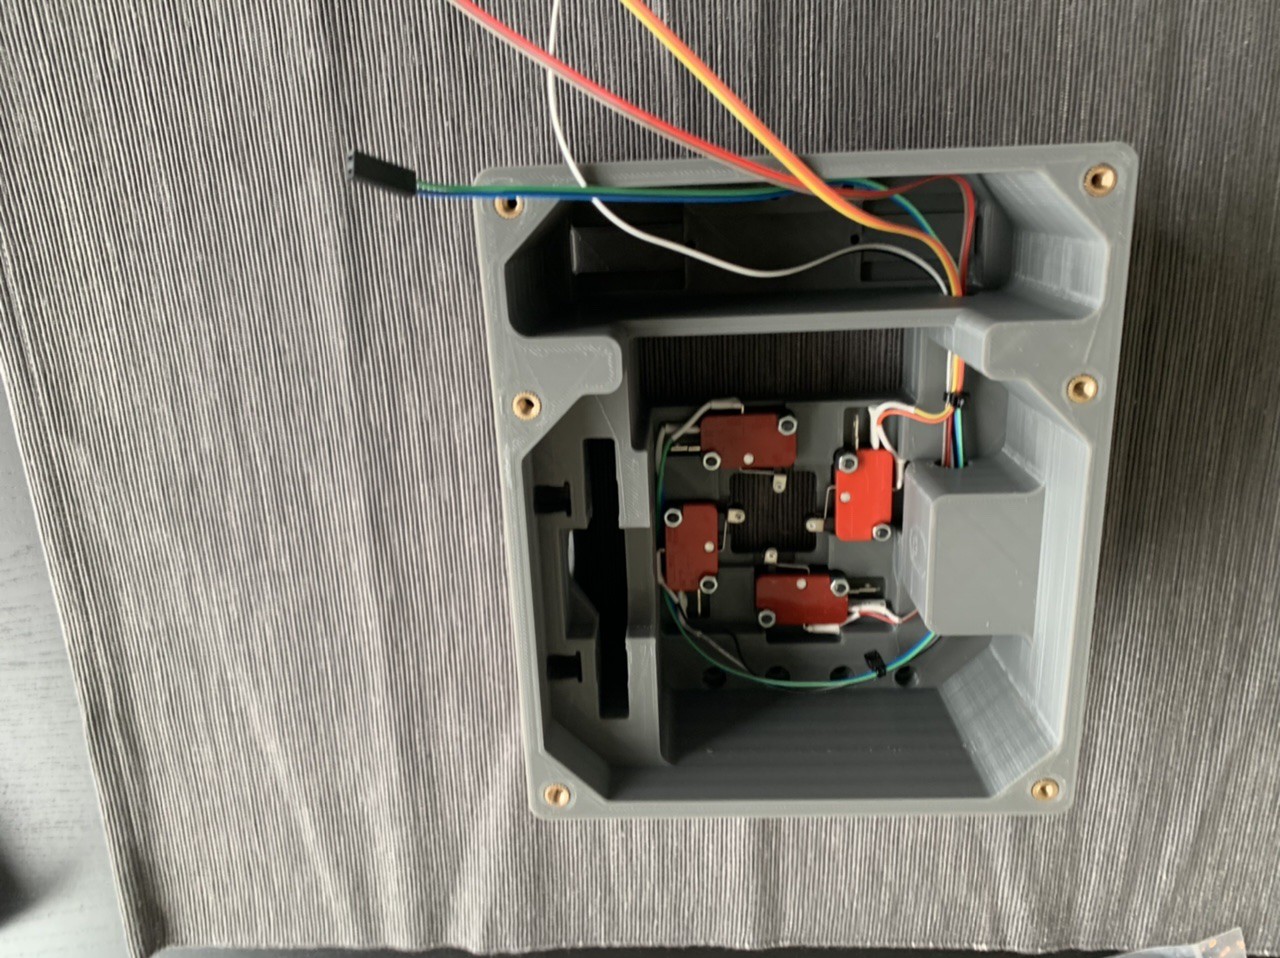
Install microswitches into base
Parts required:
4 x microswitches with wires installed from previous step
8 x M3 x 16mm socket head screws
8 x M3 nuts
5
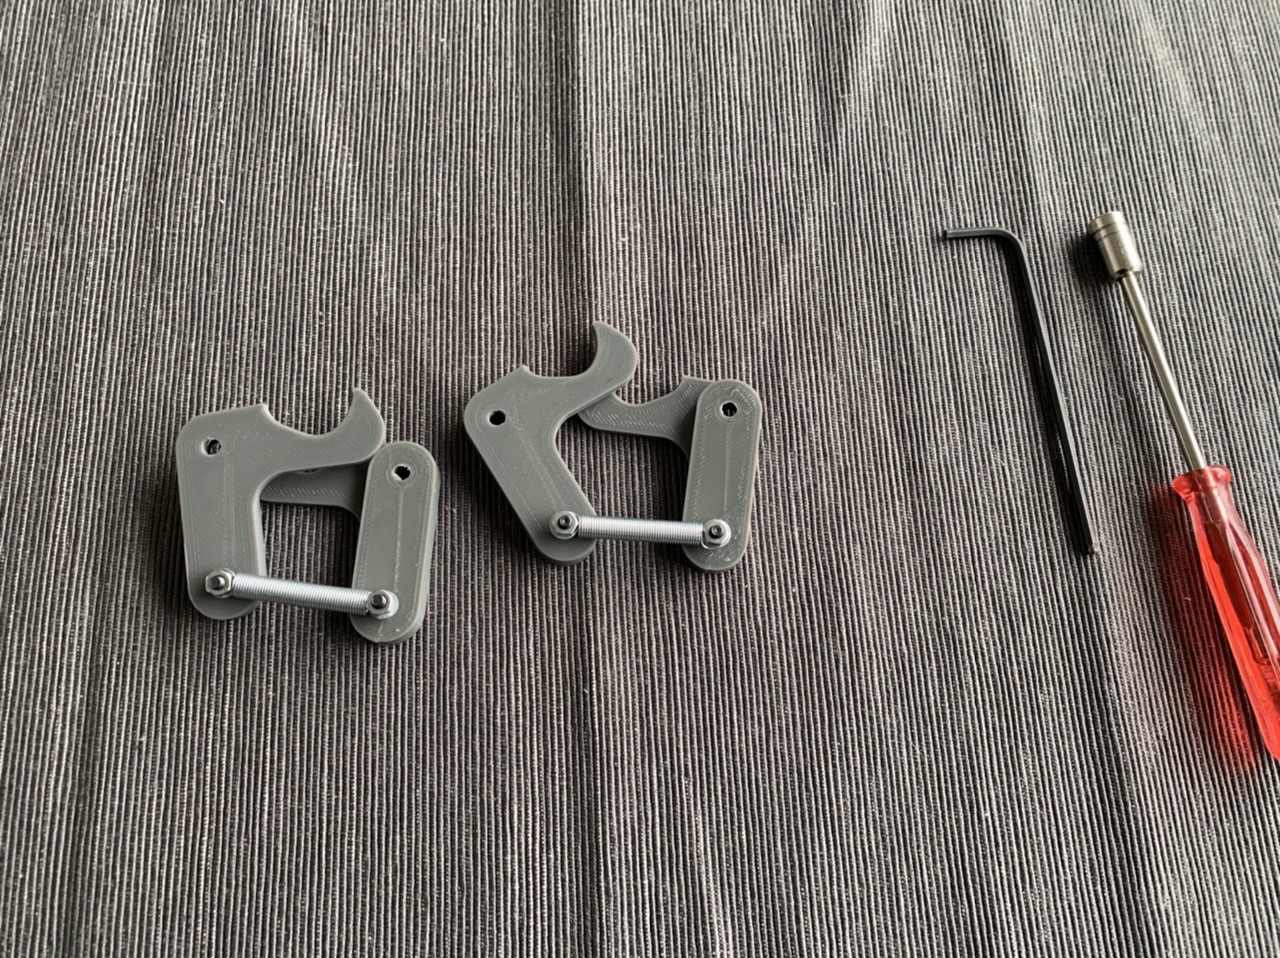
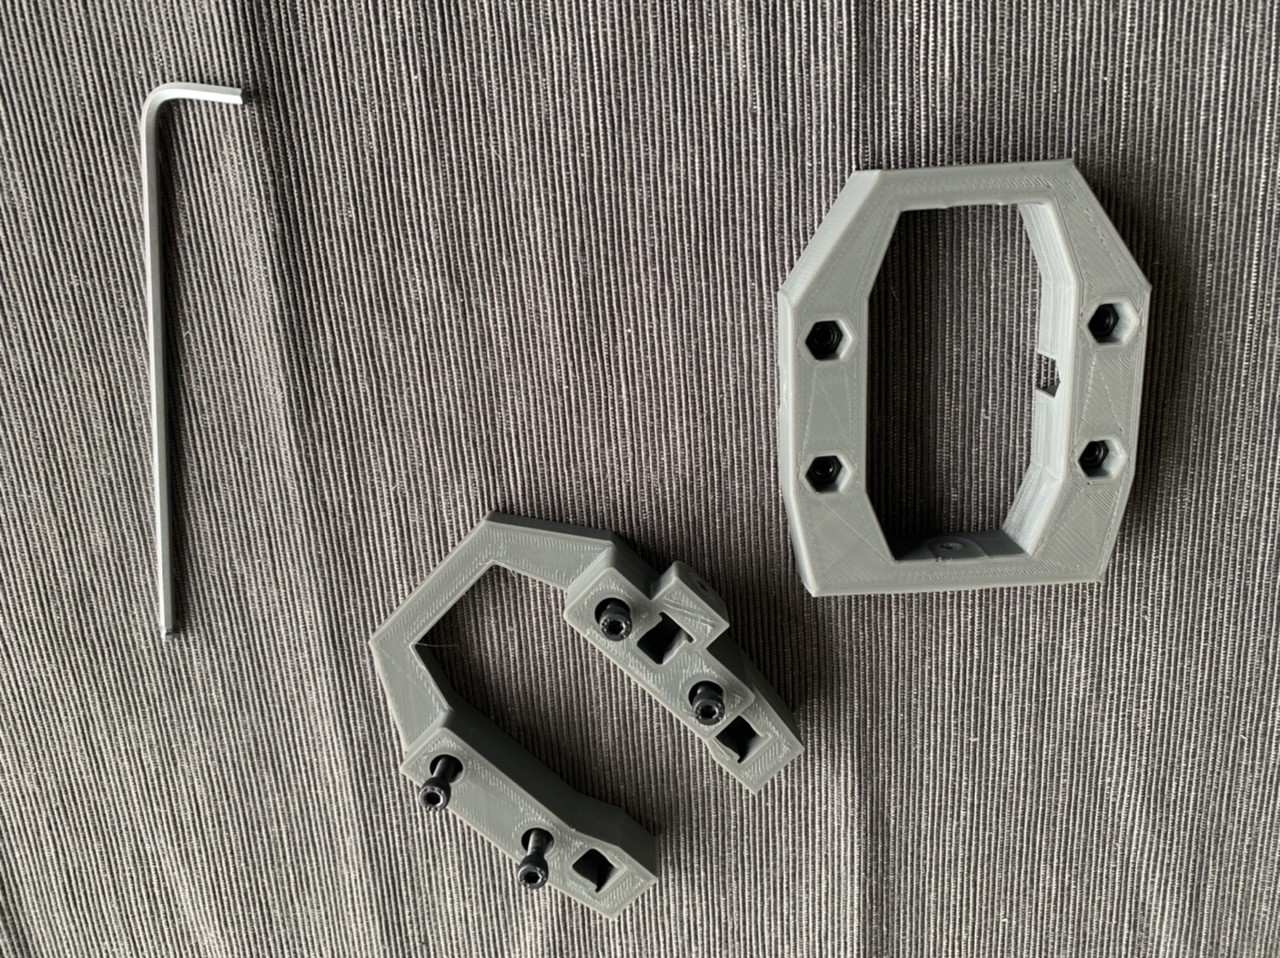
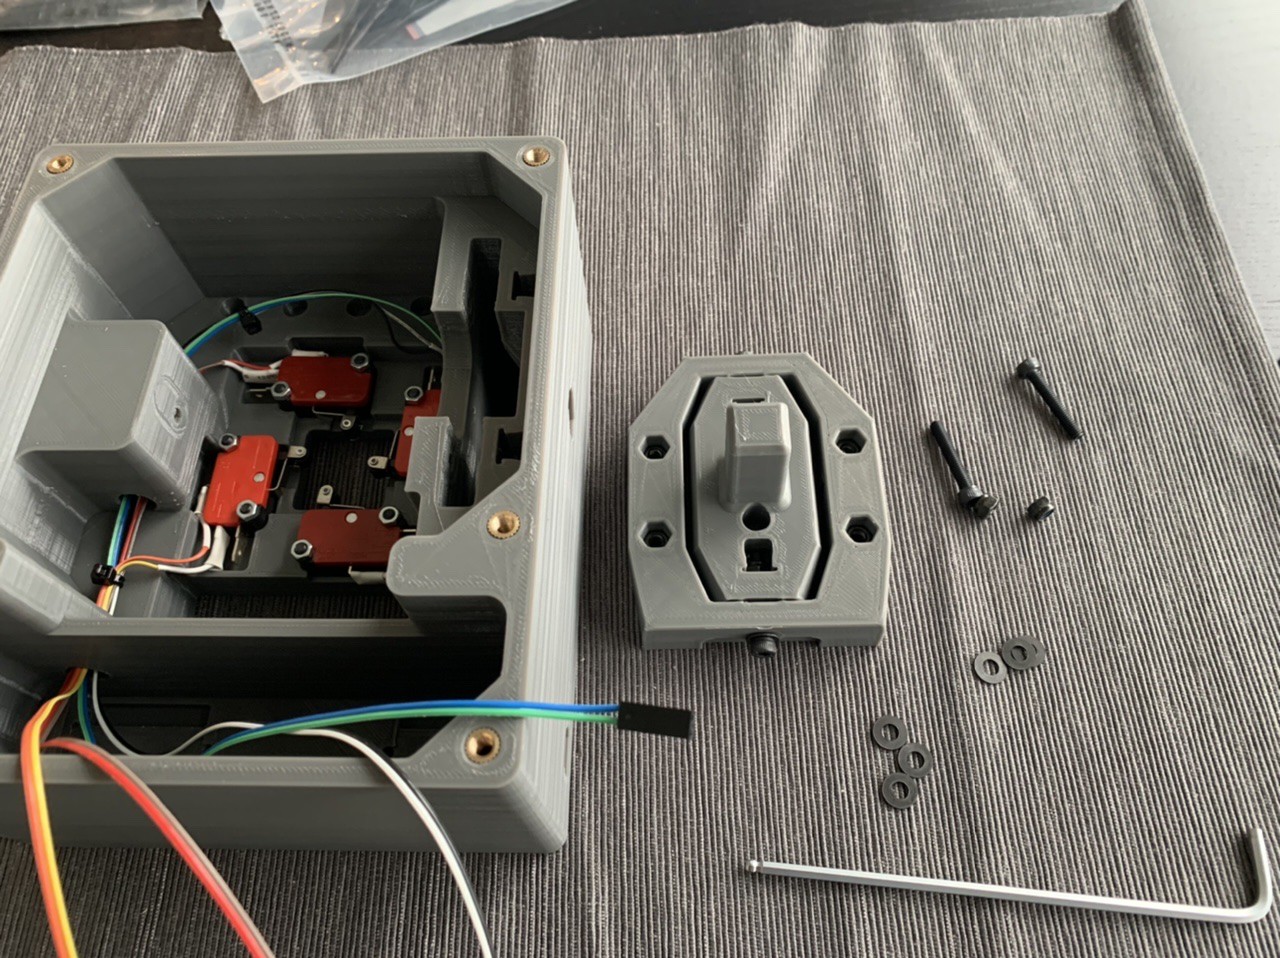
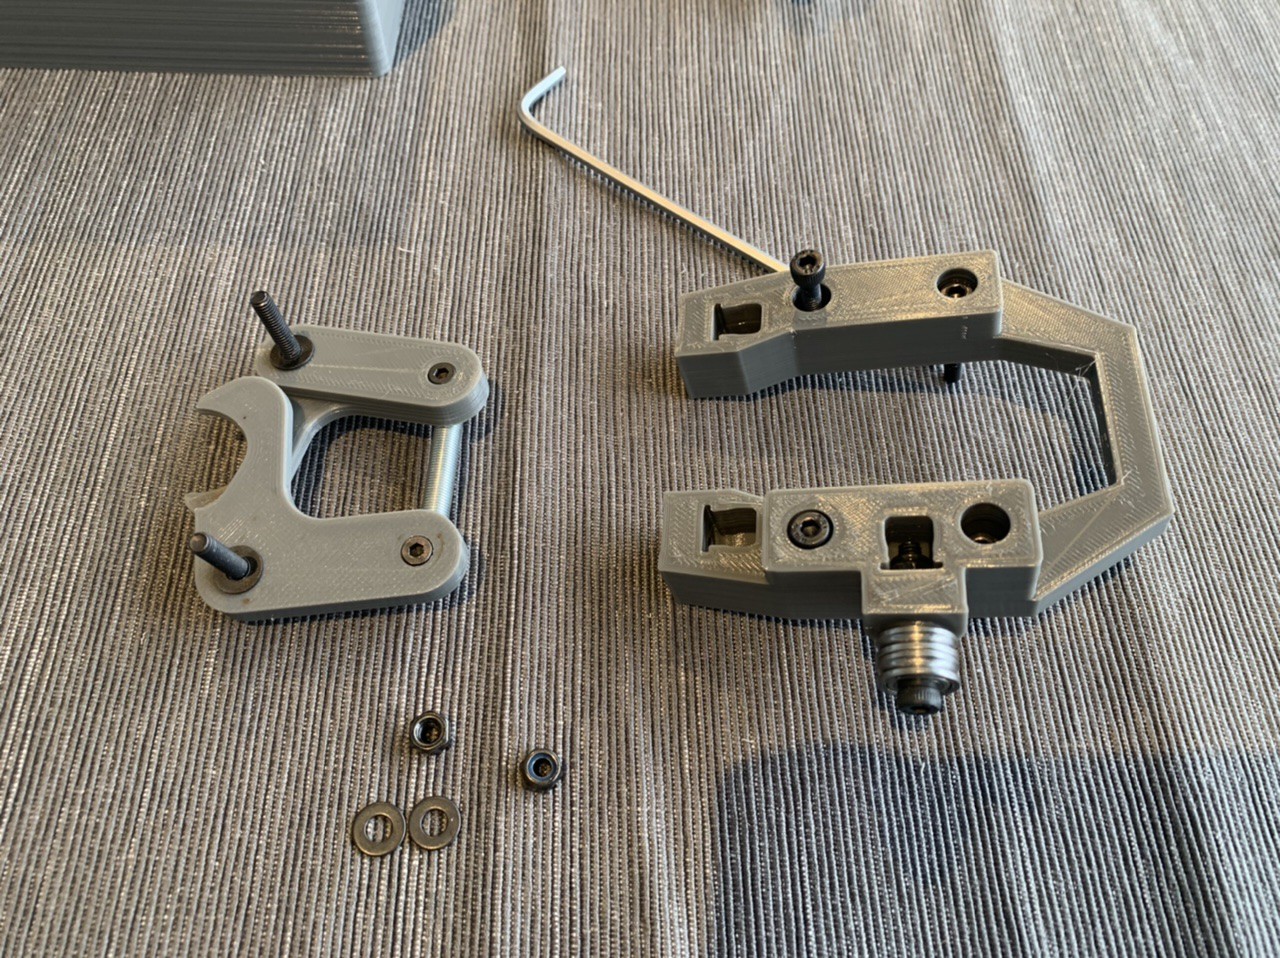
Prepare cam arms
Parts required:
2 x printed part mk2_camarmpair_6v_hyb.stl (each print is for a matched pair of cam arms)
4 x M3 x 12mm socket head screws
4 x M3 washers
4 x M3 nuts
2 x spings (these are random ones that I got from the local hardware store. I'll measure these and try to find the closest version on McMaster)
Install the bolts so that the heads are in the recesses, and fit flush. Don't tighten the nuts all the way so that the springs can rotate freely, but can't come off. TBC - is loctite required?
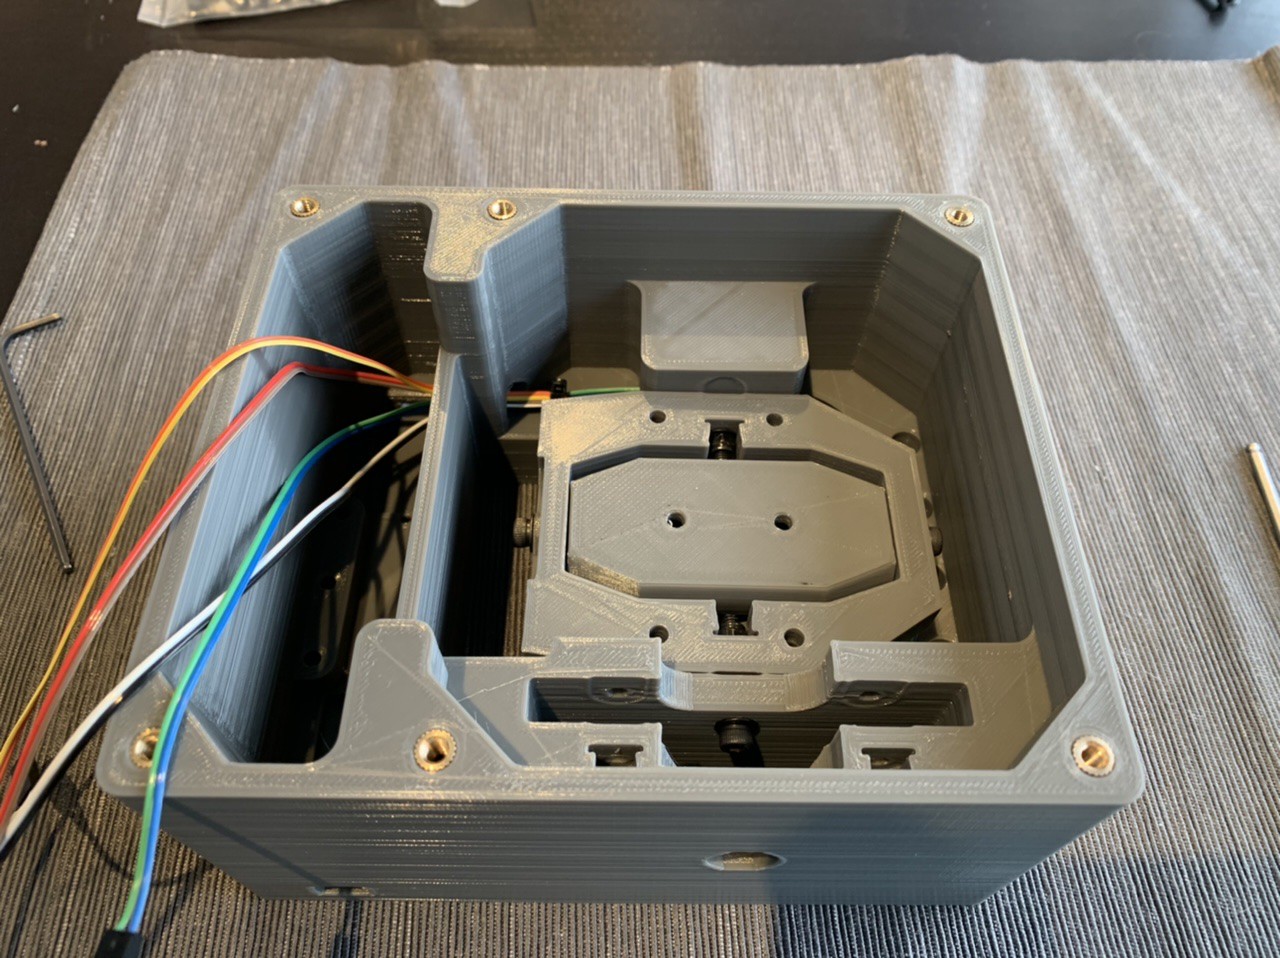
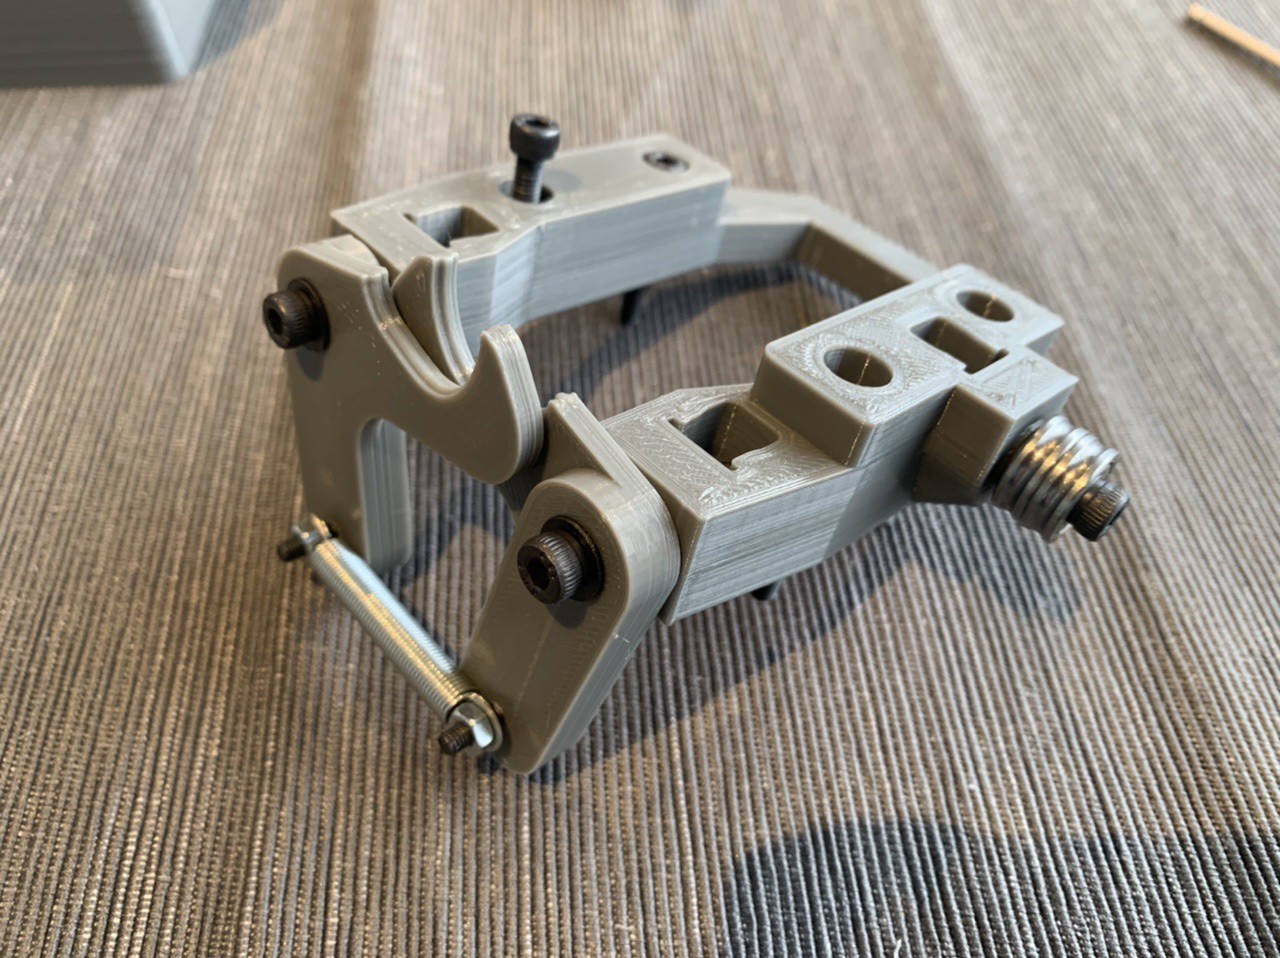
6
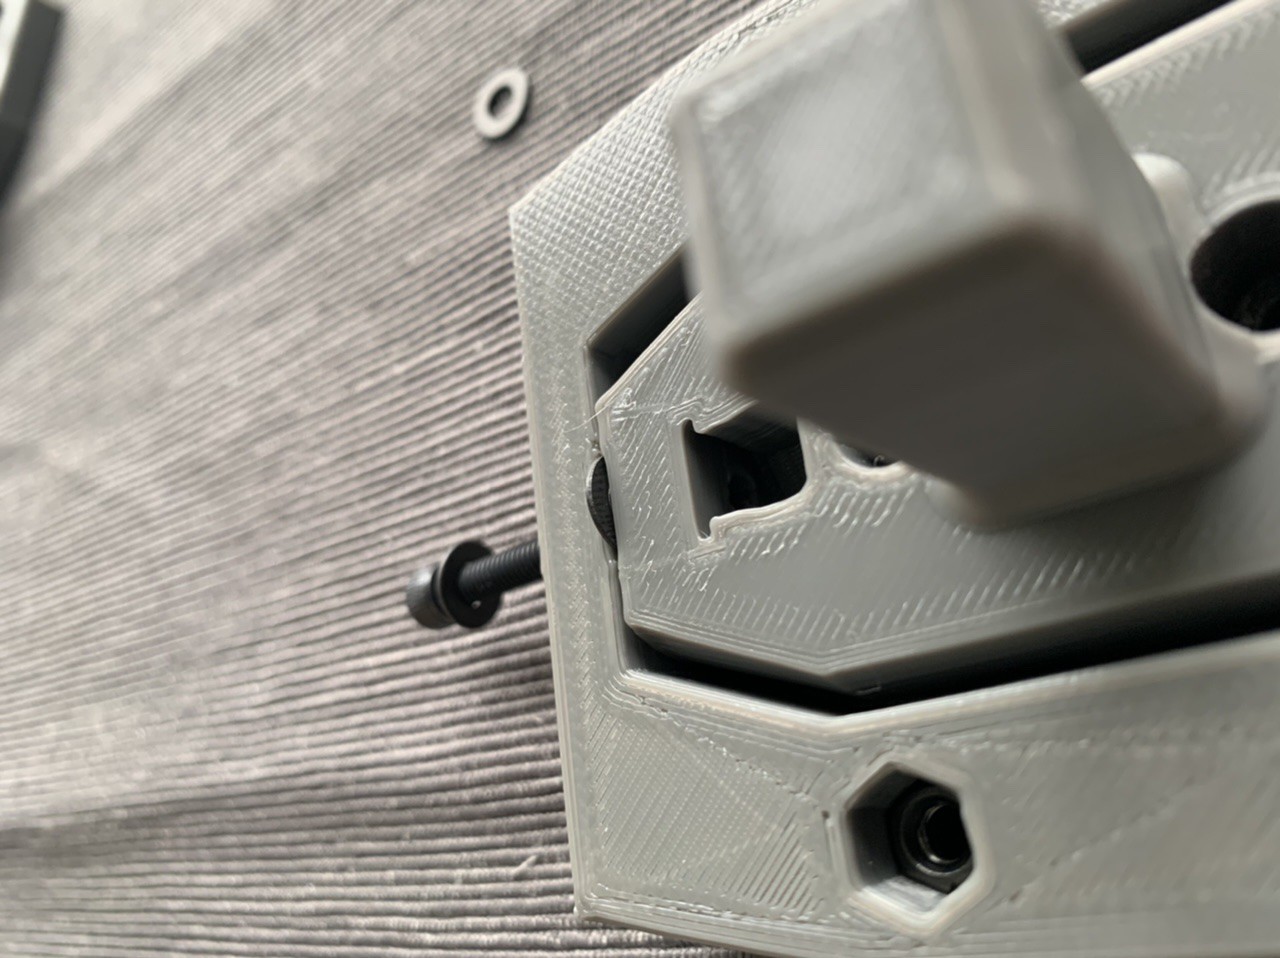
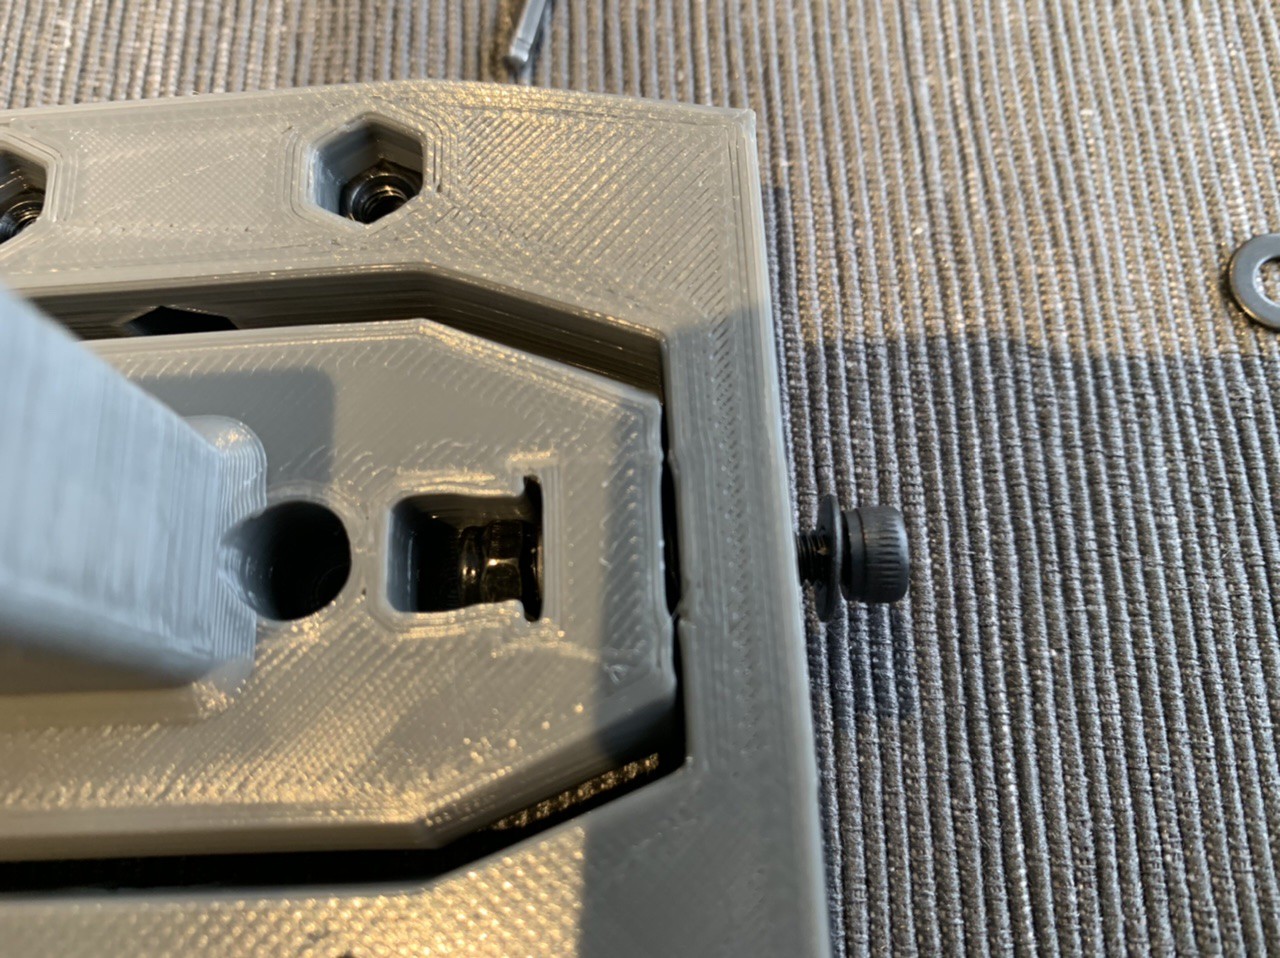
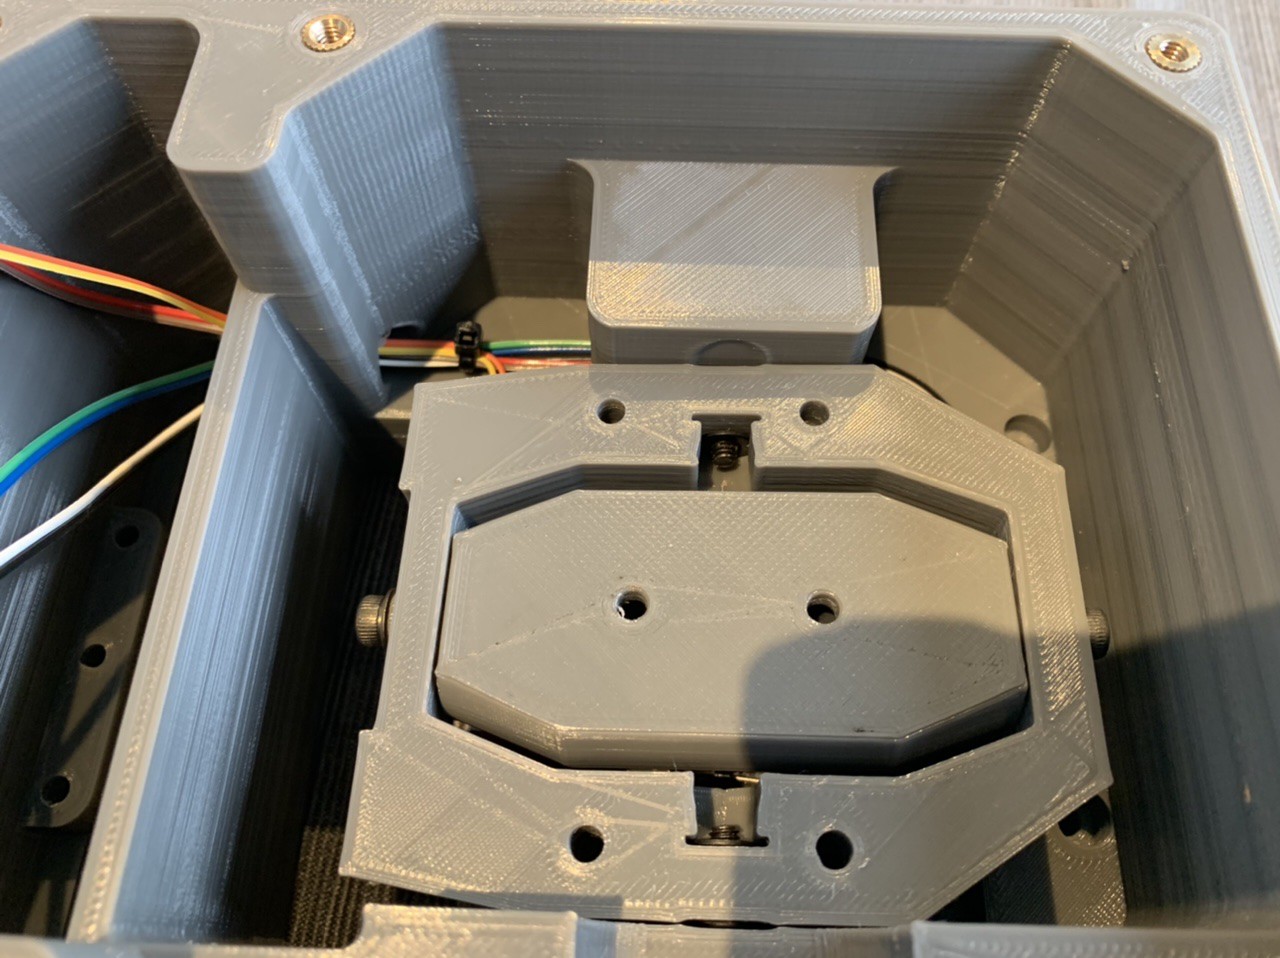
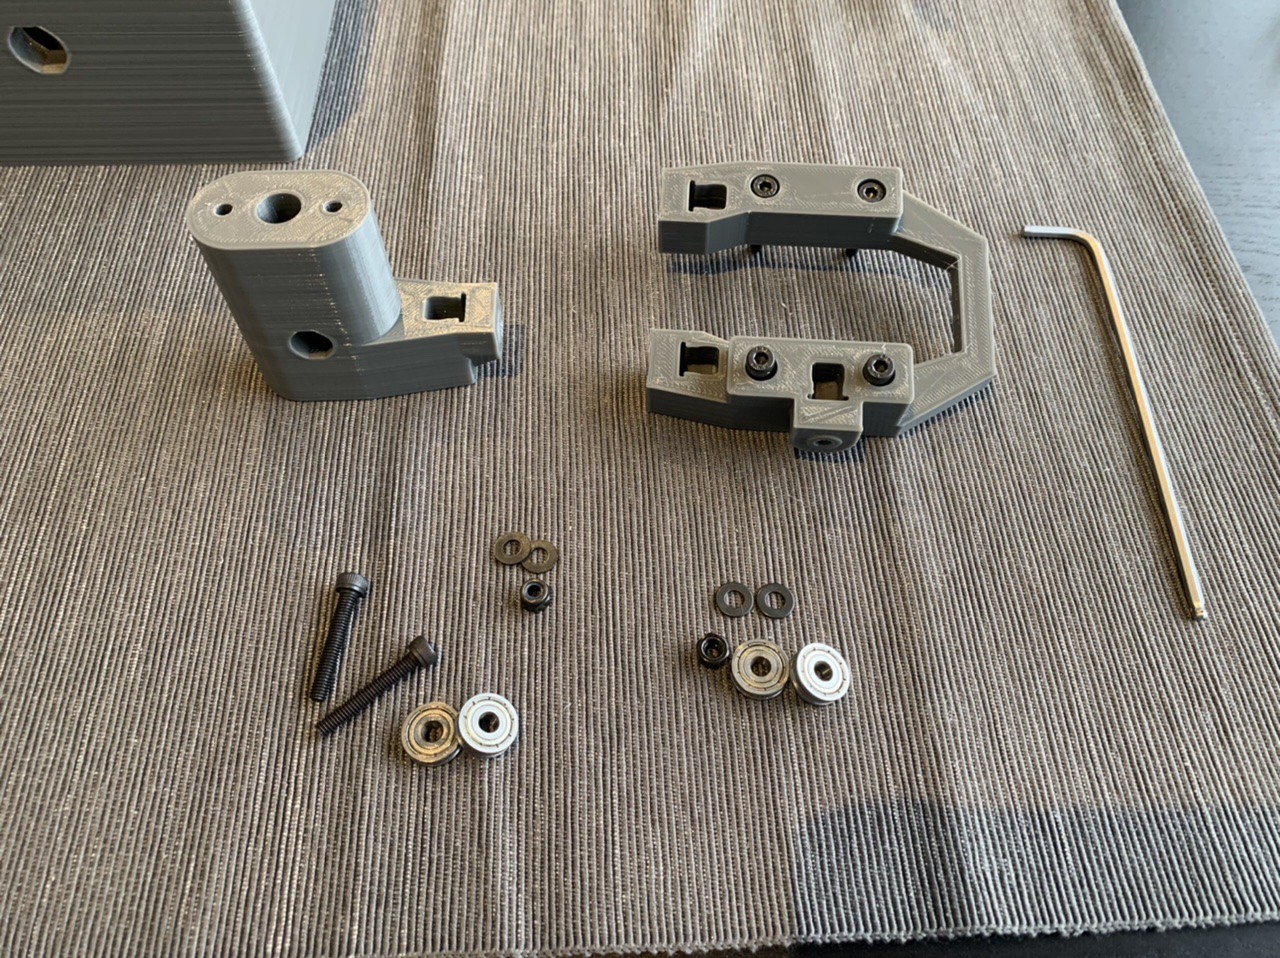
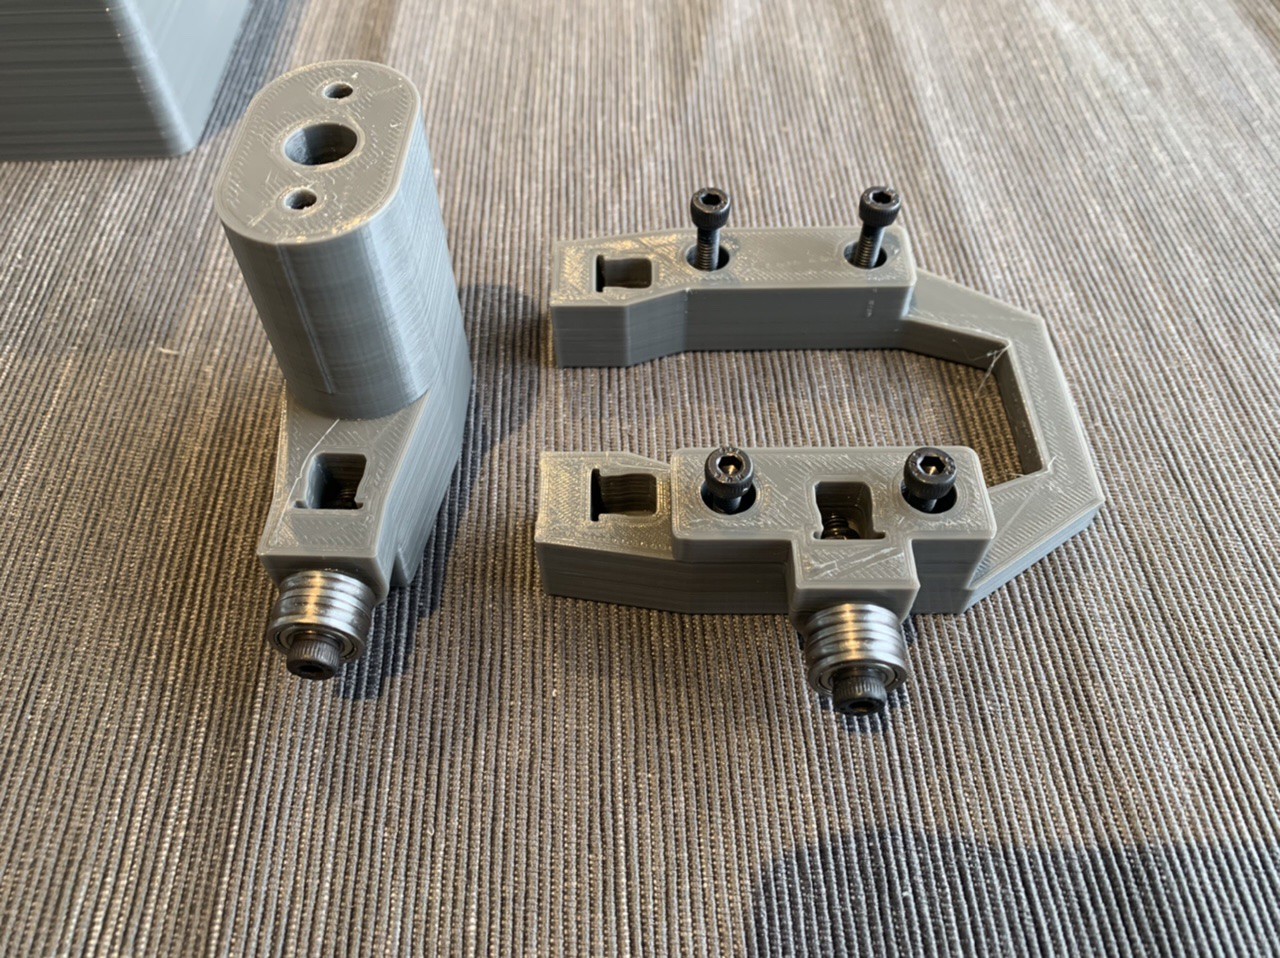
Prepare pivots
At this stage you need to install the nuts into the bottom of the outer pivot - this needs to be installed into the base before the bearing mount is attached, and at this point the nuts are inaccessible. The parts are designed so that the nuts are press fit, so once installed they'll stay in place.
Parts required:
4 x M4 nuts
You'll also need some M4 bolts, but they show up later in the parts list
 Tobias
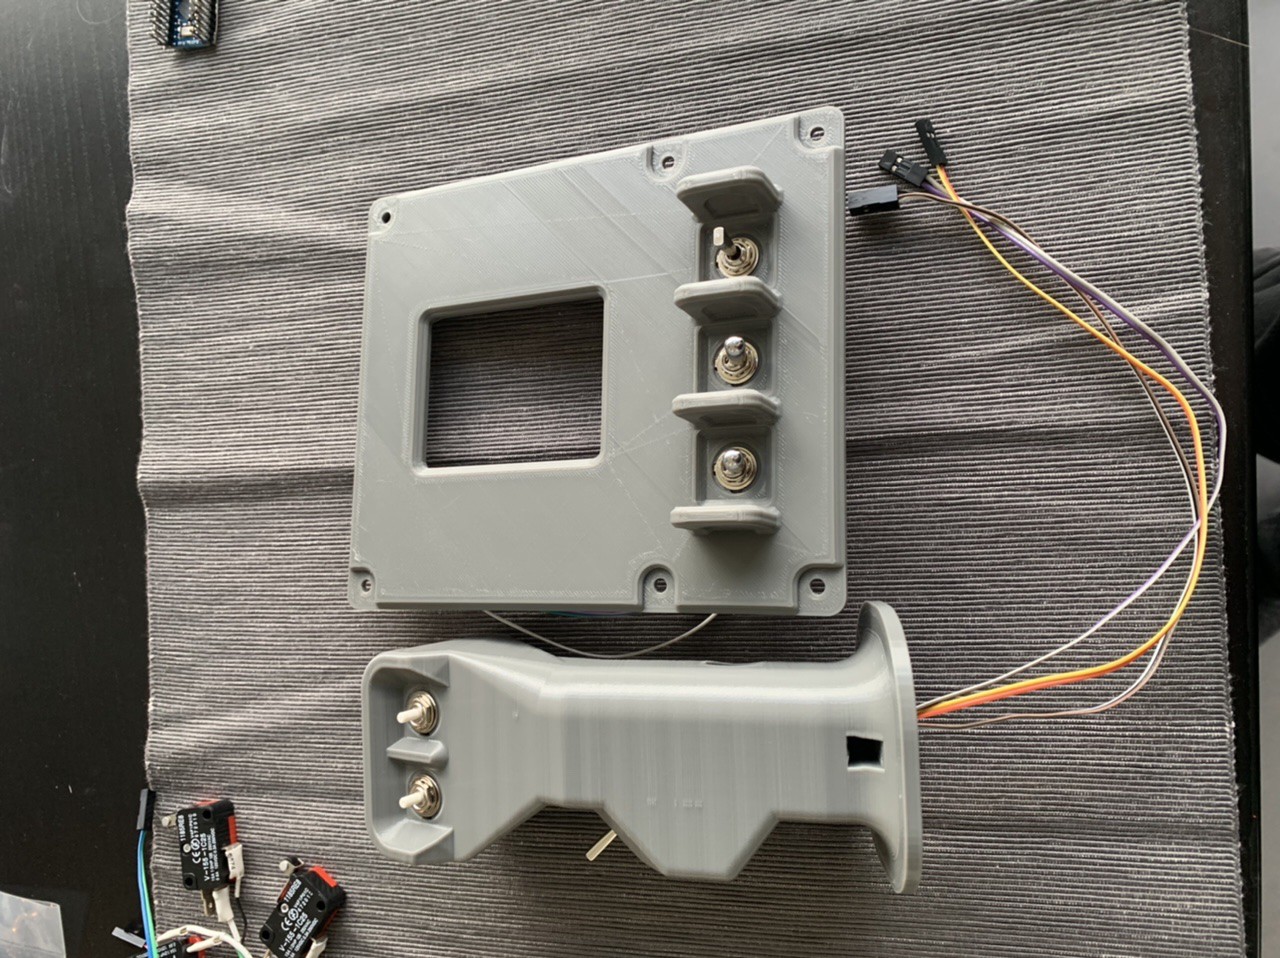
Discussions
Become a Hackaday.io Member
Create an account to leave a comment. Already have an account? Log In.