-
About the project and its build steps
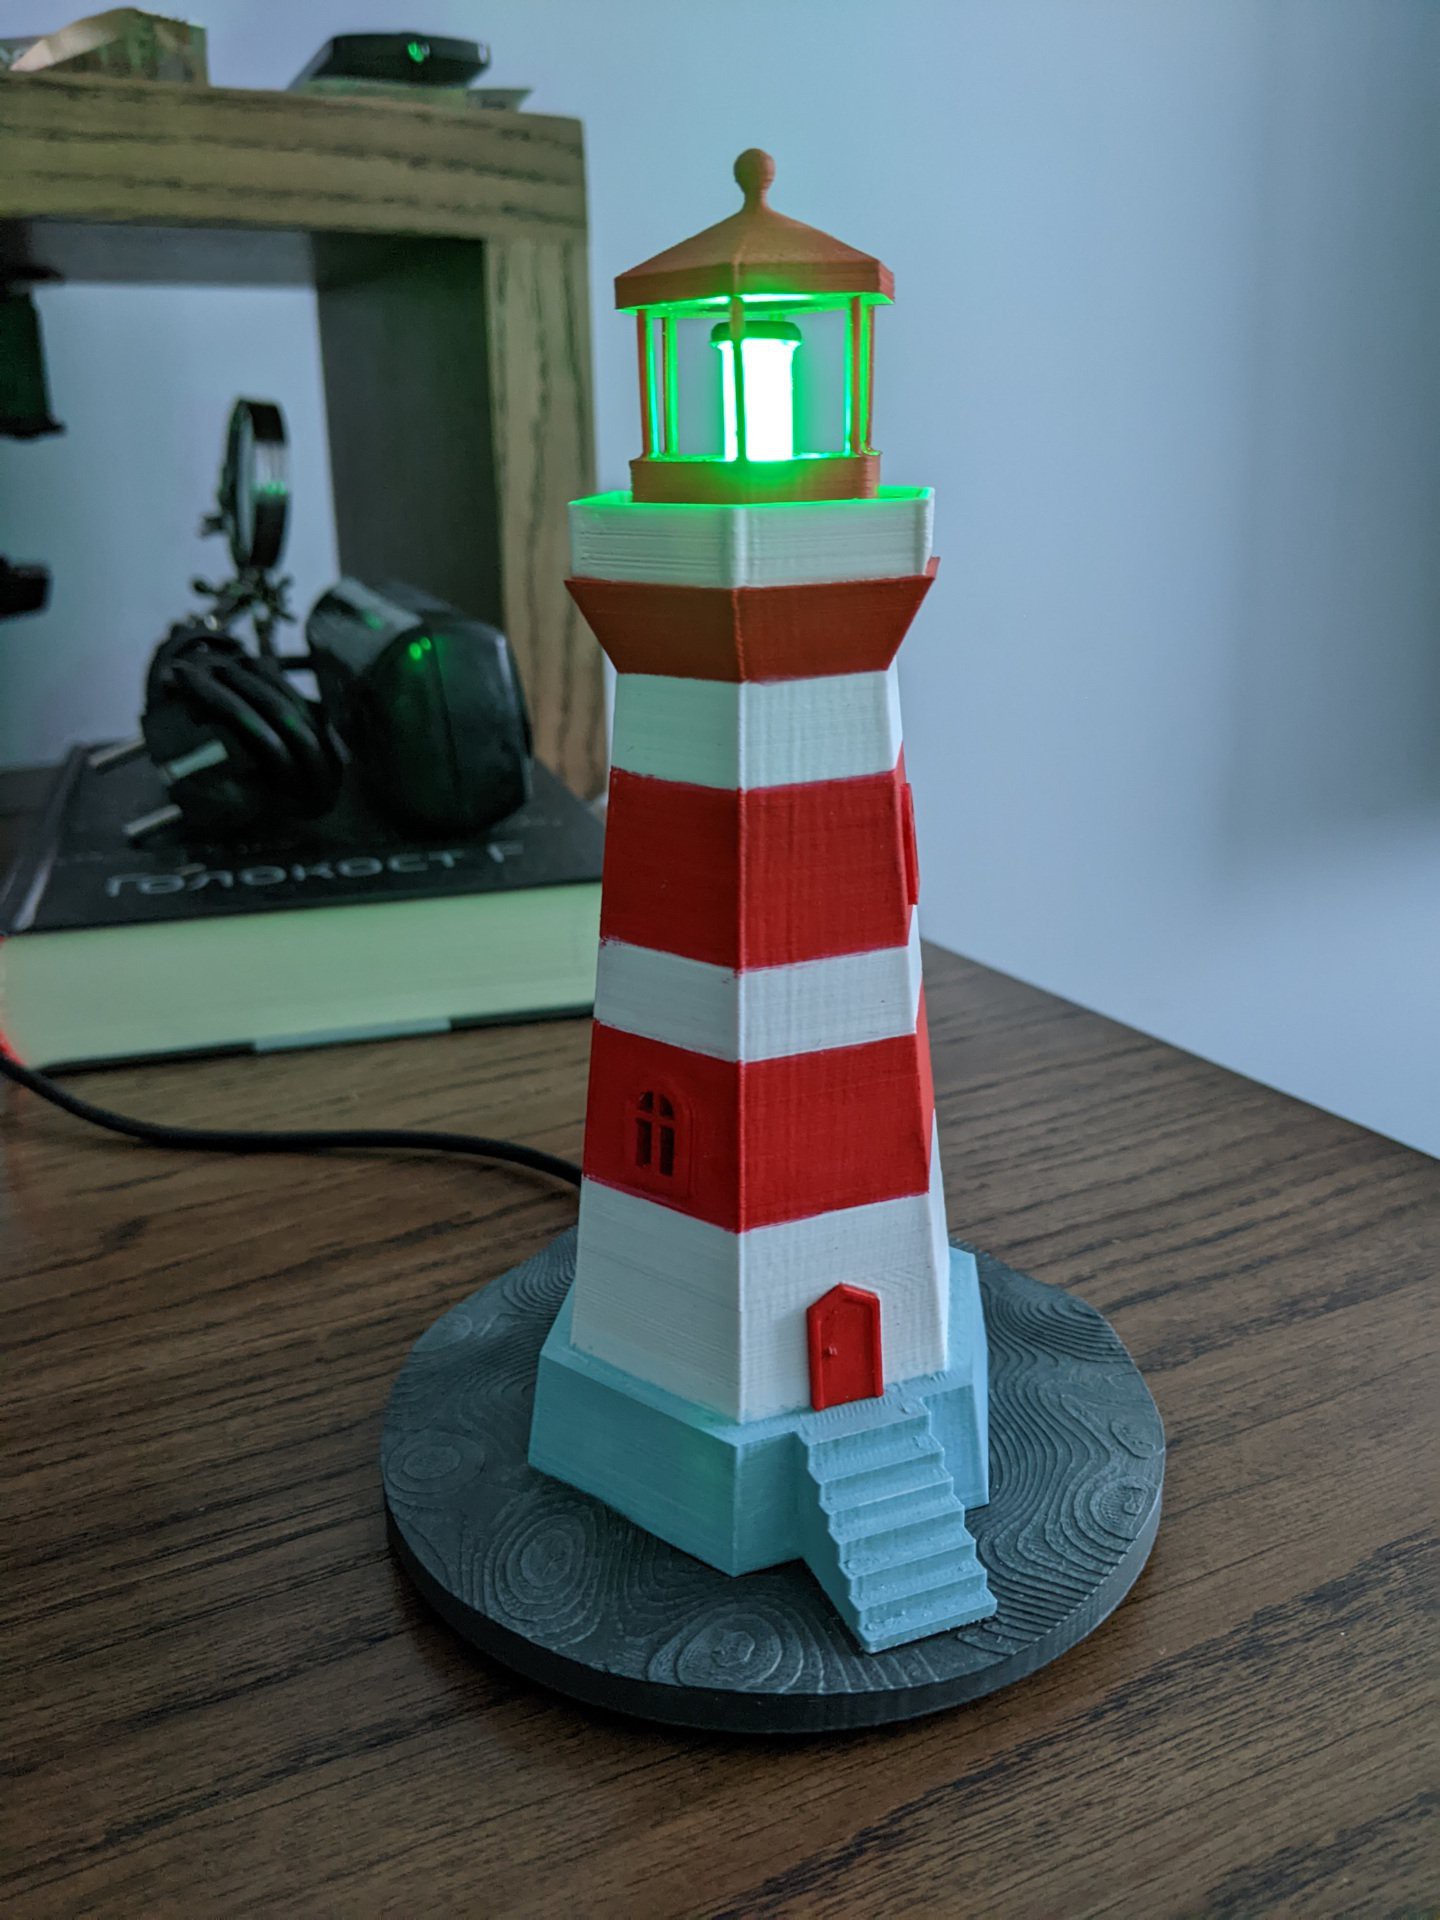
12/23/2021 at 22:09 • 0 commentsThe initial problem that I'm trying to solve is that my 3-year-old son wake-ups at night and does not understand whether it is already morning or not (during the winter, there is no difference in the ambient light at 3 AM and 7 AM). I've already seen that someone used a slightly modified night light to solve the same problem so, I decided to create something similar.
After fast thinking about a form factor (in what box I should put the led), the idea with a lighthouse came. A quick search brought me a lot of 3D models, but I decided to go with a simple one from Mian0109. Instead of using multicolor printing, I wanted to paint the lighthouse using acrylic paints and then protect it with matt varnish (it gives you more freedom, and the final result looks better).
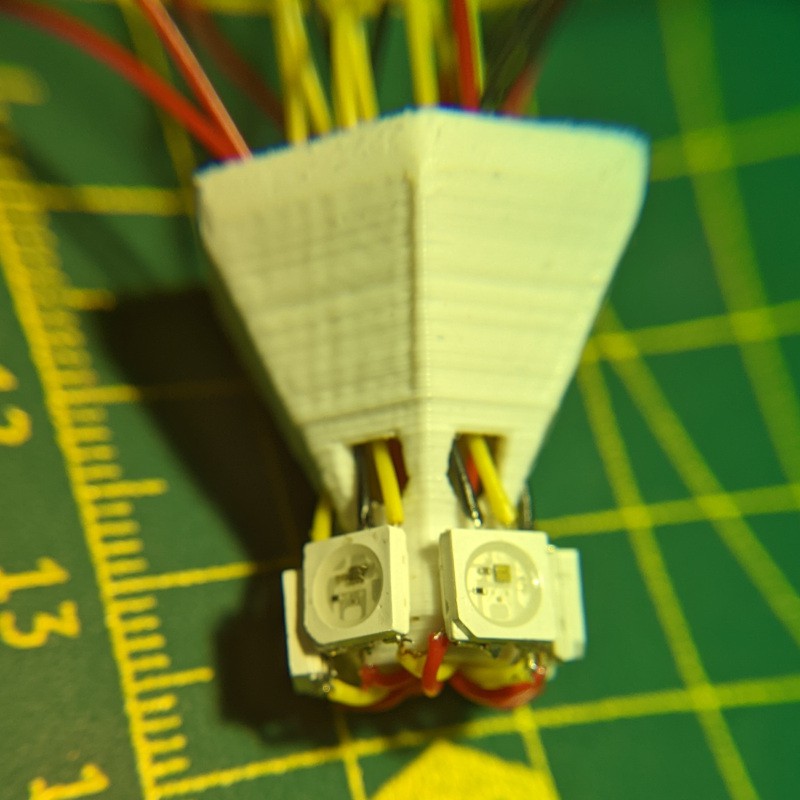
The main thing in the lighthouse is something that produces light. From the beginning, the idea was to use a set of addressable LEDs (WS2813) to simulate an actual lighthouse behavior (with a spinning light). I even 3d printed the core for this and soldered all LEDs, as you can see in the photo.
![]()
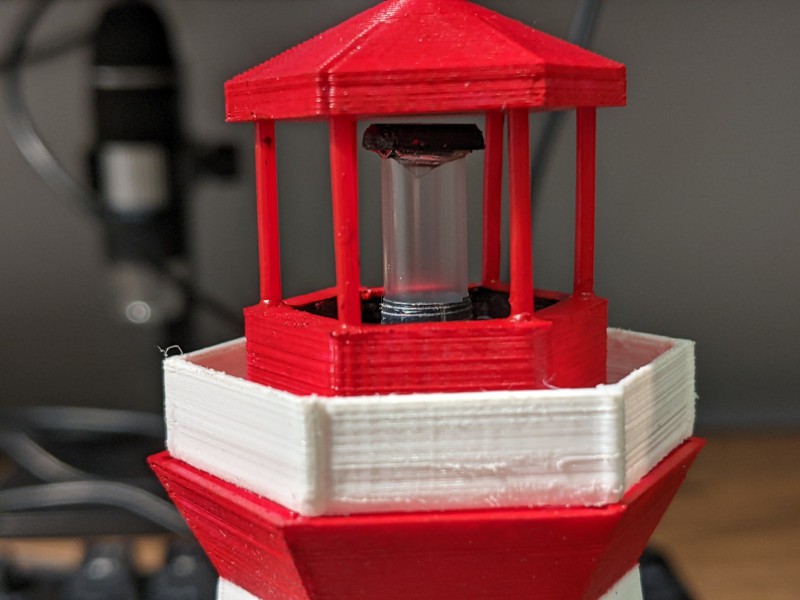
But it was hard to solder so many tiny wires to the SMD LEDs reliably, so after a few iterations of re-soldering, I gave up and decided to go with a single LED. To diffuse the light, I used a piece of a drinking tube and secured the LED with hot glue.
![]()
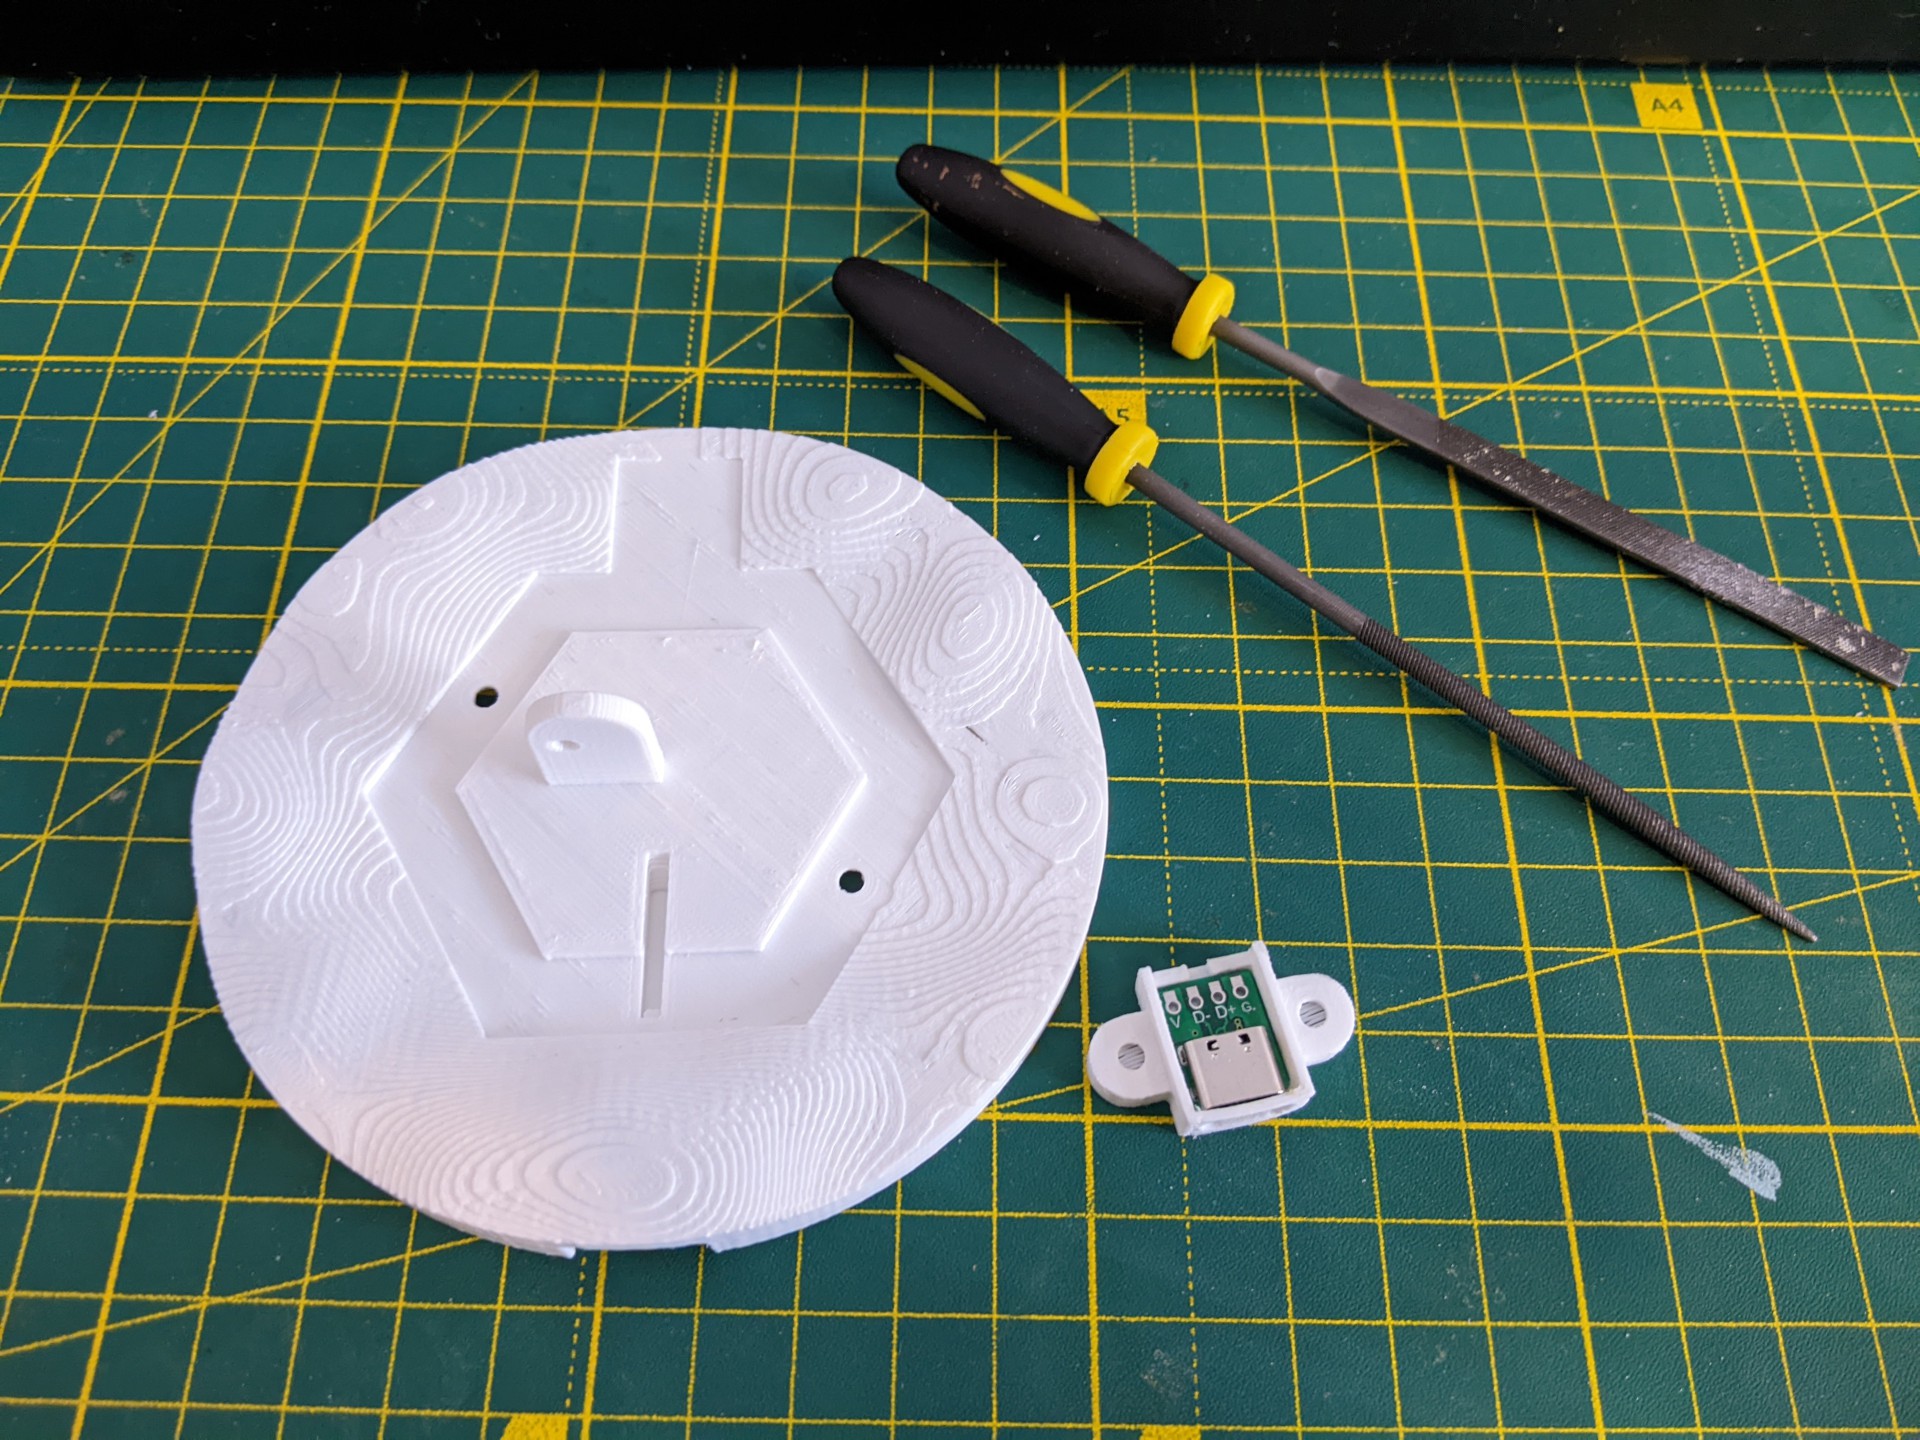
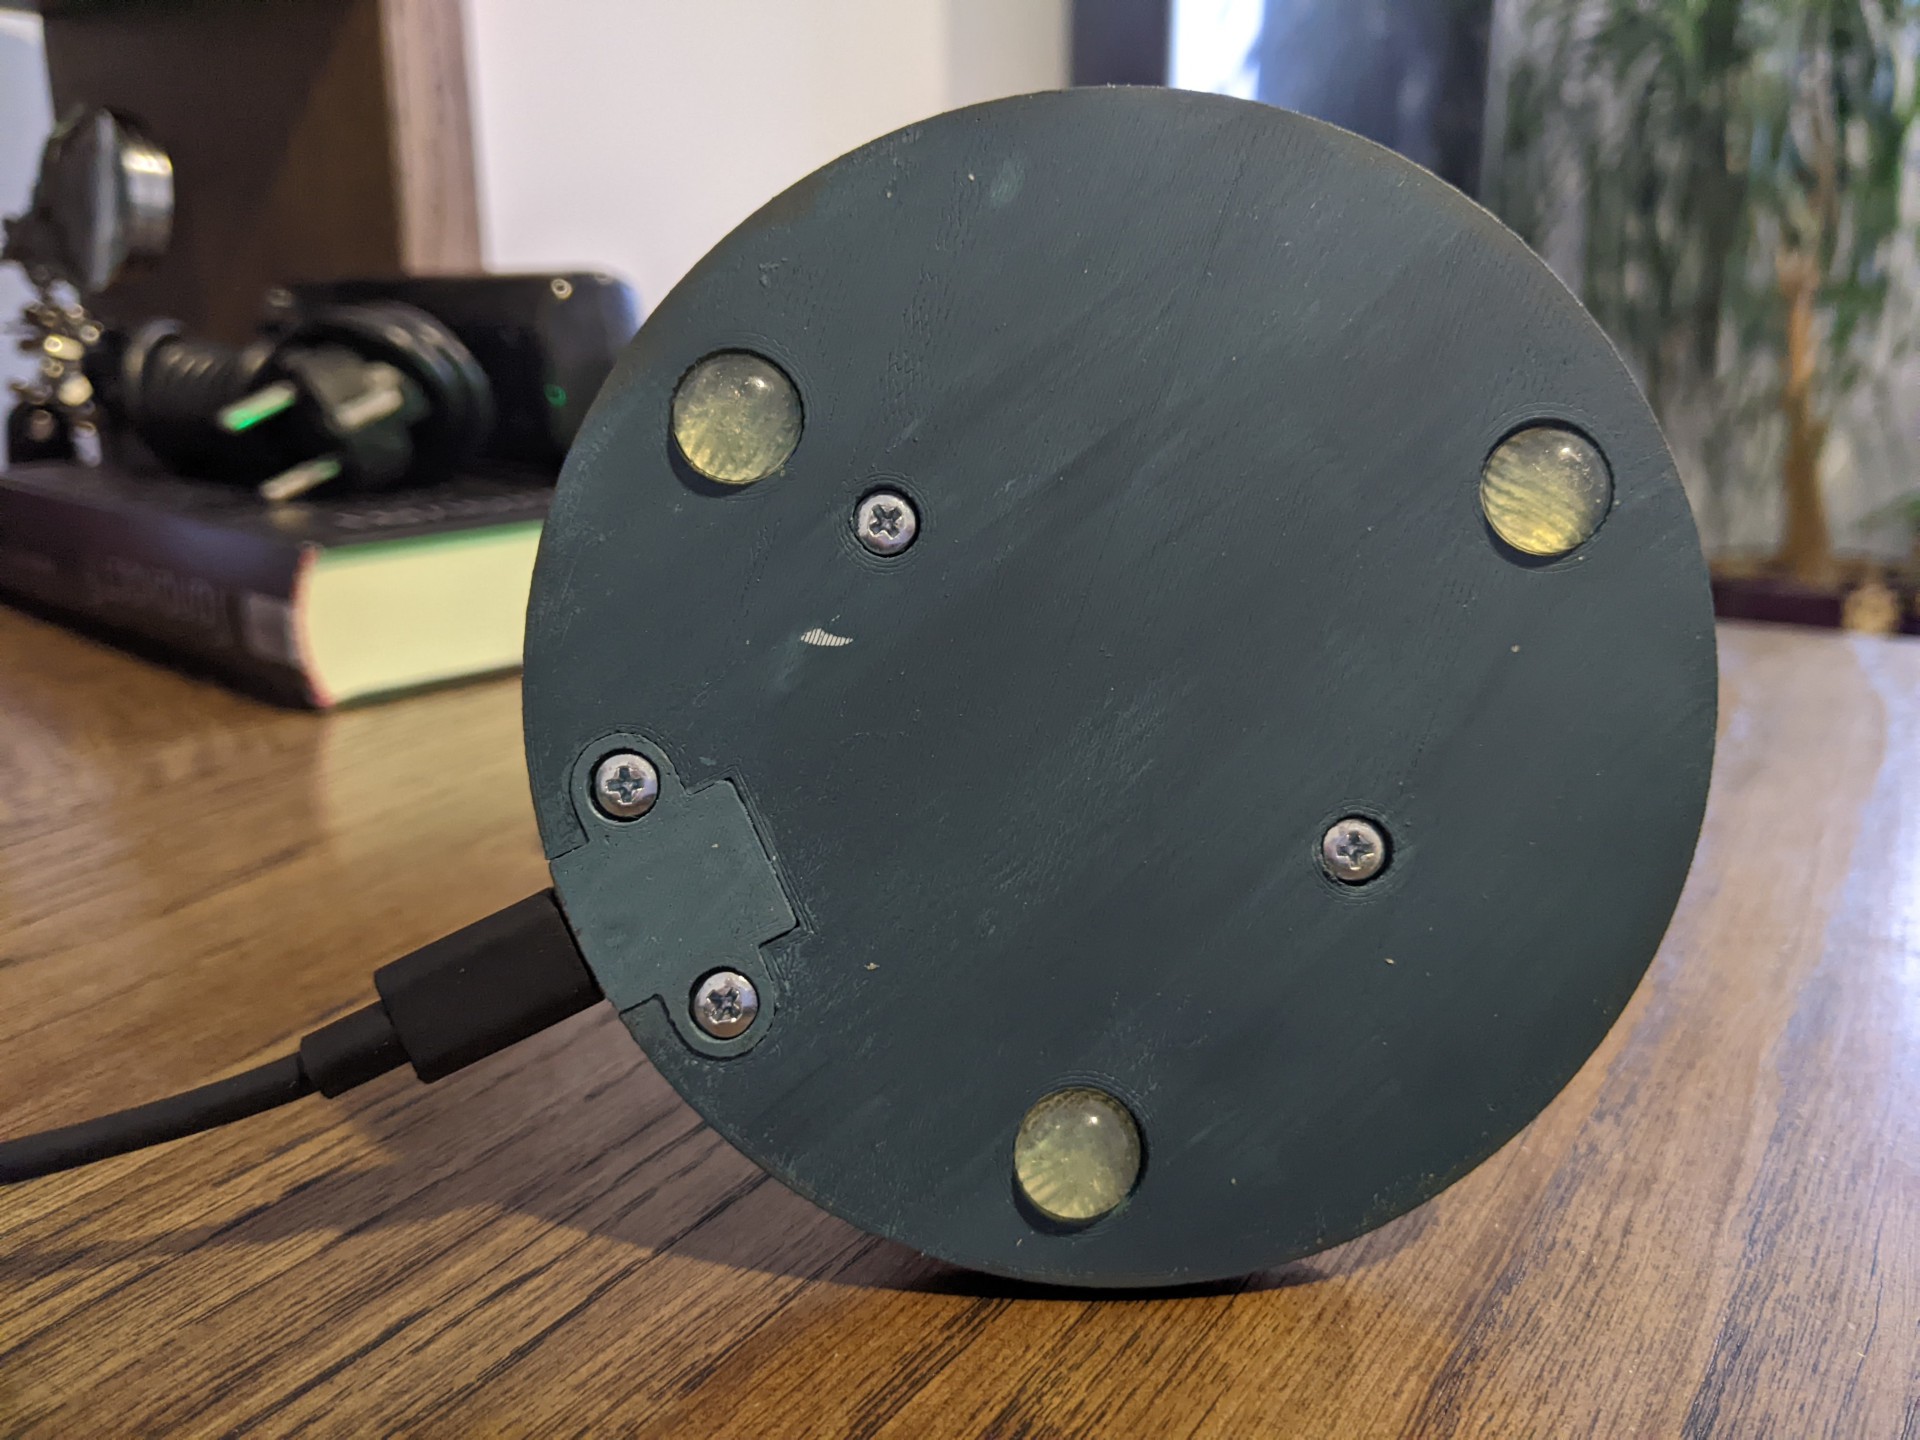
Light (the fence was sanded a bit later) The original base will not allow you to hide all required wires and USB type C port, so we have to design a new one. You can find the STL and STEP files on Thingiverse.
![]()
![]()
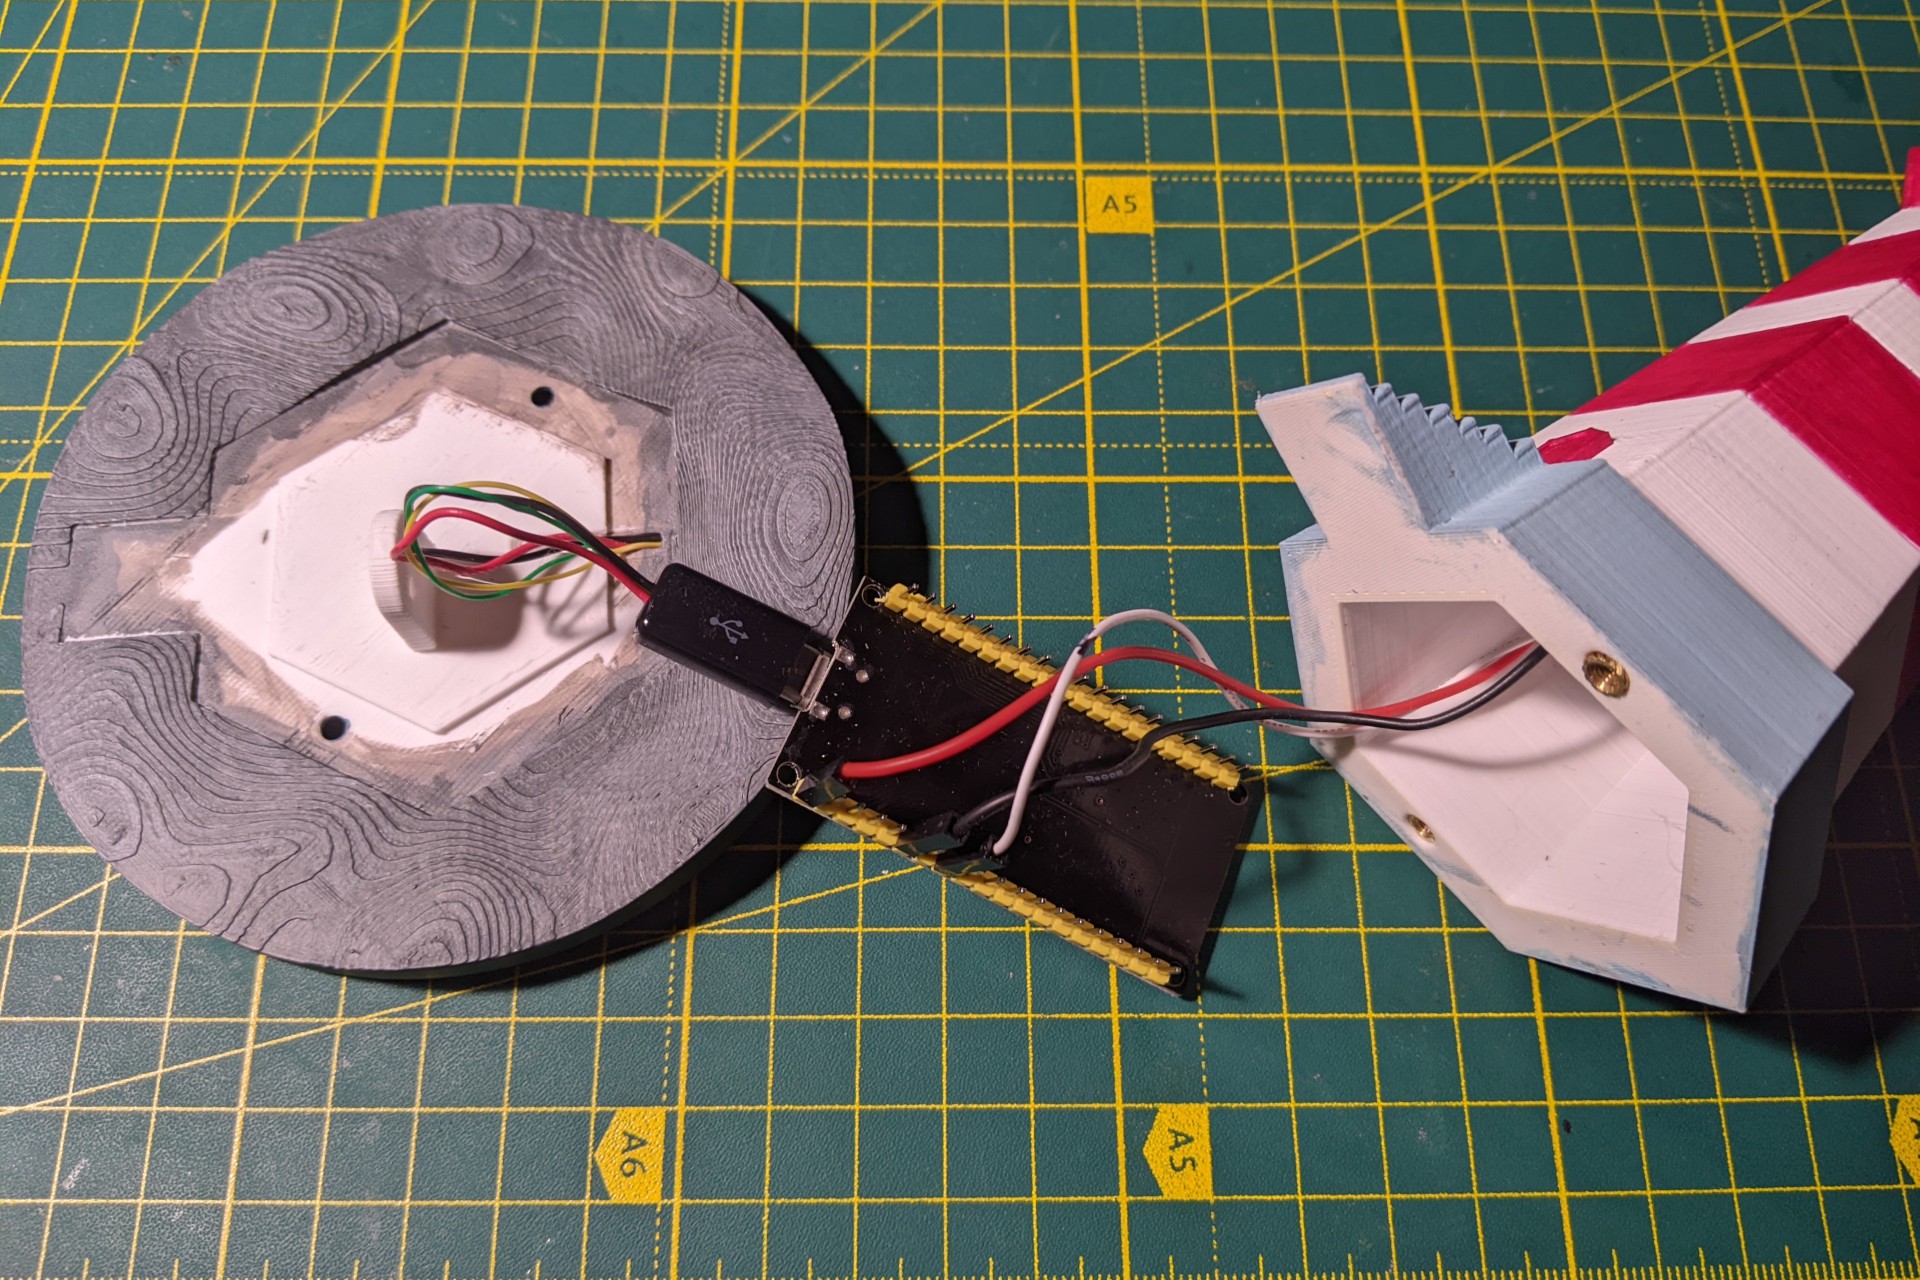
The next step is to choose the controller and connect all wires. At the last moment, I changed my mind and decided to use a different ESP32 board (and create a micro USB to USB Type C adapter), so now it looks a bit clunky.
![]()
Threaded inserts are a great way to connect the two pieces, the lighthouse, and the base.
The final part is software. Usually, I'd write something fancy with a web UI, multiple modes, etc. But keeping it simple allowed me to complete this project much sooner. All colors configured in this definition:
Alarm alarms[] =
{
  {true, 6, 0, 20, 30, green, 255}, // 6:00 AM - 8:30 PM
  {true, 20, 30, 20, 55, orange, 255}, // 8:30 PM - 8:55 PM
  {true, 20, 55, 6, 0, red, 100}, // 8:55 PM - 6:00 AM
};
The last number in each alarm is the brightness ratio (255 - full brightness). You can find the current code in the GitHub repo.
A few photos of the final result:
![]()
![]()
![]()
 strange.rand