Close
0%
0%

MPSM V2 Direct Drive for 2.85/3.00mm Filament

These modifications will allow this printer to use a direct drive extruder, and print using 2.85mm/3.00mm filament

Similar projects worth following
My previous project of the modular toolhead was a stepping stone towards converting the Monoprice Select Mini V2 to a direct drive 3D printer. These upgrades and modifications will result in more responsive extrusion, the ability to print extremely flexible materials, near silent printing, and the ability to easily switch between 1.75mm and 2.85/3.00mm filament.

Details to follow in the coming weeks.

The stock extruder has been swapped with the F2.85 Orbiter extruder by Dr Robert Lorincz.  https://www.thingiverse.com/thing:4860182

  • This extruder is a direct driver extruder, and is very lightweight.  Including the motor cable, I measured the weight at ~150 g.  Purchase links can be found on Dr Lorincz's Thingiverse page.
  • The cantilever X-axis gantry's maximum deflection was measured at approximately 0.1 mm, based on a test mass of 147.5 grams at the end of the arm, using a dial indicator secured to the toolhead.

The stock mainboard and LCD have been swapped with a RAMPS 1.4/Mega board combination, along with a 12864 full graphic smart controller LCD.  These components were selected based on the low cost, thorough documentation, and most importantly: the ability to swap out stepper driver sticks.

  • The board allowed the use of stepper drivers with variable vrefs: This allowed the stepper current to be set for the extruder motor, which required much higher current than the stock extruder motor.
  • The board/firmware can be used for future upgrades/modifications/add-ons, due to the thorough documentation, as widespread use in the reprap community
  • The stock board was left in the case, as it is unobtrusive.

The stock A4988 stepper drivers chips (soldered on the stock mainboard) were replaced with BigTreeTech's TMC2208 stepper driver sticks.

  • Stealthchop mode allows much quieter printing
  • UART allows the stepper current to be set quickly, easily and accurately

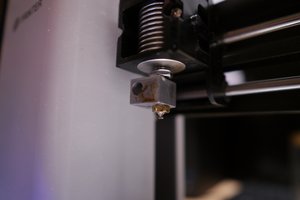
The stock hotend was replaced with a 2.85/3.0mm hotend in a V6 style, with a direct-style heatsink.  This was a cheap option to prove the concept of this setup.

Next Steps:

  • The case fan will be replaced with two low noise 40mm fans in the near future, as this is one of the loudest sources of noise.
  • The 30mm sleeve bearing fan will be replaced with a 40mm fan, as the life expectancy of the 30mm fan is quite short.
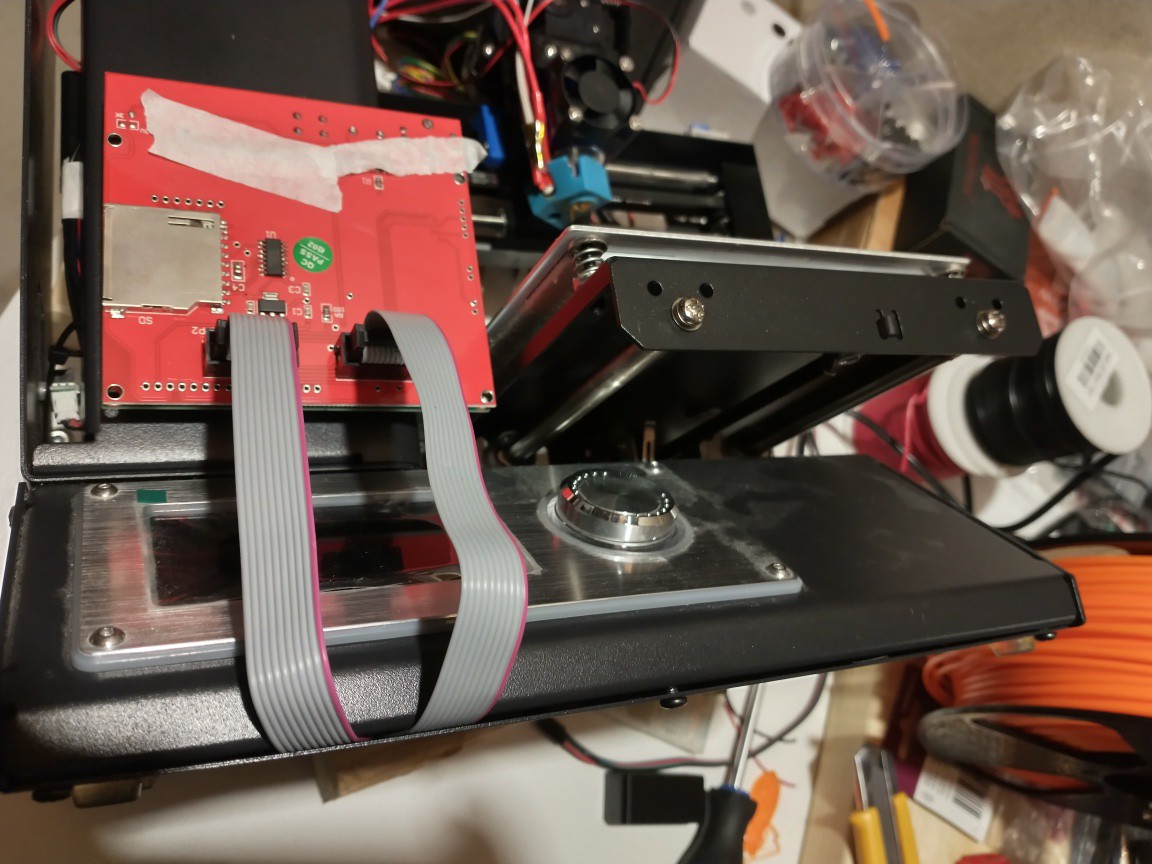
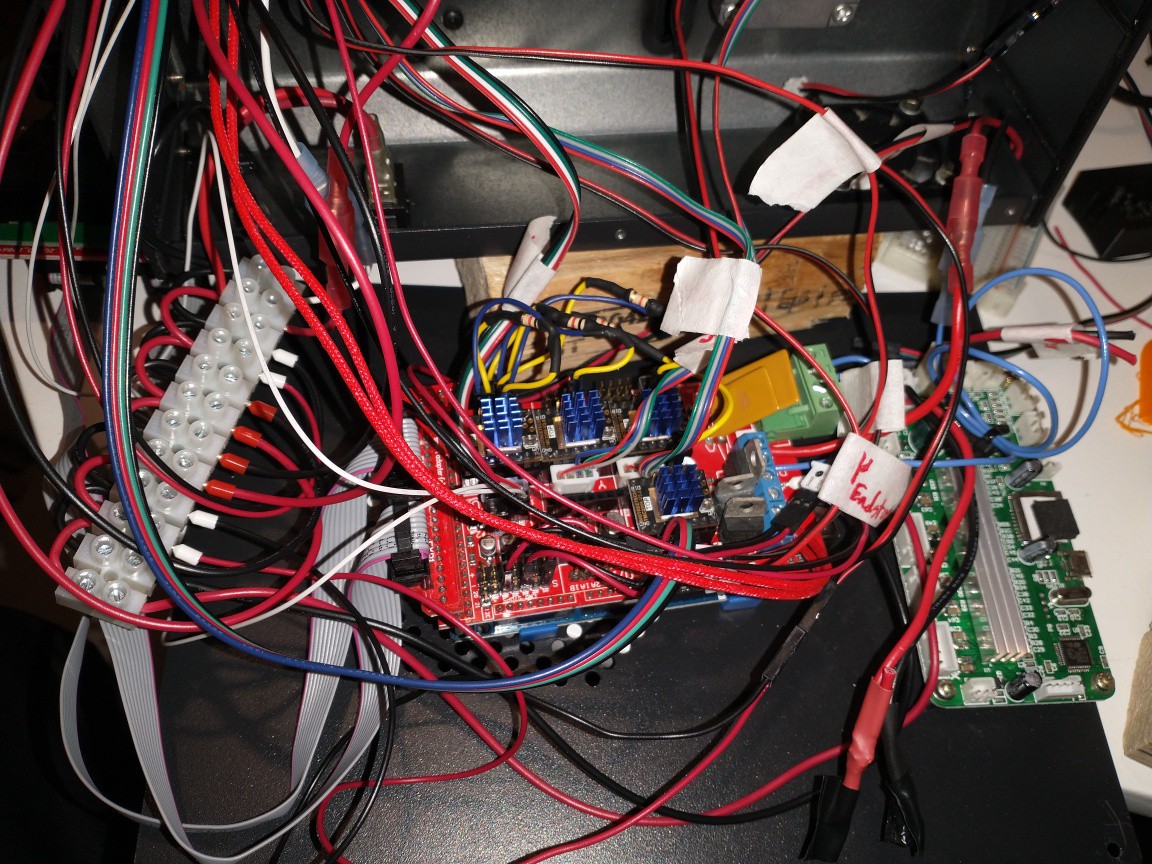
3D_12864LCDcase_V01 v32.stl

Standard Tesselated Geometry - 108.68 kB - 01/11/2022 at 17:29

Download

3D_MPSM_v2_EndStop_Offset_V02 v7.stl

6mm offset

Standard Tesselated Geometry - 16.98 kB - 01/11/2022 at 17:30

Download

  • 1 × RAMPS/Mega boards
  • 1 × F2.85 Orbiter Extruder https://www.thingiverse.com/thing:4860182 (Orbiter Extruder v2.0 will also work with this mount)
  • 1 × V6-style 3mm Hotend
  • 4 × BigTreeTech TMC2208 Stepper Driver Sticks
  • 1 × 18 AWG wire Used for 12v power connections

View all 10 components

  • Selected Hardware

    MC8801/08/2022 at 05:09 0 comments

    Extruder: Direct Drive - Orbiter F2.85mm Dual Drive extruder by Dr Robert Lorincz

    https://www.thingiverse.com/thing:4860182

    • This extruder is specifically designed for 2.85/3.00mm filament.  The design is well documented and can be replaced with the Orbiter v2.0 if 1.75mm filament is desired for future printing projects

    Hotend: 3mm Direct V6-style hotend

    • This hotend is directly compatible with the Orbiter extruder

    Mainboard: RAMPS/Mega combination

    • This mainboard combination was already in my inventory, but is also one of the cheapest and most common boards.

    Stepper Drivers: BigTreeTech TMC2208

    • These stepper drivers offer stealthchop if run in legacy mode, or can be run in UART mode to fine-tune the stepper current.

    LCD: BigTreeTech 12864 Full Graphics Smart Controller

    • This LCD panel was already in my inventory.  It is an inexpensive LCD screen that will display the information required and allow changes to be made using EEPROM/

  • Initial Project Goals and Considerations

    MC8801/08/2022 at 01:22 0 comments

    Objectives

    1. Print with 2.85/3.00mm filament as it is becoming quite cheap and can be used when 1.75mm filament is out of stock
    2. Reduce overall noise level during printing - the noise level must be (subjectively) negligible when beside the printer
    3. Minimize cost by using stock components when possible

    Evaluation

    Objective 1: Print with 2.85mm/3.0mm filament

    • Issue: The stock extruder is not able to print using 2.85mm filament
      • Solution 01: Design and 3D print an alternate bowden extruder as a drop-in replacement
        • Issue: The minimum bend radius of the PTFE tube and larger filament cannot be met given the stock position of the extruder
        • Issue: Alternate positions on the printer do not meet the minimum bend radii
      • Solution 02: Use a 'flying extruder' similar to some delta-style 3D printers
        • Issue: The cantilevered X-axis gantry and enclosed Z-axis tower present challenges regarding the deflection and mounting of this style of extruder
      • Solution 03: Use a flex-drive style extruder such as the Flex3Drive
        • Issue: The minimum length of flexible shaft for this extruder is relatively long compared to the size of this printer.
        • Issue: Anecdotal reviews of flex drive extruders are not overwhelmingly positive, but are generally positive.
        • Issue: Most extruders of this style are designed for 1.75mm filament, so a redesign would be required.
      • Solution 04: Direct Drive Extruder

    Objective 2: Reduce overall noise

    • Issue: The stock A4988 drivers produce motor whine that is quite distinct and noticeable within a room
      • Solution 01: Replace the stock stepper drivers with quieter drivers, such as the TMC2208 or TMC2209 chips in stealthchop or legacy mode
        • Issue: Replacing the chips requires sufficient soldering skill and may be too 'complicated' for less experience individuals
        • Issue: Additional supplies would need to be purchased to properly and cleanly replace the onboard A4988 chips
      • Solution 02: Replace the stock mainboard and use 'plug-in' stepper drivers
        • Issue: A replacement mainboard can be expensive, relative to the low MSRP of the printer
          • Solution: A low-cost board(s) such as the RAMPS/Mega combination is sufficient for basic printer operation, and is well documented
          • Solution: Alternate 8-bit board - Low cost, but less documentation than the RAMPS board
          • Solution: SKR board - these boards are not particularly expensive, but the higher cost will likely not yield noticeable benefit on this printer
          • Solution: Alternate 32-bit board - see SKR board justification above.
          • Solution: Gigdigit 'quiet' replacement board - An easy and straightforward solution, but regularly out-of-stock.
        • Issue: the stock LCD screen is not compatible with most mainboards not specifically designed for the MPSM
          • Solution: Use a cheap, common LCD such as the 12864 LCD screen
            • Issue: The monochrome screen is not as attractive as the stock full colour LCD
          • Solution: Reverse-engineer the stock screen to work with an alternate mainboard
            • Issue: The effort and equipment required to reverse-engineer the pinouts is likely not worth the time and effort
        • Issue: The stepper driver vrefs and/or current values are not officially published
          • Solution: Gigdigit has published stepper currents for the motors, based on their quiet board.
    • Issue: The stock 30mm hotend fan can become loud when part cooling is set to a high level
      • Solution 01 : Use a 40mm fan with similar static pressure and airflow properties.  The fan can spin at a lower rpm, to achieve the same cooling, which will result in lower sound
        • Issue: The stock hotend and E3D v6 style hotend fan shrouds are not designed for 40mm fans
          • Solution: 3D print an adapter
          • Solution: 3D print an alternate 40mm compatible shroud
      • Solution02: Use a 50mm fan with similar static...
    Read more »

View all 2 project logs

View all 11 instructions

Enjoy this project?

Share

Discussions

Similar Projects

Does this project spark your interest?

Become a member to follow this project and never miss any updates