There are plenty of Roomba builds to find on the interwebs. This is a blessing, but can also be a bit of a curse. None are exactly what I wanted to do. Mostly in bits, but whenever you combine bits and pieces and libraries from different sources in the Arduino IDE, it all goes to.... well it doesn't go. You know it's possible, but HOW?
My particular setup and wishes:
- Communicate with Home Assistant through MQTT;
- Able to do updates OTA;
- Command Roomba;
And for the future:
- Receive data-streams from Roomba over serial;
- Receive IMU-data from MPU6050 over I2C;
- Use the DMP (Digital Motion Processor) on the MPU6050 with the interrupt;
- Do calculations with acquired data;
Most of the projects and examples I come across do single things and use delays or while loops somewhere. This doesn't suit my wishes, so I ended up rewriting a lot of stuff.
It's all a work in progress and will be neater, I promise. For now It's all a bit of a proof of concept.
I started with the OTA stuff:
https://randomnerdtutorials.com/esp8266-ota-updates-with-arduino-ide-over-the-air/
https://arduino-esp8266.readthedocs.io/en/latest/ota_updates/readme.html
I ended up using the example from the Arduino IDE from the ESP8266 board 'add-on'. In the IDE --> preferences --> add as extra boards:
http://arduino.esp8266.com/stable/package_esp8266com_index.json
I have to use 'Generic ESP8285 Module' as board. Check out the examples for the OTA example.
This feature is part of the running code though. So when (not if) my software gets stuck somewhere, or it loses connection to the WiFi and isn't able to reconnect. I can't upload a fix and have to disassemble the Roomba to upload software via serial. I kind of get a glimpse in the mindset of NASA and the engineers on the JWST.
This is where my second ESP8266 that I soldered to a DIP24 connector comes in. I have this setup on a breadboard and connected to my laptop via serial.
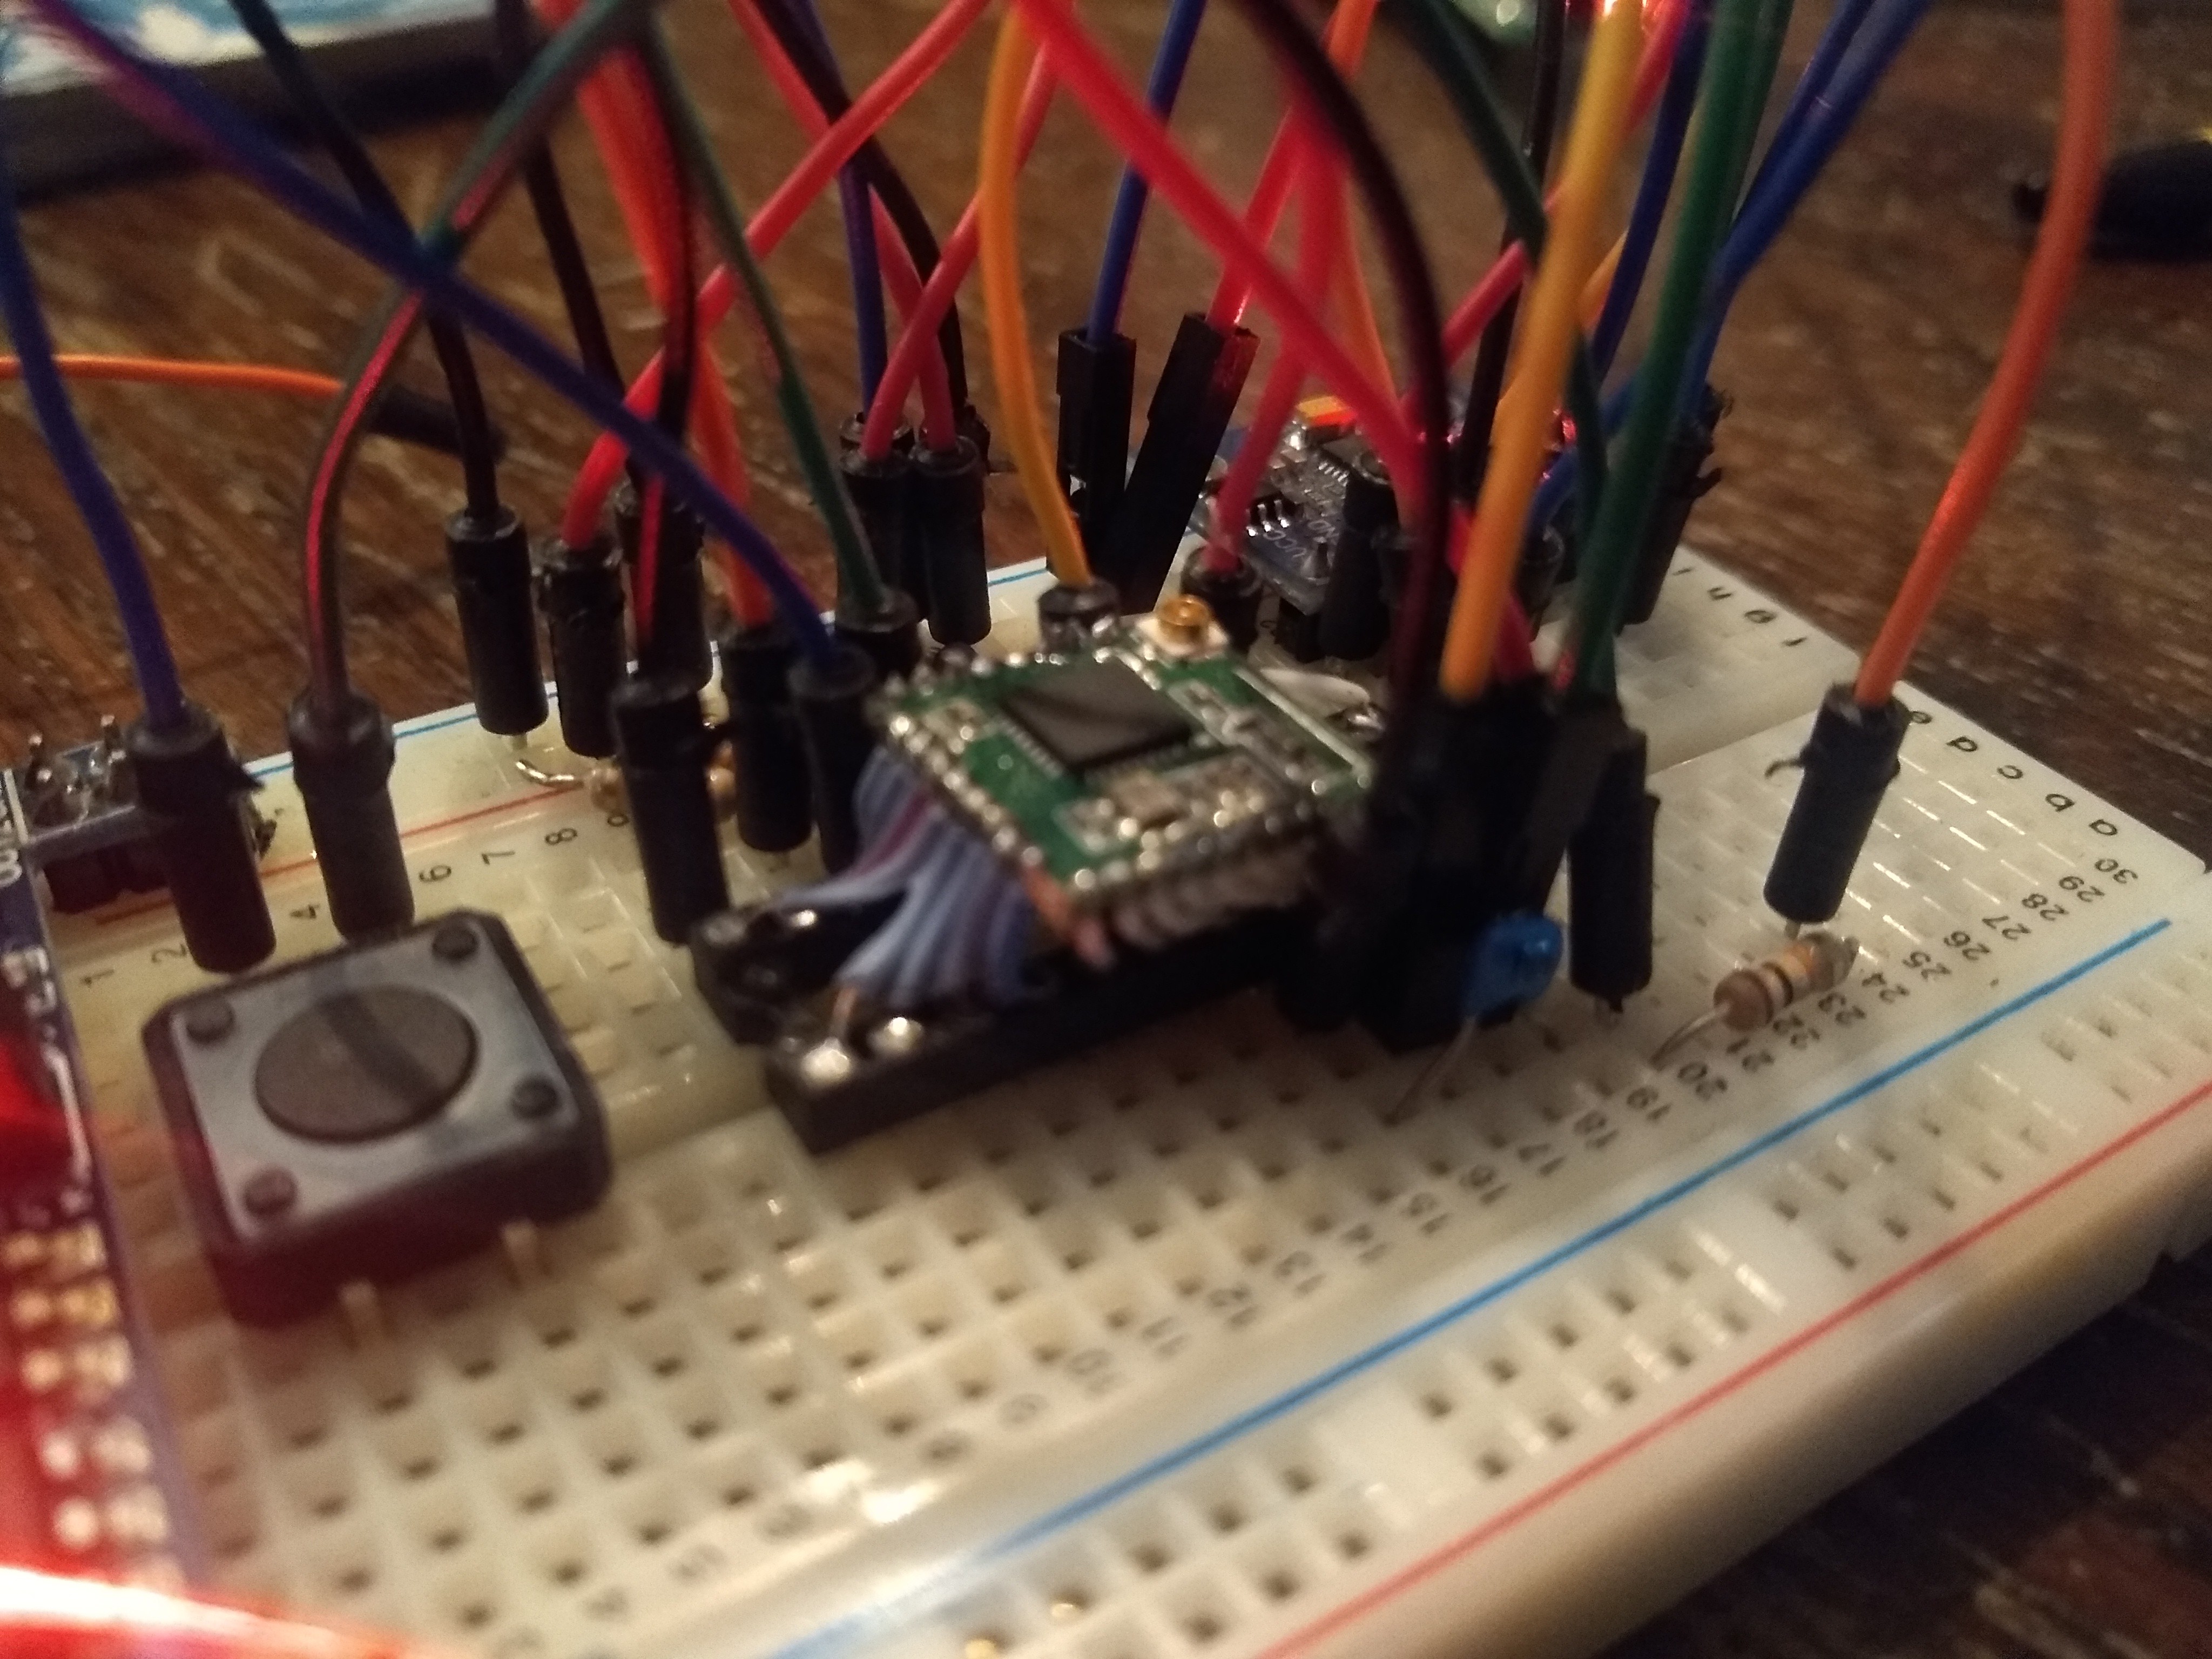
I can upload software OTA to this board first to check if the connection holds and I can still send new software to it. I've been very happy with this setup several times. Especially when using callbacks, pointers to arrays, interrupt service routines and a mix of libraries from different sources. I've had several stack overflows, illegal register requests and other. Whenever this happens, the ESP8266 can spit out a stack trace and and exception cause and you get some clues as to what went wrong.
https://arduino-esp8266.readthedocs.io/en/latest/faq/a02-my-esp-crashes.html
Communication with HA via MQTT:
Next, with a stable connection, I want to get some communication via MQTT so I can send commands and receive status updates when I can't connect physically. For this, I use the PubSubClient library.
https://github.com/knolleary/pubsubclient
Now we have two libraries / examples that both use some internet connection. They use a different library / class for the web-client though. And then it becomes a challenge to combine the two functions in one sketch.
#include <ESP8266WiFi.h>    //For ESP8266
#include <PubSubClient.h>   //For MQTT
#include <ESP8266mDNS.h>    //For OTA
#include <WiFiUdp.h>        //For OTA
#include <ArduinoOTA.h>     //For OTA

// WIFI configuration
#define wifi_ssid "***"
#define wifi_password "***"

//OTA configuration
//const char* host = "Roomba632"; //84ed23
const char* host = "ESP8285_Testplatform"; //80e74a
const char * sketchpass = "***";

// MQTT configuration
#define mqtt_server "192.168.1.***"
#define mqtt_user "***"
#define mqtt_password "****"
#define mqtt_sub_topic "homeassistant/device/roomba/set"
#define mqtt_pub_topic "homeassistant/device/roomba/state"
String mqtt_client_id= host;   //This text is concatenated with ChipId to get unique client_id
long lastReconnectAttempt = 0;

void callback(char* topic, byte* payload, unsigned int length) {
  // handle message arrived
  // Switch case for commands only uses first char
  switch (command) {
    case 'C': //Clean
      Serial.write(128);
      Serial.write(135);
      break;
    case 'D': //Dock
      Serial.write(128);
      Serial.write(143);
      break;
    case 'S': //Spot
      Serial.write(128);
      Serial.write(134);
      break;
    case 'M': //Music
      Serial.write(128);
      Serial.write(140);
      Serial.write(1);
      Serial.write(3);
      Serial.write(48);
      Serial.write(32);
      Serial.write(52);
      Serial.write(32);
      Serial.write(55);
      Serial.write(32);
      Serial.write(141);
      Serial.write(1);
      break;
    default: //Play tune
      Serial.write(128);
      Serial.write(135);
      break;
  }
}
// Start MQTT client
WiFiClient espClient;
PubSubClient mqtt_client(espClient);

// Necesary to make Arduino Software autodetect OTA device
//WiFiServer TelnetServer(8266);

void setup() {
  Serial.begin(115200);
  WiFi.begin(wifi_ssid, wifi_password);
  while (WiFi.status() != WL_CONNECTED) {
    delay(500);
  }
  ArduinoOTA.onStart([]() { //Make sure device is in a safe mode
    //store params to EEPROM?
  });
  ArduinoOTA.onEnd([]() { //Device will reboot

  });
  ArduinoOTA.onError([](ota_error_t error) {
    (void)error;
    ESP.restart();
  });
  ArduinoOTA.begin();
  mqtt_client.setServer(mqtt_server, 1883);
  mqtt_client.setCallback(callback);
  // Serial.println("Ready");
}
boolean attempt_reconnect() {
  if (mqtt_client.connect(mqtt_client_id.c_str(), mqtt_user, mqtt_password)) {
    // Once connected, publish autodiscover config message and current state..
    mqtt_client.publish(mqtt_pub_topic, "up");
    // ... and resubscribe
    mqtt_client.subscribe(mqtt_sub_topic);
    // Serial.println("connected");
  }
  else {
    // Serial.print("failed, rc=");
    // Serial.print(mqtt_client.state());
    // Serial.println(" try again in 5 seconds");
  }
  return mqtt_client.connected();
}
void mqtt_handler() {
  //Serial.println("MQTT-handler");
  if (!mqtt_client.connected()){
    if (millis() > (lastReconnectAttempt + 5000)) {
      lastReconnectAttempt = millis();
      // Attempt to reconnect
      // Serial.println("attempt to reconnect");
      if (attempt_reconnect()) {
        lastReconnectAttempt = 0;
      }
    }
  }
  else {
    // Client connected
    // Serial.println("connected to MQTT broker");
    mqtt_client.loop();
  }
}
void loop() {
  ArduinoOTA.handle();
  mqtt_handler();
  //
}
It's not real pretty, but it works! Next up: add more stuff!
Discussions
Become a Hackaday.io Member
Create an account to leave a comment. Already have an account? Log In.