-
1Find an old FFF/FDM 3D printer
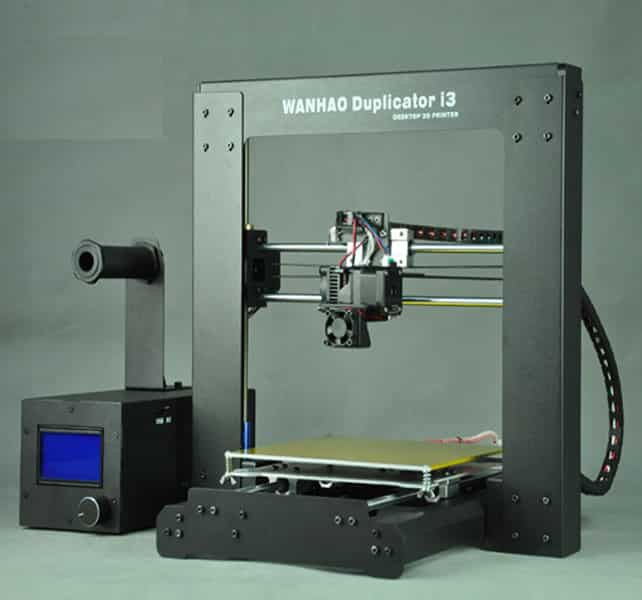
The one must-have for this project is some kind of 3 axis gantry. In my case, I used a first-gen Wanhau Duplicator i3 printer from roughly 2015. It was a great little machine, but I have plenty of newer printers now. There are a few different controller types but they all use pretty much the same G-code, with a few well-documented parameters set differently. Between Slic3r, Cura, and Repetier, there is almost always a way to make a gantry trace a path with less than an hour of fiddling. Things are very easy these days. If your gantry is some other less common system (closed loop actuators, etc.) you are on your own. Turn on the printer and make sure that you can home all the axes successfully. Anything broken must be fixed before you can proceed (with the exception of the heated bed or extruder drive since we won't be using them). If after your test, you can move in all three axes and heat up the nozzle, congratulations, you can make a CNC heat sealer.
Note: You can also use a nice, functional printer for this project. Since we are simply replacing the nozzle and adding some rubber to the bed, it should be simple to restore your printer back to printing condition. I happened to have an extra old printer, but that is not the case for everyone. Do what makes most sense for your situation, but remember that a 3D printer is, on average, more useful than a heat sealer. Do not do anything to it that you cannot UNDO!
![]()
-
2Remove the old nozzle from the printer's hot end
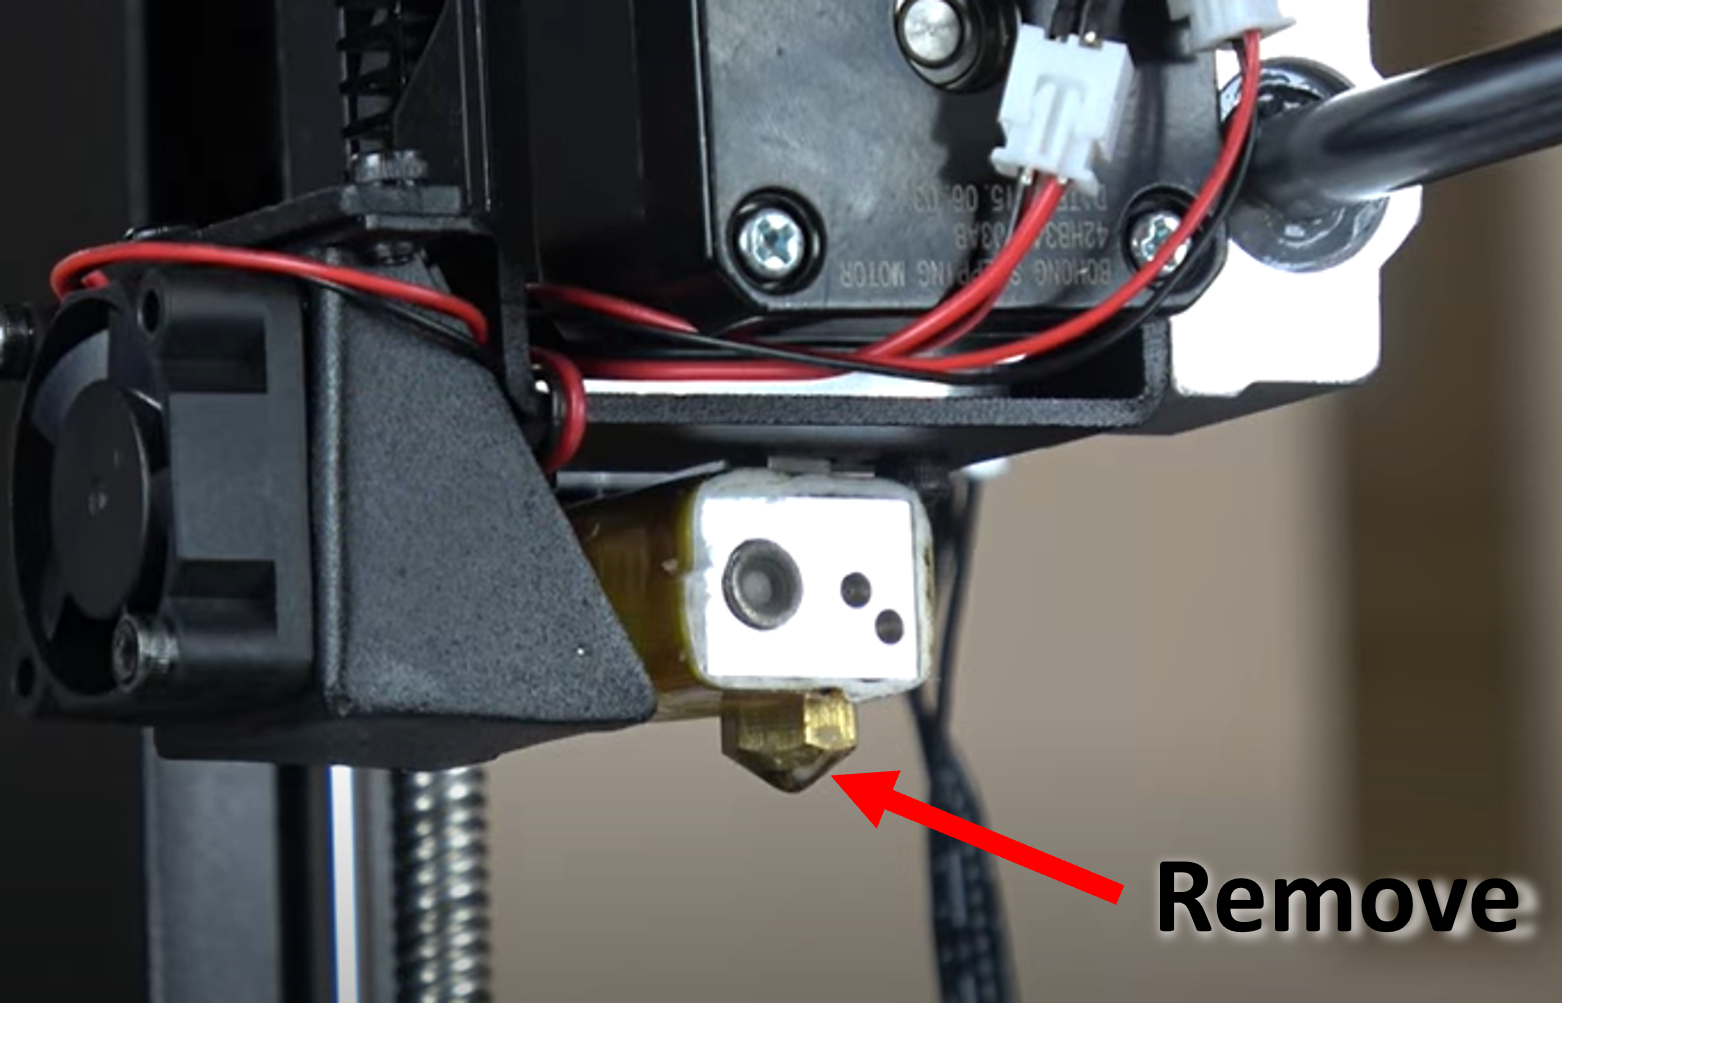
Chances are, there is a gunky old nozzle still attached to your printer. Remove it. There are plenty of videos on Youtube that show you exactly how to do this on your specific 3D printer. Do not strip the nozzle's hex profile, and do not twist the nozzle with a wrench without using another tool to support the hot end. You can easily bend your linear guide rods doing this and severely damage your printer/gantry. Watch the video below, it is probably applicable to most 3D printers.
![]()
-
3Sand a nozzle down to turn it into a heat sealing indenter
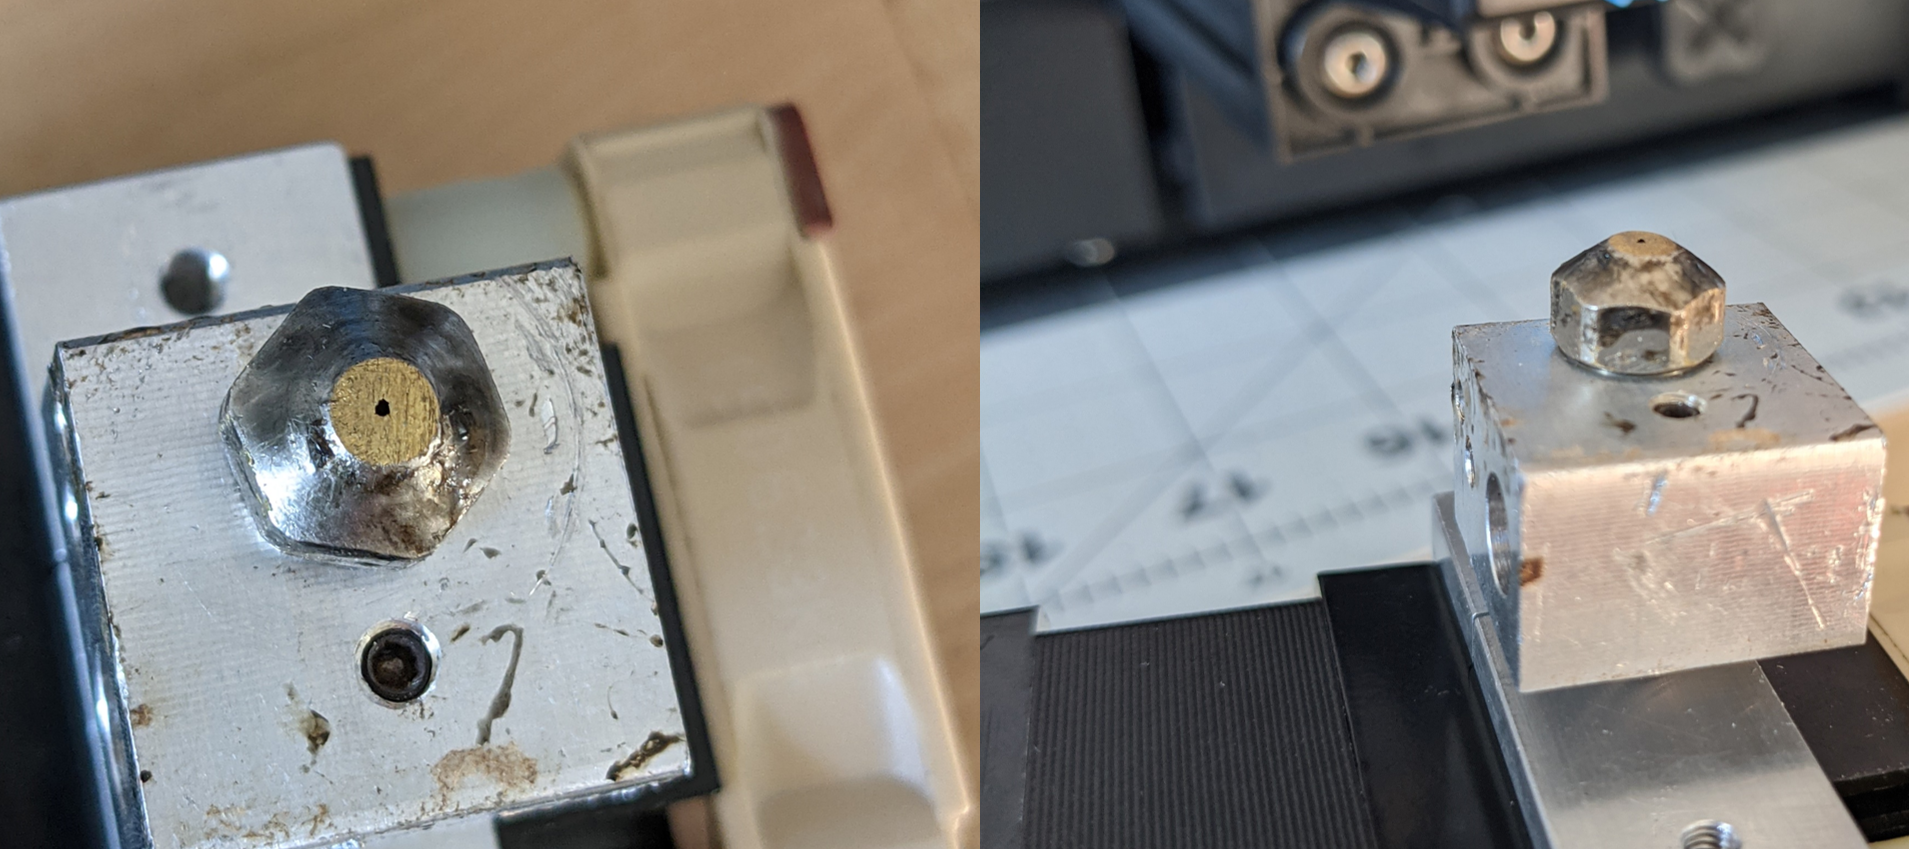
If you wish to use the nozzle you just removed for printing in the future, put it somewhere safe. To continue, you will need a nozzle that you are okay with not being usable for printing again. I had about 10 extra nozzles laying around, but don't worry if you don't have a spare. They are very cheap. In your situation, I would simply use my "good" hot end for this project and order a new one on Amazon. In my experience, most people need to replace their nozzles anyway. If you only have ONE nozzle and cannot get a spare, a screw with an M6 thread and a flat head should work fine as a heat seal indenter (I did not try this but I don't see why it wouldn't work). With a sacrificial nozzle in hand, the modification takes less than a minute: carefully sand down the tip of the nozzle with a piece of sand paper, file, or a rotary tool such that the resulting surface is 2 - 4 mm in diameter. Make effort to not end up with an angled flat on the nozzle...when mounted on the printer, the flat should be parallel to the XY axis motion. Otherwise, one edge of the flattened nozzle will always dig too deep into the film during the sealing process. The pictures included here show how my nozzle looked after modification.
![]()
-
4Put the modified nozzle back onto the printer's hot end
This is the easiest step - just do step 2 in reverse. Screw your modified nozzle in tightly and don't forget to use a second wrench to isolate your precious linear rods from all that torque. At this point, the hardest part of the mechanical modification is done.
-
5Place a thin, flat piece of temperature resistant rubber on top of the print bed
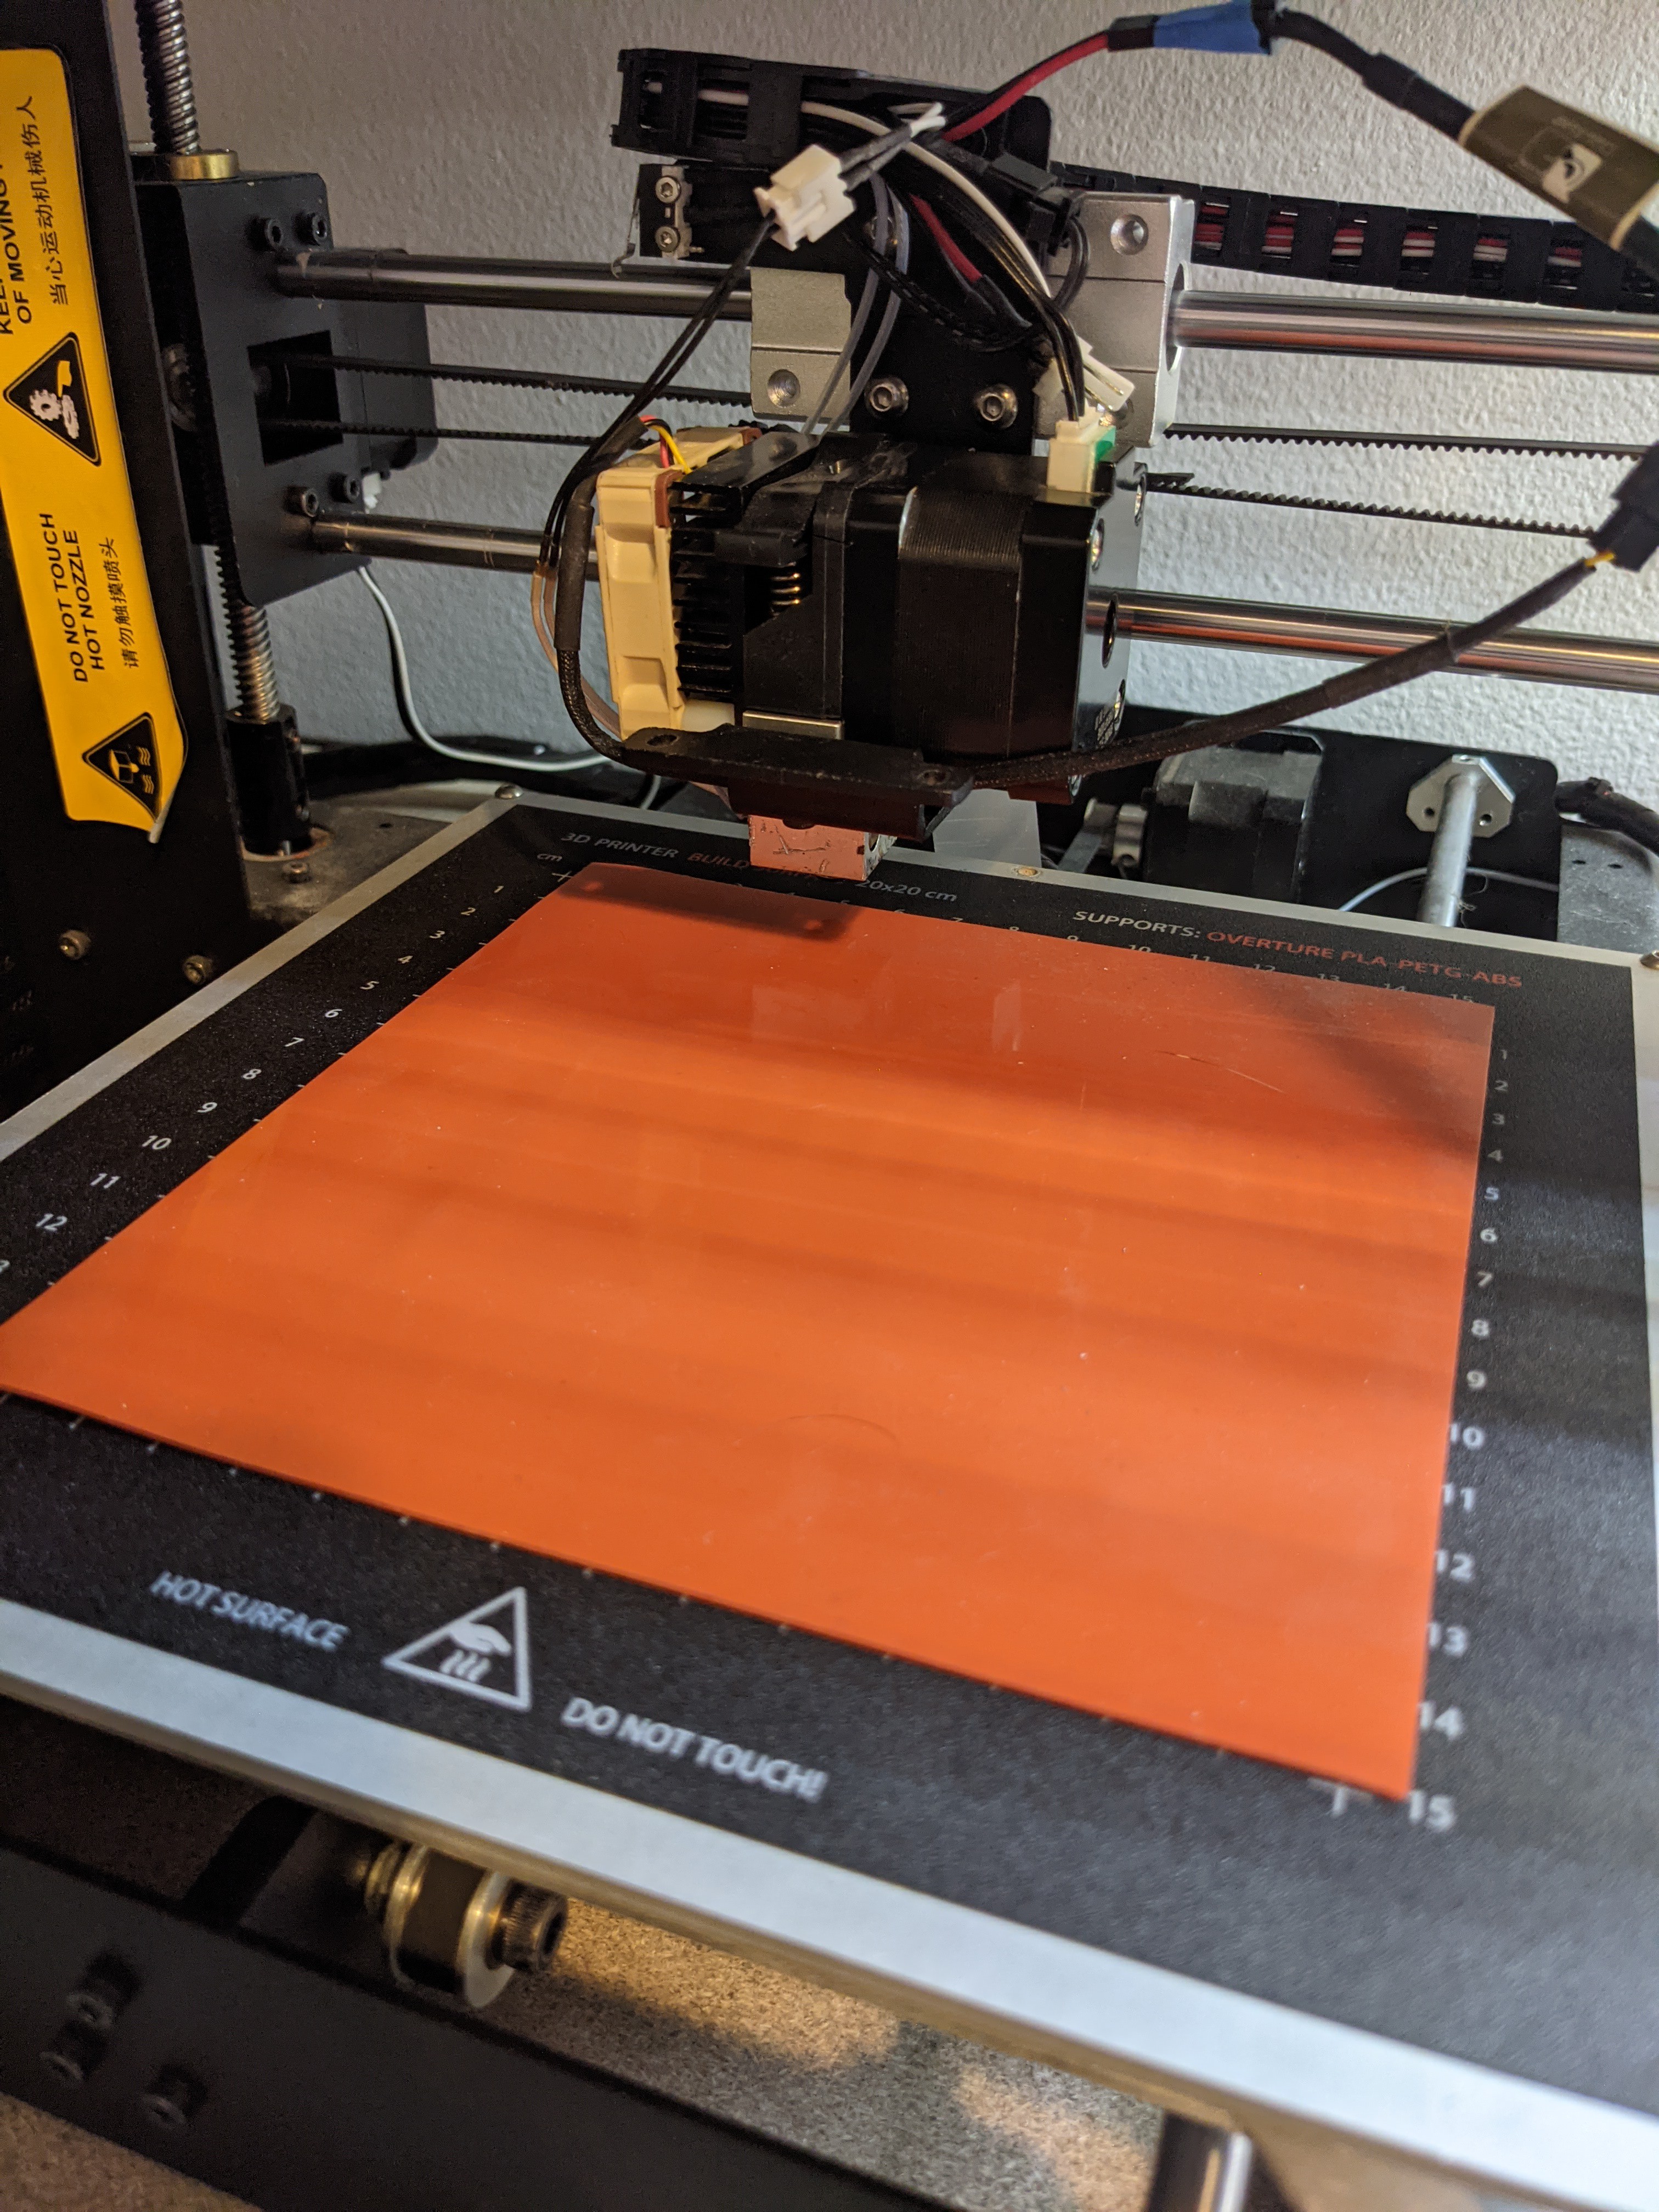
By design, you are going to be sequentially crashing the nozzle into the print bed for each heat seal point. You can protect your gantry (and prevent missed motor steps) by adding a squishy layer to the print bed. This has the added benefit of averaging the force profile of the nozzle over the 3-ish millimeter diameter span of the heat seal point. Without the rubber, if your nozzle flat isn't perfectly parallel to the print bed at every point, you will be stabbing the material being sealed with a huge amount of pressure with one edge of the nozzle flat. I had some high temperature silicone rubber laying around, but a quick amazon search yielded an option that I am sure would work great.
Black Heat Resistant Thin Silicone Rubber Gasket Sheet Adhesive Back,1/25 by 12 by 12 inch
Mine did not have adhesive back, but that sounds very convenient. If you want to restore your printer back to being a printer however, I would NOT use a silicone sheet with adhesive. In my case, the rubber stayed in place with tackiness alone. Some might find that the rubber is unnecessary - good for them. Conceptually, local compliance should give a better heat seal and allow the system to work with a greater degree of misalignment. Try it both ways and decide for yourself.
At this point, you are ready to start testing!
![]()
-
6Find something to heat seal - and notes about materials
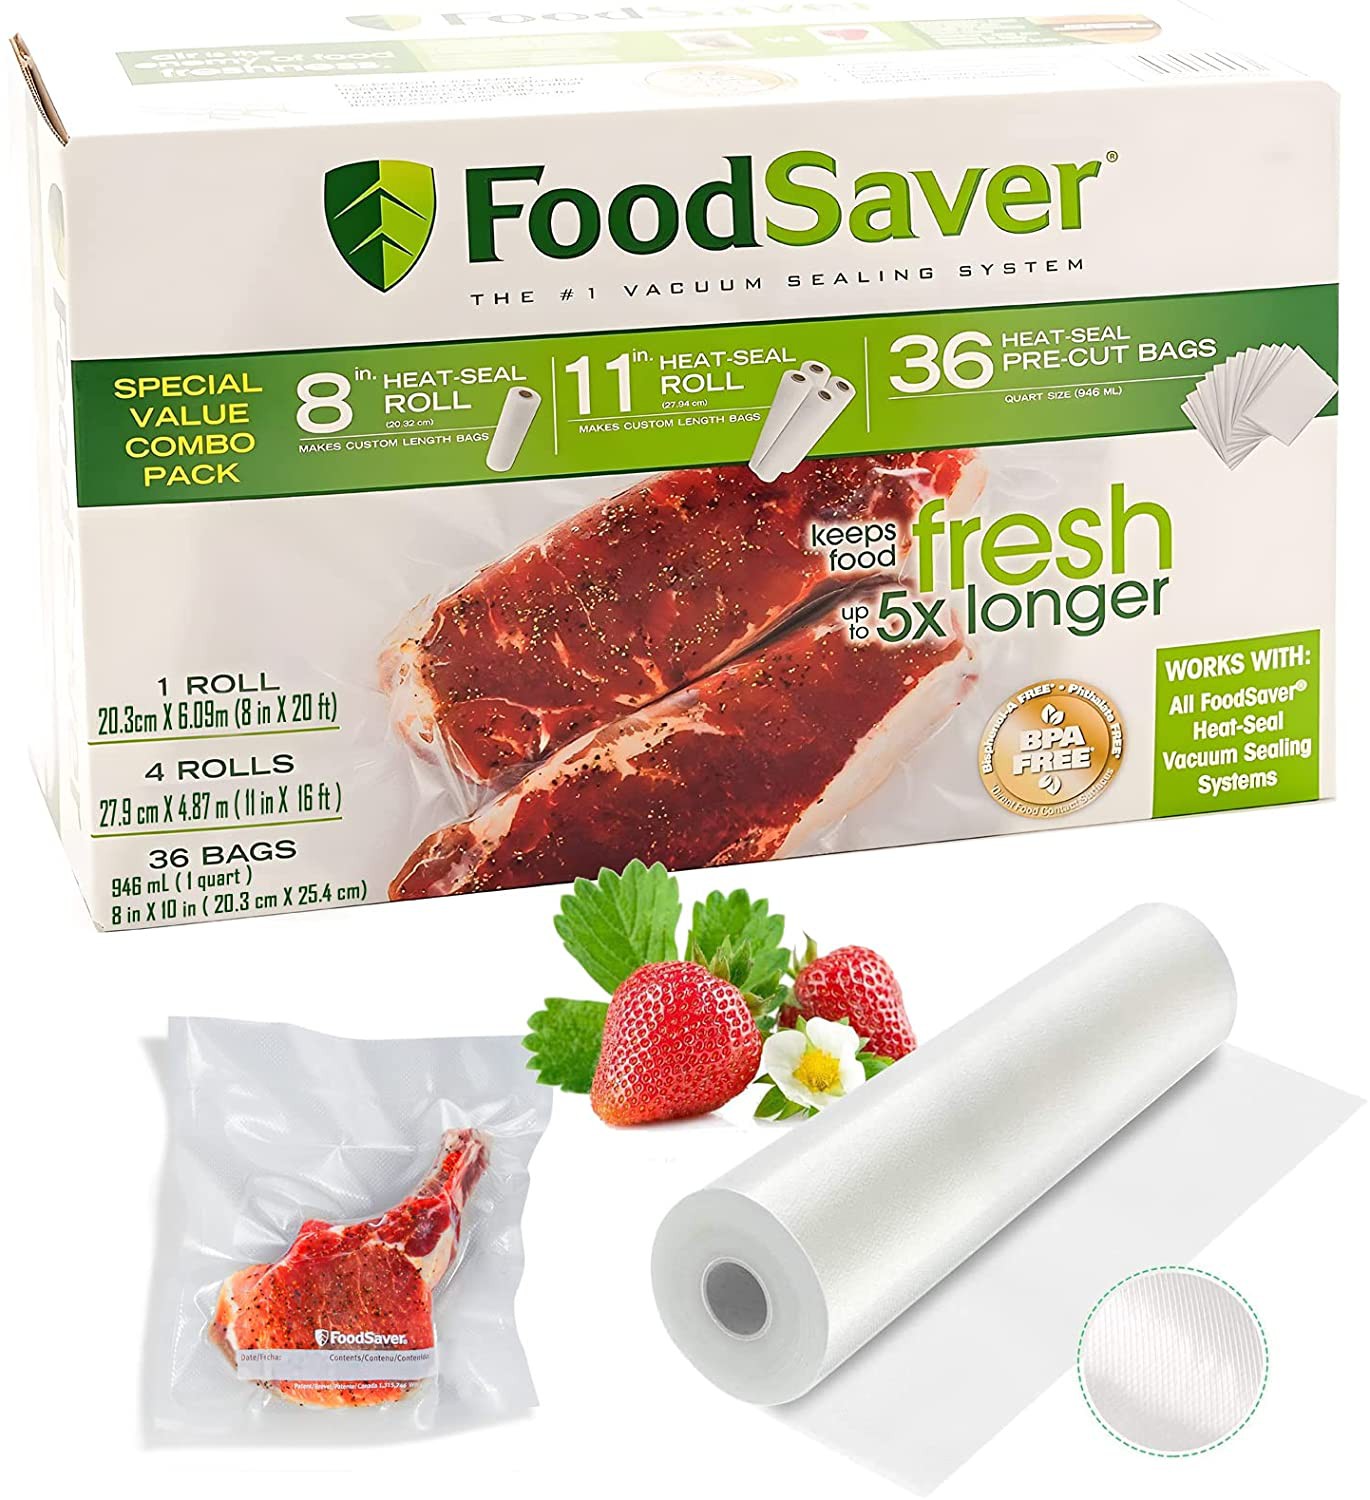
Good news - before you mess around with software at all, it will be possible to do a test seal with your new setup! However, you first need a material to heat seal. Many plastics will "heat seal" but only certain types heat seal well and are forgiving of an imperfect process. I highly recommend you head to your local Wal-Mart or Target, (or to Jeff Bezos, again) and purchase "Food Saver" vacuum bags. They are made of a polyethylene/nylon blend that seals easily and is surprisingly strong. Polypropylene, polyethylene, nylon, PVC, and polyester also work well. There are several types of plastics within each of these broad categories (e.g. low-density polyethylene "LDPE" vs. high-density polyethylene "HDPE"). Don't get overwhelmed at this point. Go grab an empty bag of chips (or make it empty) or any food packaging that is obviously sealed via a heat seal. This material will seal nicely for the first test. In the future, you can buy some rip-stop nylon (the stuff backpacks, tents, and parachutes are made of) and start heat sealing it into all kinds of awesome creations. The sky is the limit here (parachute joke).
Shown below is a picture of the Food Saver bags that I like to use.
![]()
-
7Set the Z-calibration for your new heat sealer
Your printer prints at some positive height in the Z axis above the point at which is makes contact with the Z limit switch. This switch can be heard clicking when you tell the printer to home the Z axis. You need to set the height of the bed such that the Z-axis can move all the way down into contact with that switch without stalling. Why would this start happening, you might be asking: well, if, for example, you used an excessively thick silicone rubber sheet, the top sheet might now be so high that the nozzle rams into it before the Z axis can touch the homing switch. Luckily, your printer most likely already includes everything you needs to fix this - the leveling screws. At each corner, there is a screw and spring that allow you to set the height of that corner of the bed. If your printer crashes when trying to home, you can simply tighten each of the four screws to lower the print bed. This is nearly identical to the normally required process of bed-leveling. You want to set the height of the bed at each corner such that when you home the Z-axis, the modified nozzle gently dents the silicone rubber sheet without stalling. To the gurus: Yes, you can modify the height of the limit switch...yes ,you can compensate in G-code in some cases, but turning four screws is easier to me. In my case, the silicone I used added the amount of mechanical interference as what the sanding process substracted from the nozzle. I did not need to re-level my print bed. Later on, I raised the print bed substantially (3 mm) so that the nozzle compressed the whole print bed down. This was an unrelated experiment, and can be seen if you watch the demo video closely.
-
8Test the heat sealer
Place your material to be heat sealed onto your print bed. Remember that you need two layers of material because you want to heat seal the top piece to the bottom piece. If your material (e.g. potato chip bag) is crinkly and won't lay flat you can use some tape to hold it down.
Now, you need to determine a good starting temperature for your heat seal test. You have two choices: (1) - Figure out what your material is and Google the typical heat seal temperature. For example, I Googled "what are potato chip bags made of" and Google responded "polypropylene" in bold text. I then Googled "polypropylene heat seal temperature" and Google responded "120 to 123 C" in bold again (what a time to be alive). Either follow this methodology, or move onto option (2) and just guess "150 C" and increase or decrease the setting depending on the results. I guessed 160 C for my first experiment and it worked wonderfully.
Most 3D printers have a primitive LCD screen interface with a knob (some have touch screens now) that allow you to control some aspects of the printer. On my printer, I was able to test a heat seal by doing the following:
1) Jog the nozzle in the Z axis to 10 mm above the print bed
2) Jog the nozzle in the X and Y axes to be in the center of the print bed
3) Set the temperature of the nozzle to 160 C (this takes some time)
4) Jog the nozzle in the Z axis down to 0 mm above the print bed and immediately jog it back up
If all goes well, you should have a nice, round, crystal clear little heat seal on your plastic. If it looks terribly melty, your temperature is too high or you waited too long to move the nozzle up off the plastic. If it looks torn, you probably need that rubber I was talking about, or you are pressing too far down into the rubber.
Now, I need to provide a no-fun disclaimer as well as some frank wisdom about safety:
Exercise caution when working with plastics at any elevated temperature. Educate yourself about the risks and properties of the materials you choose to work with and always err on the side of caution. Ventilate your workspace well (an open window is not enough). Consult with a licensed professional to learn about appropriate personal protective gear (a covid-19 mask will not stop PTFE death fumes). Everything here is done at your own risk and so I can not take responsibility if something bad happens to you! This tutorial is for informational purposes only. Nobody is forcing you to endanger yourself. Please use your common sense, and stop if you suspect that what you are doing is risky. This is basic machine shop wisdom - it is universally applicable and helps you live longer.
At this point, if you have a heat seal, congratulations. Now it is simply a matter of creating G-code that will replicate the steps above many times along your desired patterns. If it didn't work, try different materials, temperatures, and look for simple explanations (e.g. is the nozzle actually heating up? Did it actually touch the plastic? Is this plastic the right kind?). There is not a lot that can go wrong here so be patient and check the basics.
Once you have a temperature and rough time parameter discovered for your desired material, it is time to create G-code.
-
9Create a test pattern - Under construction
<This is a work in progress. More to come soon.>
Easy CNC Heat Sealer
Create complicated film structures using your 3D printer and a piece of sand paper. A fun, useful, one-day project.
 Thane Hunt
Discussions
Become a Hackaday.io Member
Create an account to leave a comment. Already have an account? Log In.