Details
This project is intended for #Tetent [gd0090], #Tetrescent [gd0150] and #Leti [gd0149]. Tetrinsic is the "input element" and in the same category as a keyboard switch or controller joystick.
Notable Tetent projects, sorted by project log count:
- Input element: #Tetrinsic [gd0041]
- For Teti: #Tetent [gd0090]
- Wearable: #Tetent TimerSpy [gd0136]
- x86 PC Handheld: #Tetent UMPC [gd0149]
- Desktop: #Tetent TestCut [gd0139]
- Solar Powered: #Tetrescent [gd0150]
Examples of Similar Products
I found this video which shows how the slider would ideally perform, just that you can press down on it and it can be set to allow movement "infinitely" in either direction.
Tetrinsic is the merge of the above motorized sliding potentiometer and the SmartKnob View:
The visible area is designed to be as minimalist as possible, so that things like an LCD backlight can be used for designs:
The cool thing about Tetrinsic is that you don't have to remove a magnetic top layer (as seen in Flux) or hotswap out the switches (on a more traditional keyboard) if you want to change tactility. Just tune it to your precise tastes in software.
Concept History
Tetrinsic Concept3.2X2 (interwoven, dual BLDC motors)
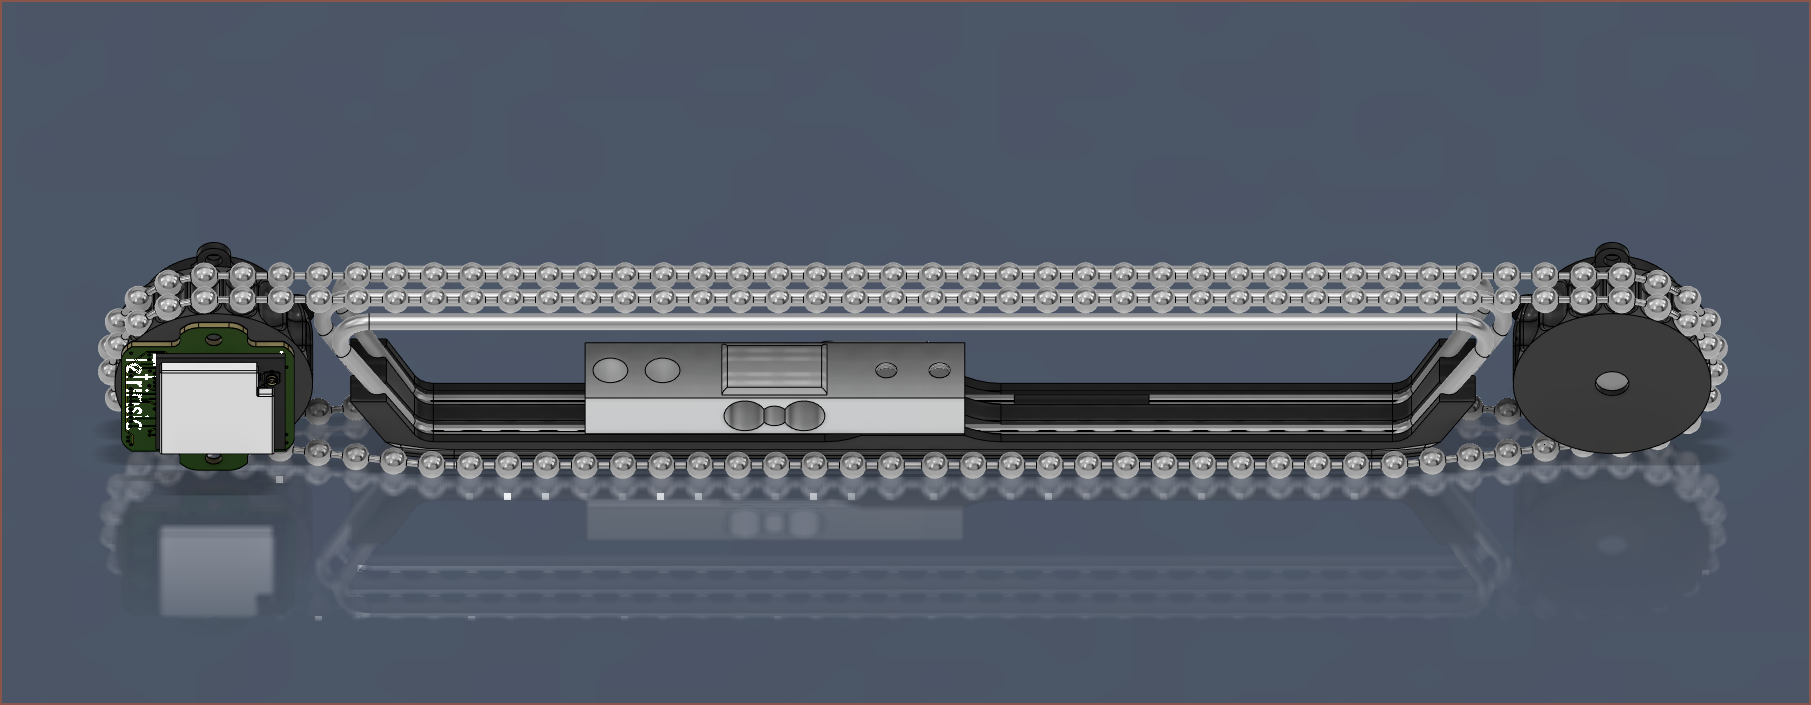
Unfortunately, Concept3.2 had a turning radius that was too ambitious. Thus, on August 10th 2023, it was decided that a redesigned Tetrinsic with dual motors and the ability to weave the Thumb Tetrinsic around the FingerN Tetrinsics would be the best strategy forward. This also allowed anything to be placed inside through the loop.
From Aug 25th, the focus has been on designing for #Tetrescent [gd0150], where a solar cell is placed inside said loop.
Tetrinsic Concept3.2 (single 3.2mm chain, dual TFT displays)
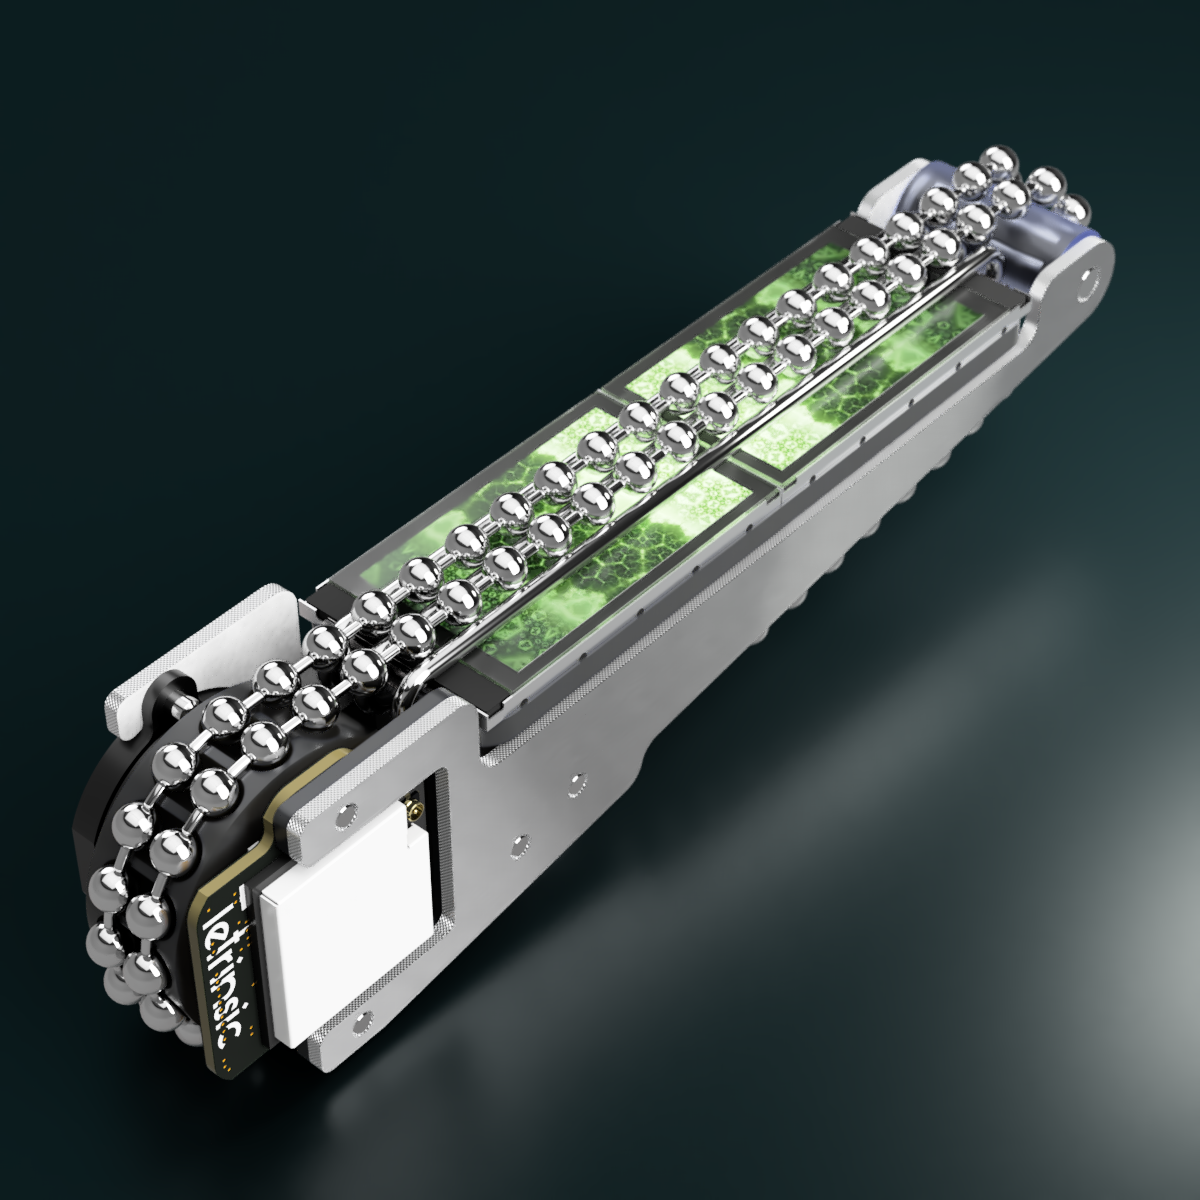
After creating the new Tetrinsic PCB that uses the ESP32-S3-MINI-1U, on June 30th 2023 I eventually decided to increase the size of the ball chain to 3.2mm, make it so that there is only one path that is exposed and, to increase the usable length : body ratio, doubled the screens. This is the first concept CAD model that was electromechanically complete, made on July 18th 2023.
Tetrinsic Gen 2X2 (smooth top wedge shape)
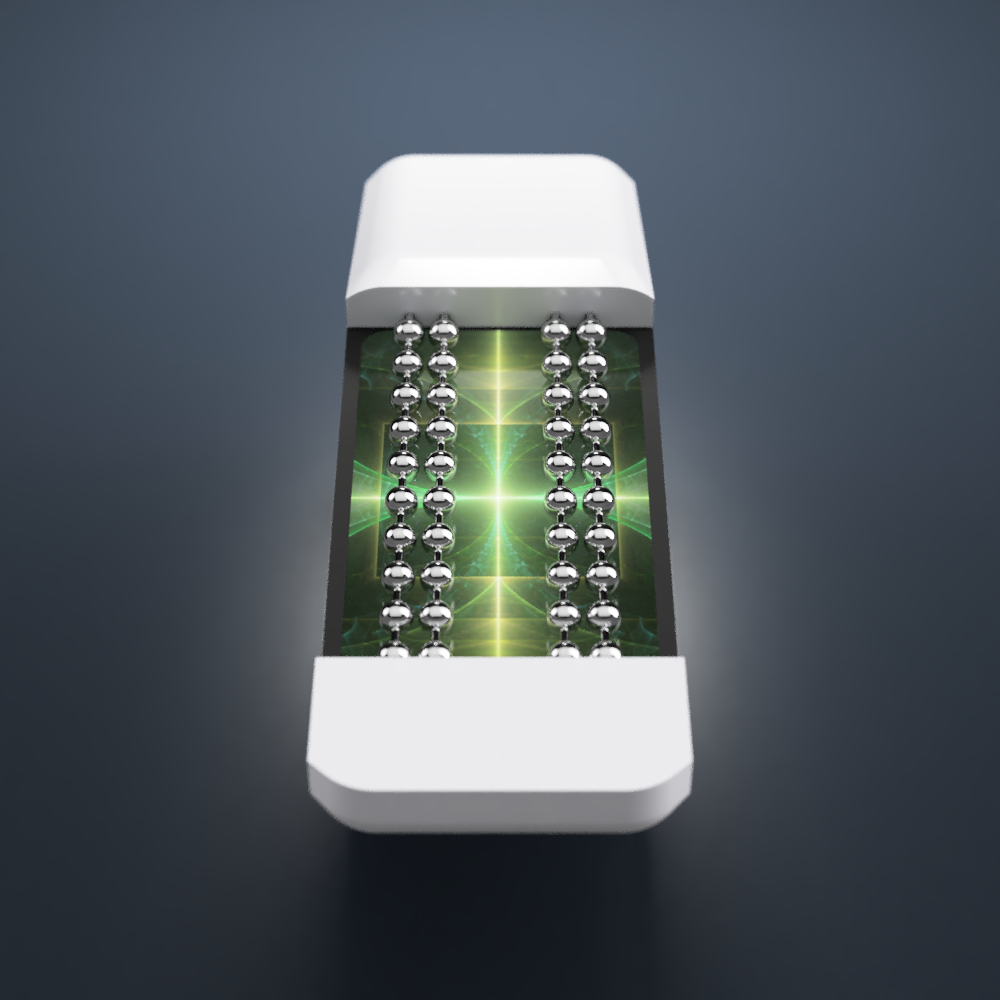
Development started on Jan 12 2023 and moves the components so that the load cell is parallel with the LCD and that the motor does not protrude the top surface. The aesthetic is further improved whilst improving the ability to slide into a pocket (for TimerSpy). This was first called Tetrinsic Concept4.
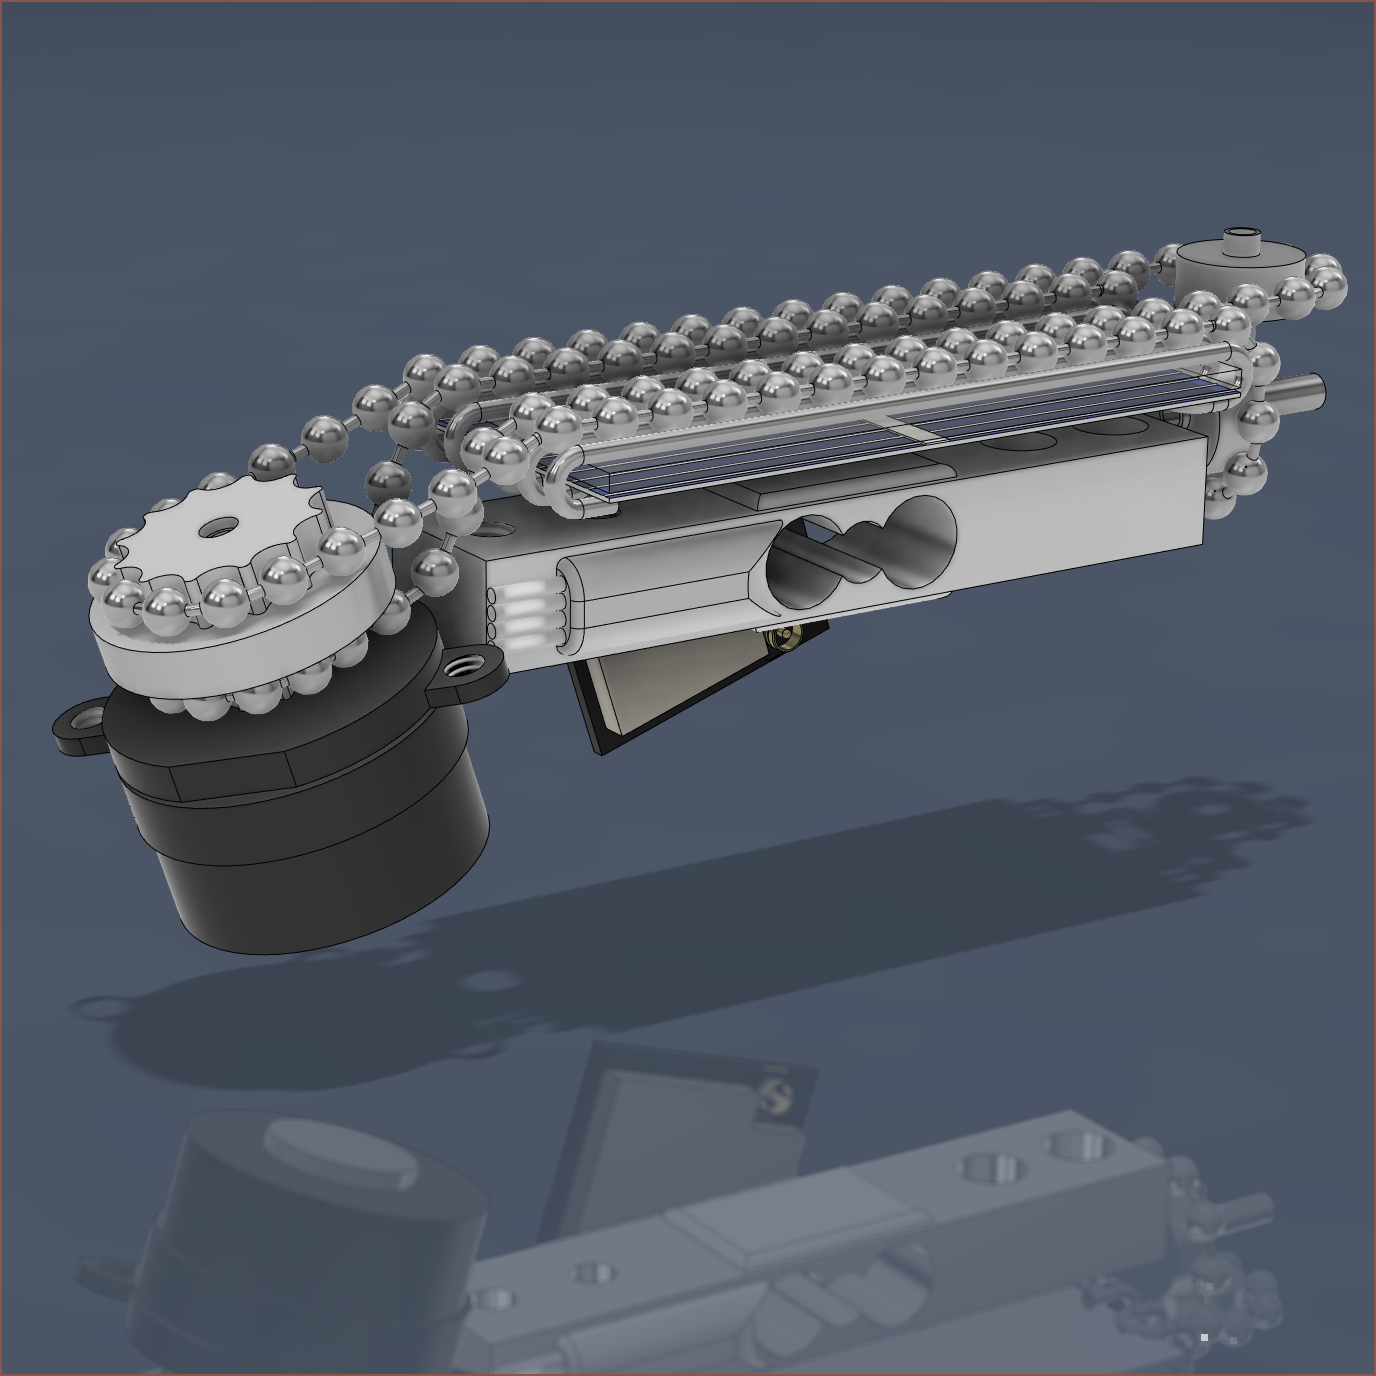
I then spent subsequent weeks turning this concept into a more fully-designed prototype, and added a photovoltaic solar cell variant. This concept was using 2.4mm ball-chain that slid on 1mm diameter stainless steel tubes. The above is more-or-less as far as I got before I started work on the PCB. Unfortunately, the design got a bit too large such that I couldn't come up with a solution for #Tetent TimerSpy [gd0136].
Tetrinsic Gen 3X1 (wedge shape)
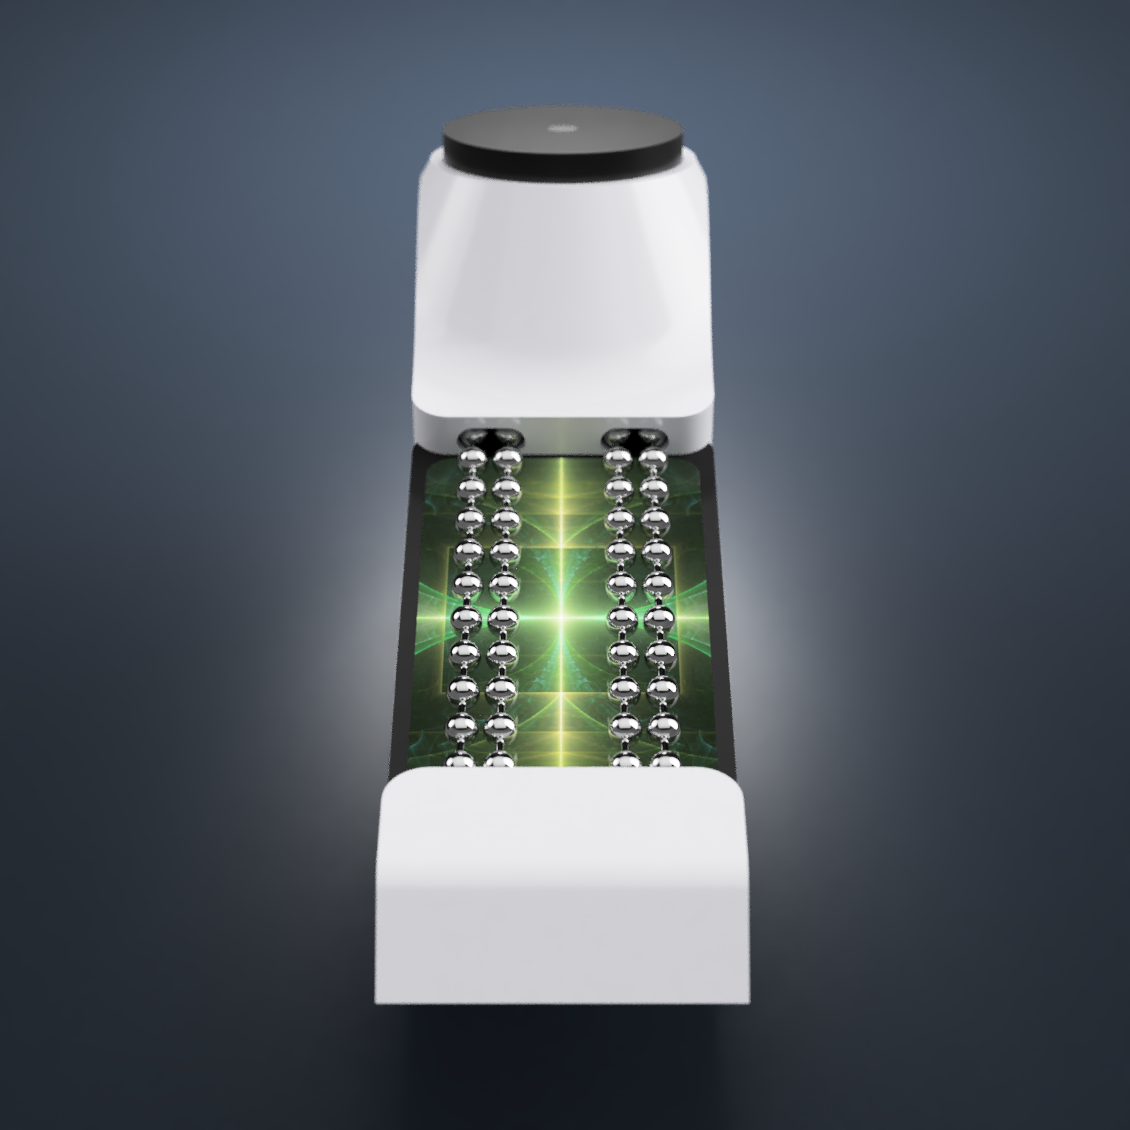
The shape is to allow Tetrinsic to be mouned on the back of my hands and slide into pockets for TimerSpy and fit into the square prism shape of TestCut. A notable improvement is that an off-the-shelf load cell can be used, saving on build time, increasing precision and reducing displacement.
Development started from Jan 4 2023.
Tetrinsic 2.0 (LCD backlit, dual 2mm ball chain)
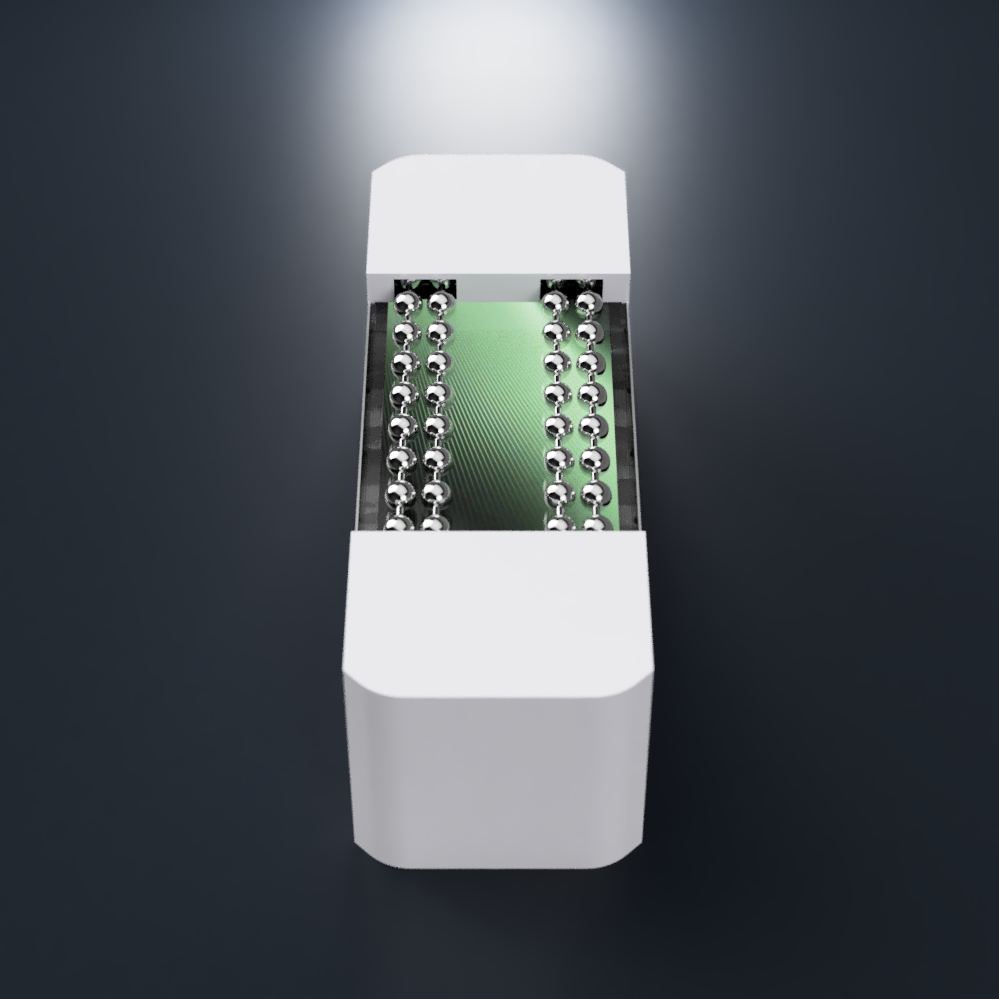
Tetrinsic 2.0 is an internal name to refer to the redesigned version I started developing from Dec 26 2022. It's not actually the second version of Tetrinsic, since I haven't actually made a first one yet. Think of it as Tetrinsic 2.0mm.
This redesign should bring advantages such as lower sliding resistance, shorter allowable finger offset distance, shorter height, a full-bridge-configuration pressure sensor instead of an iffy half-bridge, a much more popular microcontroller (RP2040 vs M032) (thus, better software support) with more RAM and FLASH memory and, most excitingly, a background display.
I should mention though that you're unlikely to see the tops of the Tetrinsics during use.
Tetrinsic (2GT belt, single BLDC motor)
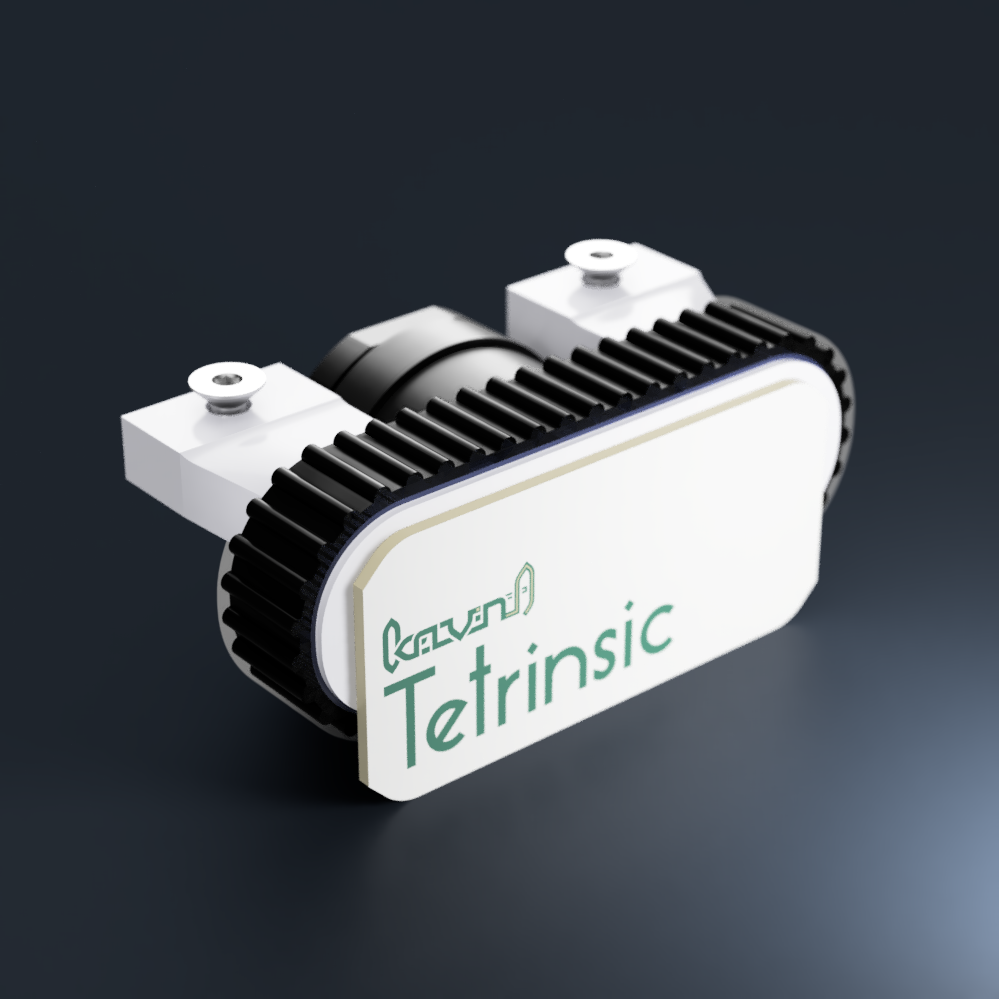
When I started #Tetent Timespy [gd0136], I came to the realisation that the 5 seperate buttons per finger row solution I was trying to obtain was suboptimal.
On Sep 14 2022, I changed the design to center around a mini BLDC motor connected to a 2GT belt that also acts as the keycap surface. This was inspired by various open source projects (namely the SmartKnob View) and uses the motor and force sensors to simulate different sliders and tactility, as well as make the weight and amount of actuation points software adjustable.
The motor is also used to reduce the learning curve as much as practically possible, as my main question I thought of when learning to touch-type was "Where is the key? What finger do I use to press it?"
Tetwin (double-action switches)
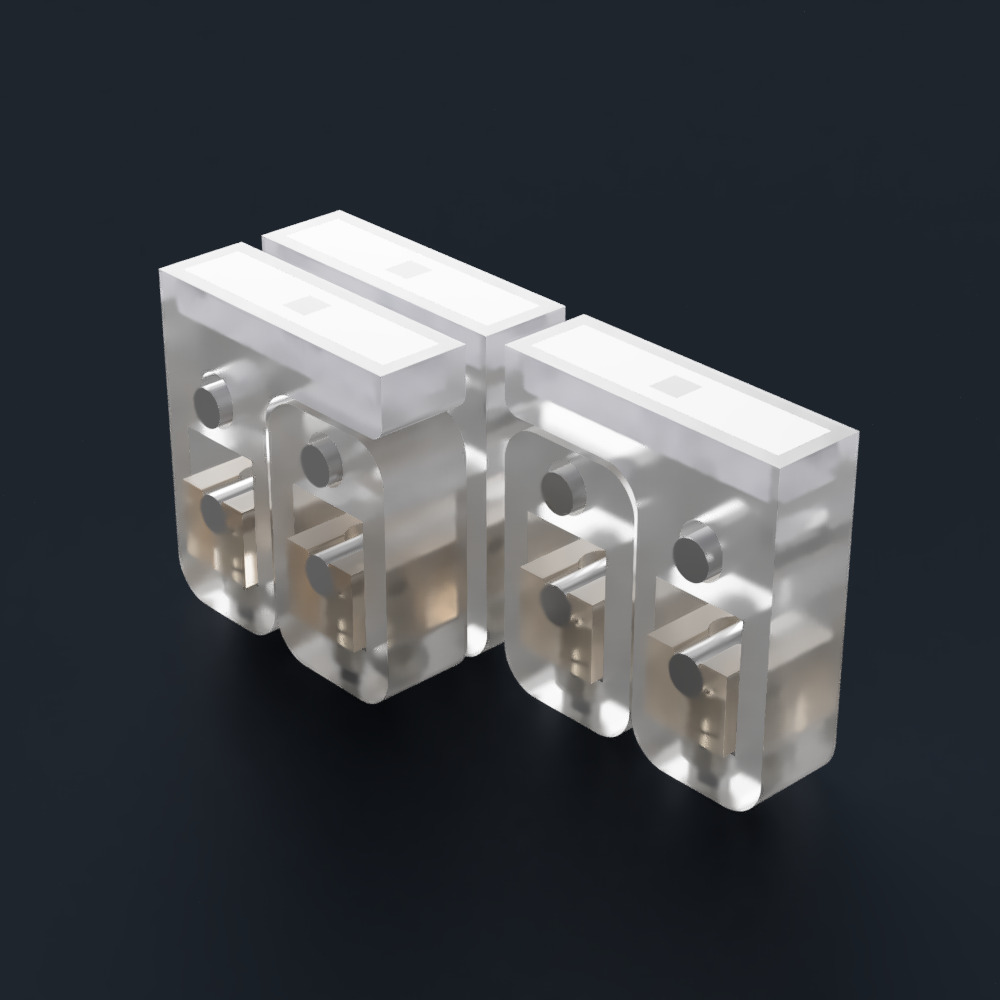
Finding out about hall effect switches and their potential double-action feature, I started researching double-action switches.
Small tactile switches (0.6N, 1.6N) do exist, but from pressing my camera's shutter button, their second actuation force is too high for all but the thumb. I discovered Riskable's Void switches and how the design could allow for adjustable actuation force without the need for an electrical connection to the keyboard PCB. Magnets seemed to be quite cheaper than buying 0.8N and 0.5N tactile switches, and allows for LED backlighting because the components needed are smaller.
 kelvinA
Discussions
Become a Hackaday.io Member
Create an account to leave a comment. Already have an account? Log In.