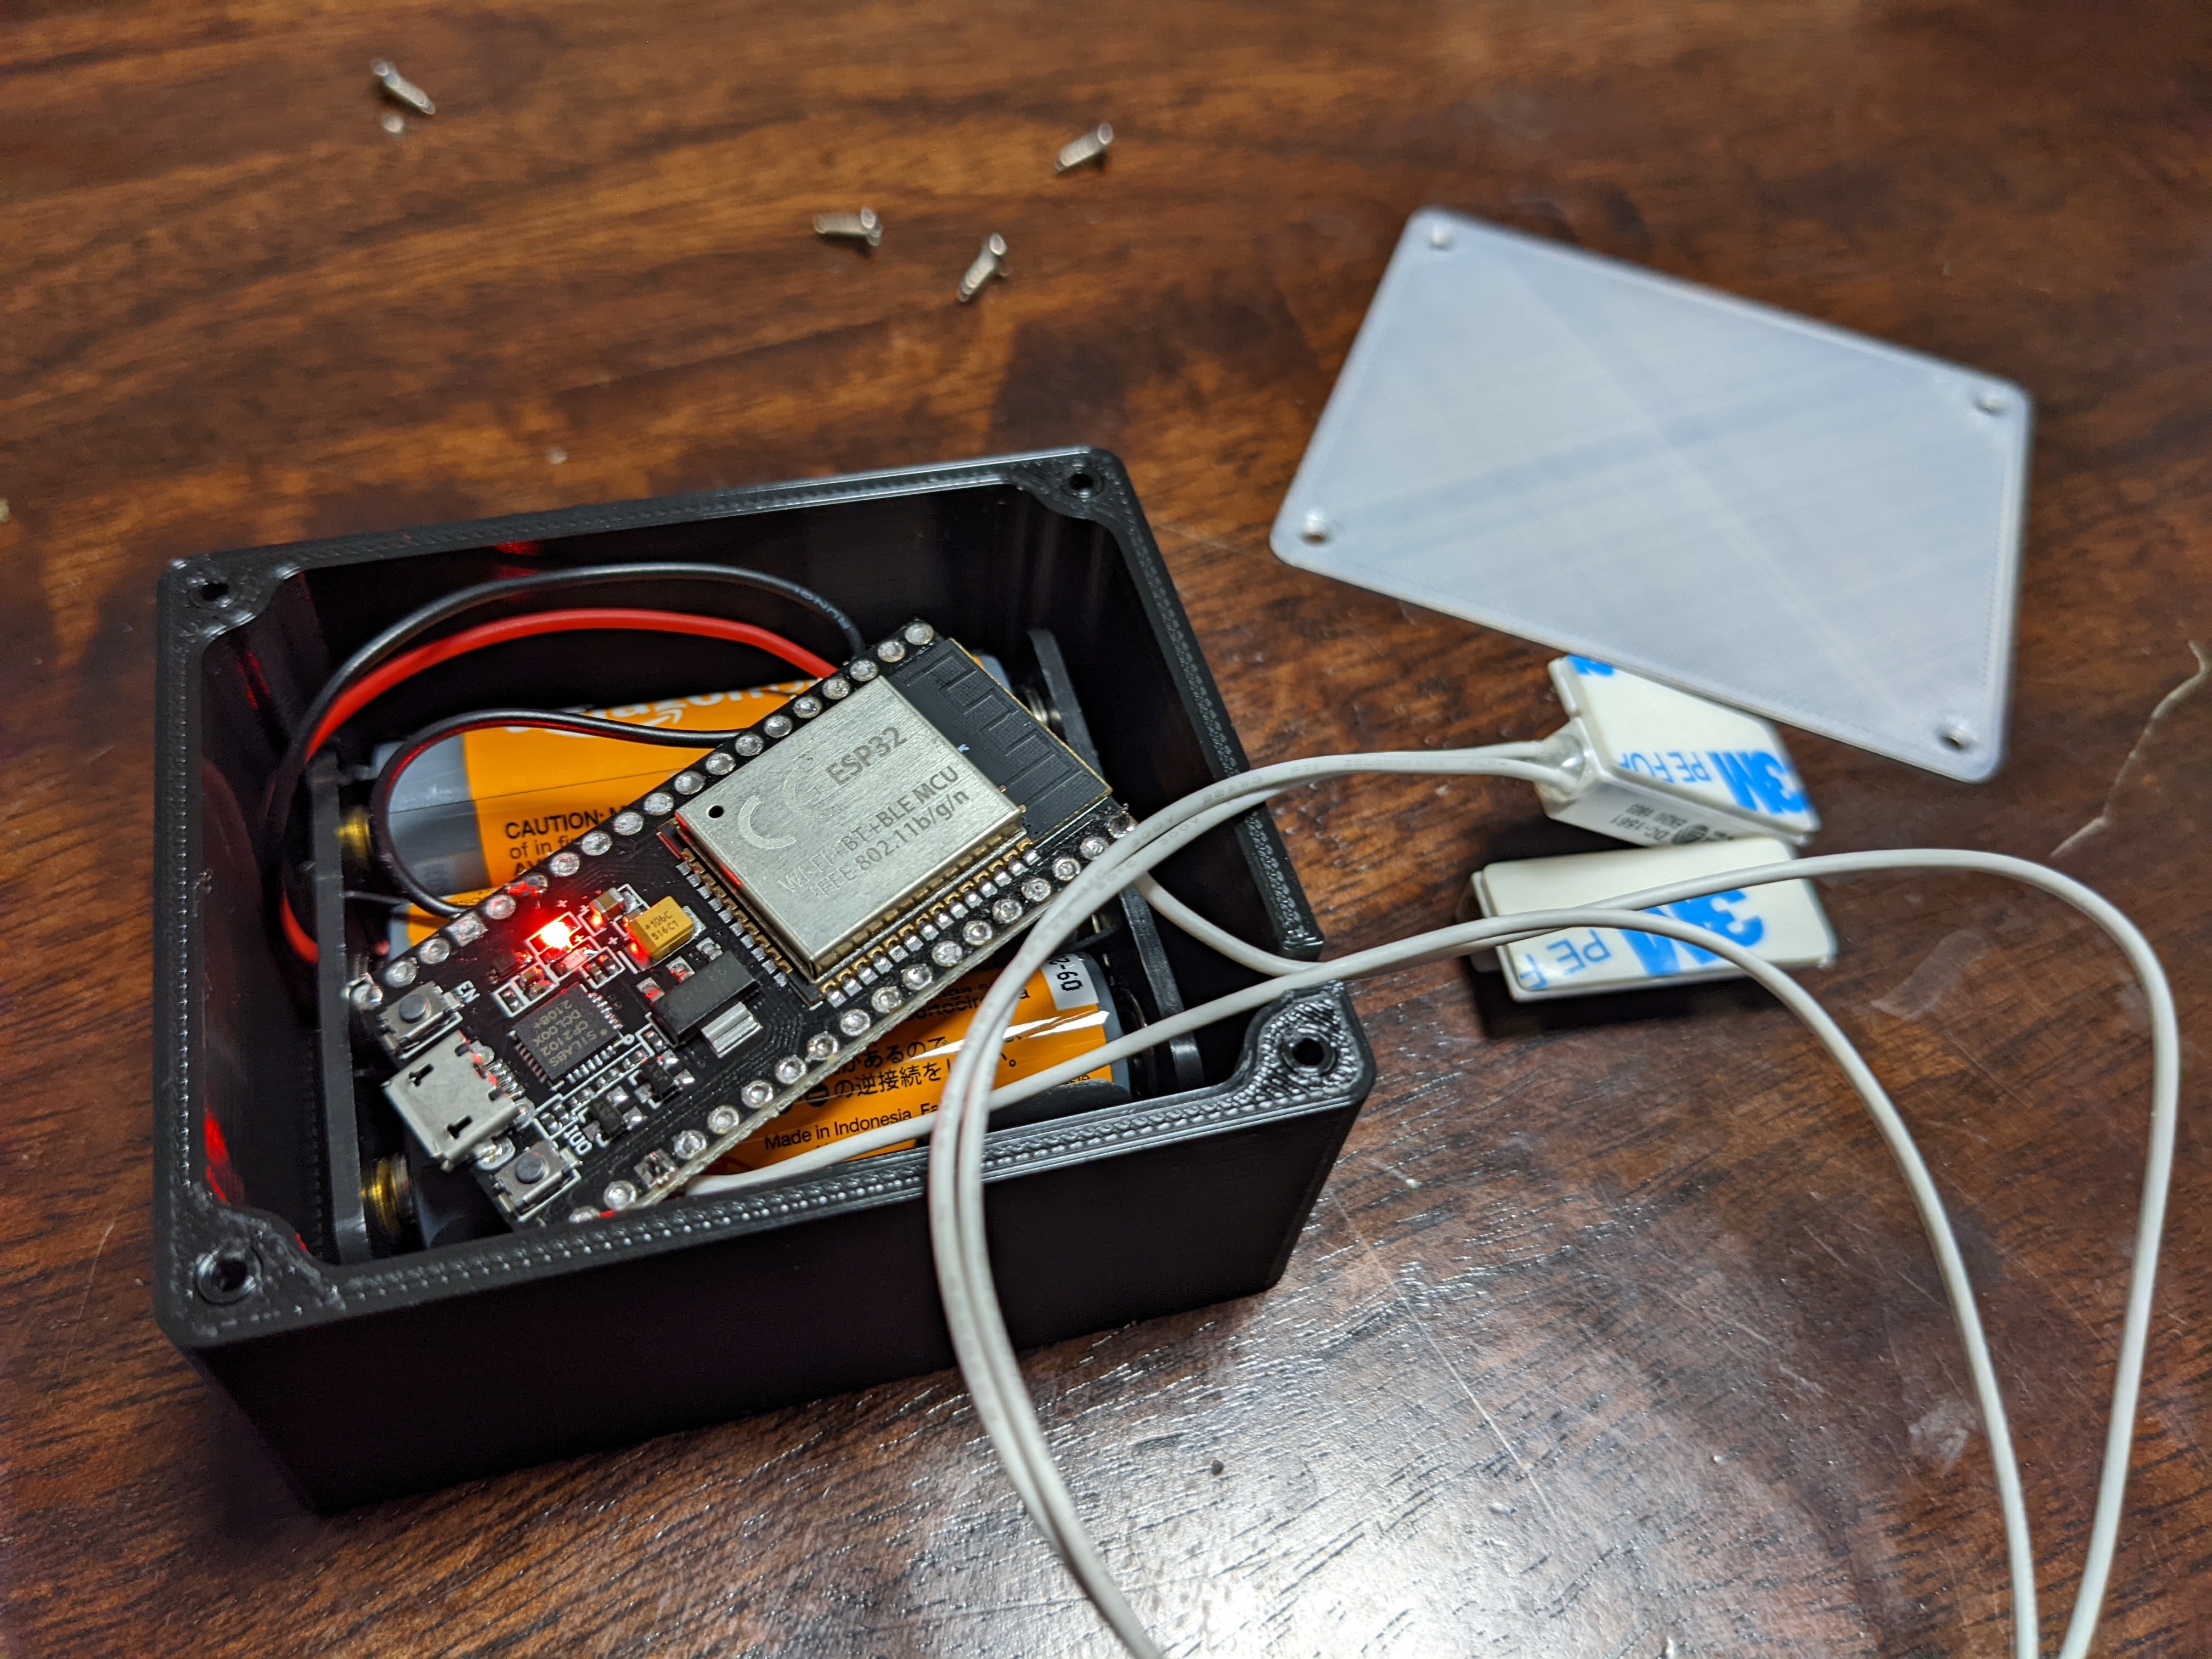
My particular mailbox has a flap (similar to how some houses have a flap on their front door that the mail can be slid through), as well as a larger door that can be opened with a key to retrieve the mail. Sensing the movement of the flap is how I detect the mail as having been delivered.
The entire process from conception to finished project was probably a record for me; ESPHome just makes a project like this so easy. After the initial ‘idea’ (obviously I’m not the first person to think of doing this), I pretty quickly settled on a magnetic contact as my actual sensor. I considered some other options that would probably be less susceptible to errors, but they all seemed like they would be more of a pain to install and be less ‘plug and play’. I also settled on an ESP32 pretty quickly, as I knew I wanted to run the whole thing off of AA batteries (AC power is close-by, but that would look a lot less elegant and would likely not meet with wife approval), so having a ‘Deep Sleep’ mode was critical.
After a short bit learning the relevant bits of ESPhome, I put together my ‘code’ and after a few days of tweaking some settings while on a breadboard I ended up with this:
substitutions:
  friendly_name: Mailbox

esphome:
  name: mailbox

esp32:
  board: esp32dev
  framework:
    type: arduino

# Enable logging
logger:

# Enable Home Assistant API
api:

ota:
  password: "de2be17edd32842394fa0b50241e20b6"


binary_sensor:
  - platform: status
    name: "$friendly_name Node Status"
    id: system_status

  - platform: gpio
    pin:
      number: GPIO15
      inverted: true
      mode:
        input: true
        pullup: true

    name: "Mailbox Contact Sensor"
    id: contact_sensor

wifi:
  ssid: !secret wifi_ssid
  password: !secret wifi_password

  # Enable fallback hotspot (captive portal) in case wifi connection fails
  ap:
    ssid: "Mailbox Fallback Hotspot"
    password: "yTQxMoGcyJlE"

captive_portal:

text_sensor:
  - platform: wifi_info
    ip_address:
      name: $friendly_name IP Address
# Send WiFi signal strength & uptime to HA
sensor:
  - platform: wifi_signal
    name: $friendly_name WiFi Strength
    update_interval: 60s
  - platform: uptime
    name: $friendly_name "Uptime"

status_led:
  pin:
    number: GPIO2
    inverted: true


deep_sleep:
  run_duration: 30s
  wakeup_pin:
    number: GPIO 15
  wakeup_pin_mode: KEEP_AWAKE
A good chunk of this is just standard stuff I put in all of my ESPHome projects to give me data about the device for troubleshooting, etc. (I picked this up from various sources over time and have found it incredibly helpful). The only real ‘smarts’ of this is sensing the state of the magnetic contact sensor. Additionally, to preserve power I put the microcontroller into a deep-sleep mode whenever the sensor detects the mailbox flap as closed. When mail is deposited, the door opens and the sensor wakes up the device and reports its current state before going back to sleep after a short bit (over time I may lower the amount of wake-up time, but for now I just wanted to make sure it worked rather than squeeze every bit of life from the batteries). On the Home Assistant side, I just look for the device to go from ‘disconnected’ to ‘connected’ and treat this as ‘the mail has been delivered’ for my automation purposes. The reason for this is simple: the door opening process is very transitory and will all but assuredly be finished by the time the ESP32 wakes up, connects to my Wi-Fi and is able to report the state of the sensor.
As soon as I was happy with the results, my son helped me design a simple box to house everything in. A few hours of printing and a few minutes of soldering and… voila!

The actual install was pretty simple, but it did require a little improvisation. While well aware that metal and magnets play together, I was surprised how much just being NEXT to some thin metal resulted in the magnetic contact sensor barely working. Ultimately, I was able to arrange things such that the contact sensor and magnet were nearly touching when the mailbox flap door is closed and the...
Read more » Ben Brooks

 Kevin Kessler
 Bud Bennett

 electrobob
Since I am new to Home Automation, can you give me more details as to how you completed the setup in HA. Thanks