After the first integrated test we needed a better rack with accurate dimensions so we could start testing the accuracy of the system.
To reduce costs and printing time we decided to use aluminum profiles which we connect by using 3D-printed parts. The aluminum profiles are press-fit into the 3D-printed parts. It took some iterations to get the tolerances just right.
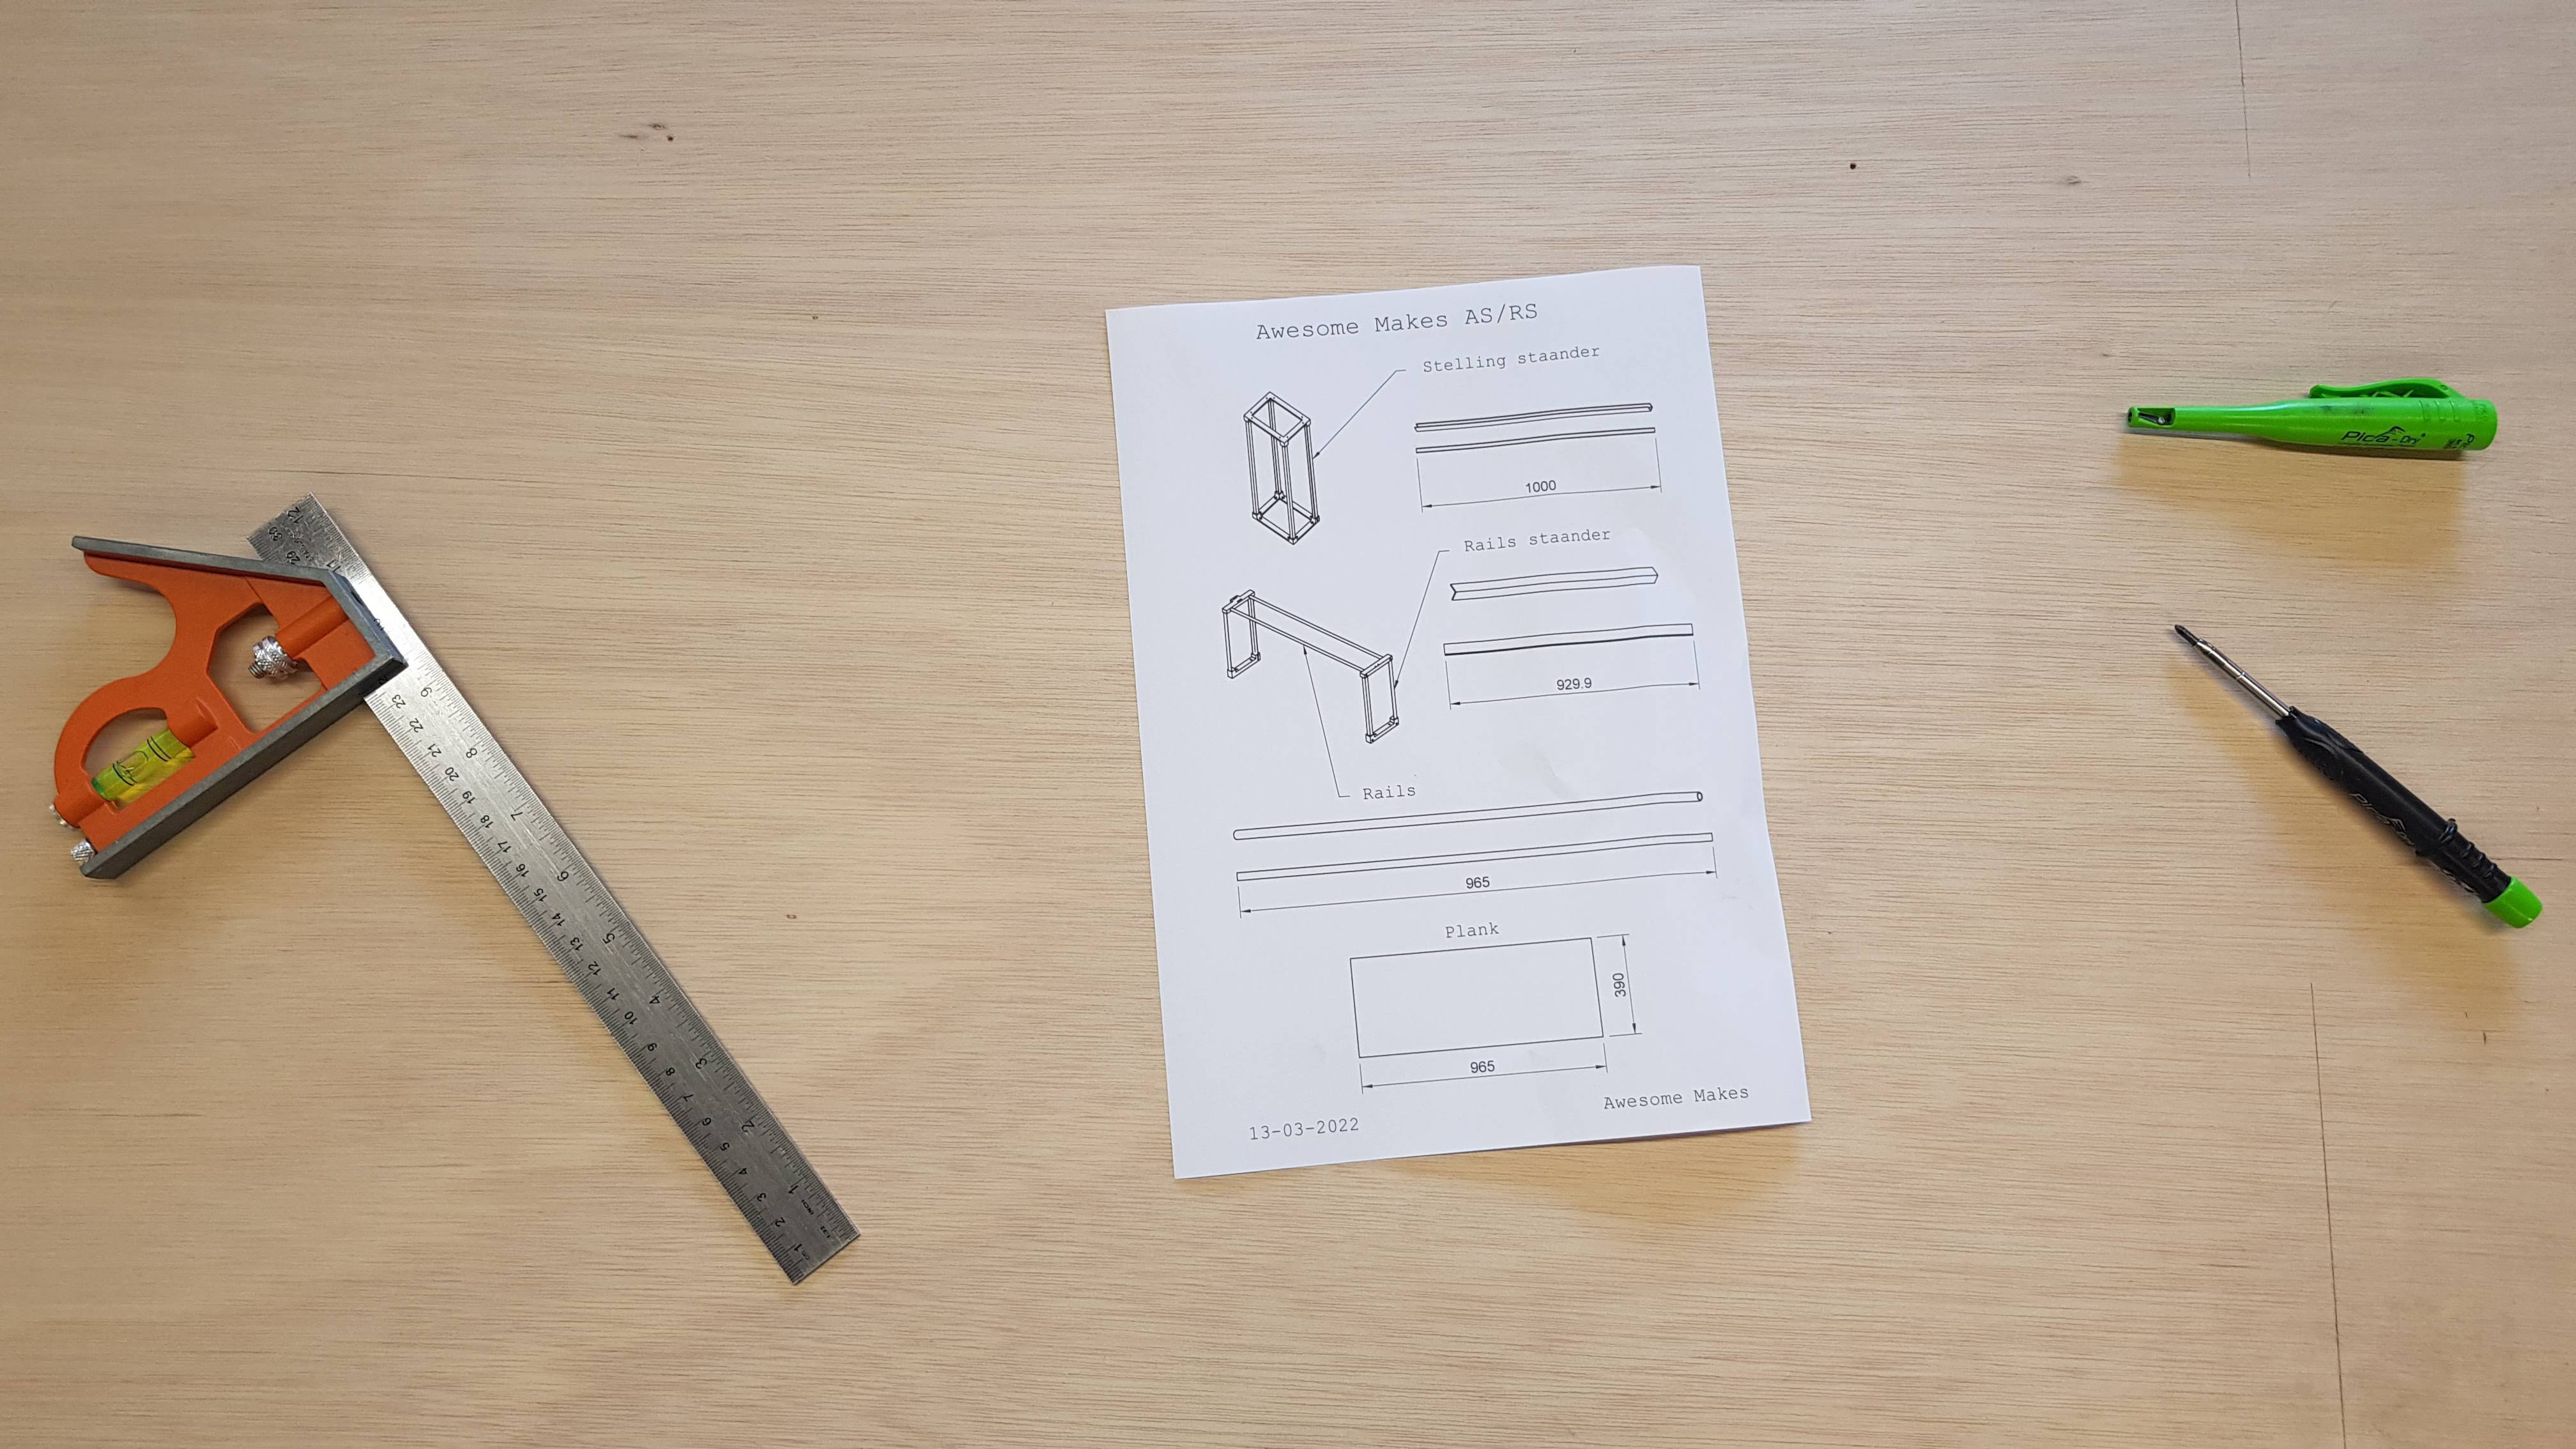
We printed a drawing / partslist to cut the wooden board and aluminum profiles to the right length.
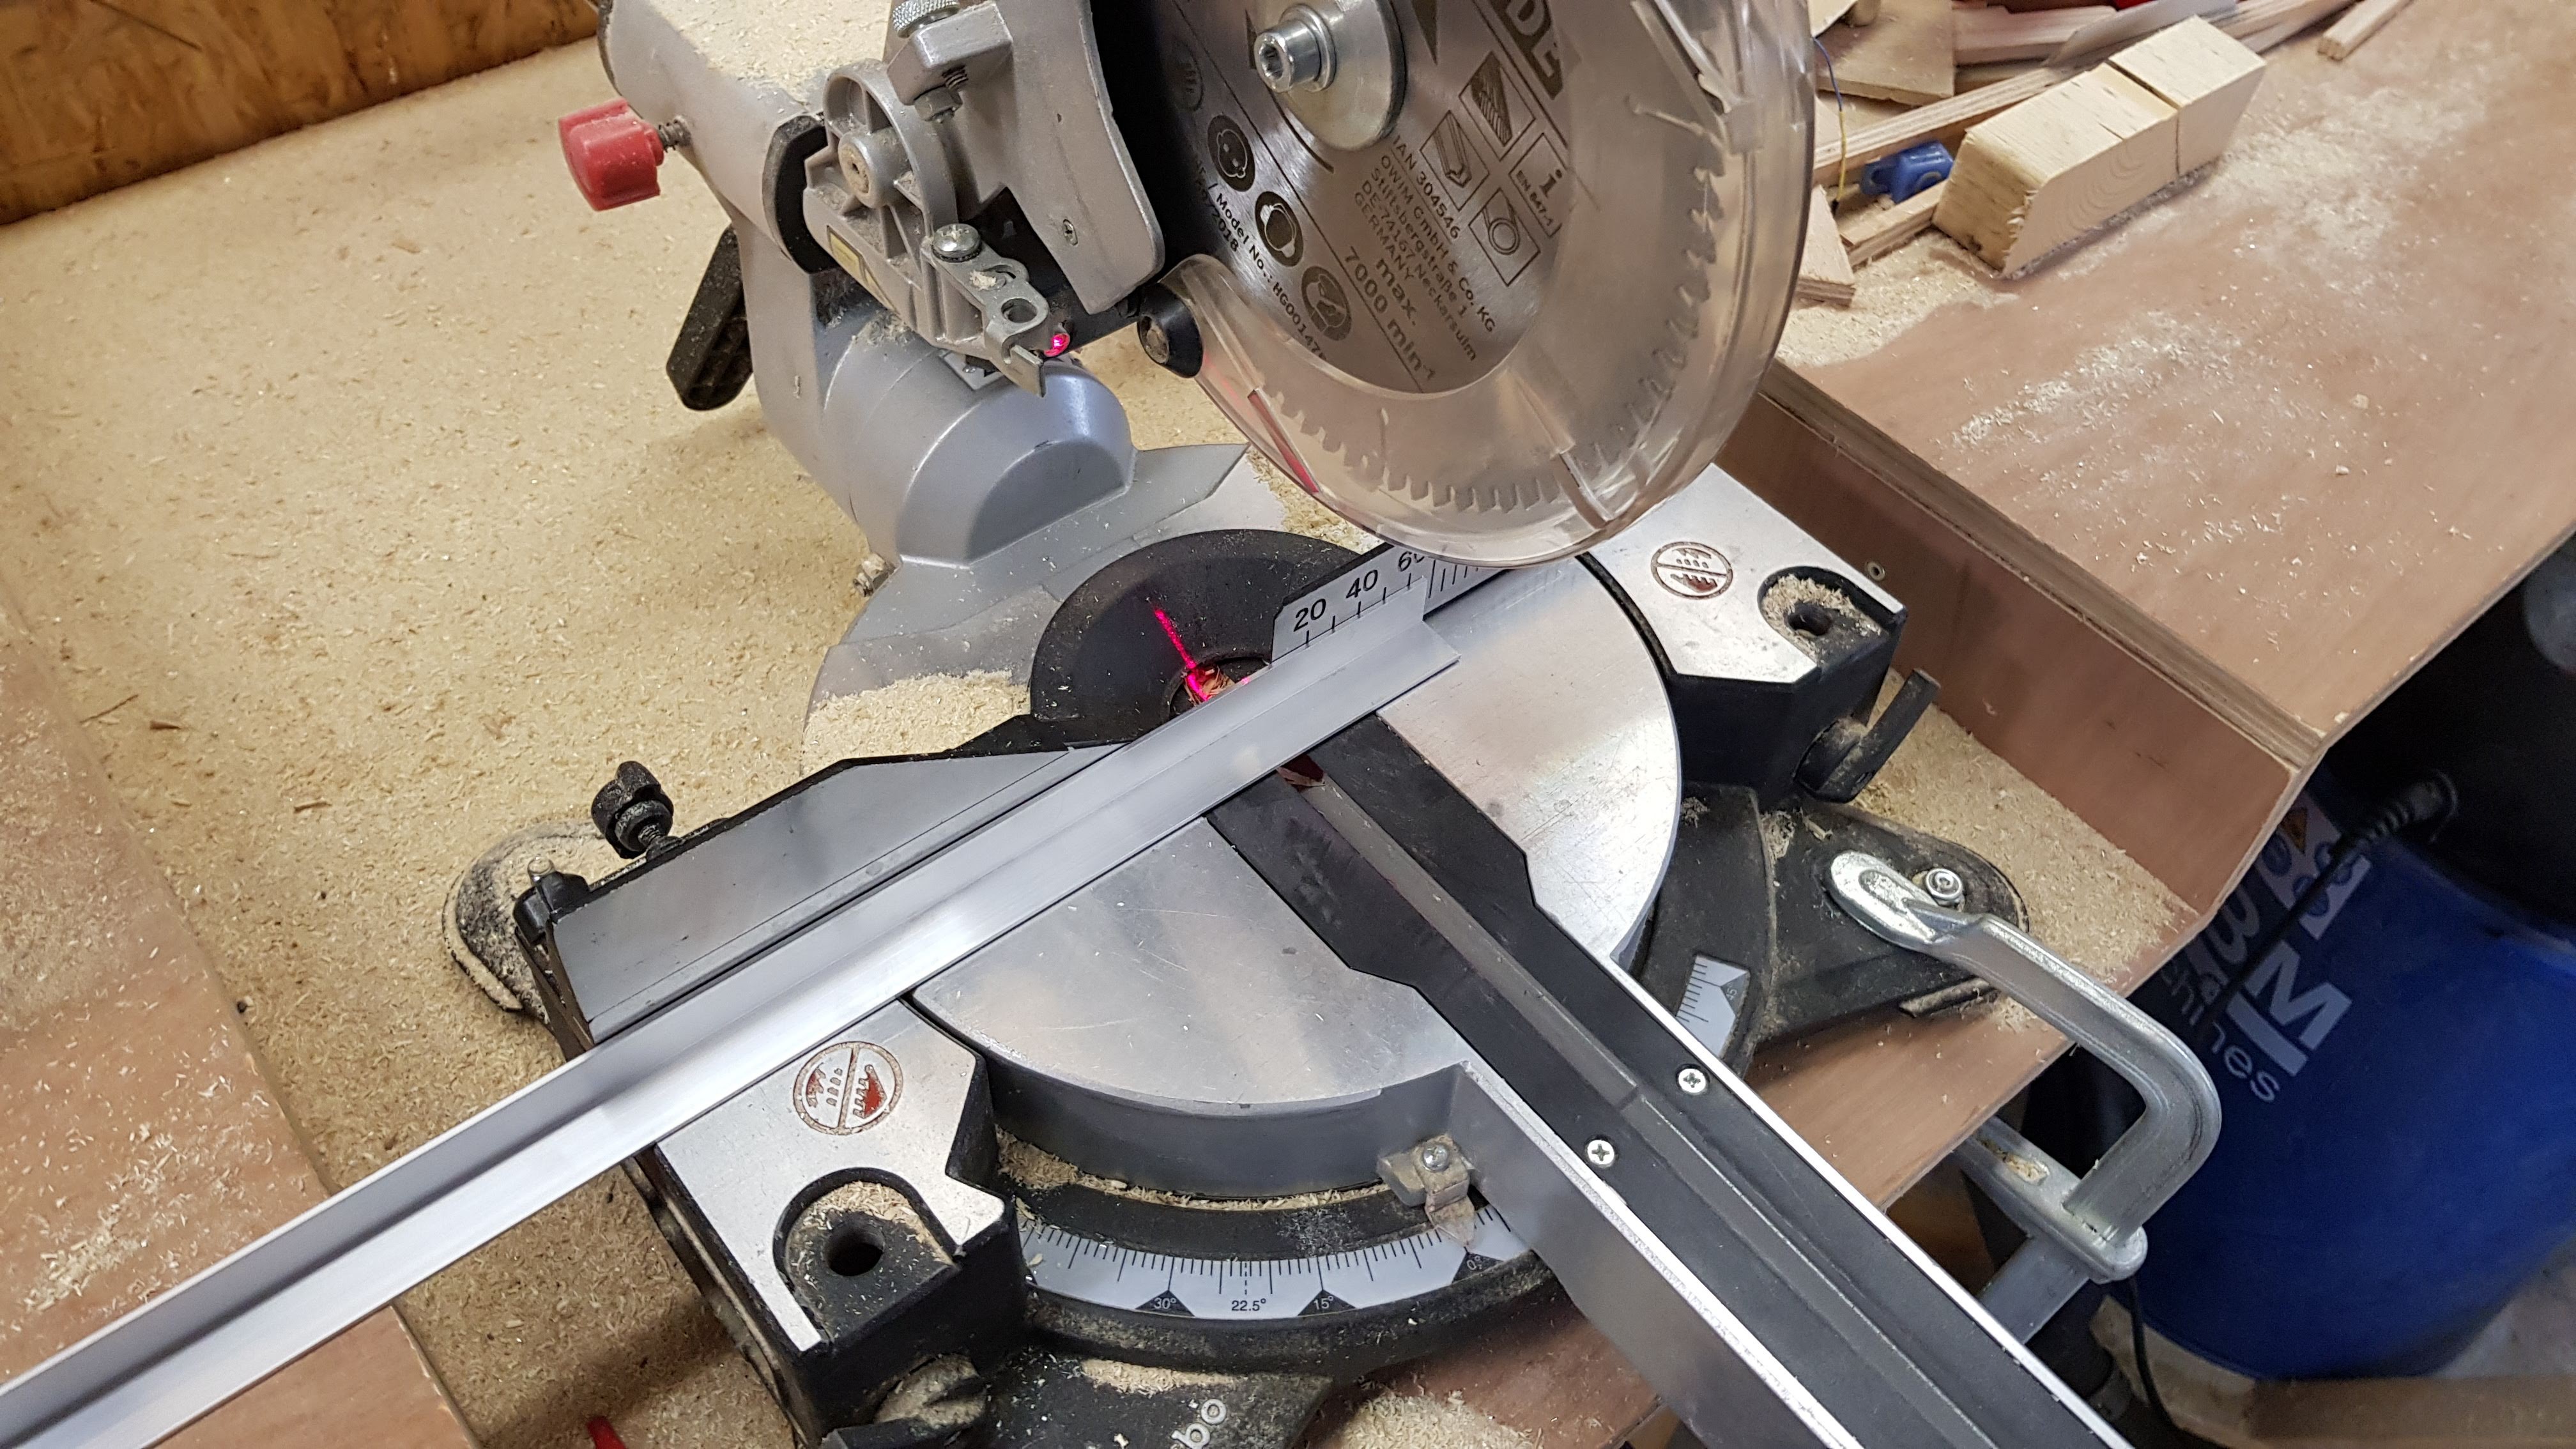
To cut the aluminum we used a miter saw with a suitable blade but you can also use a hacksaw.
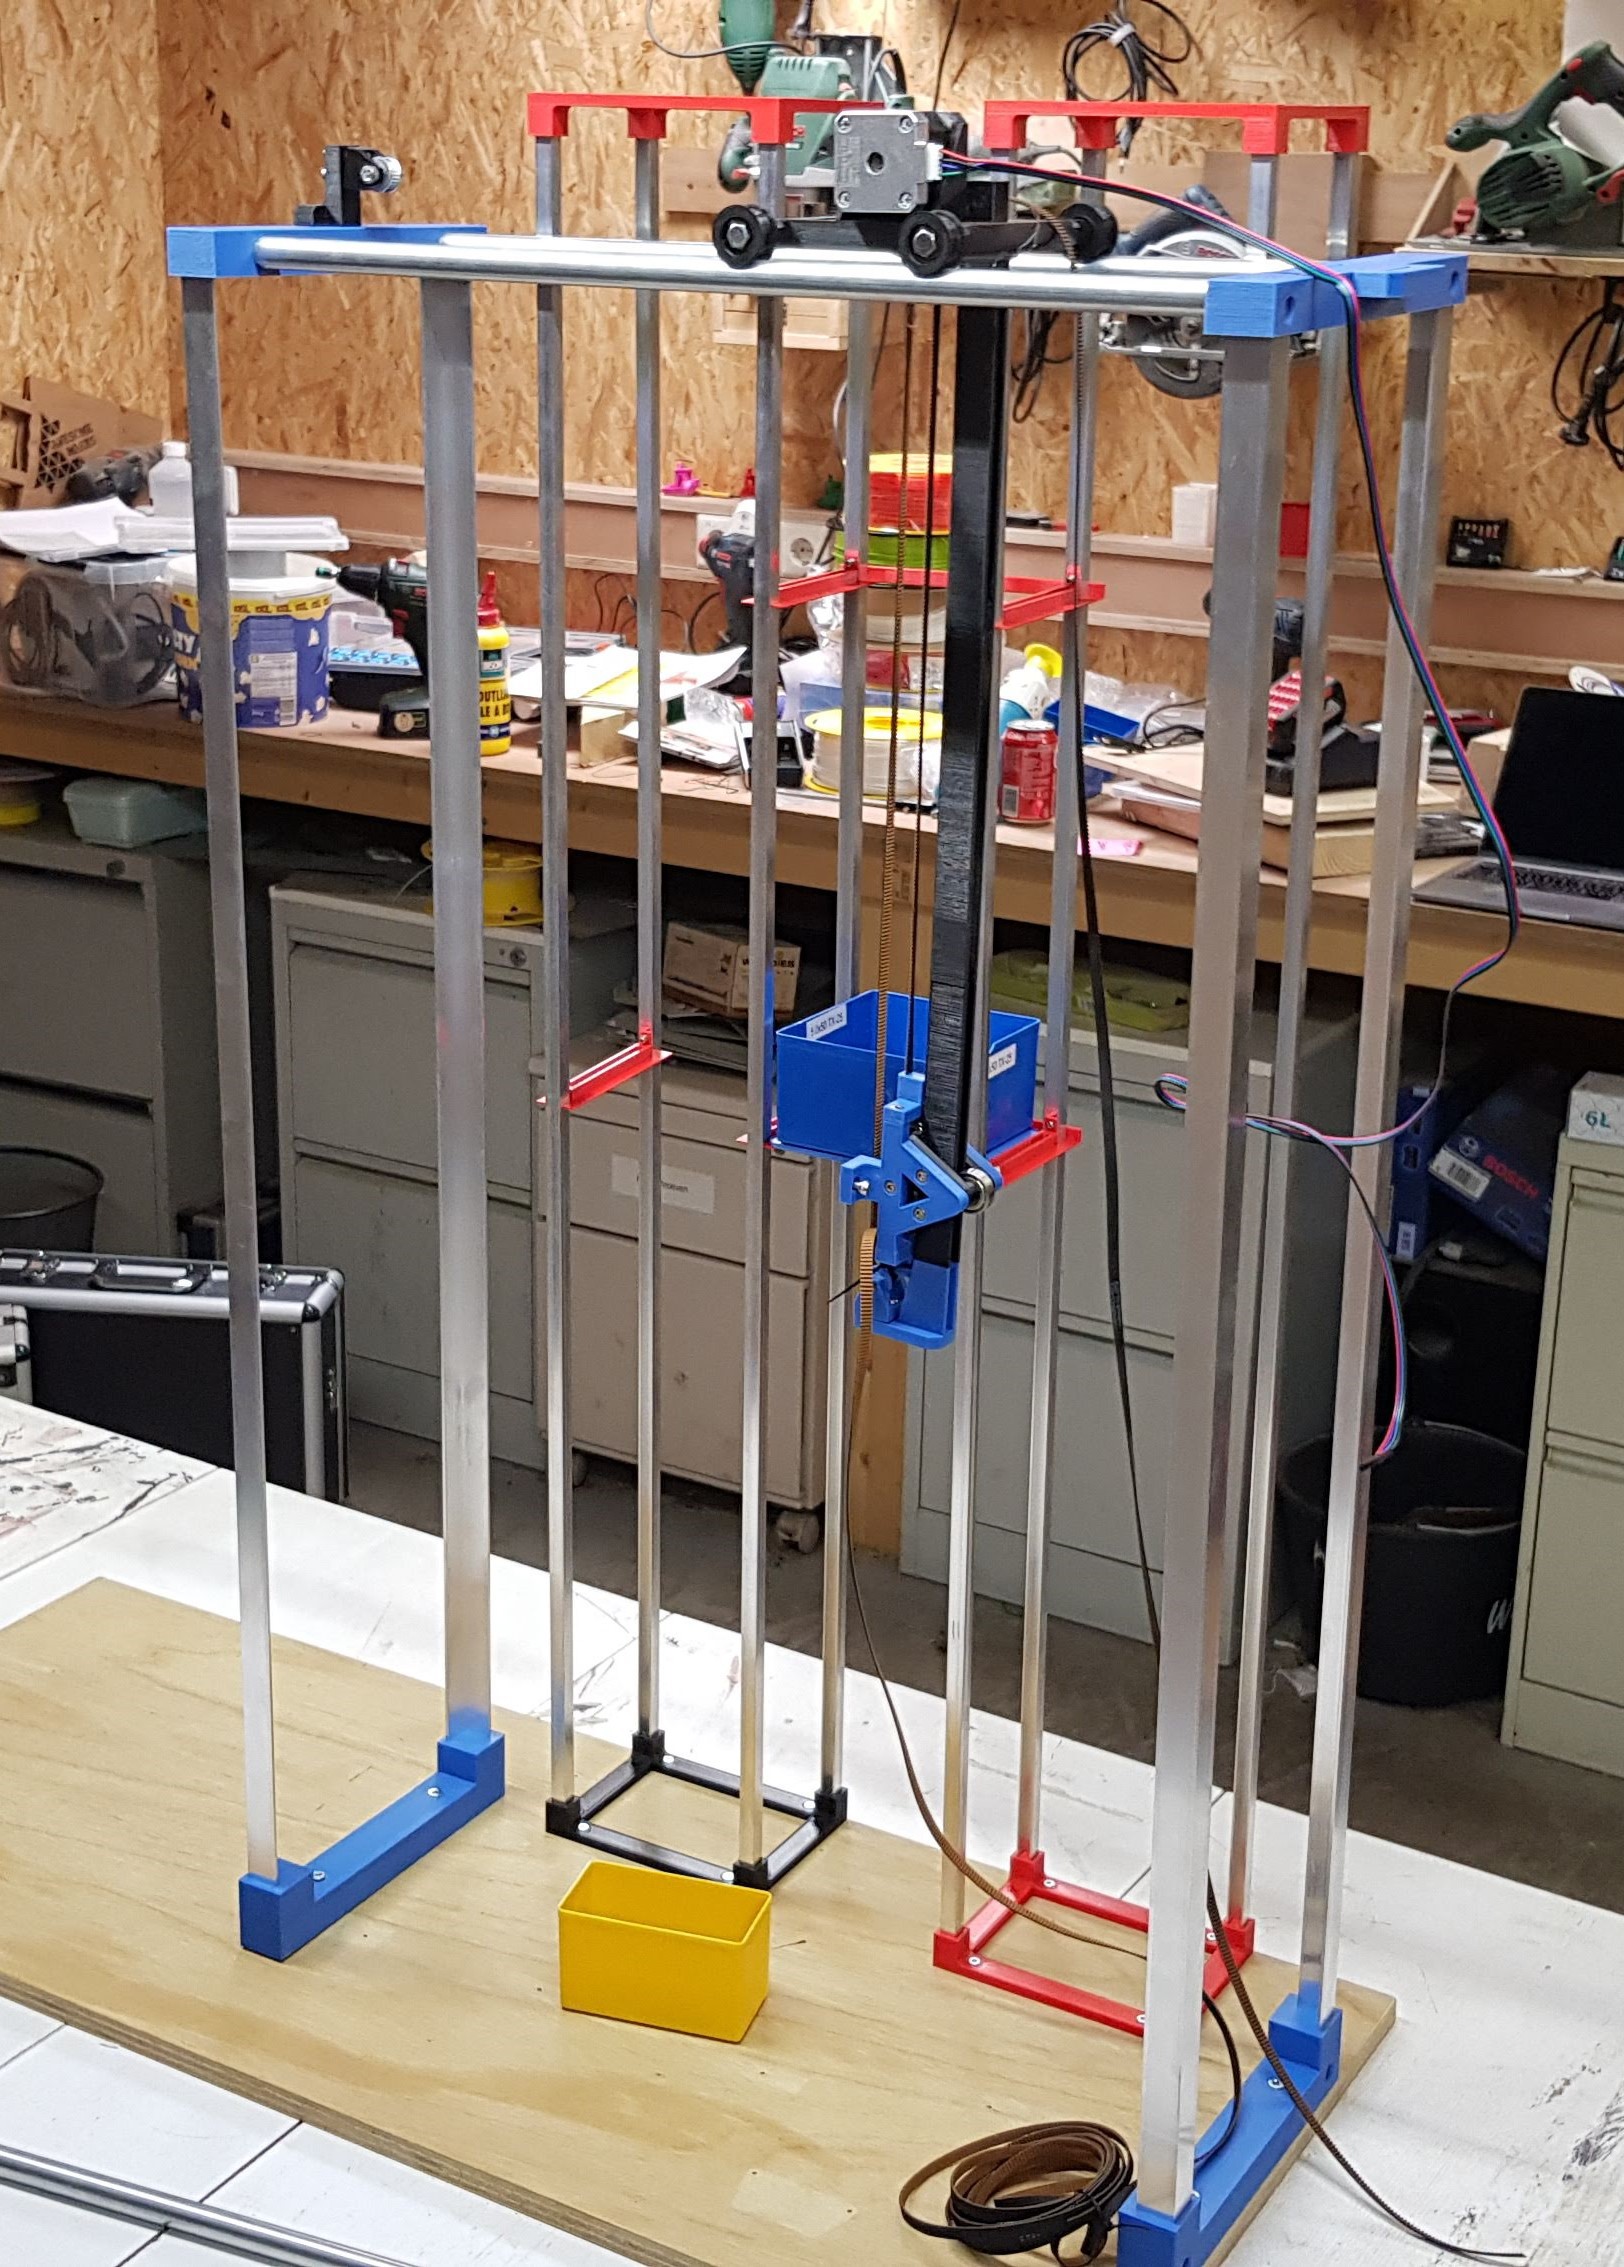
After putting everything together it resulted in a surprisingly sturdy structure.
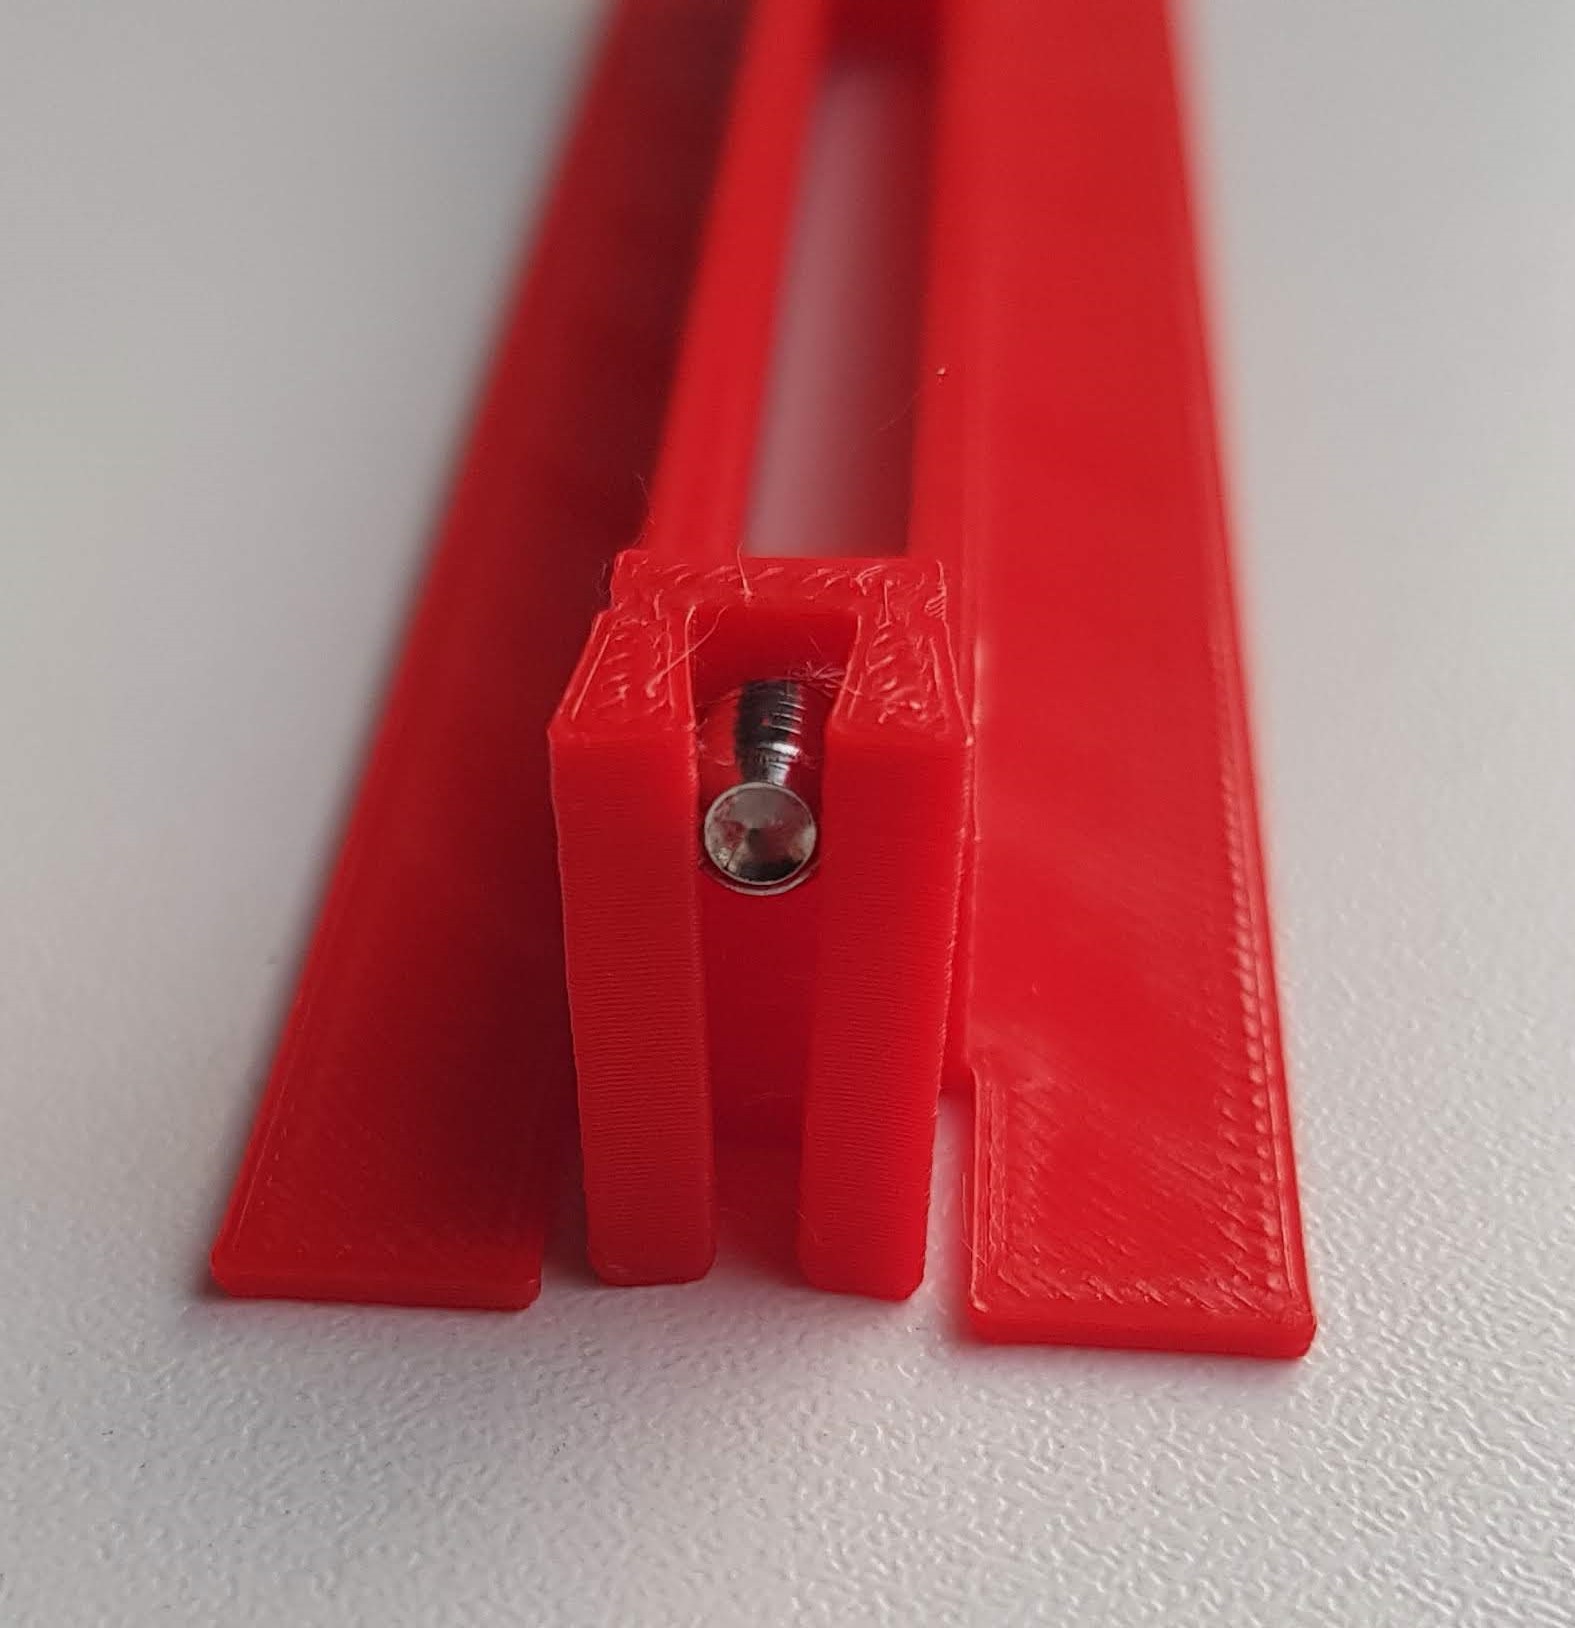
The “shelves” are slotted into the aluminum u-profile. We designed a system comparable to wall plugs to make sure the shelves stay in place.
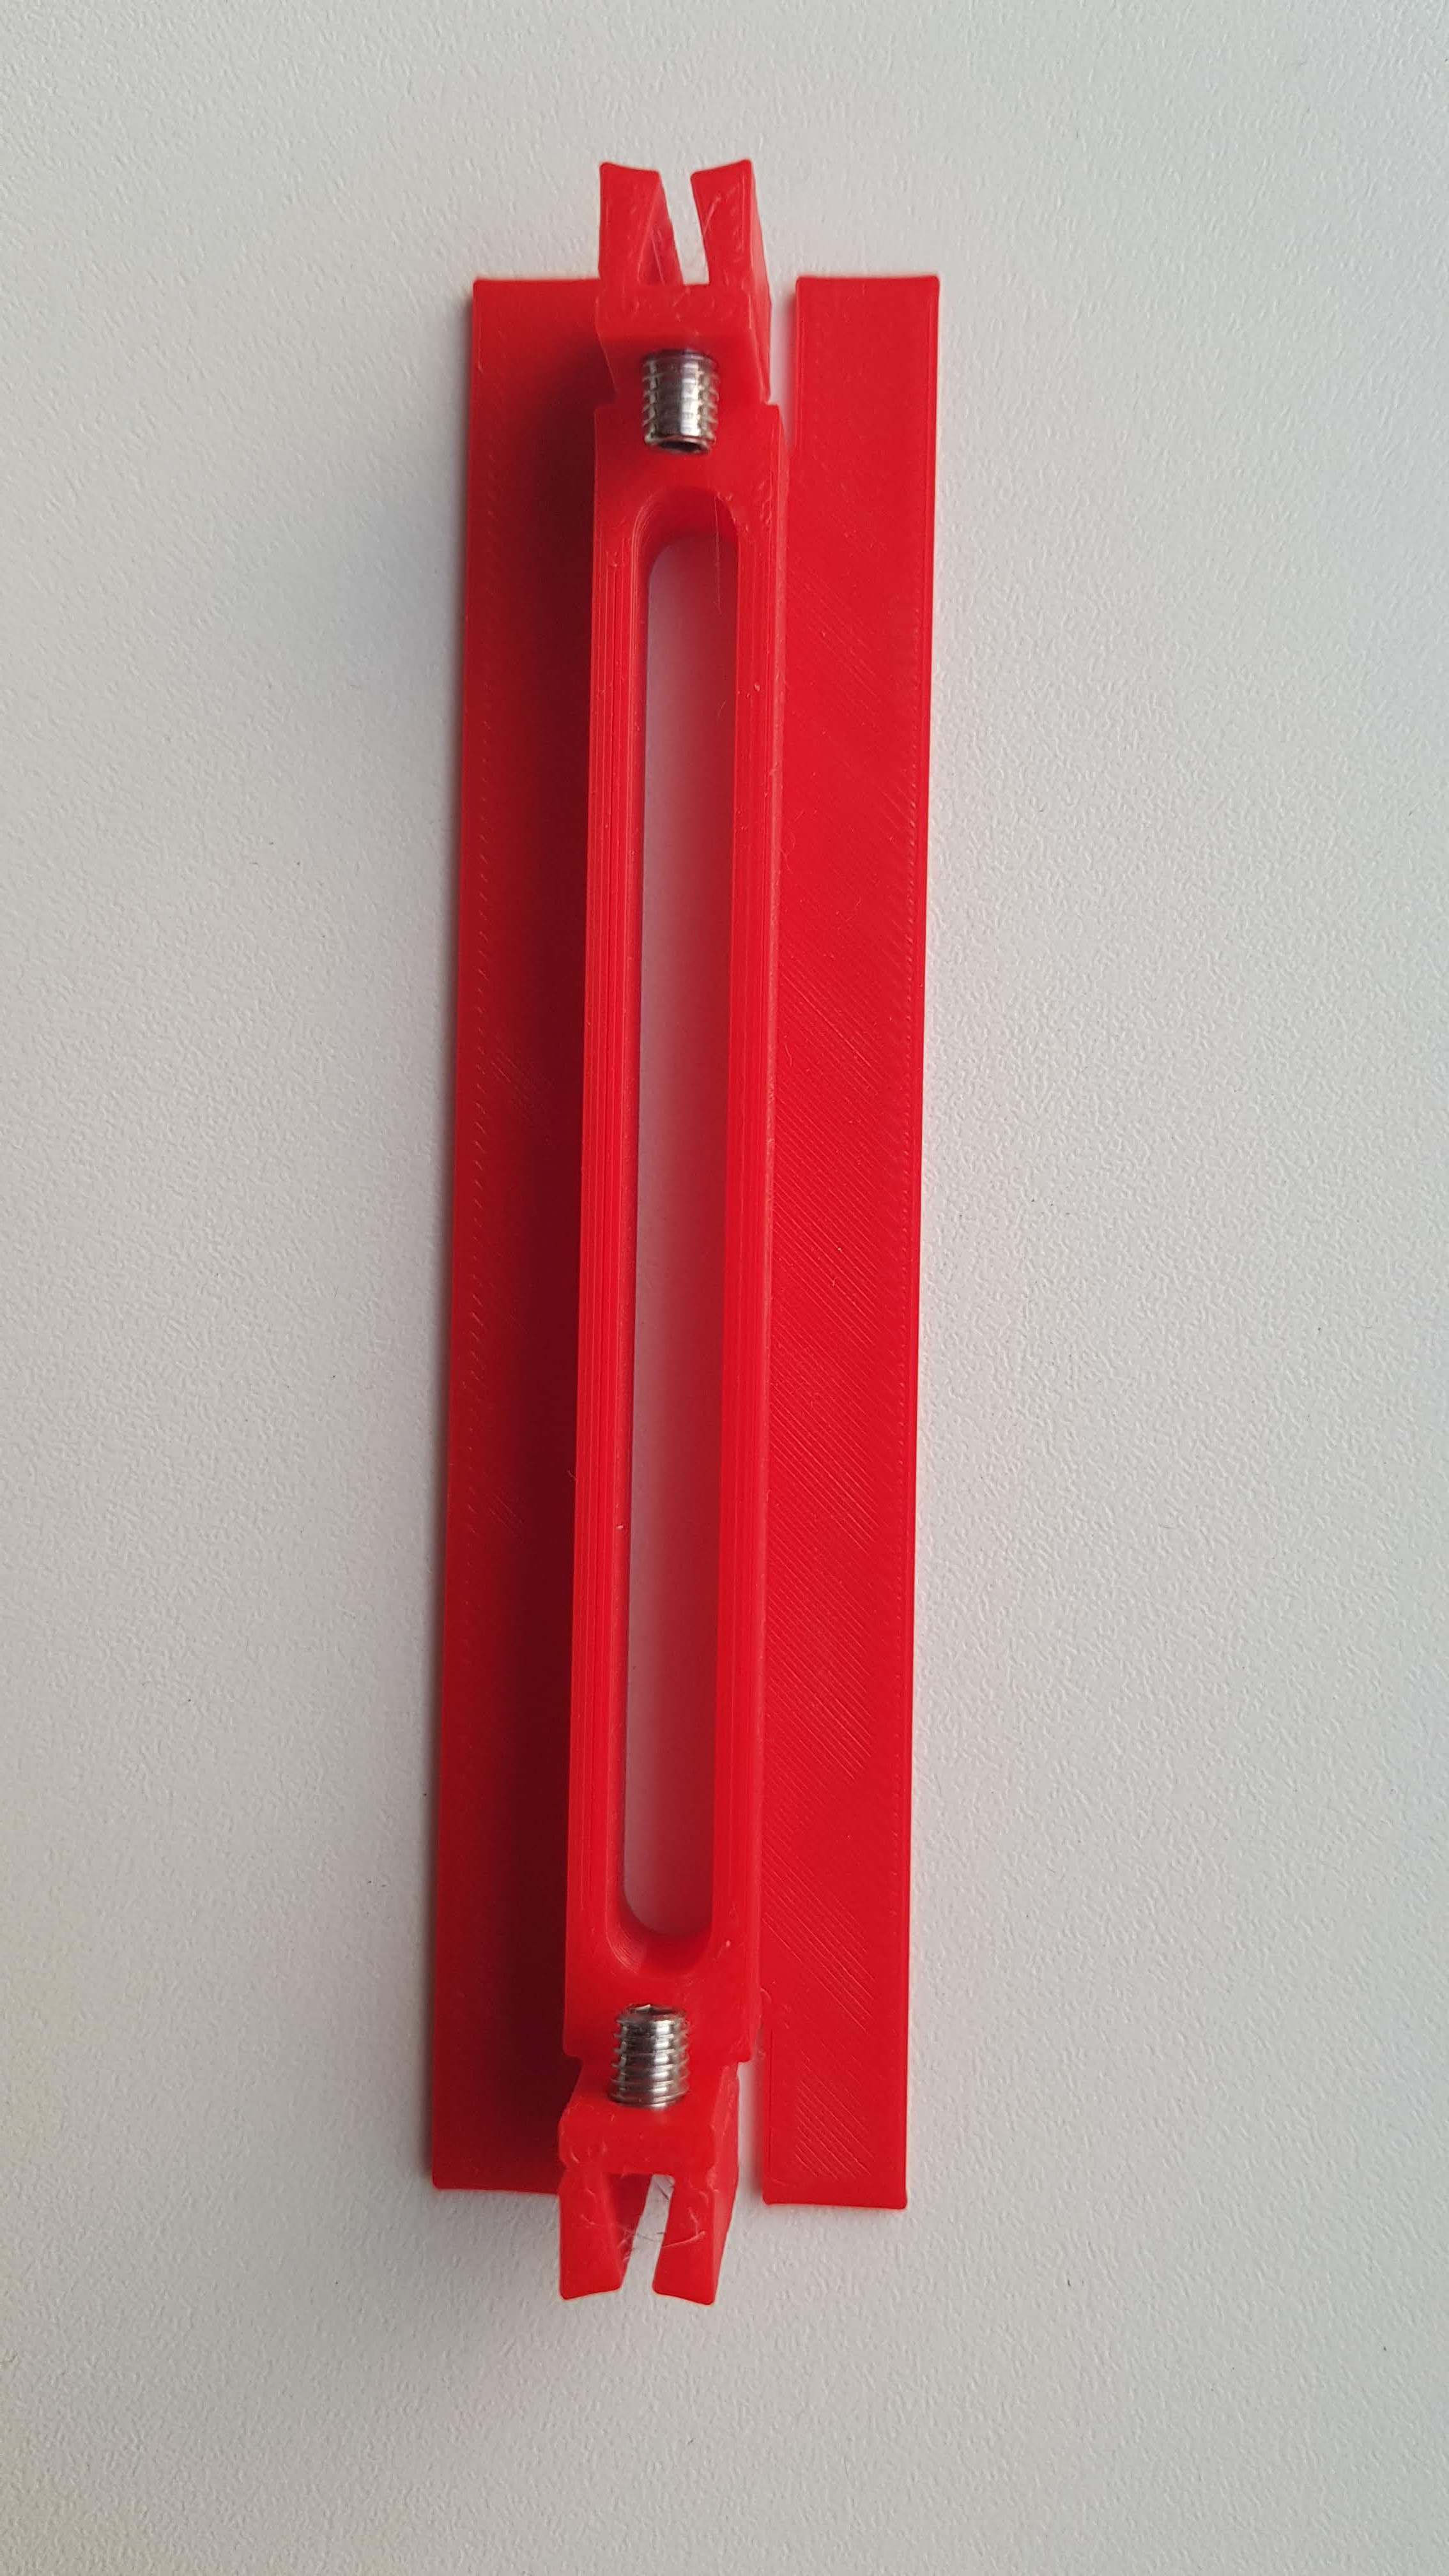
By tightening the grub screw the two sides of the structure are pushed outwards.
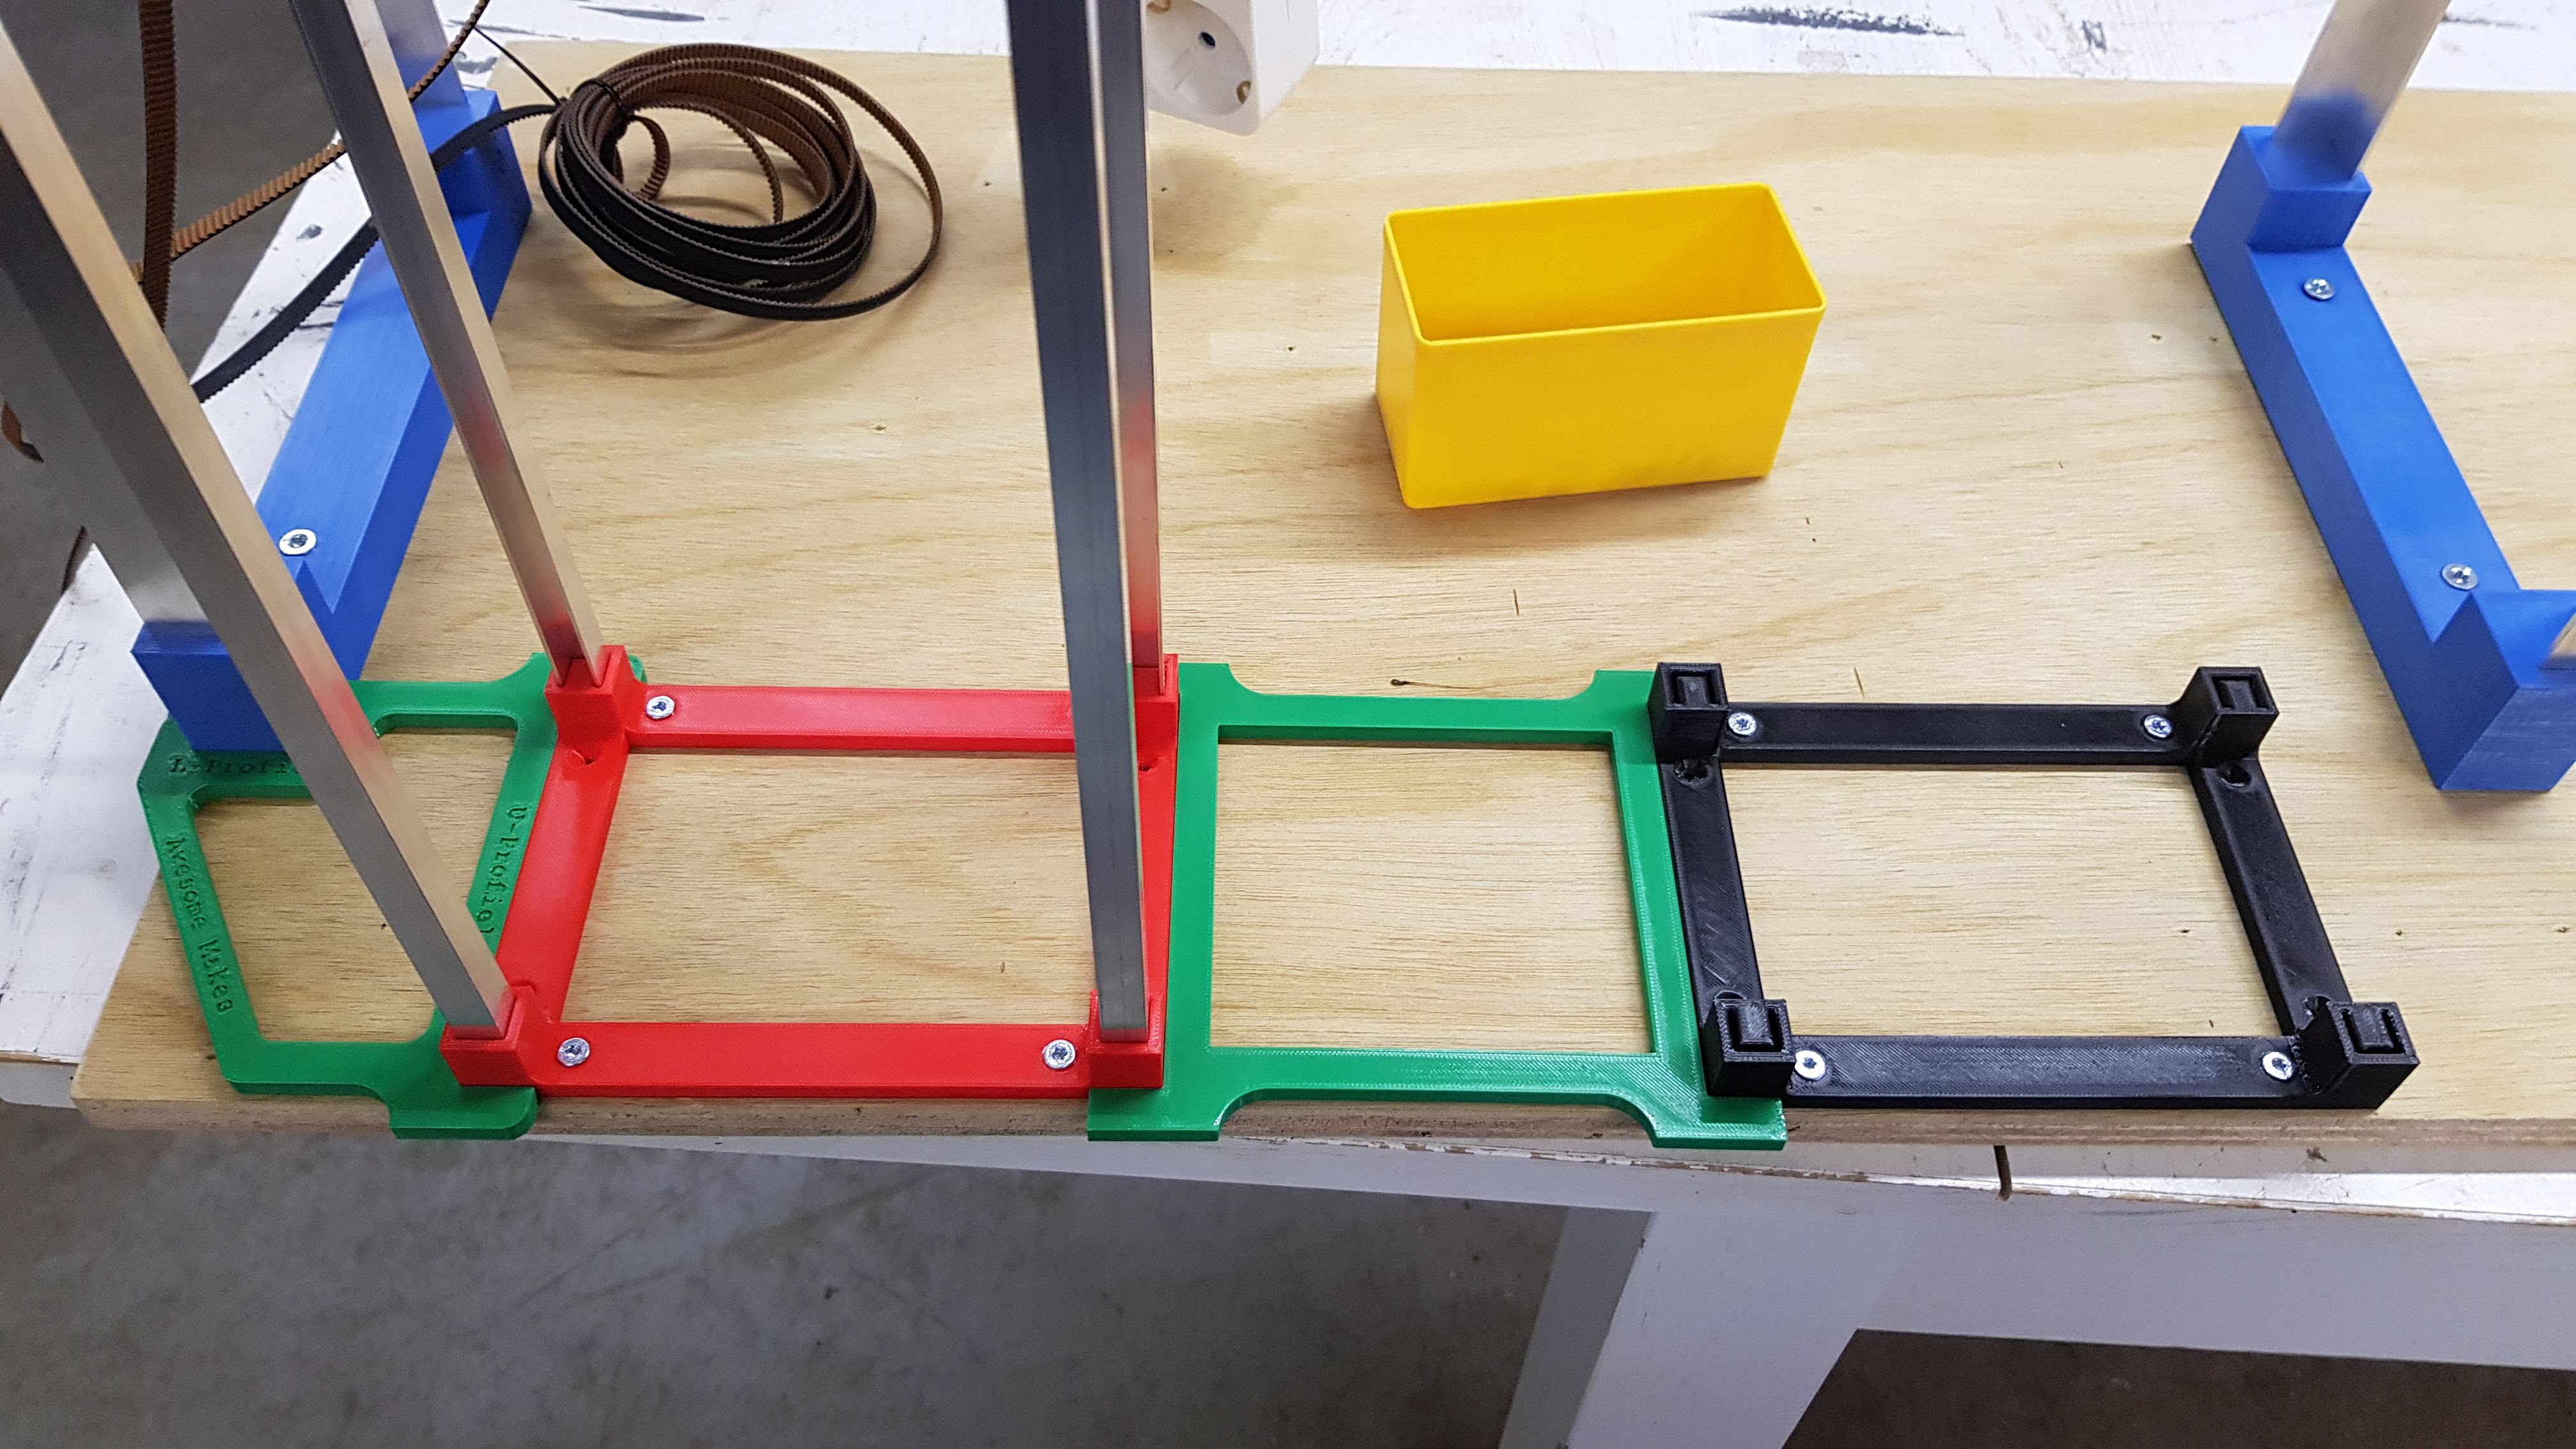
To mount the brackets parts at the right position we printed some jigs.
The structure seems to be sturdy and precise but before testing it it looks like we need to design a new vertical rail. The 3D-printed version seems to have bent and cannot be used.
 Awesome Makes
Discussions
Become a Hackaday.io Member
Create an account to leave a comment. Already have an account? Log In.