-
Recoater rebuild: Part 2
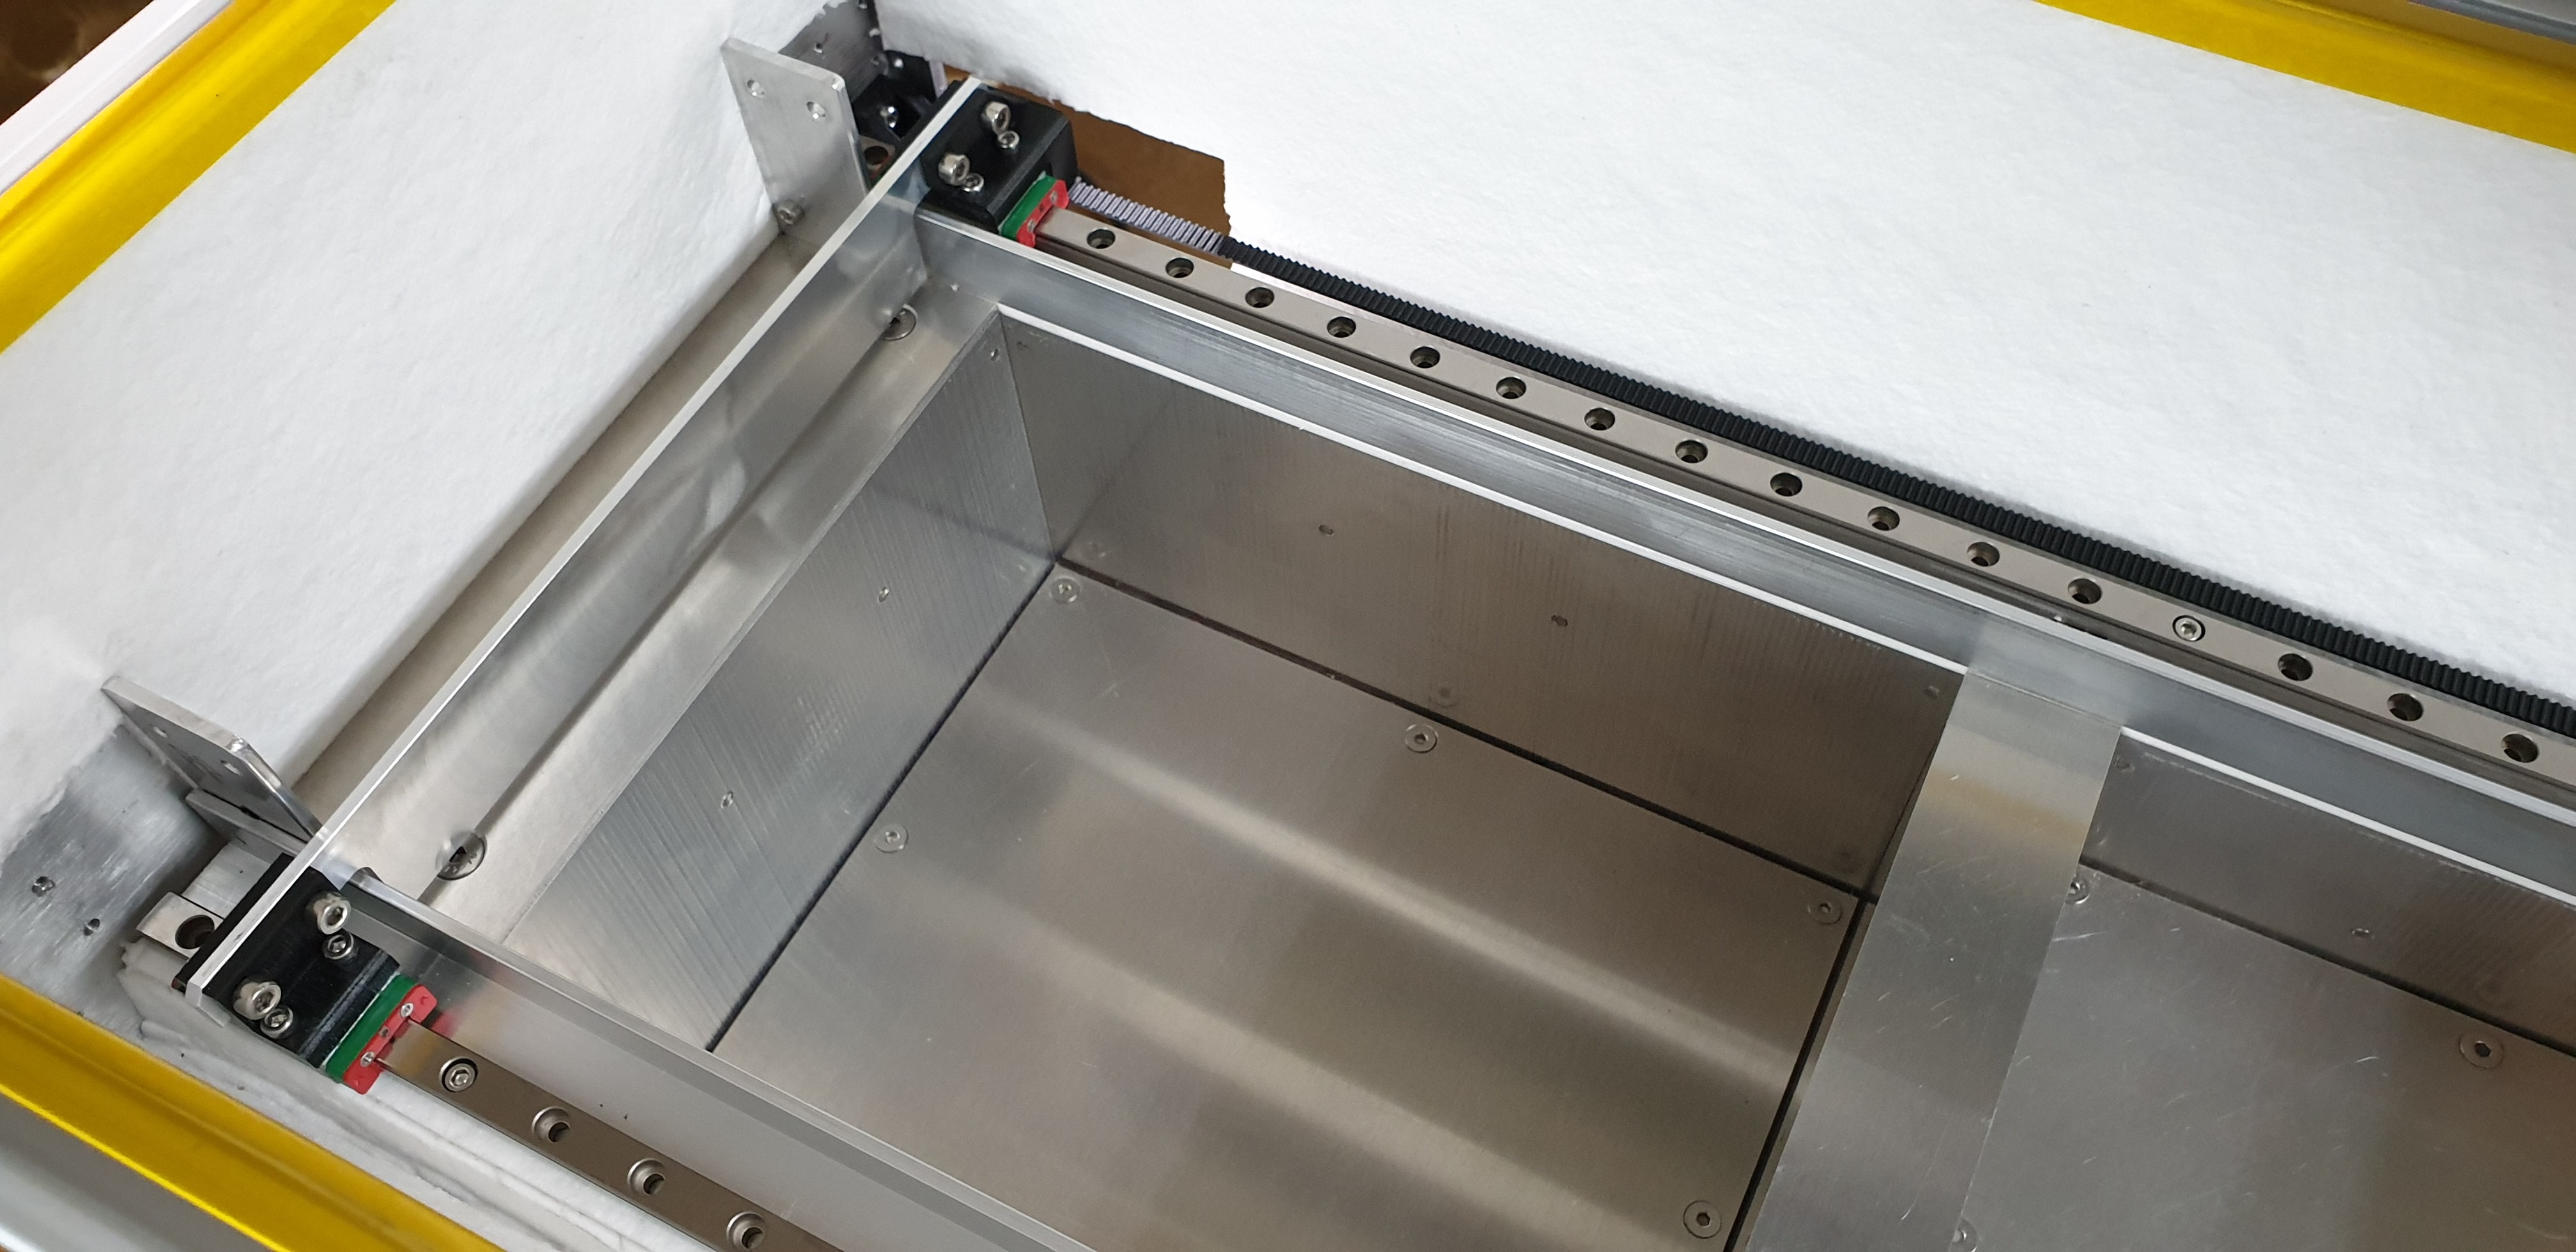
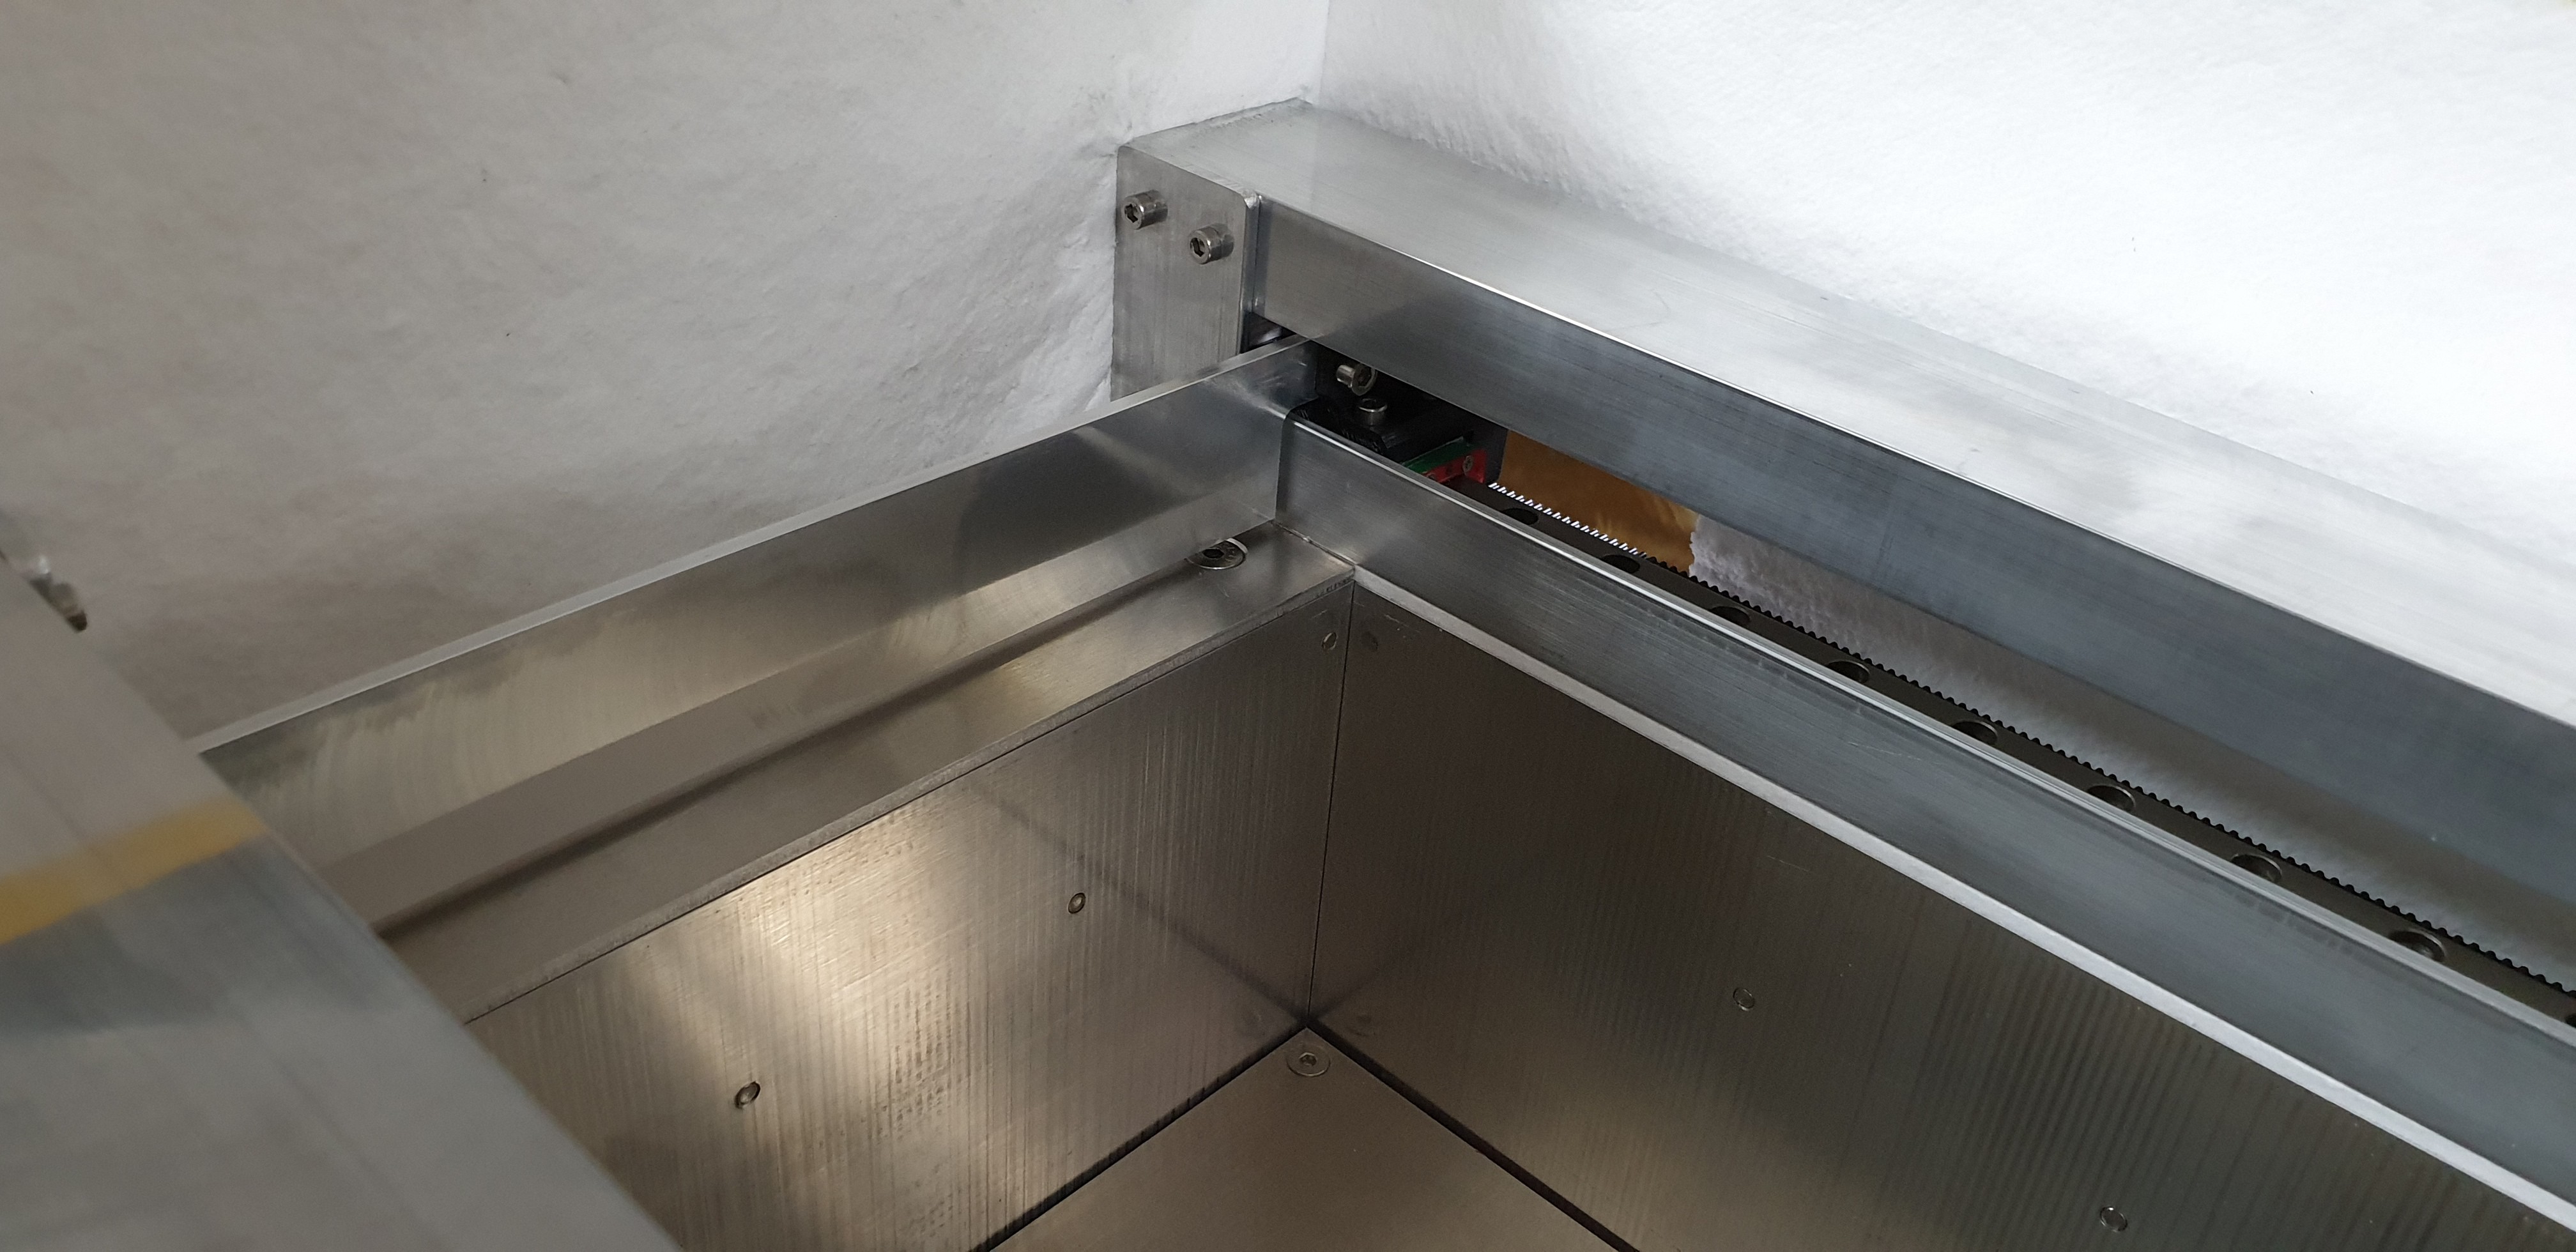
05/03/2022 at 20:40 • 0 commentsRecoater rebuild is done. I did a few tests today and it looks very promisingly. It is smooth, silent and rigid enough. I will heavily test it in next days.
![]()
-
![]()
-
Recoater rebuild: Part 1
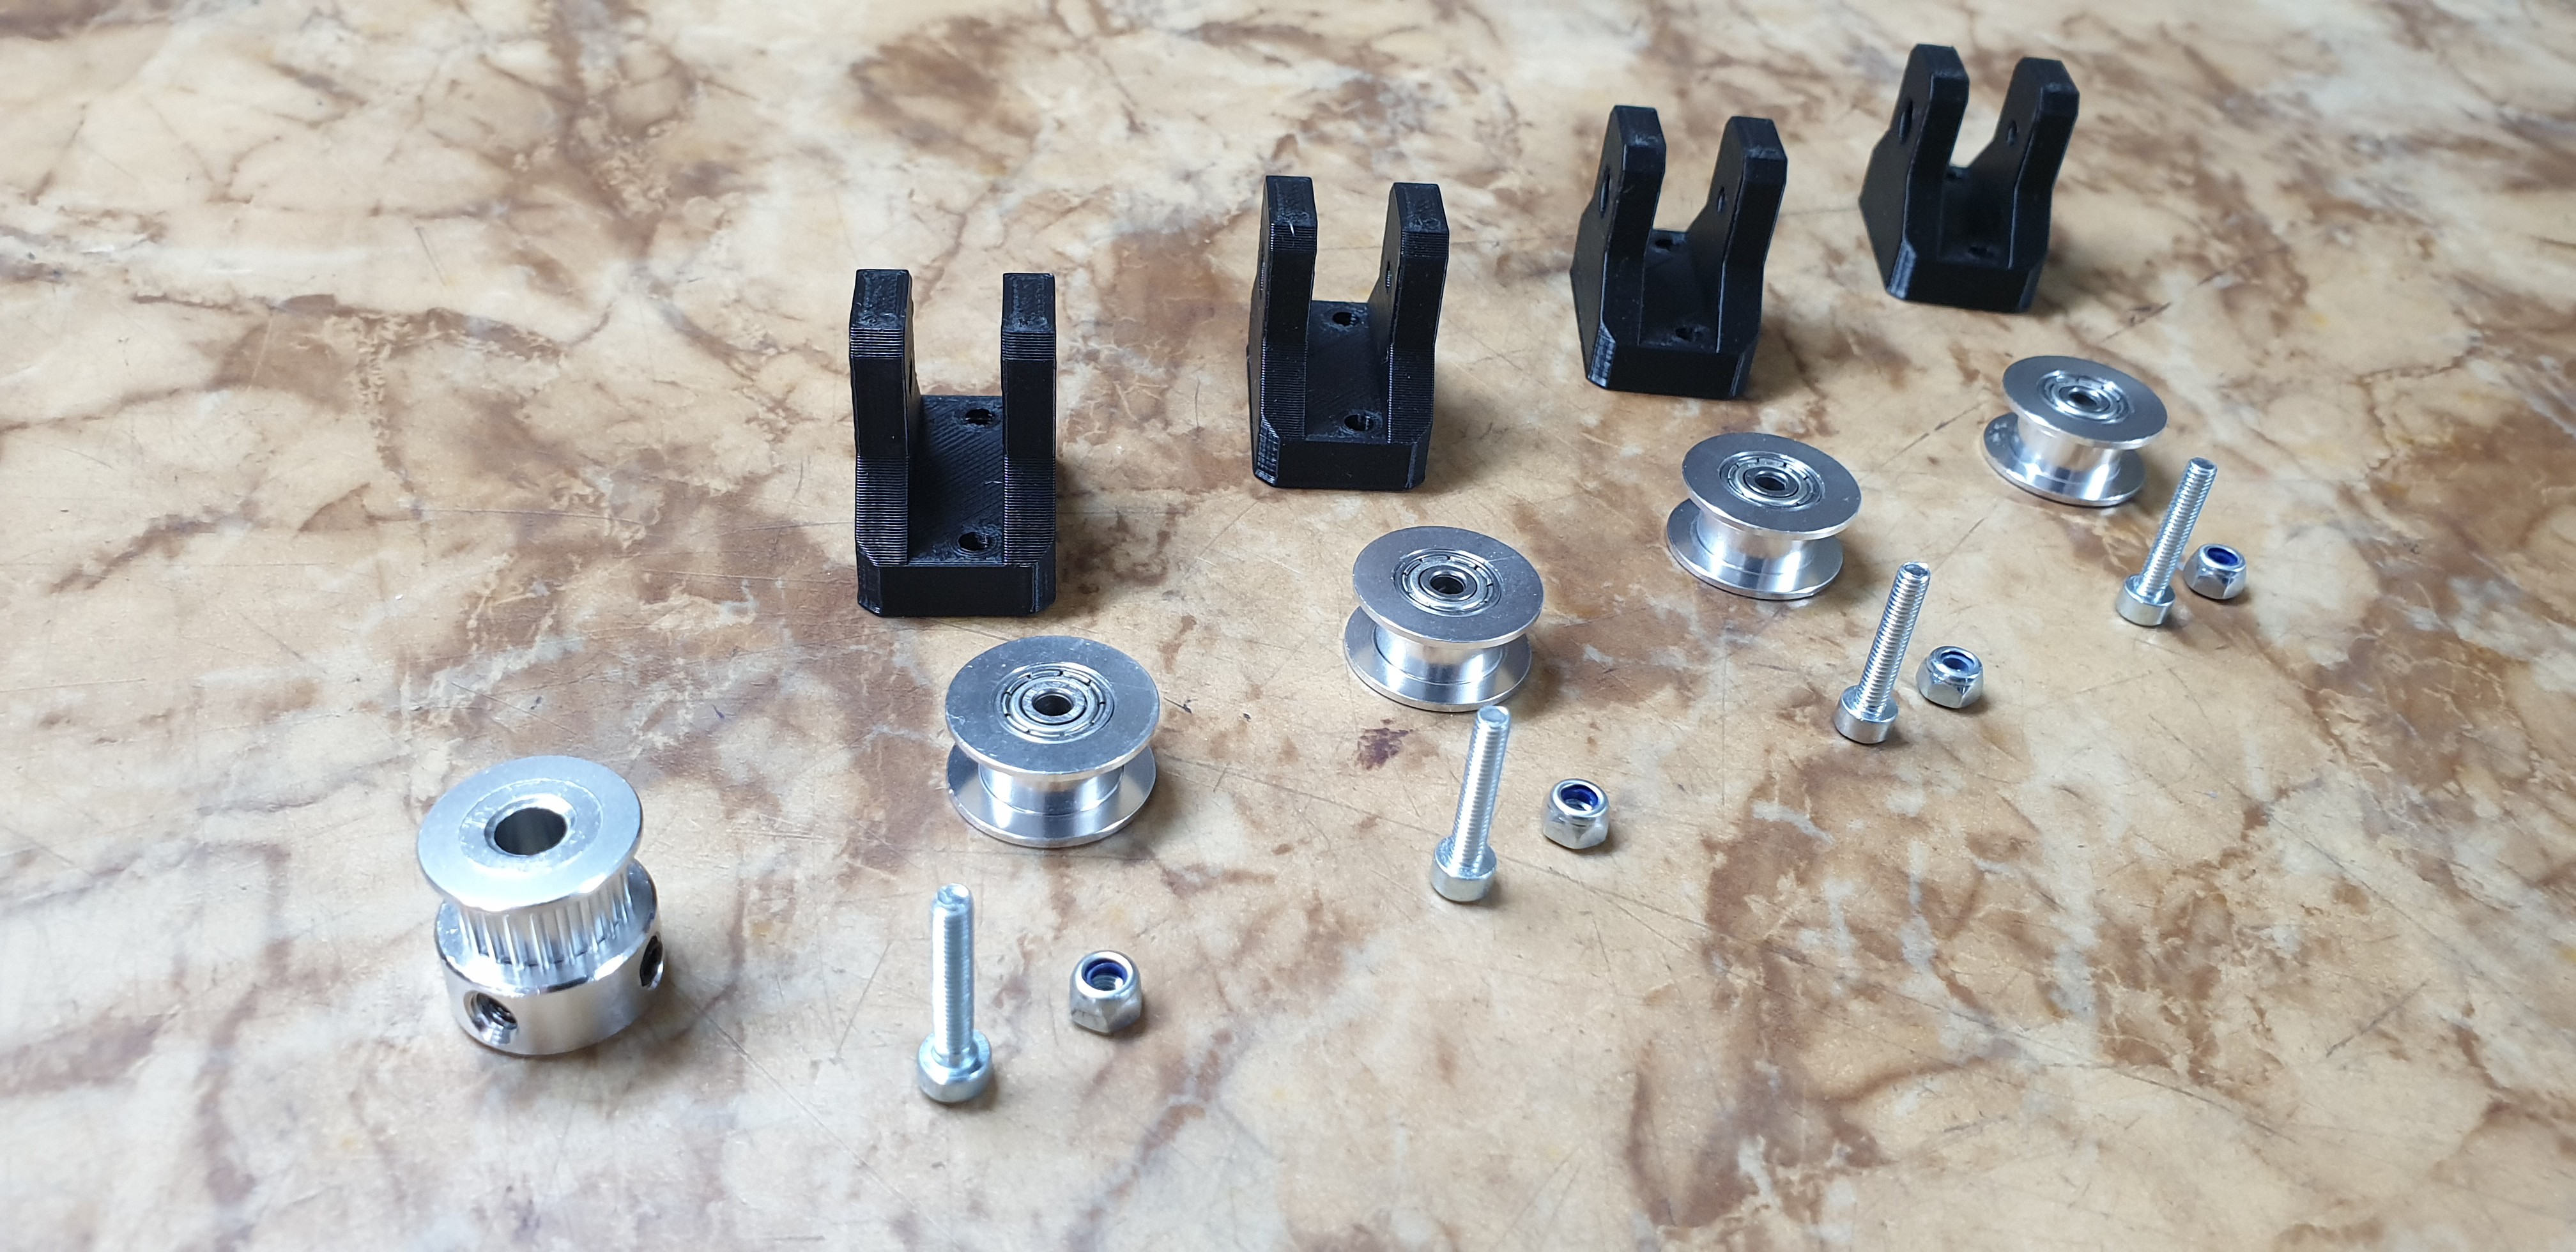
04/27/2022 at 18:15 • 0 commentsI moved on a bit with the recoater remake. I have printed out and fine-tuned all parts I will need - the blade holders and pulley holders. I made it from the ASA so hopefully it will be able to withstand the high temperatures (if not then it will be CNC machined). ASA is more temp resistant (temps just below 100°C are OK) than ABS and more rigid. Good thing is that it also prints easier than ABS.
![]()
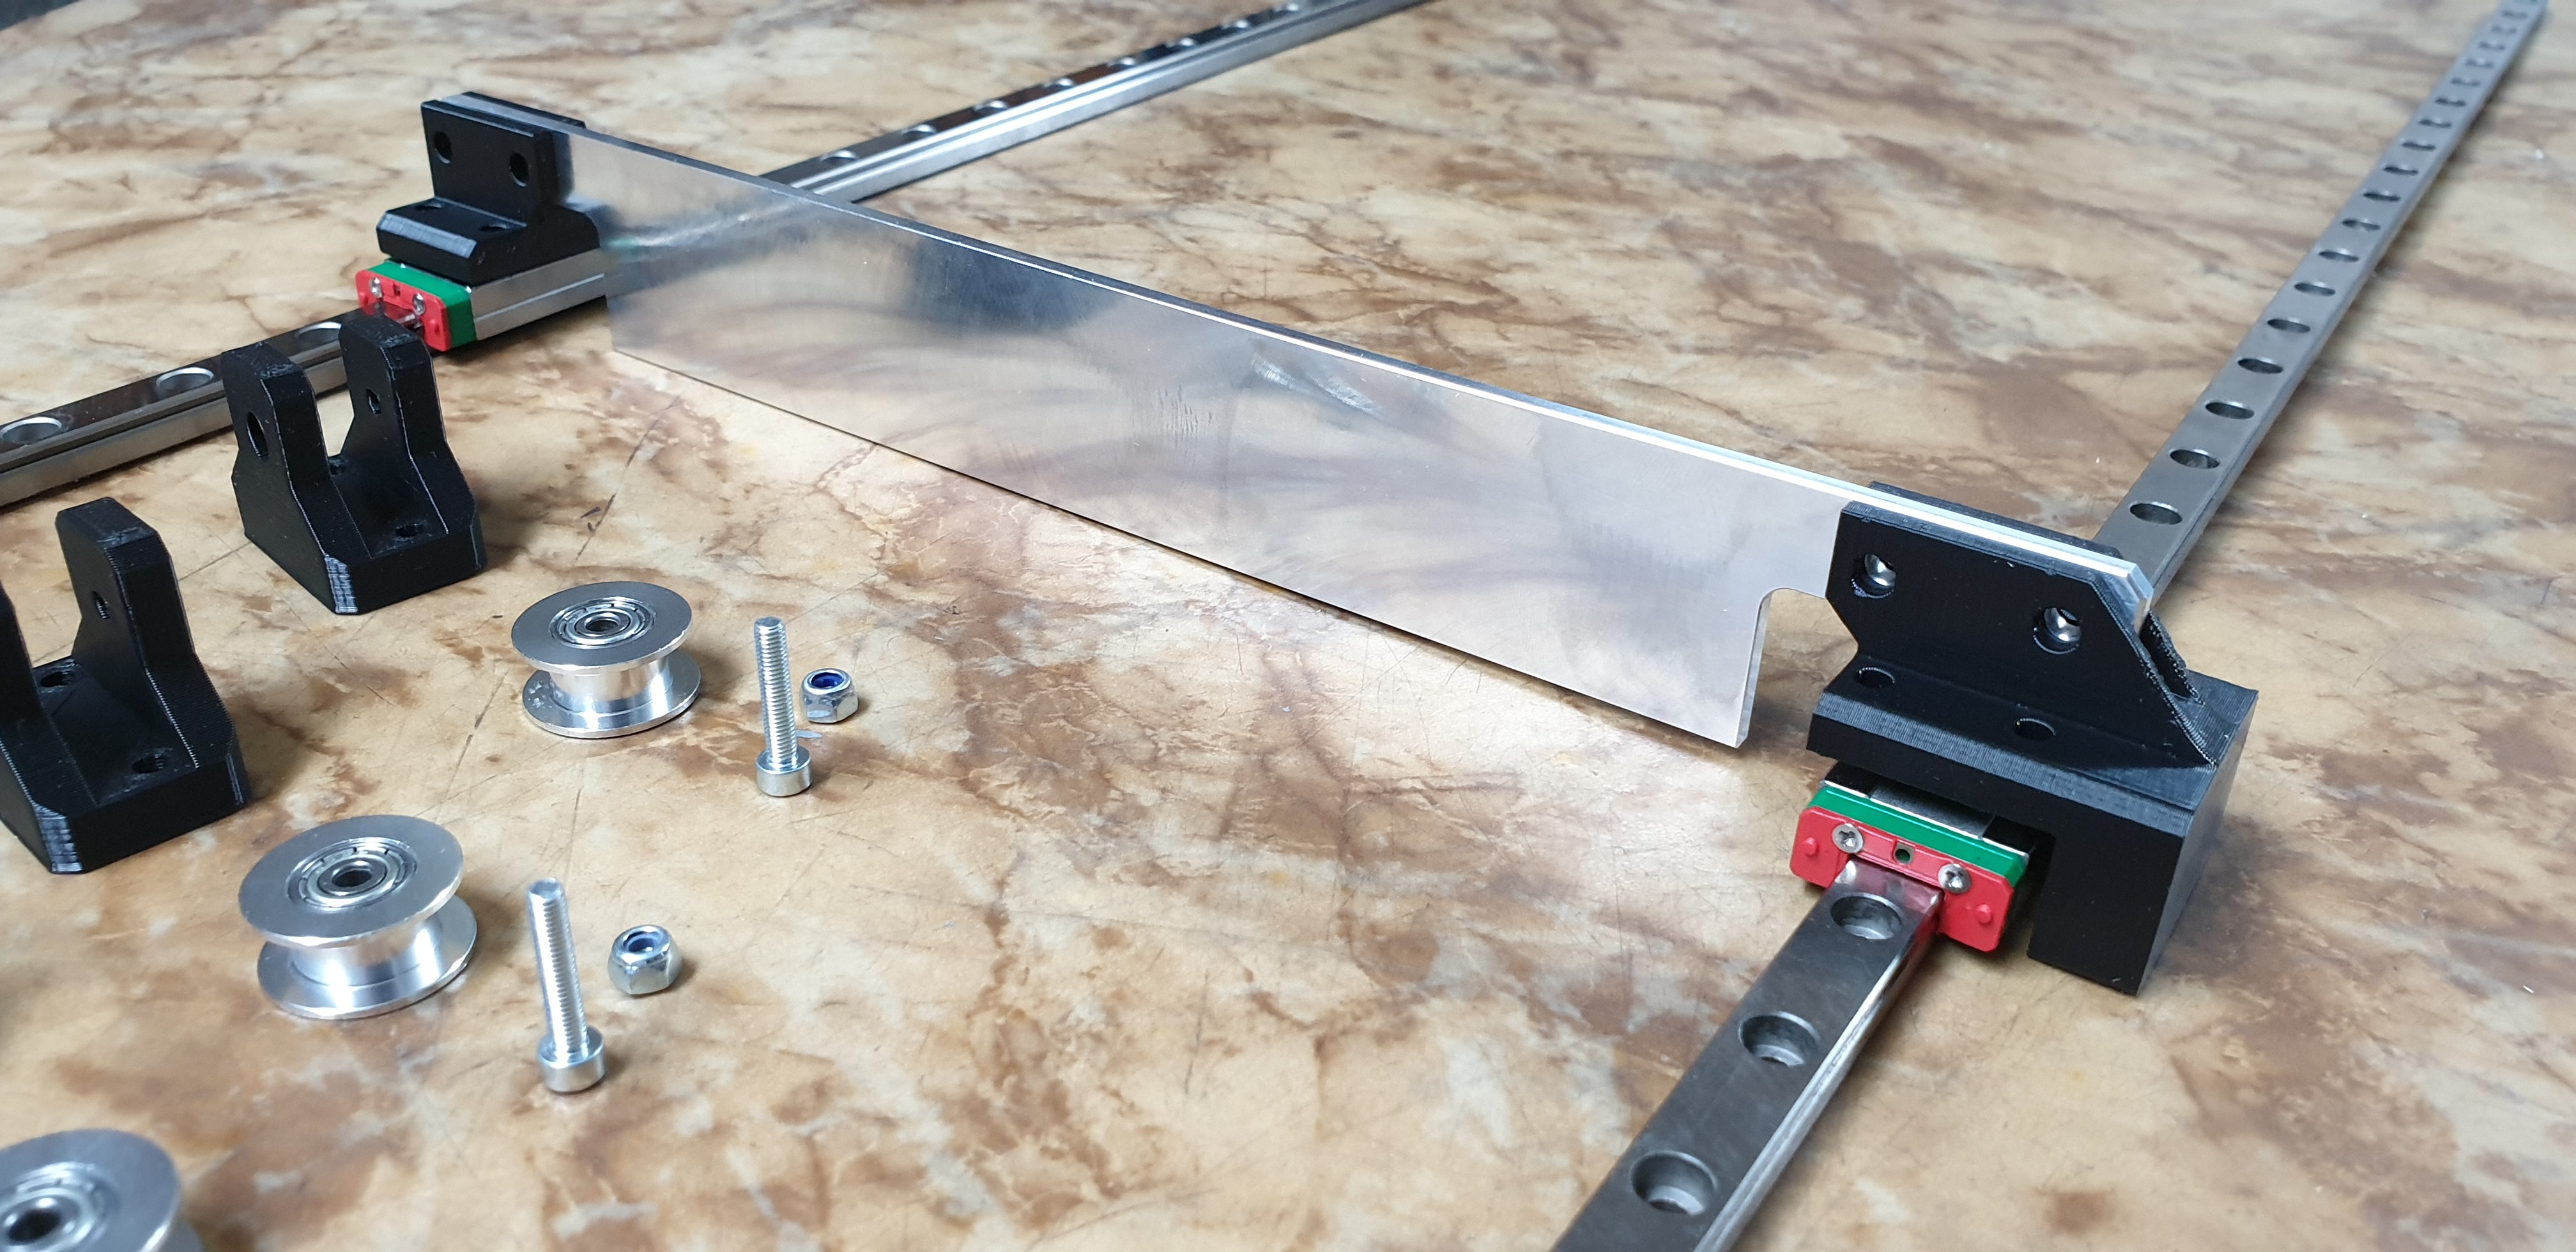
Blade itself is ready as well - CNC machined from aluminum, as planned. Linear rails are just perfect.
![]()
I will mount everything into the printer in coming days.
-
Recoater Redesign: Blade Insted of Roller
04/21/2022 at 12:55 • 0 commentsAs written on my blog and meant here before have been still facing some troubles with the recoater. Therefore, I decided, even I really didn't want to, to change its design.
Main problems are with the roller part. Unfortunately, I have made its diameter of 38mm, which implies high rotating speeds and causes layer shifts. I spent some time to come up with the solution how to incorporate roller with smaller diameter into the current printer design. But due to space constrains it's not easily possible.
Another issue is that once the roller, being from PTFE, starts to warm up, it starts to deform a bit due to nonsymmetrical heating of it. I eliminated this by "grilling" the roller during the printer heat up, but I cannot be sure that it is perfectly circular and concentric with the axels. As we are speaking about the hundredths of millimeter which plays a role, it is a problem.
It is not all. Last problem is related to smooth rods which are approx. 550mm long. I thought it will be OK without support, but it is not. And again, you cannot ensure layer thickness precision which is needed.
Here are intended changes:
1) Replace smooth rods with the linear guides
2) Change the recoater from roller to blade. I will come back to the roller in v2.
3) Change the drive train, to be able to worh not only with the steel rope but also to test special heat resistant GT2 belts.
4) Change the cover of linear technics parts to be comfortably accessible for maintenance.
I have proposed this design:
![]()
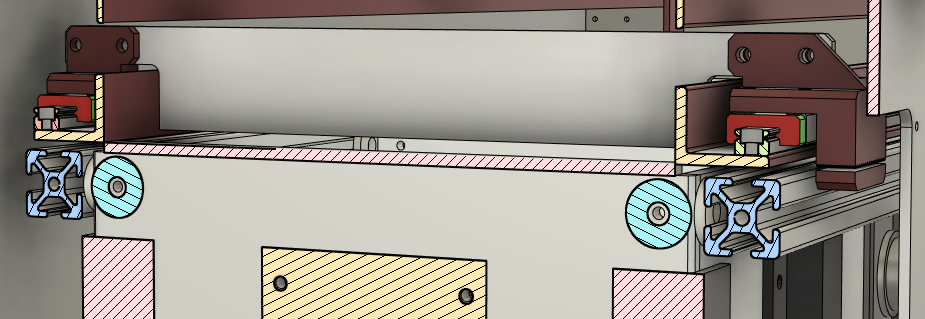
It consists of MGN9R rails with the MGN9H trolleys. Aluminum wiper will have precisely flat bottom (will be CNC machined). I read research papers related to the blade shape and I was really surprised that flat bottom is better than symmetric, asymmetric or rounded. But it has some logic.
You can see the design in deep detail here: https://sls4all.com/fusion360-model/
I would like to rebuild printer in this way in two weeks or so. Hopefully, it will work as intended. There is one thing which makes me worried - I can't pull the trolley exactly on the axis direction of the rail... will see.
I expect from this change to be able to focus on the sintering parameters and be sure that there is one layer like each other.
-
First Real Test: Search for PA12 print profile parameters
04/19/2022 at 13:20 • 0 commentsI did my first sintering test past weekend. Goal was to start tests of the sintering parameters (laser power, scanning speed, hatching distance, layer thickness, temperatures...) to find best setup for PA12 powder I am using.
Test objects
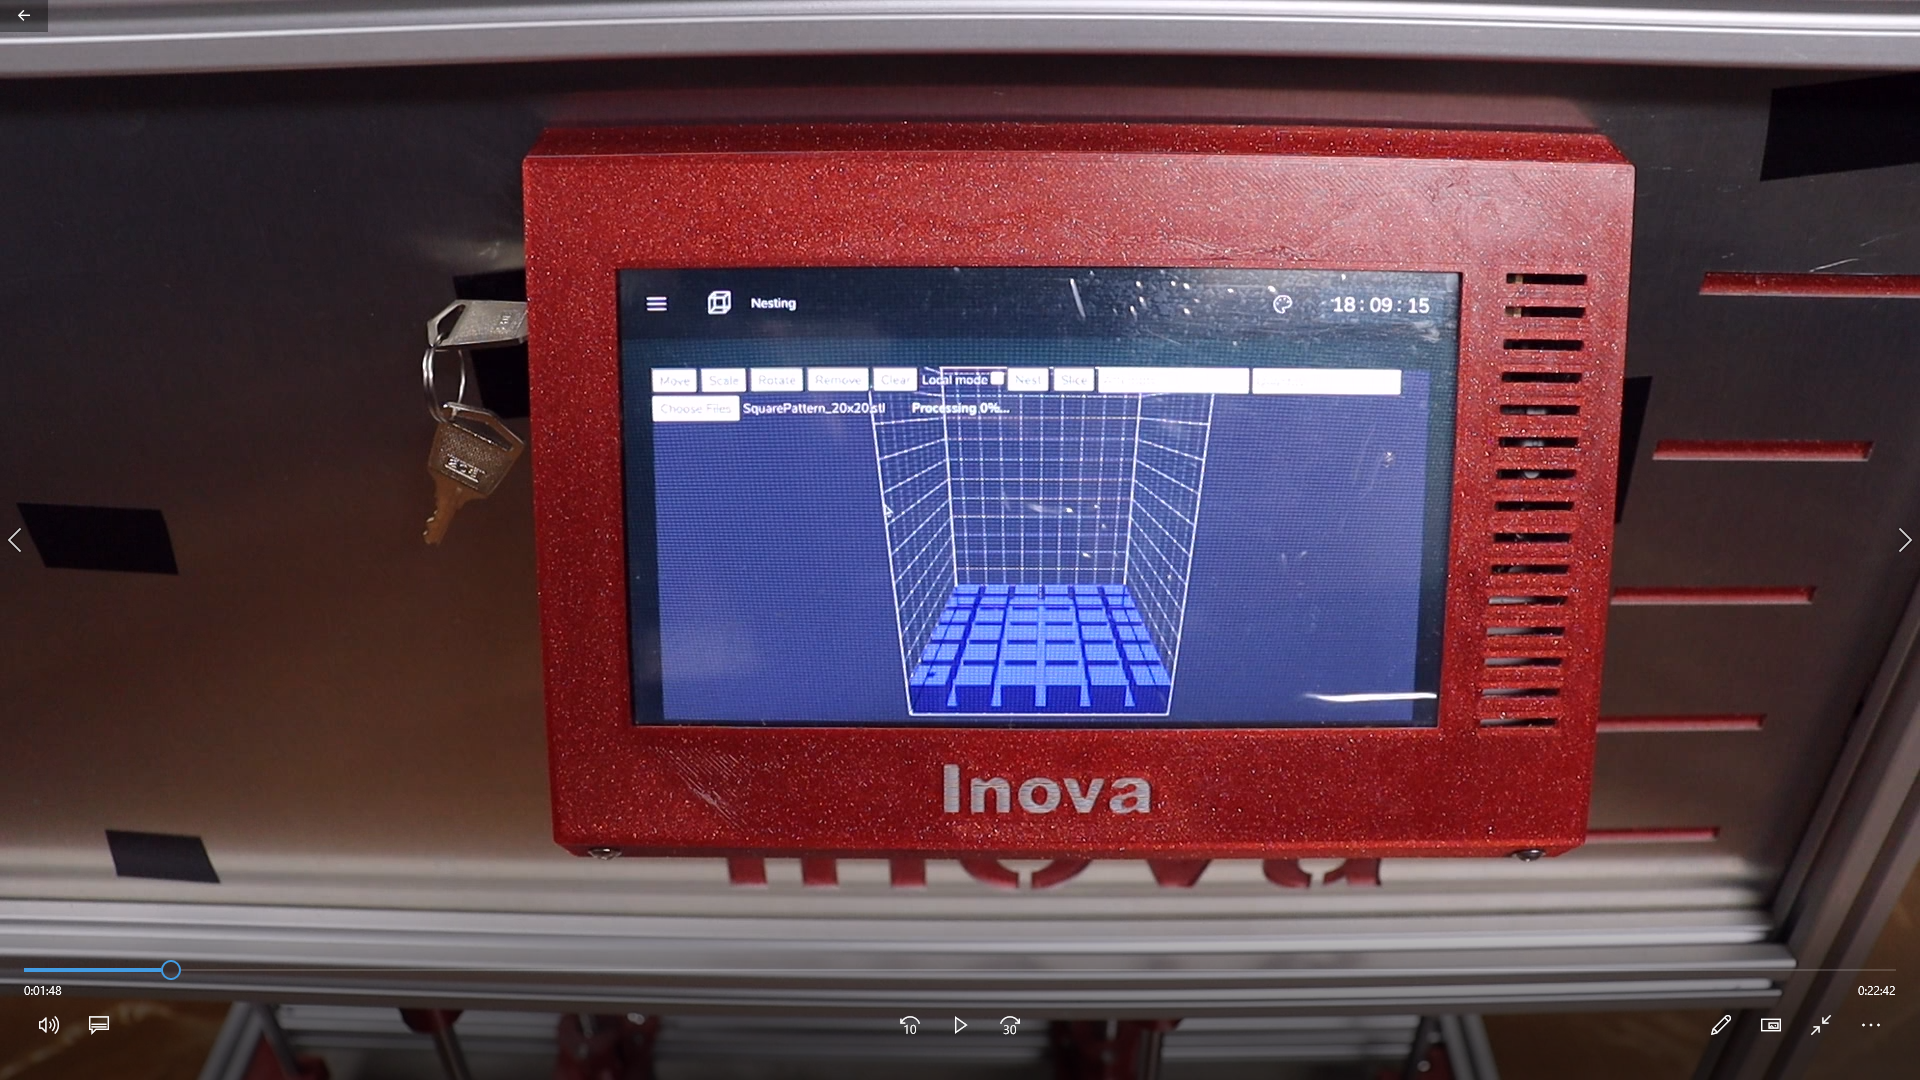
- Rectangular pattern of squares/cubes 20x20 mm across whole bed size.
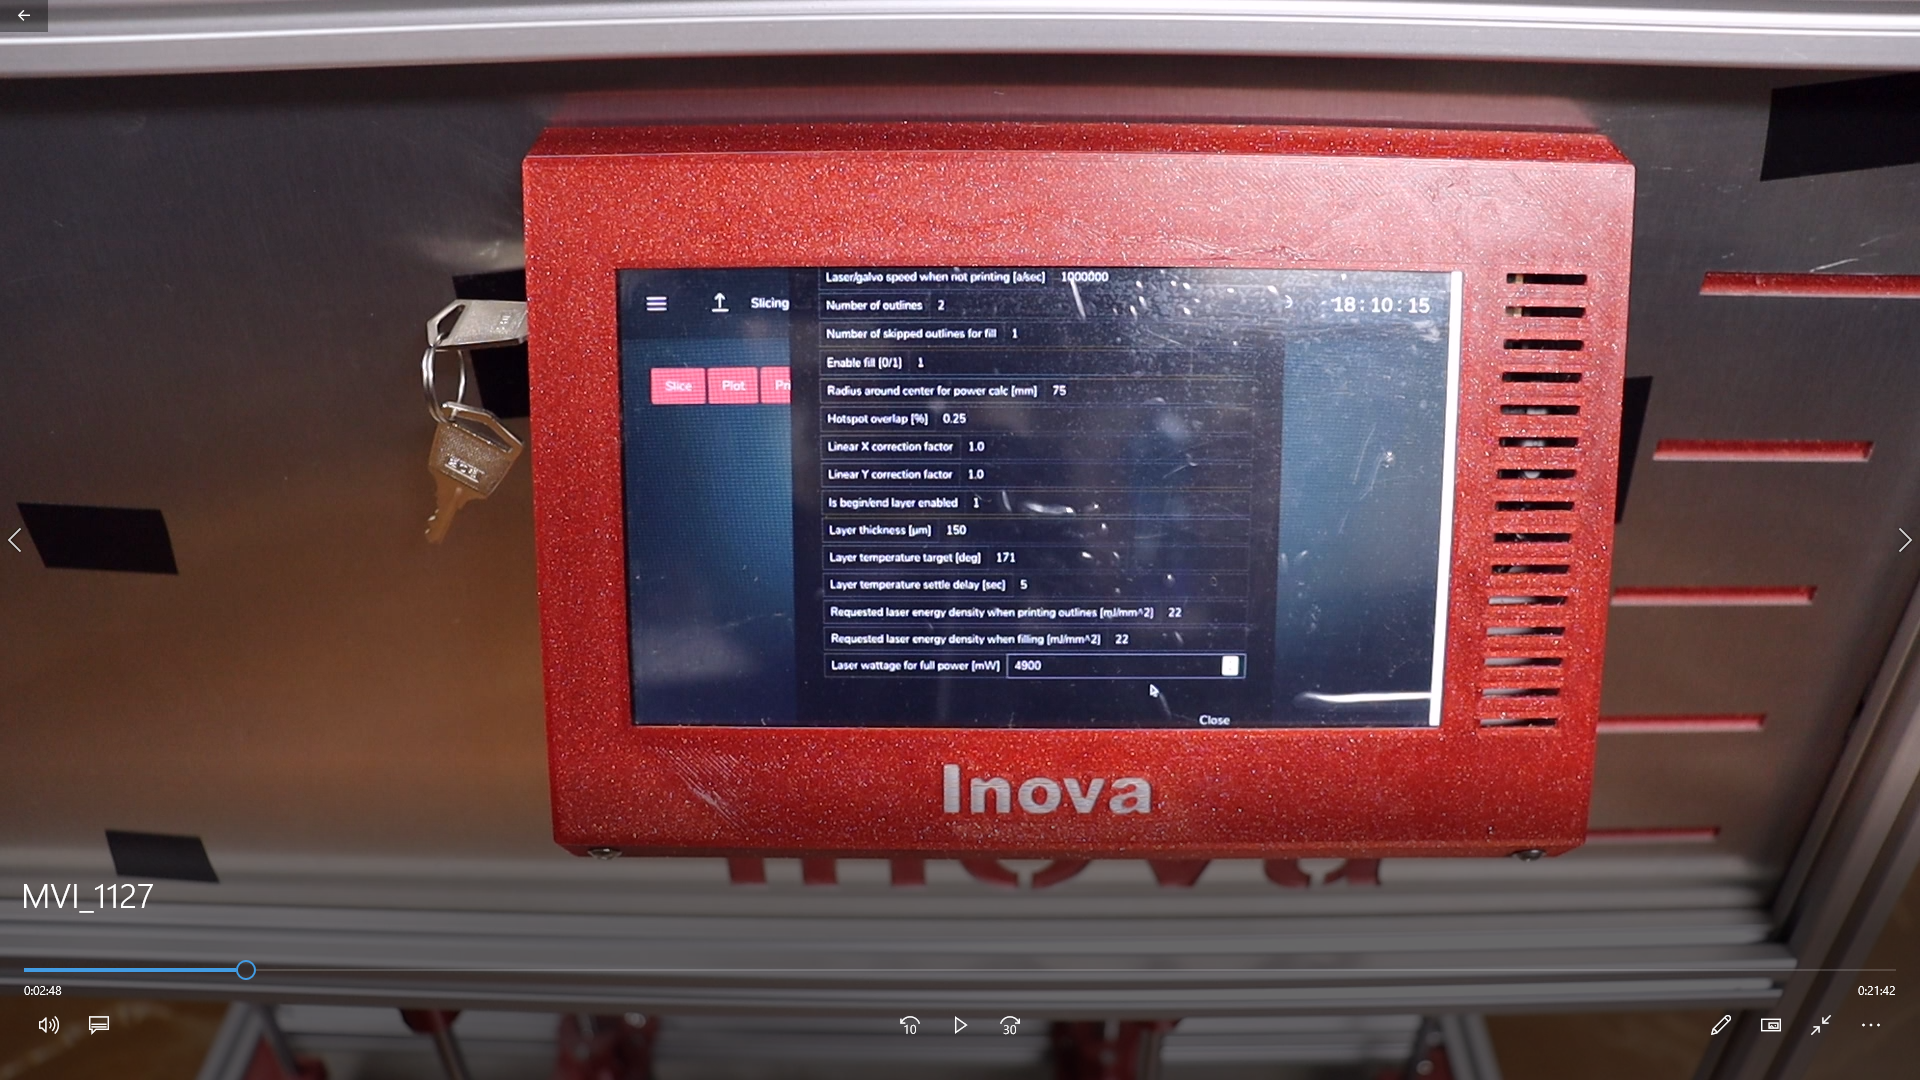
Key parameters of the test
- Printer preheat: 1:20 min to 145°C
- Surface temp: 171°C
- Layer thickness: 0,15mm
- Laser power: 4900mW
- Laser spot size: approx: 0,25mm
- Energy density: 22 mJ/mm2
- Nr. of outlines: 2
- Hatching overlap: 25%
Bed preparation
- Surface temp: 160°C
- Nr. of layers for bed preparation: 30 (it will be higher during parts printings)
Cooling procedure
- Controlled cooling was not set. Printer was opened a few minutes after the printing had finished (reason why is below) During part printings will be controlled cooling function set to 0,5-1°C/min. (upraveno)
A few pictures from the testing
1. Nesting of test object
![]()
2. Print parameters setup
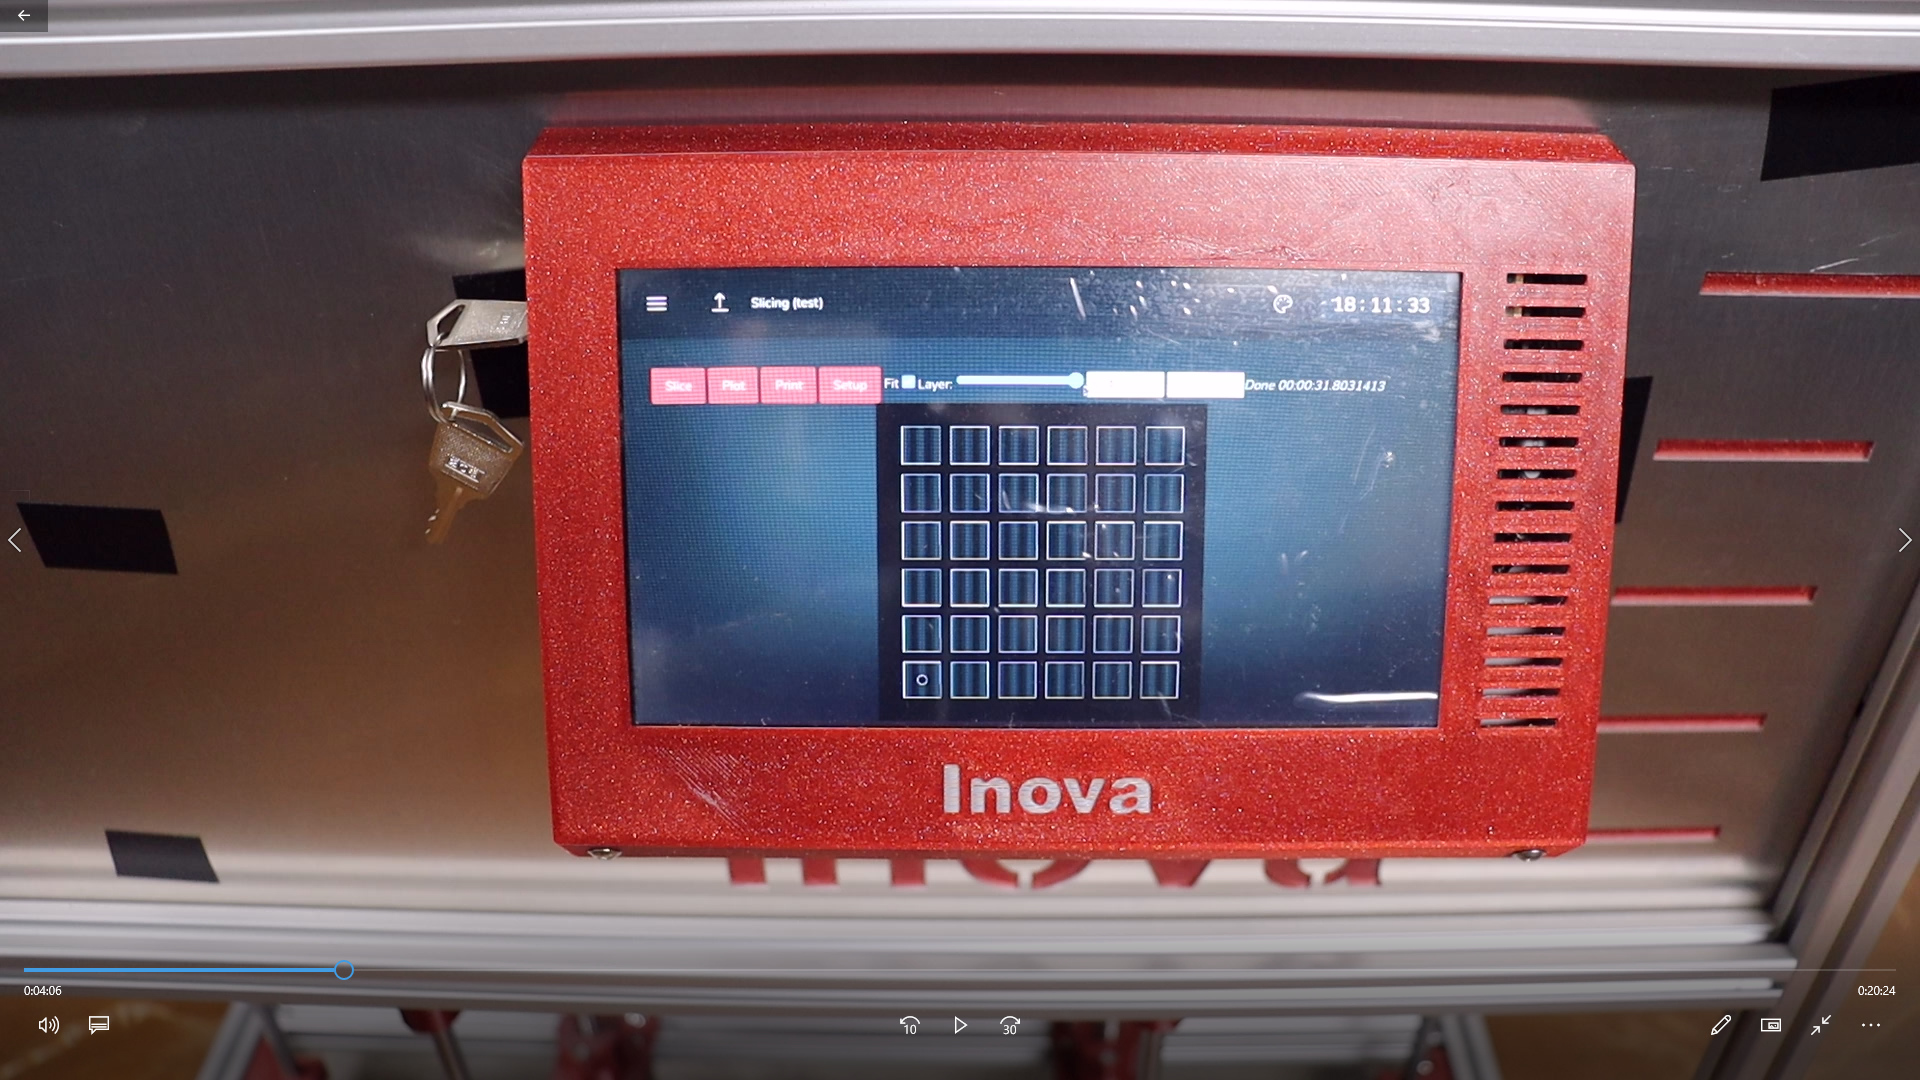
![]() 3. Sliced test object
3. Sliced test object![]()
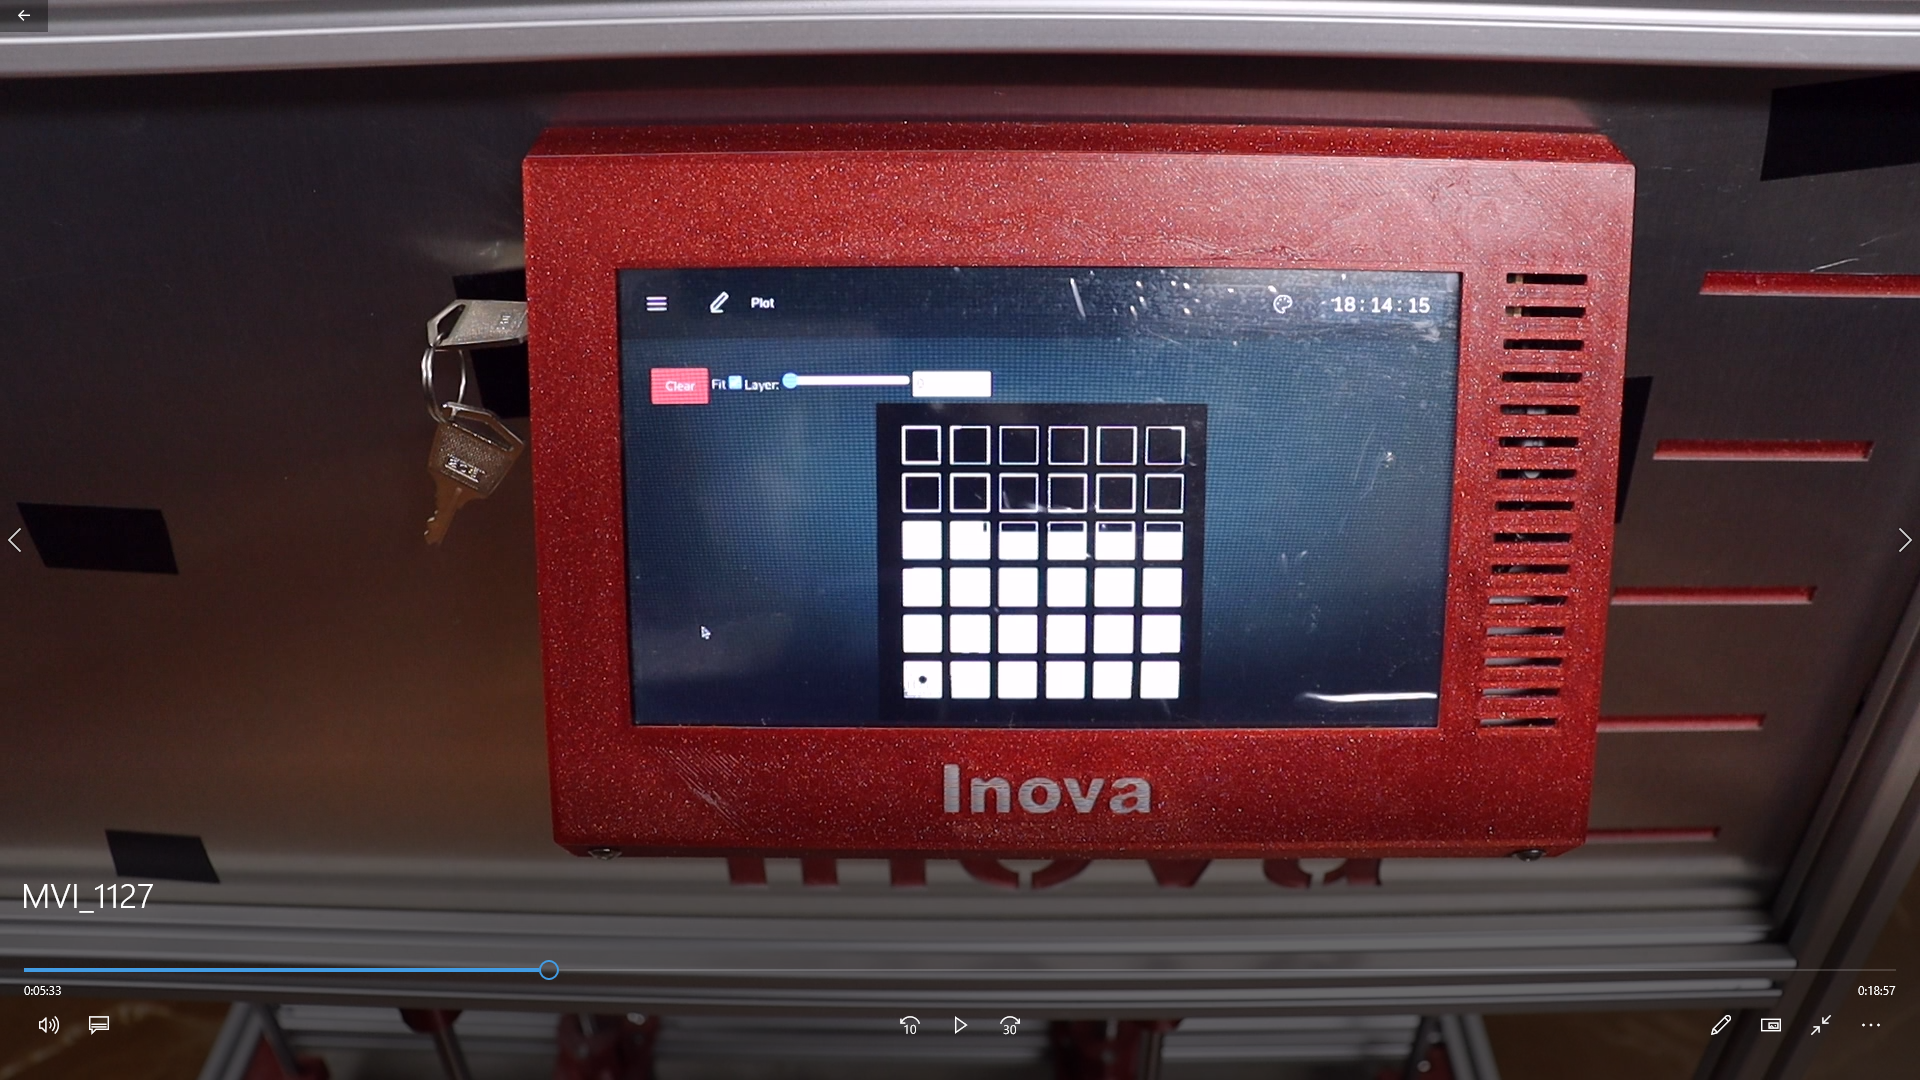
4. Plot feature of the laser scanning process
![]()
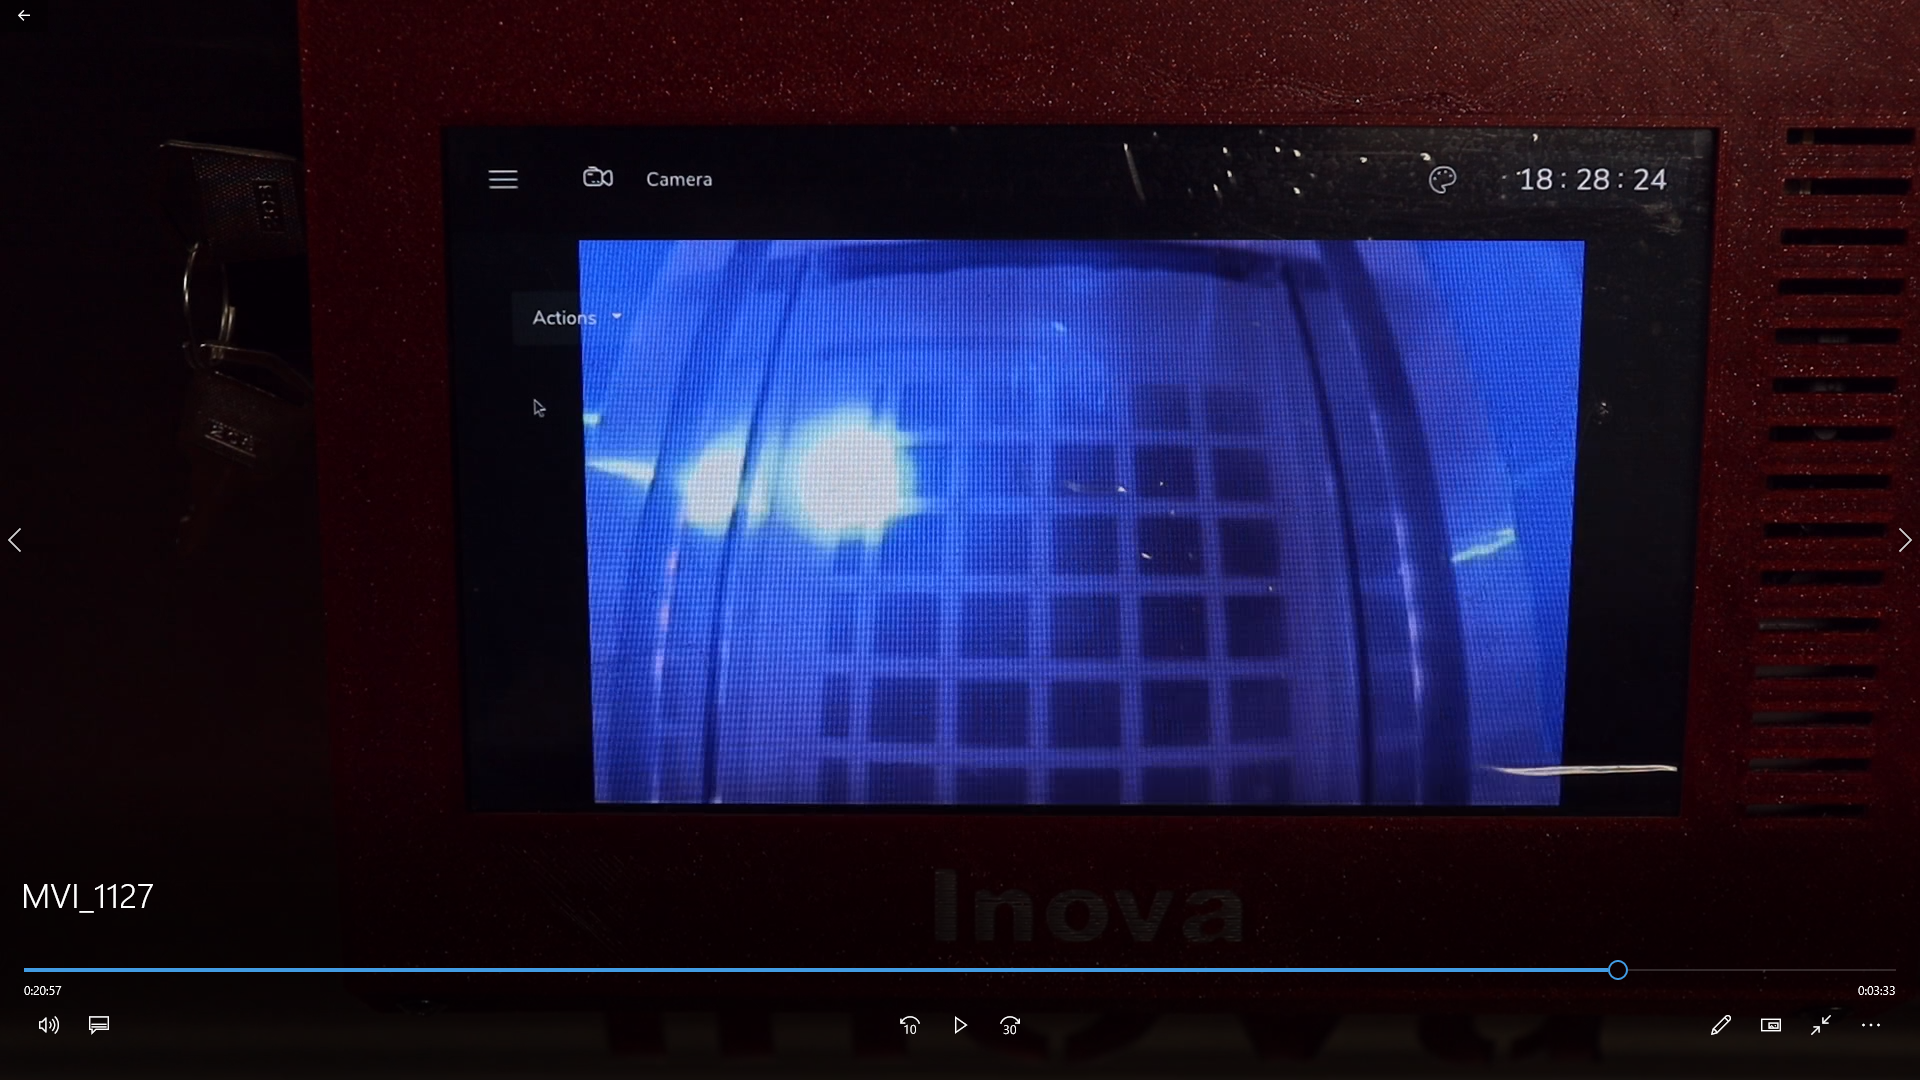
5. Printing/Sintering of the test object
![]()
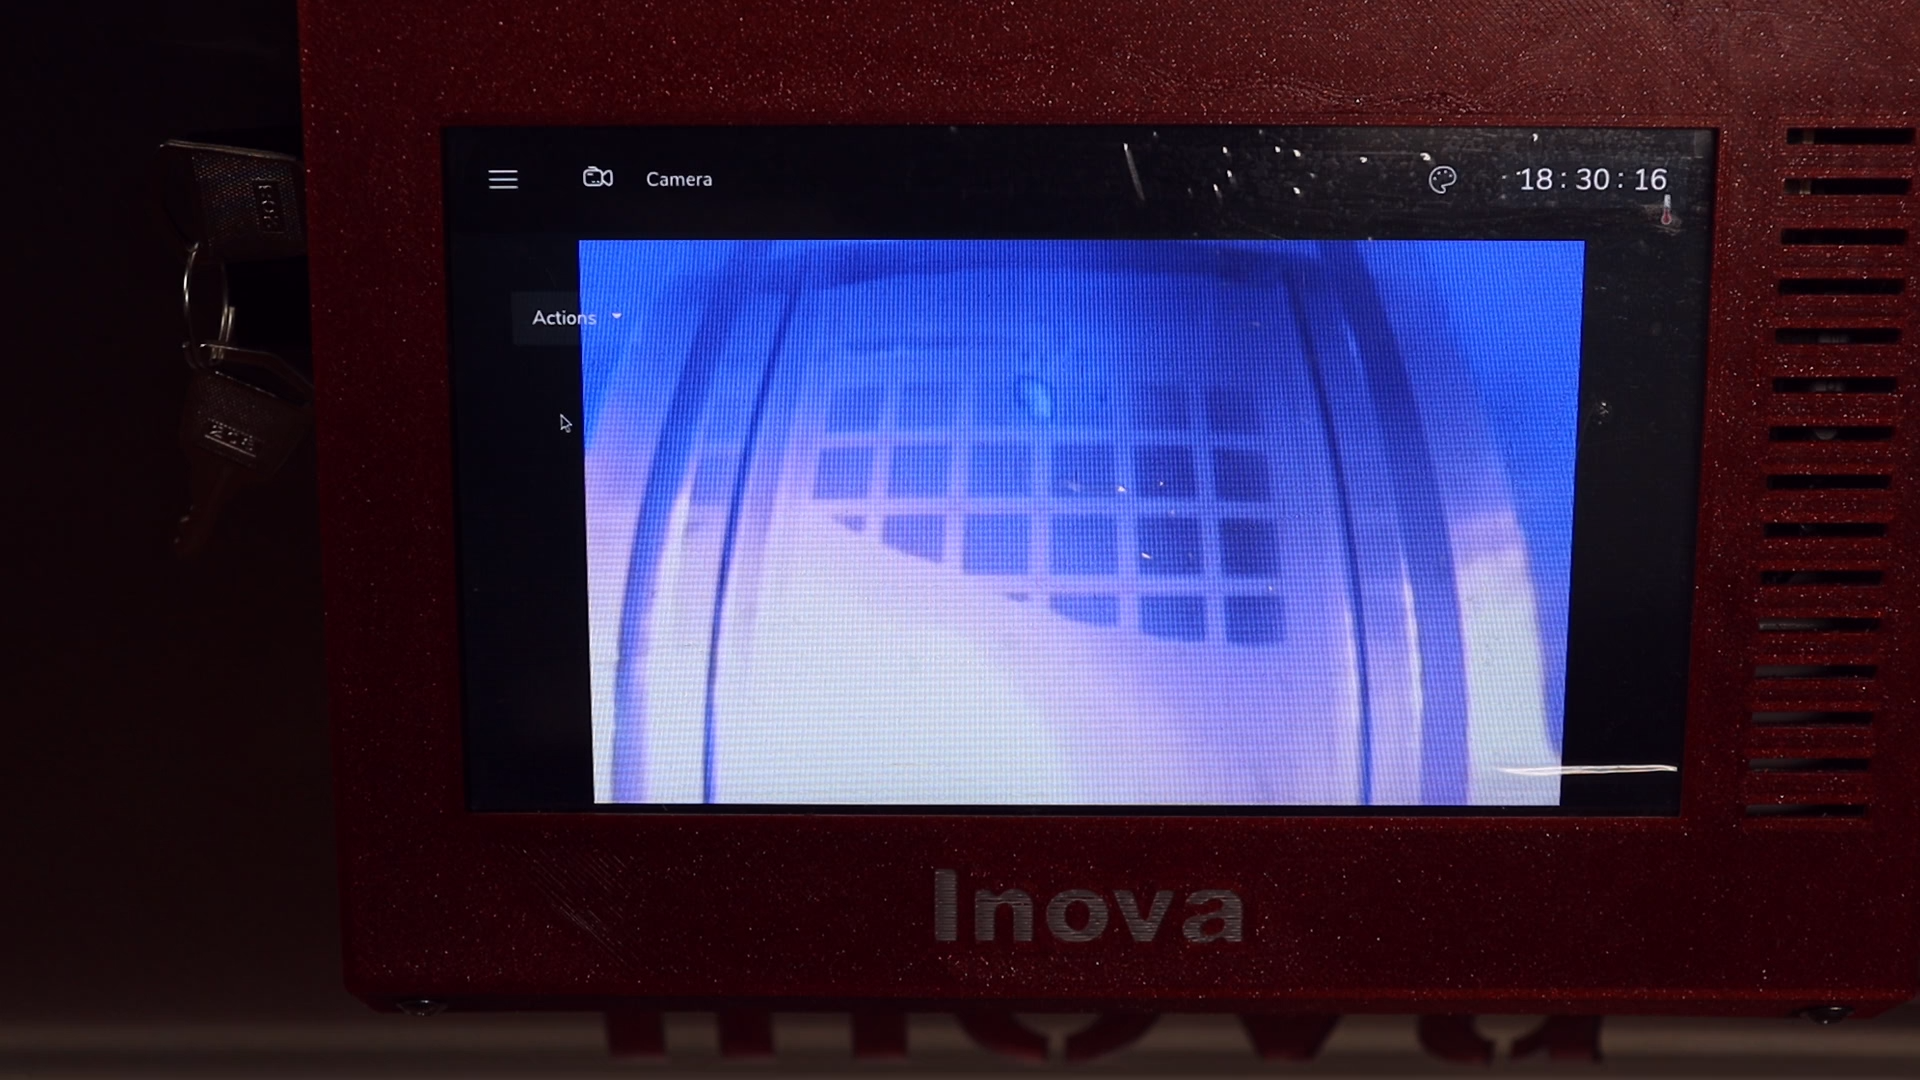
Until now it was just WOW ... but than it went wrong ... Recoater failed to complete next layer.
![]()
Reason was that I used wrong ratio of the volume change after sintering. Therefore, the next layer has not enough powder. But that is minor issue - just SW setup.
From now on, I will calculate it dynamicaly for each layer based on the sintered surface area.
So, the first sintering test results:
- Amount of fresh powder was not OK for such a huge sintered area.
- Surface temperature was a bit low. The print cake was not at expected structure.
- Sintering in XY axis was relatively OK - for the first attempt. I will set up the hatching overlap to 30% next time.
- Sintering in Z axis was poor/undersintered. I made mistake in setting the energy density. Based on this number scanning speeds are changed dynamically across print bed. It is based on the laser spot size change due to its defocus. I set it for 22mJ/mm2 but it was my base point for 0,1mm layer thickess not for 0,15mm :-(
- After deep look at the sintered squares, it was possible to see big layer shifts. I am persuaded it is caused by the big speed of roller surface rotation. It is the real problem because I can't to significantly change it easily. It is an mechanical design issue I didn't count with. I can decrease it by say 30% in Klipper but it will not be enough. As I am facing also other mechanical issues with recoater I really think of major changes even it is complicating my life. I will let you know soon.
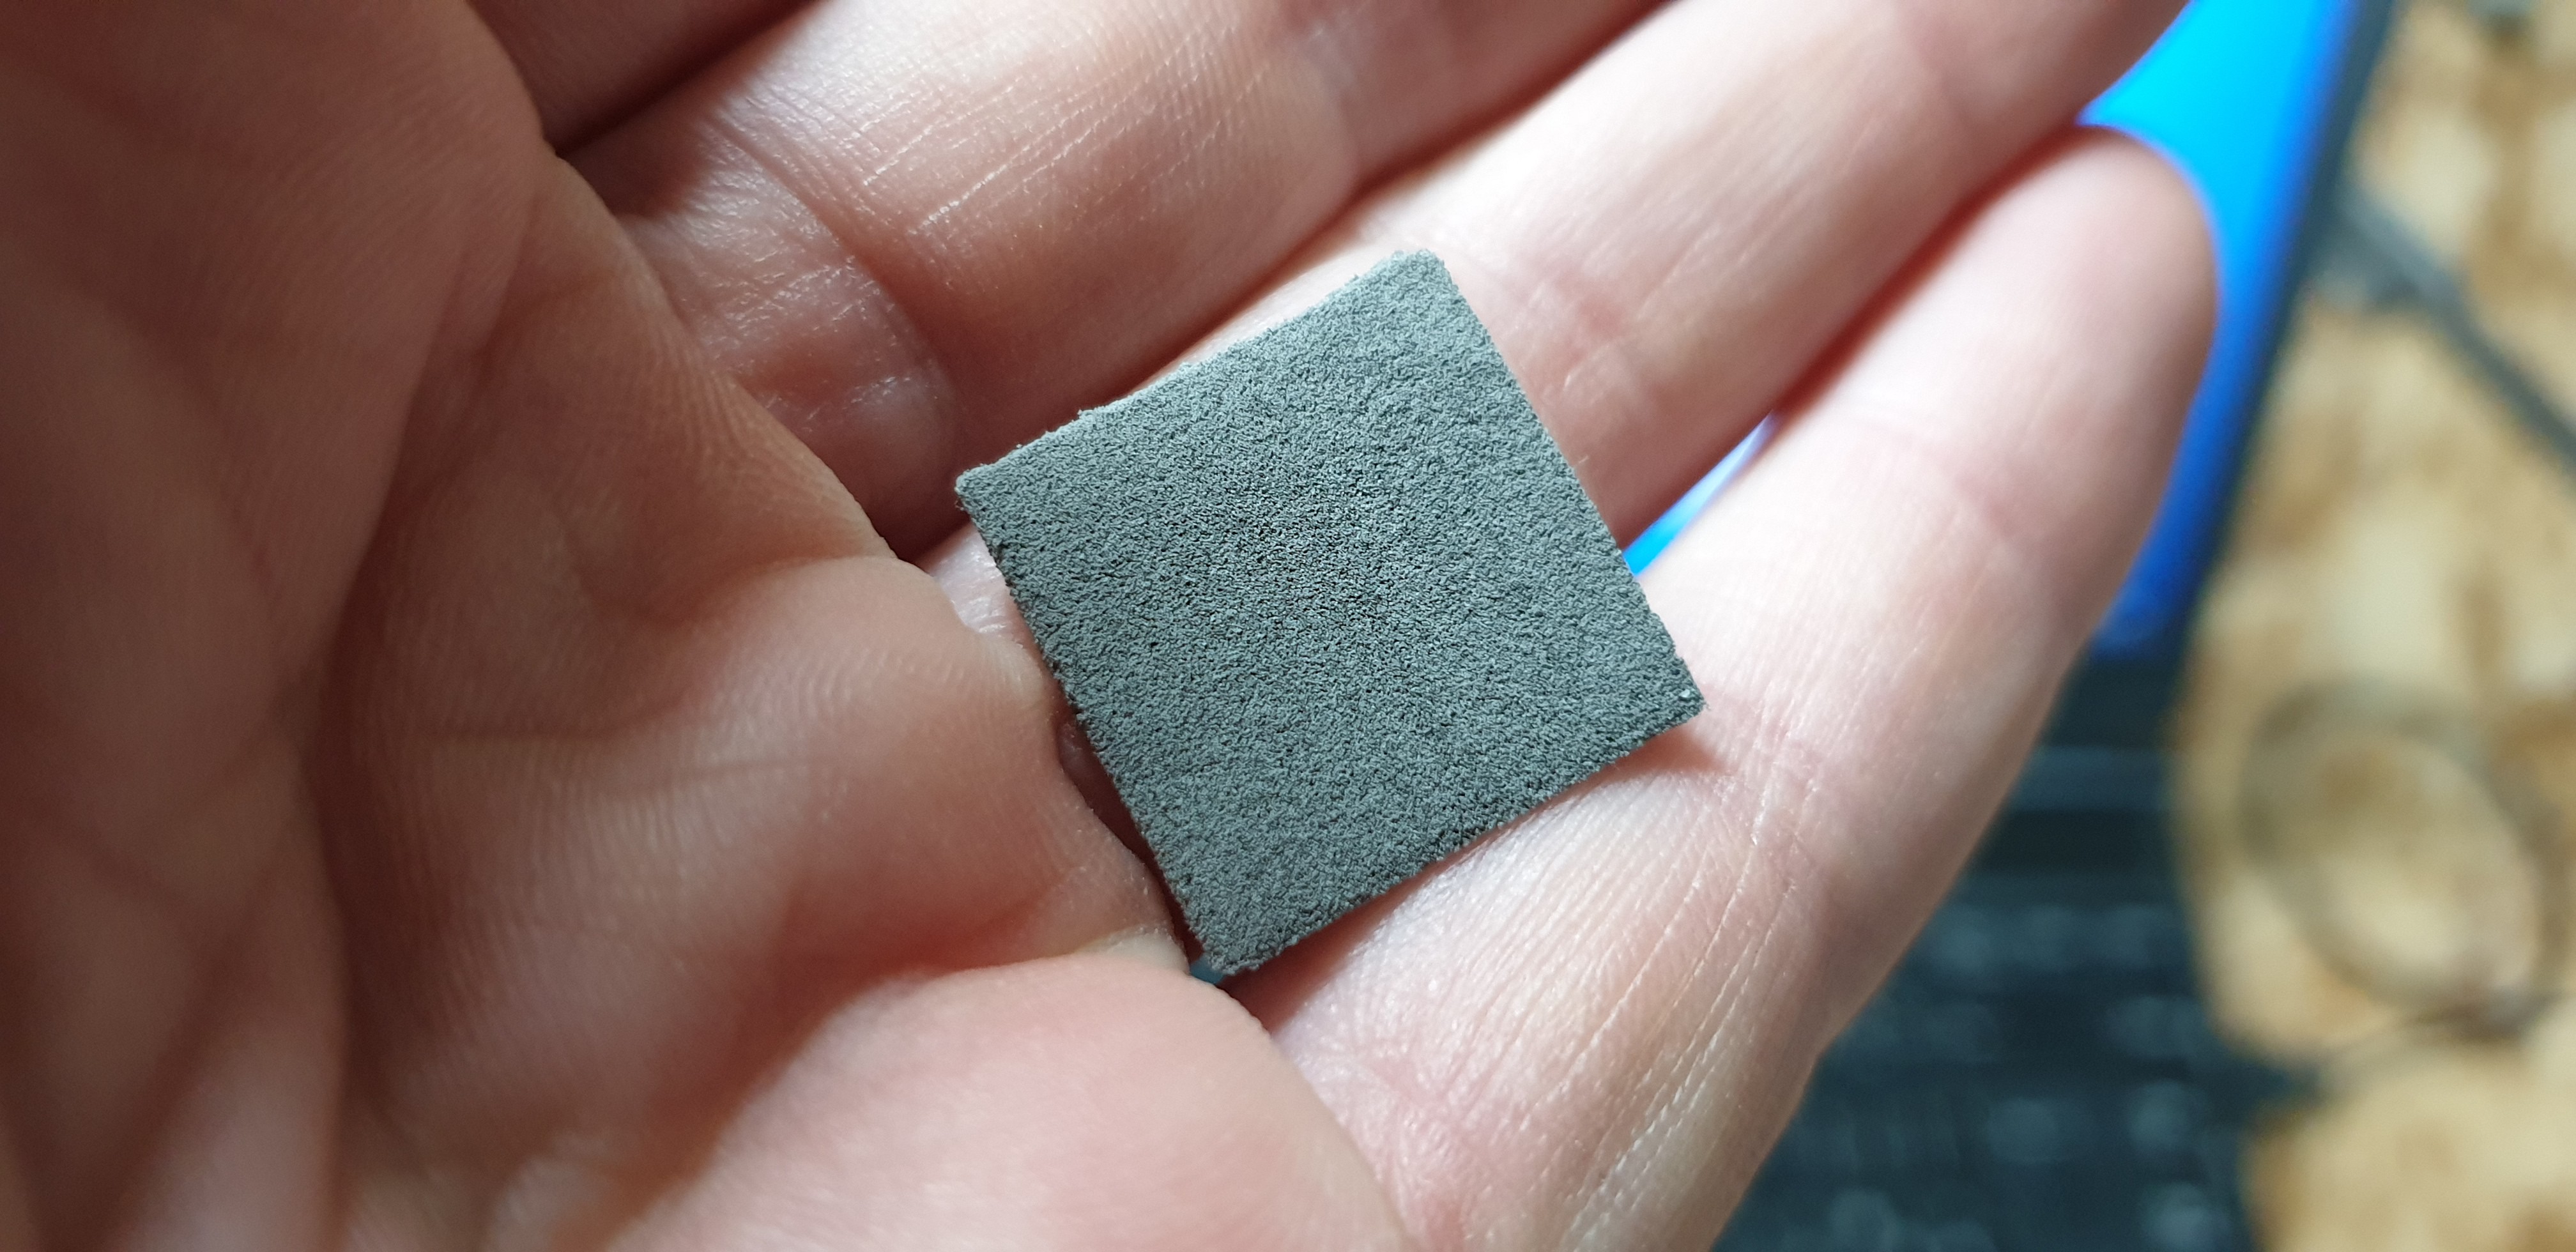
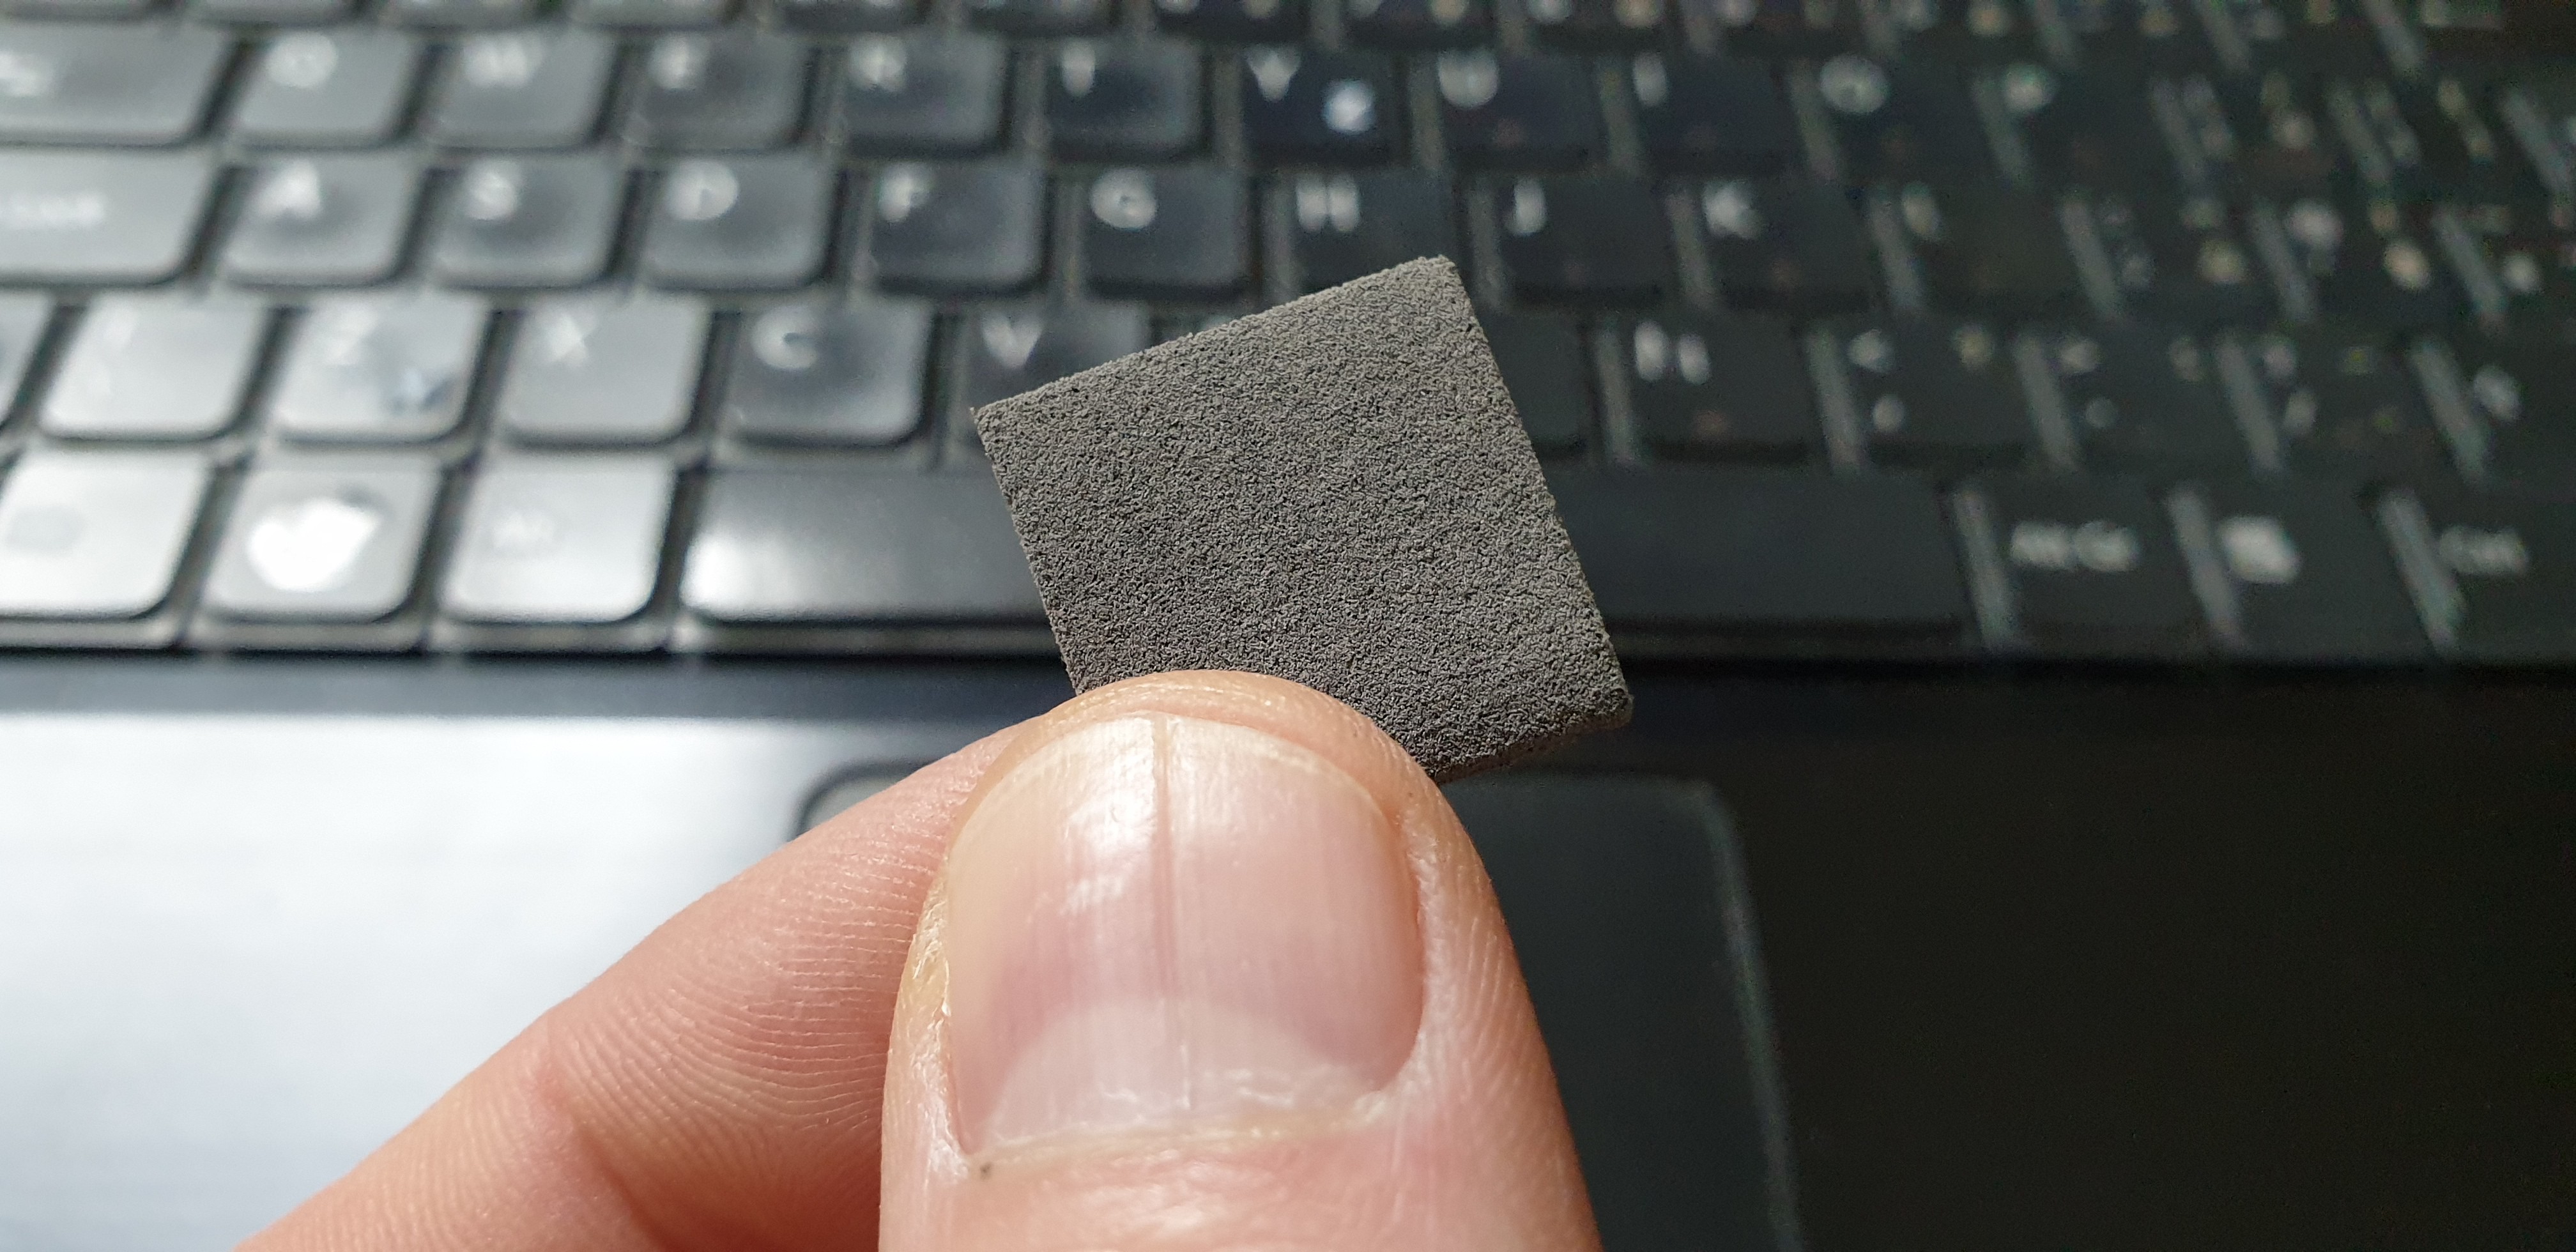
Here is one of printed squares. This one was placed in the bed area where was recoater able to wipe more than one layer. These are I think 3 or 4 here. It is warped a bit because of really really quick cooling.
![]()
-
![]()
So, this is my base point for further tests. I hope to see first Benchy before I will be in my 60's :-)
-
Heat insulation improvements & Halogen shields
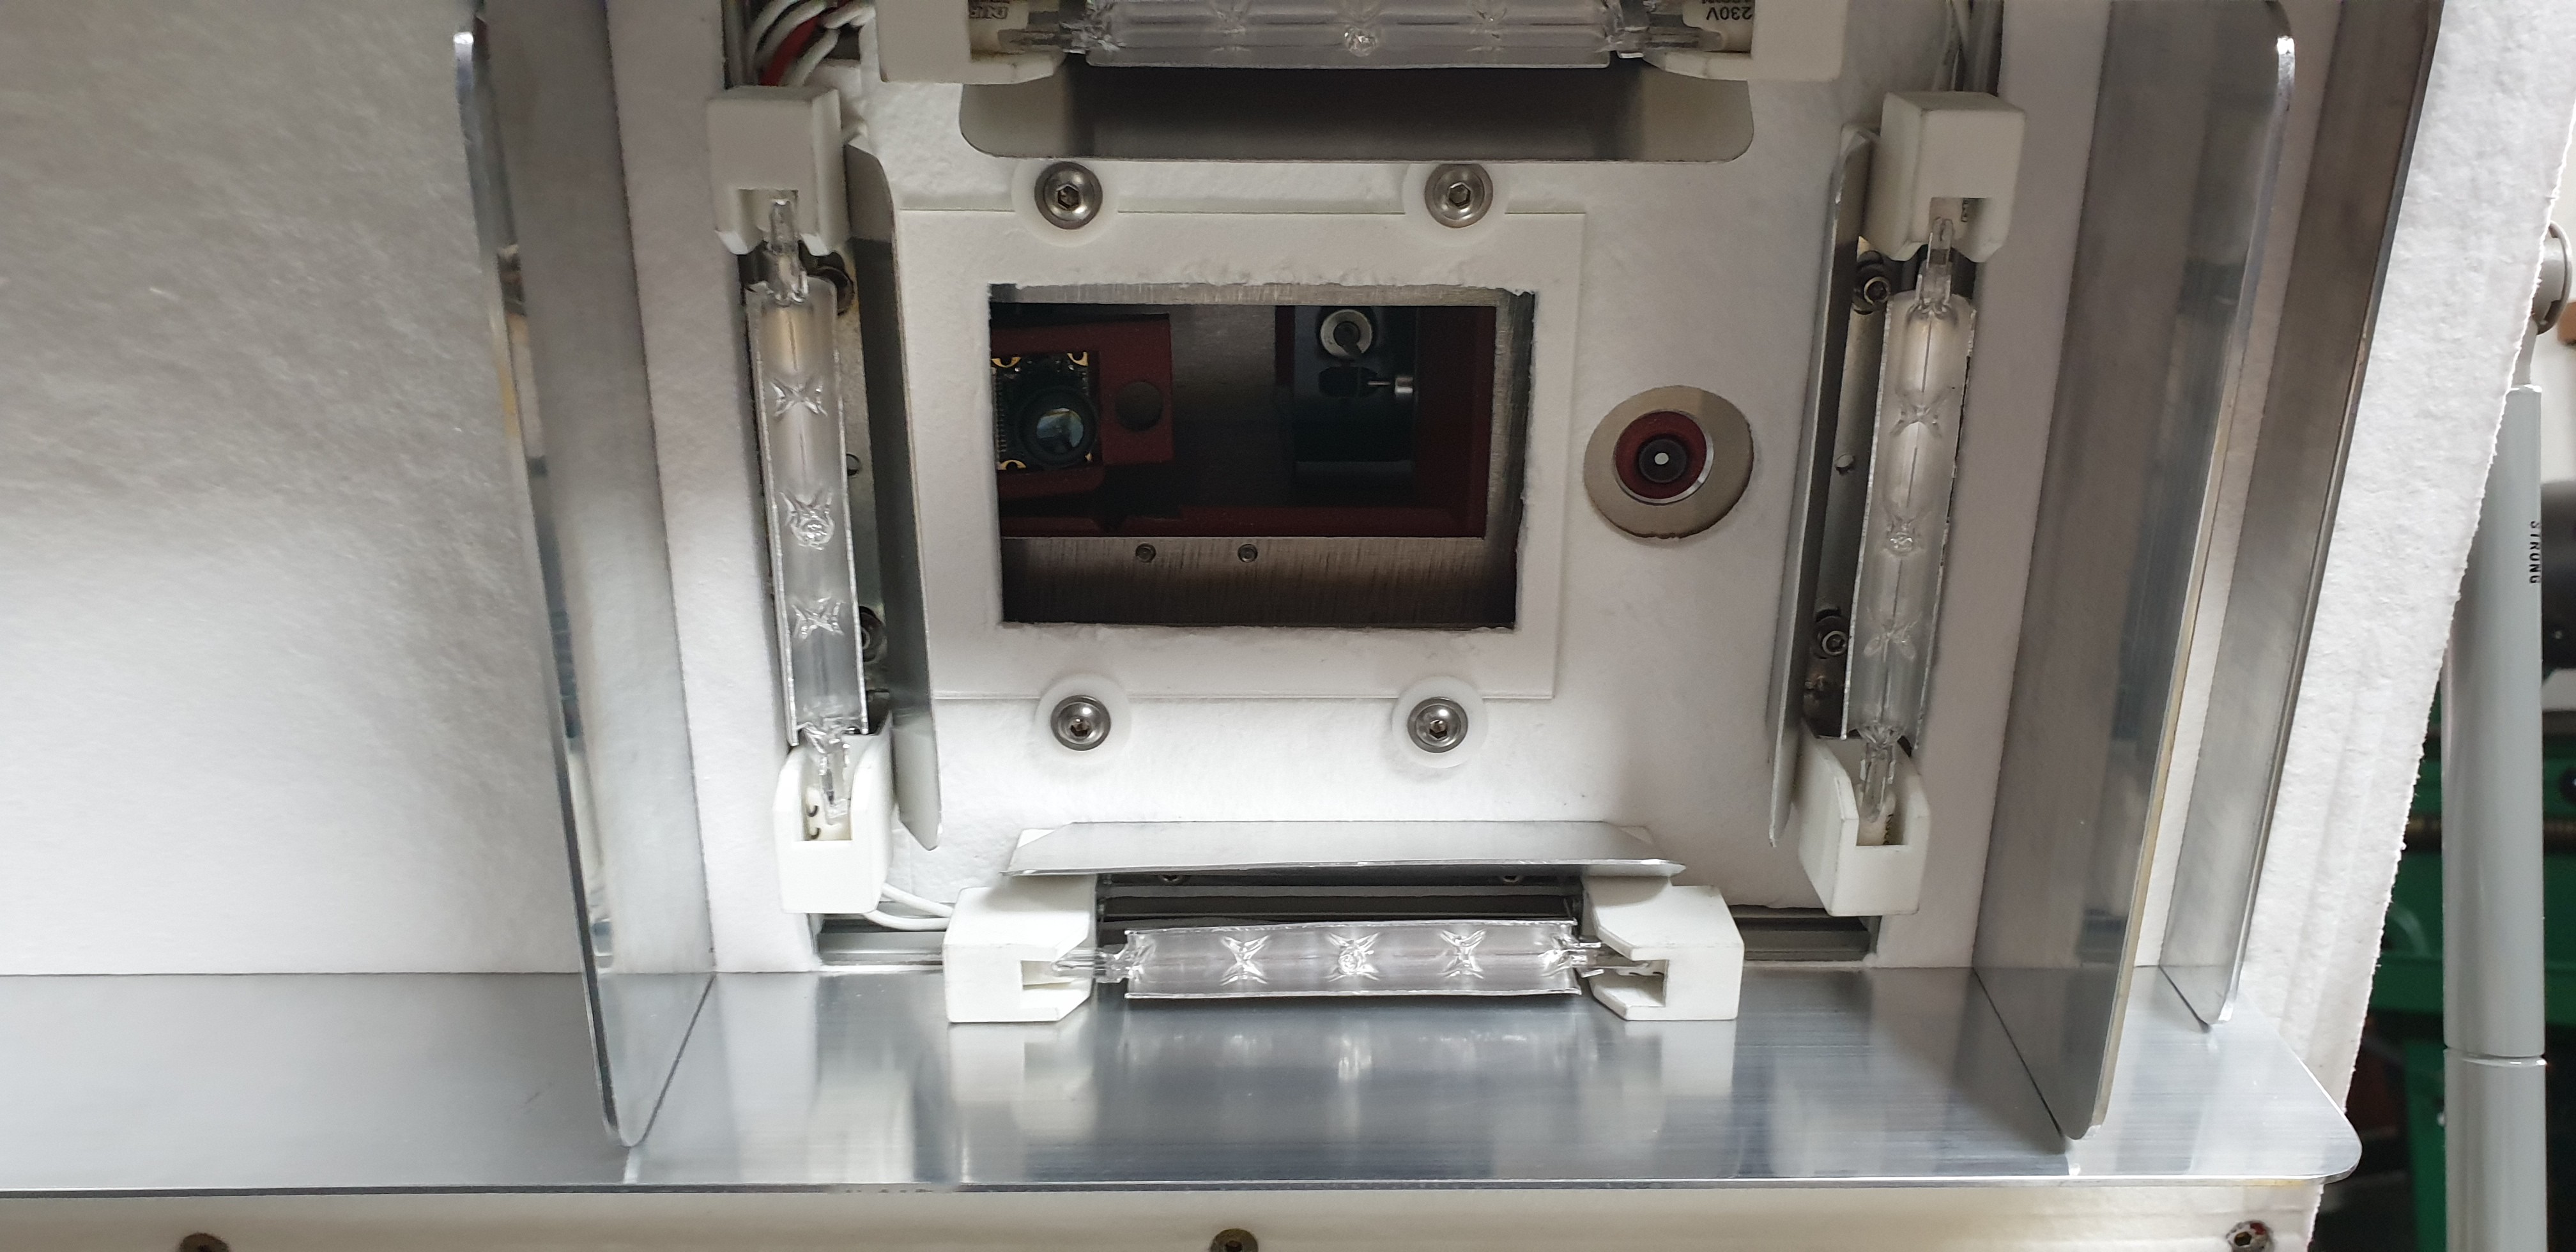
04/17/2022 at 09:51 • 0 commentsI made some improvements of the insulation. Main reason was to protect the thermo camera, but I used it also at another places. It is made from the so called “stove paper” which is 3mm thick and heat-resistant up to 1260°C. Its heat conductivity is also great: 0,07 Wm-1K-1 at 200°C.
![]()
![]()
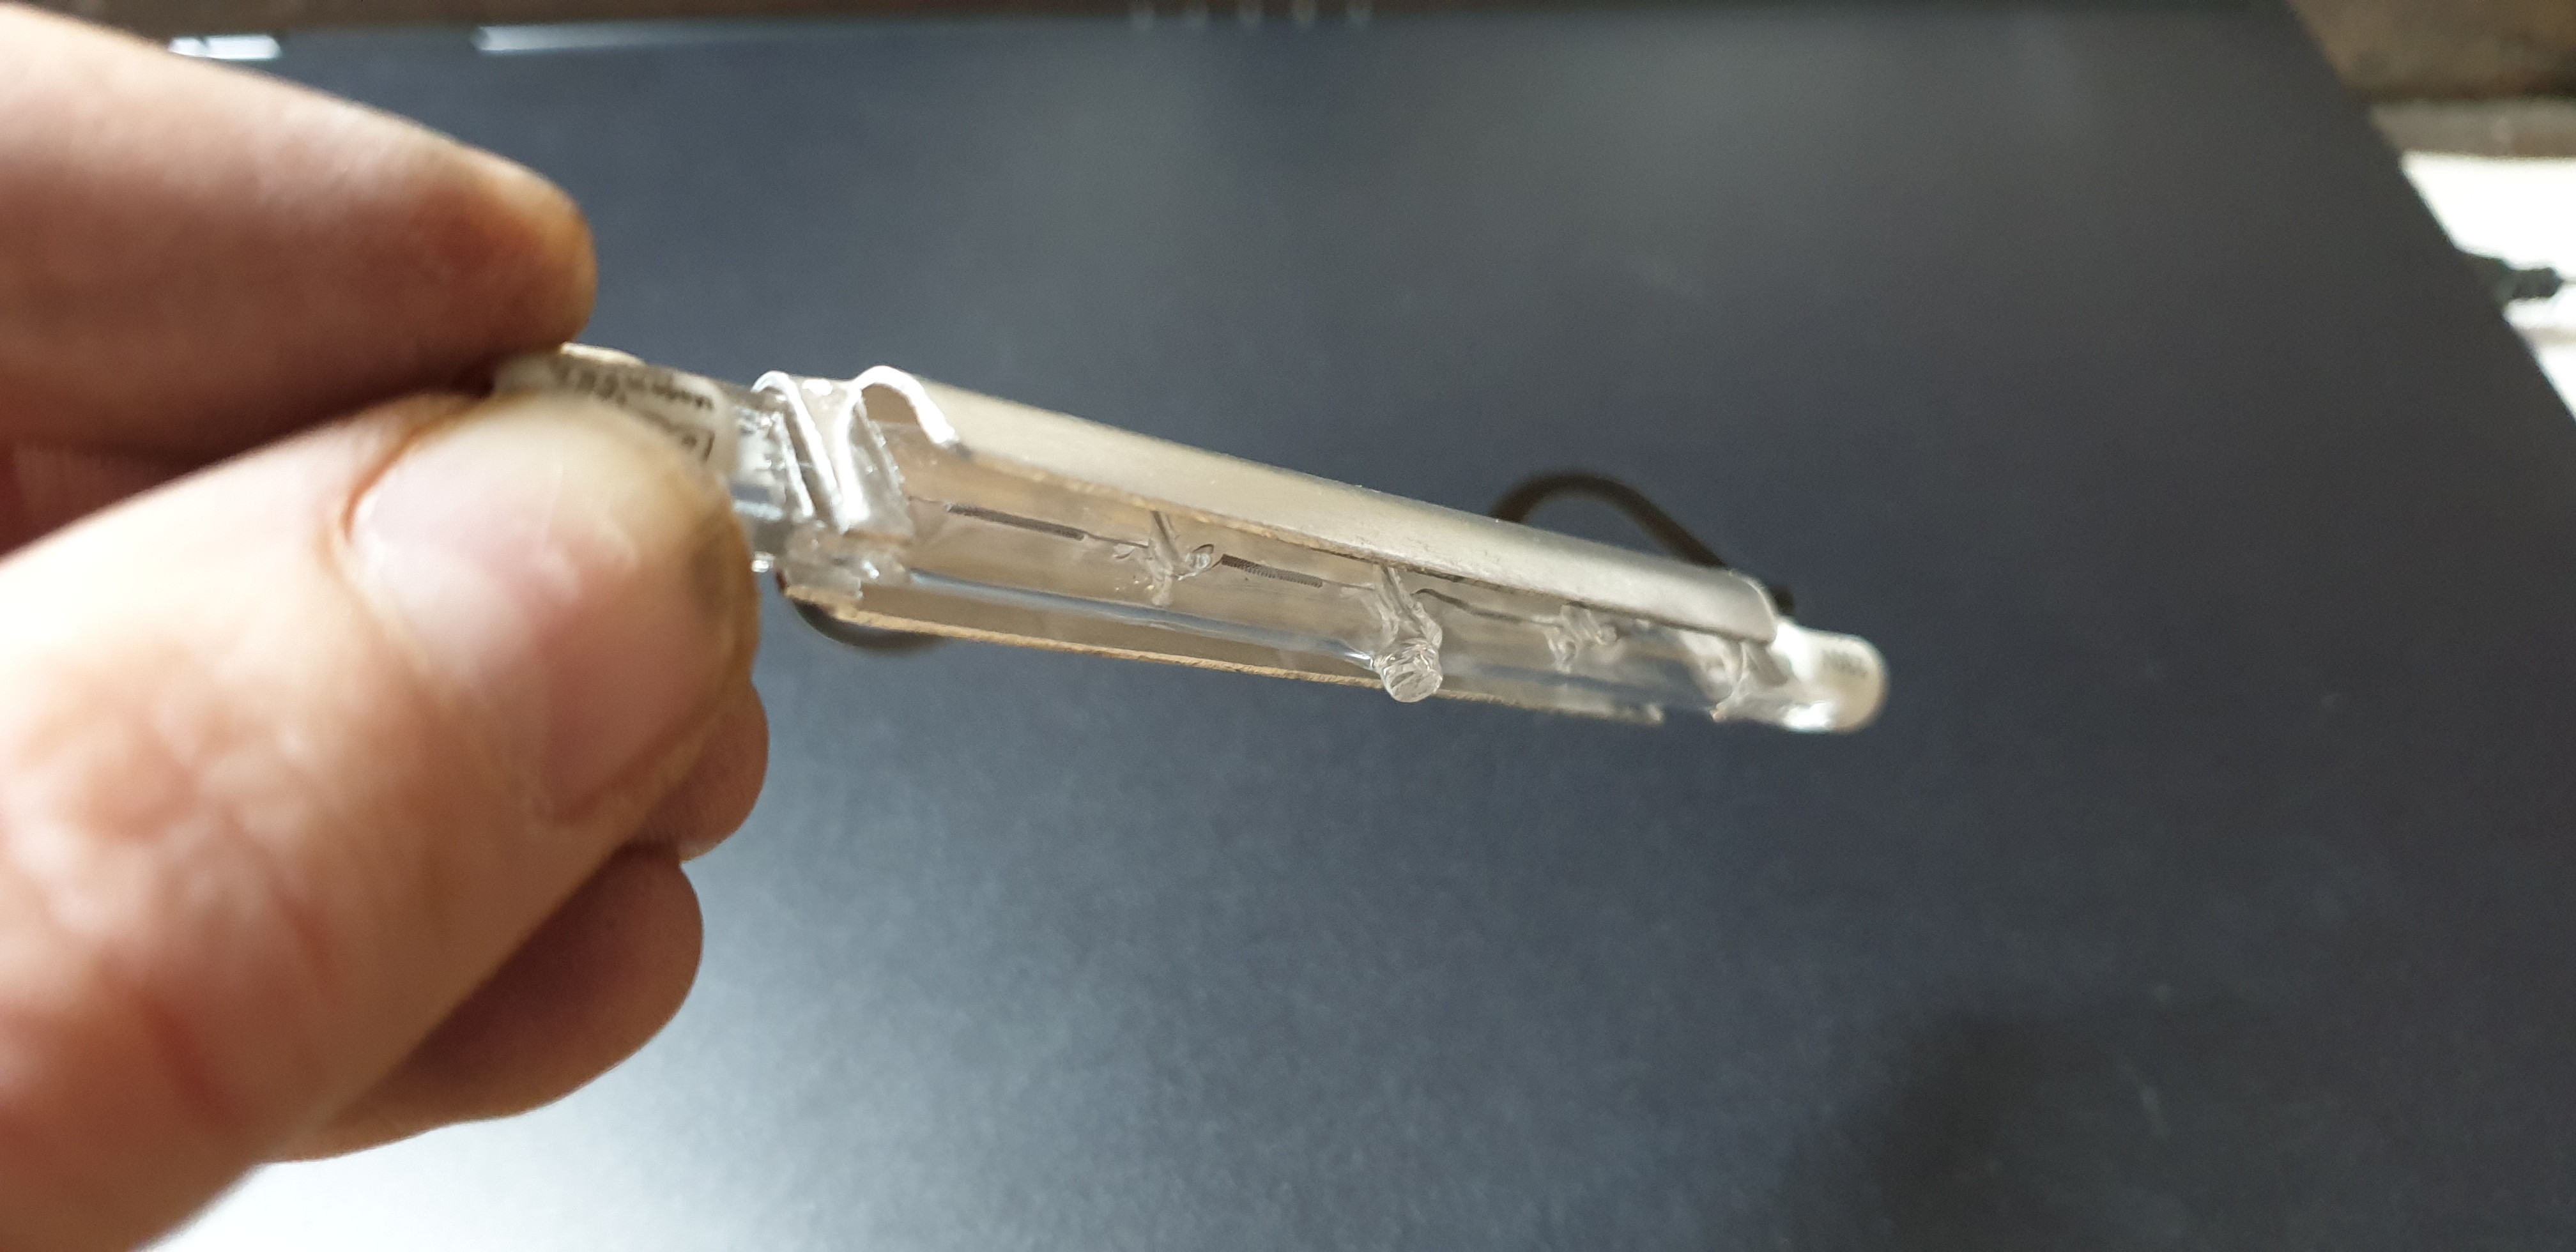
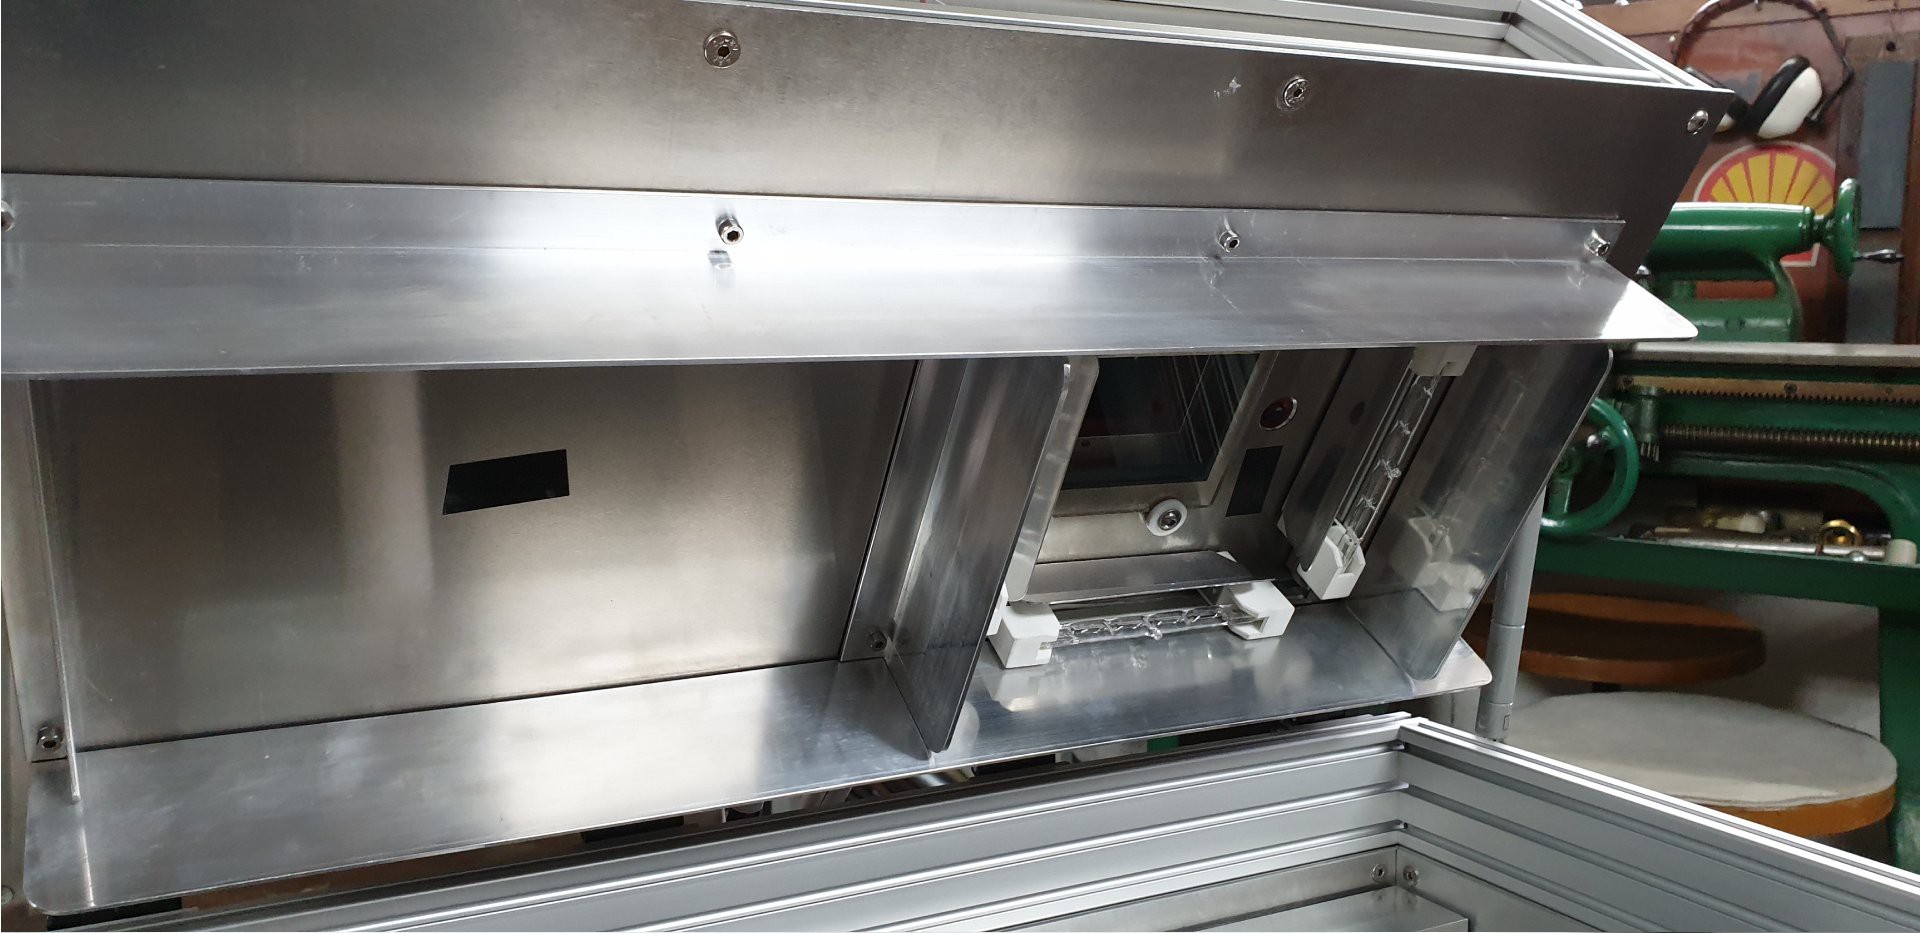
I have also made shields for halogens allowing me to direct the heat towards print surface in the better way - halogen tube with shield can rotate in the r7s socket. You can see it in place in previous picture.
![]()
-
Klipper is now stable: Galvo Speed and Surface Heating
04/08/2022 at 19:54 • 0 comments<< Galvo speeds >>
I did some successful tests without any stability issues. Finally, max. speed achieved to control laser beam moves (using galvos) is 2350mm/s along whole print bed. Klipper is now working stably at these speeds together with the chambers temp regulation, surface temp regulation, and other features.
According to my calculations we will need print speeds up to 900 - 1000mm/s as a maximum. Laser power is the limitation factor, so this speed is deeply on the safe side of what we can.<< Surface Heating >>
Past days, I have also heavily tested the surface heaters and their regulation under the real conditions. Printer (both chambers) was preheated during 1 hour to 145°C. Then, surface heaters (4 regulated halogens) were switched on with our own regulation loop to keep the surface at 170°C.
Result: we have found SW and HW setting which holds requested temp quite accurately and uniformly across bed which is important.
Btw., print bed is covered by temp matrix giving us over 200 values every 1/10 of second ;-)
-
Quick comparison of my 2 favorite laser optics' arrangements
04/06/2022 at 12:15 • 0 commentsI put together short video showing quick comparison of my 2 favorite laser optics' arrangements. Based on many tests and various settings I decided to stay with the FAC + Keplerian telescope (2 plano-convex lenses).
I also plan to make tests with Galileo's telescope setup, to spare some space. -
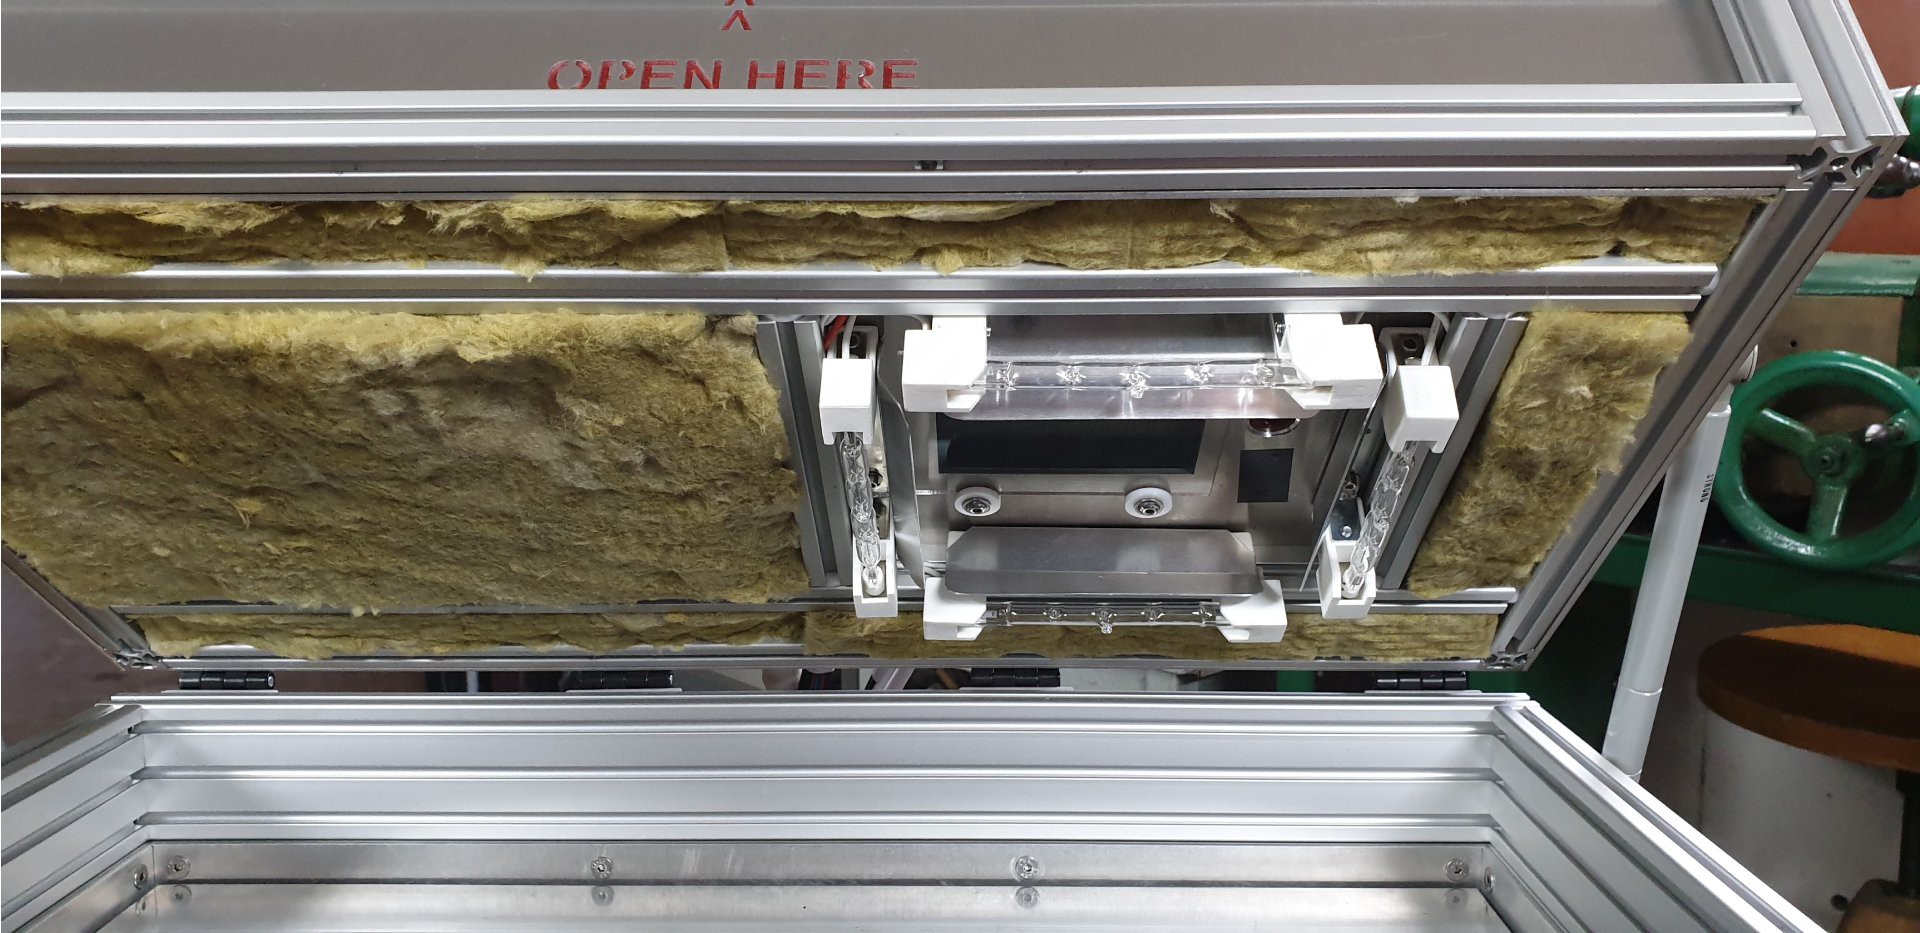
TopFrame insulation and halogen lampshades on place
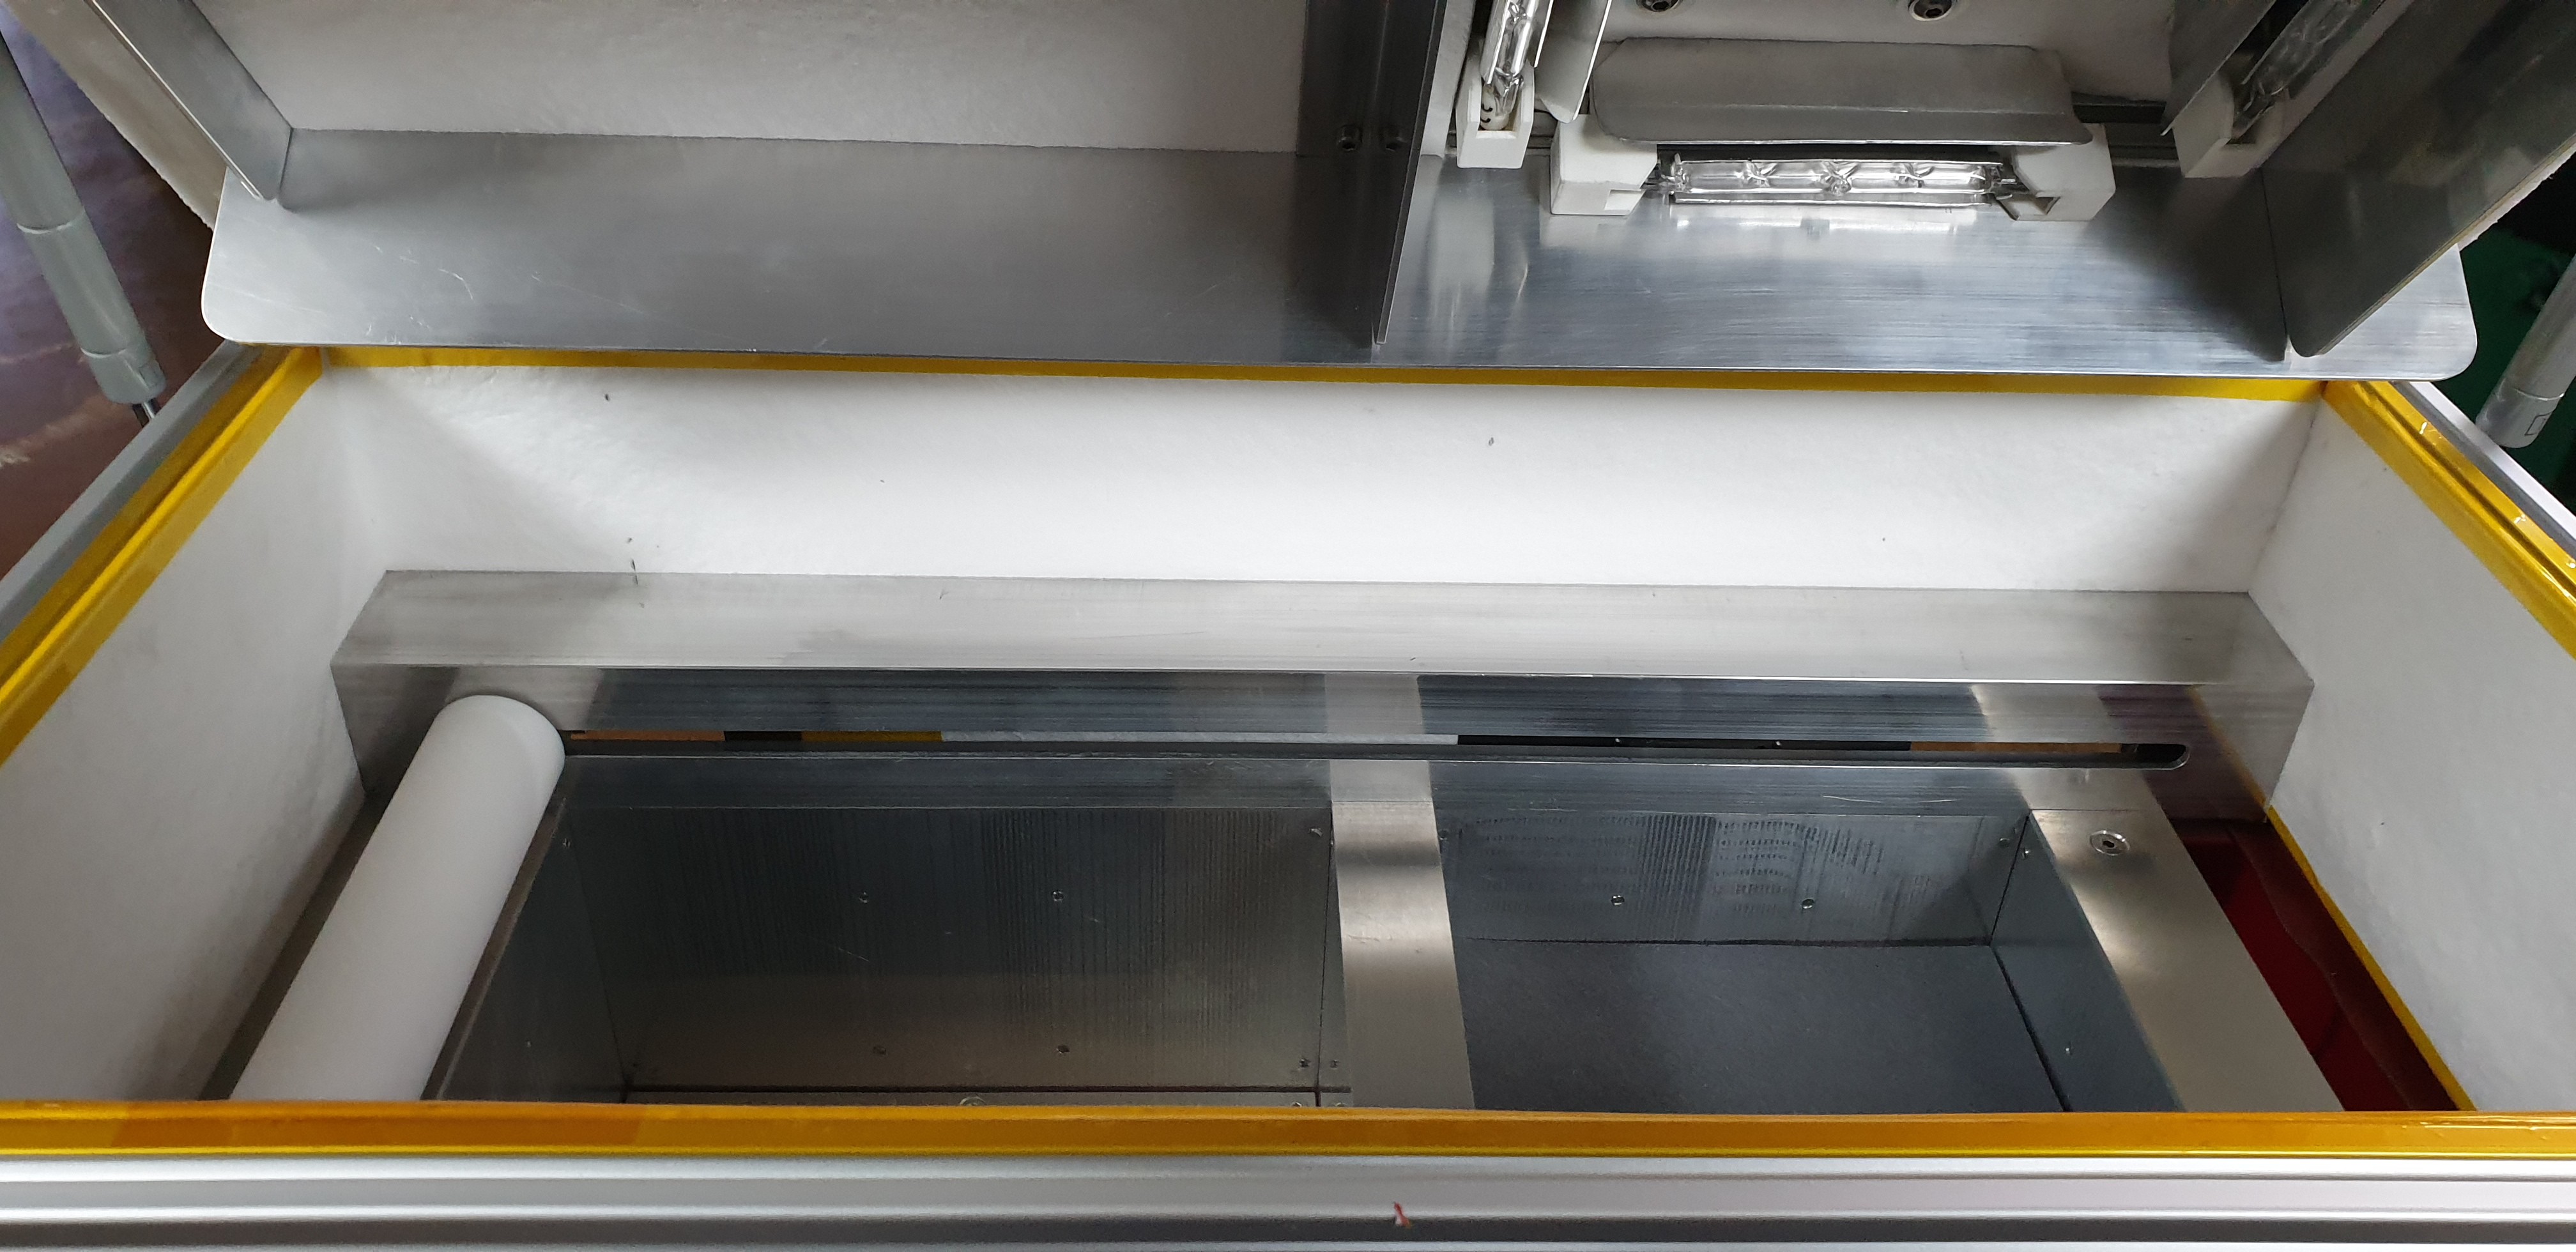
04/05/2022 at 12:03 • 0 commentsI finished the internal topFrame insulation and halogen lampshades, finally. Some small fine tunnings wait for me but it's more or less done.
Hopefully, it will do what it should.
![]()
![]()
-
Nice memories - part 2
03/29/2022 at 12:49 • 0 commentsHere is another old video (08/2021) - it shows first test of the recoater function.
I wanted to see if the layer surface will be smooth and consistent. I also needed to test if whole print bed will be covered - without material missing on the right side.
-
Sorted out: Klipper stability at max. scanning speeds
03/28/2022 at 08:19 • 0 commentsWe were working for several weeks on getting max. galvo speeds and the Klipper stability (it is mainly about right timing of operations). After several headaches and changes in Klipper I am really happy that our latest tests show max. speeds around 950mm/s. It is not the absolute limit, but the reliable setup.
Actually, to be precise – galvo speed itself was not such a bit problem. Complicated thing was to make it stable while laser “on”/”off” instructions are coming at these speeds.
I don't know now whether we will use this speed in printing because of energy density needed for sintering. But it is the upper limit for the algorithm we have implemented to set correct speeds during the print.
Note:
Just to be fair - it was not the Klipper fault as it was probably not designed for this speeds levels with combination with the number of instruction we are sending.
SLS4All - Affordable SLS 3D Printer
Design, development and build of an open-sourced SLS 3D Printer suitable for hobby users.
 Tomas Starek
 3. Sliced test object