Close
0%
0%

Kaleidoscope

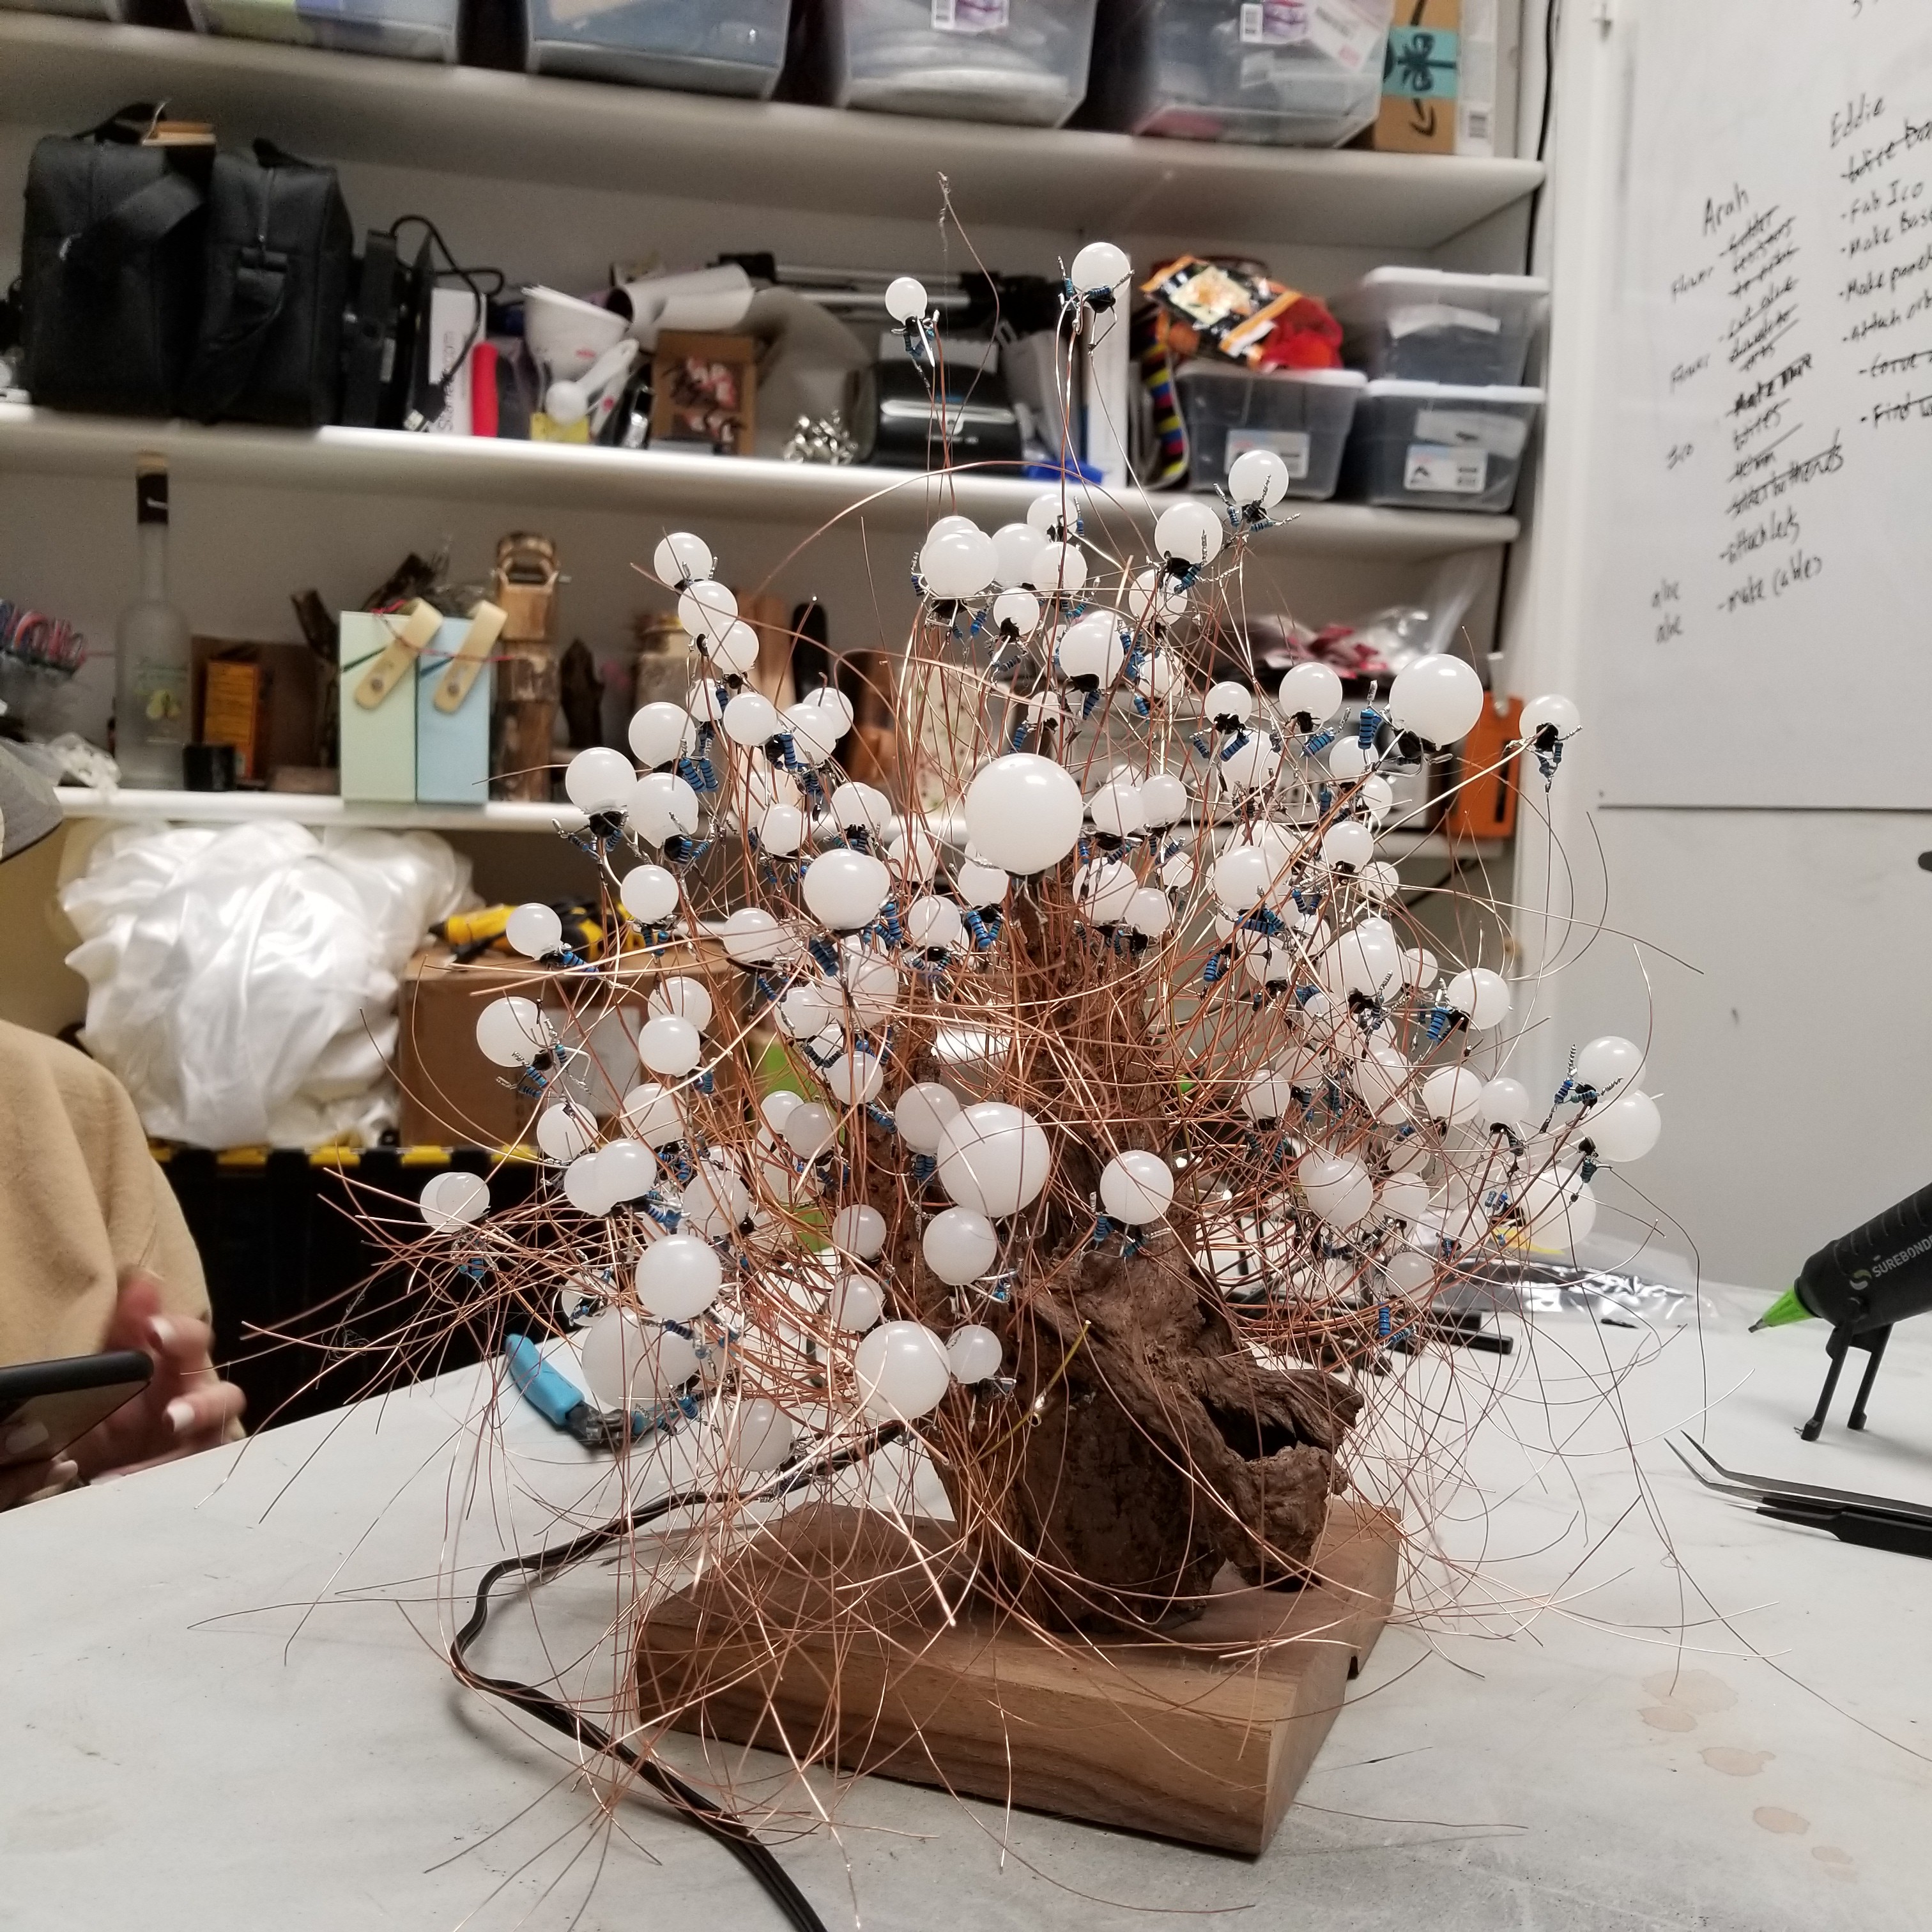
A plant-like sculpture made from RGB LEDs, Warm White LEDs, and current limiting resistors.

Similar projects worth following
I have always loved the idea of using current limiting resistors to mix the colors of RGB LEDs.

Technical • 200 RGB LEDs, 100 Warm White LEDs, ~700 resistors (16 values between 1k and 10k), 4 oz 26 AWG magnet wire, 8oz 20 AWG magnet wire, 100 grams solder

Thoughts • Kaleidoscope is the culmination of several years of conversations, dreaming, and many prototypes. I started working on this idea in March of 2020 during the first few days of the lockdown in Georgia. Coping with the new reality.

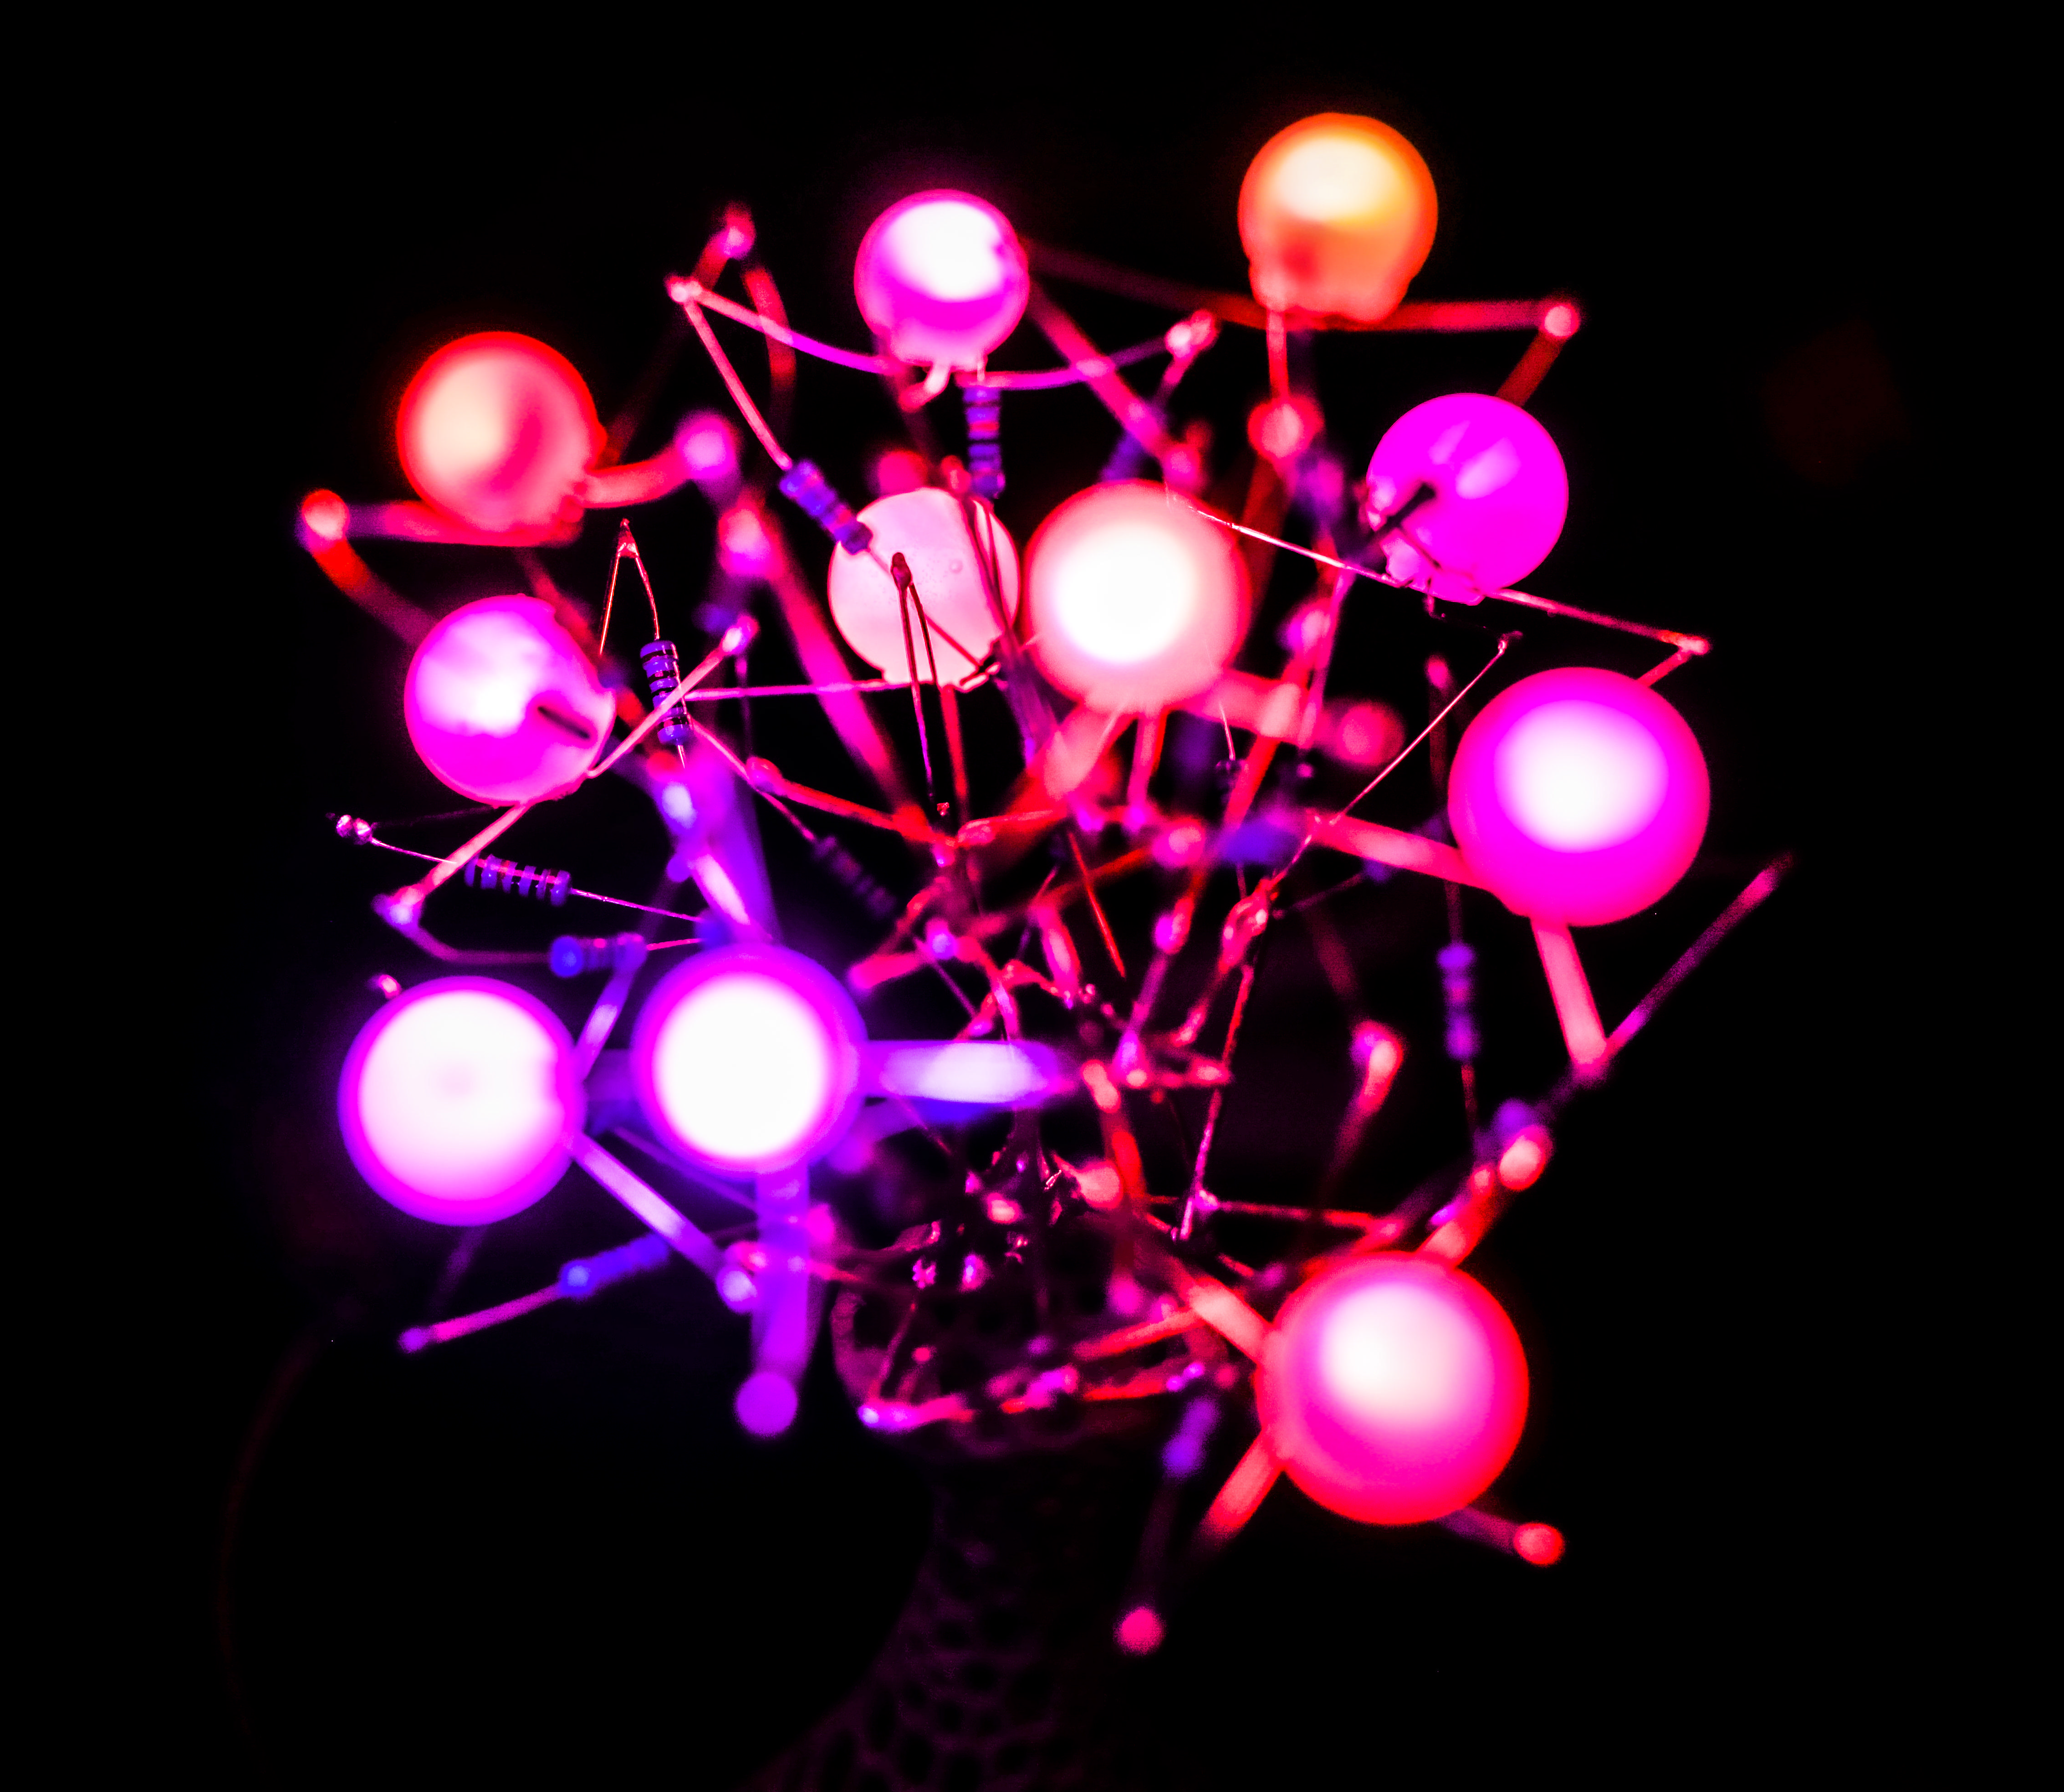
I had always loved the idea of using current limiting resistors to mix the colors of RGB LEDs. There's a permanence and intentionality that you can't really achieve with an addressable LED. Colors mixed like so many unique humans in our world.

Arah, my assistant, and I decided it was important to not try and group colors by likeness, instead, placing them without knowing what color they would be when we powered everything up. I think it was the right decision.

I'm still not entirely sure what this piece means to me, I just knew I needed to make it.

I thought a lot about Diaspora while working on it. How my friends came to be in this country and how my own distant family came here. Dropping the 'e' from Farr when they arrived, from what I can scrounge from the family that even know or remember how we got here, to assimilate easier and to not sound Irish. Generationally when do you call a new place home? Is there ever an answer to that?

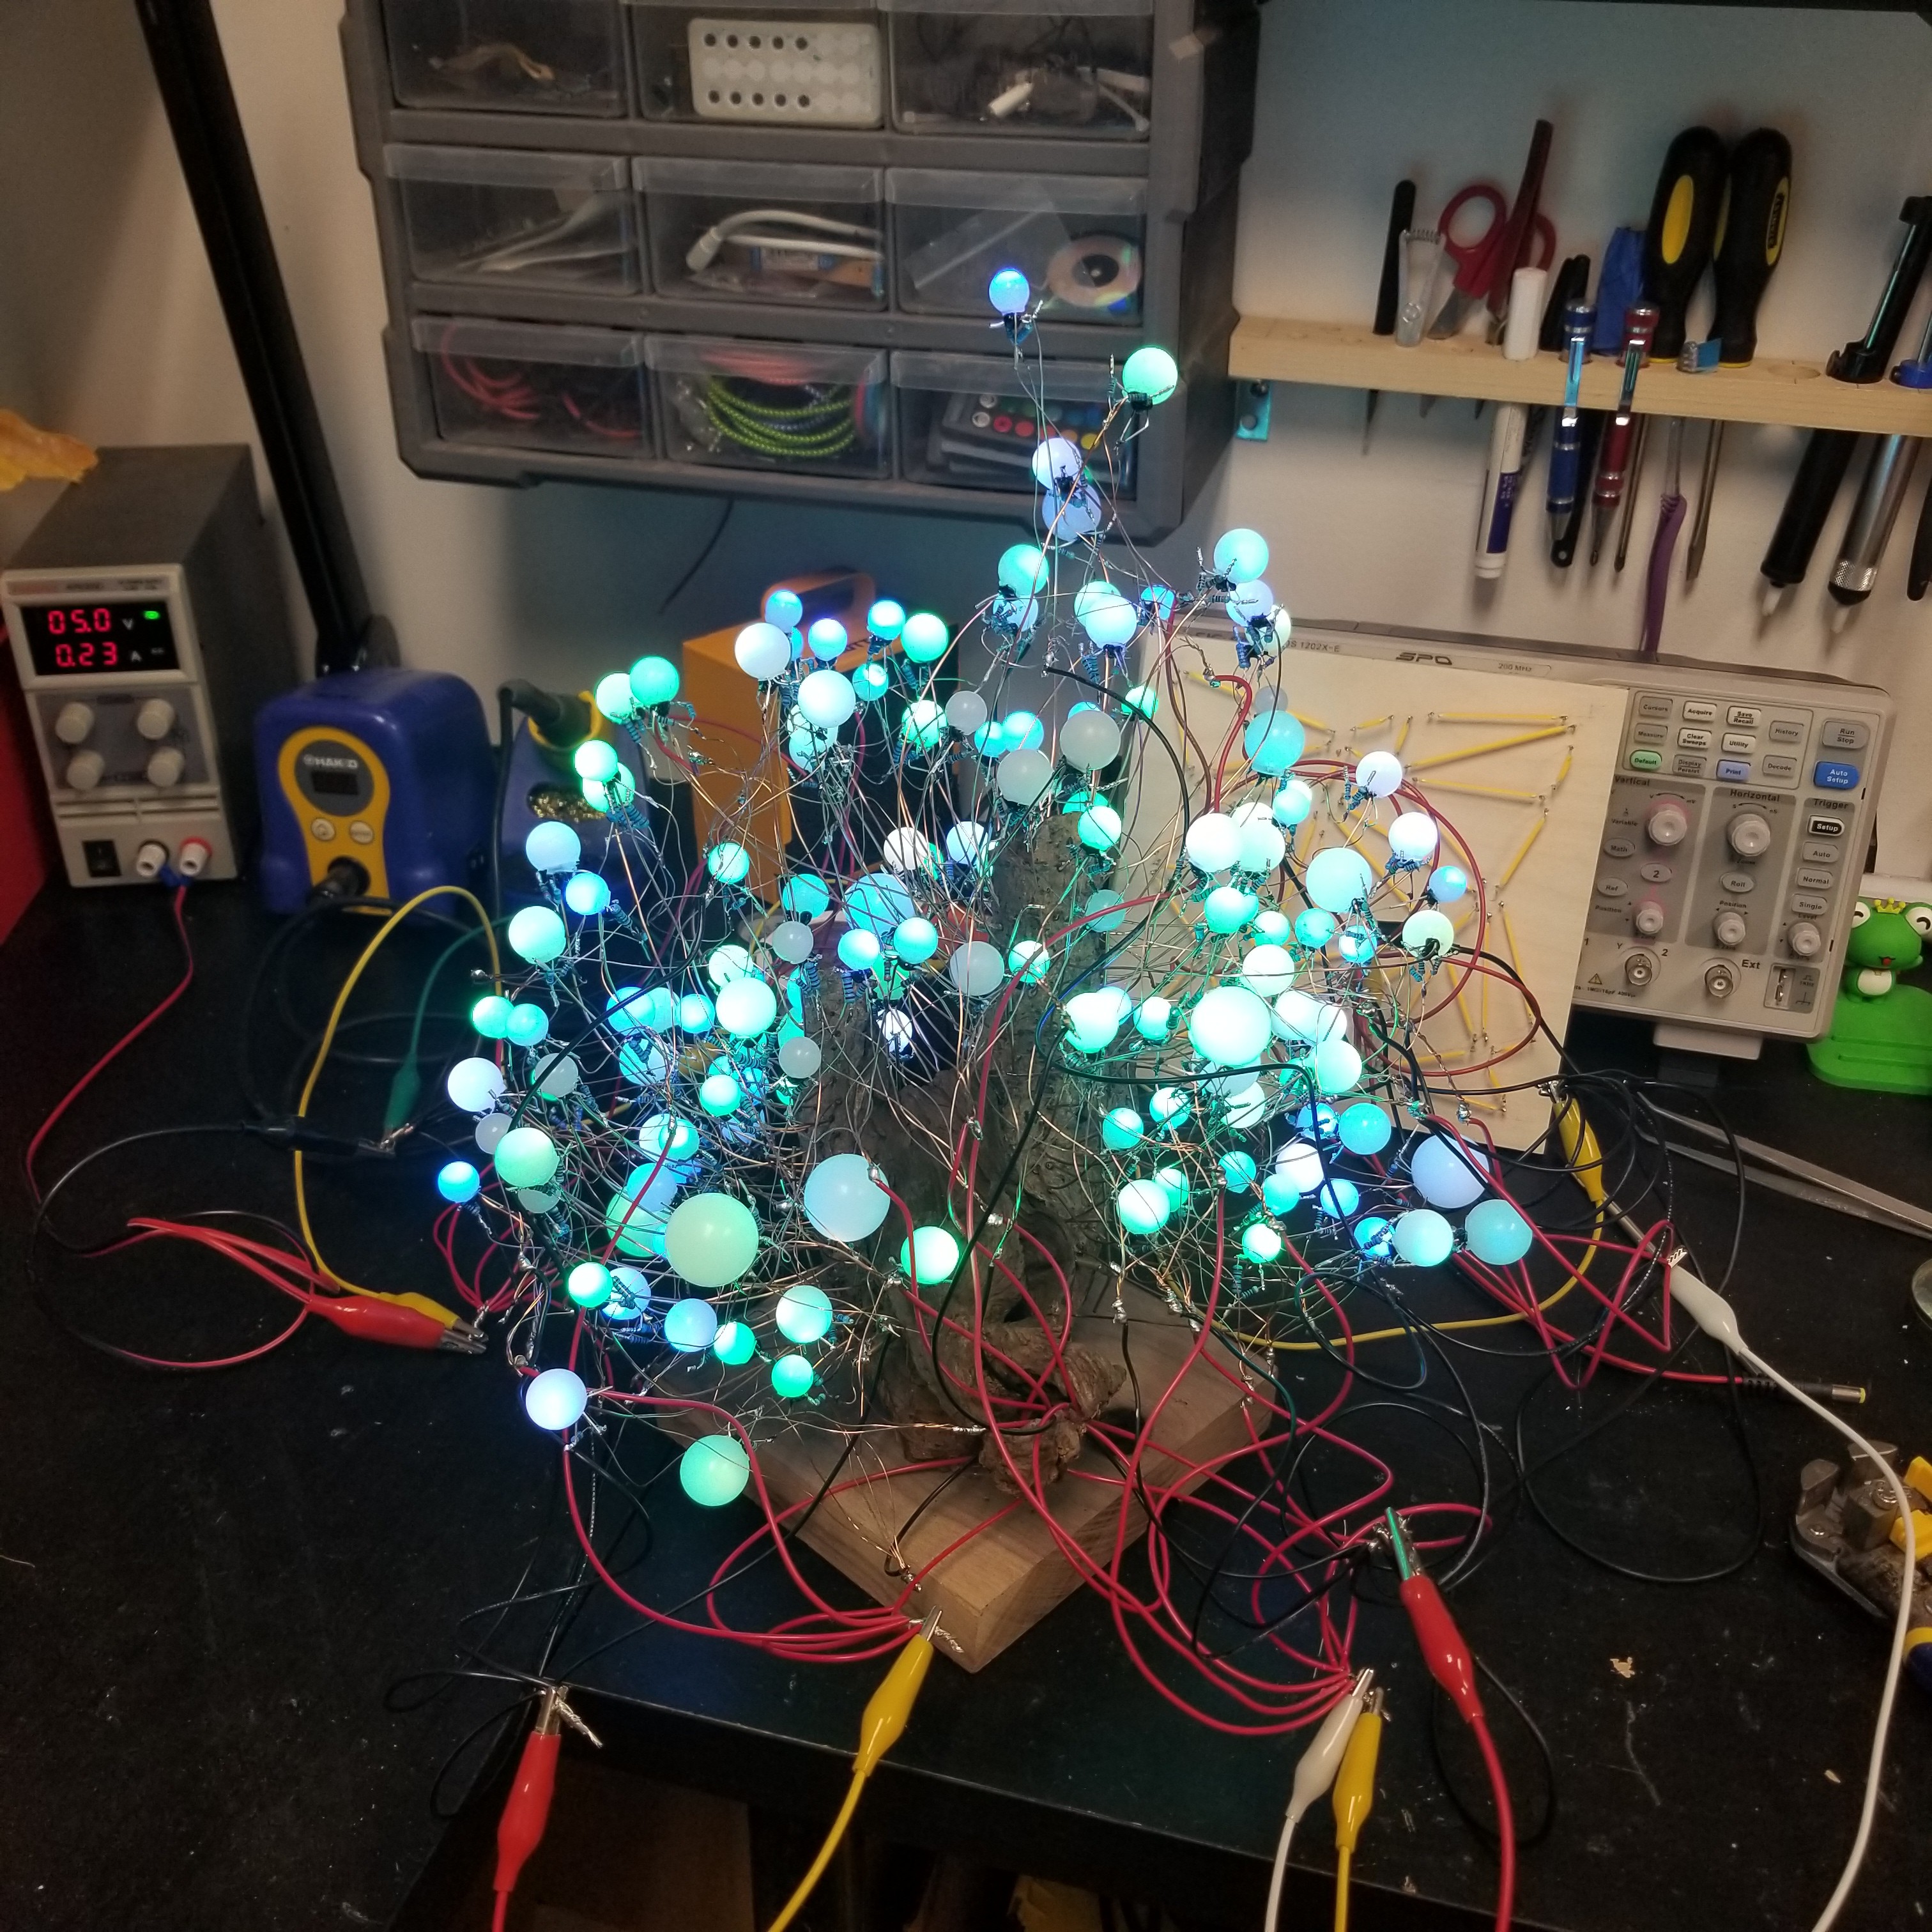
I thought a lot about hope for the future too. A world without suffering and war. How do we get there? Blue and Greens are symbolic of our own world revived and revitalized. Living in harmony with each other and the planet

  • 200 × RGB LED
  • 100 × Warm White LED
  • 1 × 28 awg magnet wire
  • 1 × 20 awg magnet wire
  • 1 × 1/4w 1k resistors

View all 19 components

  • Kaleidoscope

    Eddie03/24/2022 at 16:44 0 comments

    Now that I knew I could achieve a small version of my idea it was time to start on the large-scale version.

    For this version, I hired an assistant to help prep the wires and make the orbs.  The total time spent between us was around 90 hours.

    Some progress shots are below.

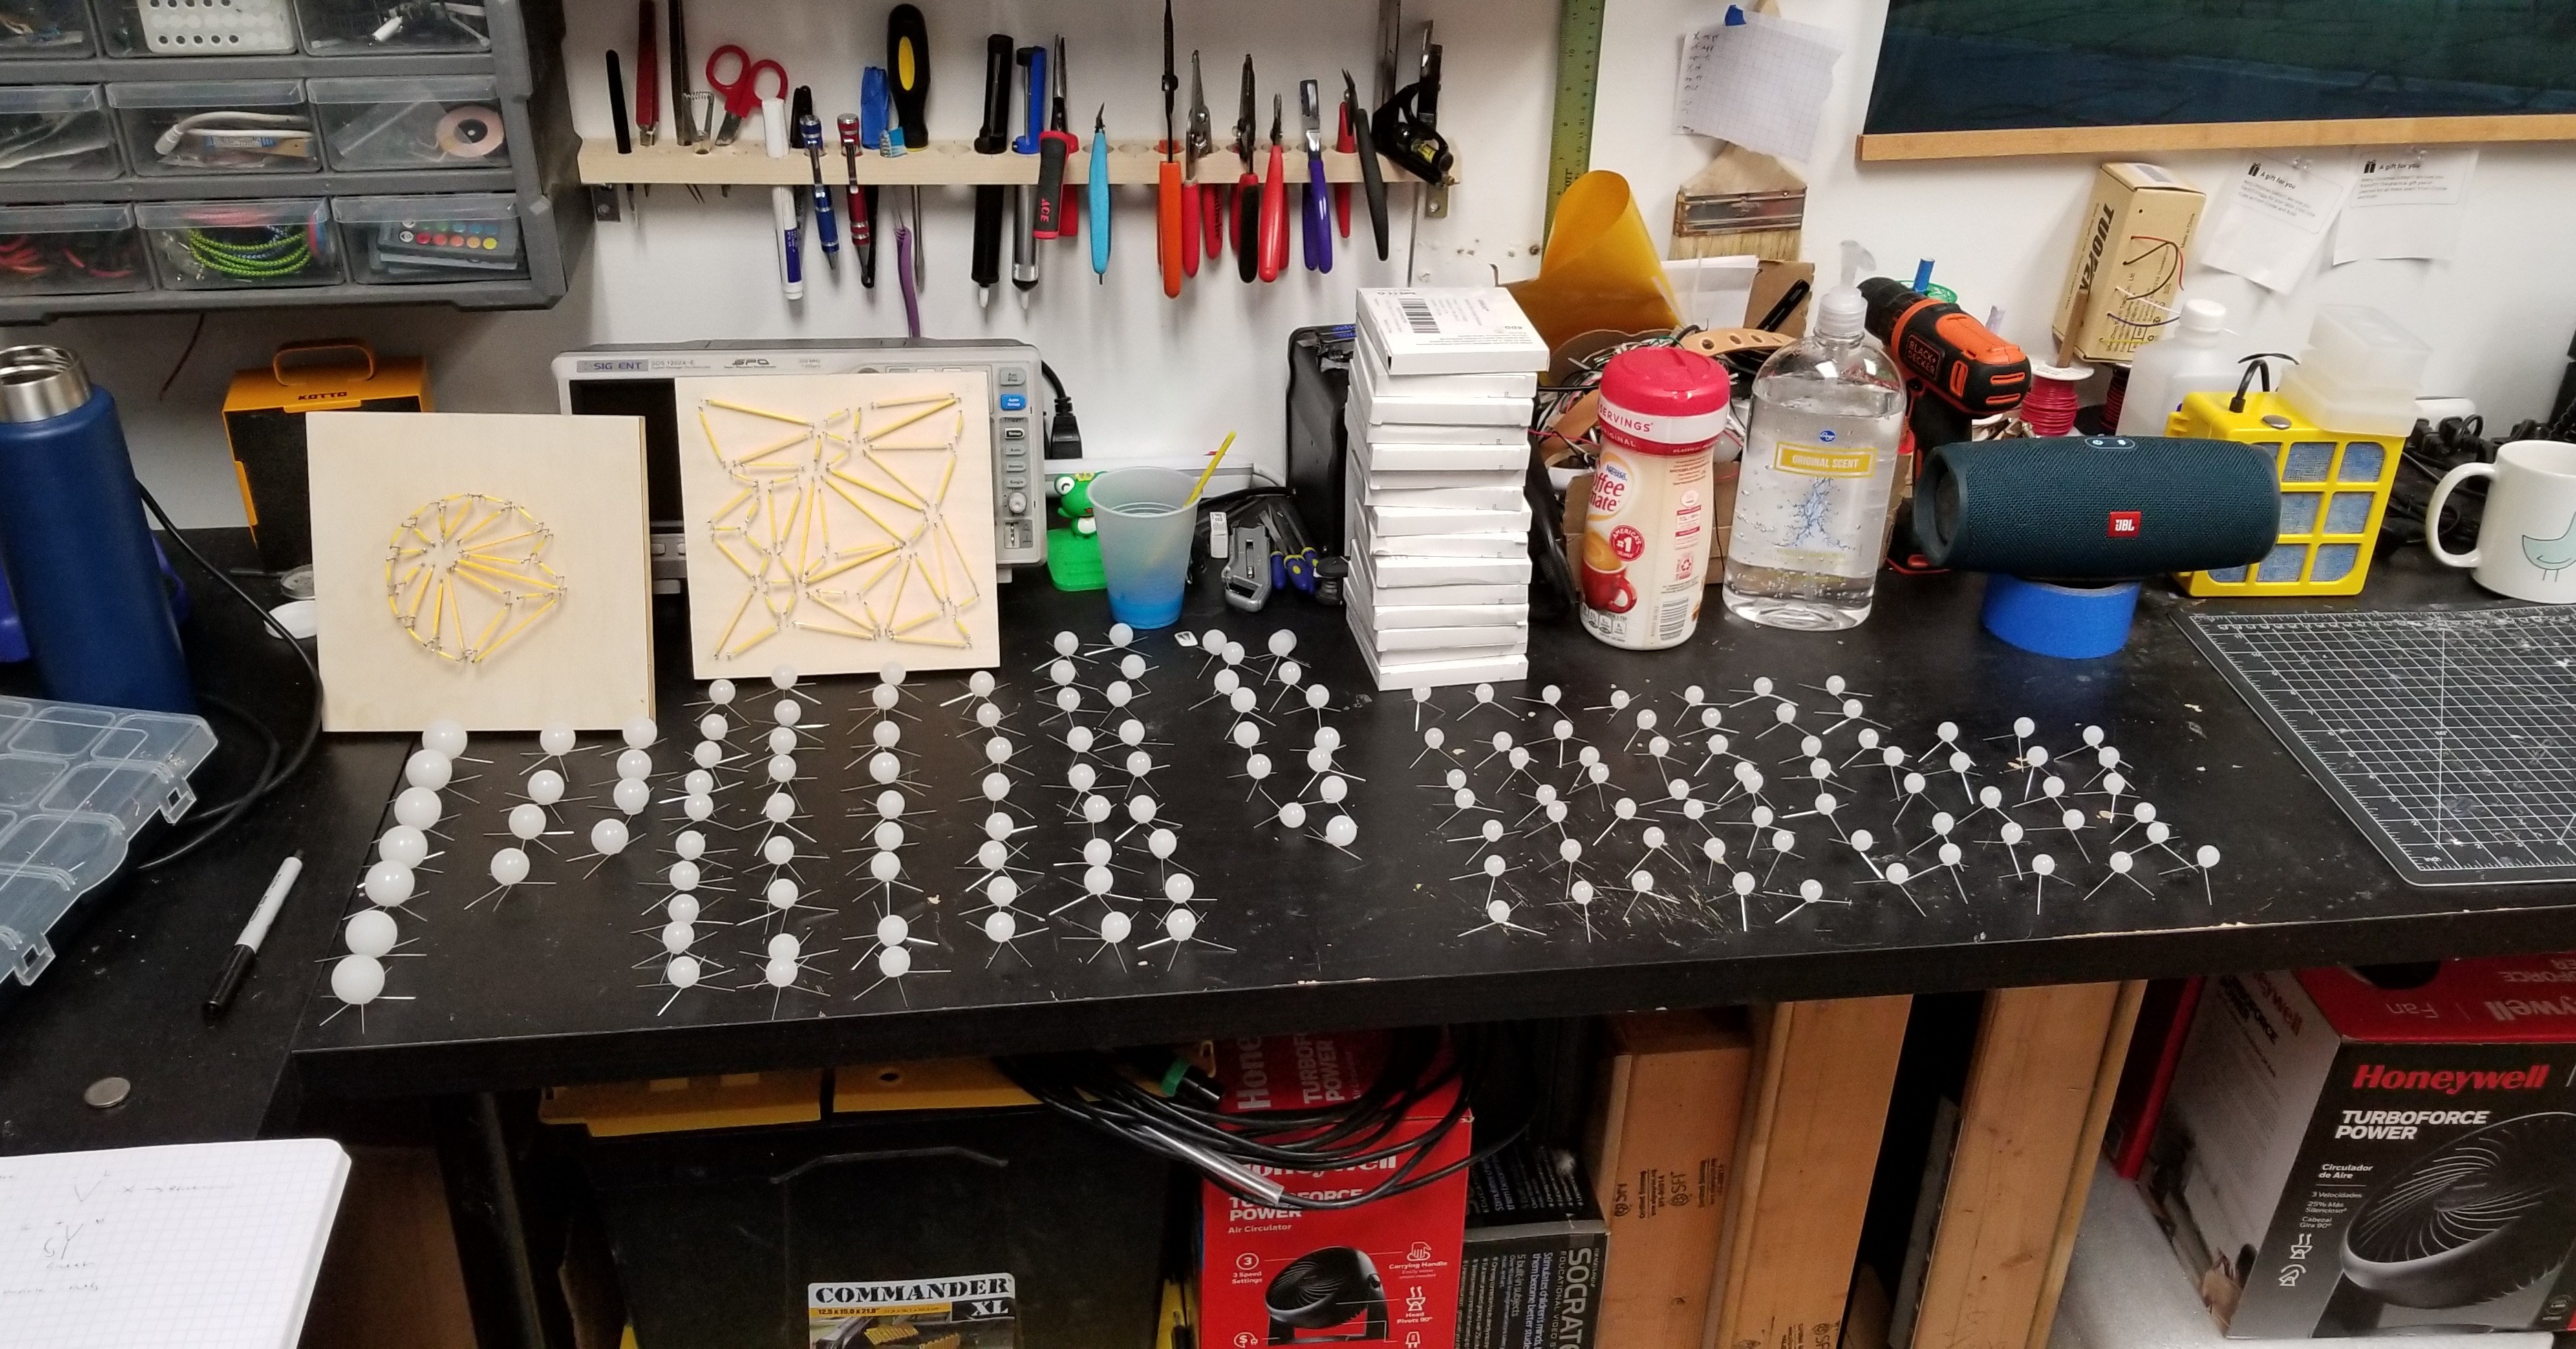
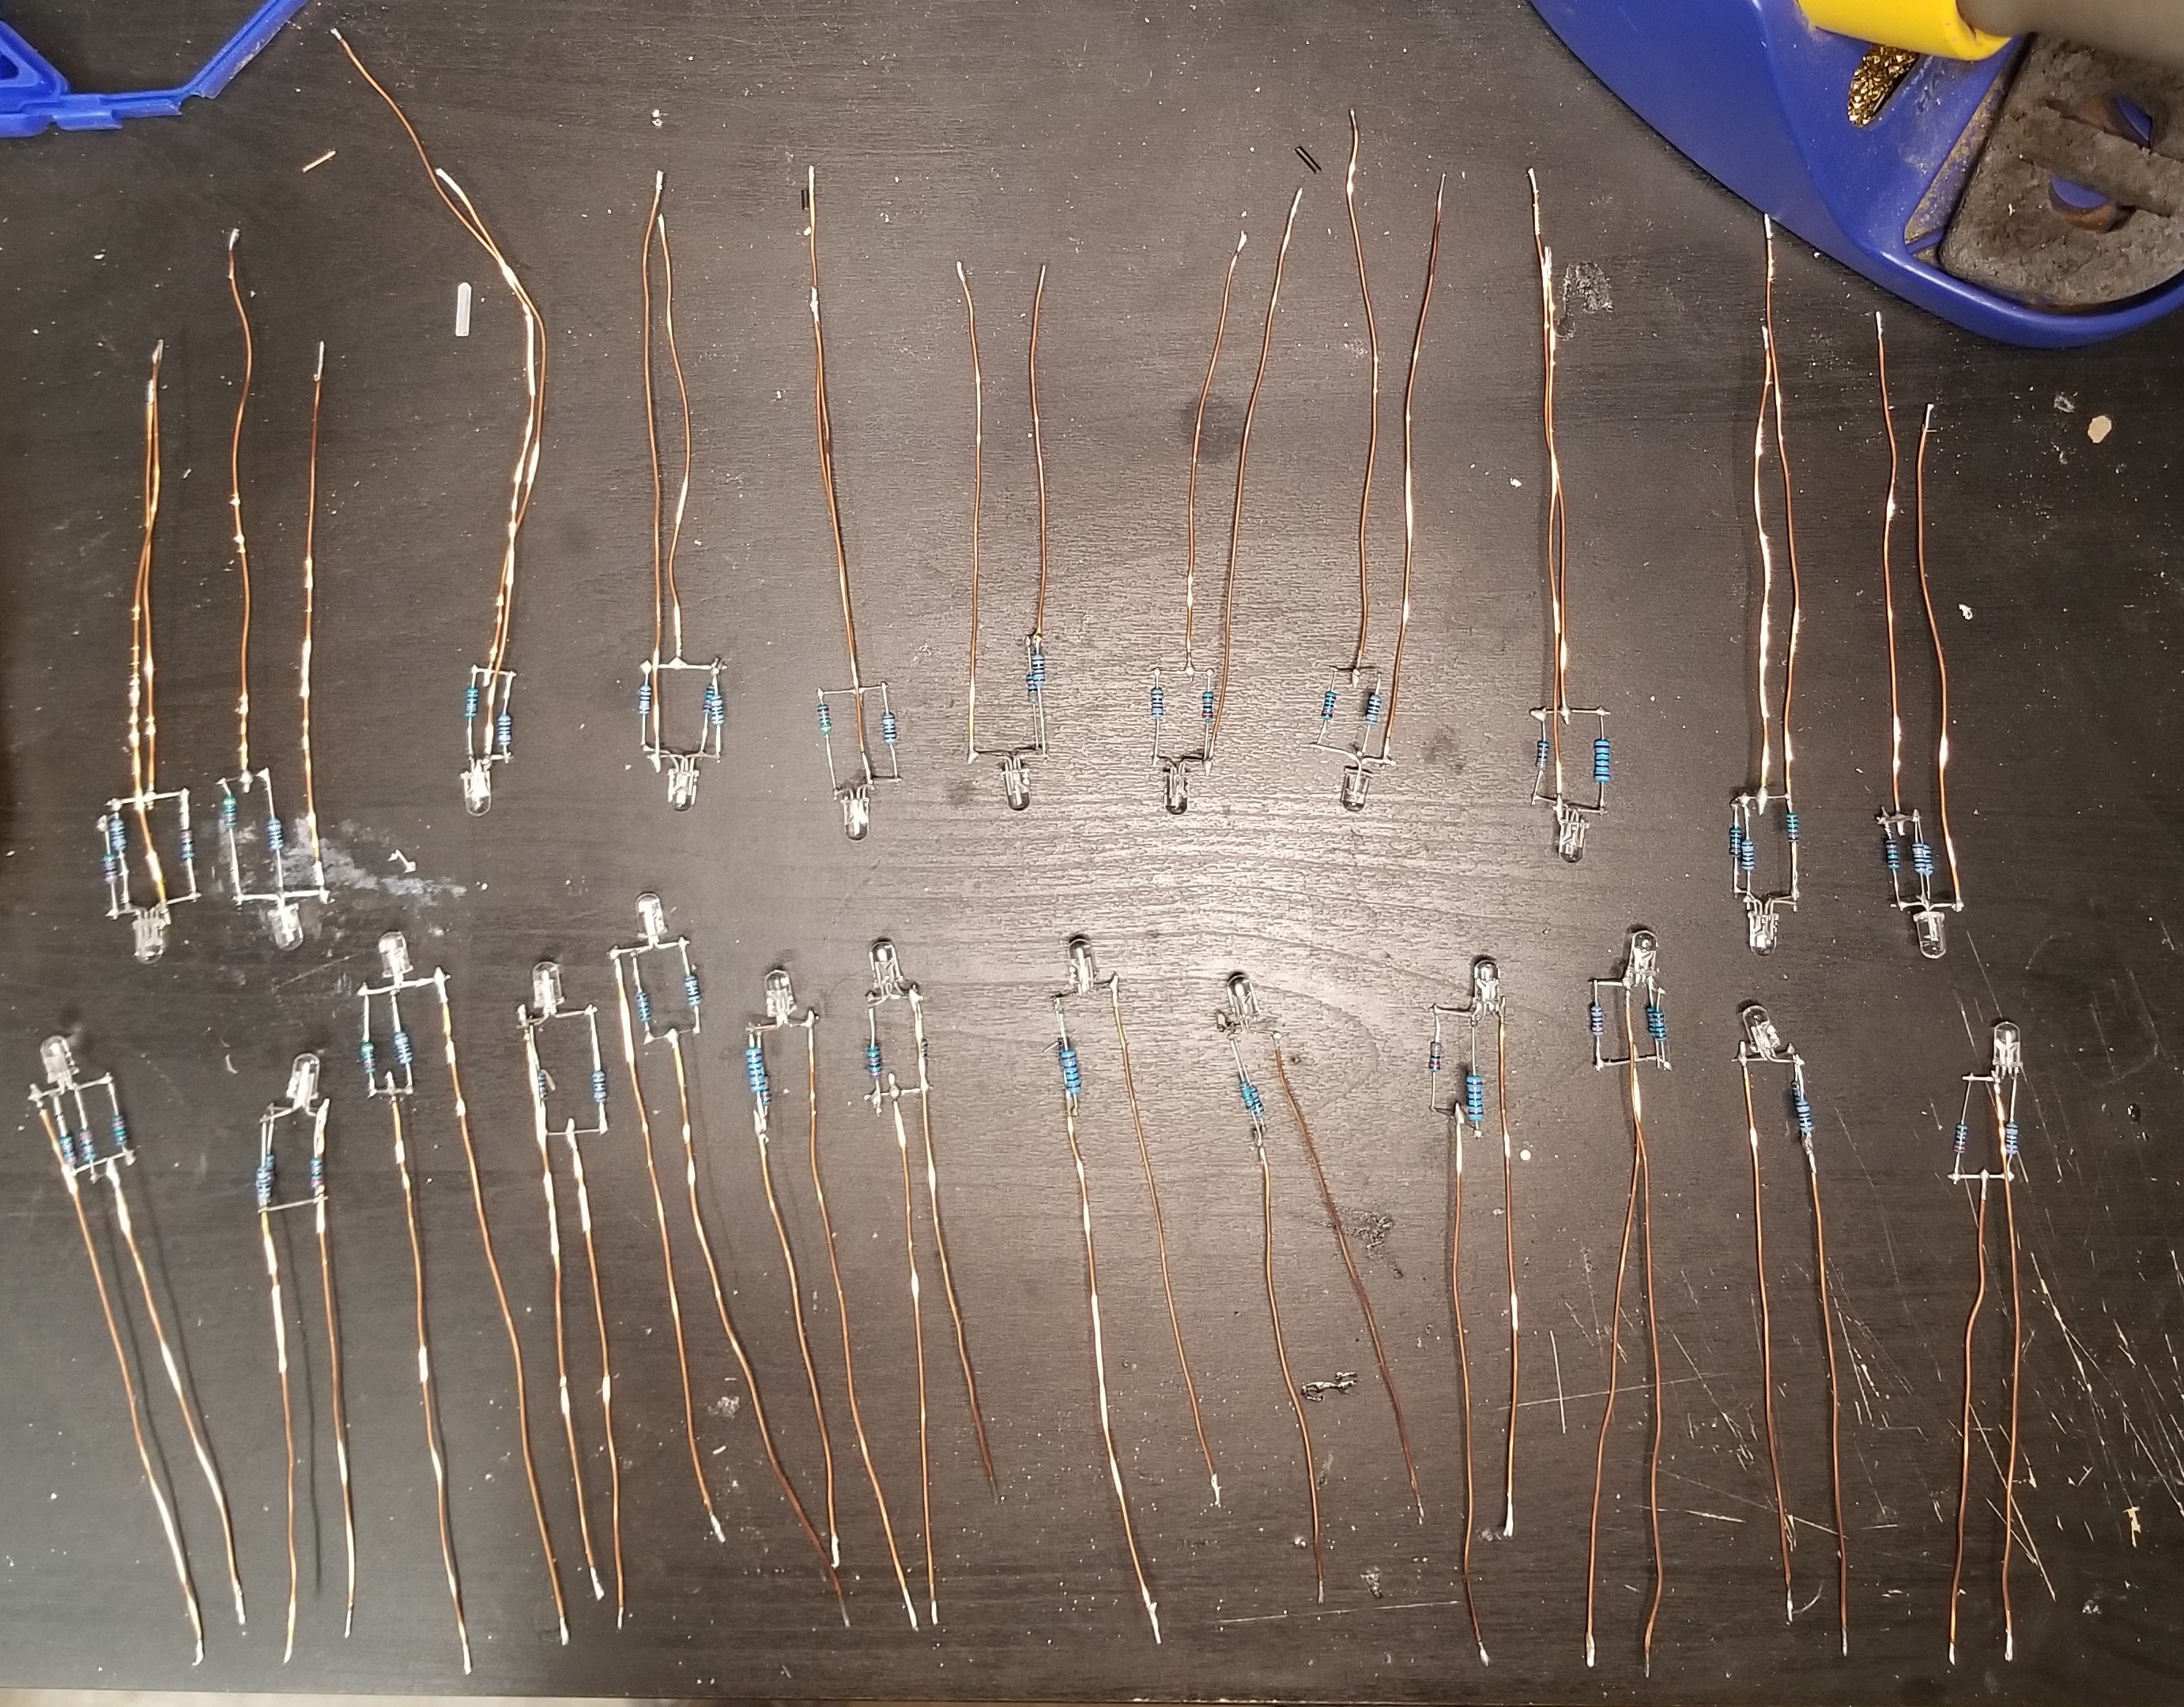
    Most of the orbs waiting for resistors to be soldered on

    The first step was to create the diffusers for the LEDs. I went with a mixture of RGB and RGB/Warm White orbs.
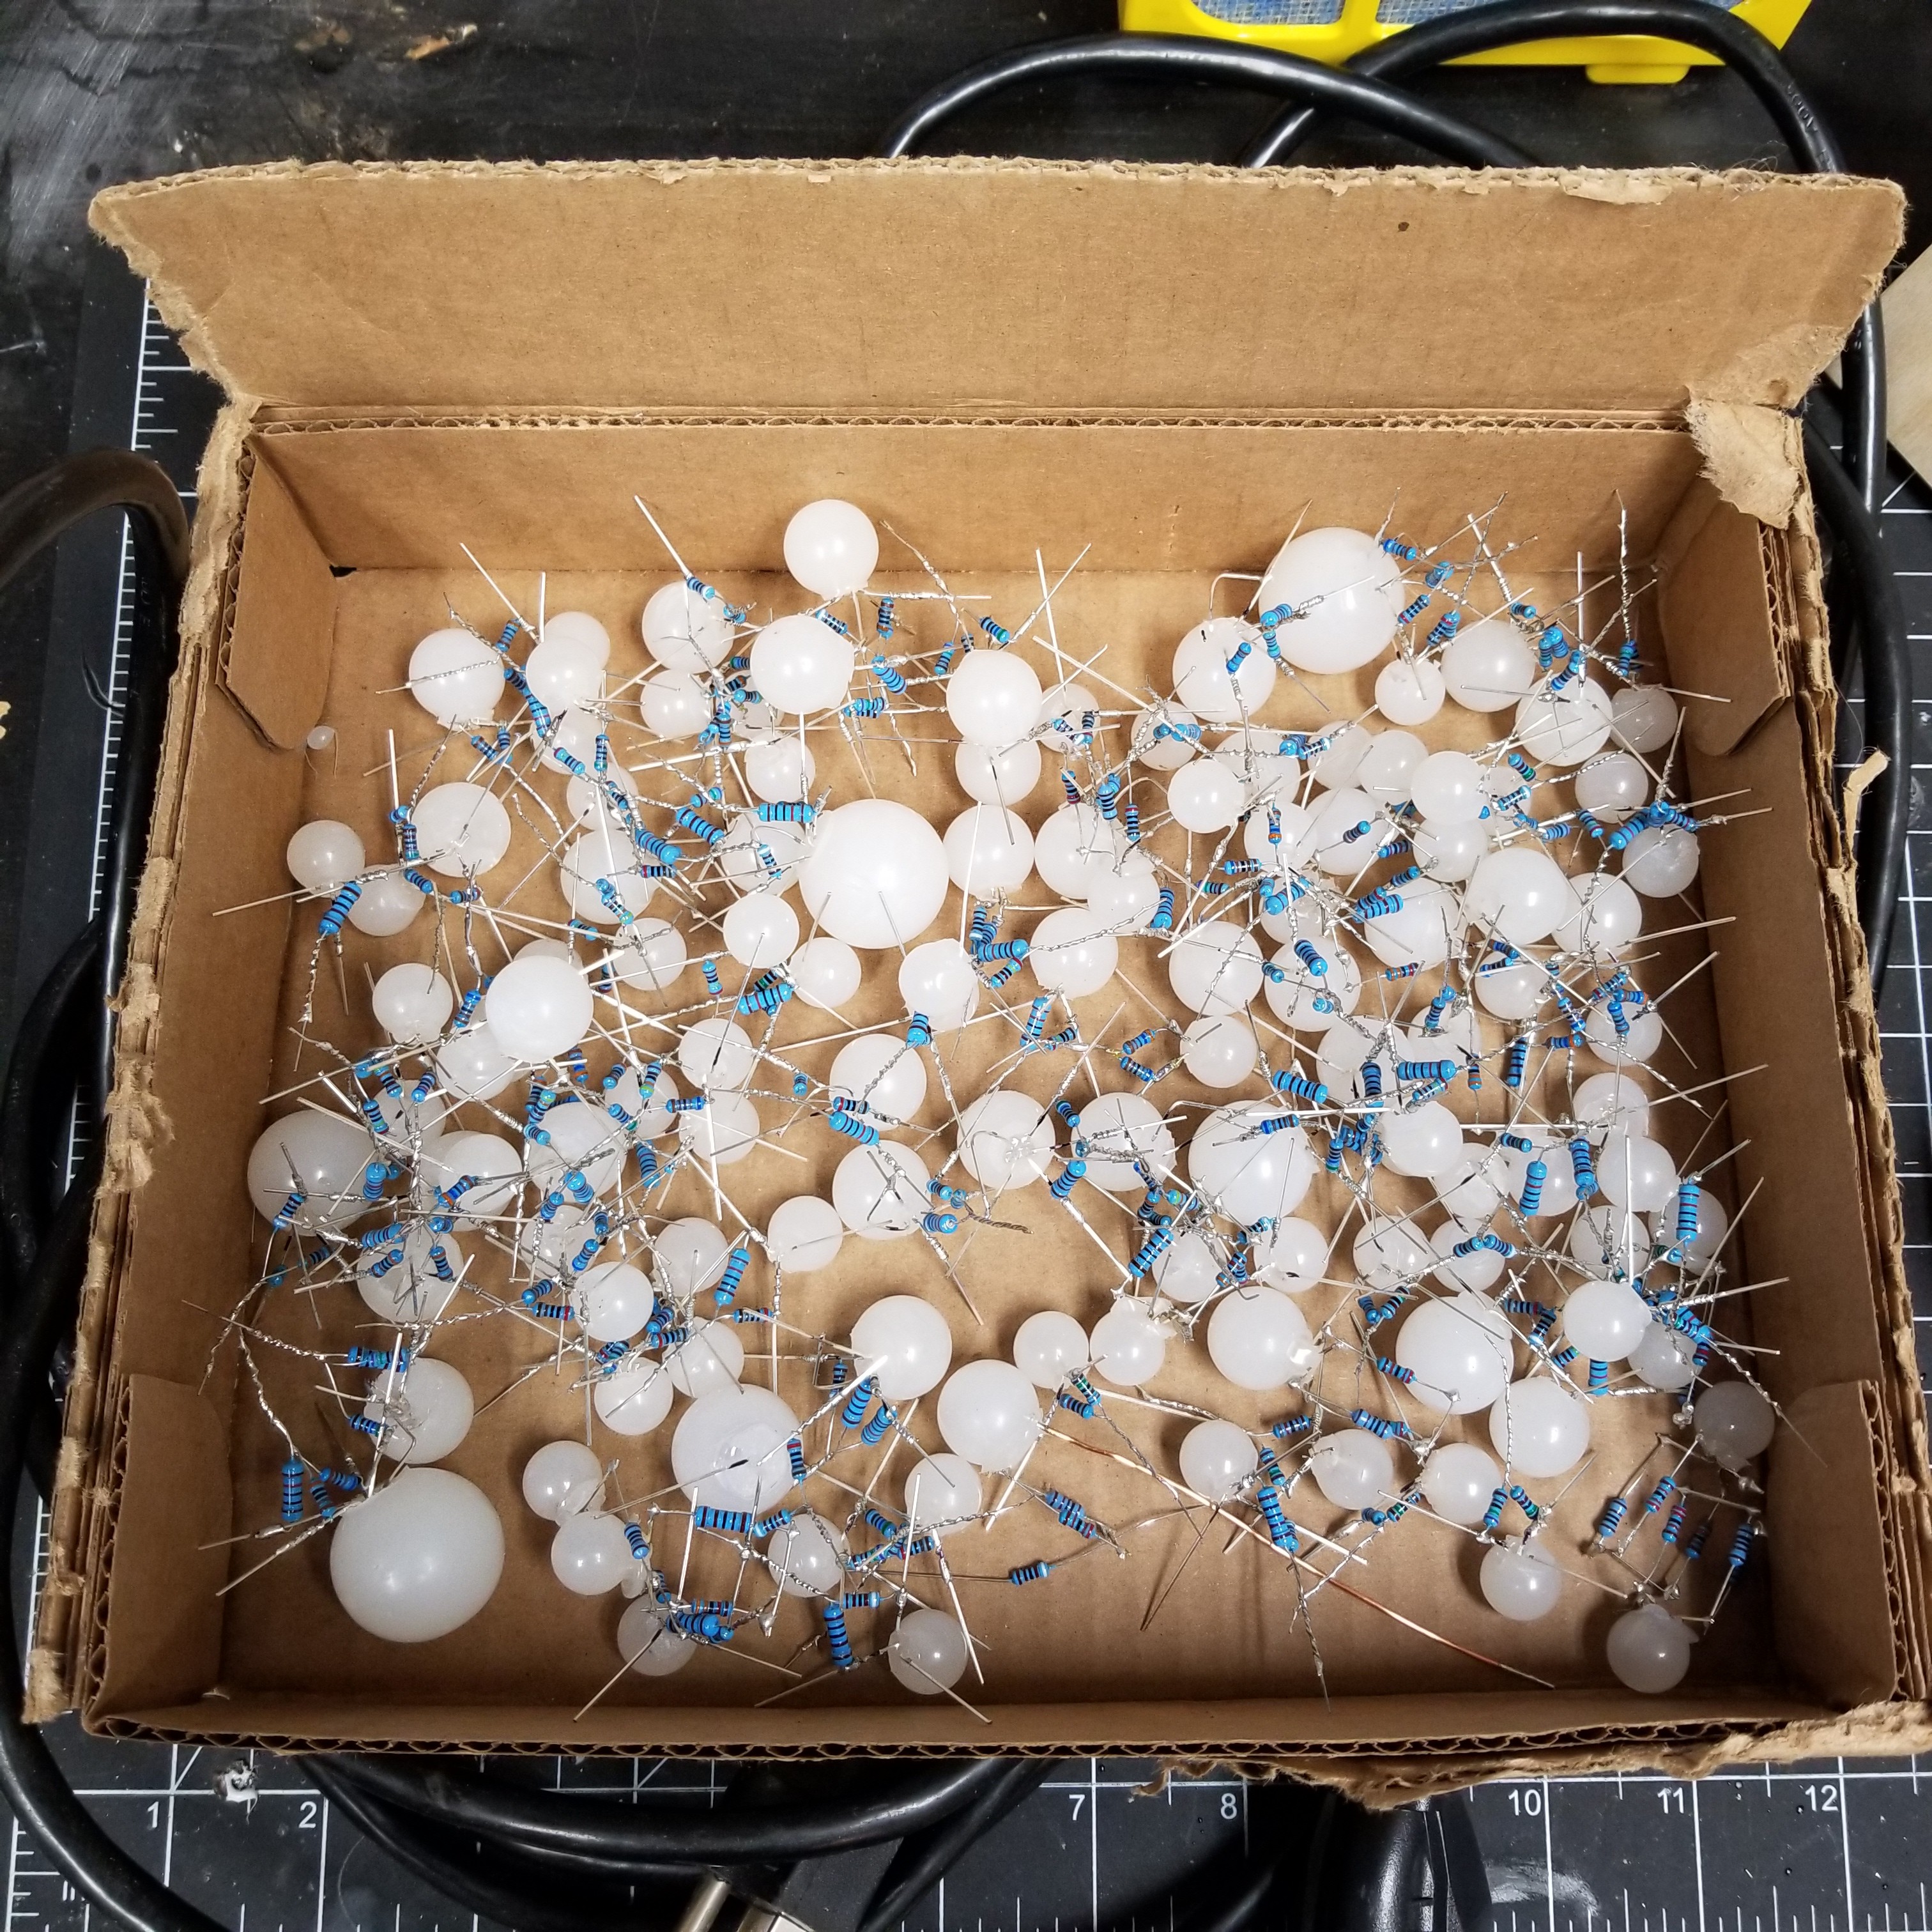
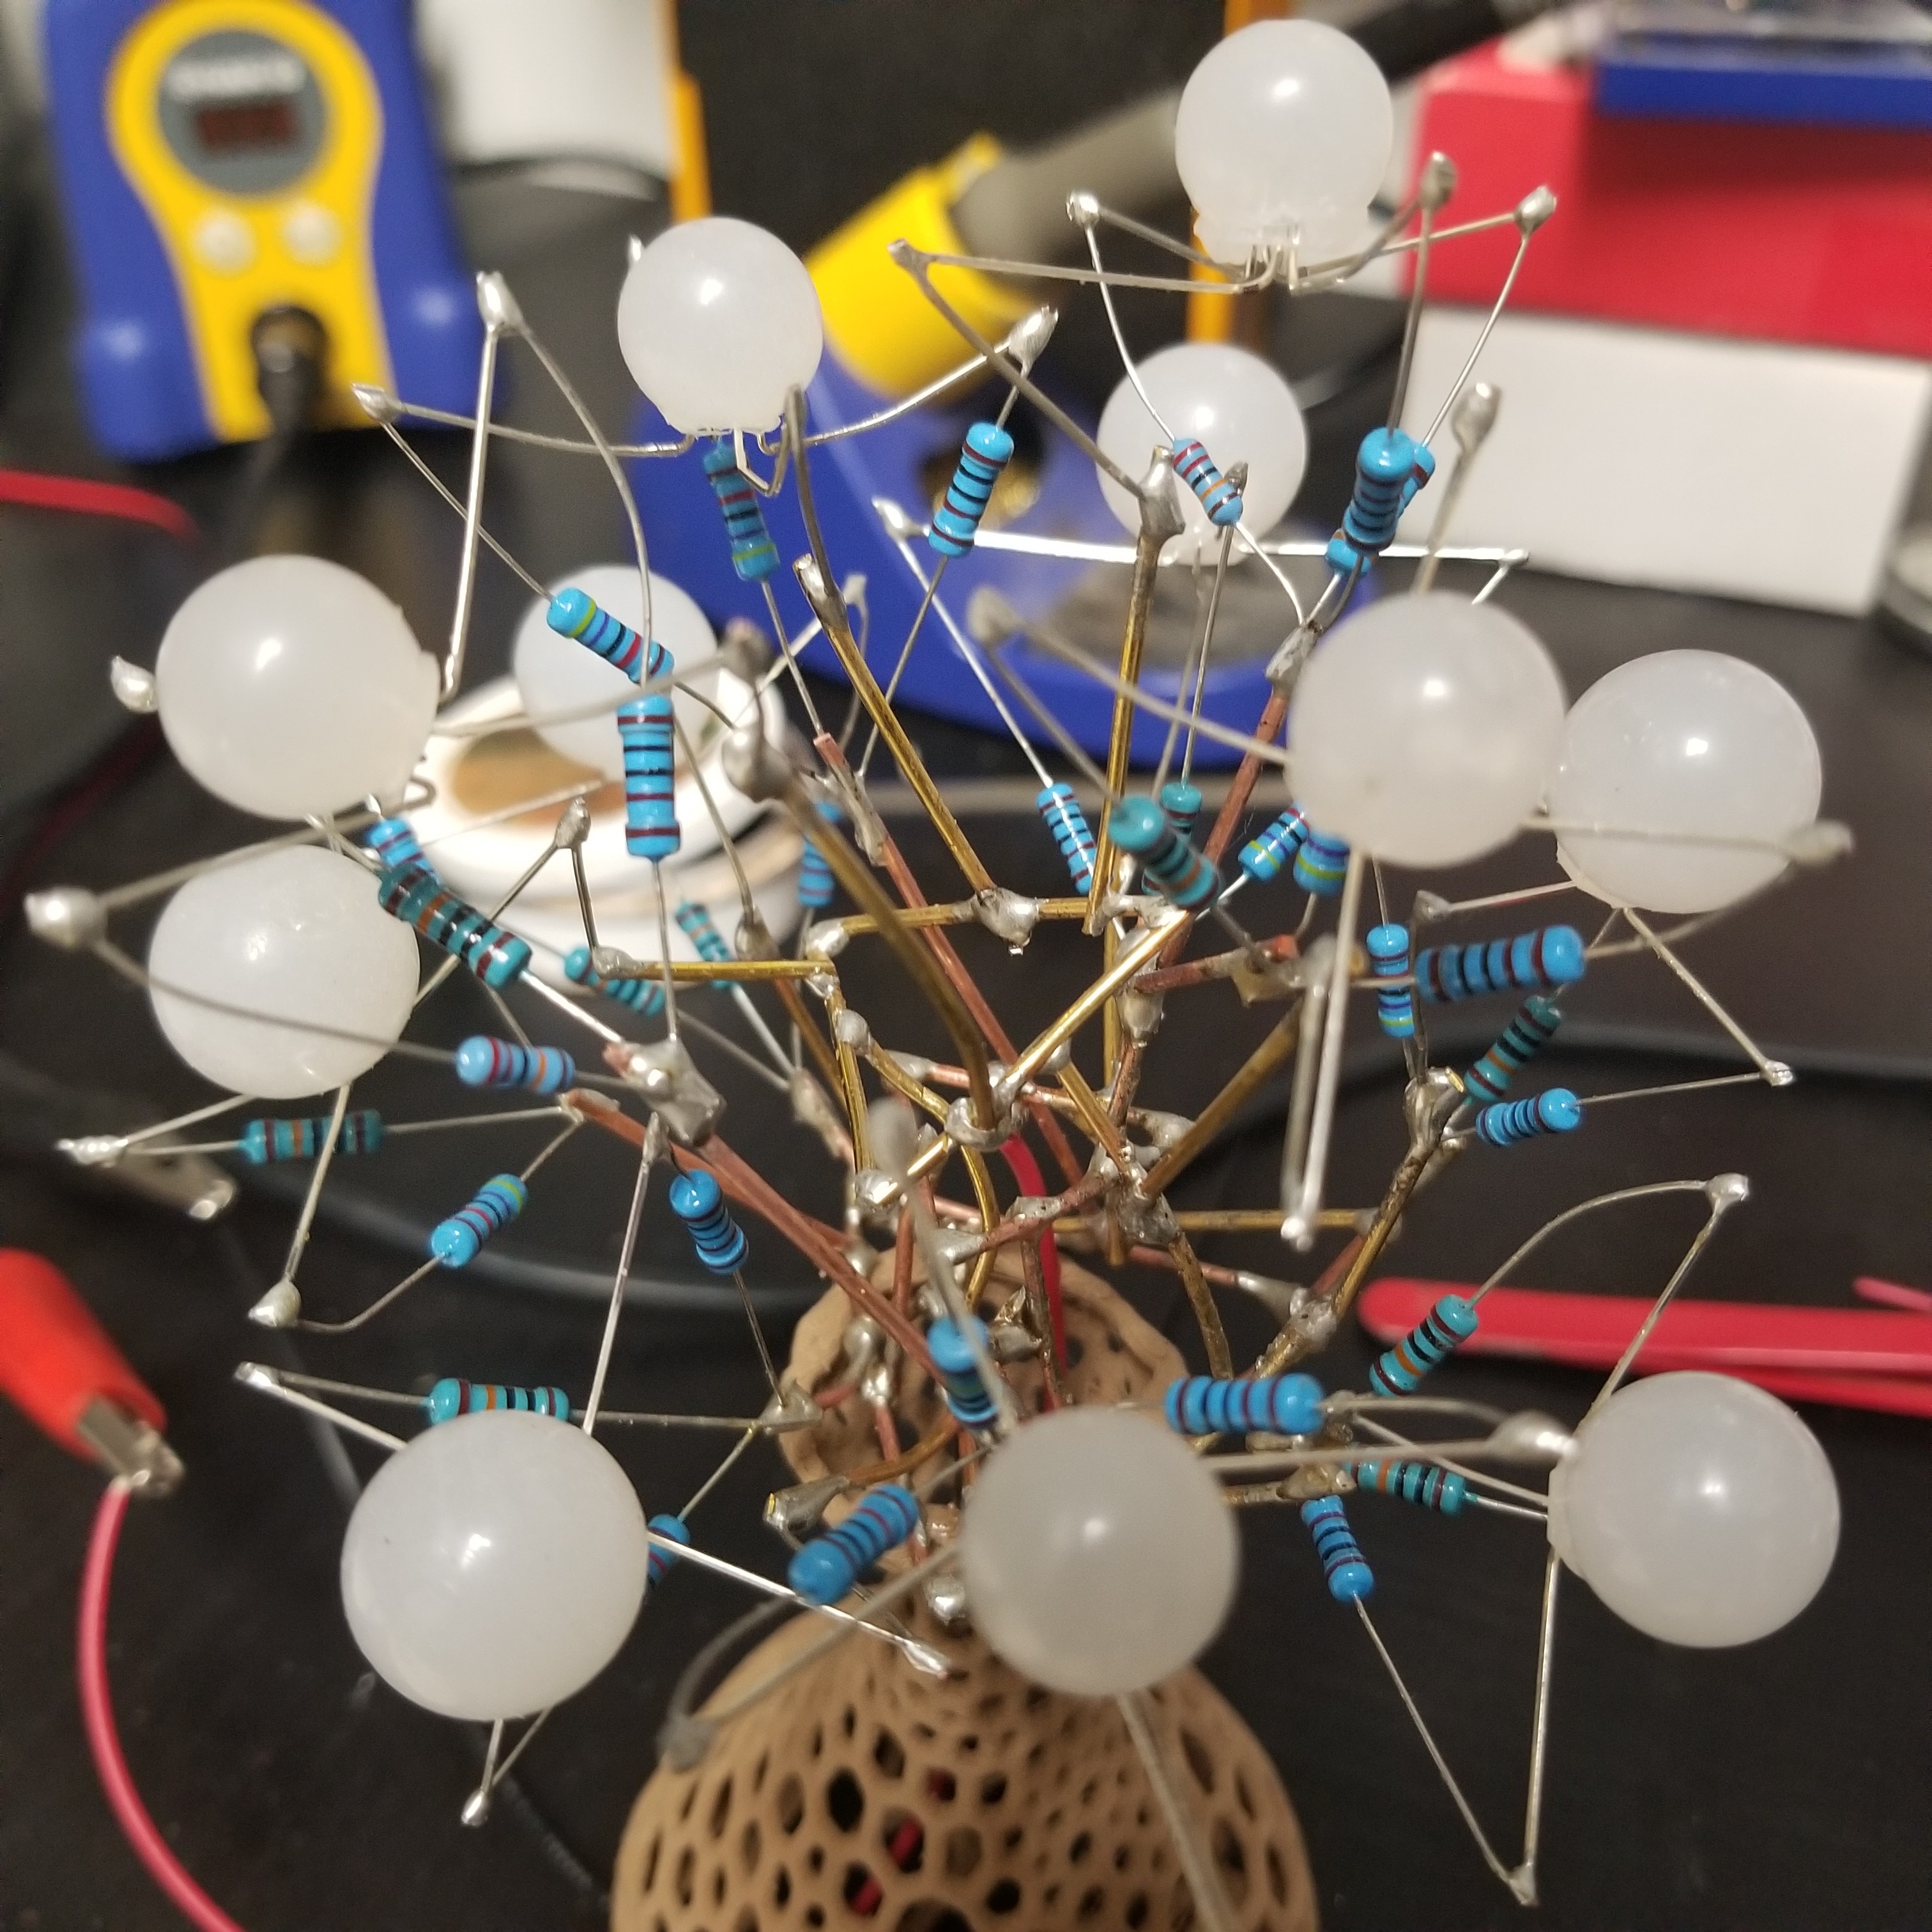
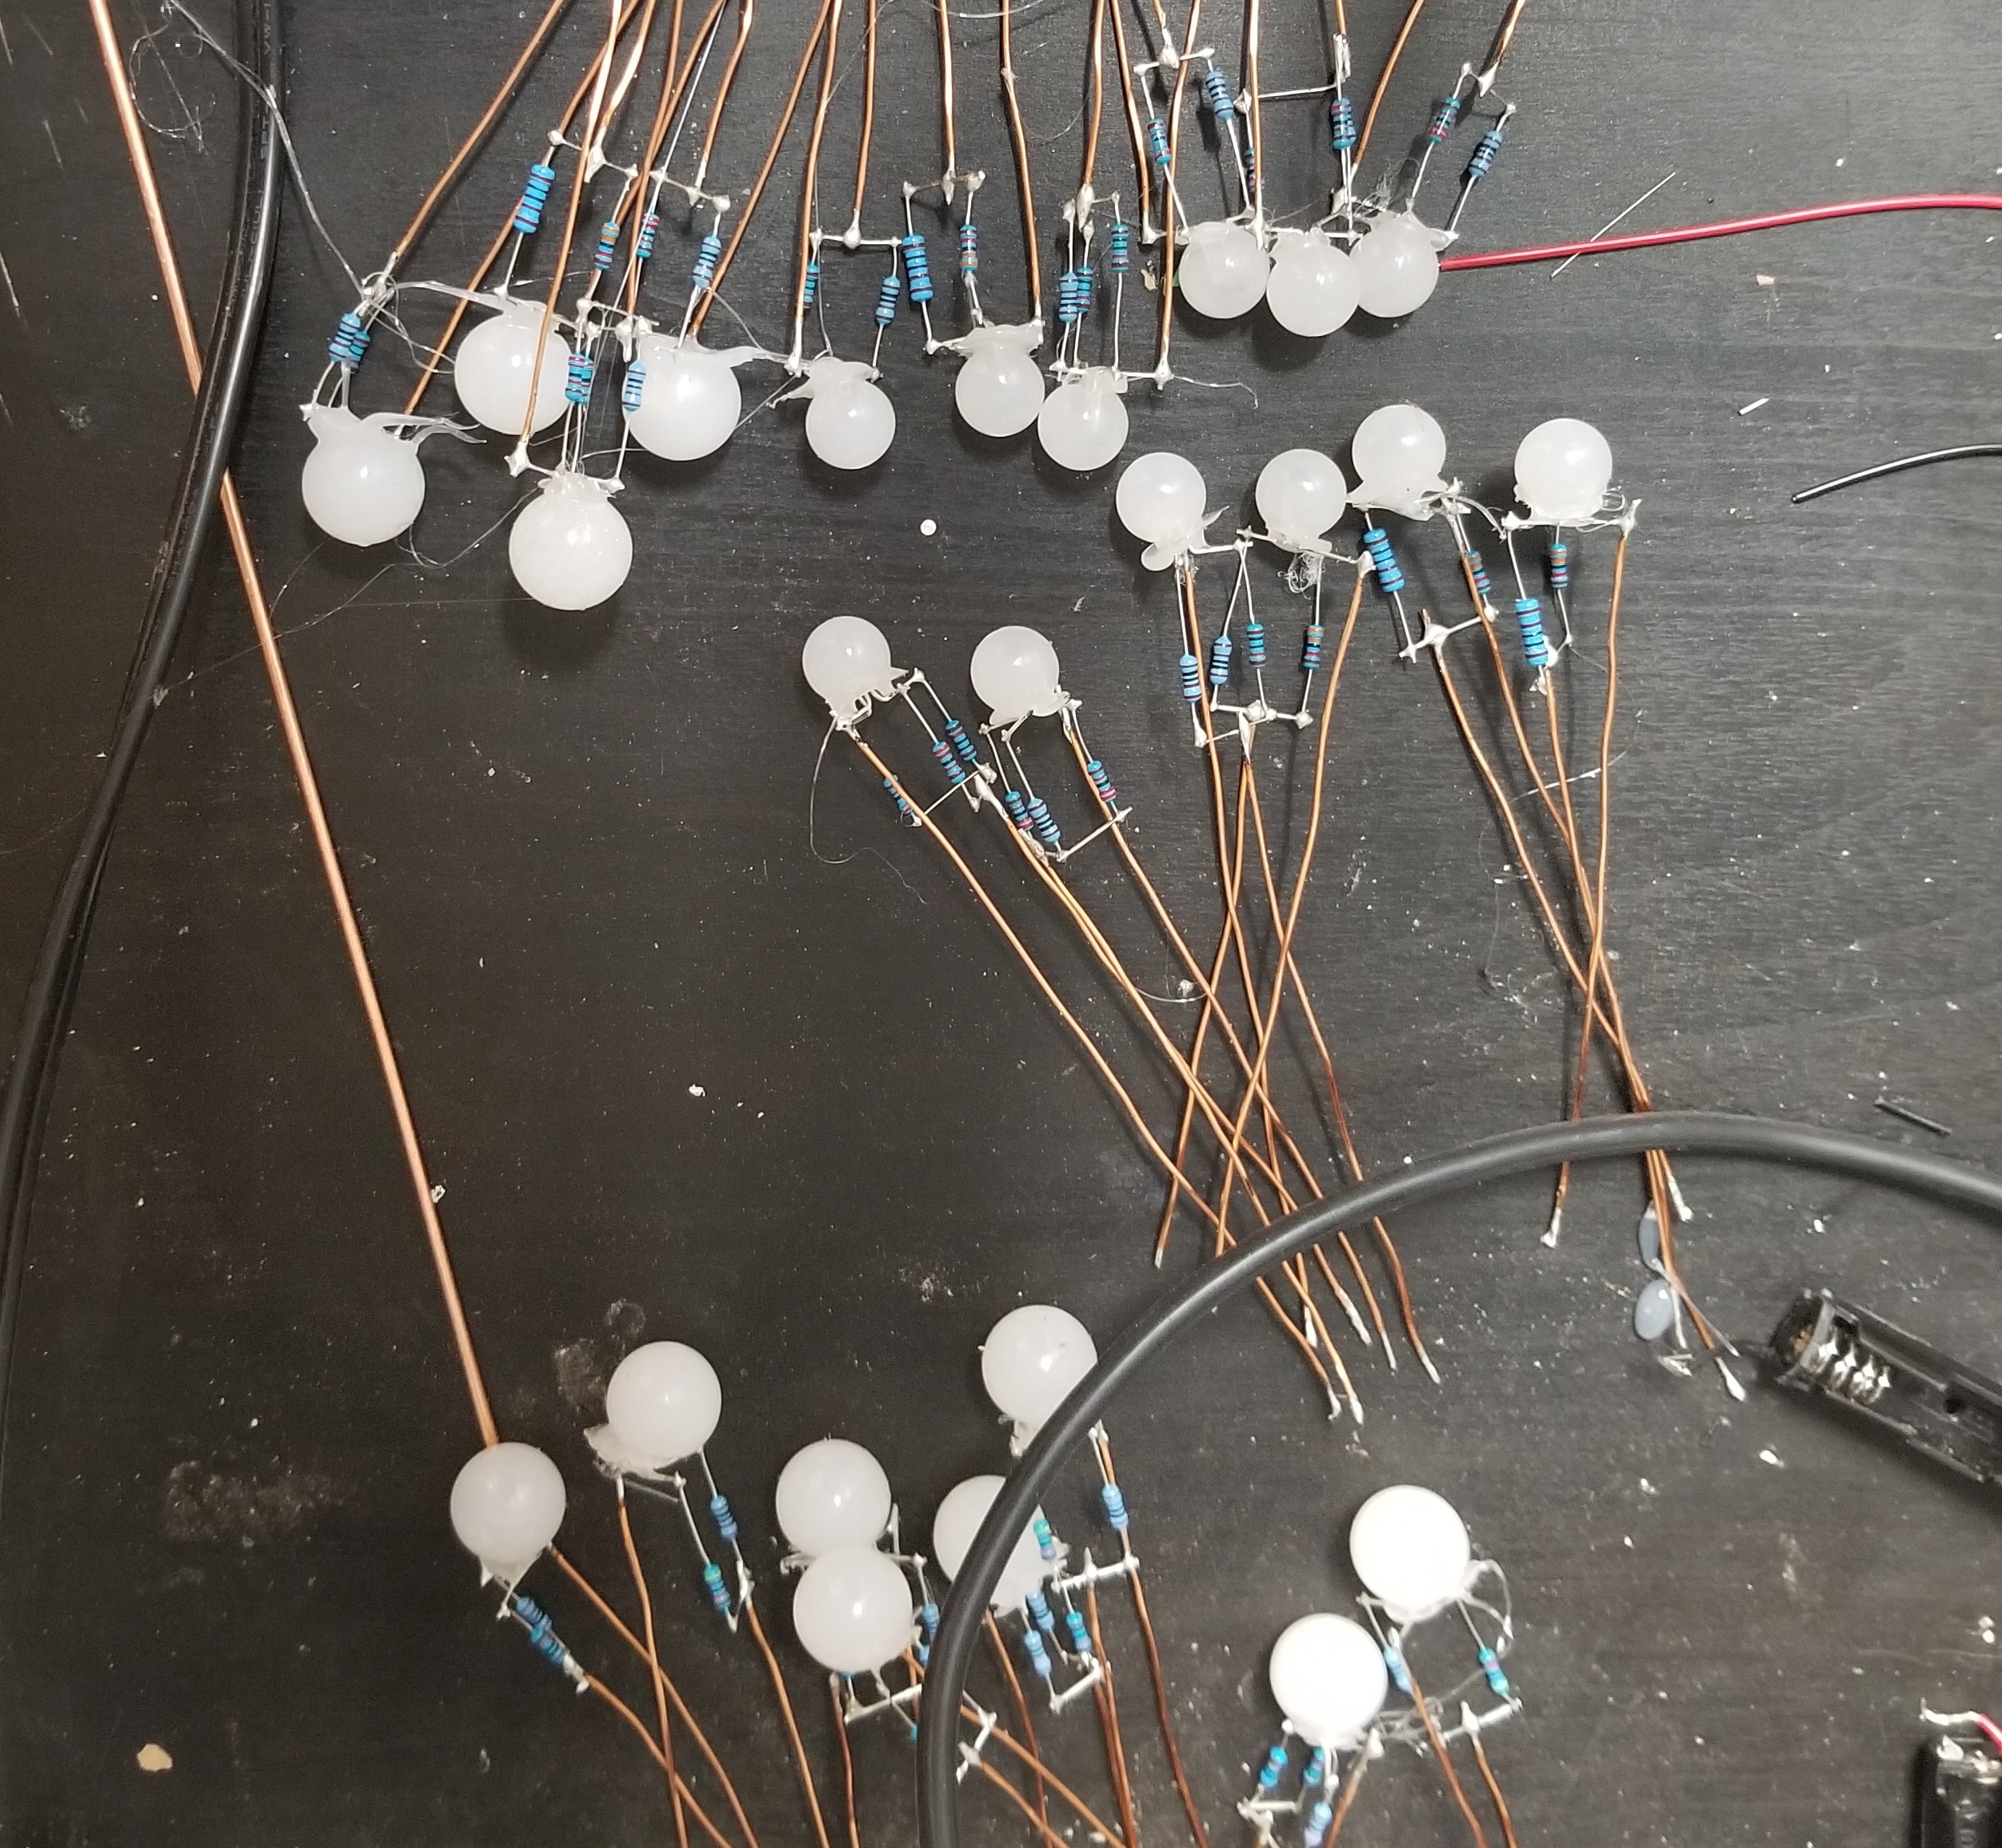
    Resistors soldered on

    After making the orbs we started attaching resistors. I made a really simple algorithm for assigning resistor values to LEDs.  I didn't want it to be too random so we stuck in groupings of six values or so per channel.  We only used the green and blue channels of the RGB LEDs.
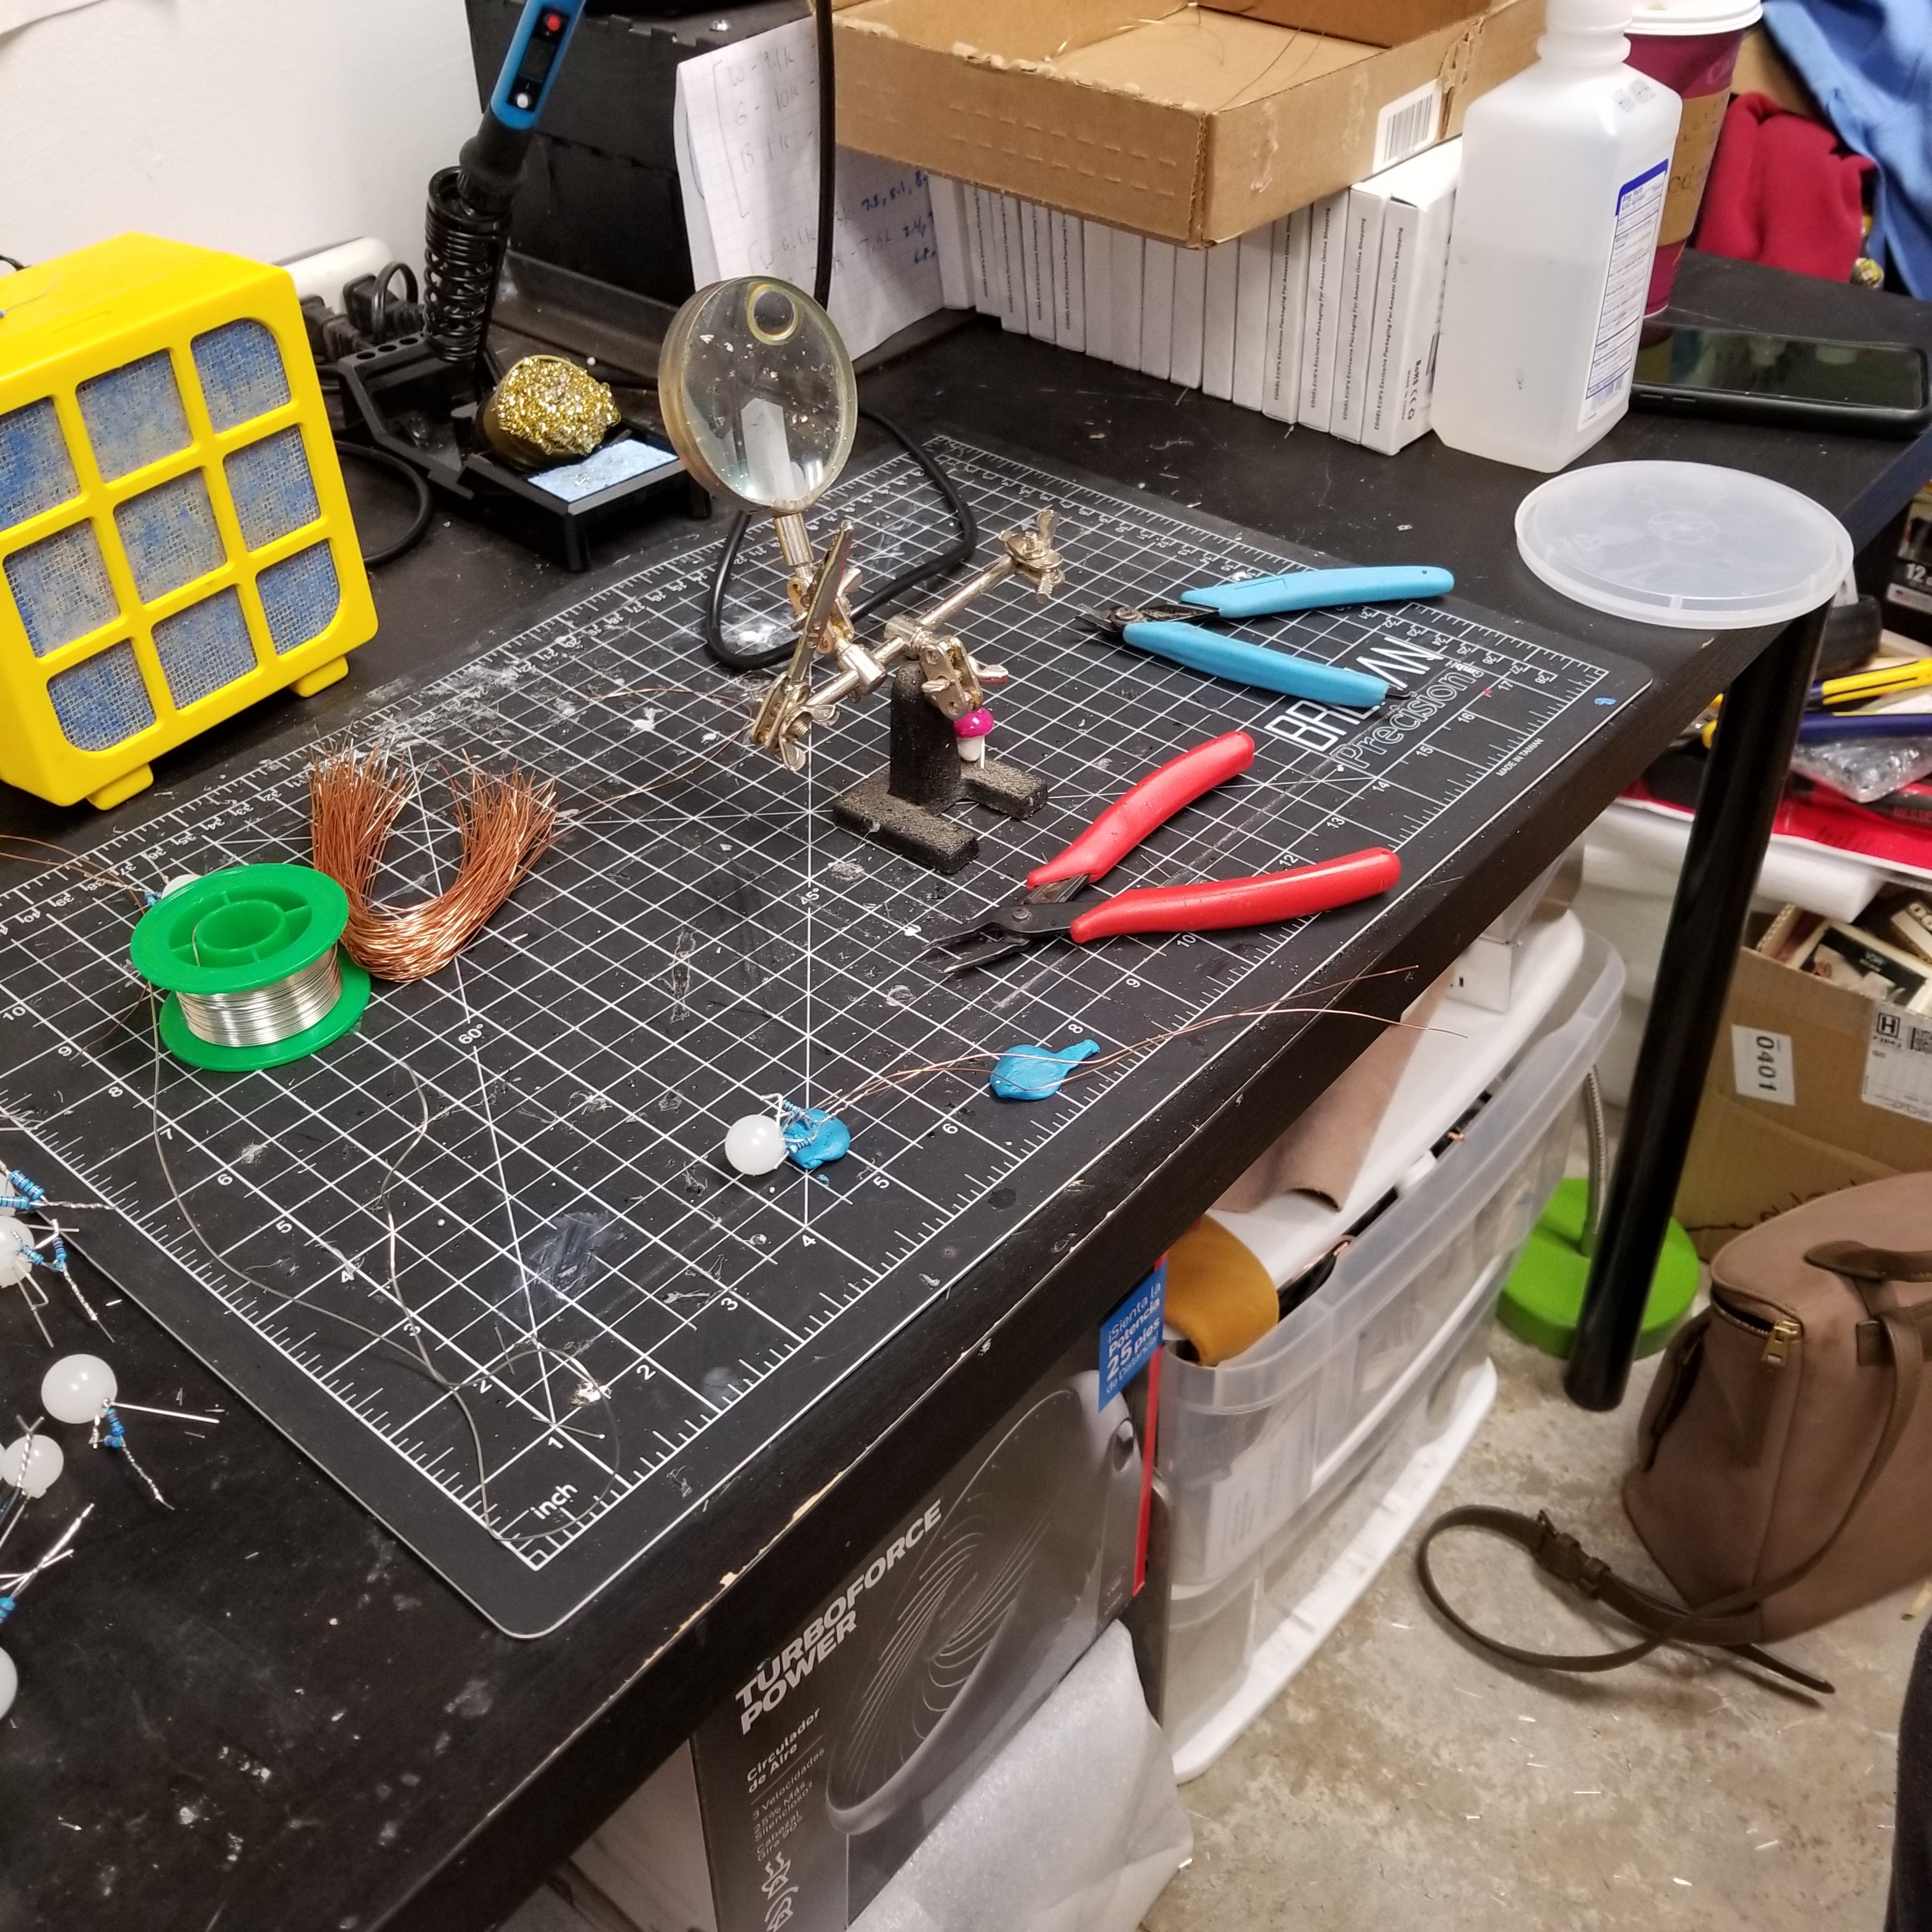
    Process for attaching magnet wire. Sticky tack is the best.

    Next, we Attached the magnet wire lets to the clustered + and - legs.
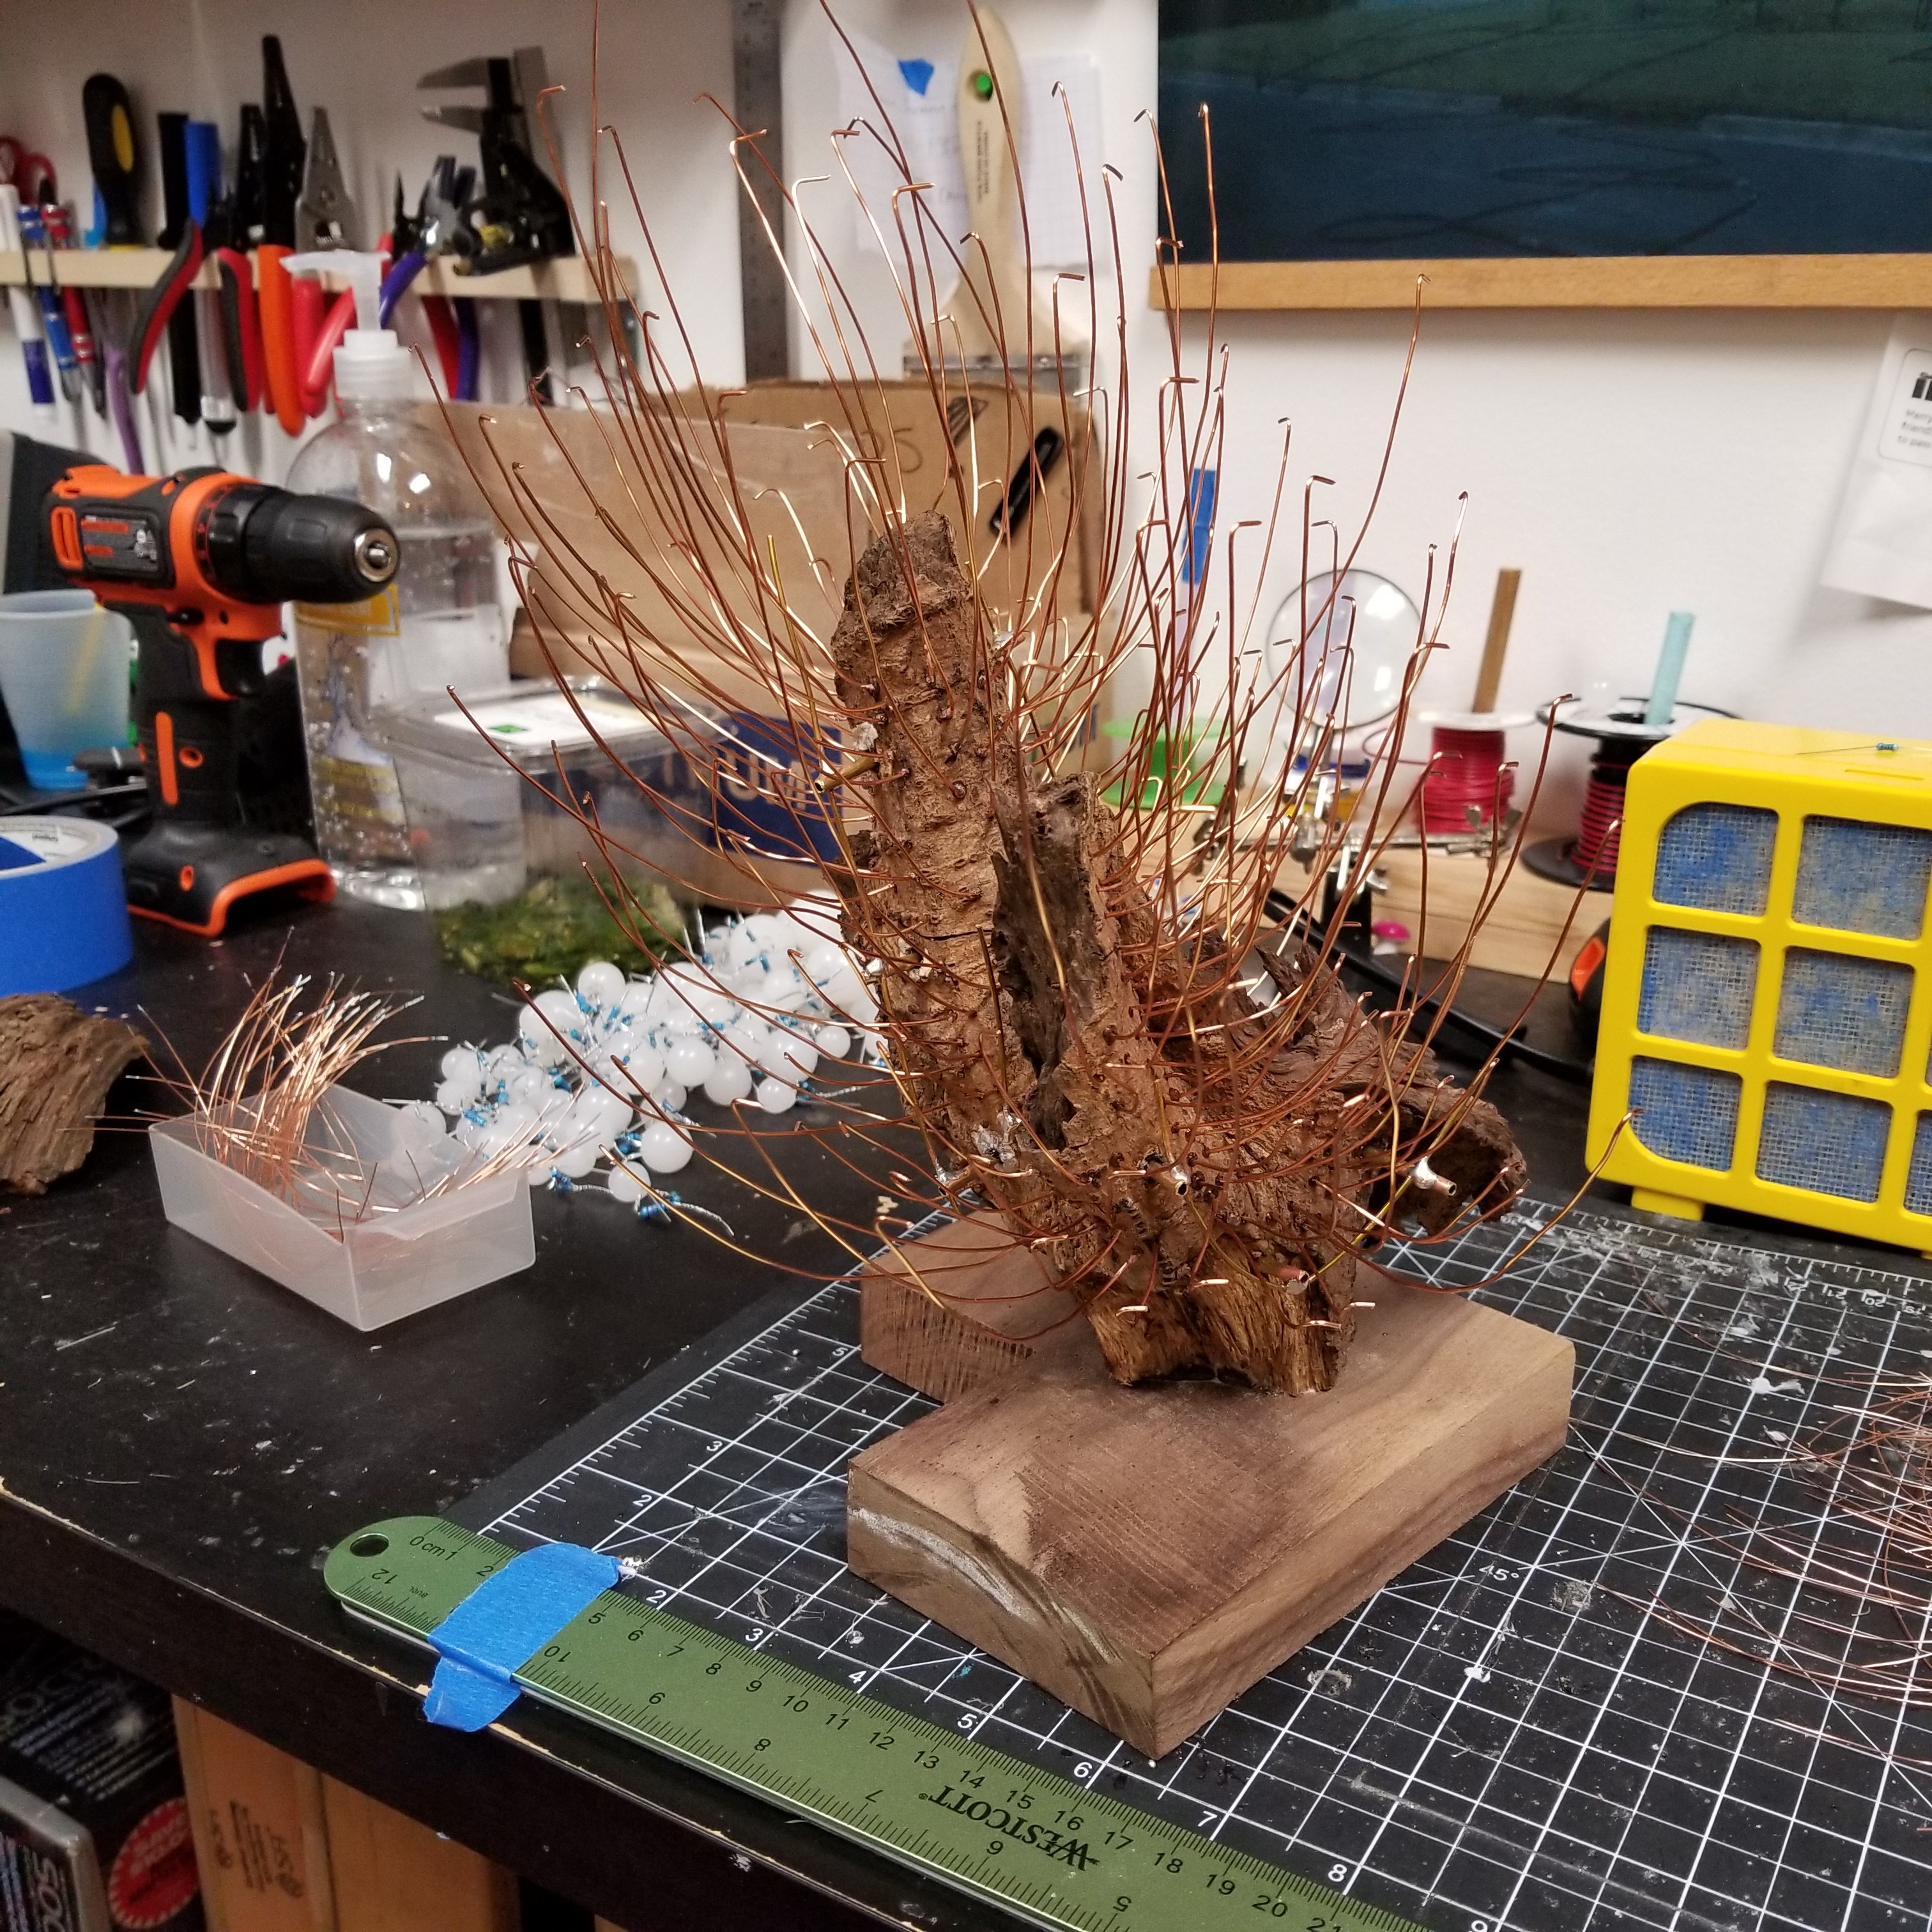
    Anchors attached to wood.

    20 AWG magnet wire to support the orbs.
    All orbs attached. Time to solder.

    This took us about an hour to do.  The only criteria was to keep large orbs away from each other.
    First time powering on.

    We missed a few clusters but they all got sorted in the end. Even though I tested as I went I was still very nervous for the first complete power-up.

  • Successful Design

    Eddie03/24/2022 at 16:25 0 comments

    After a year of experimenting, I finally was able to produce a sculpture I was happy with!

    LED flower off
    LED flower
    LED flower detail

  • New Diffusers

    Eddie03/24/2022 at 15:55 0 comments

    After two years I decided to scrap the first iteration.  Technically I was going about the problem in the wrong way.  I had intended to use attiny85's to PWM fade colors at different rates.  However, I ran into an obvious issue in that the red channel was always going to be active as I hadn't added current limiting resistors to any other pins.  If you want to see grab a coin-cell battery and an RGB LED and try red with any other leg. 

    Aside from this glaring issue, I wasn't too happy with the shape of the LED diffusers so I decided to make my own.   Below are some before and after pics of the new diffusers.

    Making the diffusers is simple enough.  You just need an orb silicon mold and some clear hot glue!  

    Also during this time, I moved away from bare 22awg wire to 22awg magnet core wire as it has an enamel coating and makes shorting out a lot more difficult. 

    LEDs wired up pre diffuser
    LEDs with diffusers

  • Starting out

    Eddie03/24/2022 at 15:38 0 comments

    This sculpture is complete but I wanted to add some logs on how I got from the idea in my head to the final design.  I've had the idea of making a sculpture using current limiting resistors to mix colors for a few years now.  Below are some pictures of my first attempts.

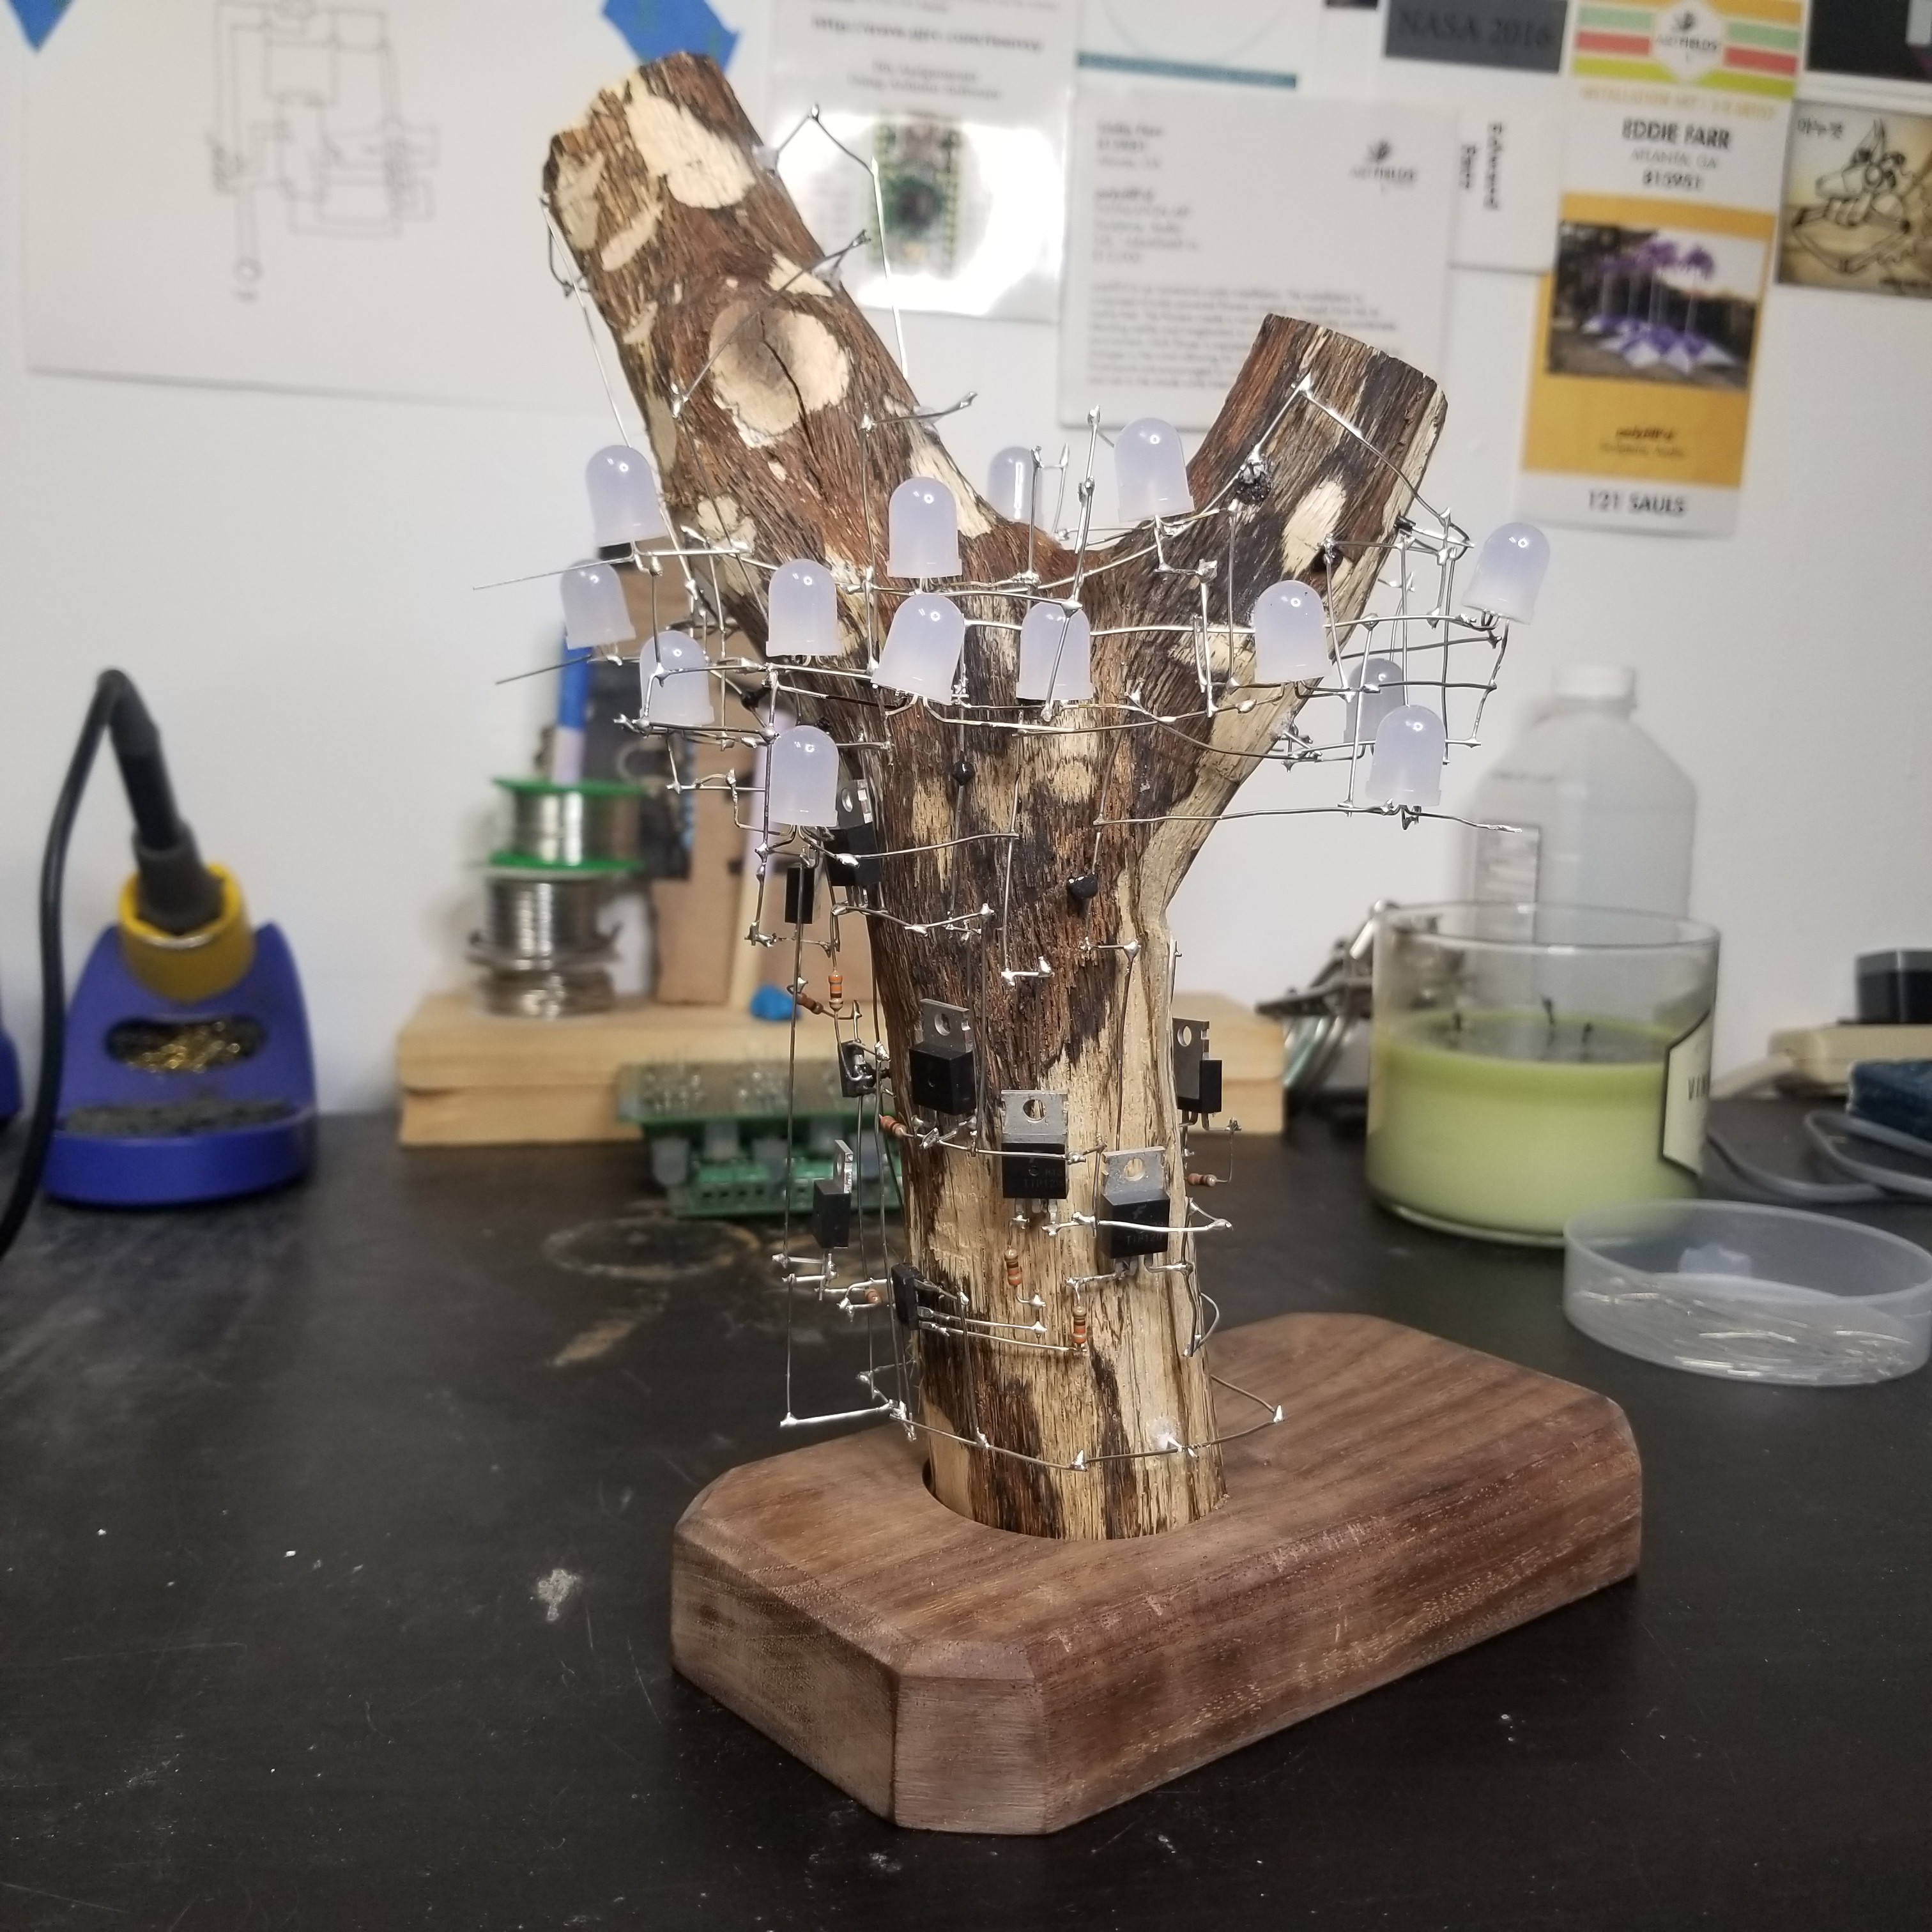
    1st attempt in March of 2020.  I had a few hundred 10mm RGB LEDs that were for a project that was canceled due to the pandemic on hand so I decided to start adding them to a piece of wood I had whose shape I liked. Bonsai #1

    Slowly adding RGB LEDs
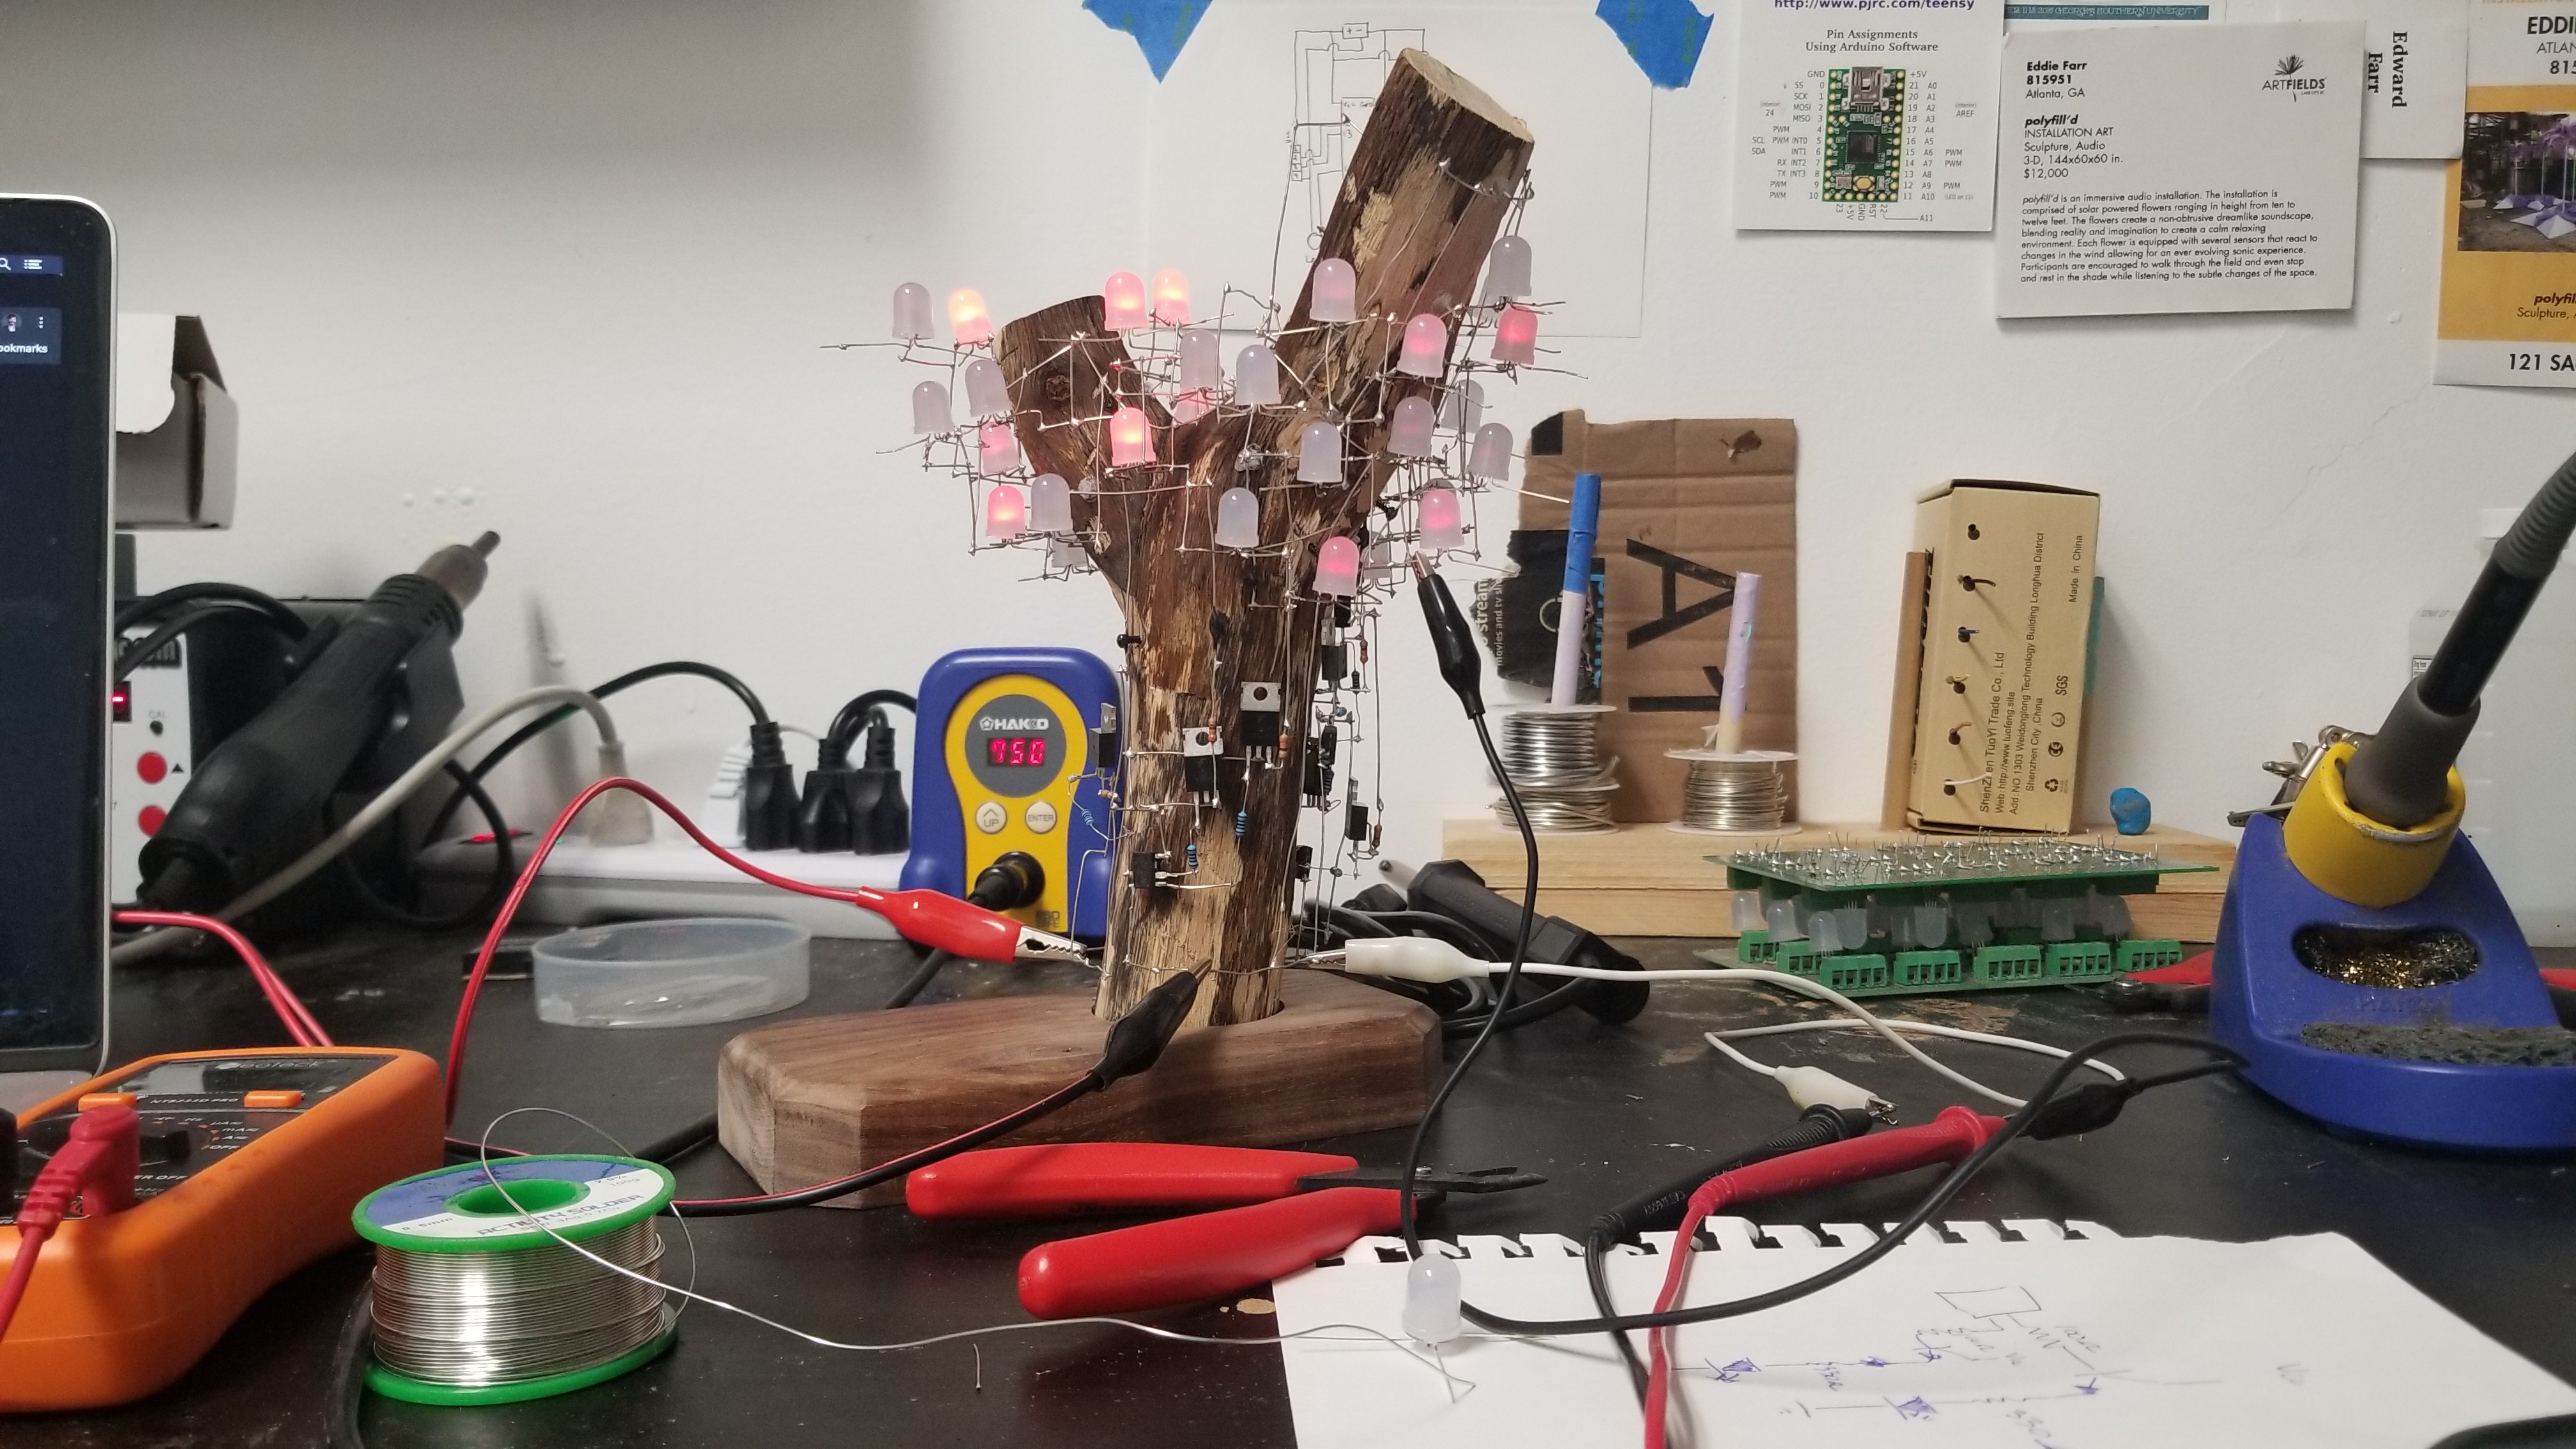
    Power Test
    Adding power

View all 4 project logs

Enjoy this project?

Share

Discussions

sophia emily wrote 04/21/2022 at 18:12 point

 Brilliant  This is gorgeous. Nice job! 

  Are you sure? yes | no

Eddie wrote 04/26/2022 at 22:52 point

Thank you! 

  Are you sure? yes | no

mike wrote 03/31/2022 at 05:04 point

Bloody Brilliant that is!  Perseverance Pays Off Again!

  Are you sure? yes | no

Eddie wrote 04/26/2022 at 22:52 point

Thank you! 

  Are you sure? yes | no

Josh Cole wrote 03/30/2022 at 18:35 point

This is gorgeous. Nice job!

  Are you sure? yes | no

Eddie wrote 04/26/2022 at 22:52 point

Thank you! 

  Are you sure? yes | no

Similar Projects

Does this project spark your interest?

Become a member to follow this project and never miss any updates