So having a next generation 3D printing technology is pretty cool, but having a next generation 3D printing technology in as many consumers' league budgets is a magnitude better. Thus, I wanted to research the CanDoTheTaskApp of using the 6.08" screen I've seen here-and-there while searching for usable screens on AliExpress.
Initial Screen Research
Unlike most screens, a variety of sellers were selling mono 6.08" screens. The cheapest I found was £27 yesterday and would probably work with this driver board, meaning that I didn't have to find some specific motherboard from a printer and then somehow get it to mesh with the rest of the system.
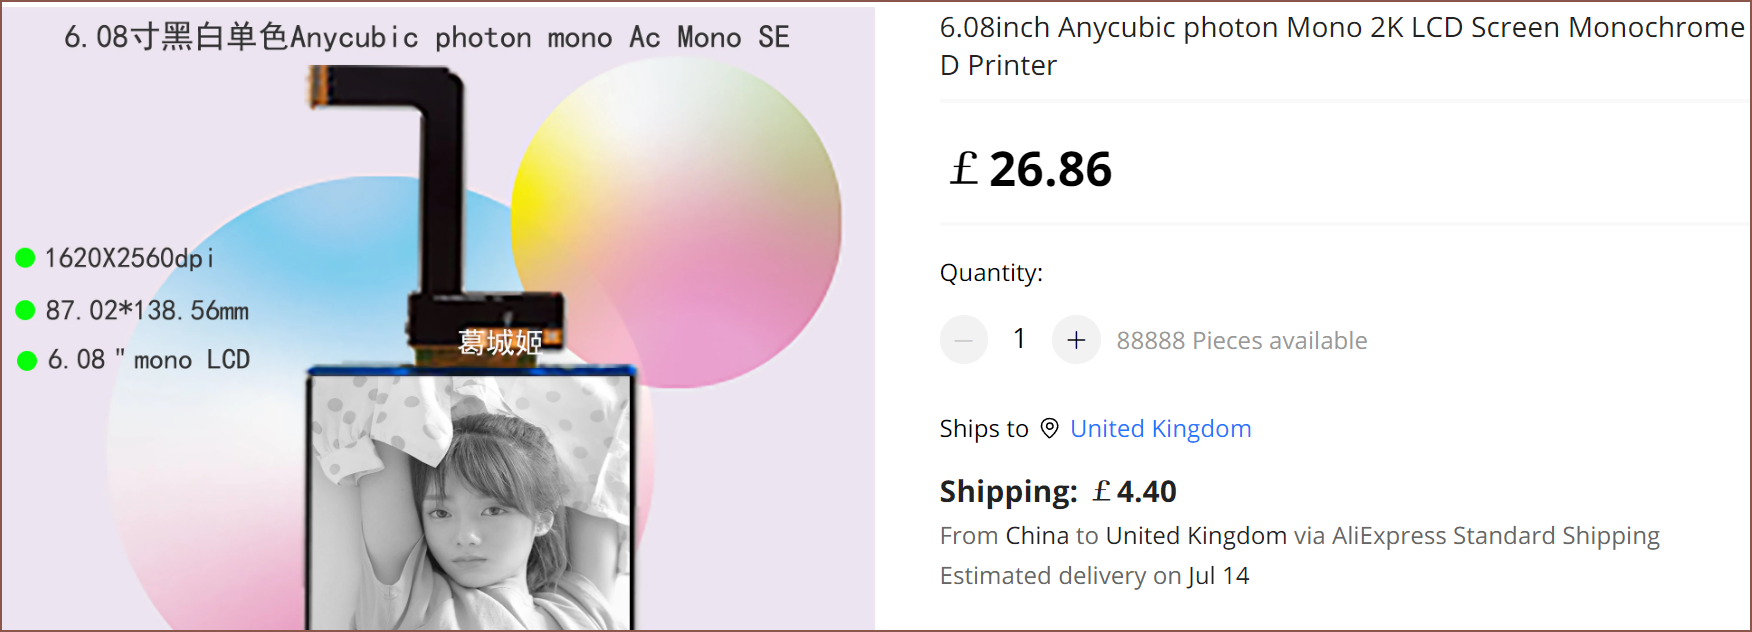
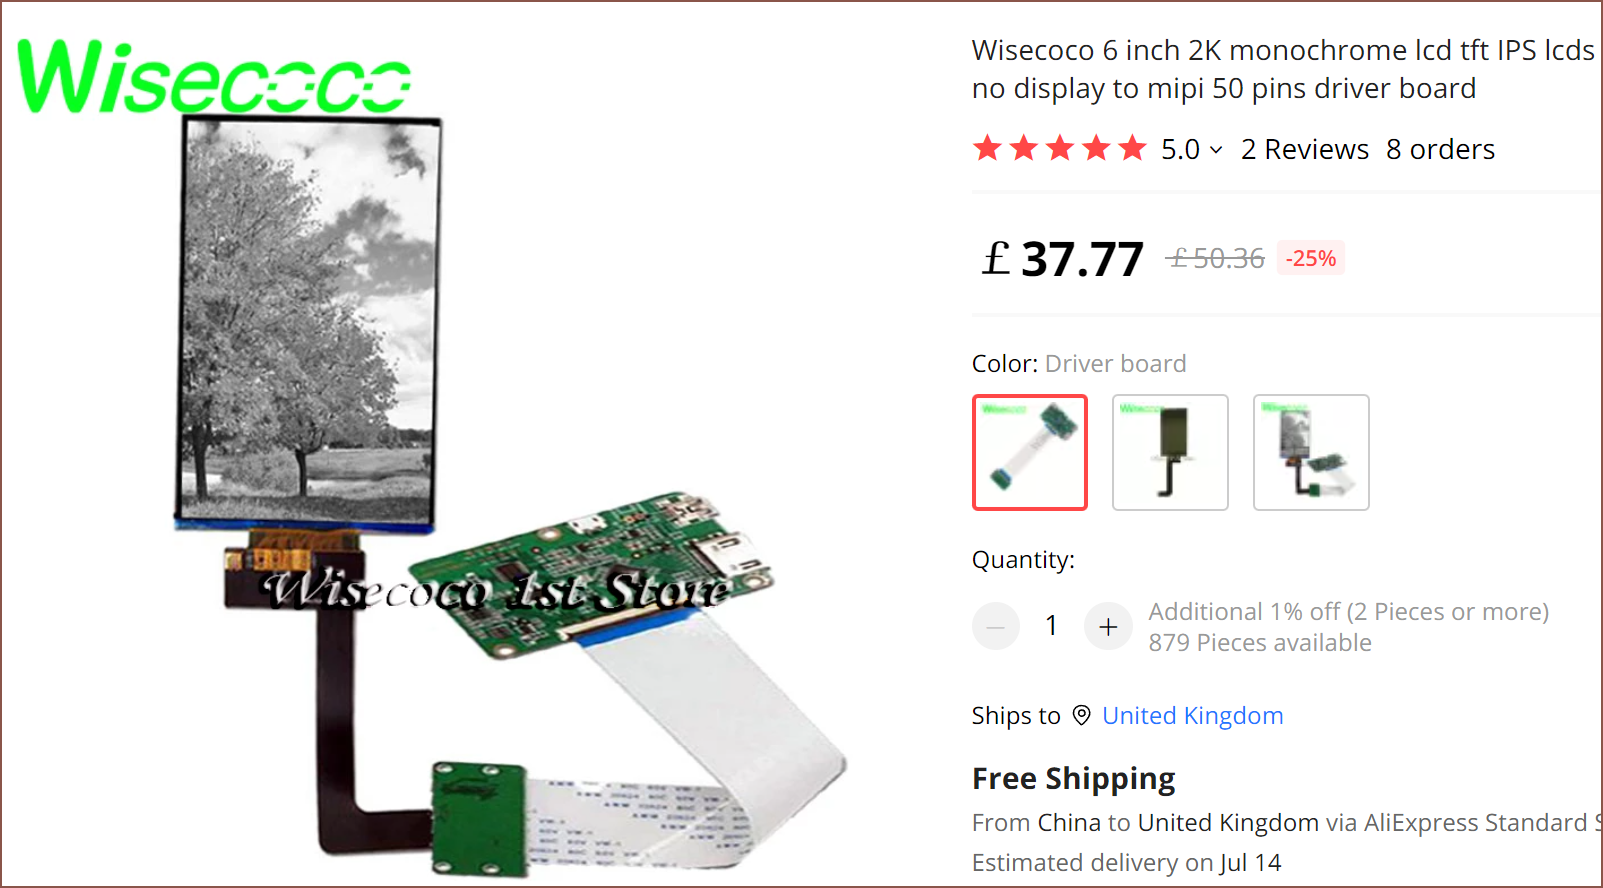
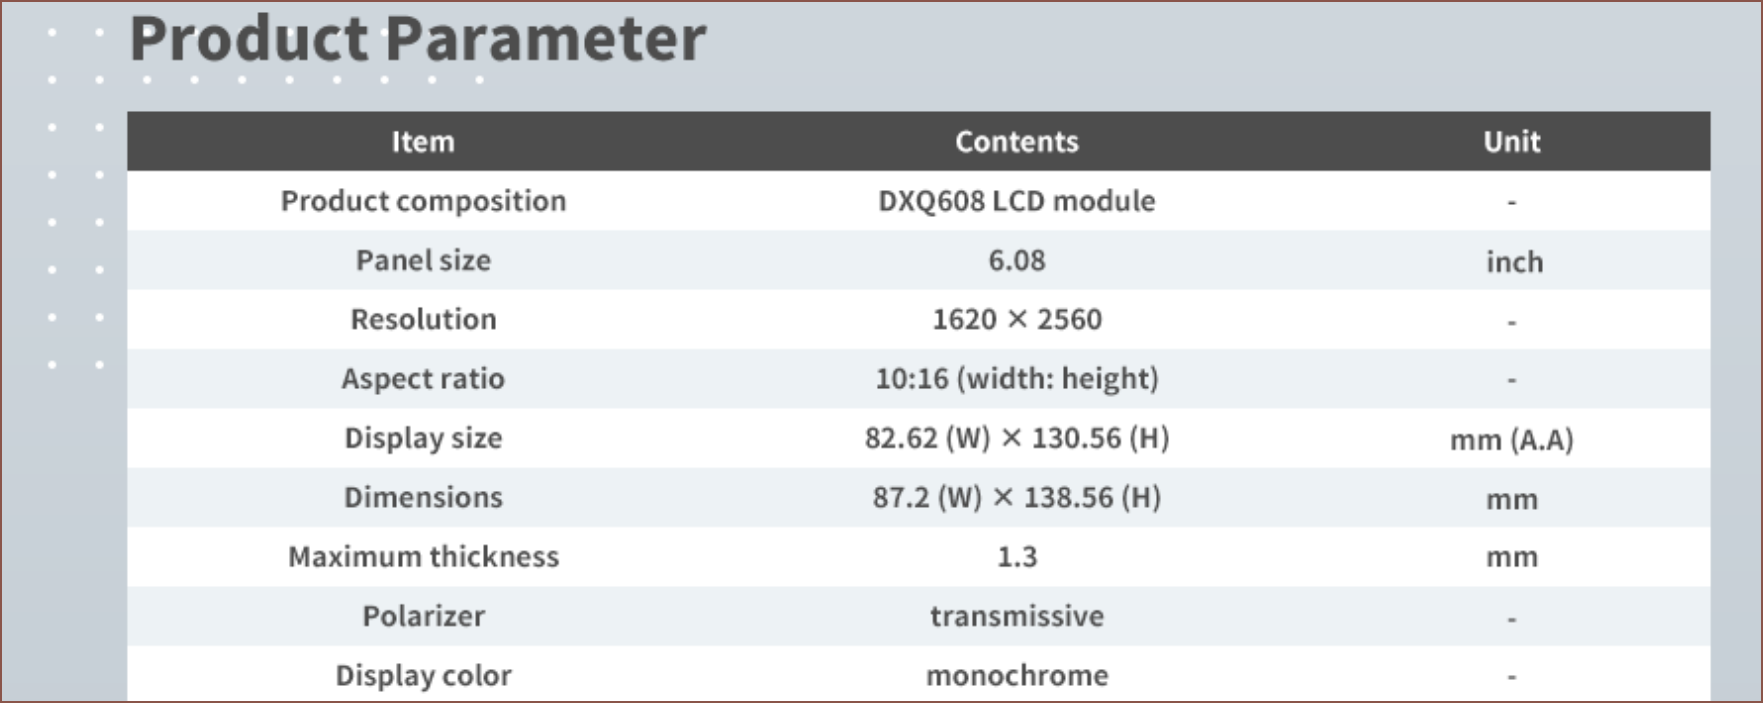
So taking the dimensions above, I put an estimated build volume into Cura. The Z is 300mm, X is 82.6 * 4 = 330.4mm and Y is 130.5mm. Seeing if the Y axis is long enough is the experiment. I'd like the X axis to be around or over 300mm, so that's why I didn't use 82.6 * 3 = 247.8mm.
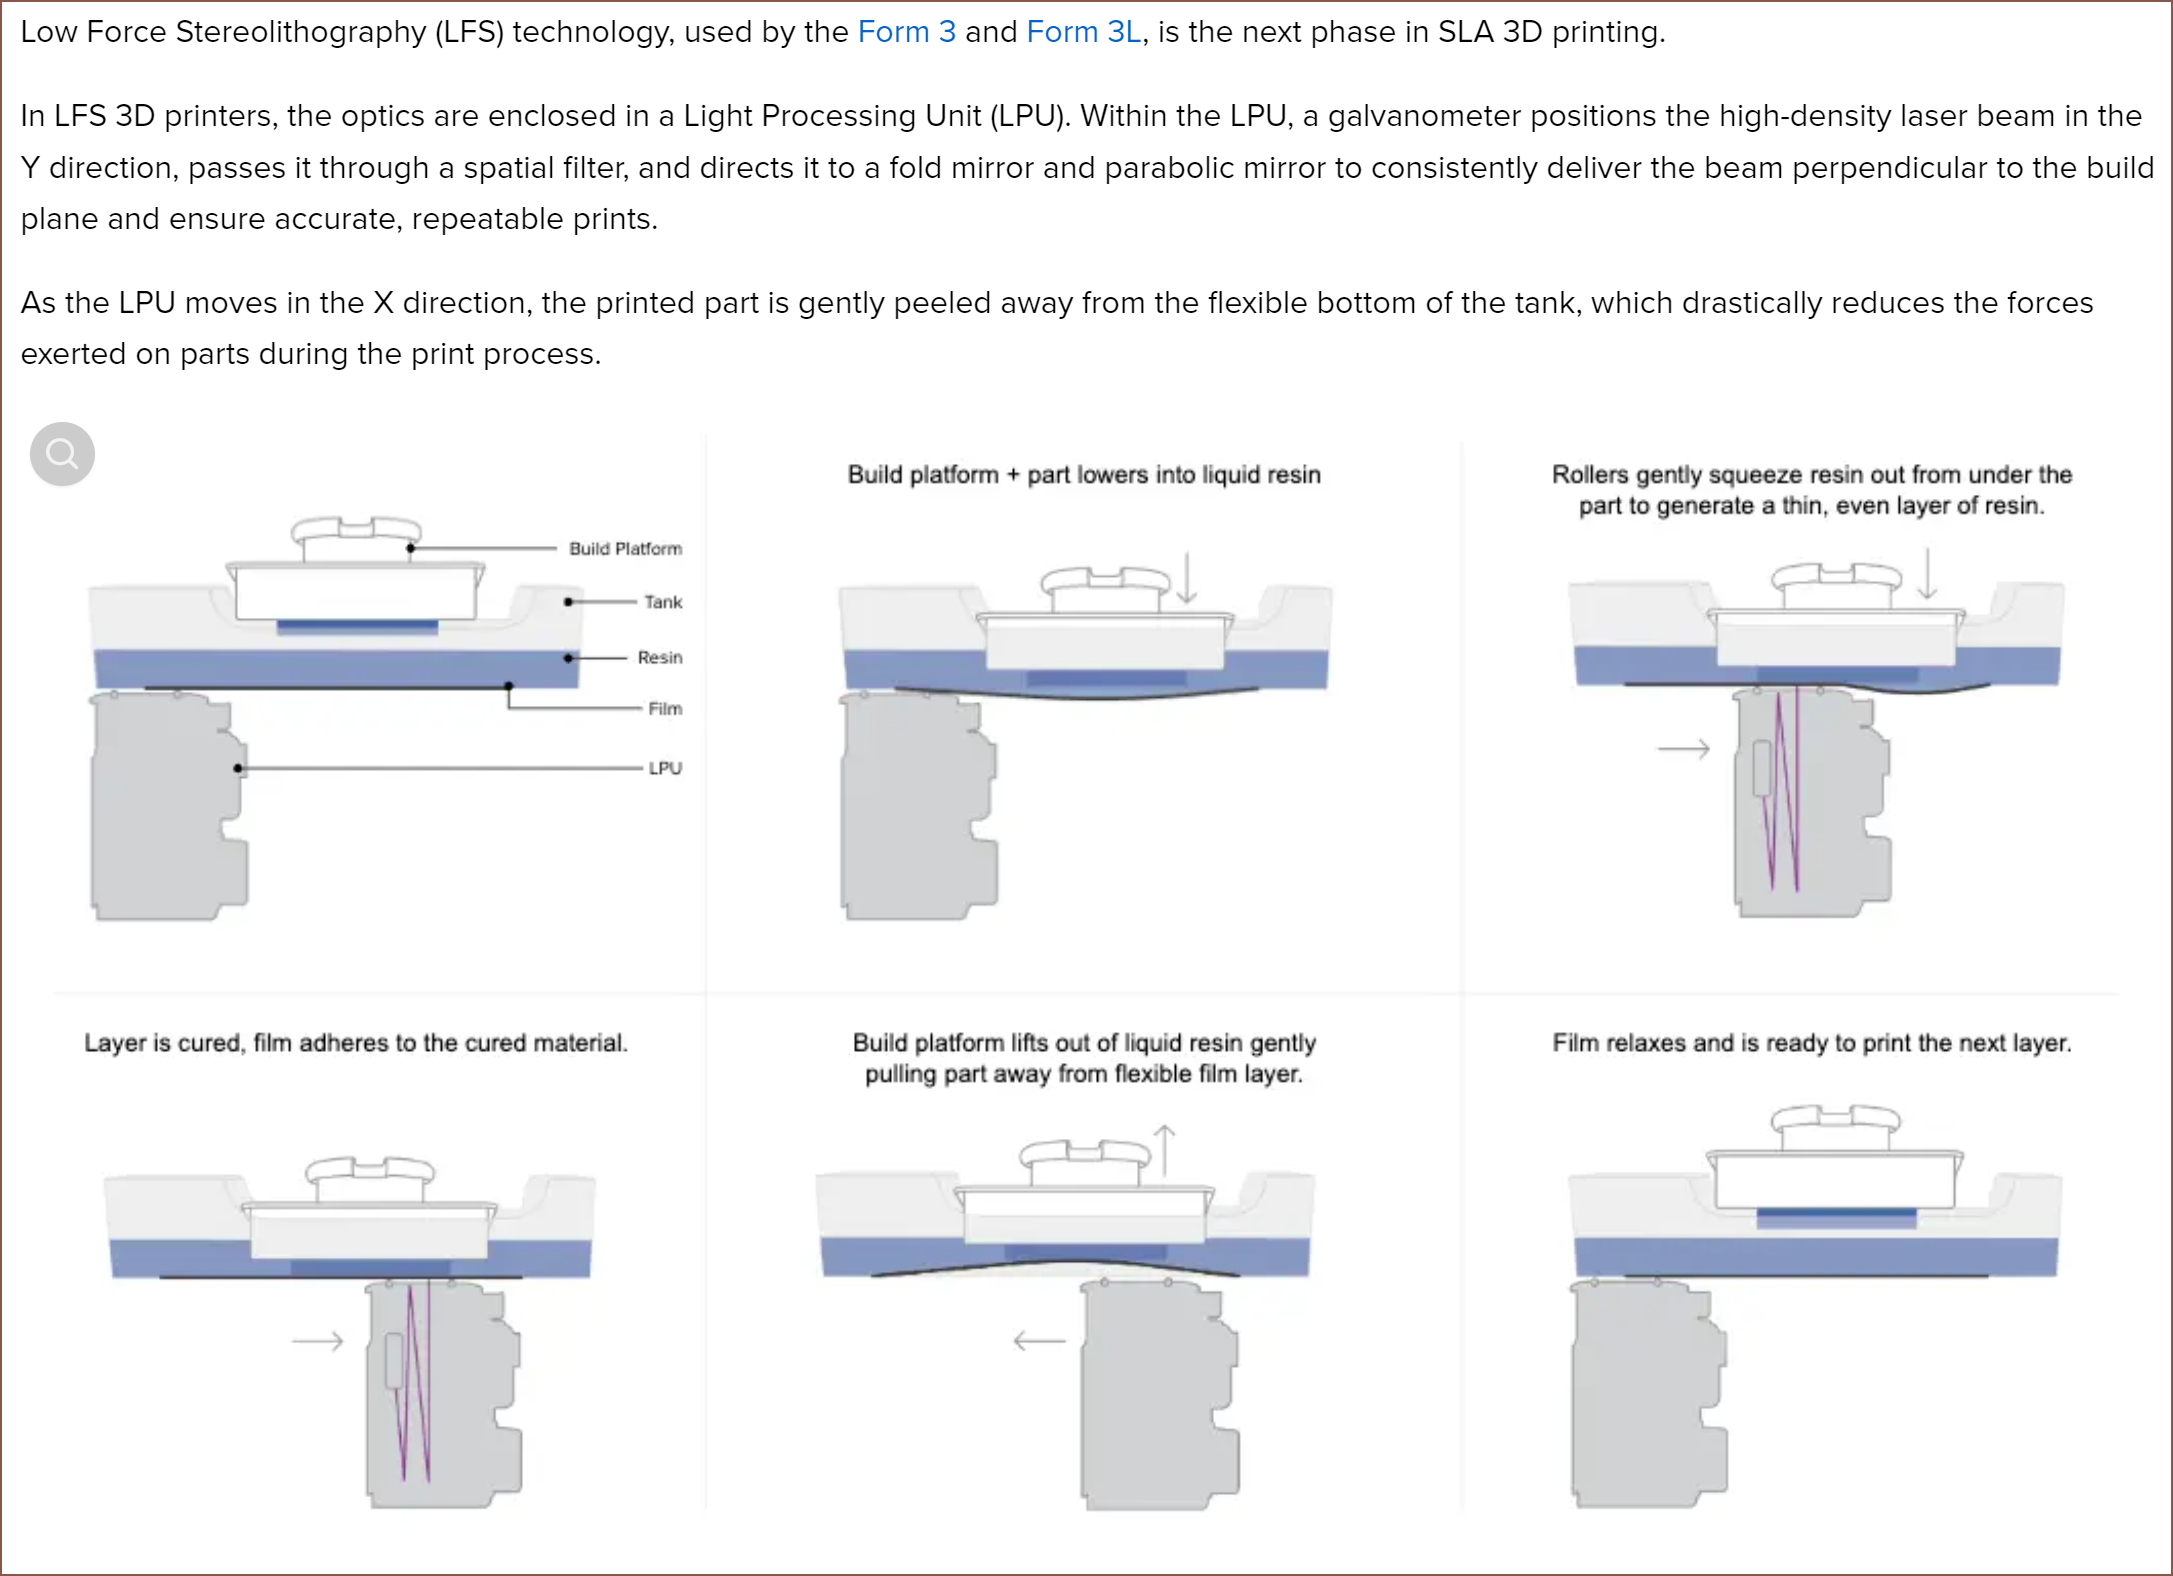 It's like a hybrid between masking and lamination. For a bit of extra complexity, this solution allows the X axis length to be independent of the screen size and use a cheaper screen and light source to get a large print area. I'm not designing this for industrial use, so I think that the tradeoff of speed is worth it. It also means that the controller doesn't have to drive a screen with a high pixel count.
What fits?
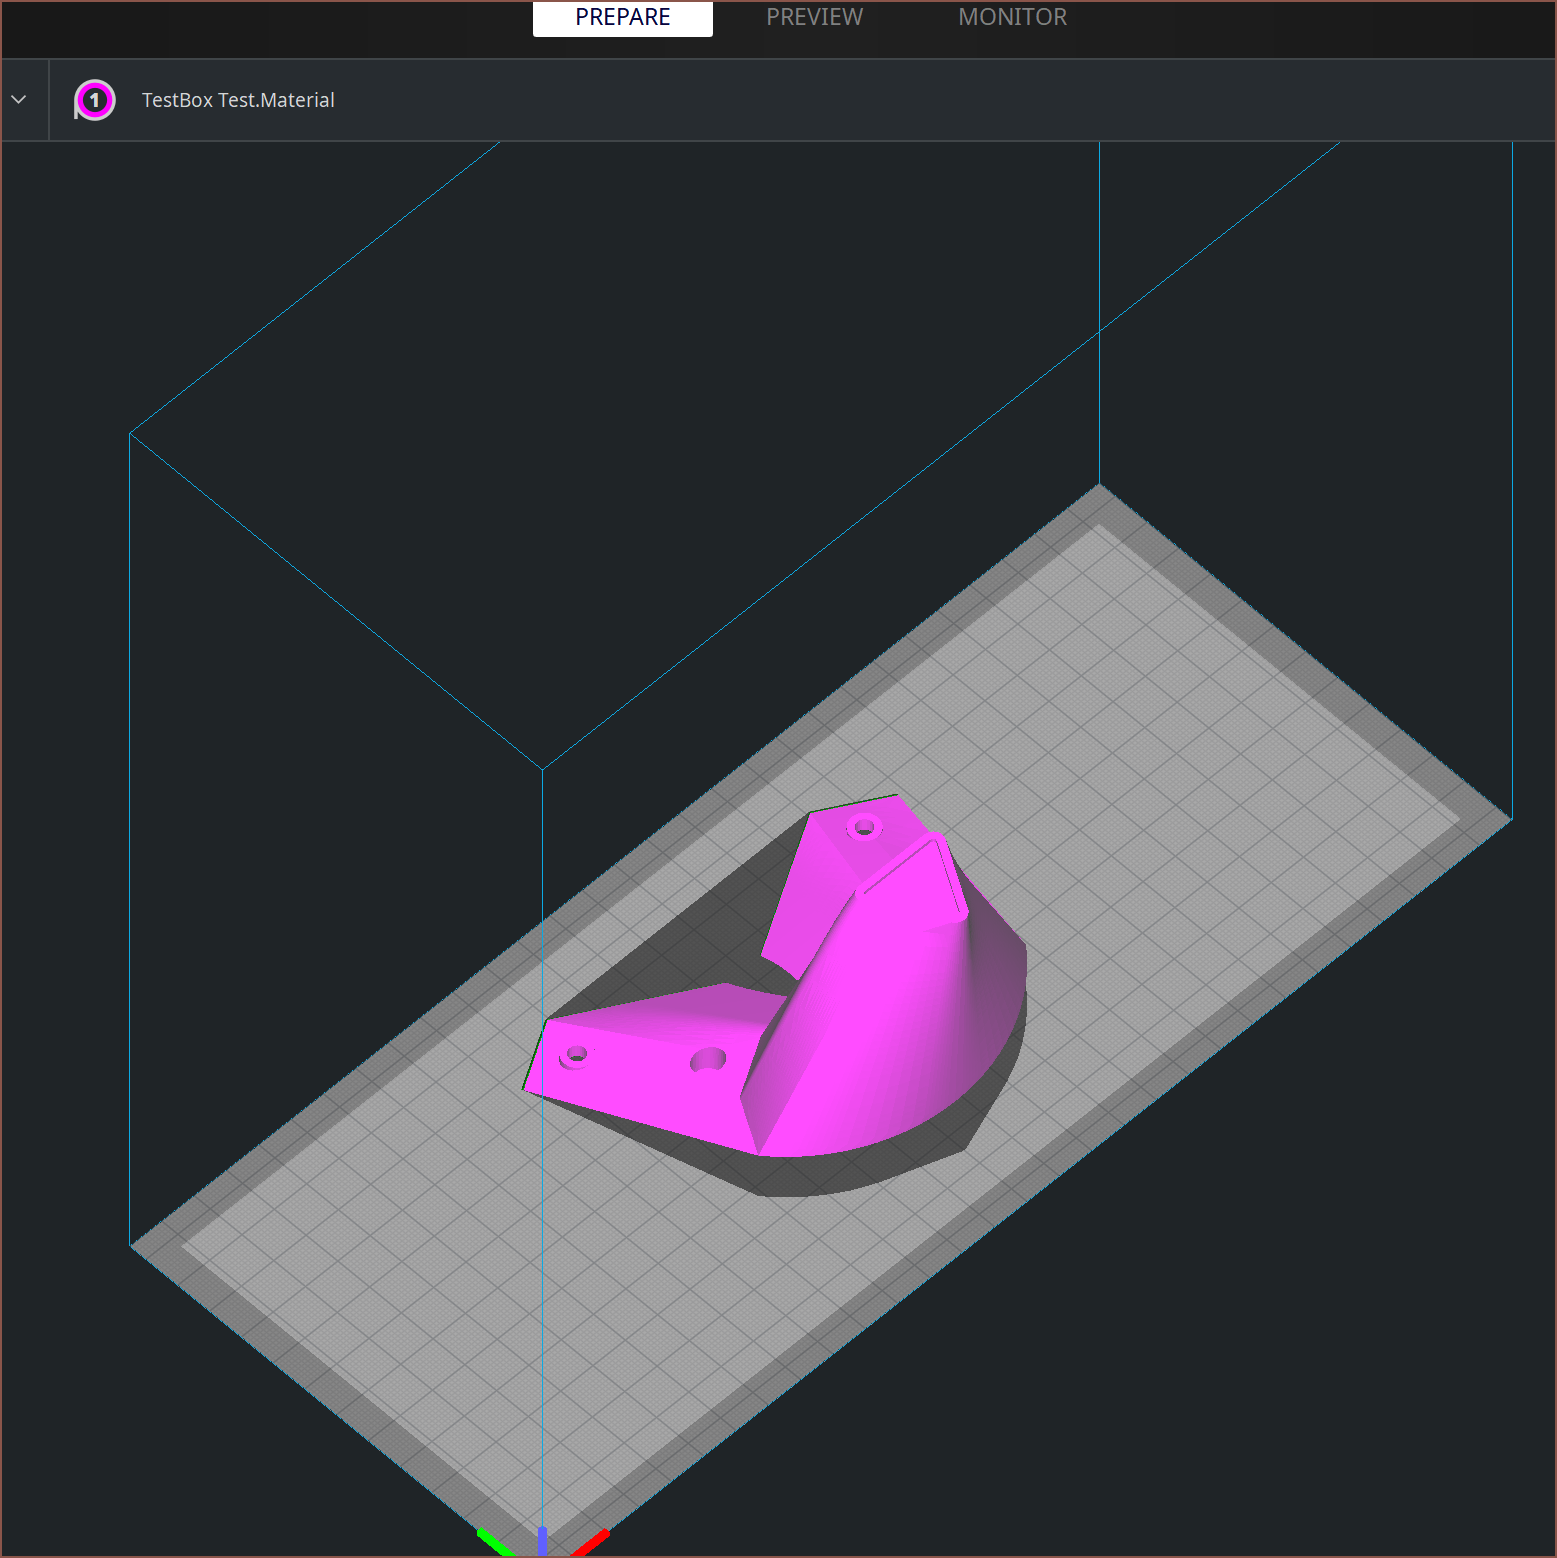
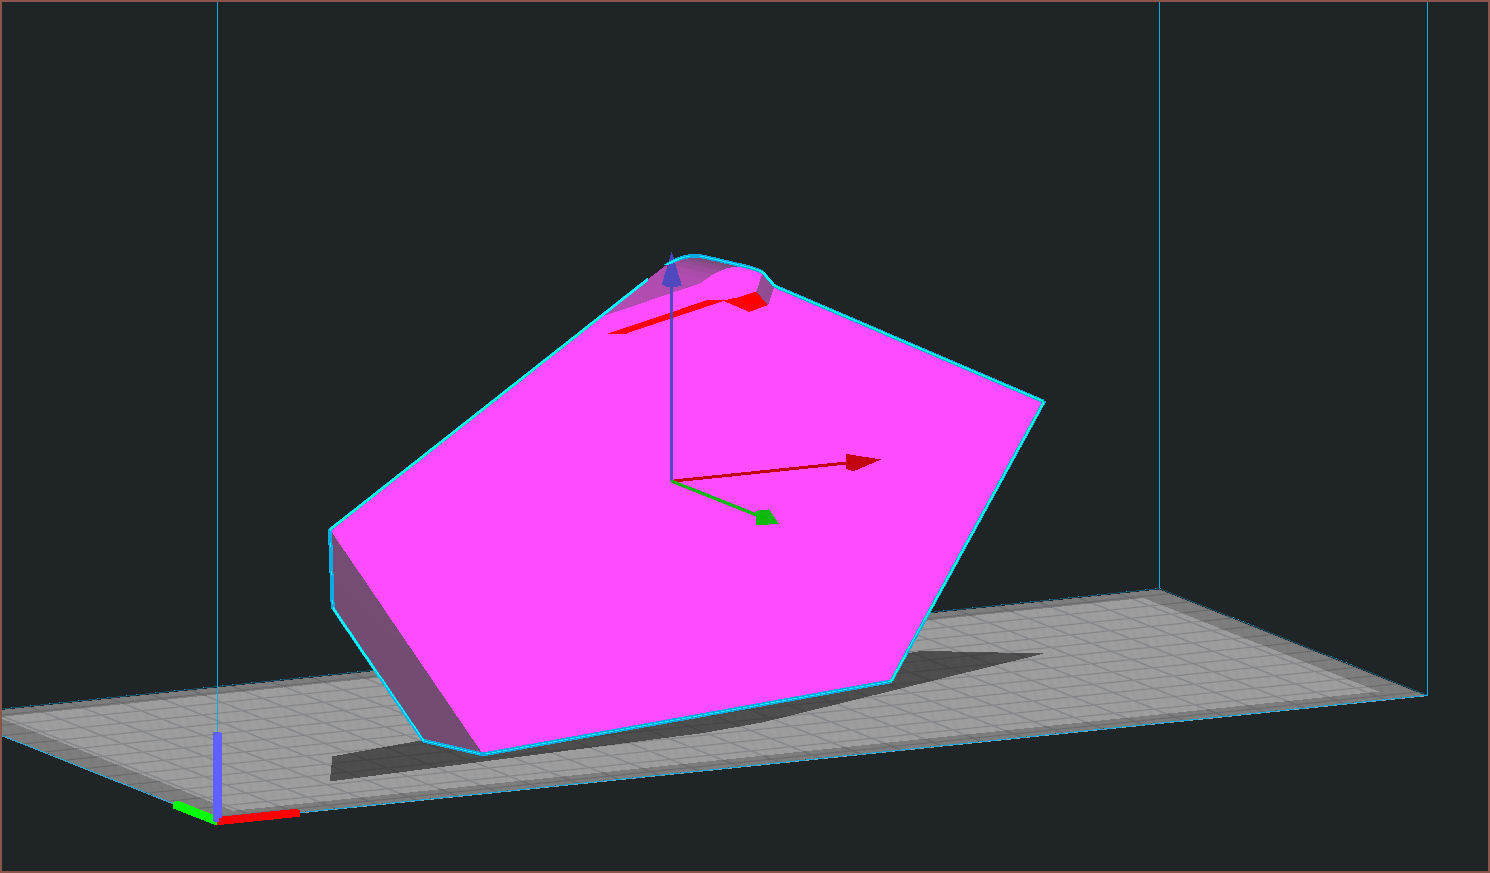
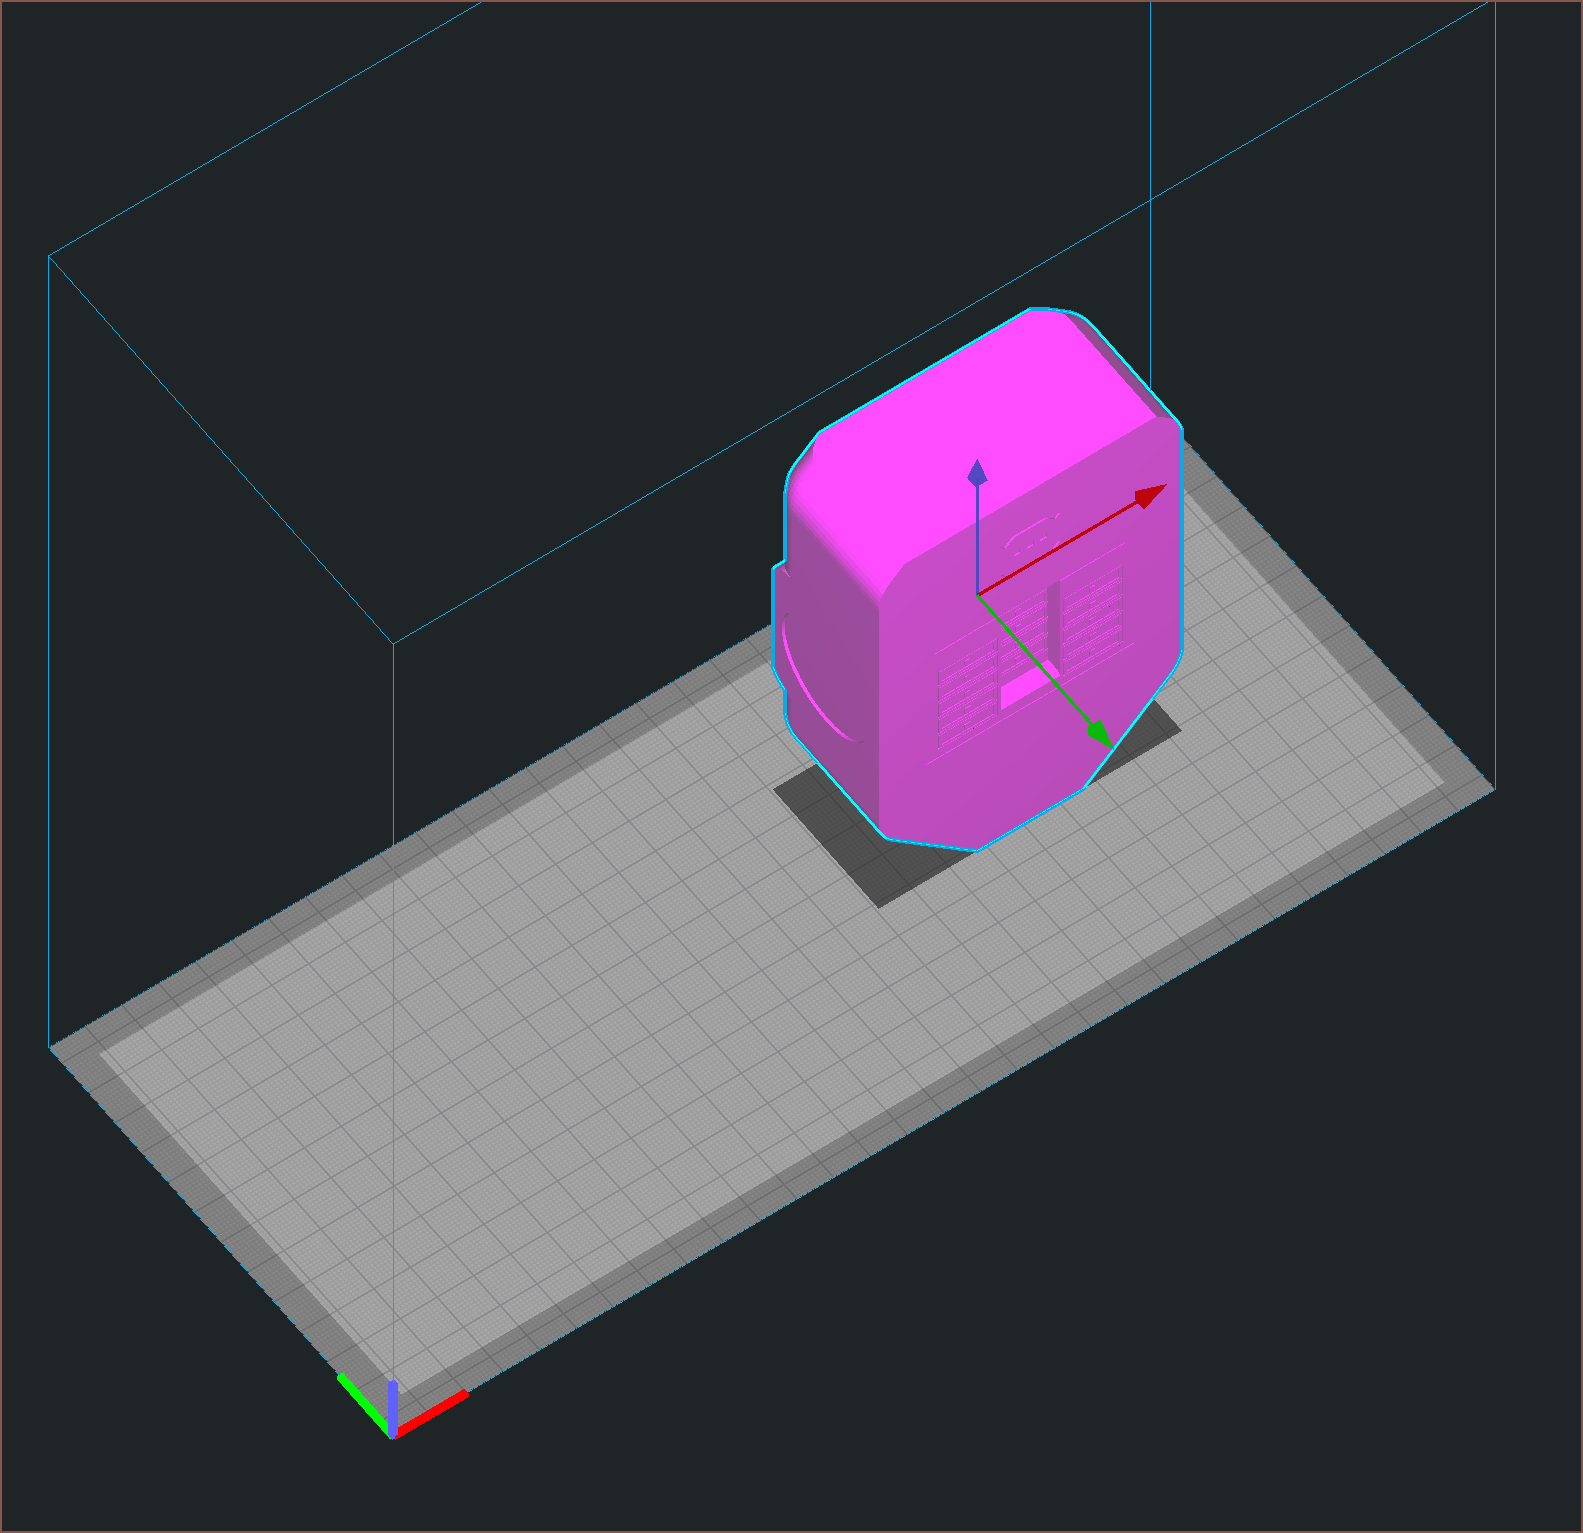
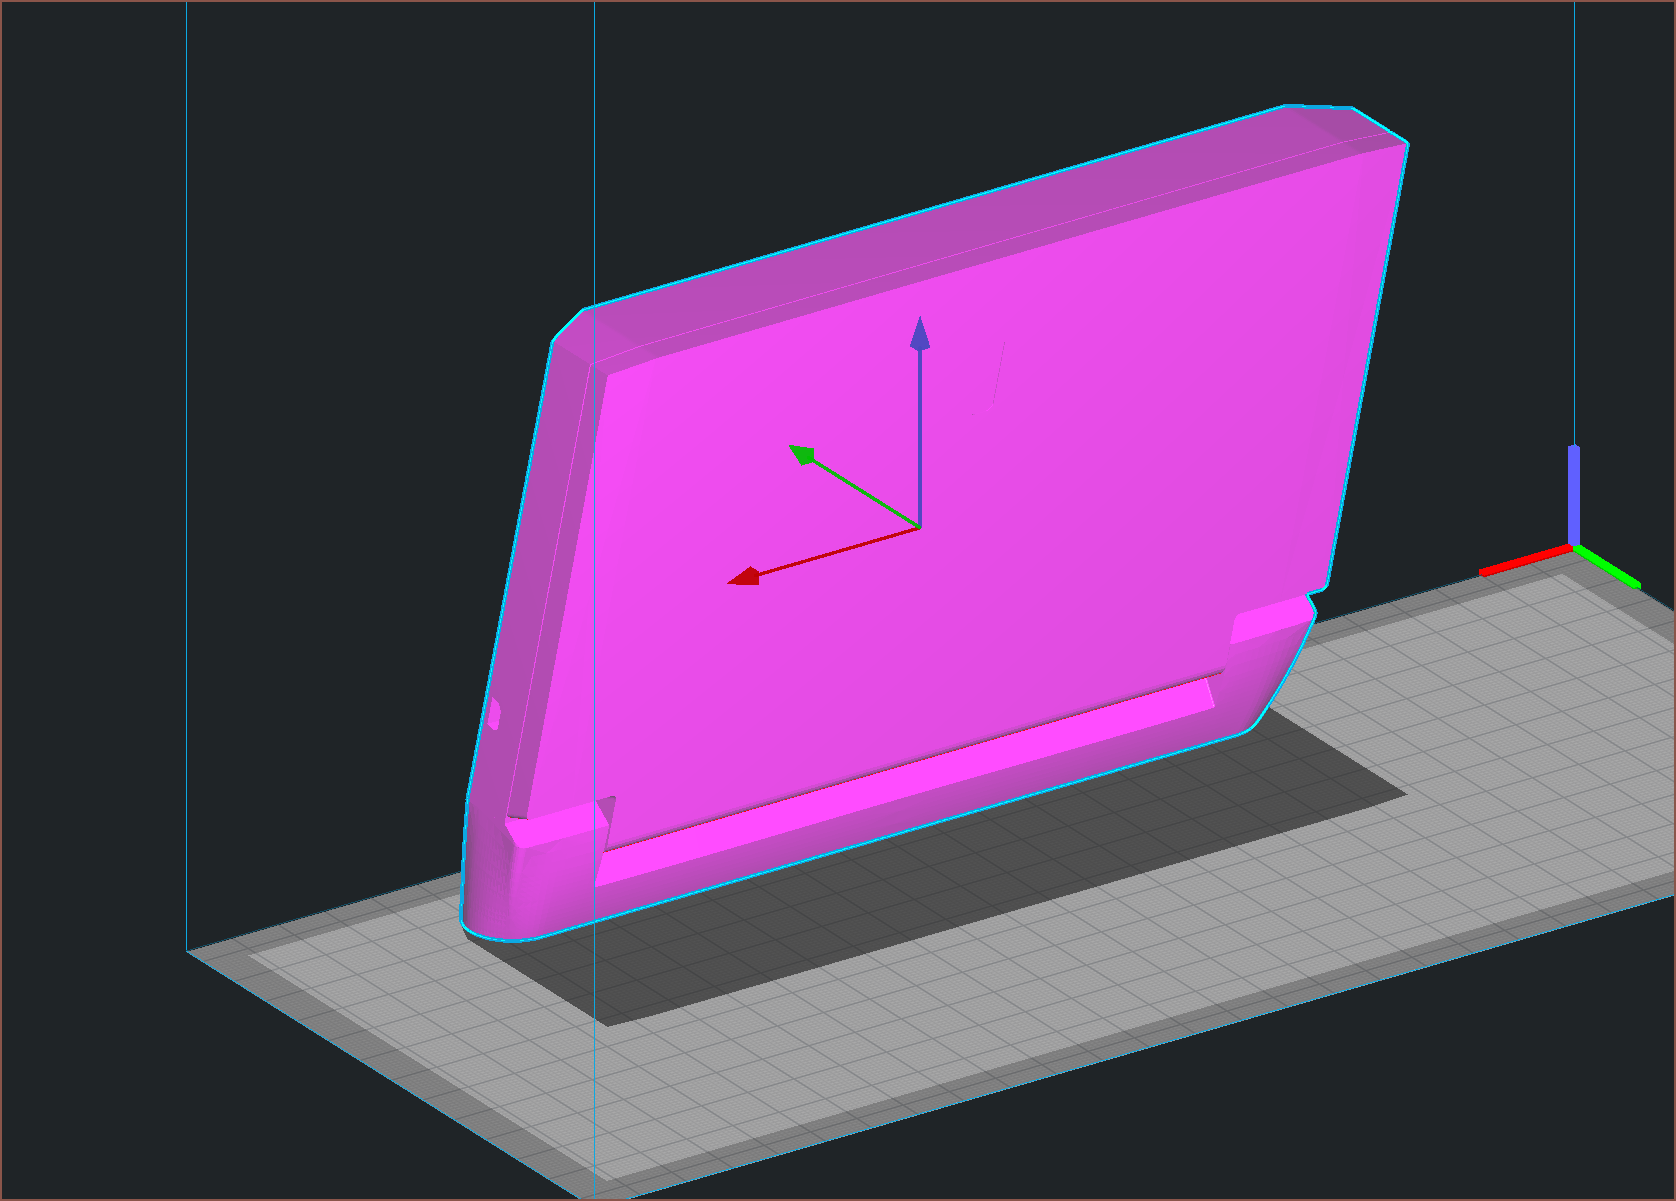
So I'm thinking "Hm... I can fit more in here than I expected. Surely not the front cover of the #Revolving Hotend [gd0012], right?".
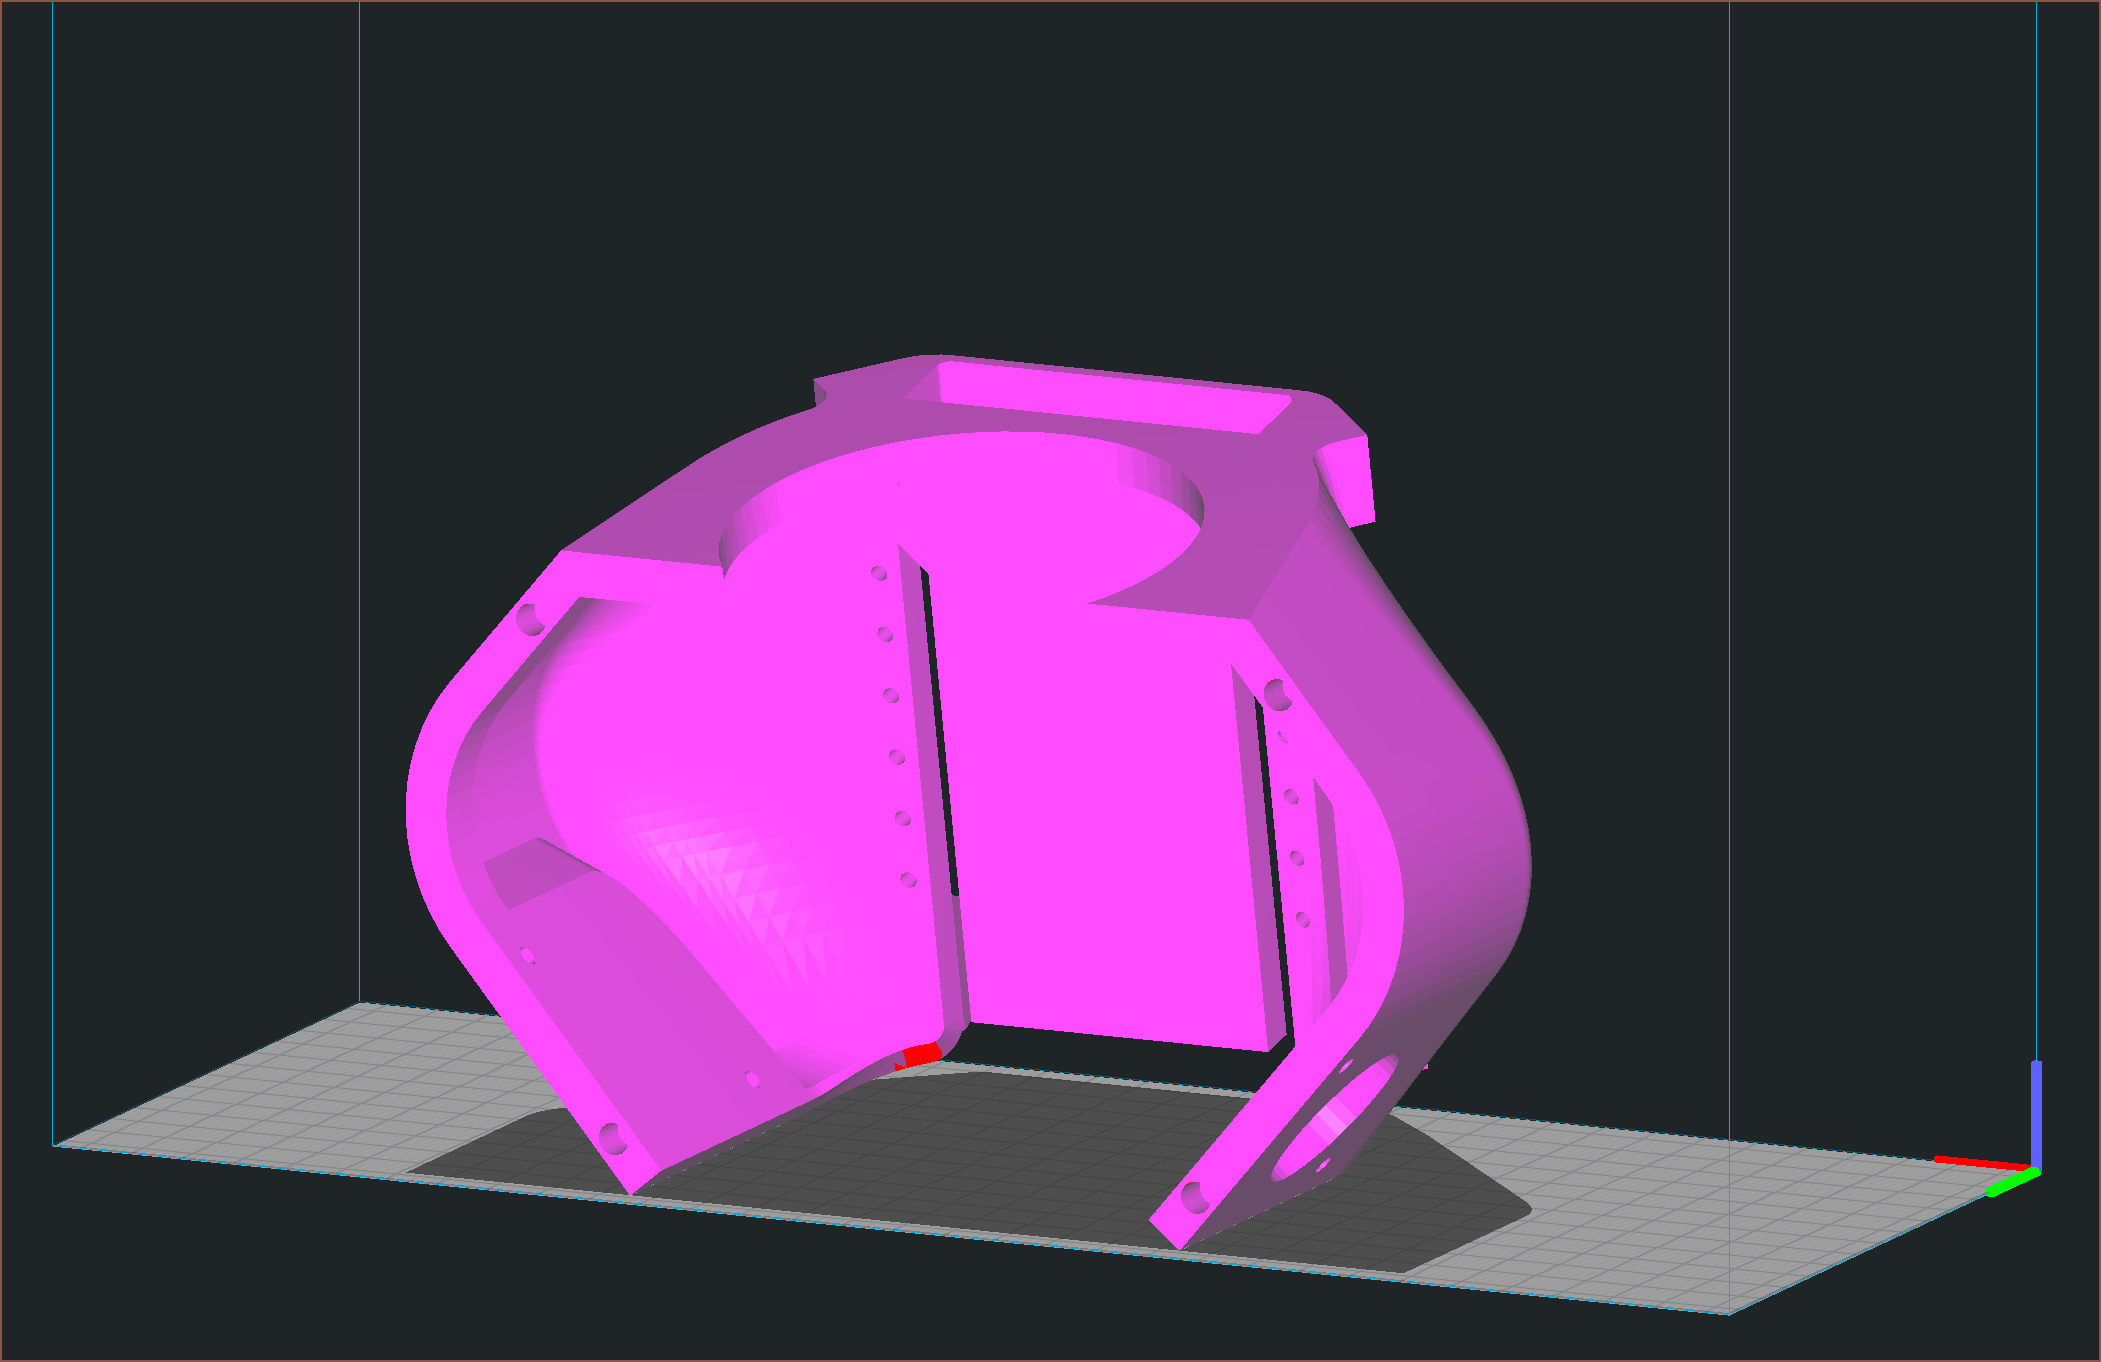
"Noh. It can't be...", I thought, but it suprisingly does fit:
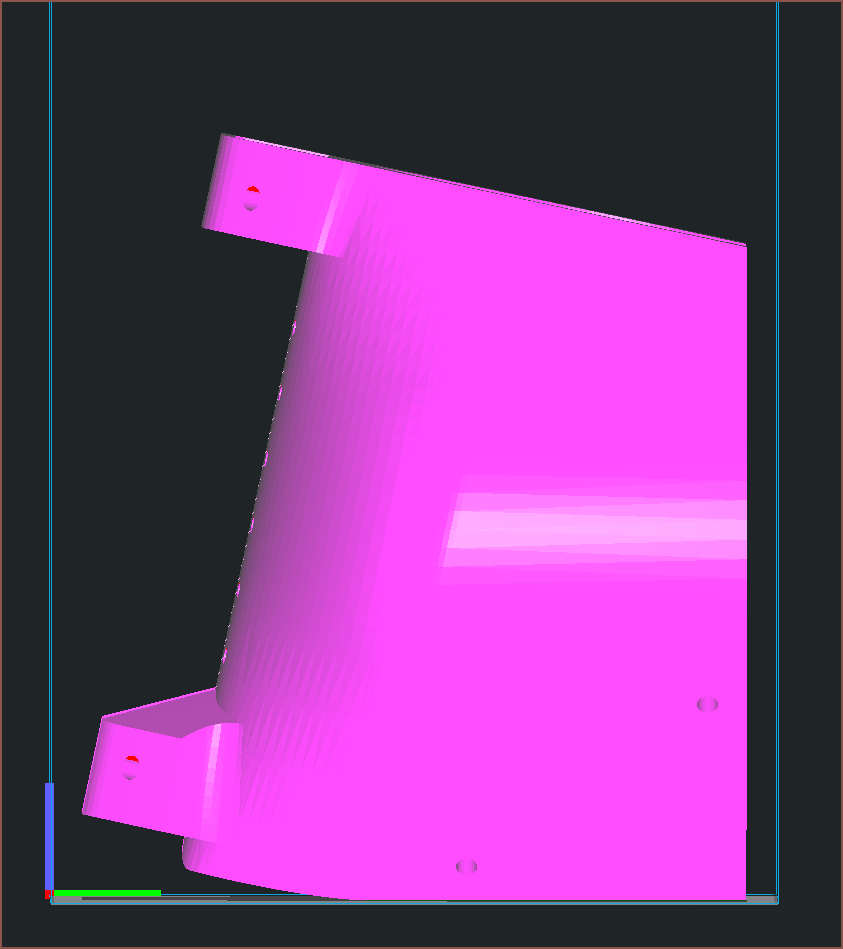
The enclosure box for the CR600S also fits in here.
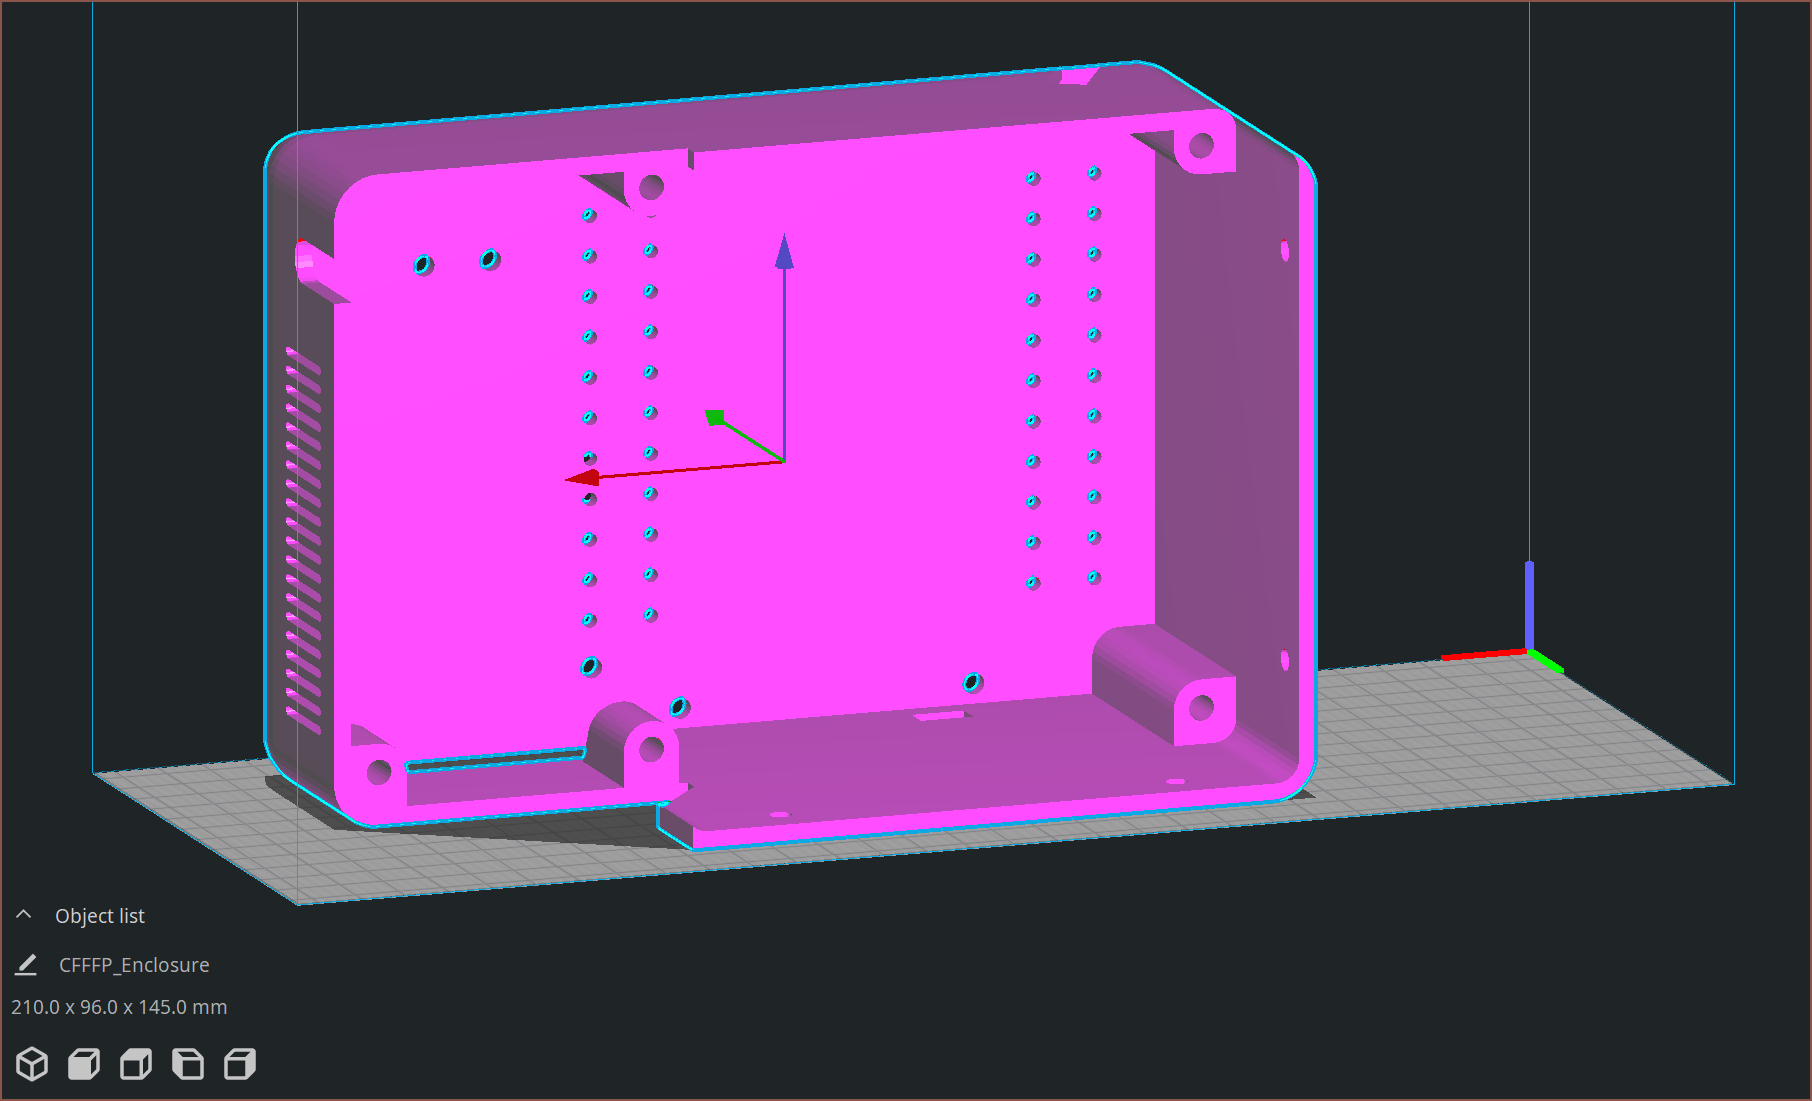 This is when I tried that 3 screen width idea I dismissed earlier.
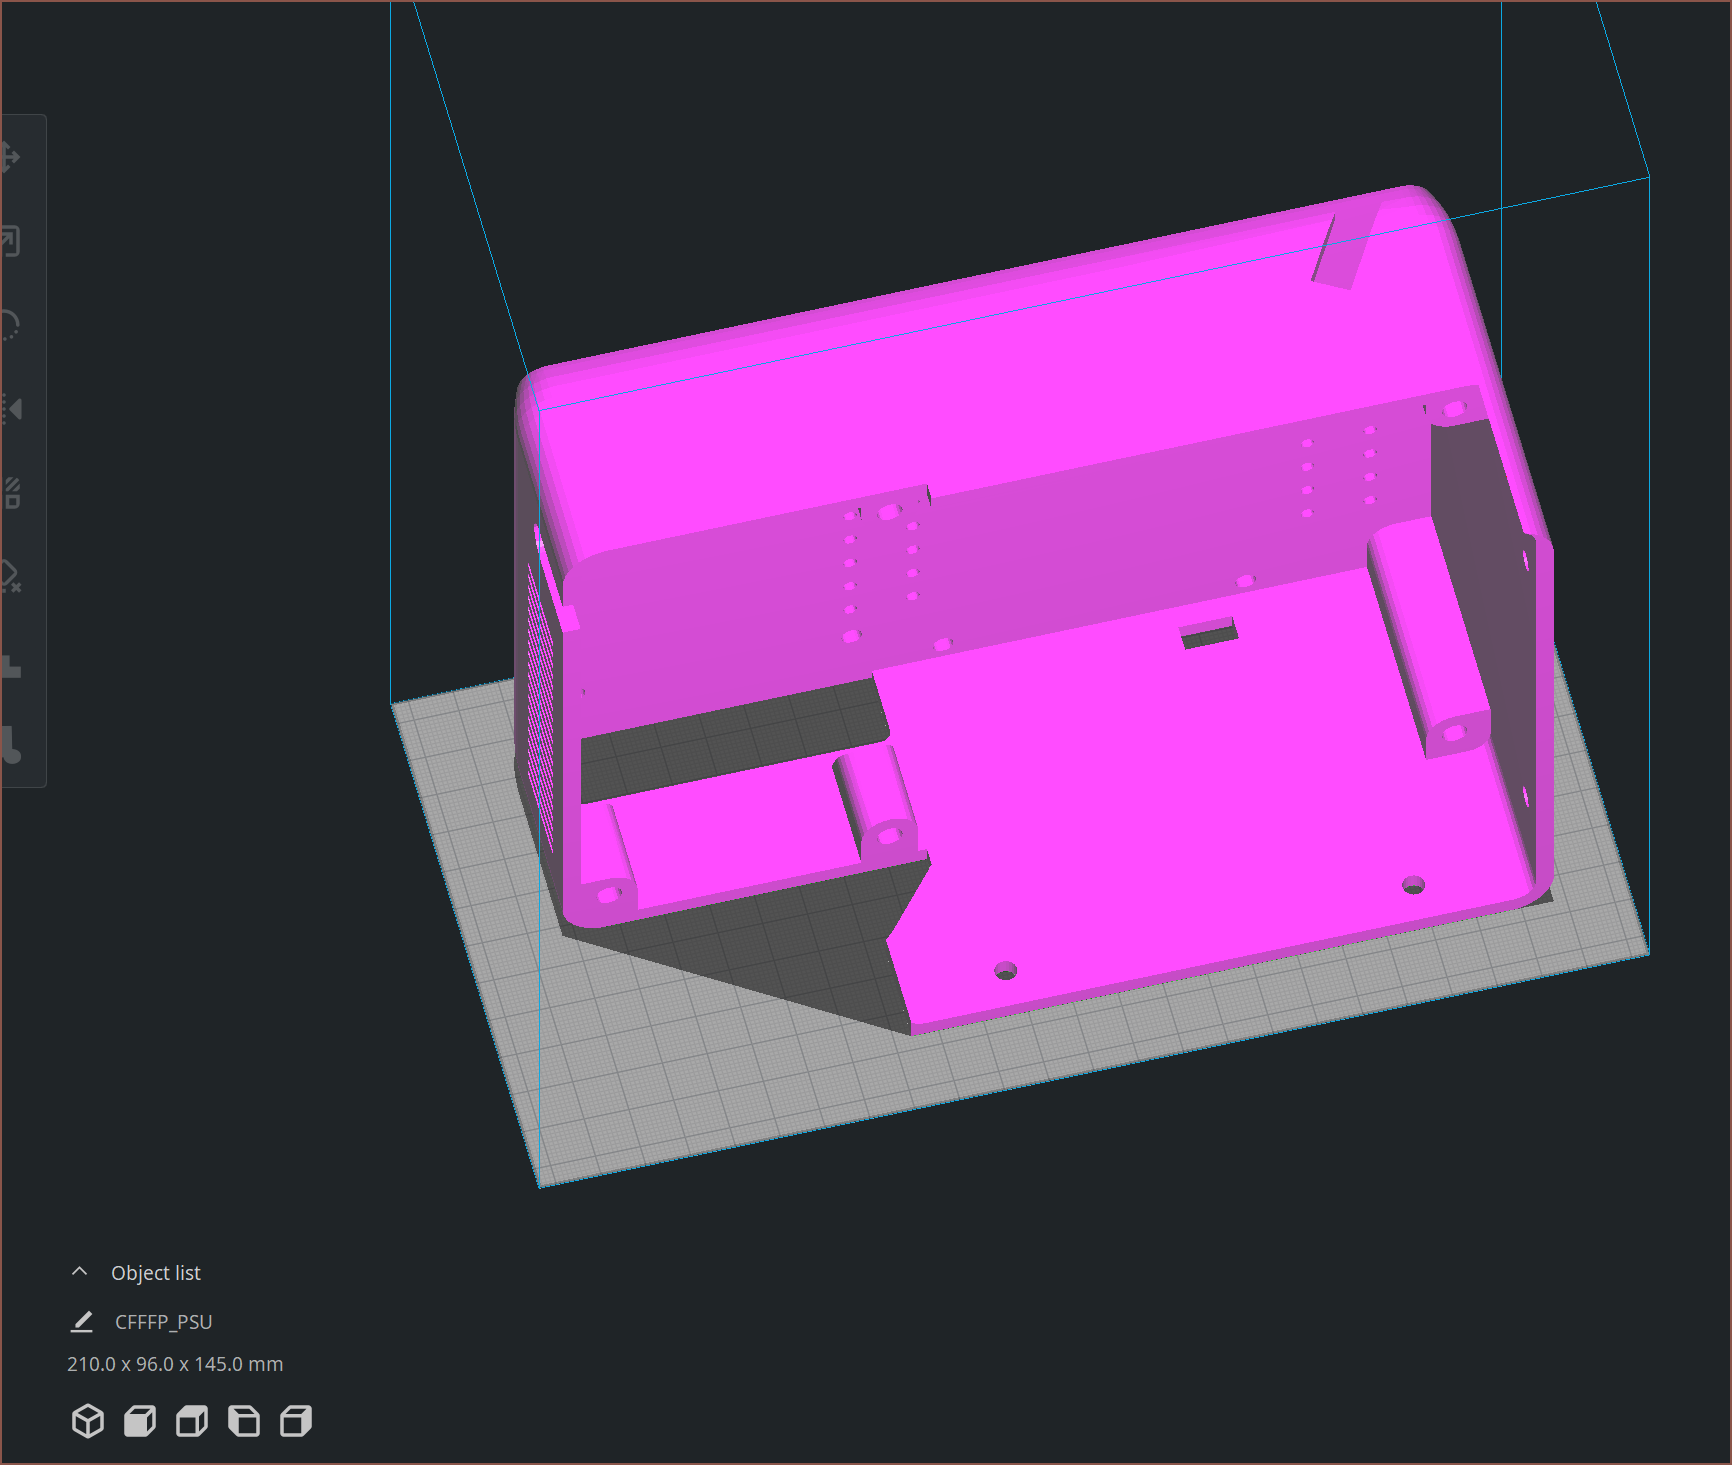
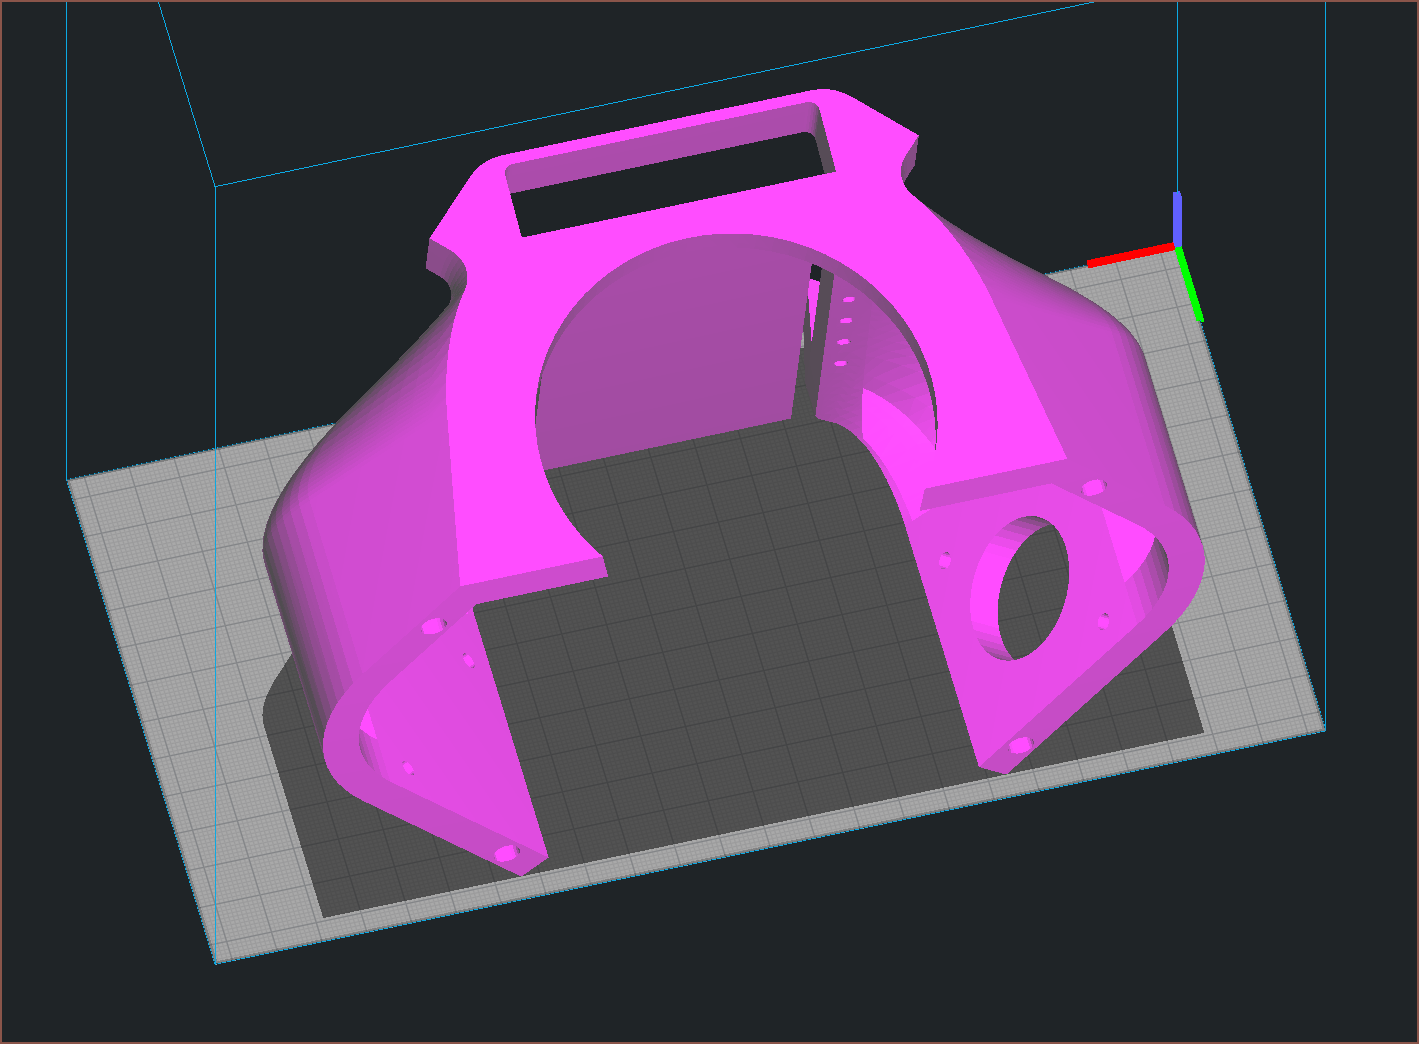
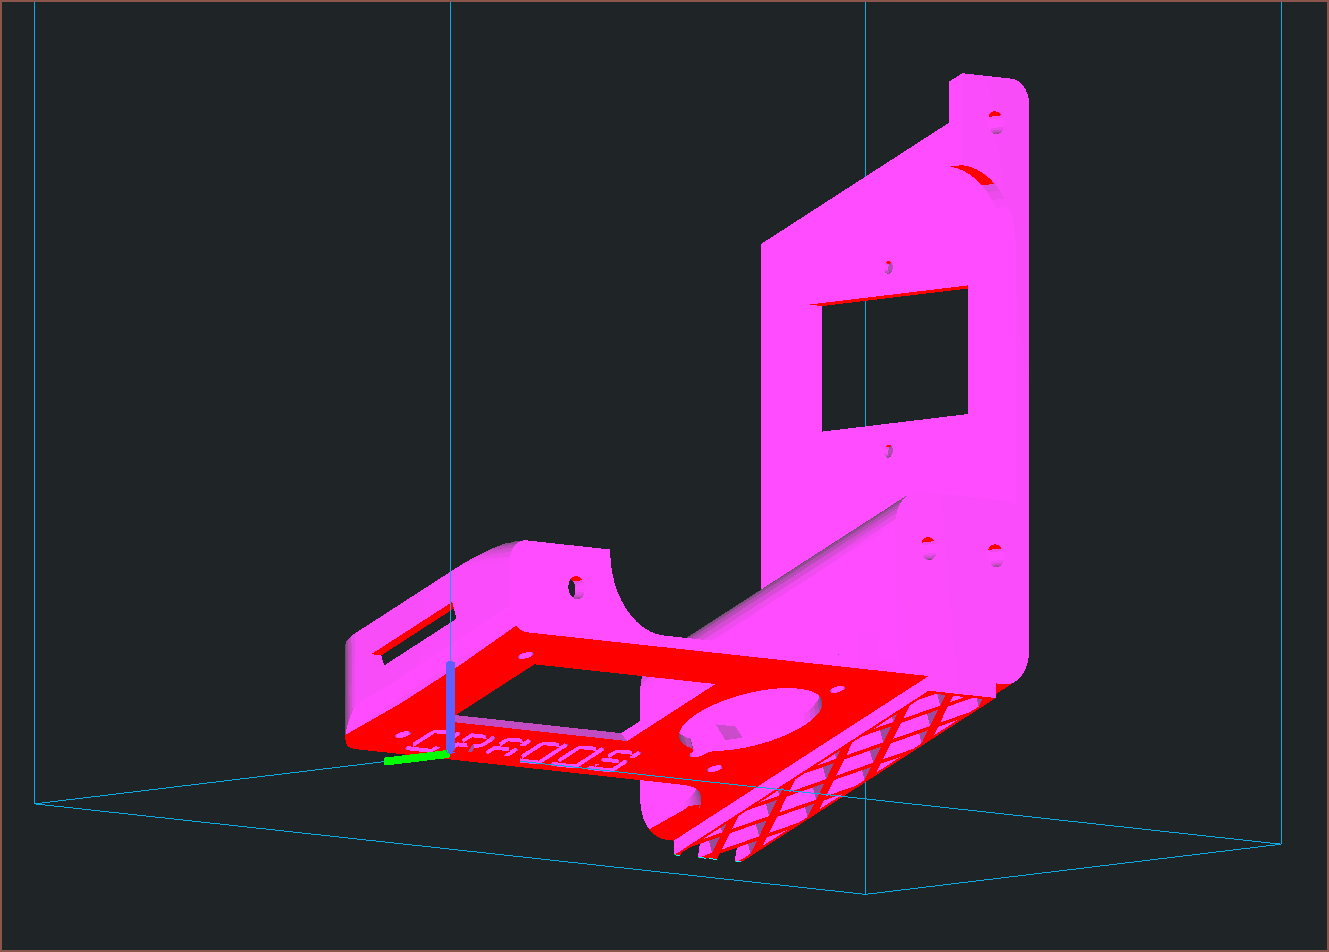
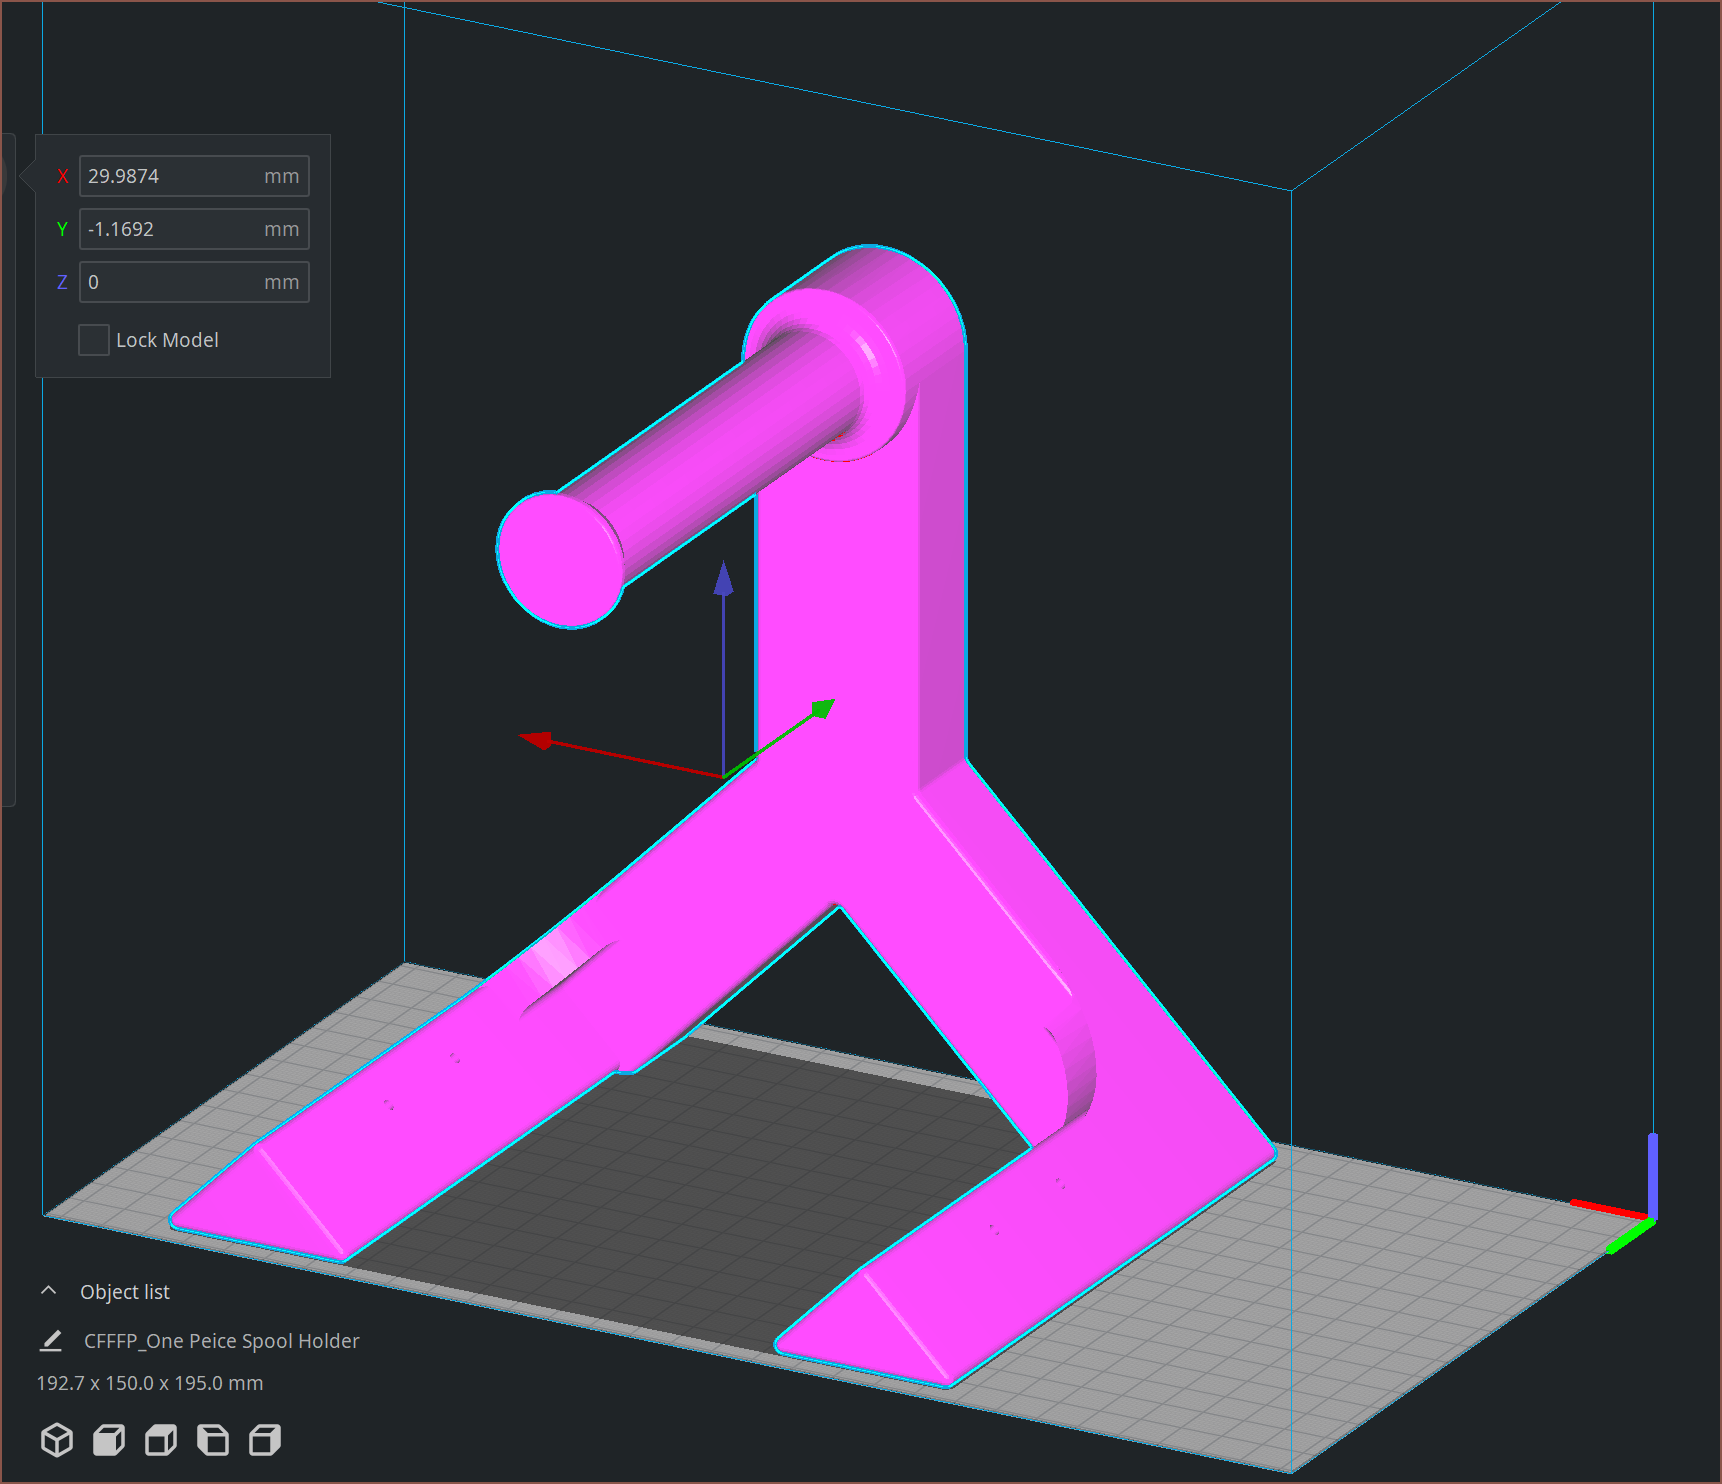
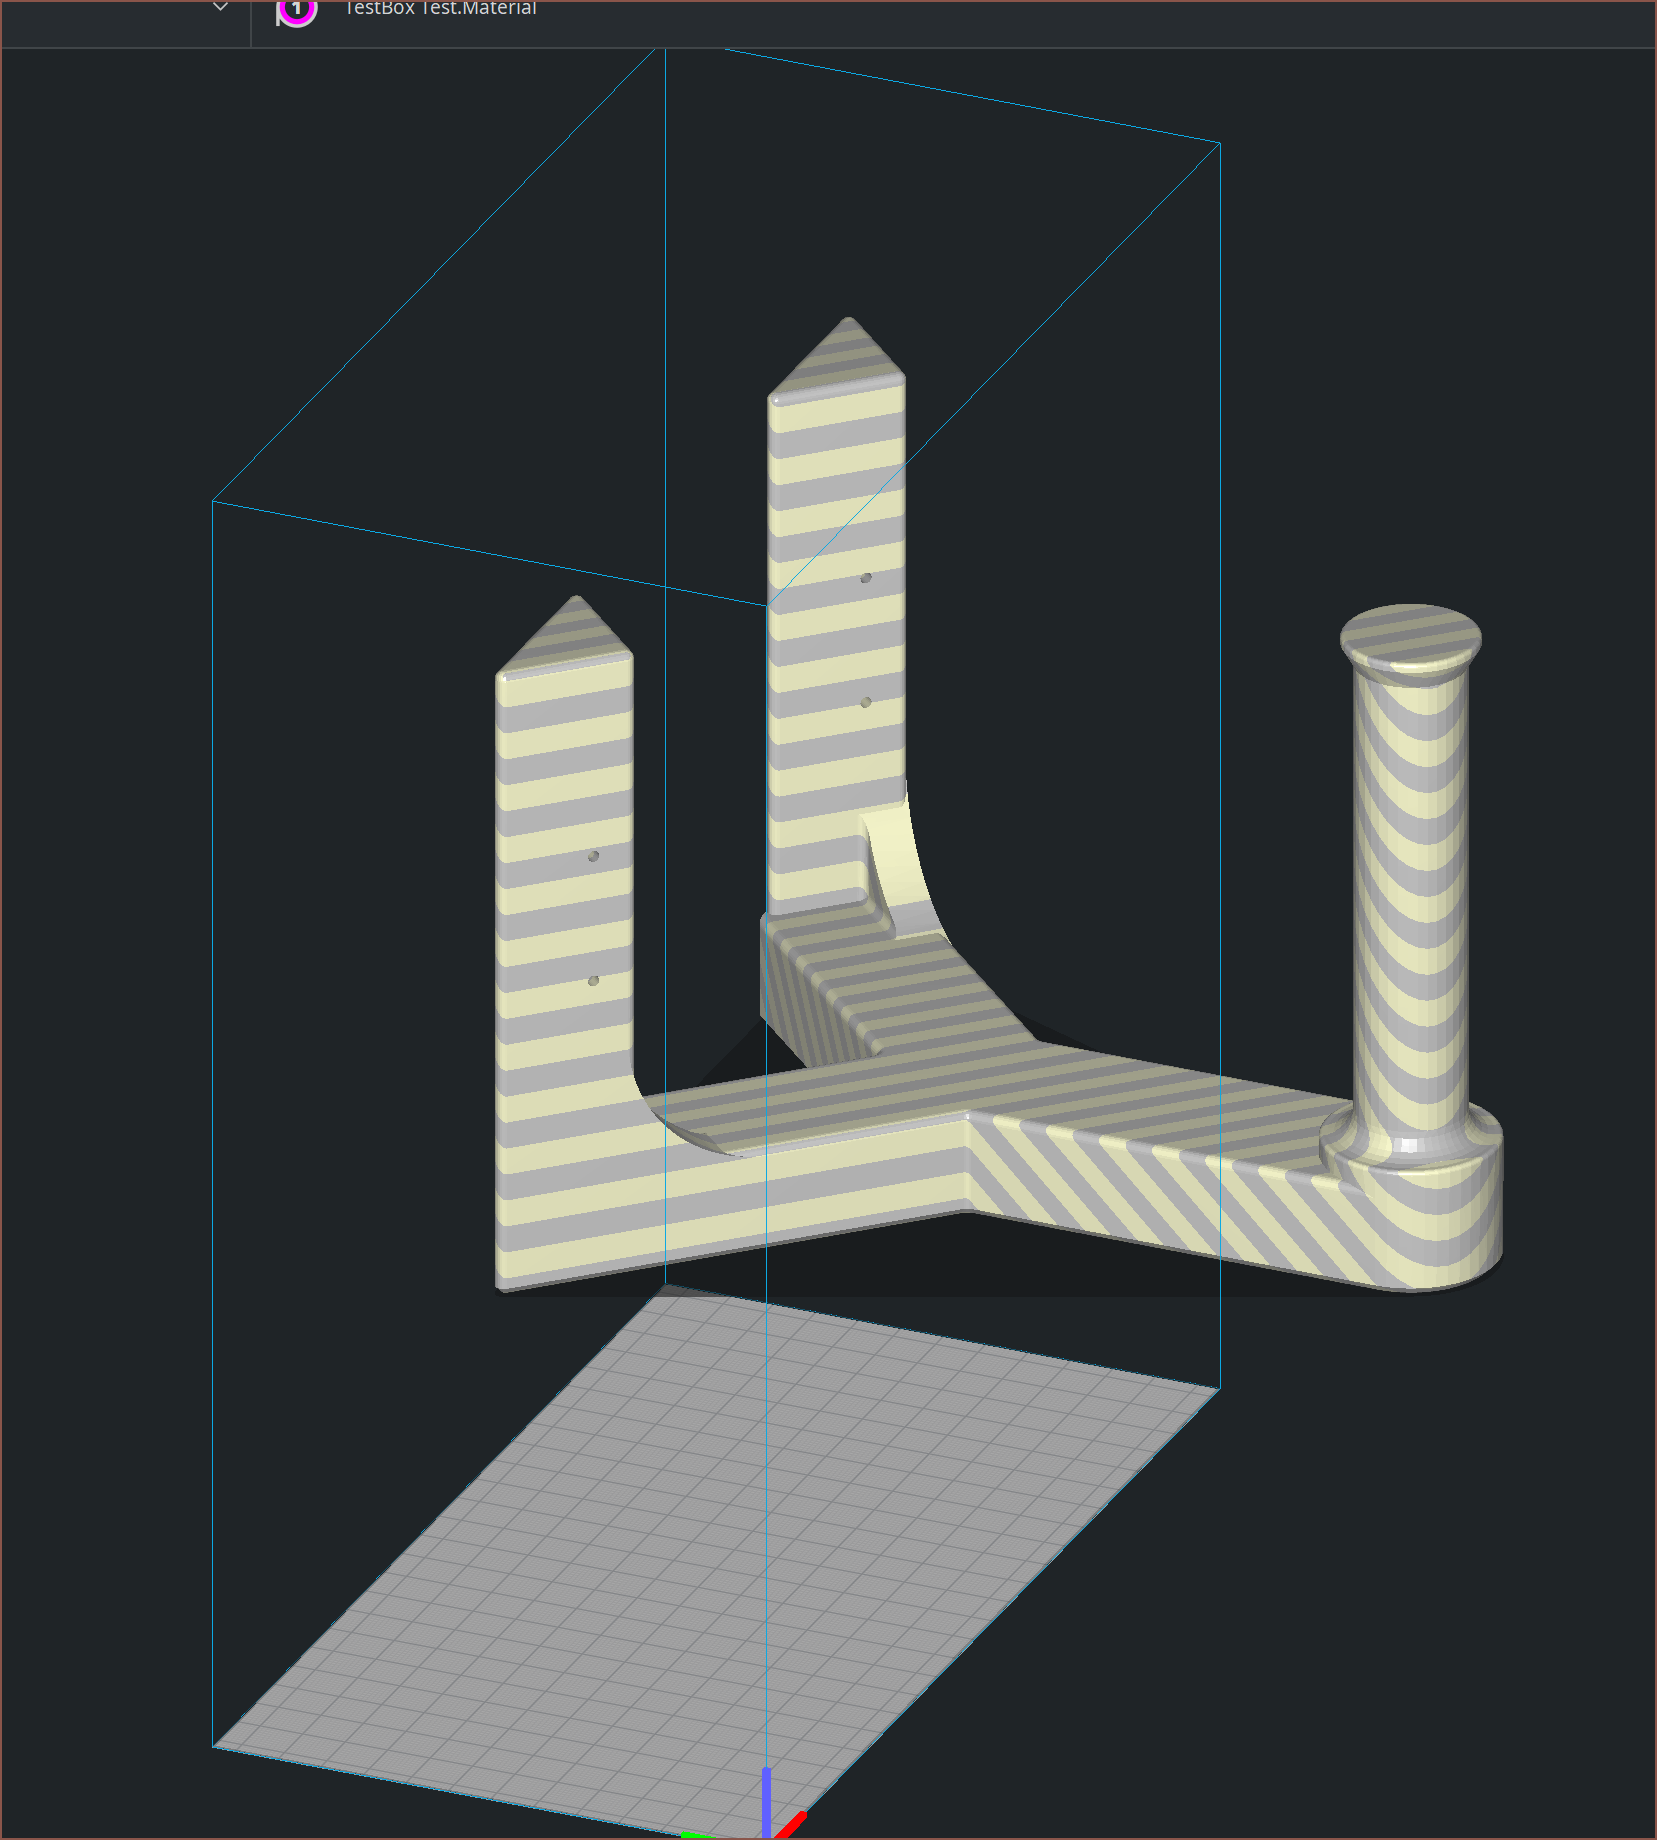 Finally. Something that doesn't have a chance. This is a spool holder for 300mm spools and I probably wouldn't resin print this anyway. However, I saw that the longest side was only 150mm. The 7.6" screen on the Photon M3 has a 163.9mm edge, so I tried an X: = 63.9, Y = 102.4 * 3 = 307.2 build volume just to see what it would look like:
What are my other screen options?
6.6" 4K 35μm Mono
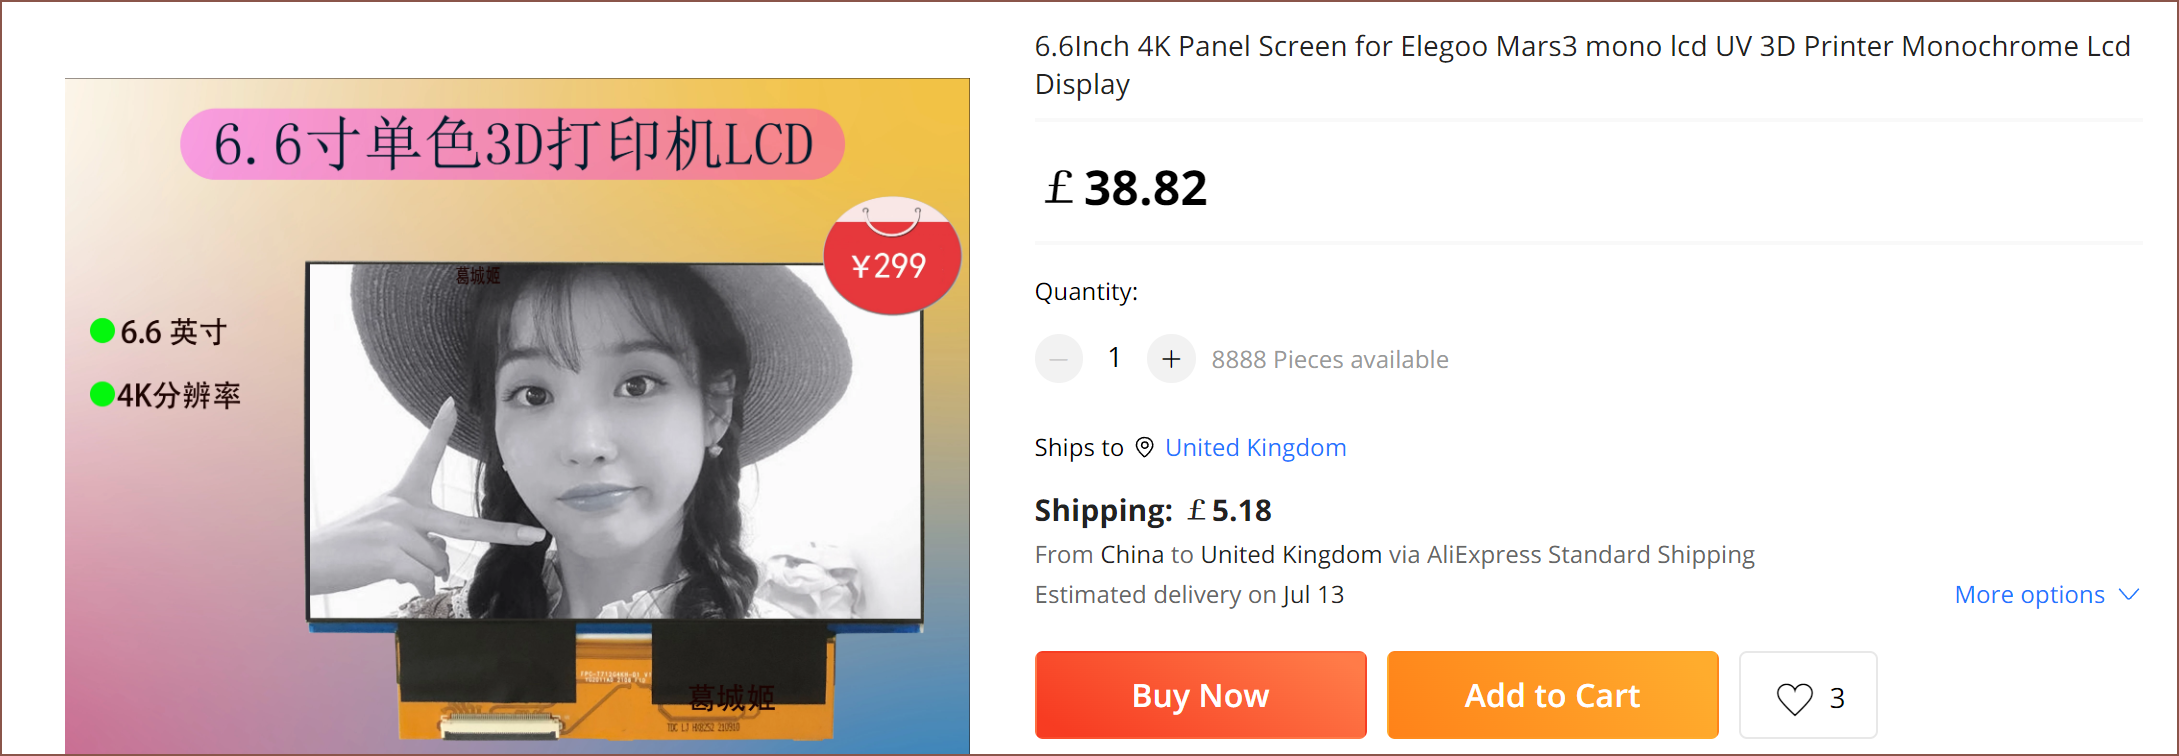 Oh hey, look, they've got a light source for this too!
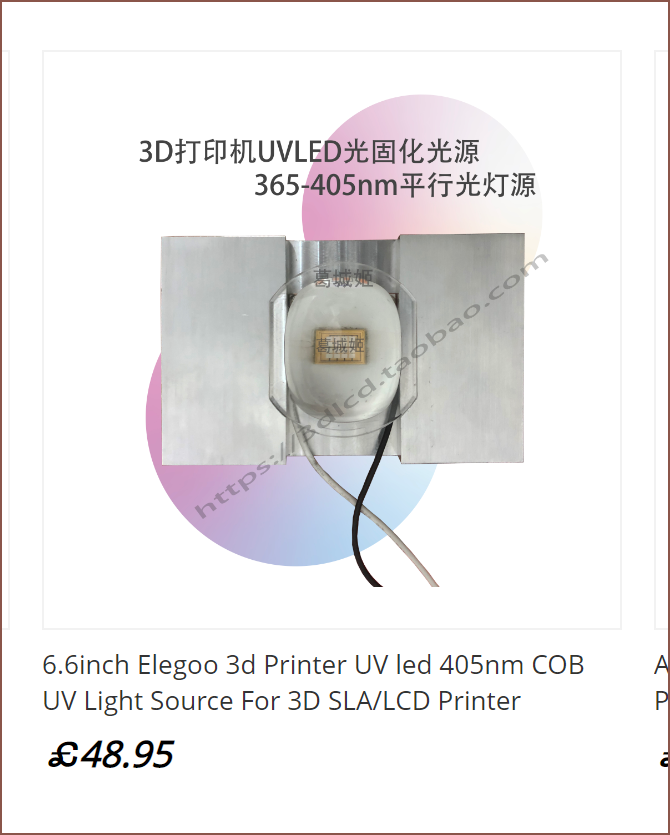
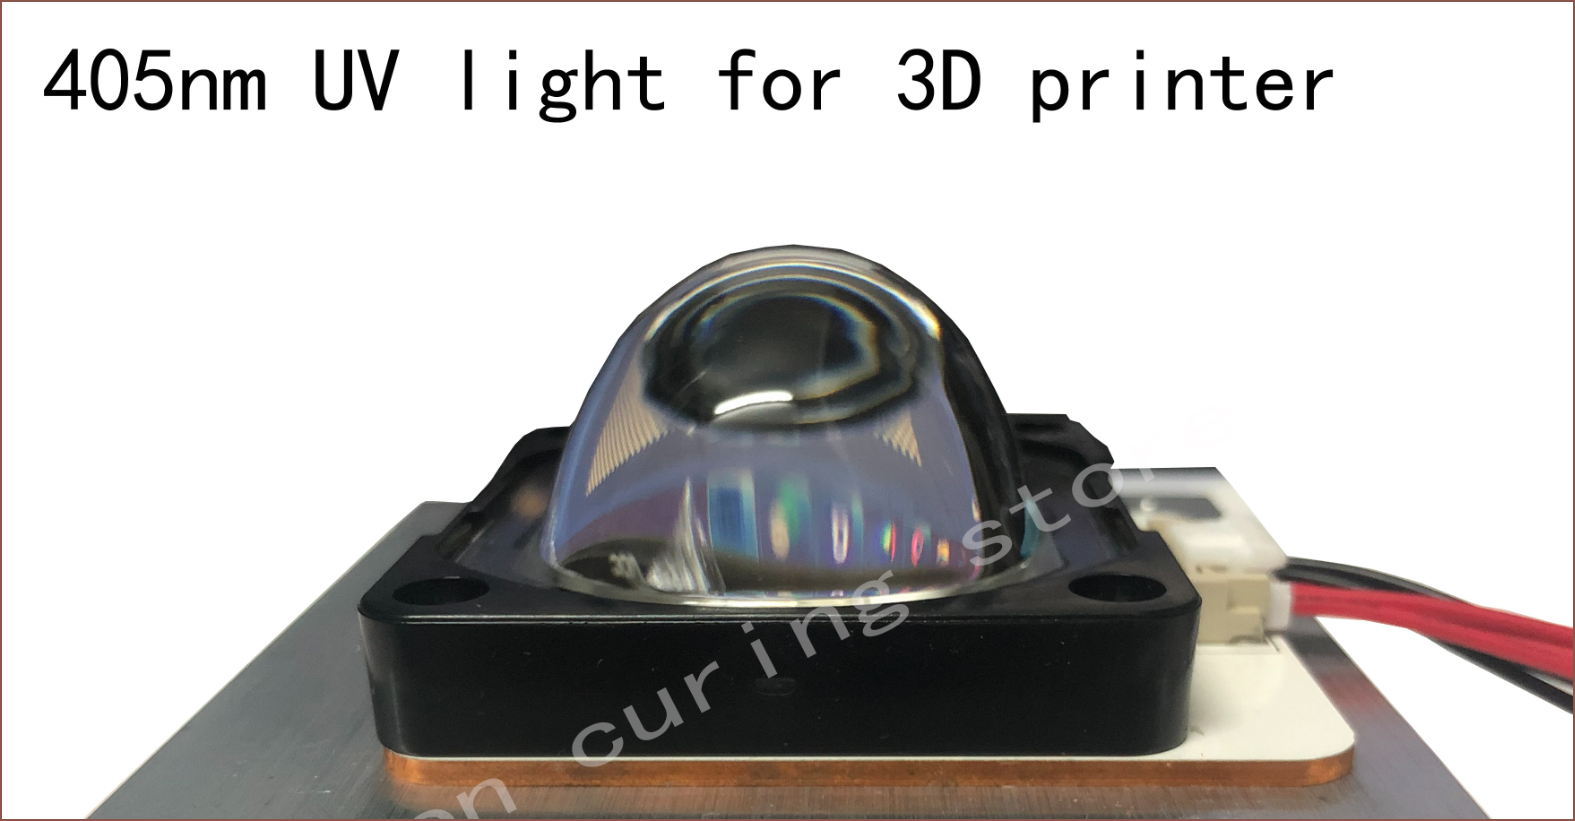 Me Yesterday: W...what kind of light source is this?
Now the thing is that I'm new to the resin MSLA scene, so the only ones I've seen are the matrix array ones:
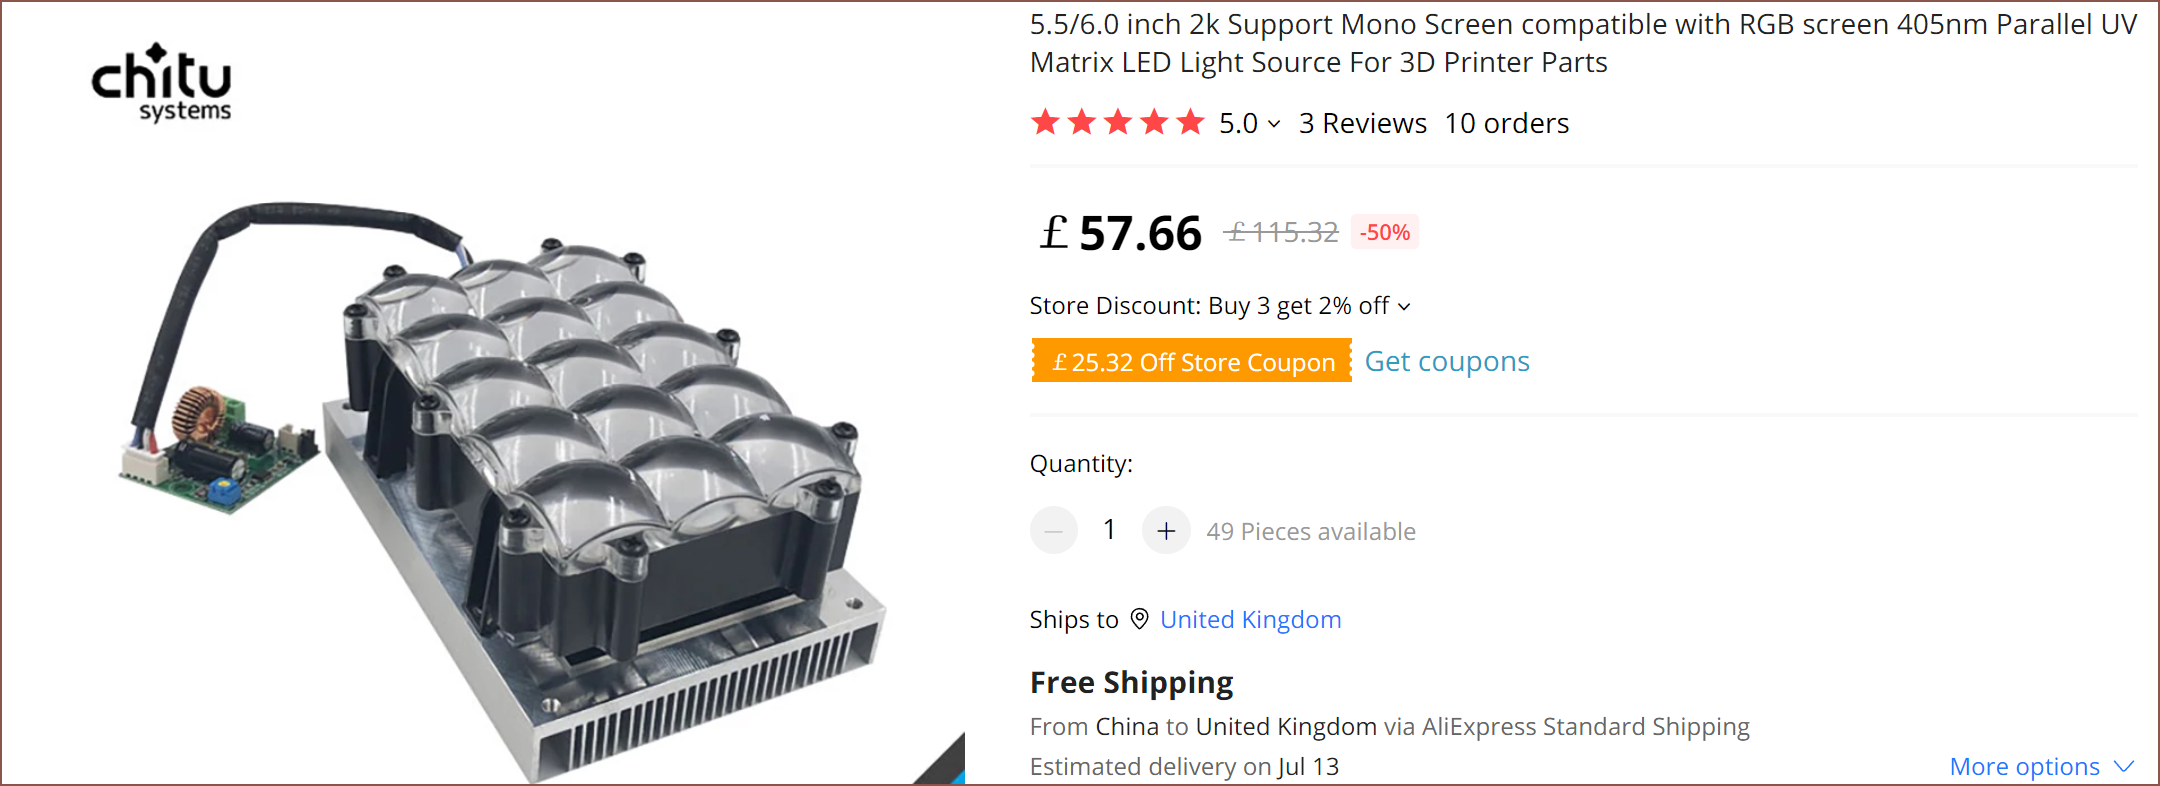 Since these kinds of light sources are in all the recent printers I've seen, and since it looks more complex, I assumed that these ones were better. Either way, I went to research the Elegoo Mars brand of 3D printers to see if there were any issues like the light being dim near the edges or lower sharpness, but I couldn't find anything. What I did find was this sponsored article on Creality's new Integral Light Source.
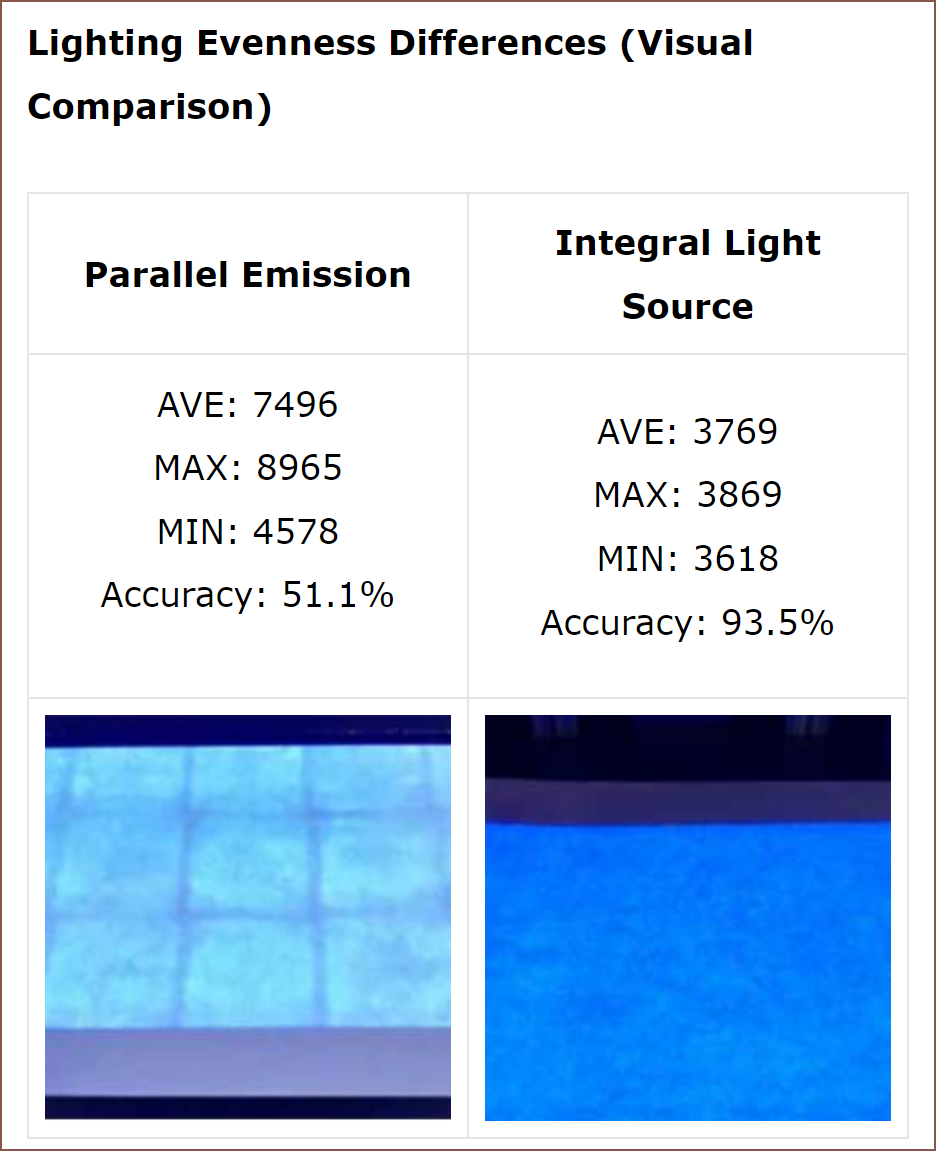 And I was able to find uniformity readings for both light sources:
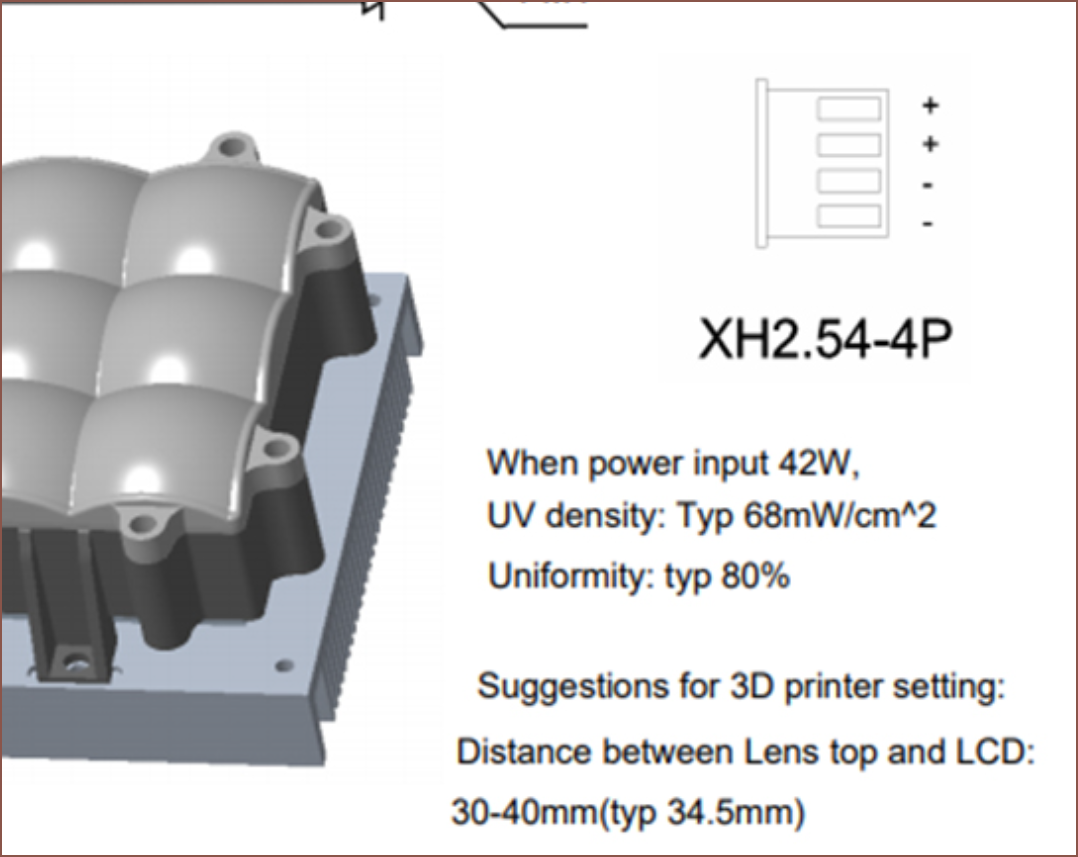
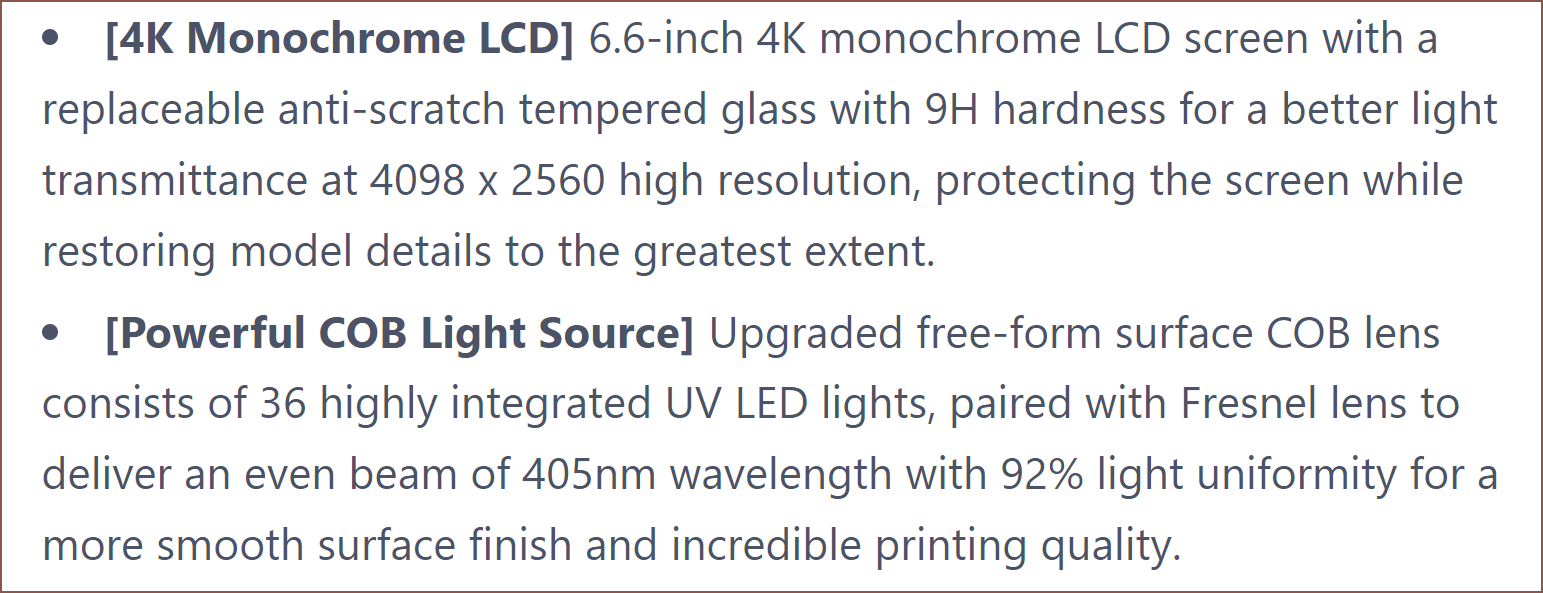
There doesn't seem to be a driver board for the 6.6" screen though.
8.9" 4K 50μm Mono
There's also an 8.9" screen, but the pixel size is the same so it would really only be a Y axis size increase to 192mm for a more expensive consumable (the screen) and light source.
 Though, if I do go with this, I would like to call it the Suspense 360 because the X axis would be 120 * 3 = 360mm, and make it the larger edition alongside the Suspense; I'm currently struggling to find something that would actually need such a vast build volume.
Fitting figures
Office Lady

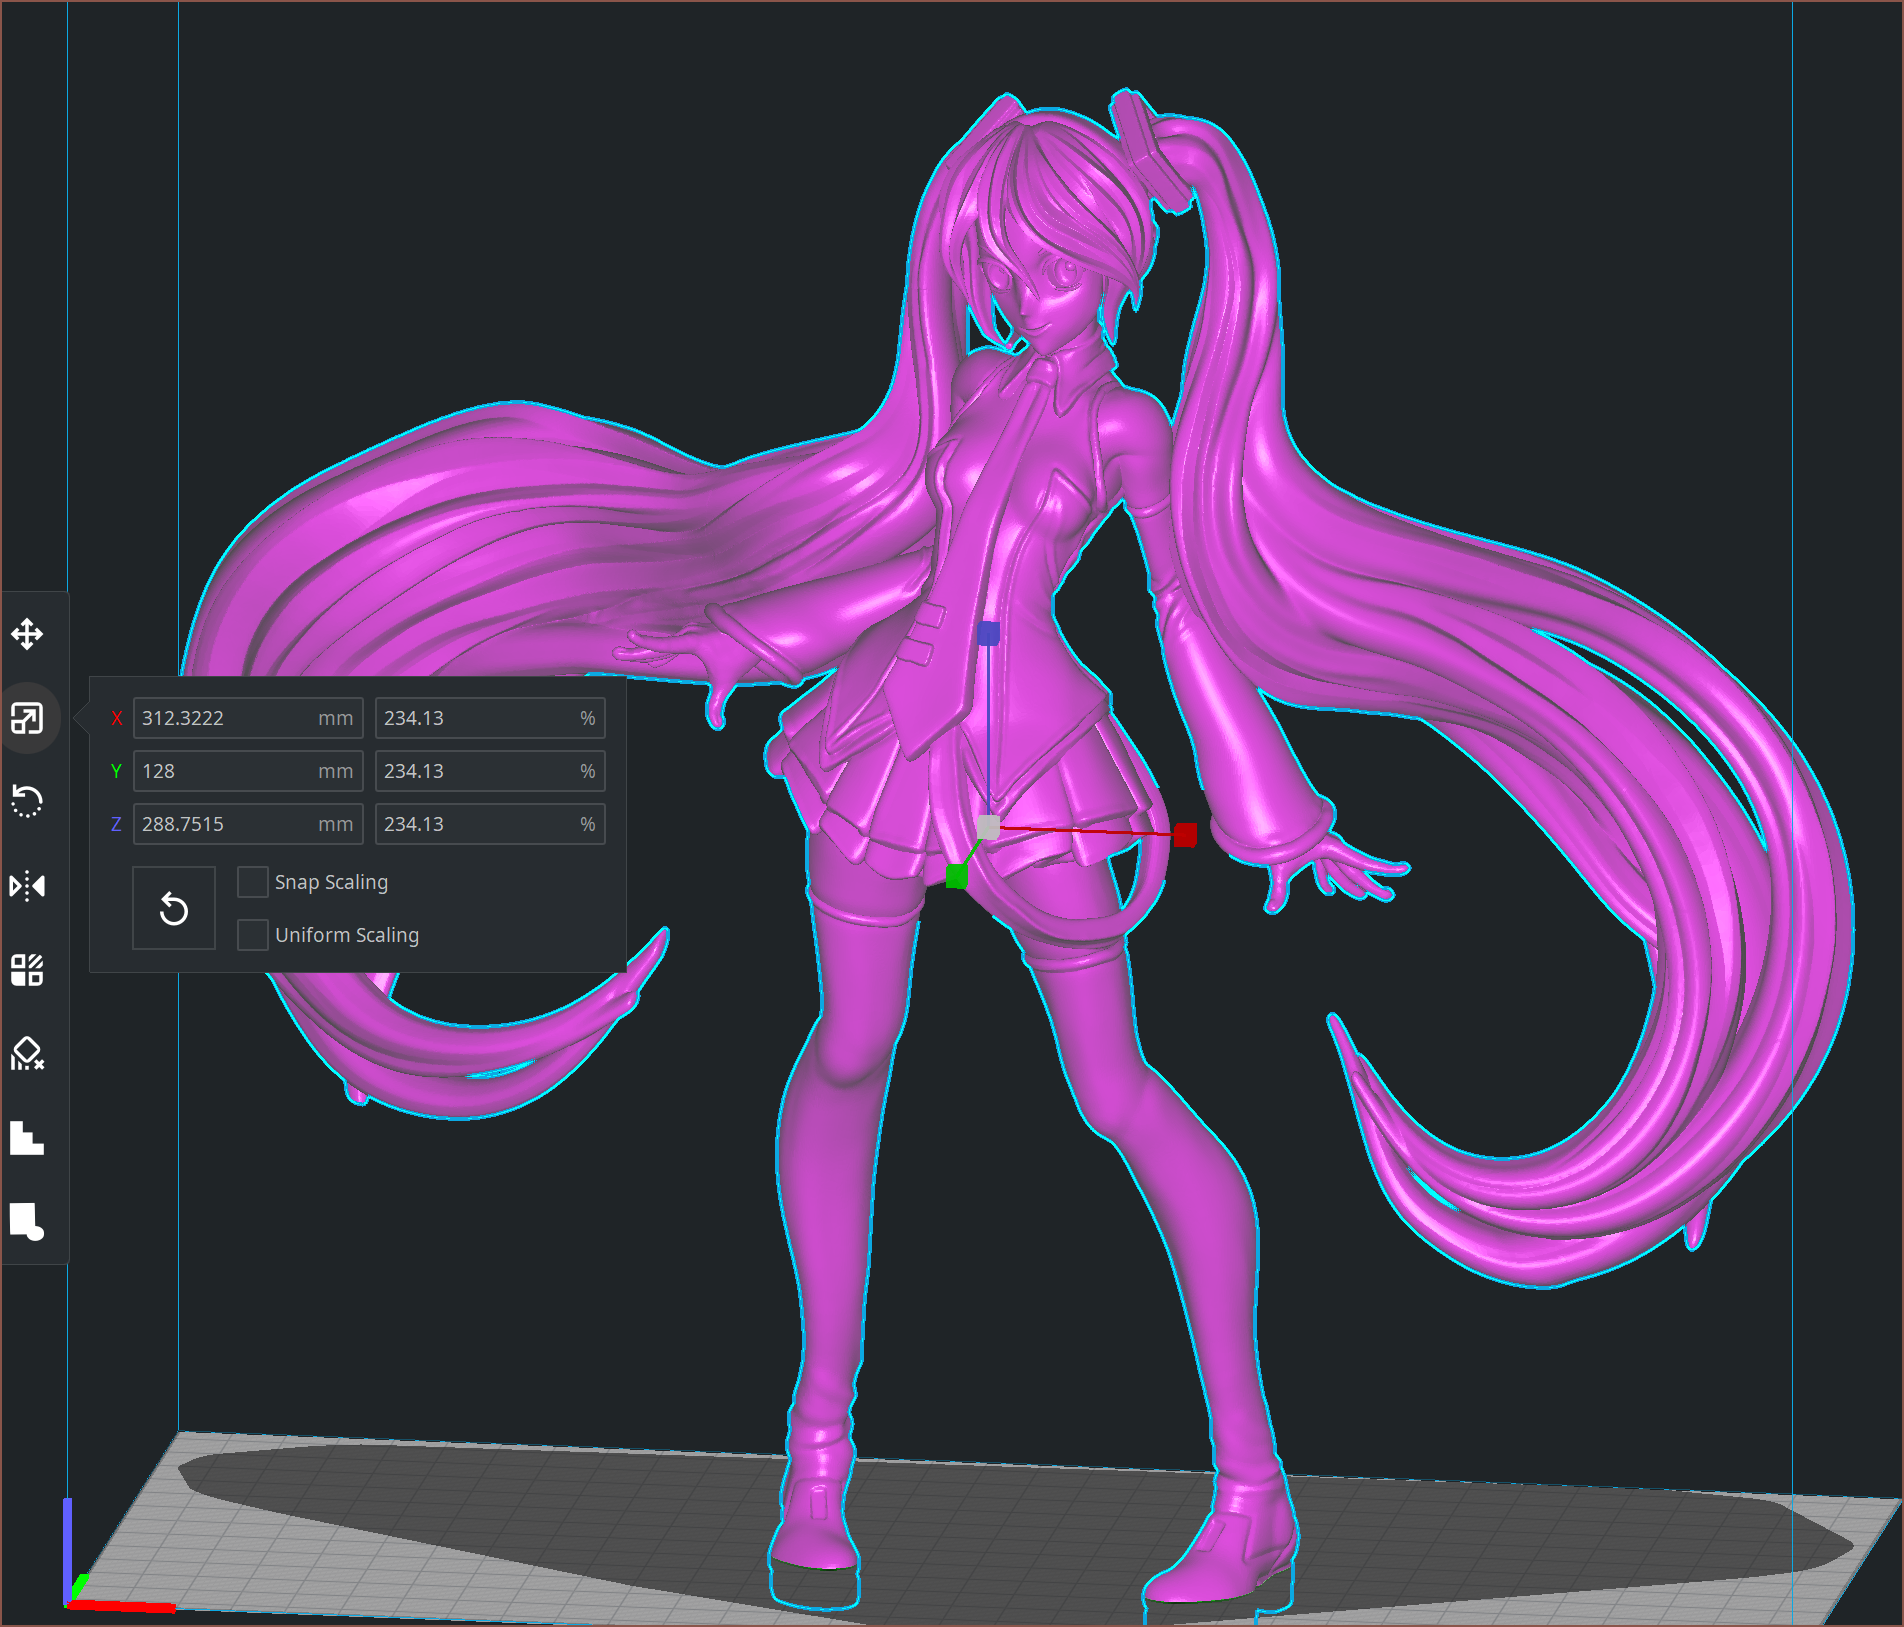
Rotated my screen to Portrait, scaled the STL to 325mm and adjusted the zoom to get a more-or-less 1:1 representation. Then I stood on the other side of the room so that my mind actually saw it as if it existed IRL and I thought she was a good size, if maybe a tad tall. Oh and I finally reduced the saturation on the magenta material for added contrast.
Hatsune Miku
Aiz Wallenstein
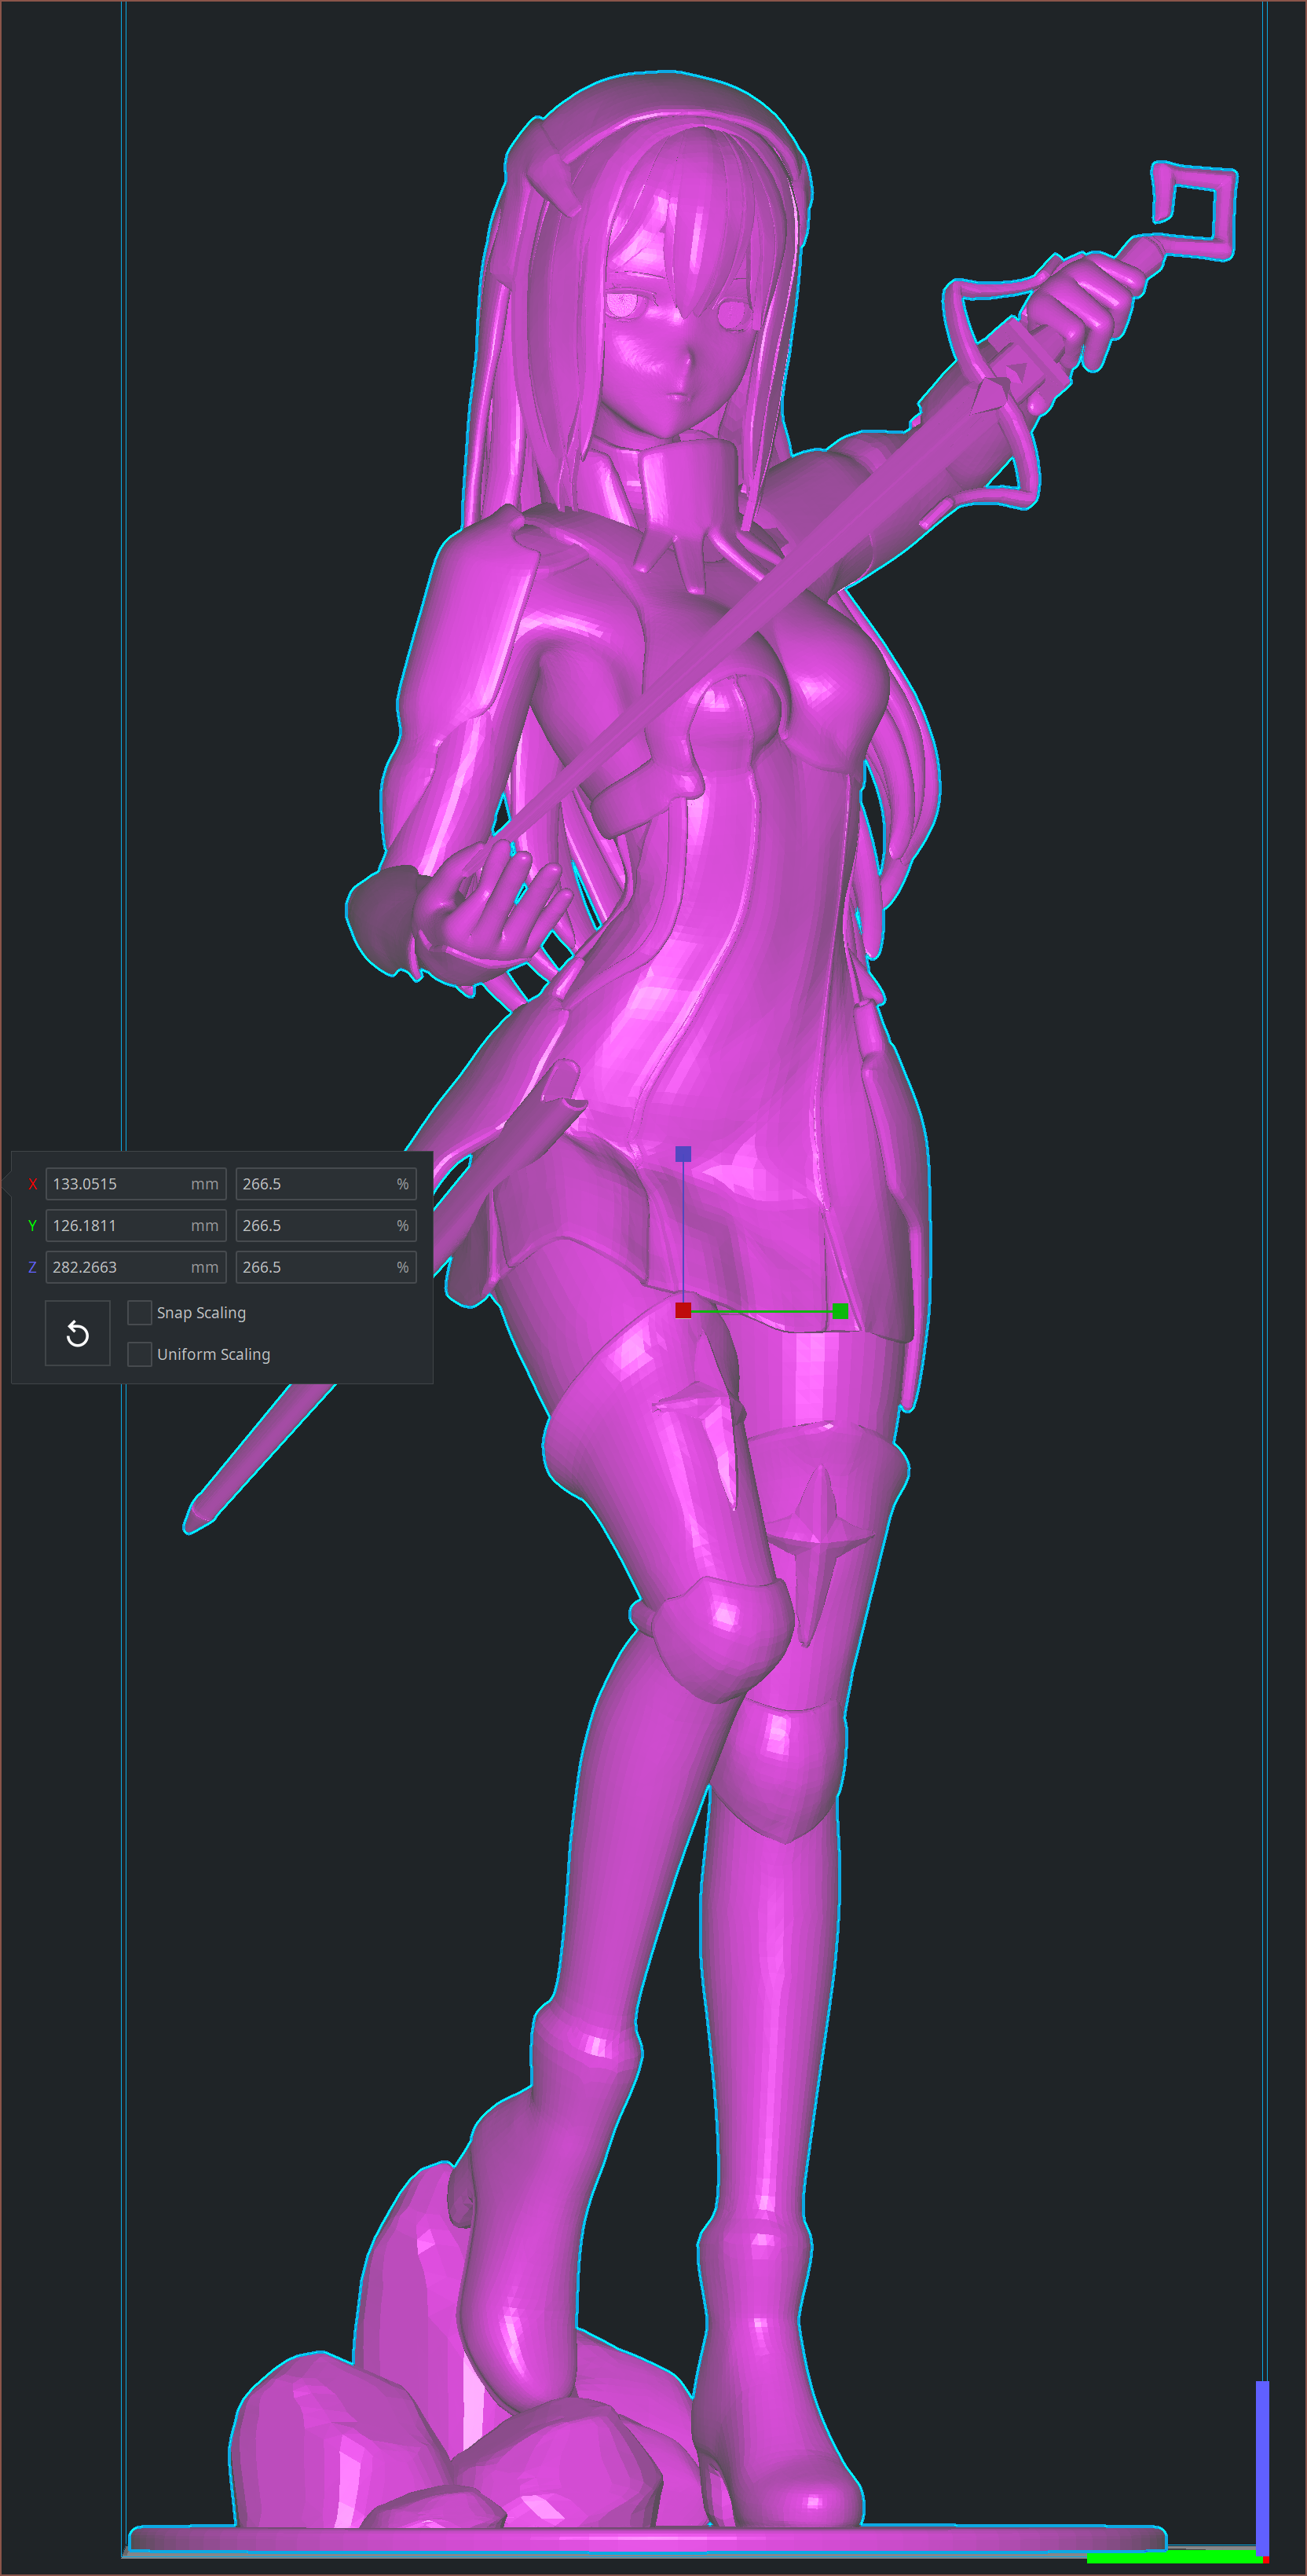
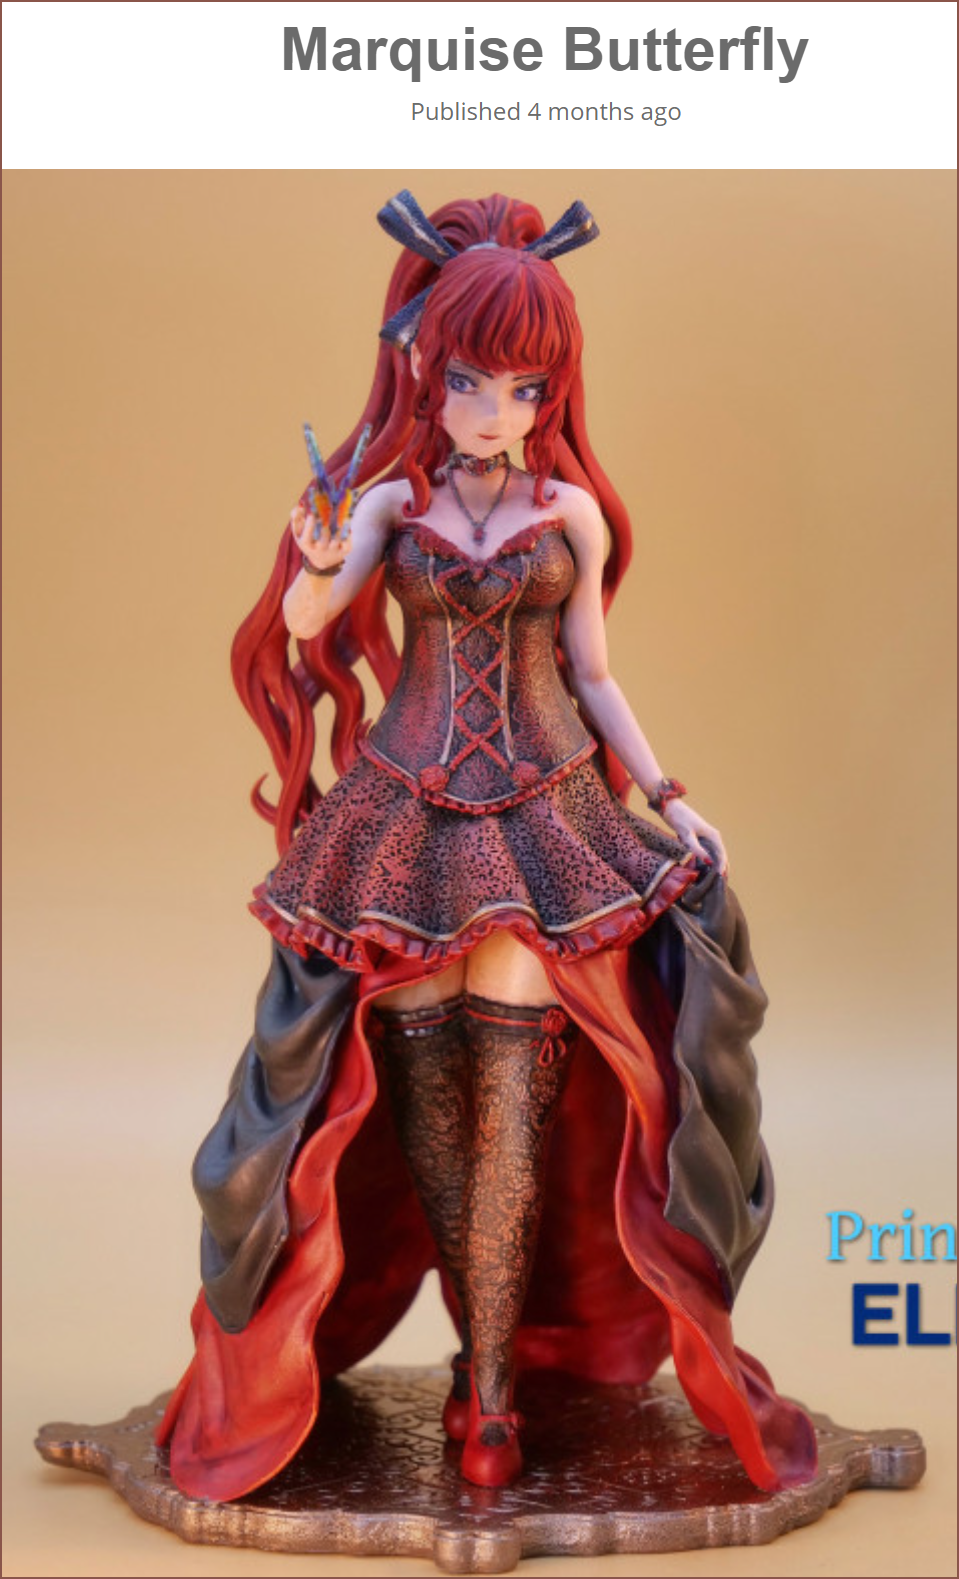
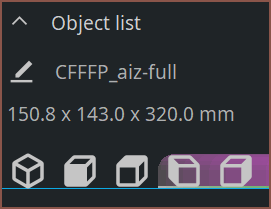 "Hmm... 143... 143... where have I seen this number before?", I thought. It's the print size for the 6.6" 4K screen I found hours prior and almost forgot about.
A new day, a new conversation
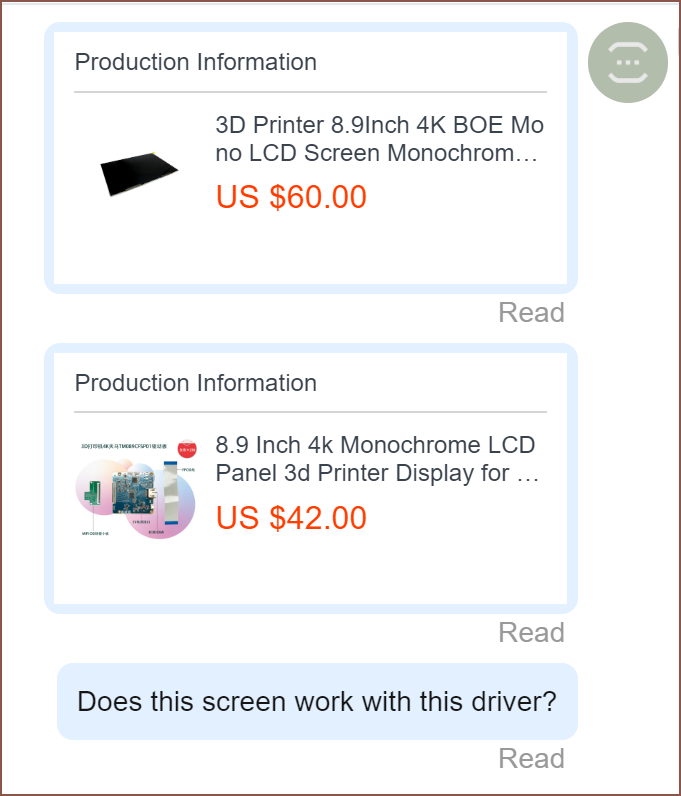
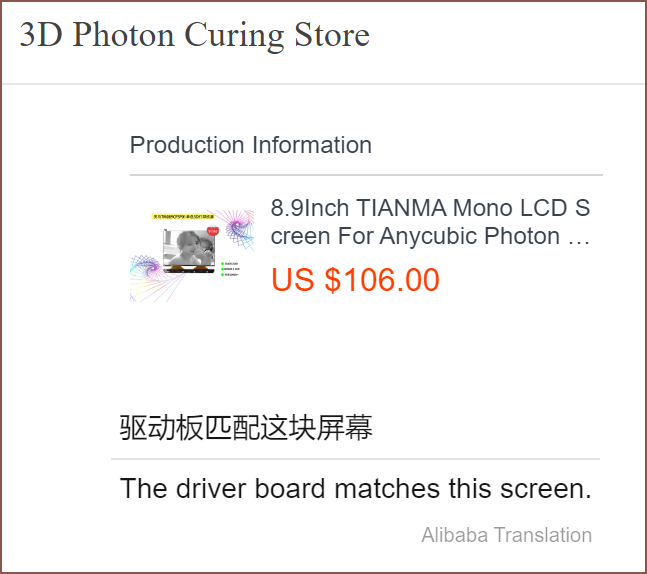
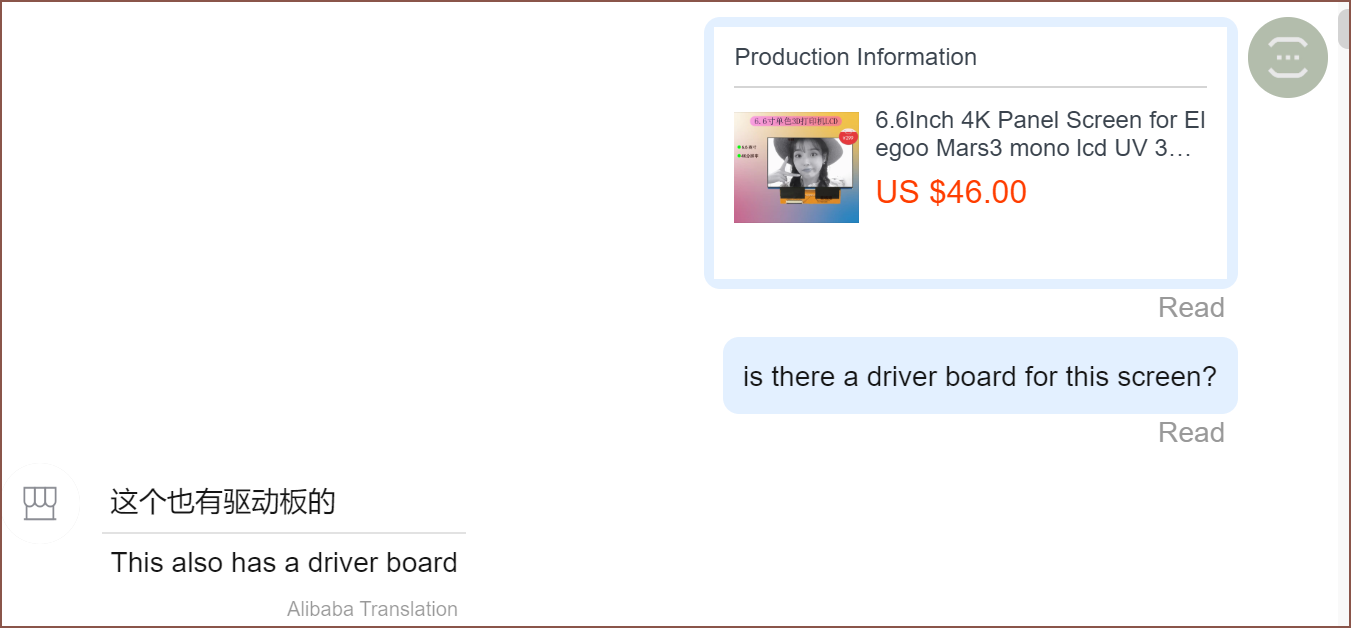
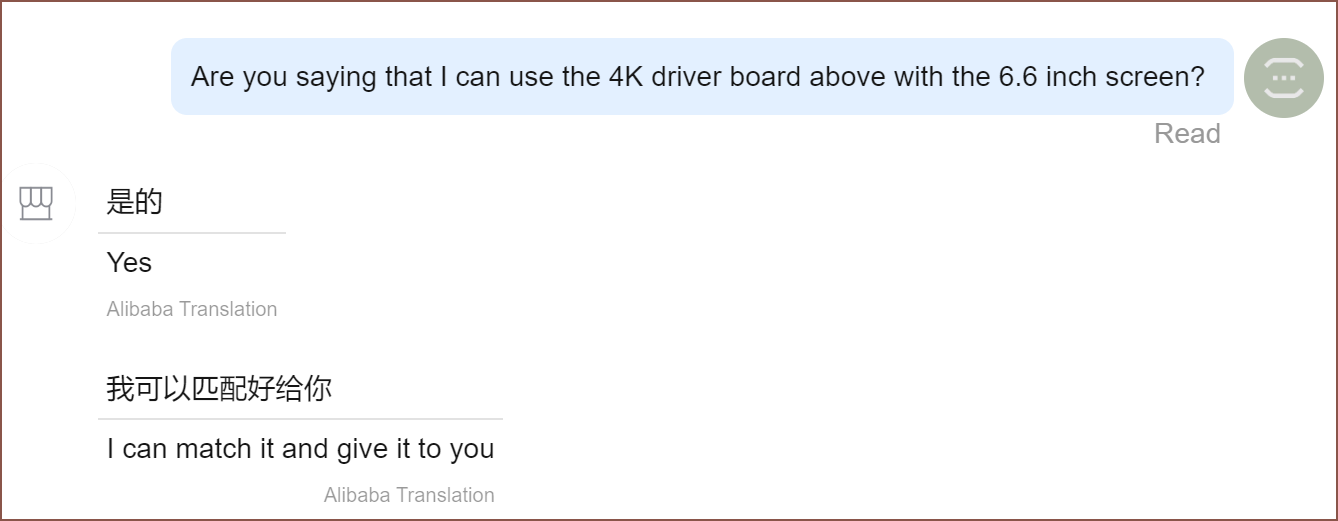
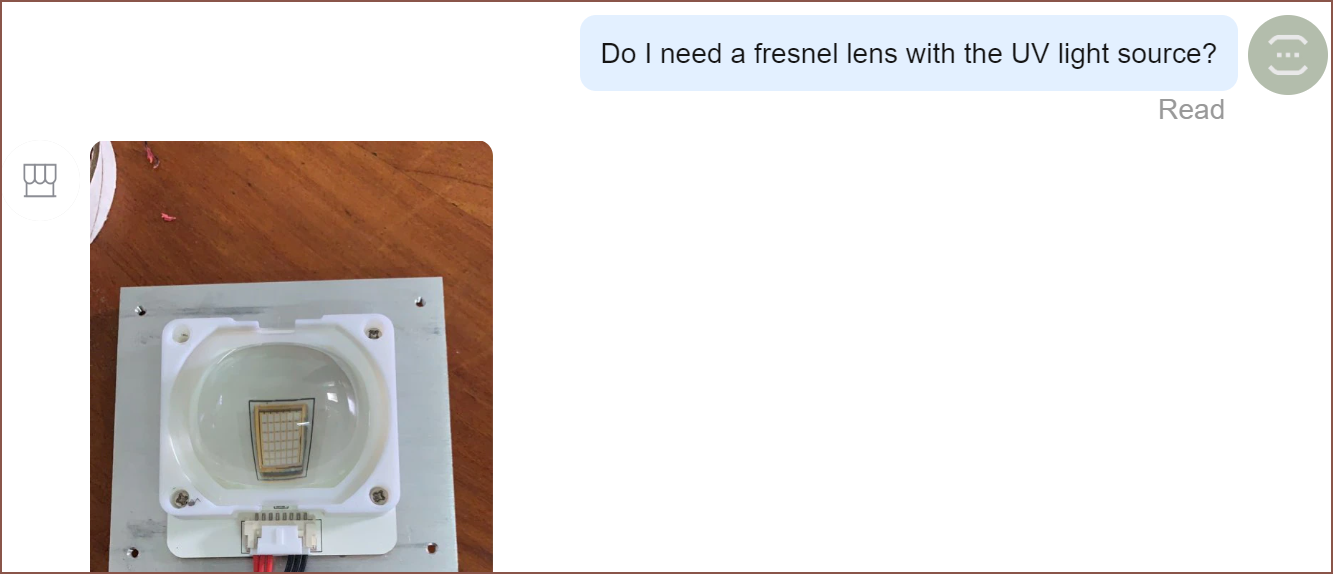
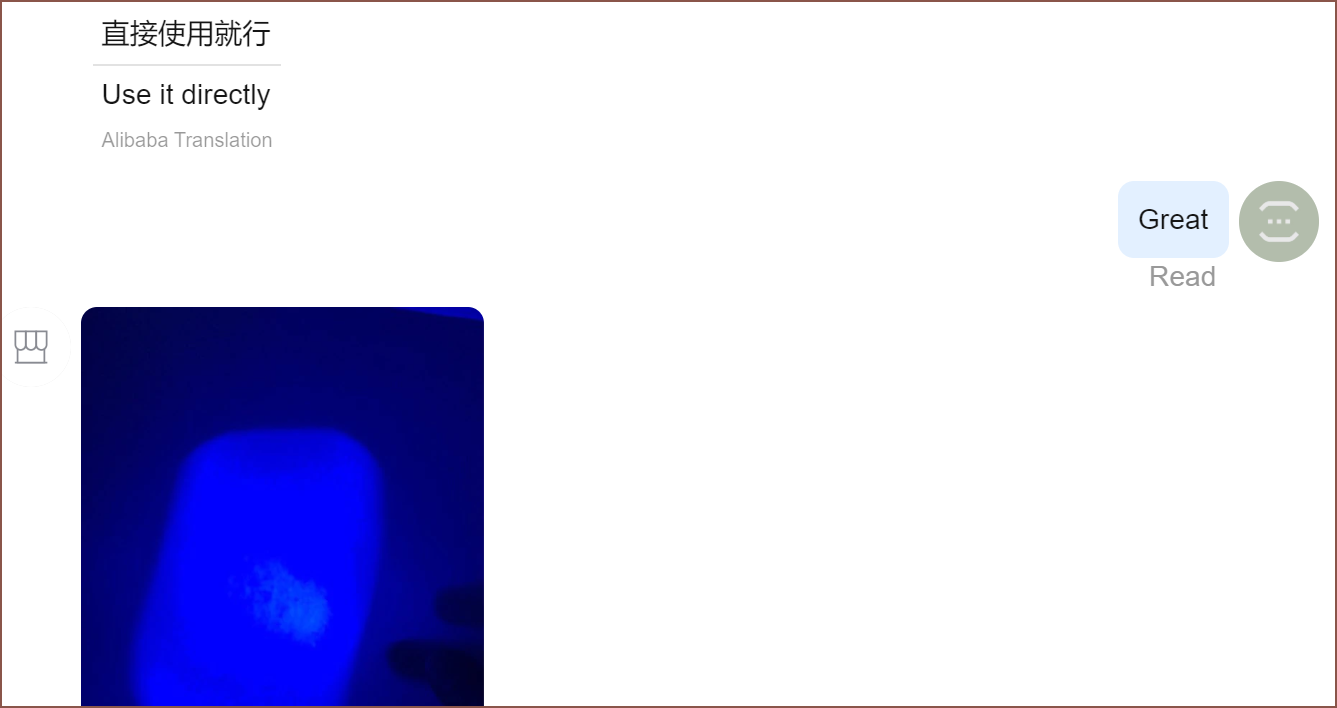
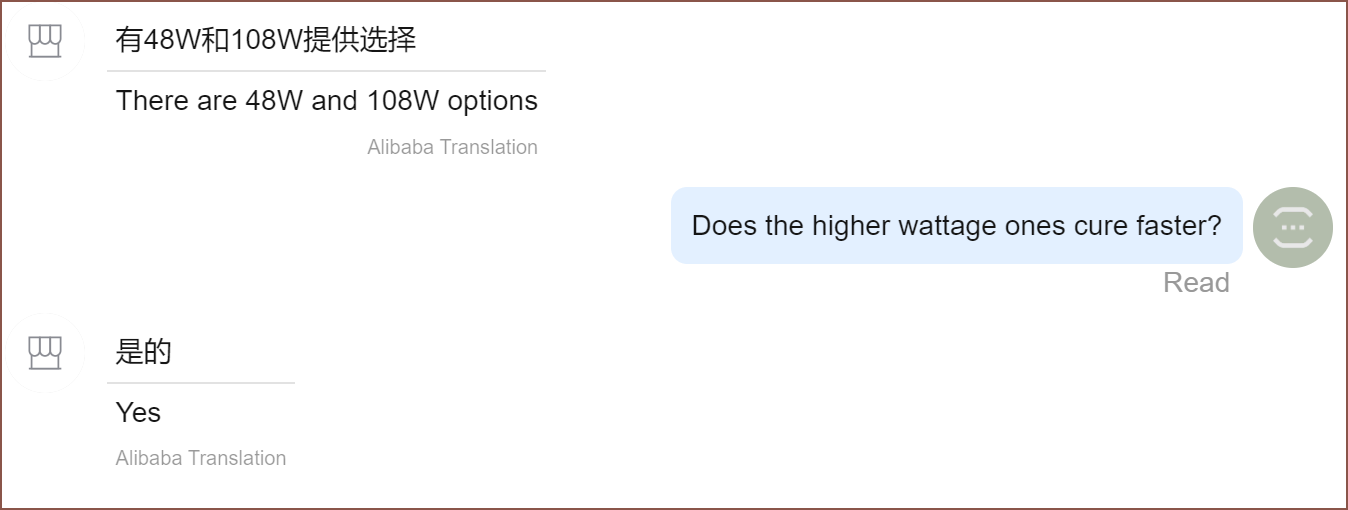
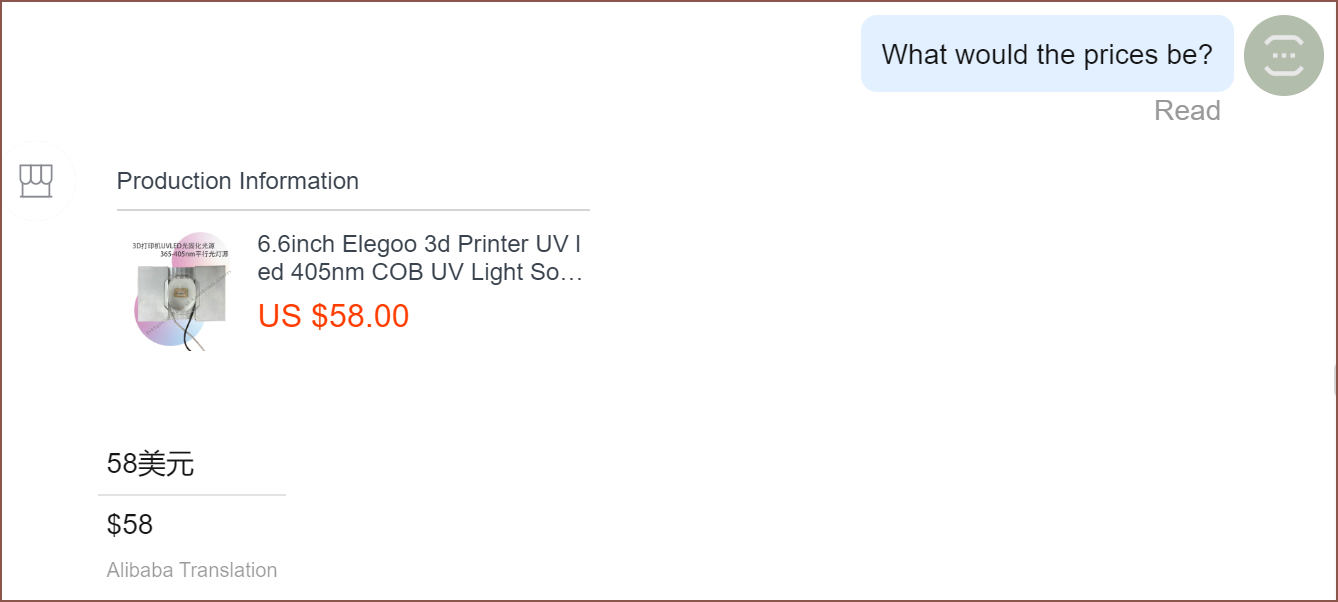

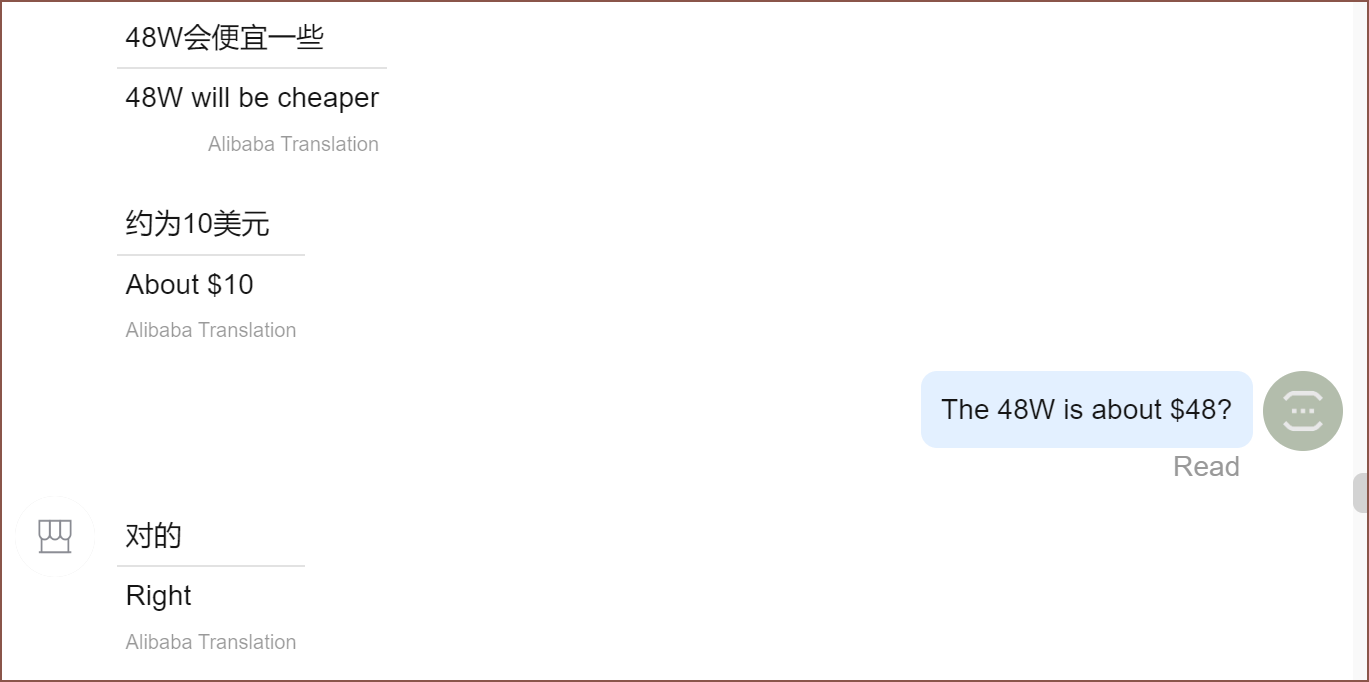
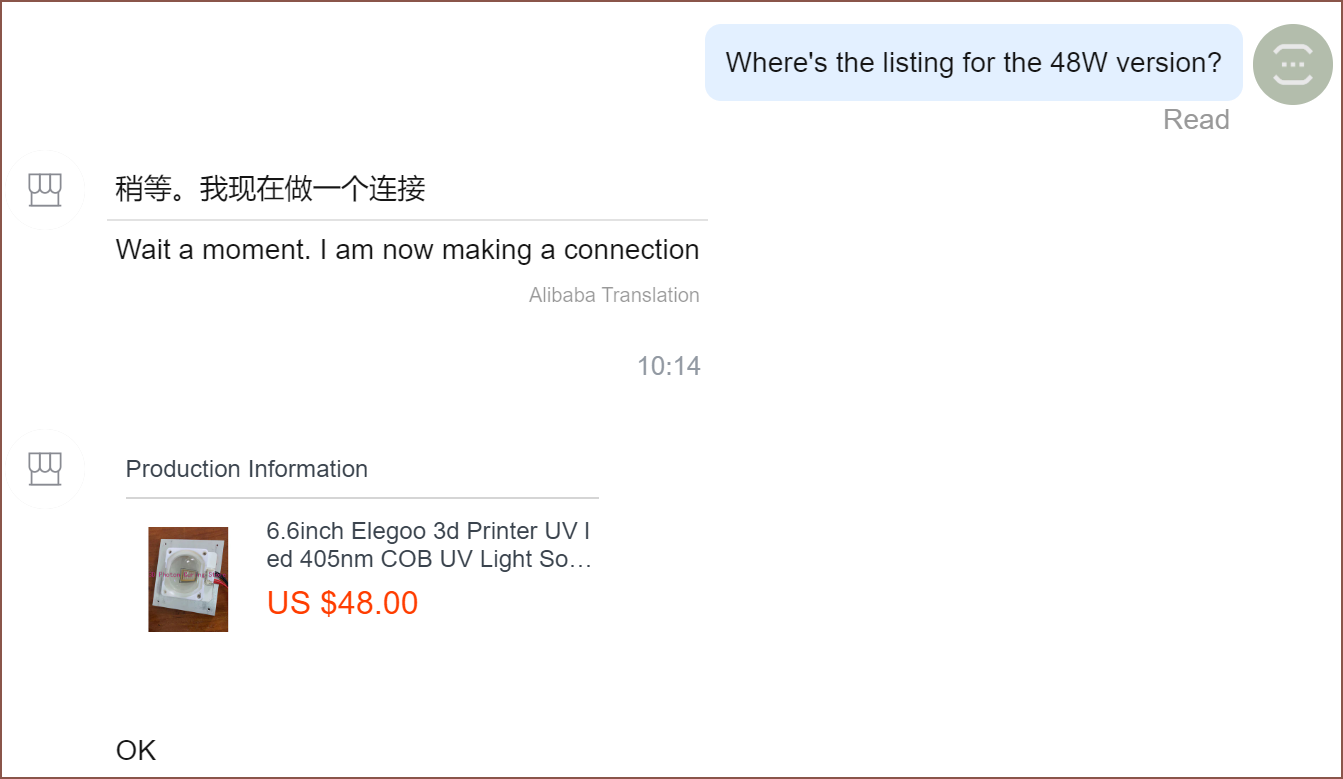
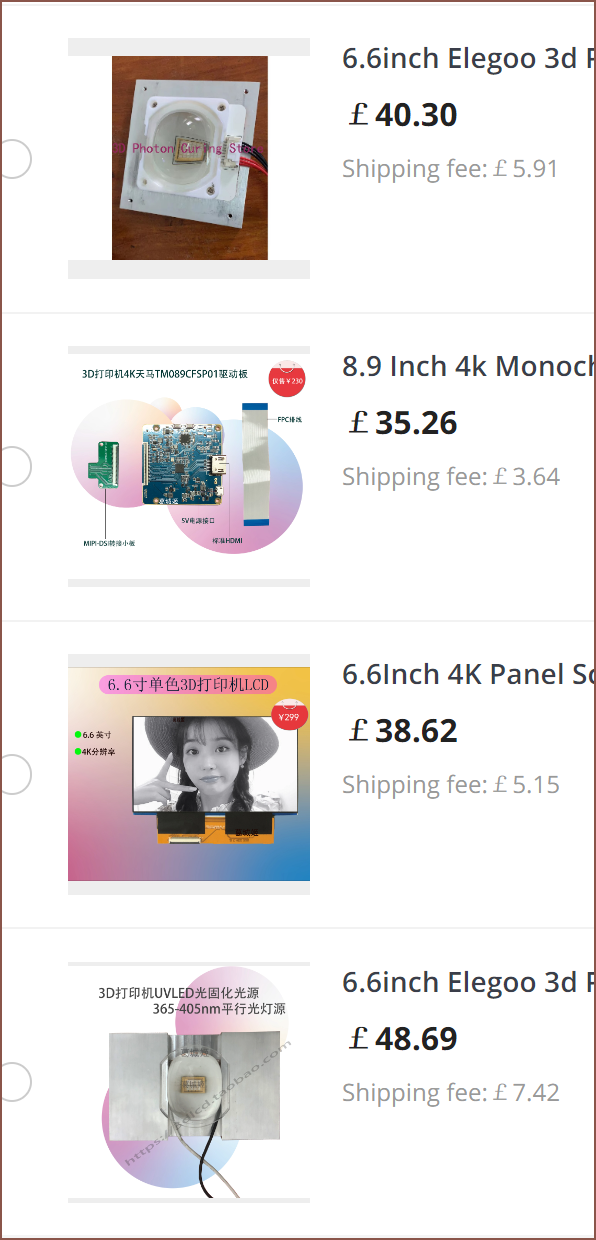 It indeed is cheaper and even shipping is lower. That brings the non-tax cost of the UV gear to around £123 without the current AliExpress discount.
 Noticing that the DIY resin printer space is kind of... dry, I was really thinking that I was going to have to buy a Photon M3 for parts and then do some strange stuff to get the motherboard to work with the rest of the system.
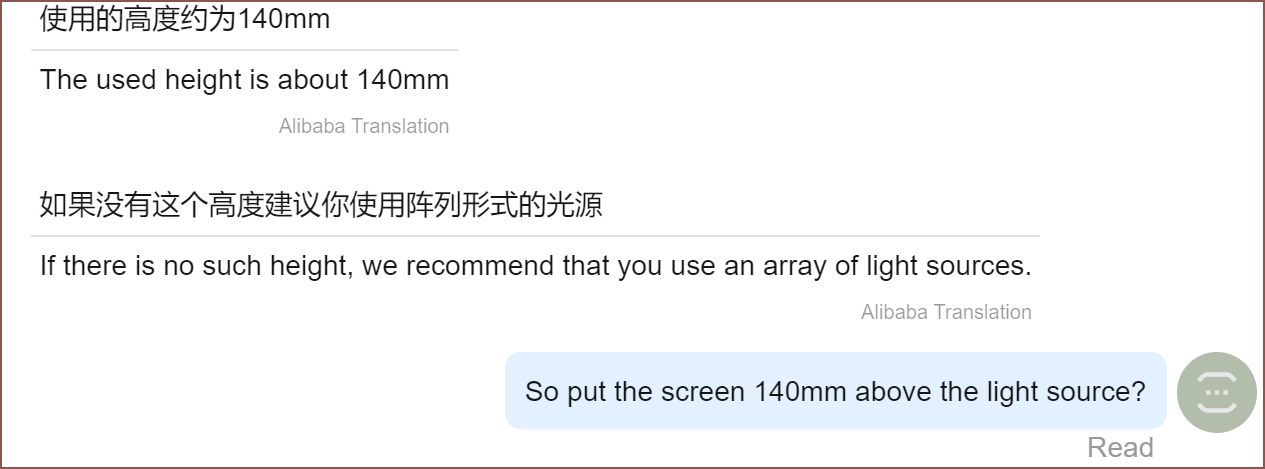
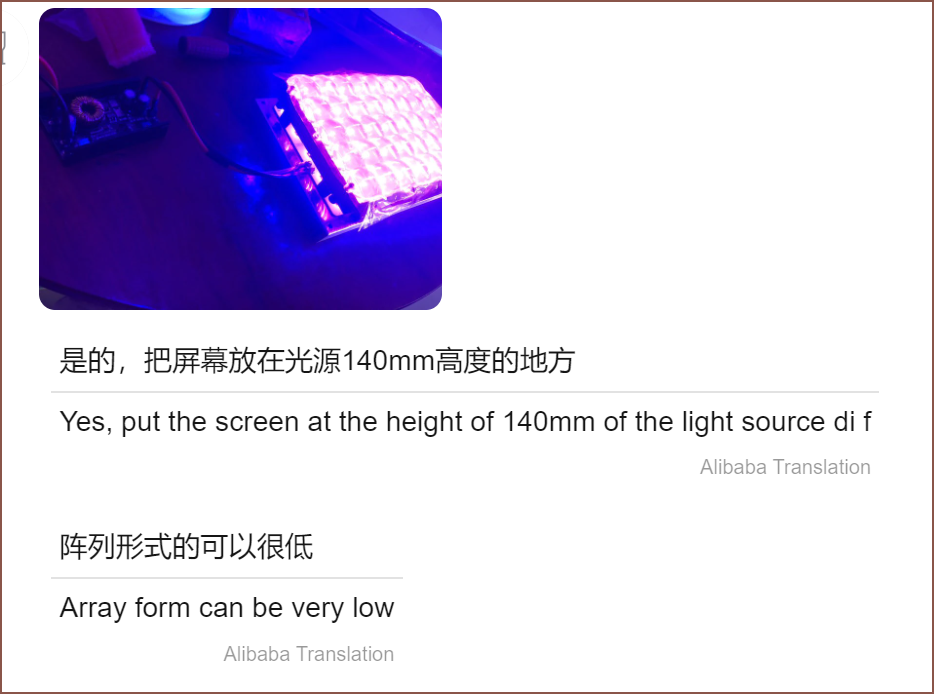
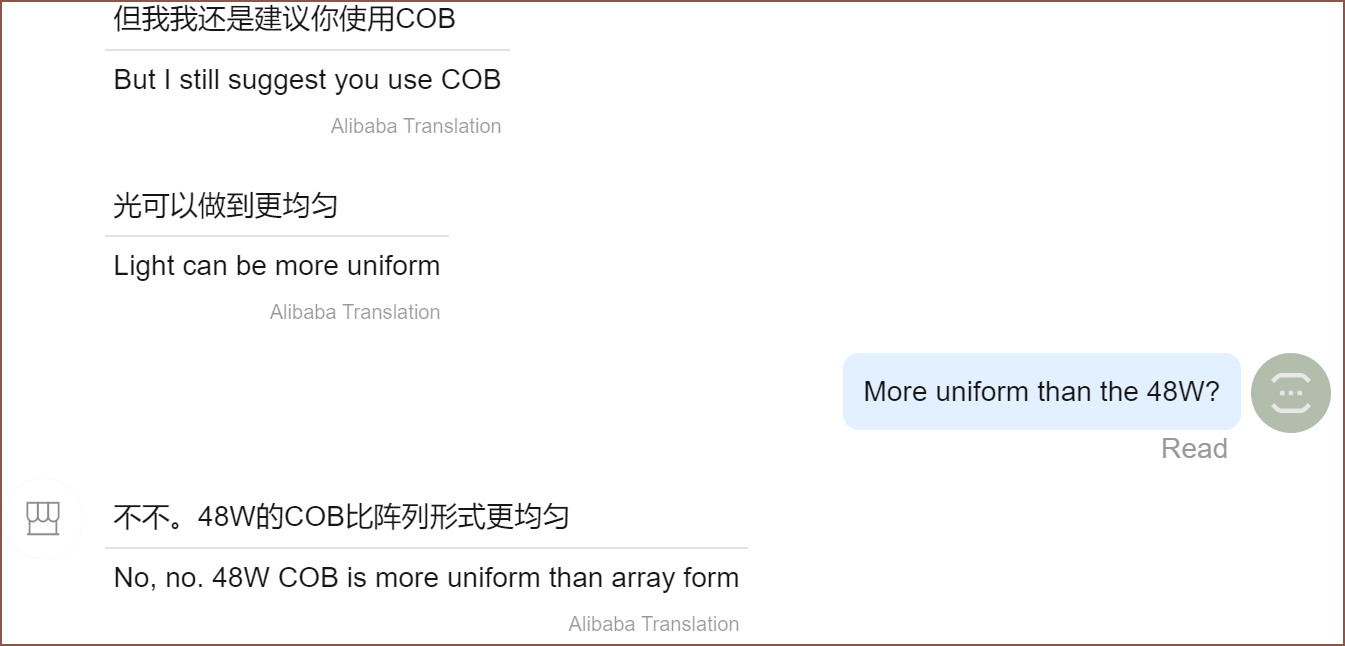
So this both confirms that this kind of light source is better than the matrix array type, and a reason why an engineer would choose one over the other.
Finishing notes
- an XY build volume of 358.4 x 143.4mm and a Z height target of at least 330mm,
- a XY resolution of 35 microns, which is an improvement over the Photon M3 / Max and comparable to the Mono 6K or M3 Plus,
- a screen that would cost around £43 to replace (compared to the £66 Photon M3 screen as of writing), and
- an exposure time that would be slightly less than the Elegoo Mars 3, meaning that parts that fit within a single screen area might print faster.
I'm thinking that a custom aluminium tool plate bed will be needed and hopefully it's just a case of drilling 4 holes to connect it to some mounting hardware. I don't have to worry about resin being able to drip off the underside. I also want the Z axis linear rails to be at the far edges of the build area's X axis so that I can have curing LEDs aimed at the middle of the build area were parts are more likely to be.
[Started writing log at 12:46. Published at 17:13]
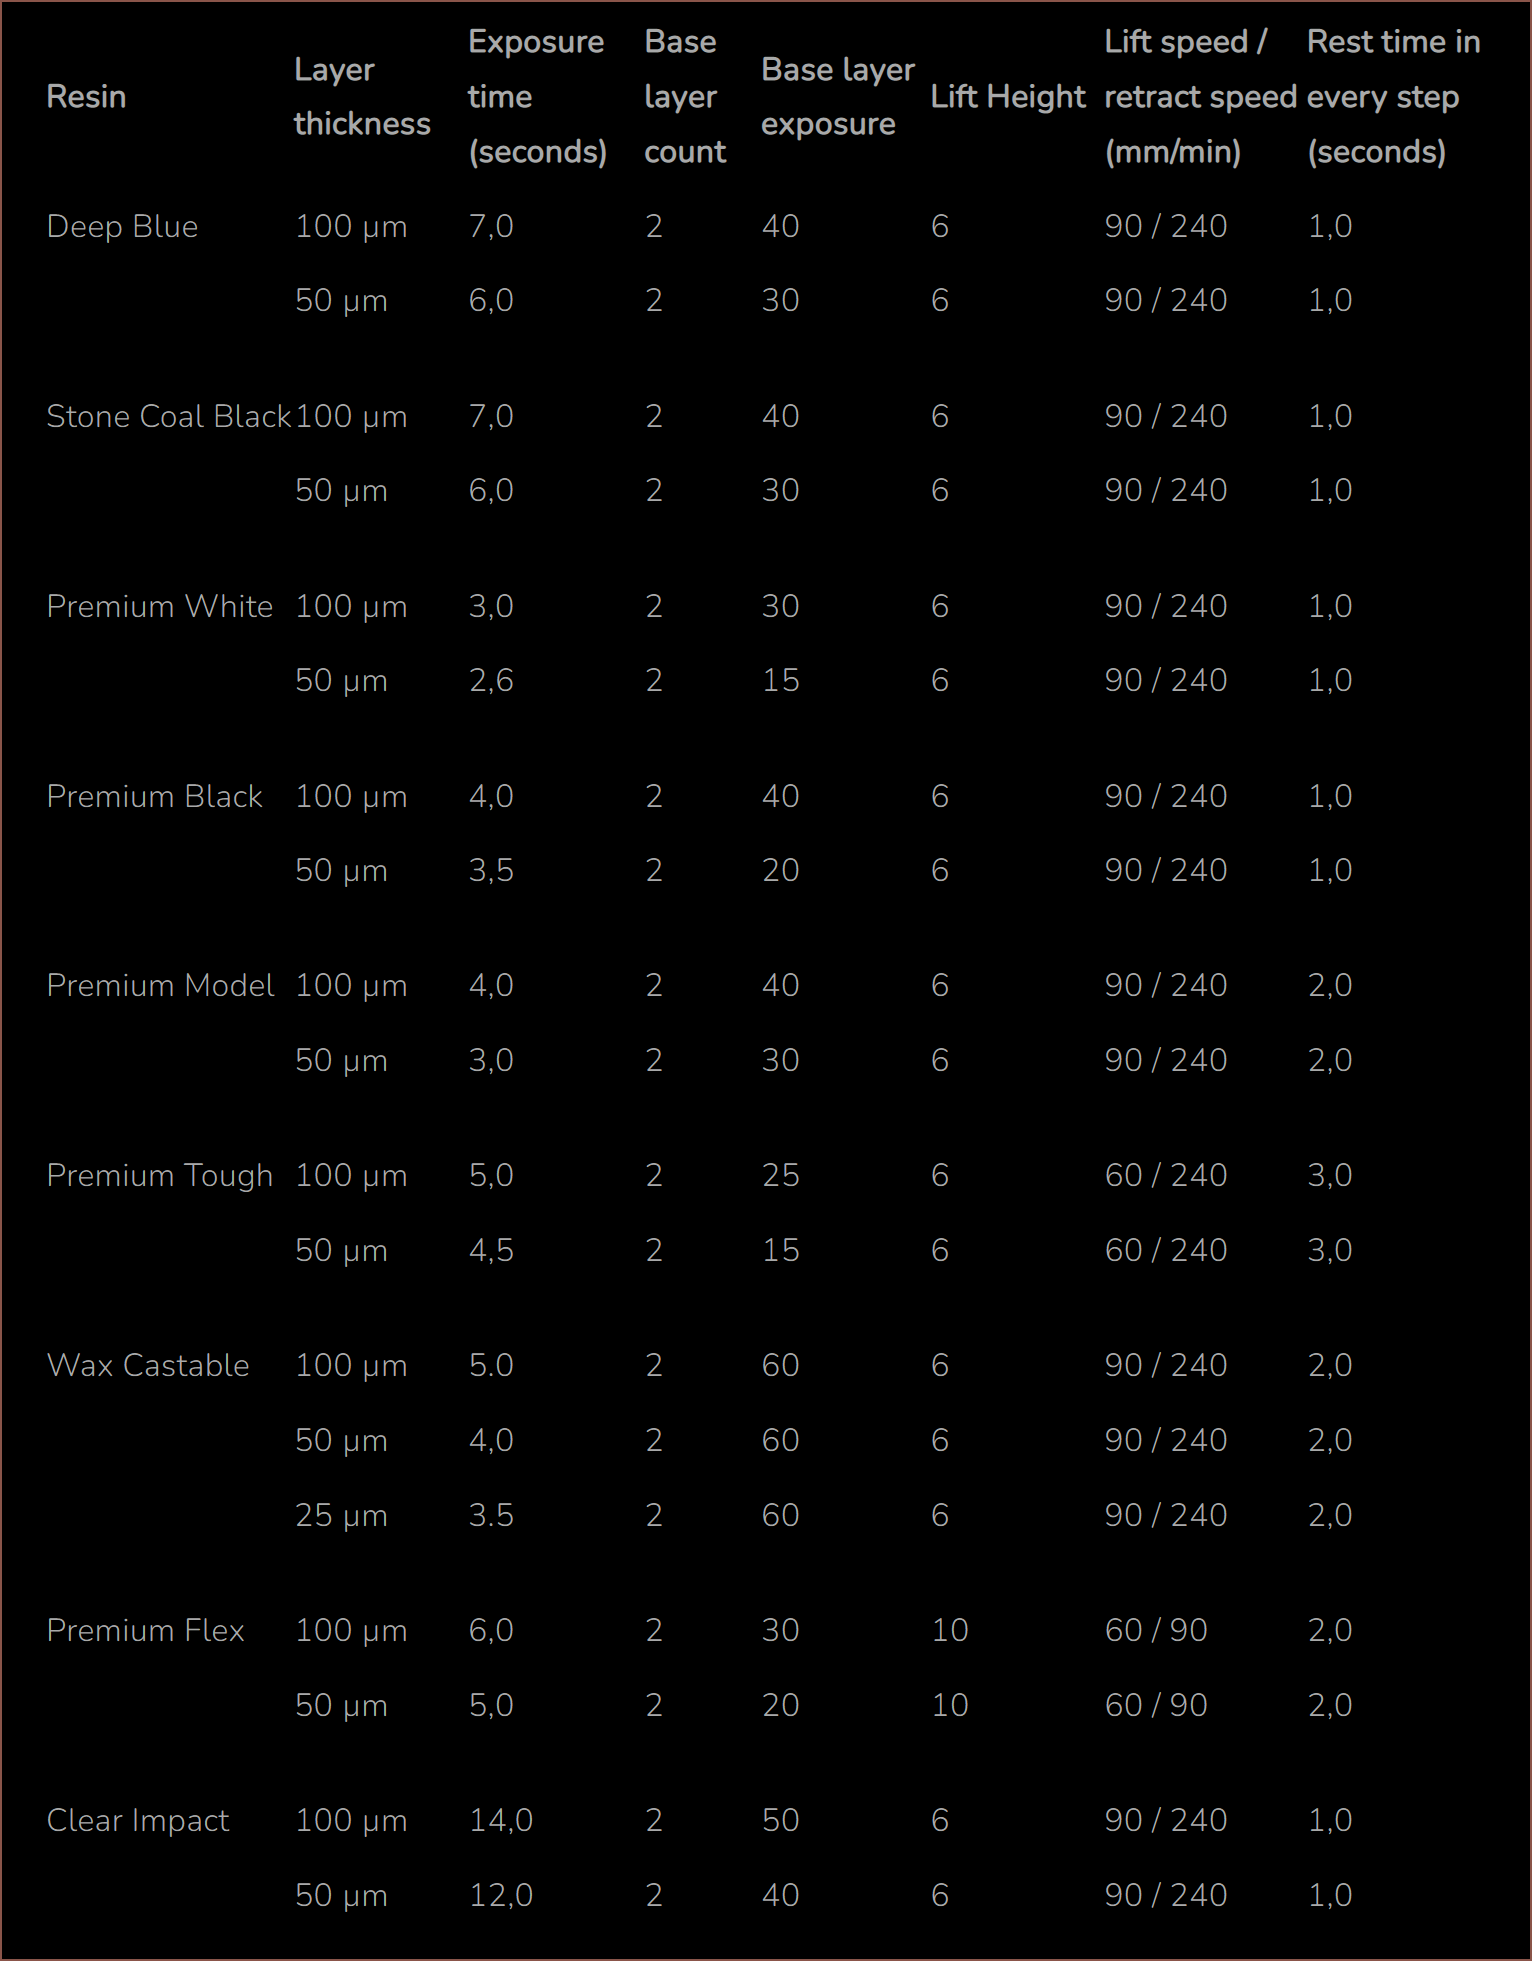
[E1: 22 June, 23:34] This morning I asked the seller how much the 108W version was, and it's literally the $58 one I originally found. I was wondering why the heatsink looked larger than the 48W version. They just send a 24V 4.7A converter instead of a lower wattage one.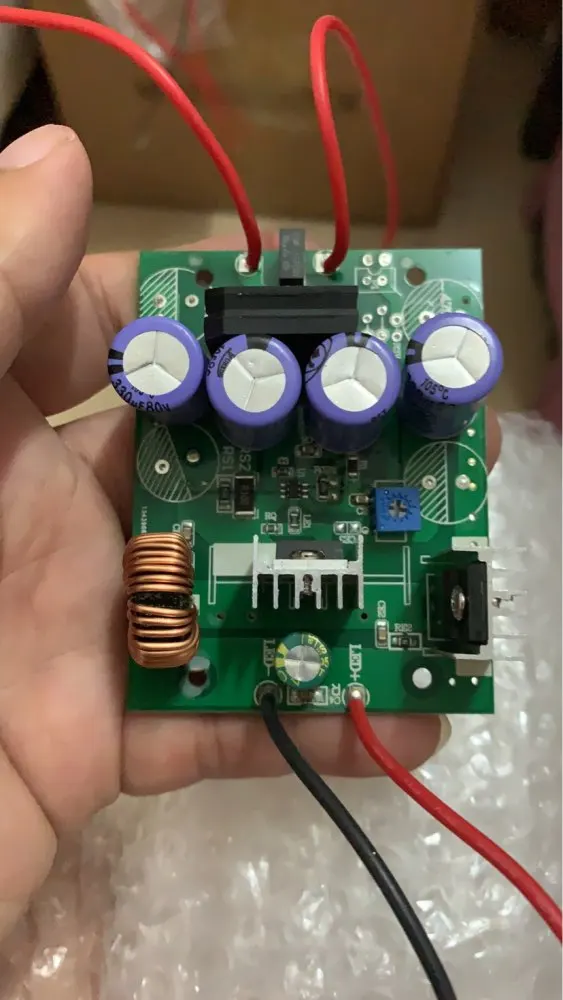 Looking at these exposure times for the Elegoo Mars 3 [see below], the fact that print times can be multiplied to as much as 4X, I can now use 24V for both the LED and motors and that the difference is only £10, I'm going with the 108W version.
 kelvinA
Discussions
Become a Hackaday.io Member
Create an account to leave a comment. Already have an account? Log In.