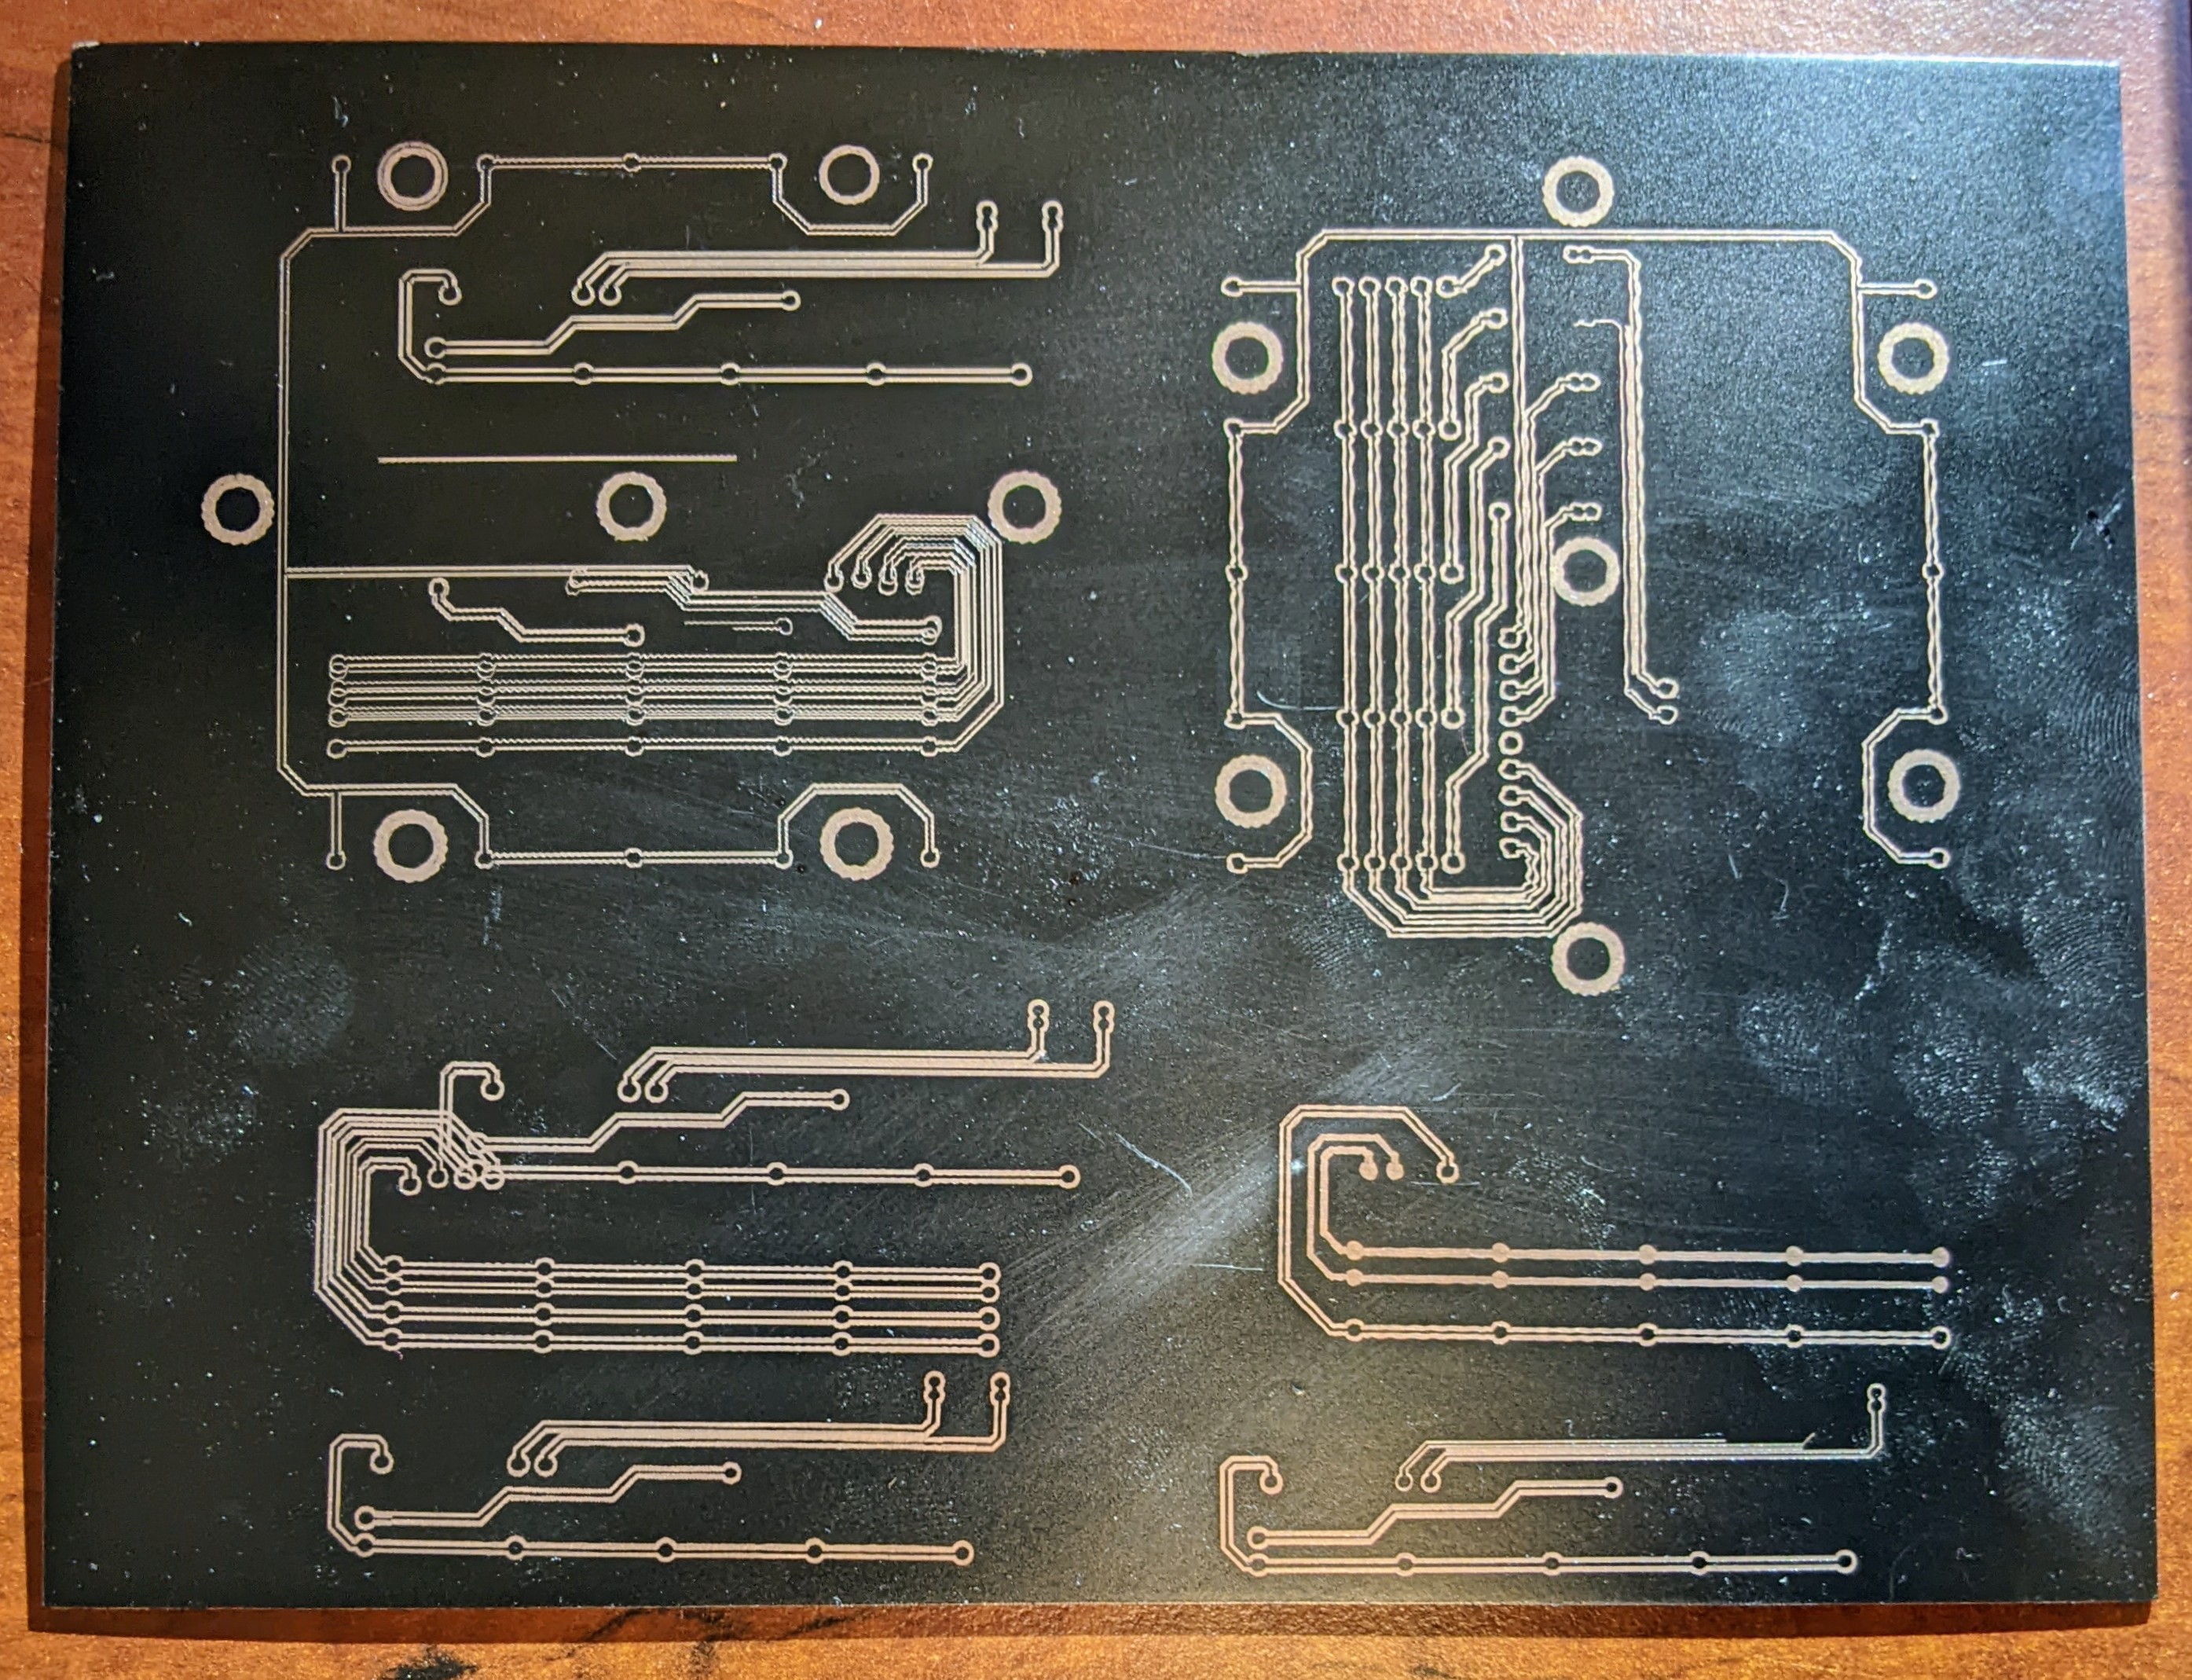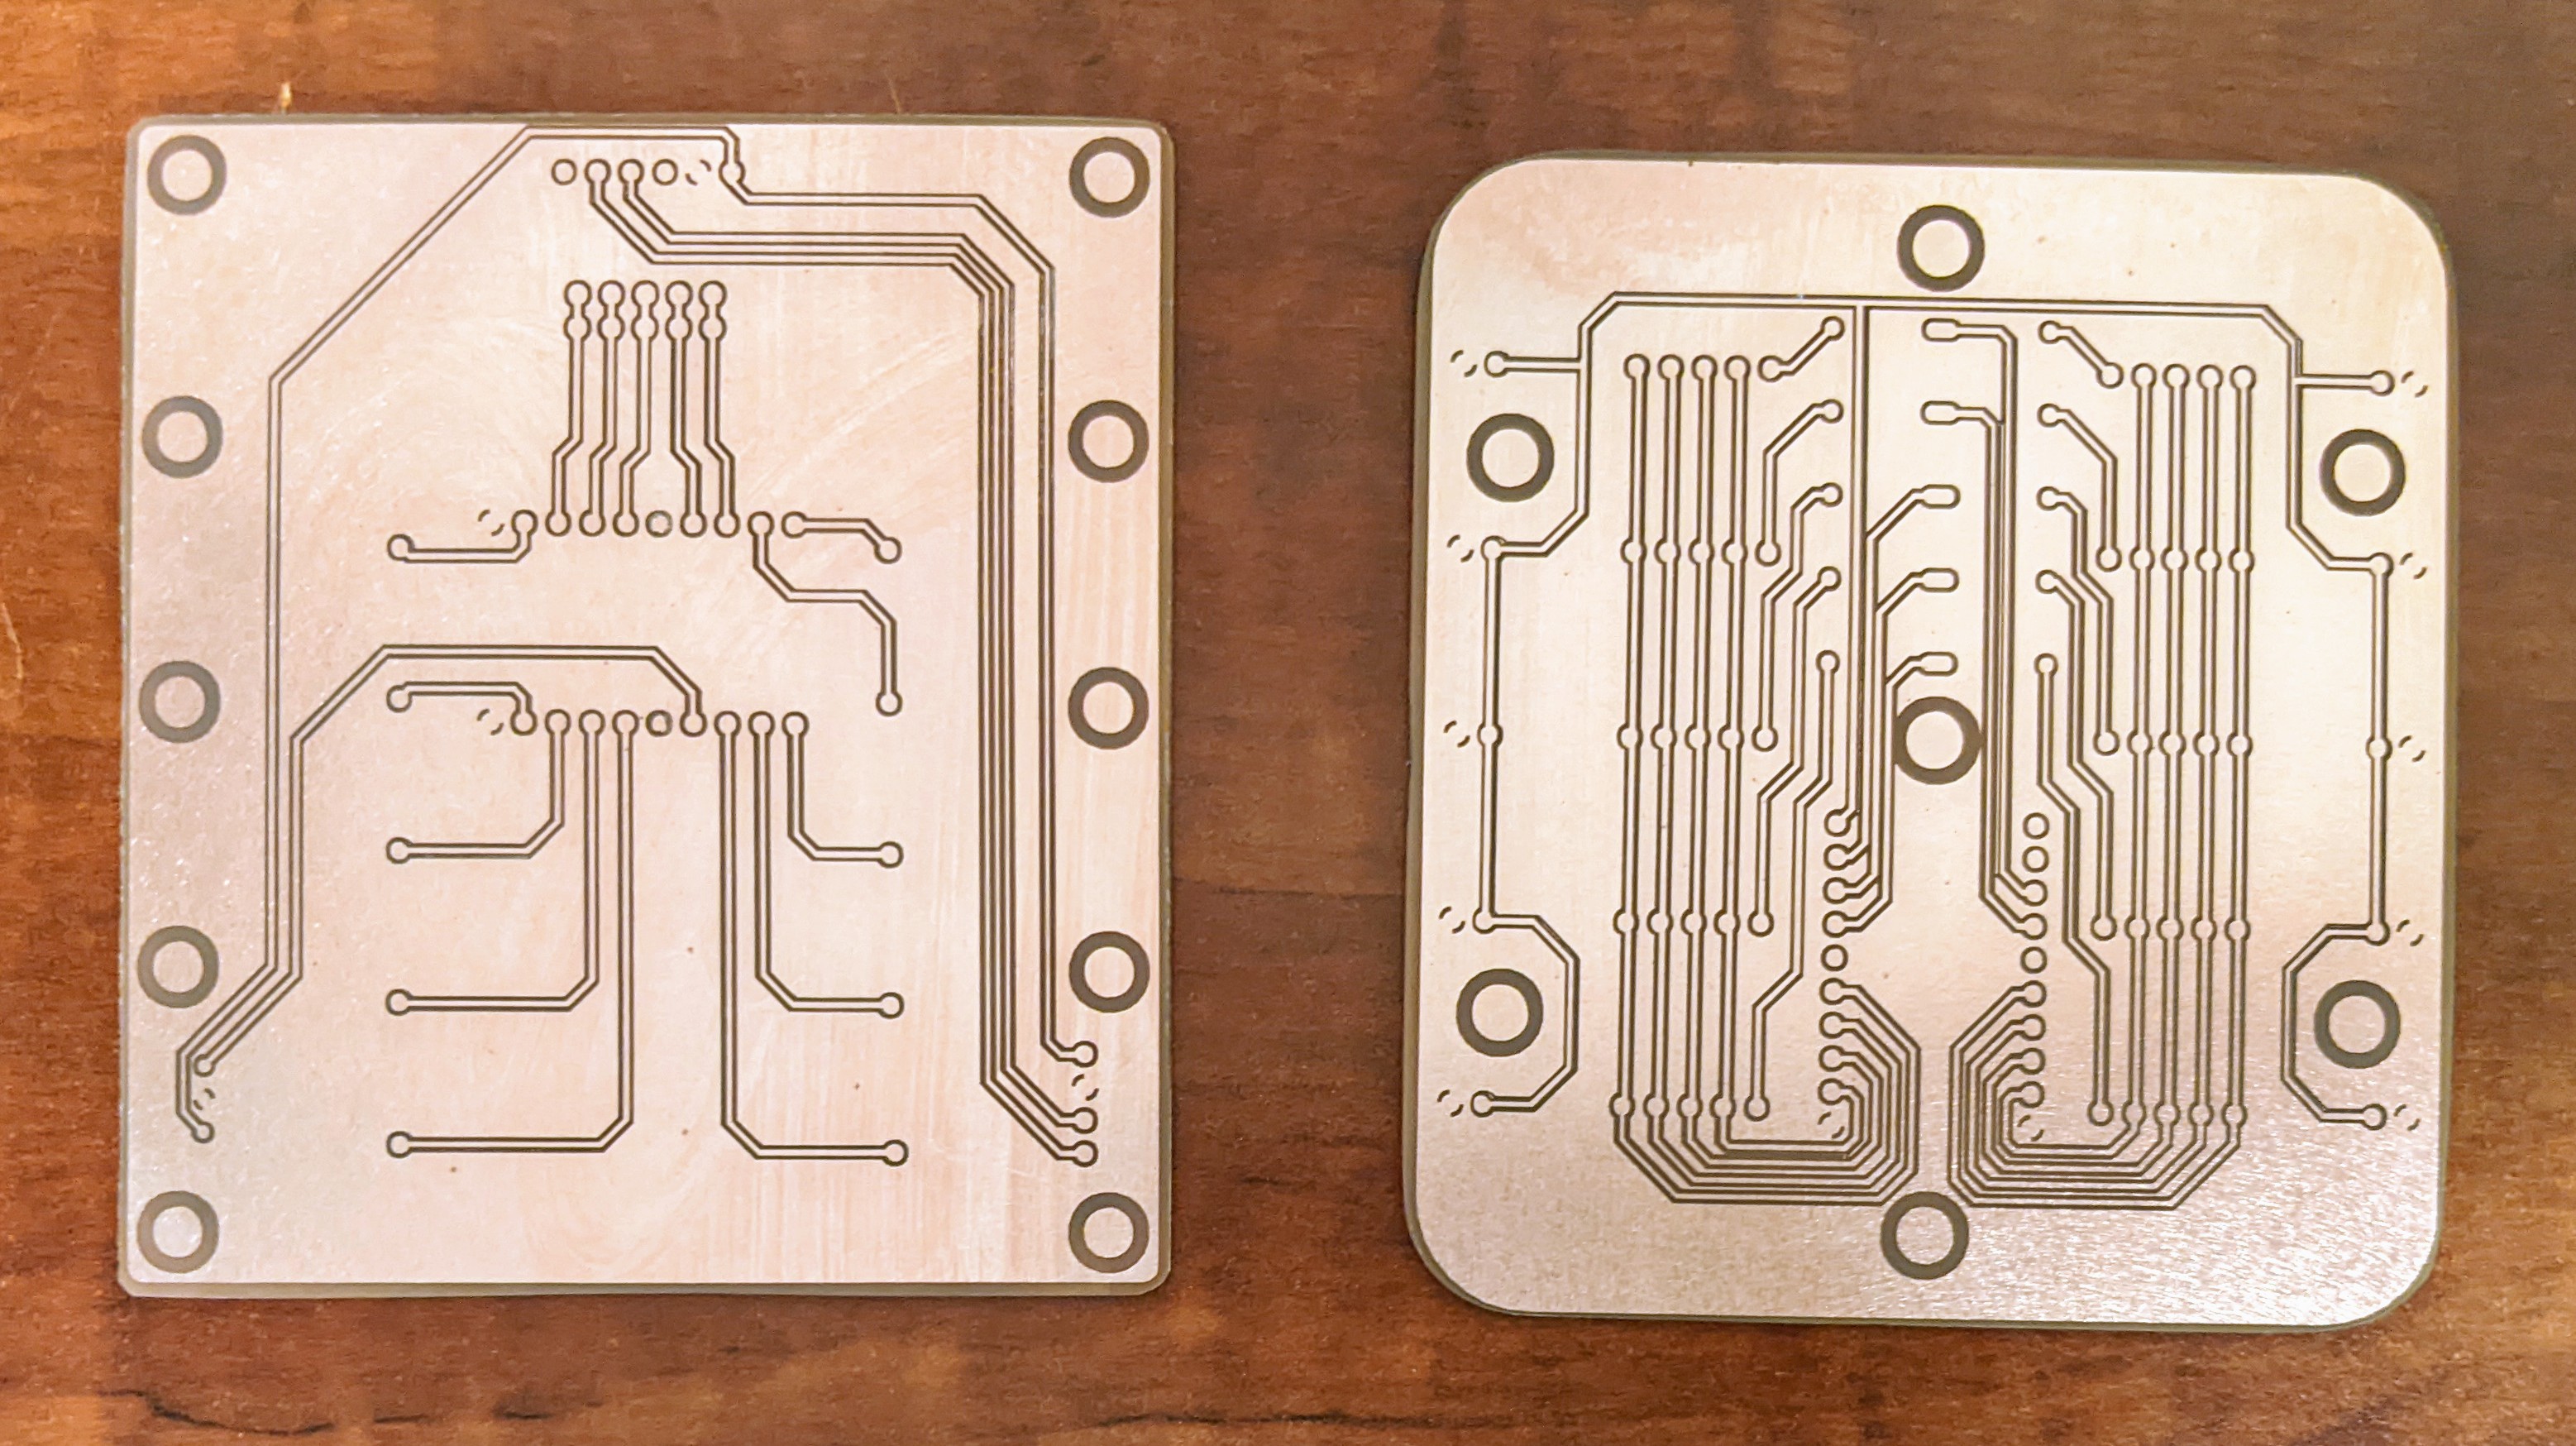
There are several ways to etch your own circuit boards, but the method that I tried this time around worked very well especially for larger boards.
In this method I painted a copper PCB board with an even coat of black acrylic spray paint. After letting it dry I used my diode laser cutter to remove the paint in the areas that I wanted etched away.
One problem I ran in to was that the diode laser would produce very wavy lines if it was run too quickly. This is easily fixed by simply running the job at a slower speed. Unfortunately this increases the overall time required to complete the job.
I found that for my laser engraver a speed of 400 mm/m was a good compromise between speed and line quality.
After etching the paint I used a Copper Chloride Enchant to finish etching the board.
Once the etching is complete, you can remove the paint with acetone.
The final result was great!

 RubenFixit
Discussions
Become a Hackaday.io Member
Create an account to leave a comment. Already have an account? Log In.