 Nick Sayer
-
11Step 11
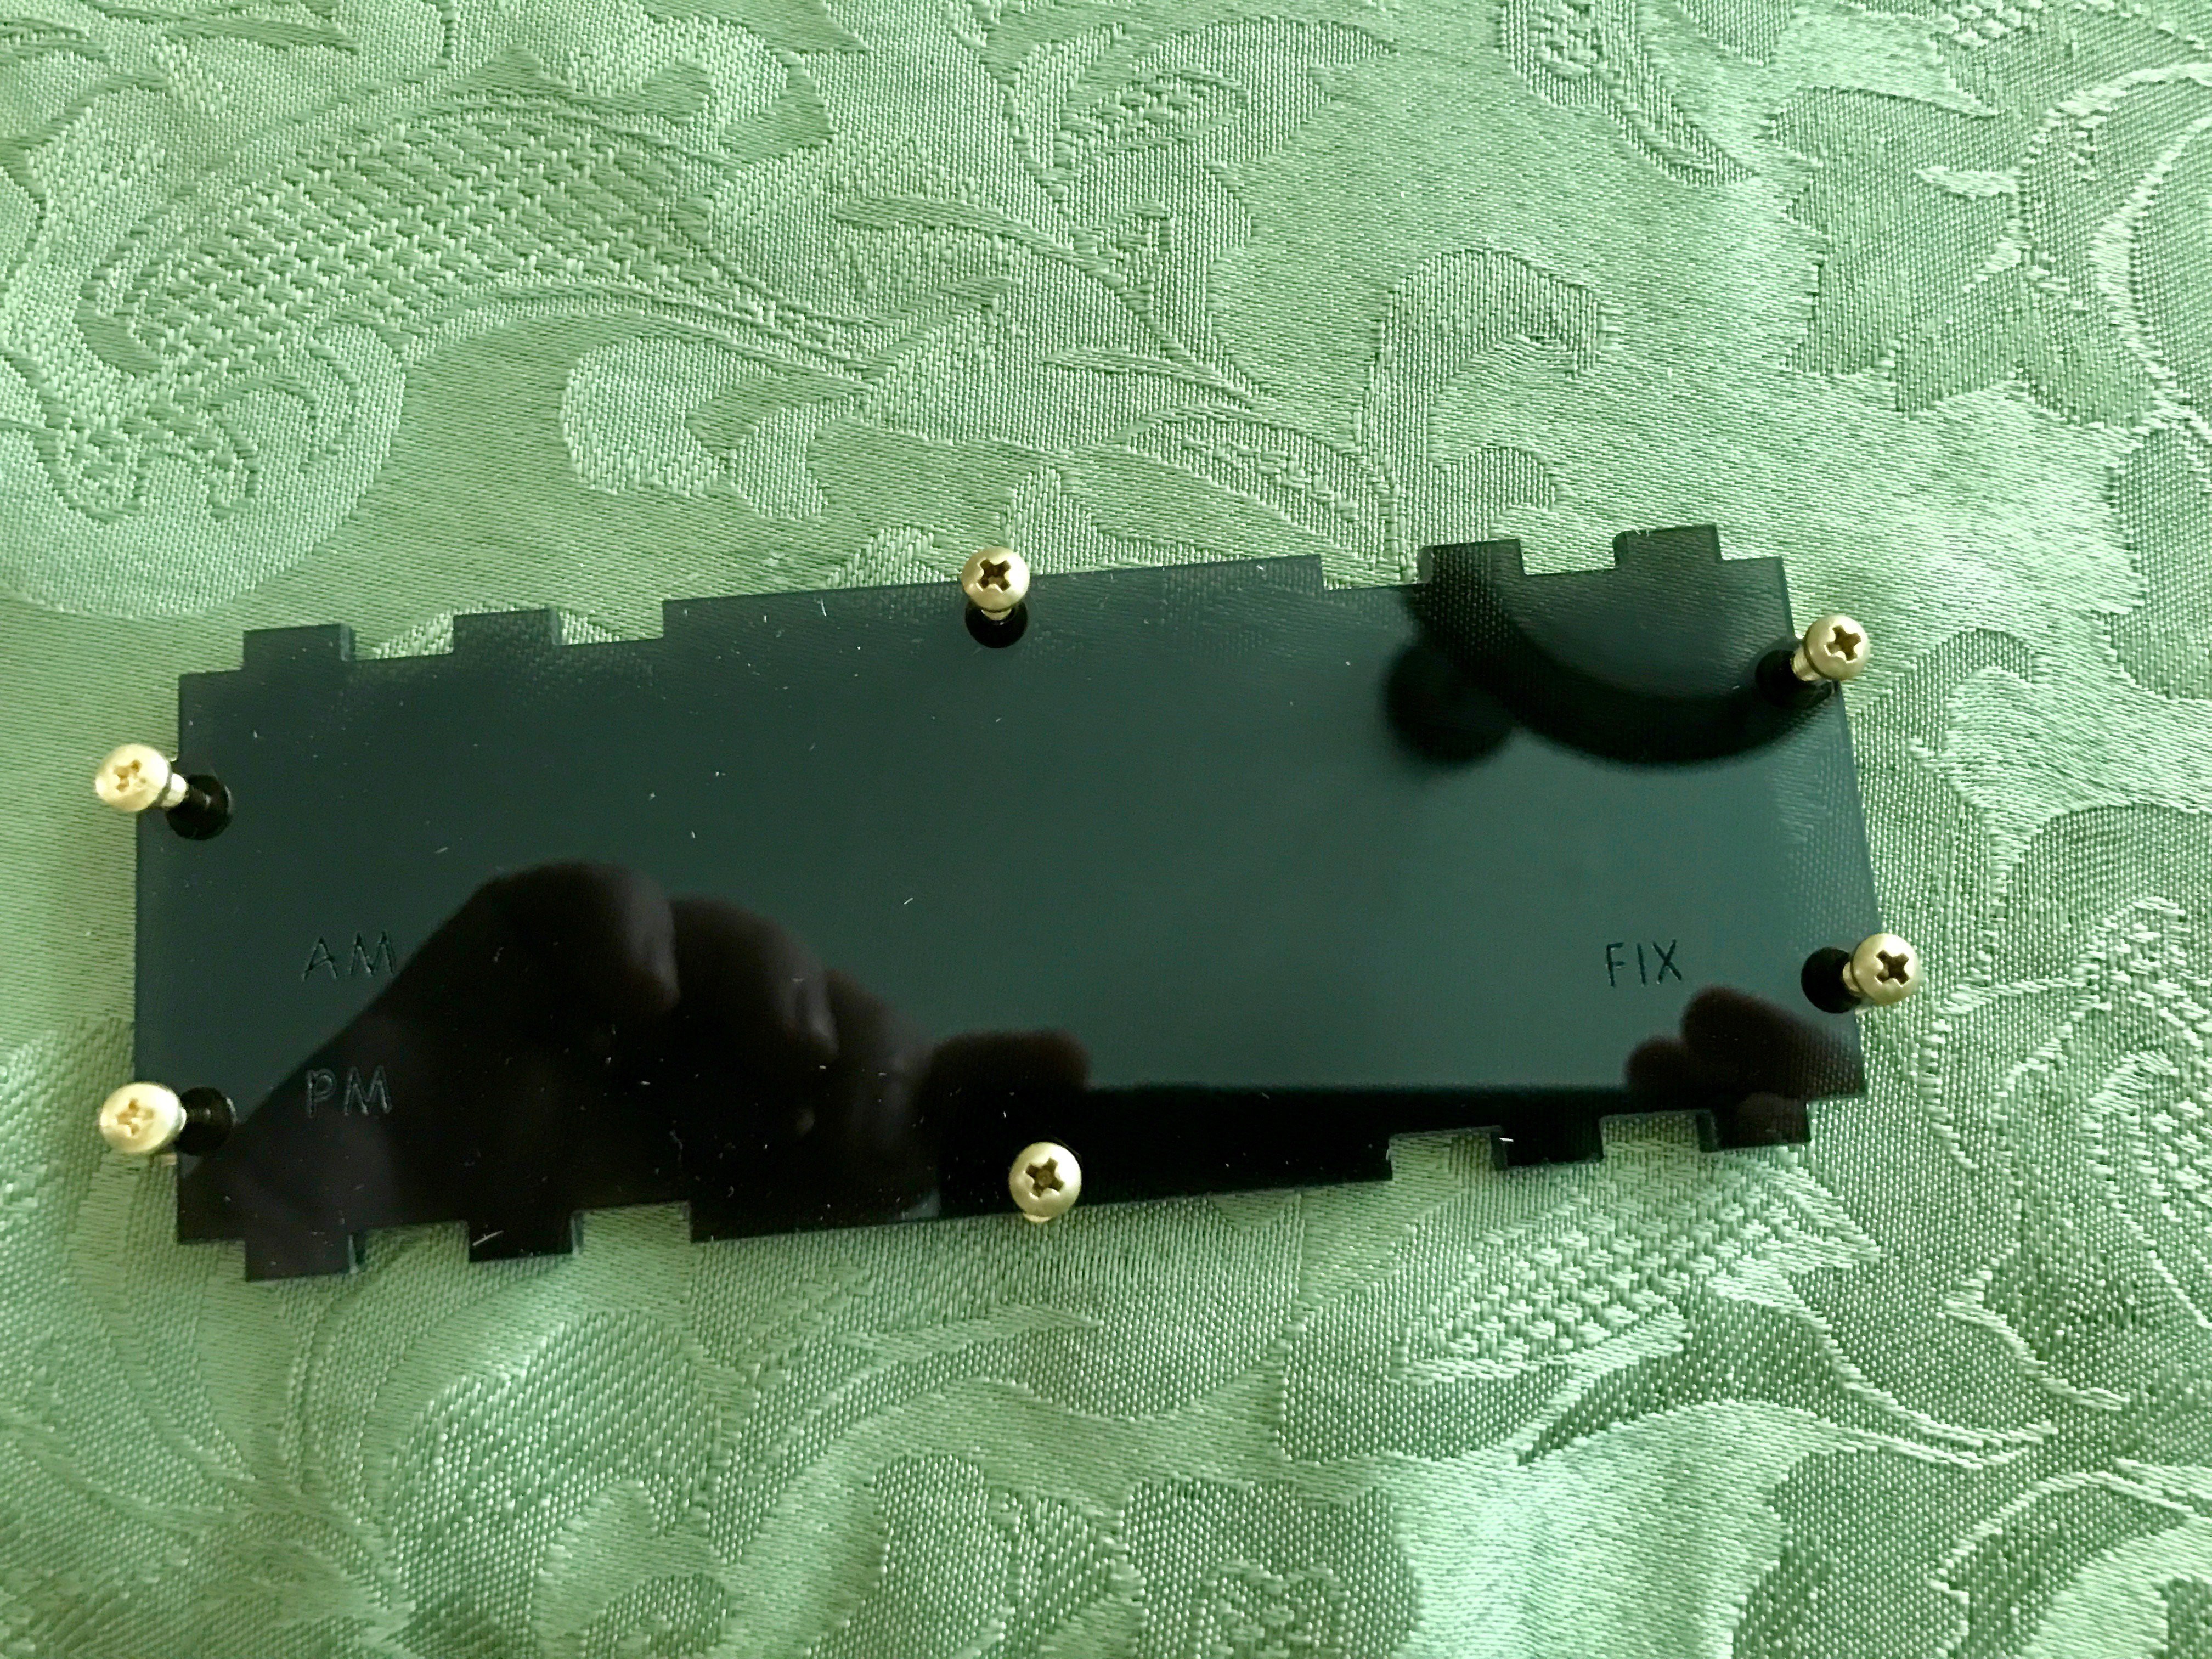
Remove the paper from both sides of the acrylic front panel (remove the tiny paper from inside of the P and A first before peeling the rest of the paper off). Place a screw and nut through each hole, making sure to place the bolt head on the engraved side and the nut on the back.
![]()
-
12Step 12
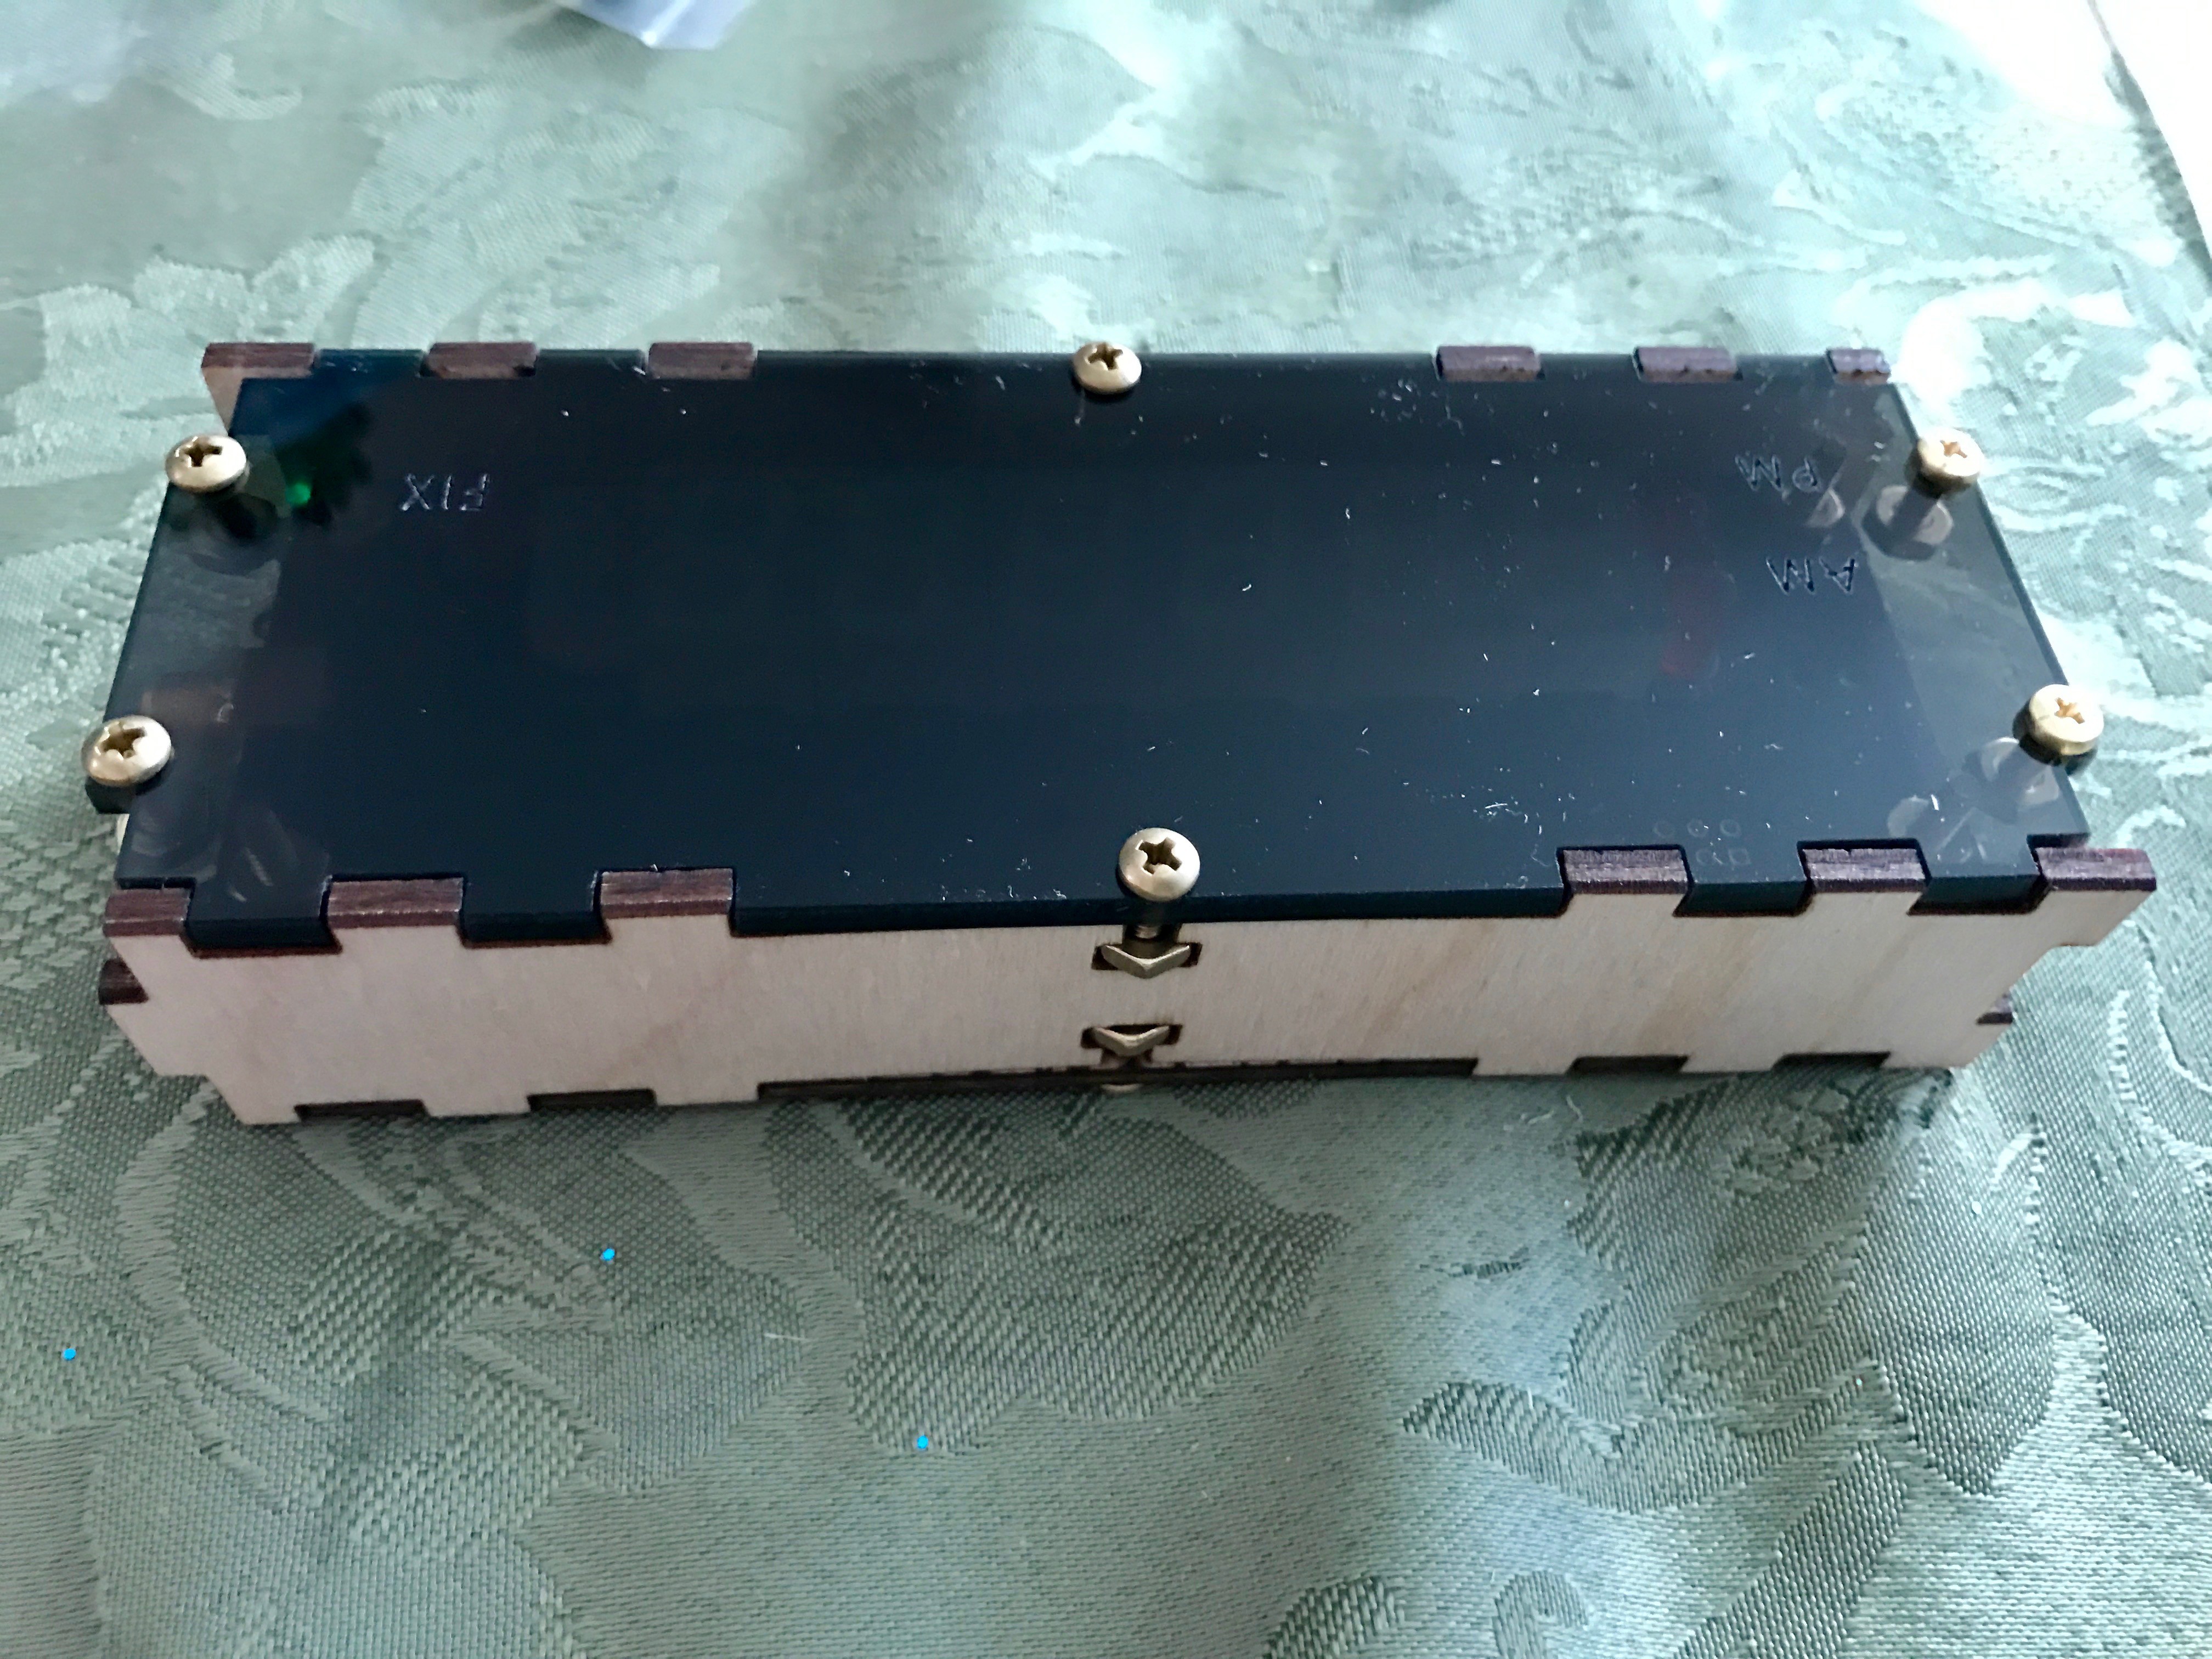
Fit the top and bottom panels onto the back of the case, then add the front panel. When adding the top and bottom panels note that the left and right sides are not the same. Put one of each "type" of edge on each side of the front panel. That is, if the notch is right on the bottom panel, then the notch should be left on the top panel. Tighten the four screws attaching the top and bottom panels to the front and back panels.
![]()
-
13Step 13
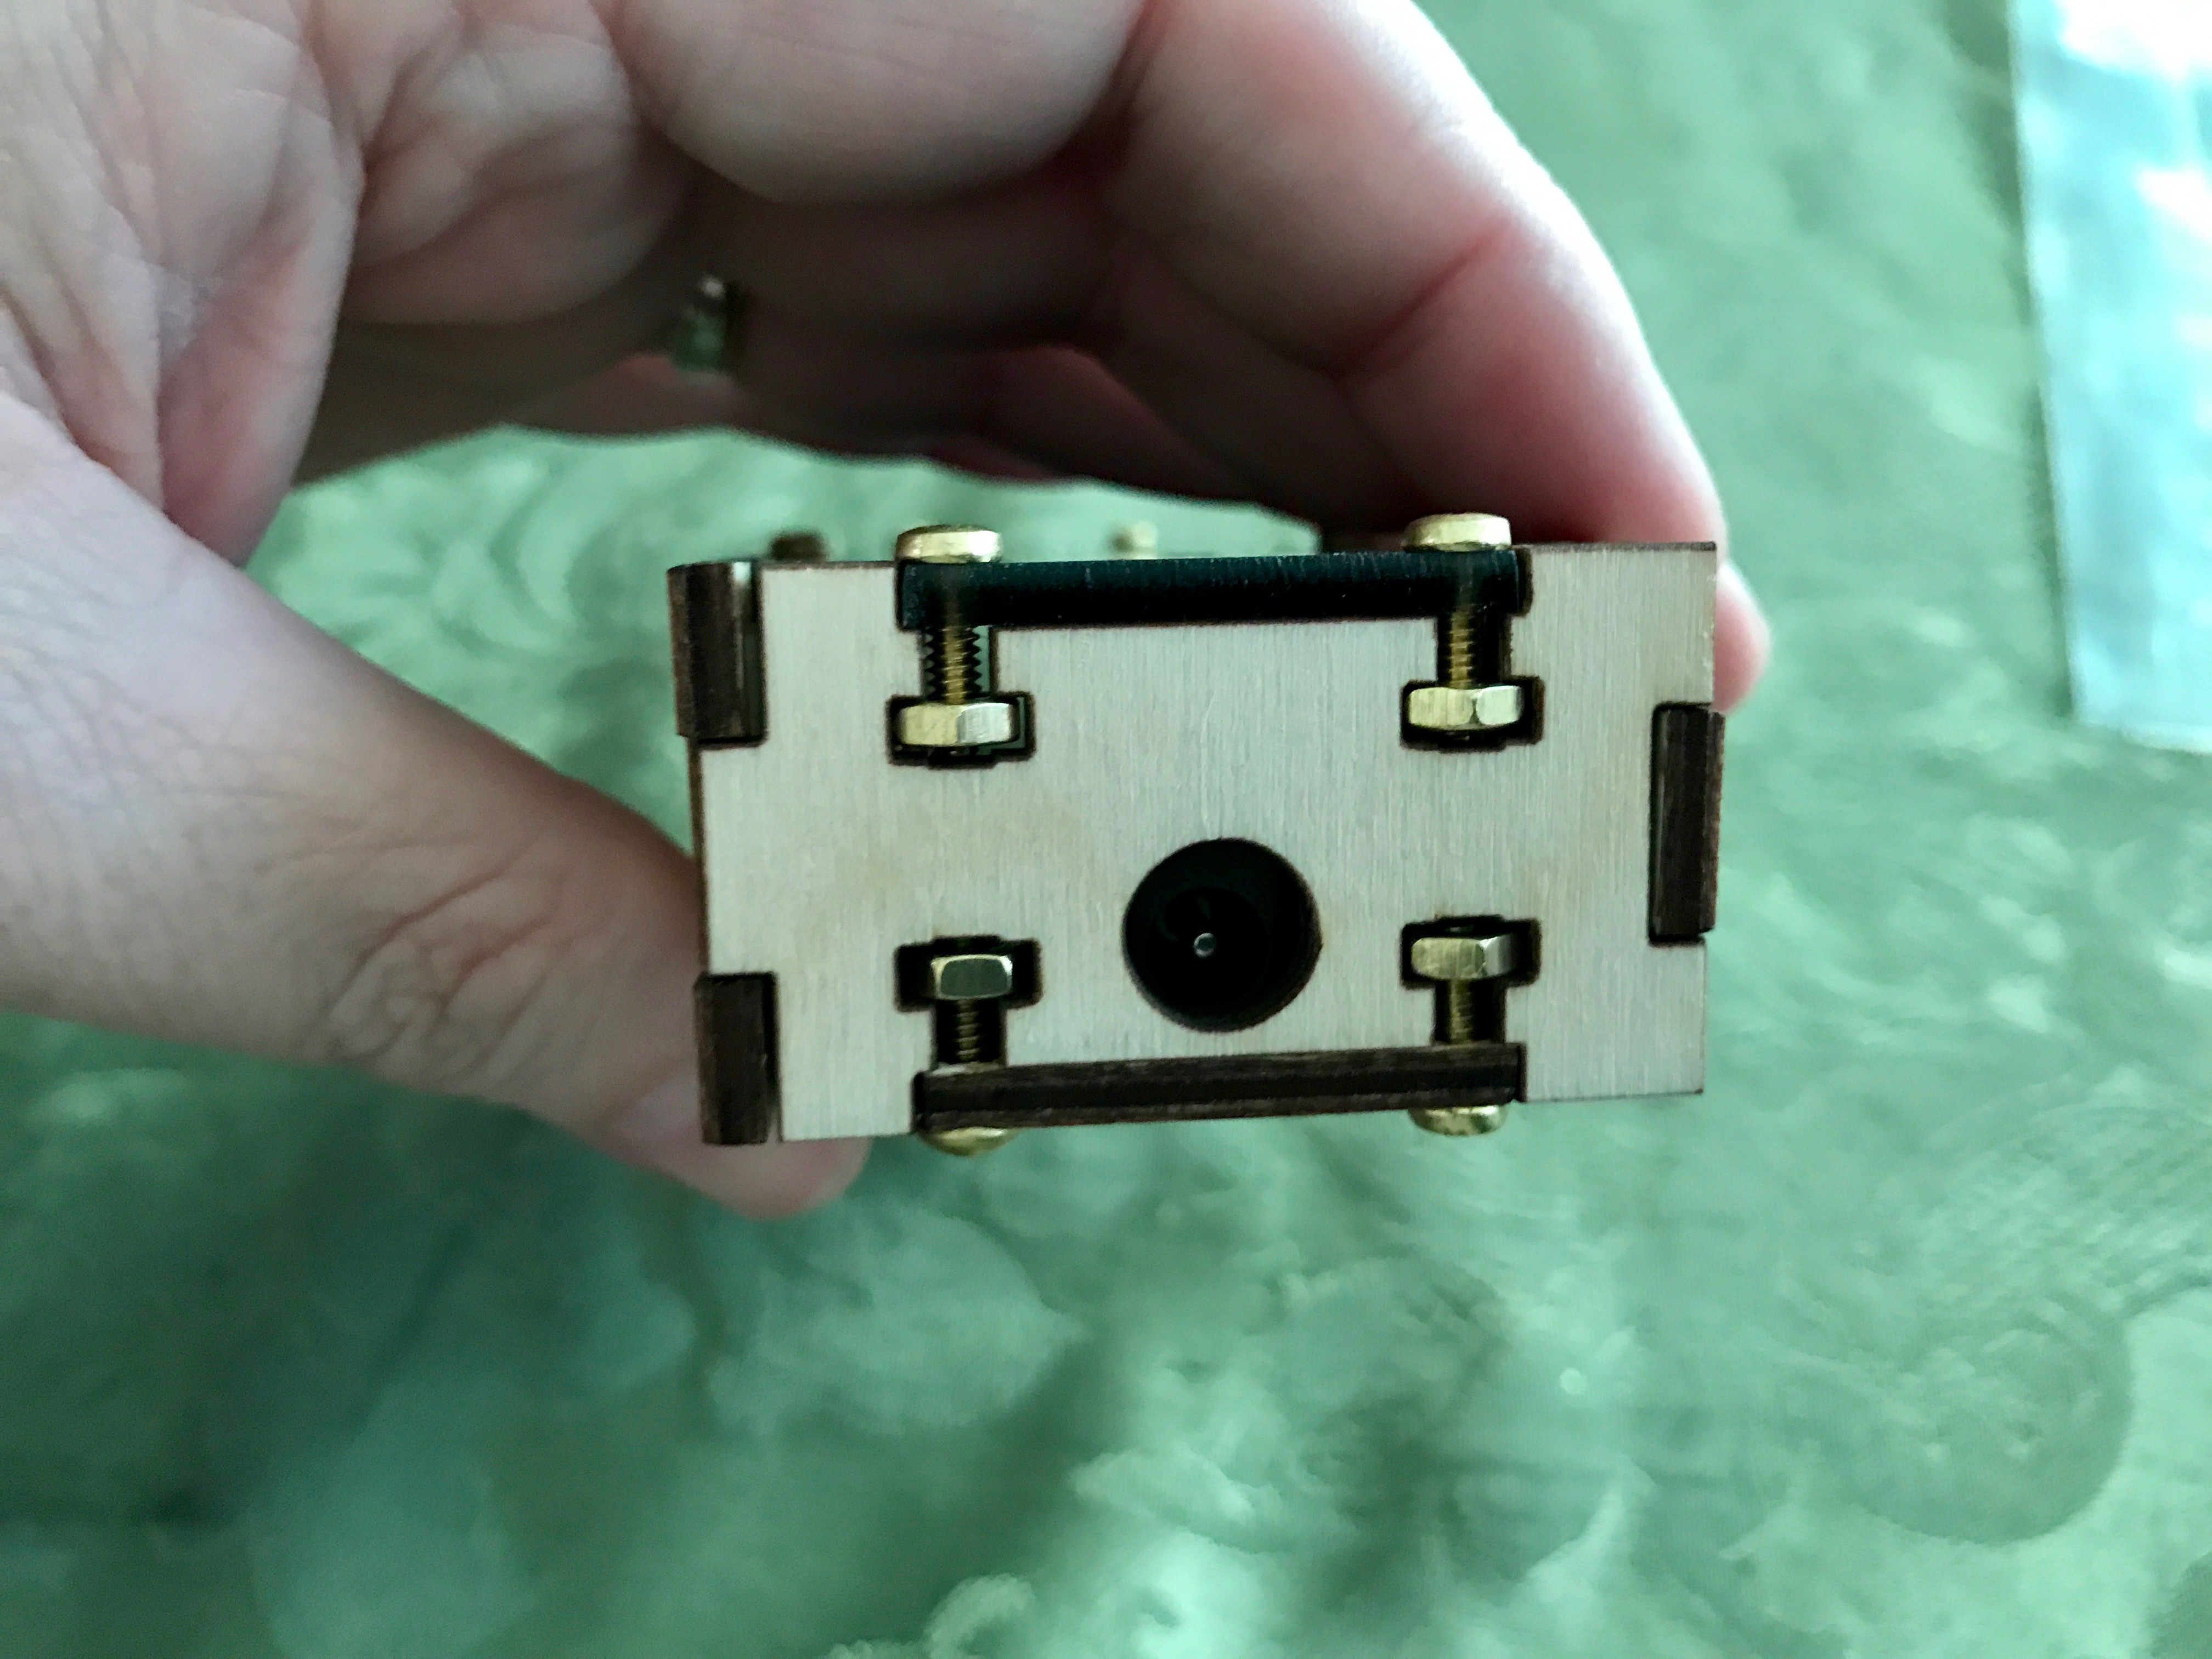
Add the two side panels. Note that the side panel with the large hole goes over the antenna connector. The side panel with the small hole goes over the power connector. That panel is not symmetrical, so make sure it sits over the power jack. If it doesn't, try flipping it top-to-bottom. Tighten the four screws holding each side panel in place. Your clock is now complete.
![]()
-
14Instructions for use
When the clock starts, it will briefly light up all LED segments as a test, then display "no GPS", which means the GPS signal hasn't been established (or has been lost).
At any time, you can click the "set" button to enter the menu system. Once there, "set" will cycle through the menus and "select" will change the options. Whichever option was displayed when "set" is clicked to change to the next menu will be recorded for the next time the clock powers up.
The menus are:
- (for v5 or v6 only) the first screen is an SNR report screen. On the left is nX where X is a hex digit from 0-C. That represents the number of satellites that are visible per the almanac. In almost all cases, it should be 12 ("C"). Sxx is the highest SNR reported by any visible satellite. Numbers over 50 are excellent, 40 are good, 35 are adequate and 30 are poor. The 10th of a second digit shows the number of satellites that are actually participating in the fix.
- "th" which stands for "timezone hour." It can be set anywhere from -12 to +12 hours, and represents the base offset (when DST is not in effect) from GMT. For the U.S. -8 is Pacific time, -7 is Mountain time, -6 is Central time, -5 is Eastern time.
- "12 hr" or "24 hr" - selects between 12 hour AM/PM time display or 00-23 hour military/European style display.
- "dSt" - daylight savings time rule selection. The choices are US for United States rules, EU for European rules, AU for Australian rules, nZ for New Zealand rules, or "oFF" to disable DST.
- "10" - turns the tenth-of-a-second digit display on or off.
- "CoLonS" - turns the colons on, off or makes them blink.
- "brIGht" - alters the brightness of the display to any of 4 discrete steps.
Note that the brightness doesn't affect the FIX LED, which is driven directly by the GPS module itself. The FIX LED will blink at 1/2 Hz whenever GPS reception is working, and will be on steady when it's not (the display should say "no GPS" in that case).
When the clock cold-boots it may show the time some exact number of seconds off. This is because the count of the number of leap seconds is in a GPS message that's only transmitted every 12 minutes. The clock needs to receive this message in order for the delta between GPS time and UTC (the basis for civil time worldwide) to be correct. The clock board has a super-capacitor that will preserve the almanac for just under an hour without power. This allows the clock to warm-boot instead of cold-boot, meaning that this error will not recur.
GPS Clock
A simple desk clock that gets extremely accurate time from GPS
Discussions
Become a Hackaday.io Member
Create an account to leave a comment. Already have an account? Log In.
This is the only place where I found instructions about this clock. Nothing was included in the delivery package, and there was NOTHING to guide me online to a manual of any kind. While I could figure out most of the settings, I still have no idea what "nC" setting means. The clock works fine, I intend to demonstrate to my computer club, but it is disappointing that a simple manual was not a part of the voluminous information about this product.
Are you sure? yes | no
The "nC" is the SNR display screen. There's nothing to set there, it's just a display screen. I talked about it in this project log: https://hackaday.io/project/18501-gps-clock/log/176299-new-feature-snr-report-screen
You're correct that there is no documentation other than this project overall. It's something I need to sit down and do, but haven't had a chance to do.
Are you sure? yes | no