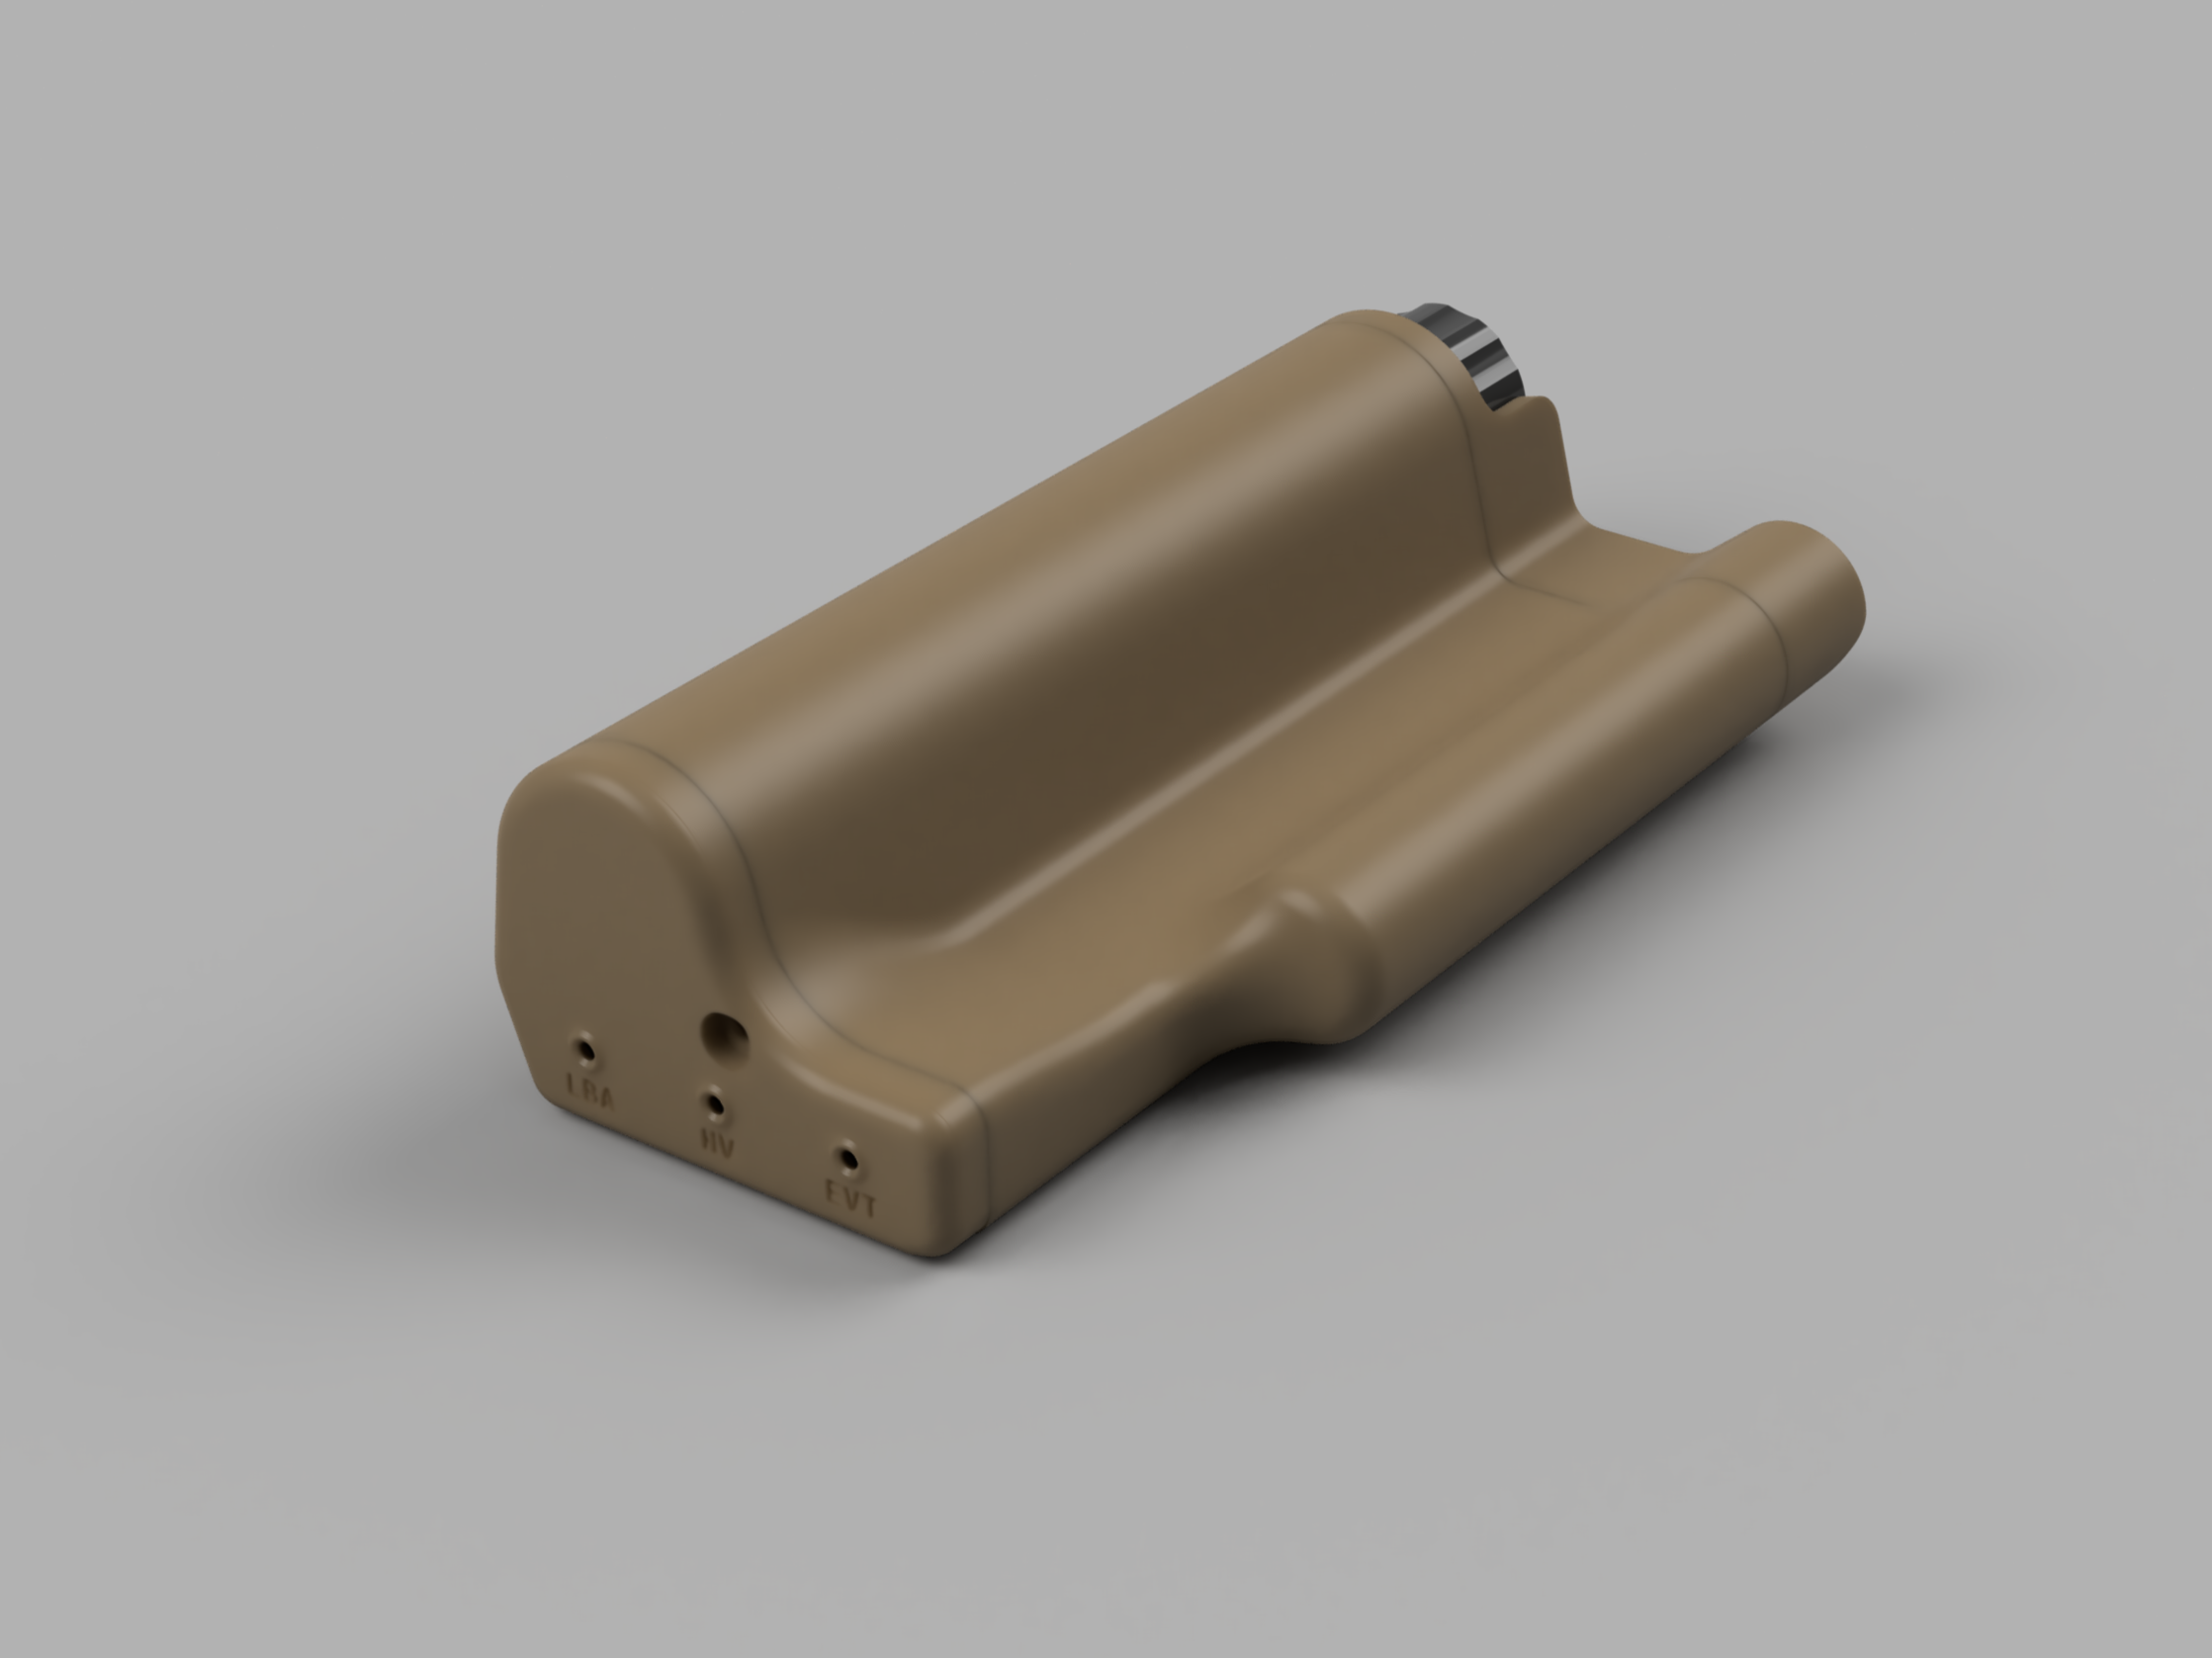
In this entry I'll go over the mechanical considerations for the project. This is probably the most detailed drafting I've done so this part took a lot longer than it should have. There are some things I would change in future versions, but what I have currently should get the job done.
After a lot of thinking, moving the battery positive terminal to a daughterboard along with the indicator LEDs made the most sense. This uses spring loaded connectors which make contact the main PCB. The battery cover has a recess to accept the daughterboard, which will be potted in place with epoxy. This is then covered by a faceplate which also gets glued on. Since I'd like this design to be rain resistant I made two grooves for orings where the battery cap slides into the main housing. This is where most of my design uncertainty lies, because it's really pushing the limits of current 3D printing technology for these to work as expected. Hopefully I left enough room to not shred the orings after repeated use without compromising the seal. The tolerances are very tight around the oring seals, and this may end up causing waterproofing issues. I'll probably beef up these areas if I decide to make subsequent housing versions.

On the bottom side of the main housing is a circular hole for the piezo element to be glued in. The piezo element will also be attached to the PCB by jumper wires. I have had good success from JLCPCB for previous projects, so I'll be trying out their 3d print service for the first time. I'm not sure what level of accuracy I can expect, so in addition to MJF I also ordered some SLA parts in CBY resin.
I would preferred screw-oring seals instead of gluing to make disassembly possible, but I decided to abandon this idea at least for the current iteration. Designing in oring grooves and screw holes take up a lot more volume than glued connections, and I didn't want to spend a lot of hours on this quite yet. So for now I plan on gluing the pieces together with DP8910NS made by 3M, which is a 2 part acrylic adhesive specifically designed for nylon. I was able to find a 45ml tube on Amazon for $20, but elsewhere it was very pricey. Plastics are notoriously difficult to bond due to their low surface energy when compared to metal or glass. There are ways to increase the surface energy via flame or plasma treatment, which I have had mediocre success with. My extremely limited plasma treatment setup involved running a portable ozone generator inside an enclosed container for a few hours. While not technically the same as real plasma surface treatment, my theory is that the ozone should be able to micro-etch the surface of the plastic, making it more receptive to bonding. In practice, I didn't see much difference. I saw virtually no change in treated polypropylene, and only a small improvement for PET. The ozone is clearly doing something however, as both test swatches were bleached white after treatment. Hopefully none of this will be necessary if the DP8910NS performs as expected.
 Caleb W.
Discussions
Become a Hackaday.io Member
Create an account to leave a comment. Already have an account? Log In.