 John
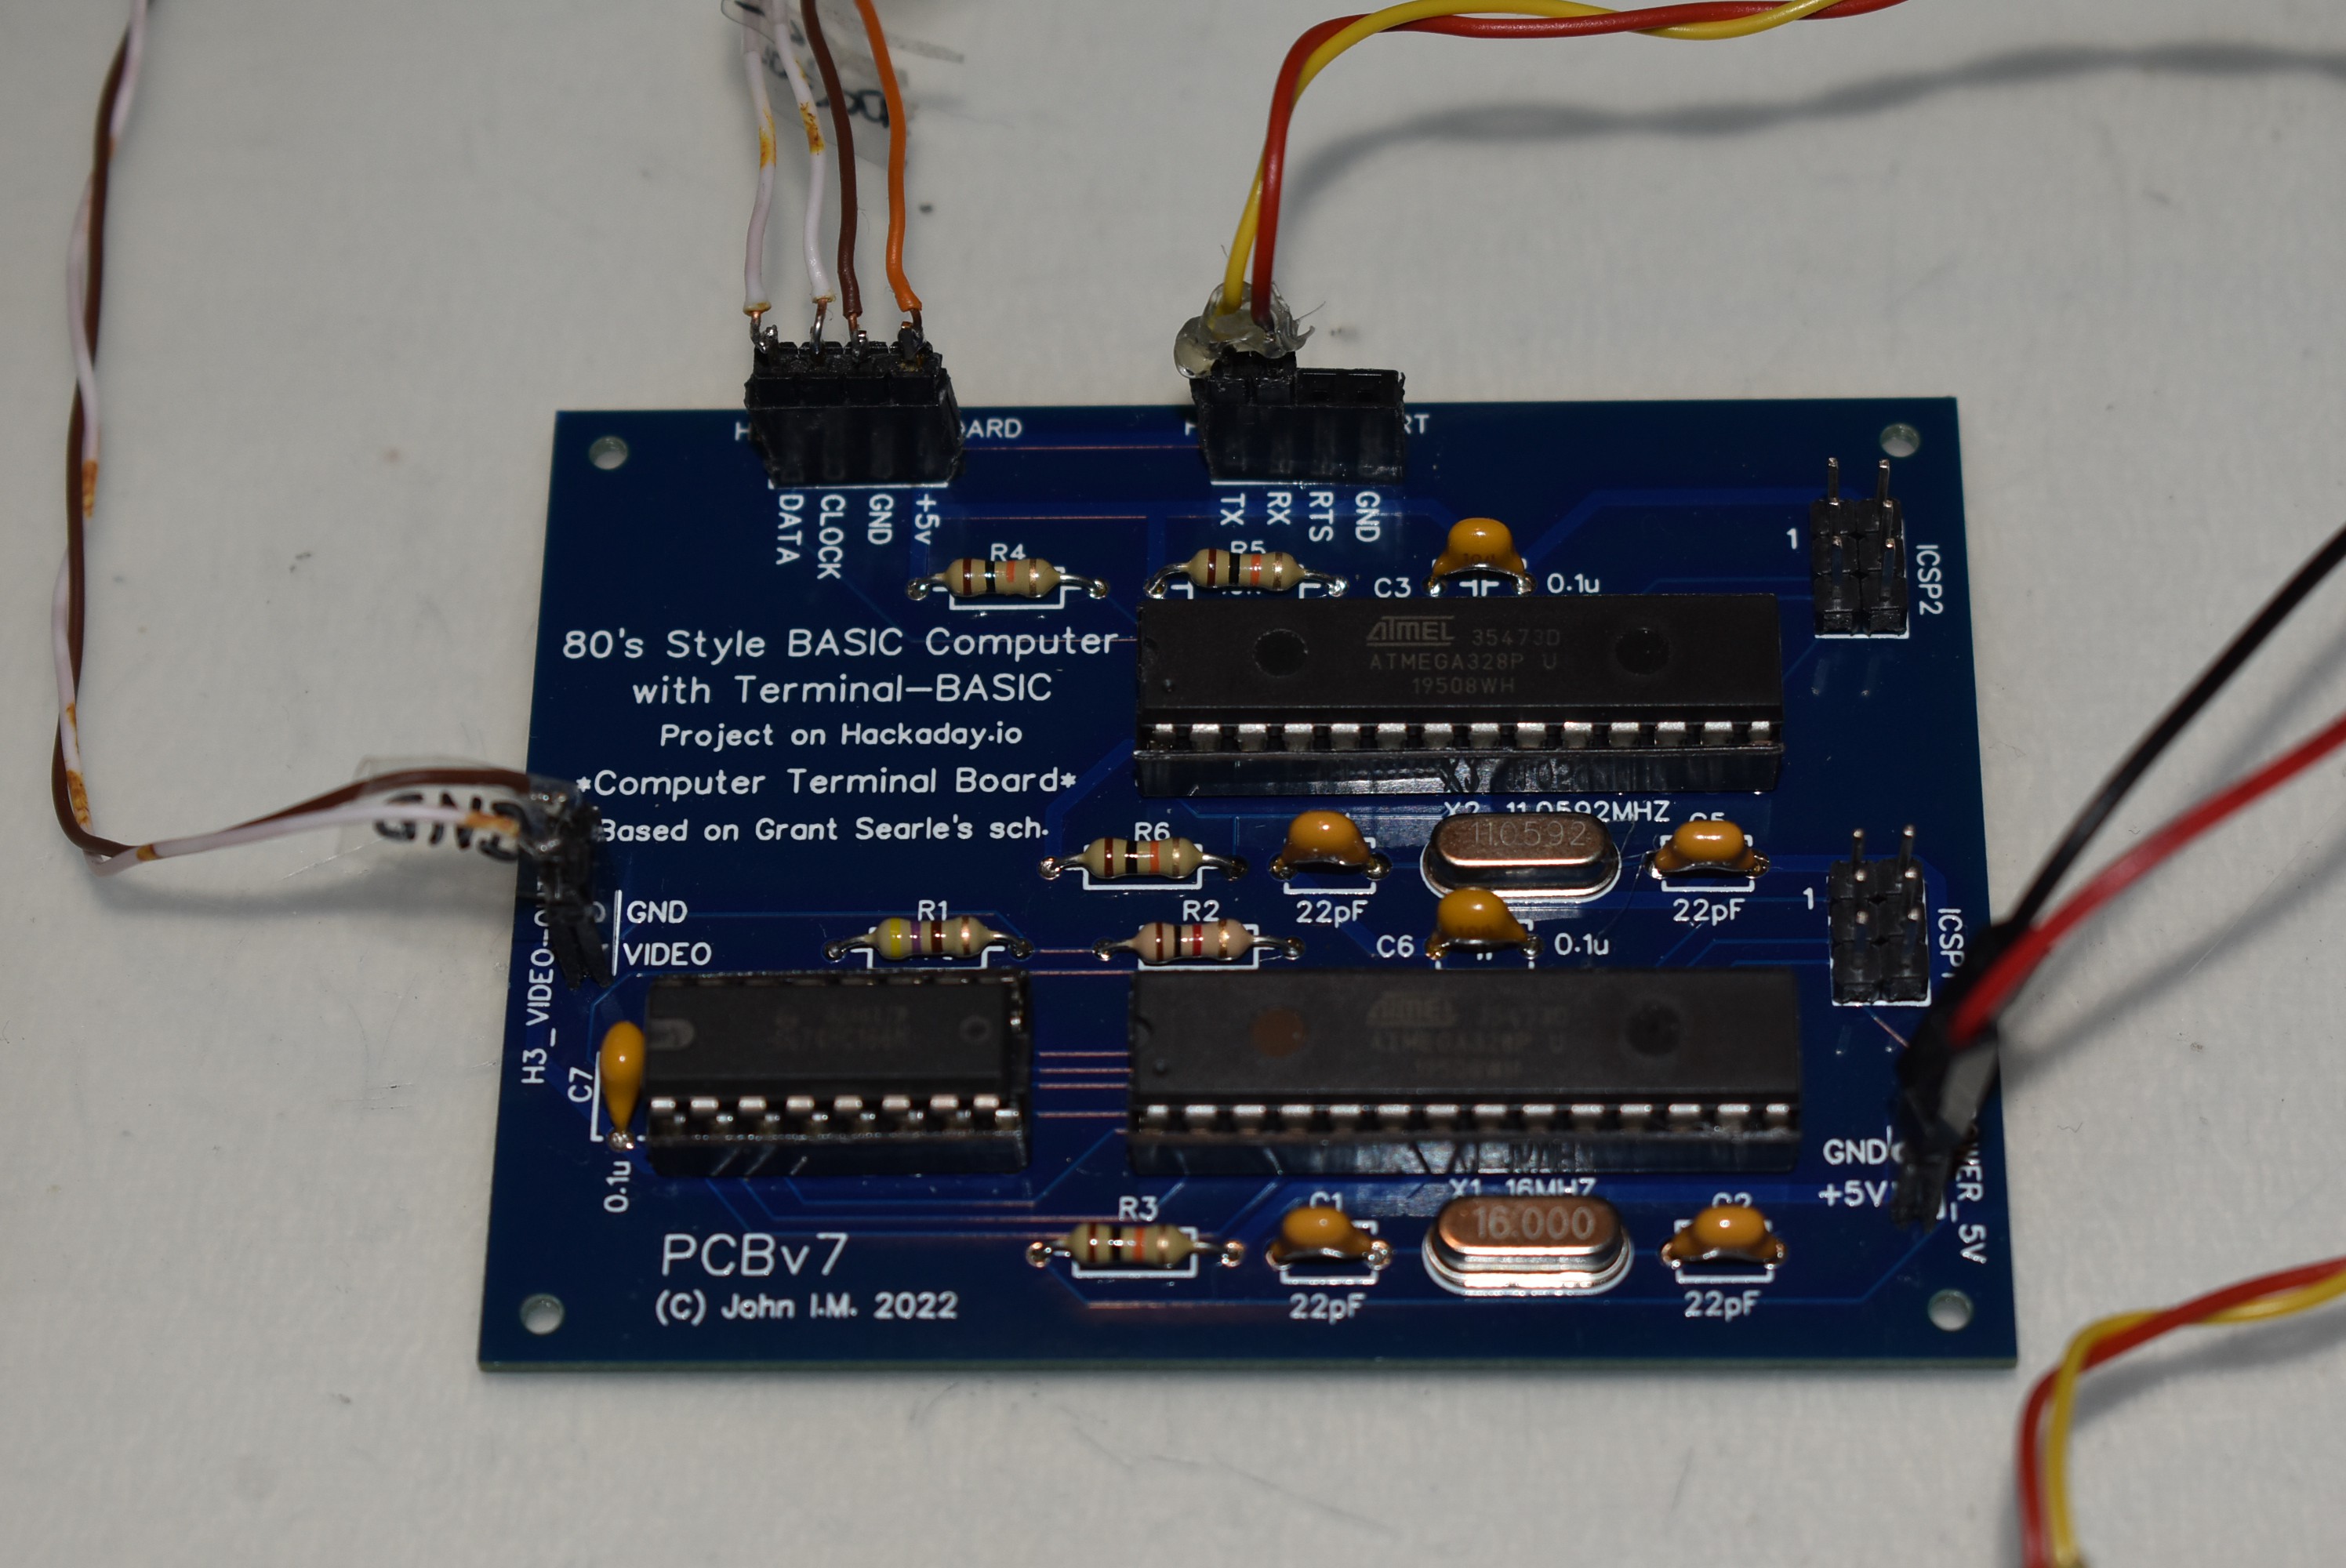
JohnI started assembly of the board as soon as I had some free time: the next day after delivery. The necessary electronic parts are common and, anyhow, I already had those from the breadboard prototype, which was dismantled to bits.
The finished assembled "Computer Terminal Board" (with wire connections for the subsequent testing) can be seen below:
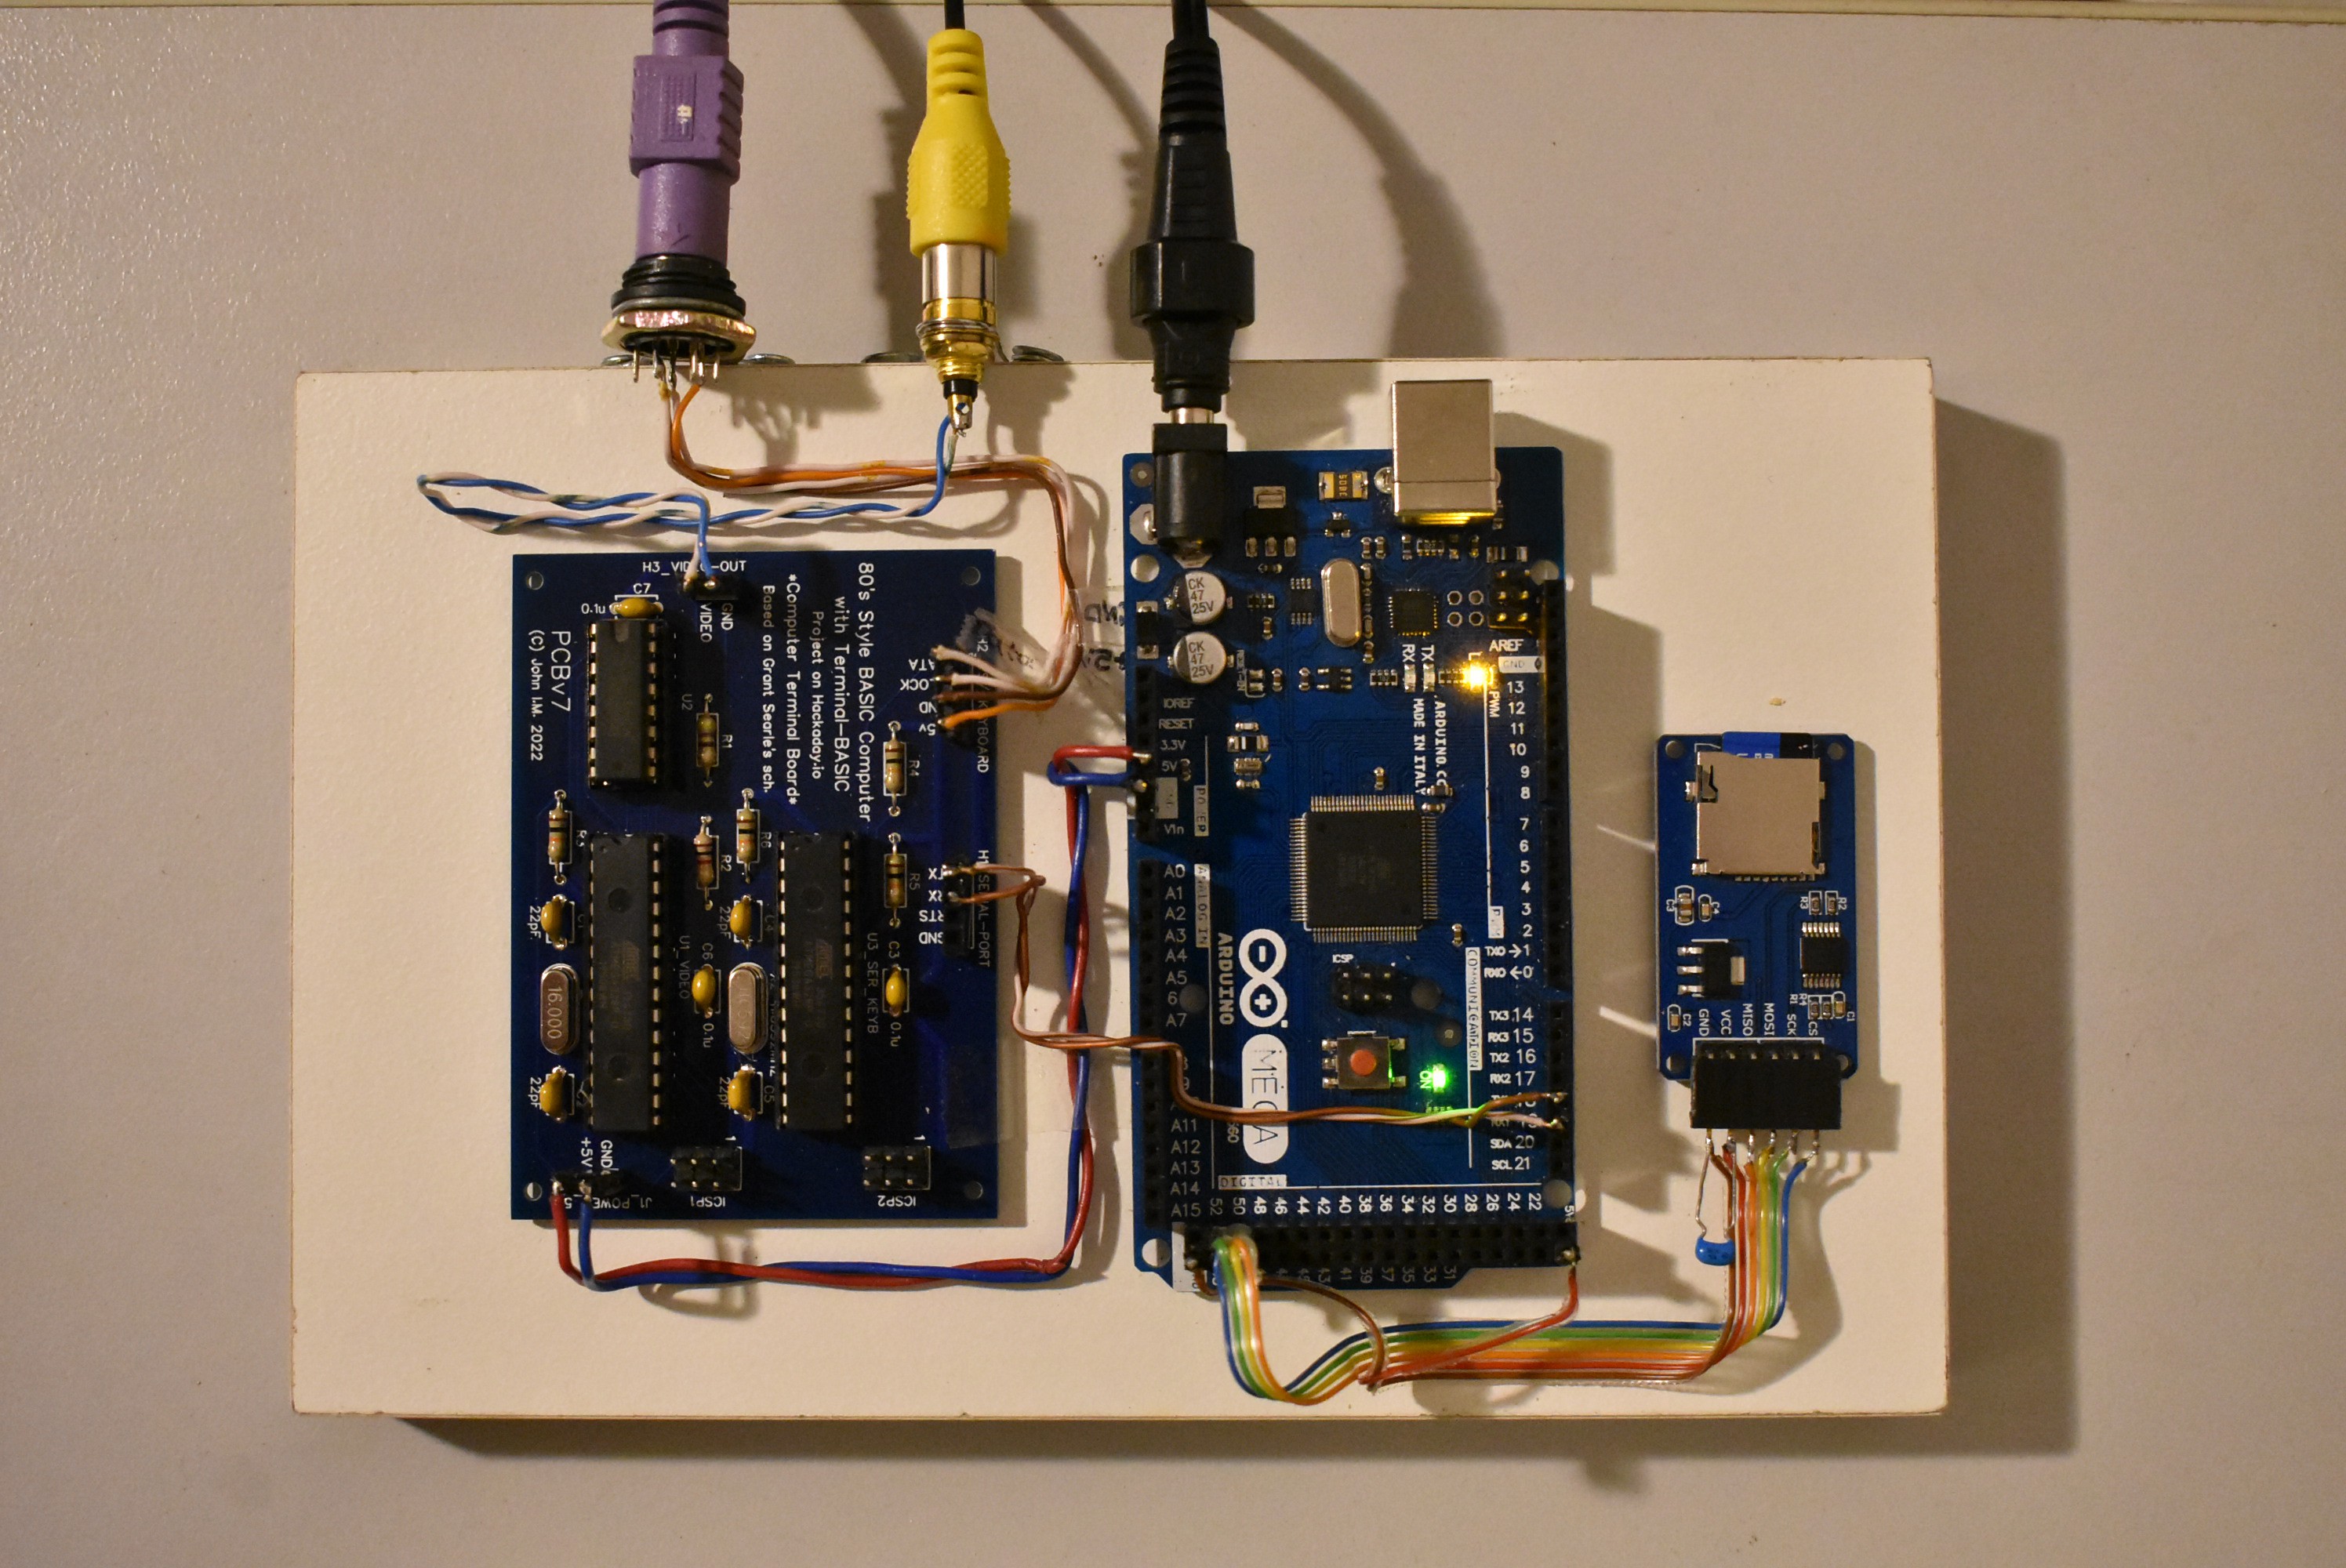
Some testing was done (on the kitchen table!), as soon as I put together the whole system; that involved connecting the Arduino MEGA2560 (in the middle) to the microSD card board (on the right) and to the Computer Terminal Board I had just assembled (on the left). The colored plugs, in the upper part of the photo are, from left to right: 1. PS/2 Keyboard (purple) 2. Video Out (yellow) 3. Power input 7.5V (black)...
... and there you have it:
The complete, working, "80's style BASIC Computer with Terminal-BASIC" !
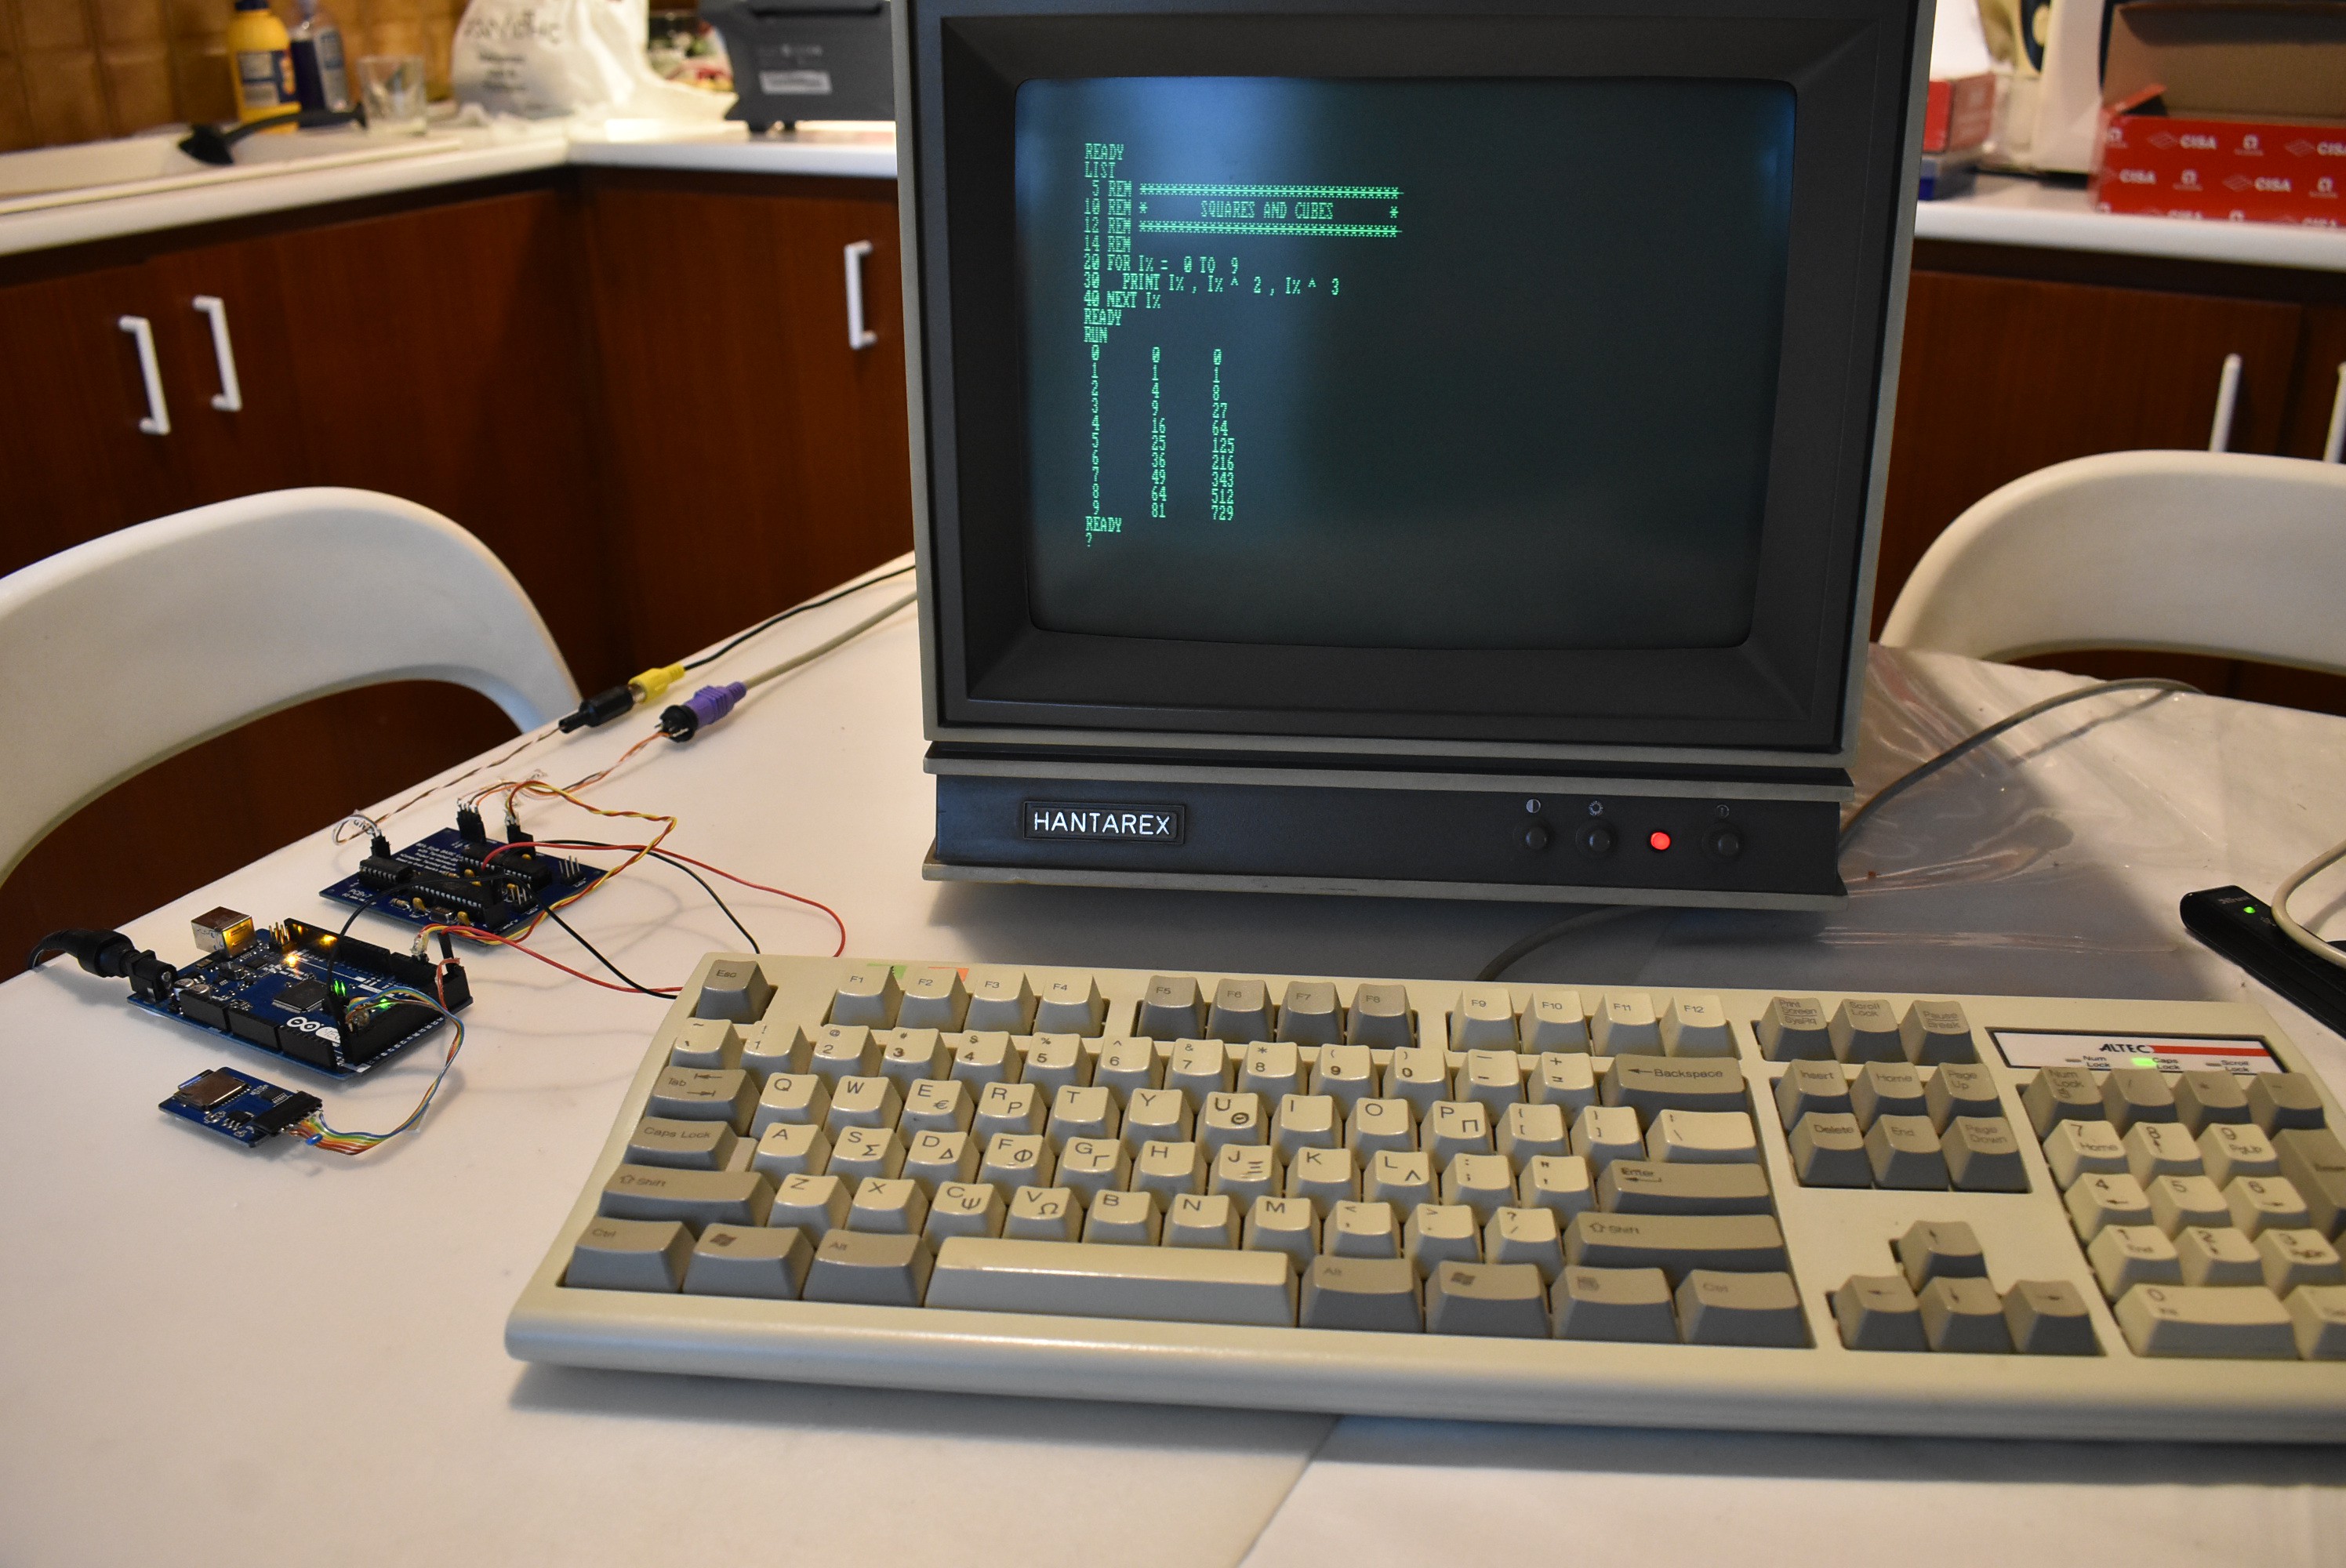
The computer monitor pictured here is a HANTAREX.
The assembled "Computer Terminal Board" worked nicely as you can see in the photo; the picture on the monitor screen looks crisp and solid.
Discussions
Become a Hackaday.io Member
Create an account to leave a comment. Already have an account? Log In.
With that monitor it looks stunning!
Are you sure? yes | no
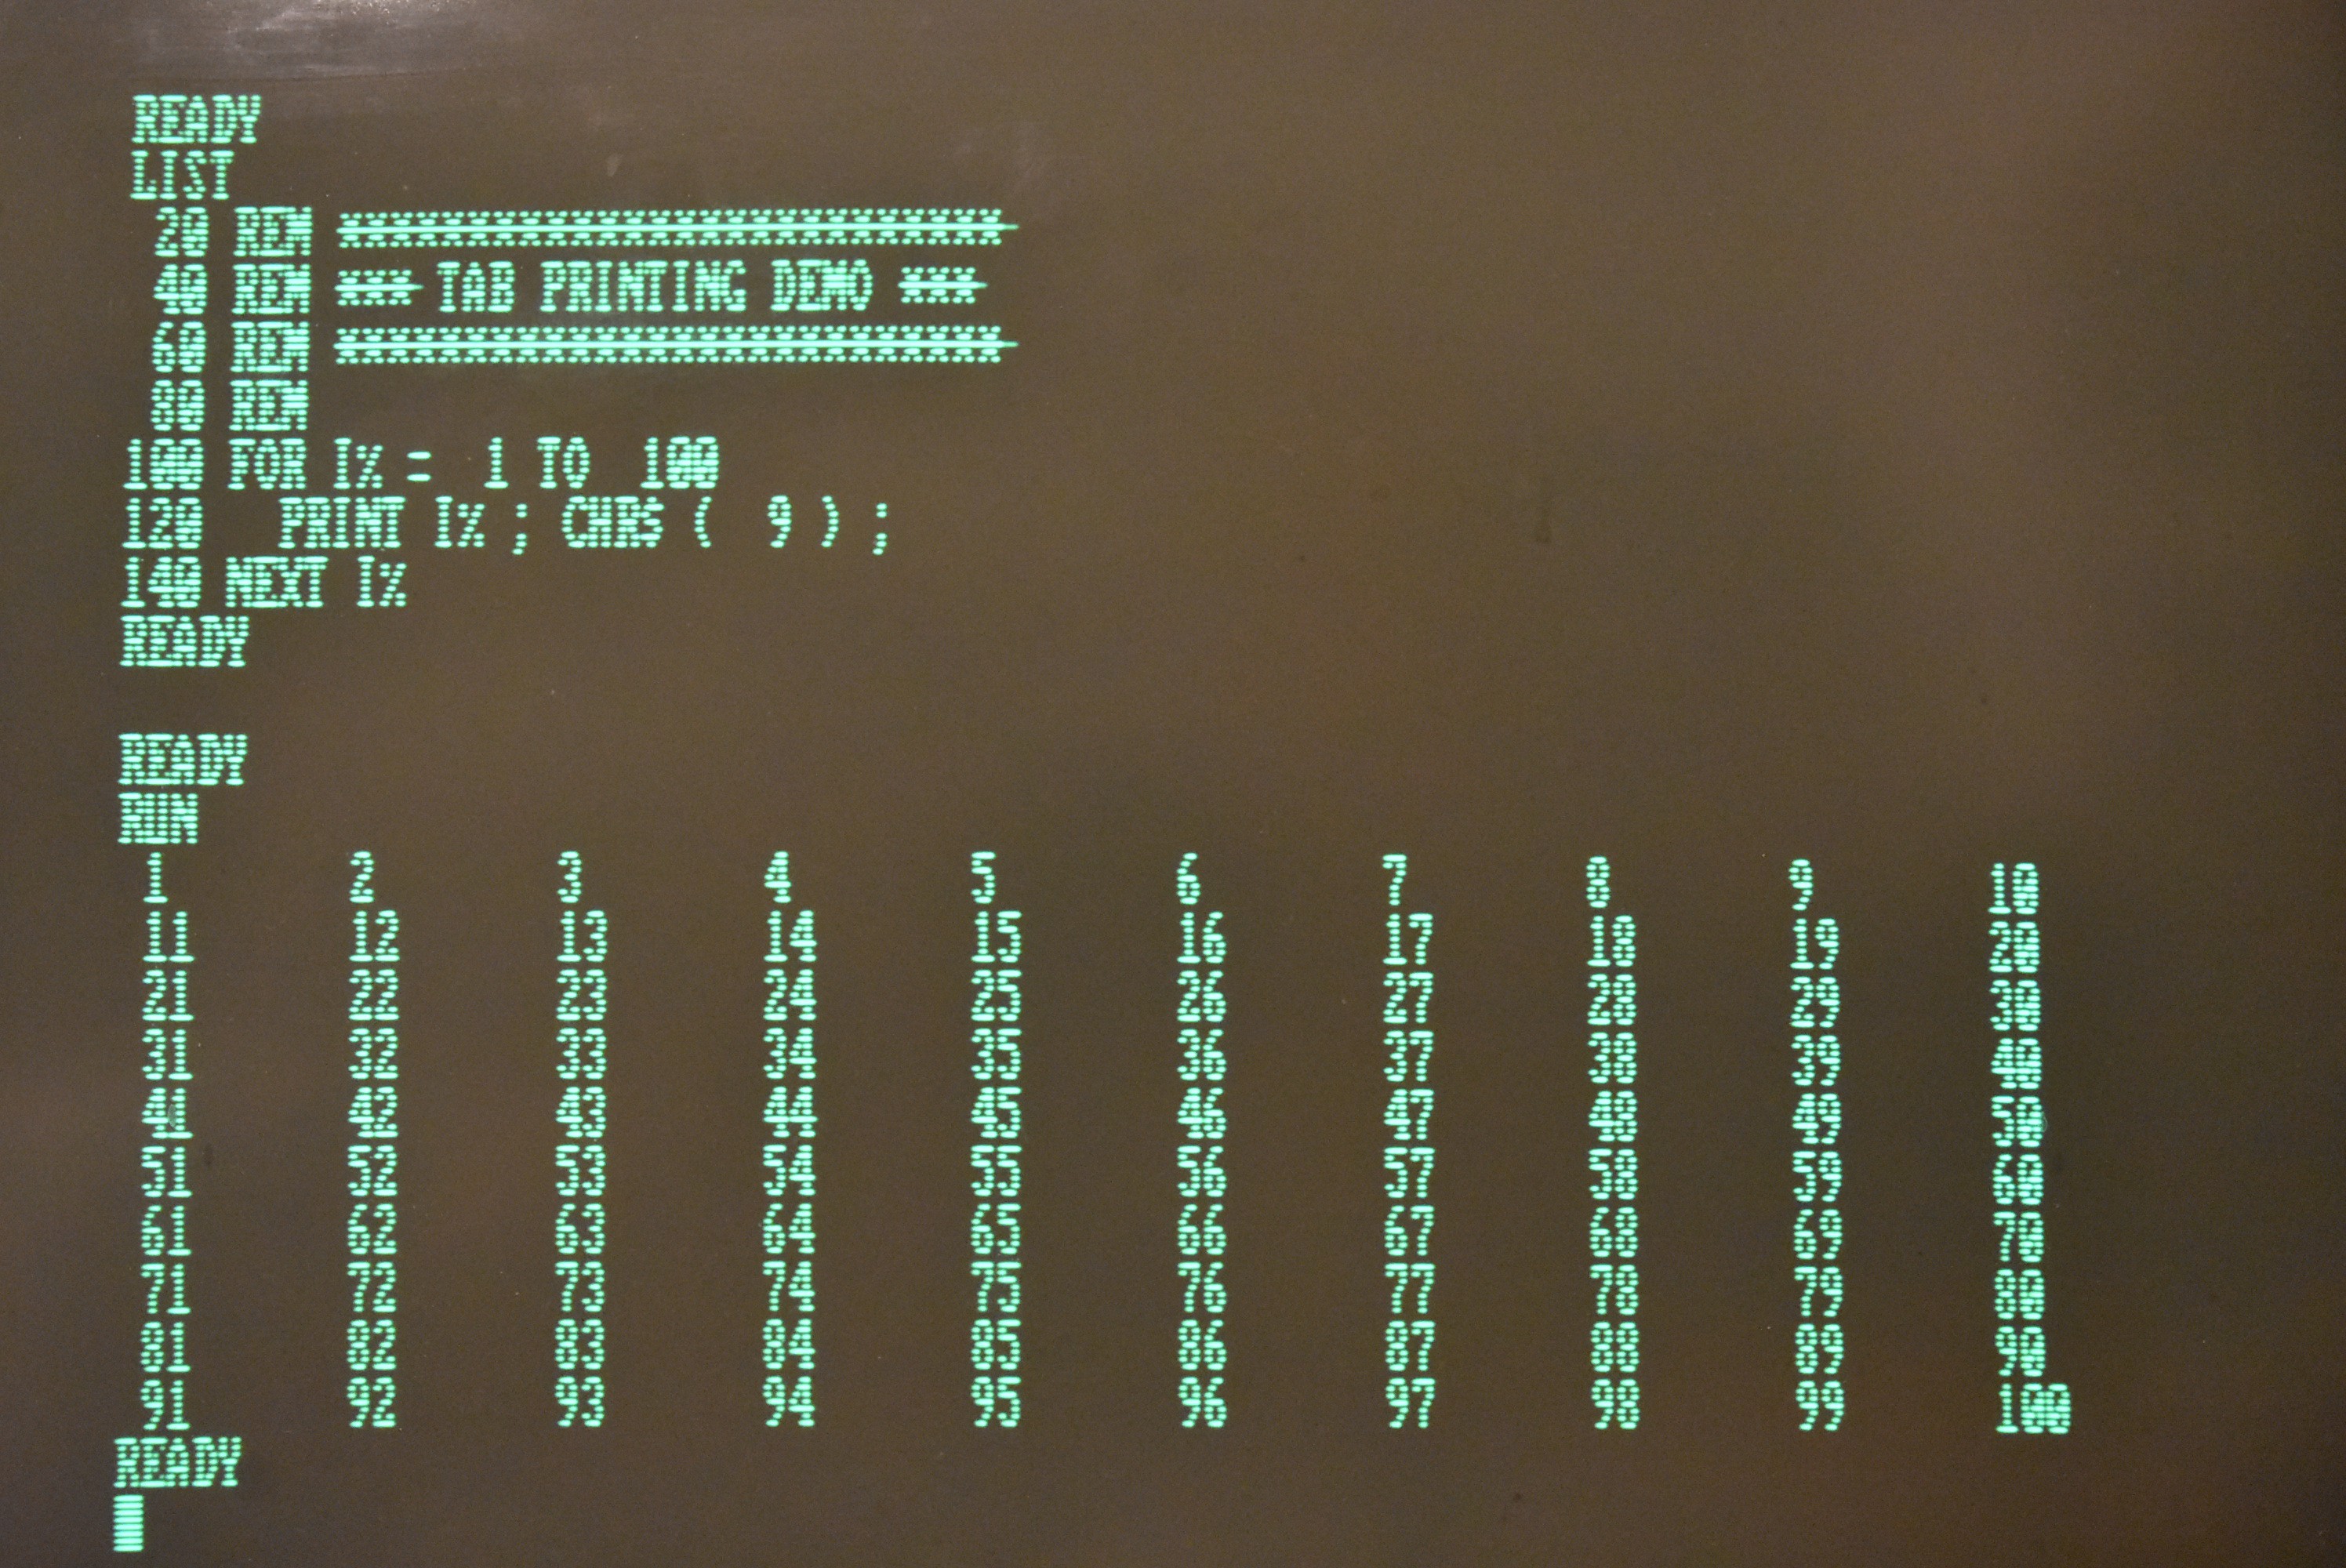
The displaying of characters and graphics on the HANTAREX screen is indeed good; I'm not sure what you're referring to, though: the look of the luminous green characters on the screen or the overall look of the physical system. As to the latter, the HANTAREX monitor case has a beige tint, say more "70's". The Olivetti monitor in the next log ("Testing the BASIC Computer on Olivetti monitor...") is light grey and looks more modern.
The displayed characters are very crisp on both monitors.
Are you sure? yes | no
Exactly that: both monitors have cool green "warm analogue" impression of the on-screen text. But HANTAREX looks as authentic retro screen!
Are you sure? yes | no