Firstly, welcome to all the numerous newcomers to this project that came here from some of the articles released in the last couple of days! I'm glad that so many other people are interested in this kind of (arguably) pretty exotic topic :)
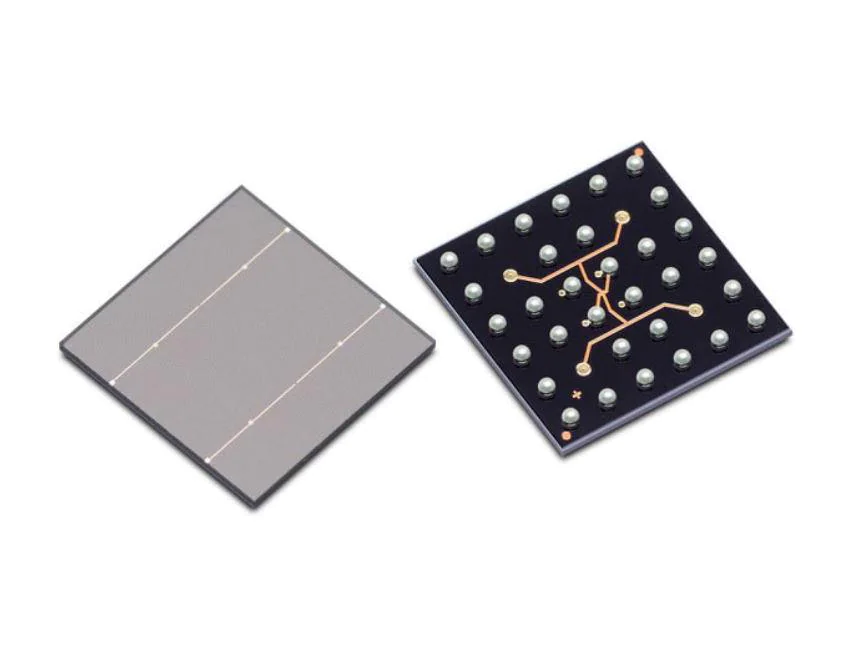
As you might have noticed, some parts are currently becoming Unoptanium. This includes the OPA2354 OpAmp that's used and most importantly the MicroFC-60035-SMT silicon photomultiplier itself. To try and fix these issues, I'm working hard on replacing these parts in the mean time, until they eventually get in stock again (which will probably not happen too soon unfortunately).
Like I said before, I also want to improve some other things with the new boards that I didn't consider yet with the current design. The most important parts are as follows:
- Custom preamp gain so that you can use different scintillator sizes, SiPMs and of course, change the energy resolution and range.
- Custom PSU voltage! The new SiPM power supply will include some potentiometers so that you can set the voltage anywhere from 28 V - 33 V. This will also enable you to use many more different SiPMs like the (still-in-stock!) Broadcom AFBR-S4N66C013, which is mostly identical to the "old" SiPM except in supply voltage and price (it's much cheaper).
- Entirely new SiPM PSU tuned to be used with these kinds of applications including very low noise applications (~5mVpp @ 30V).
- Changing all the OpAmps for parts that are still in stock and mostly identical as well (not that easy with the current supply issues).
- Improved PCB layout which includes a better mechanical structure and getting rid of the dodgy pin connectors.
- Custom I2C header for the Pico so that you can use it to expand it's use case to your own likings, e.g. connect it to a display, etc.

By the way, the Raspberry Pi Pico W was released today which is very exciting news! In the future I might use it on this detector as well, enabling wireless communication and more. However, we need to wait for enough stock and full software support.
I hope to get finished in the next couple of days, so stay tuned for more project logs!
 NuclearPhoenix
Discussions
Become a Hackaday.io Member
Create an account to leave a comment. Already have an account? Log In.