 Open Green Energy
After testing the Circuit, I have assembled the enclosure. The assembling process is as follows:
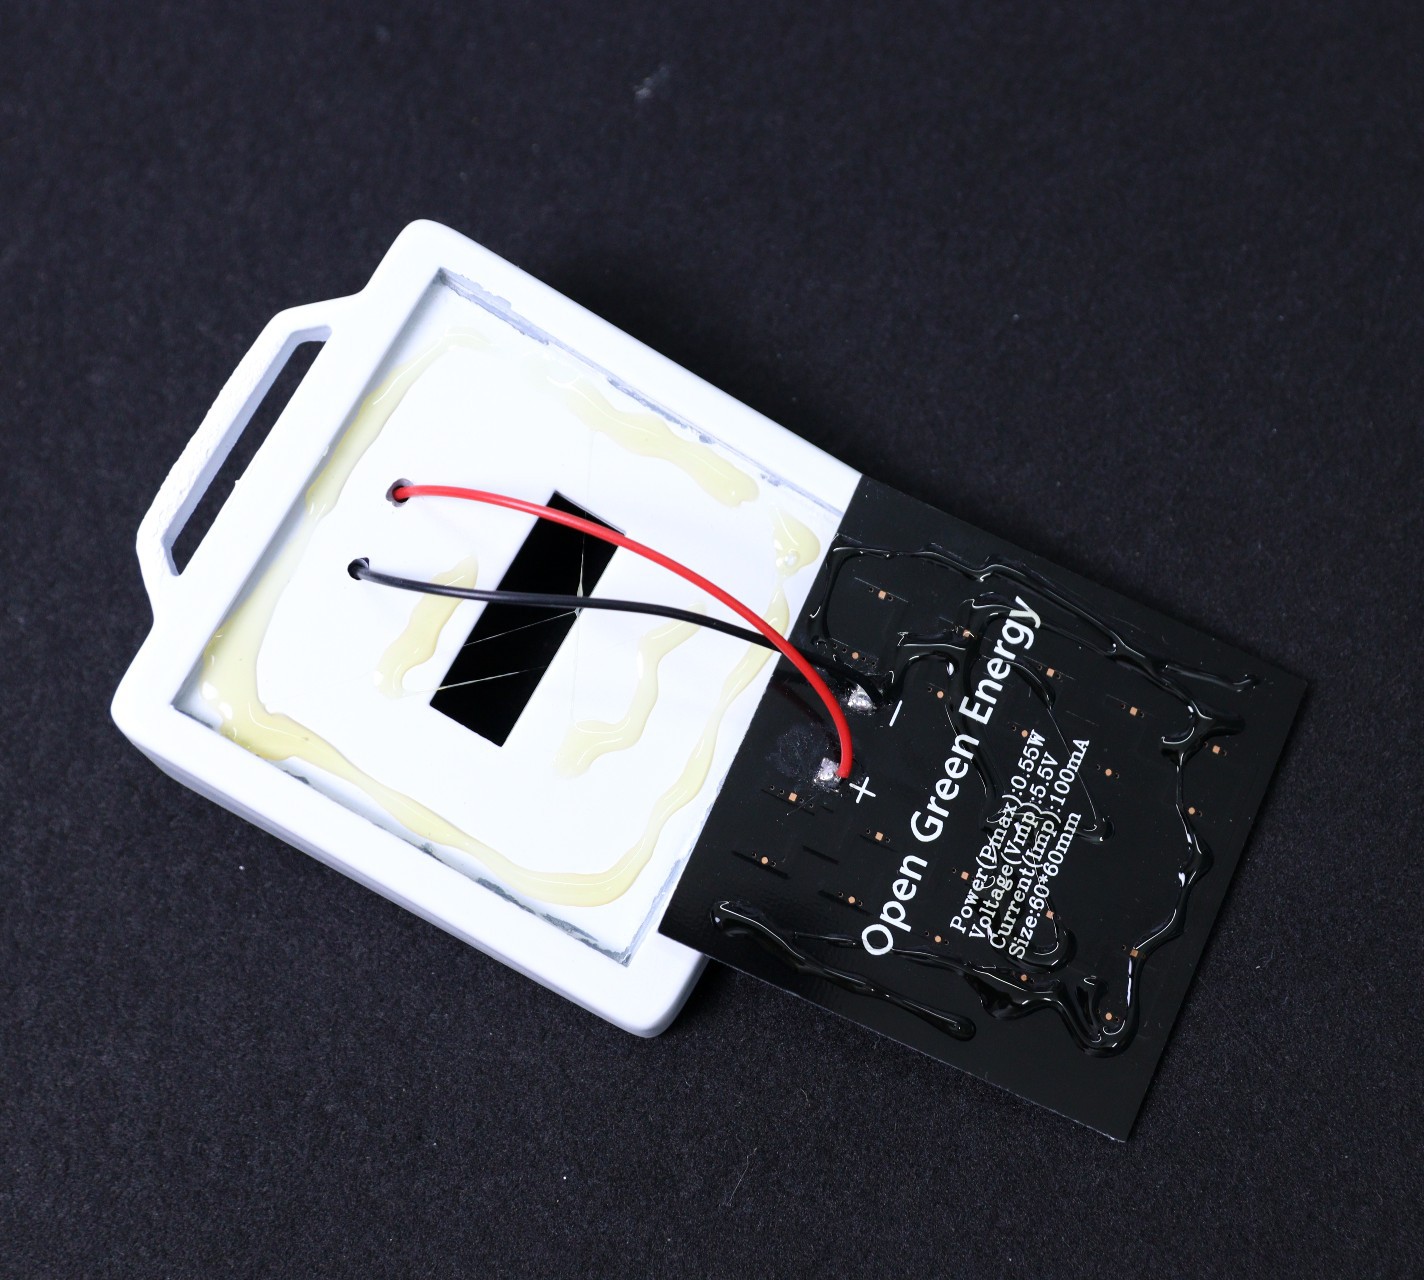
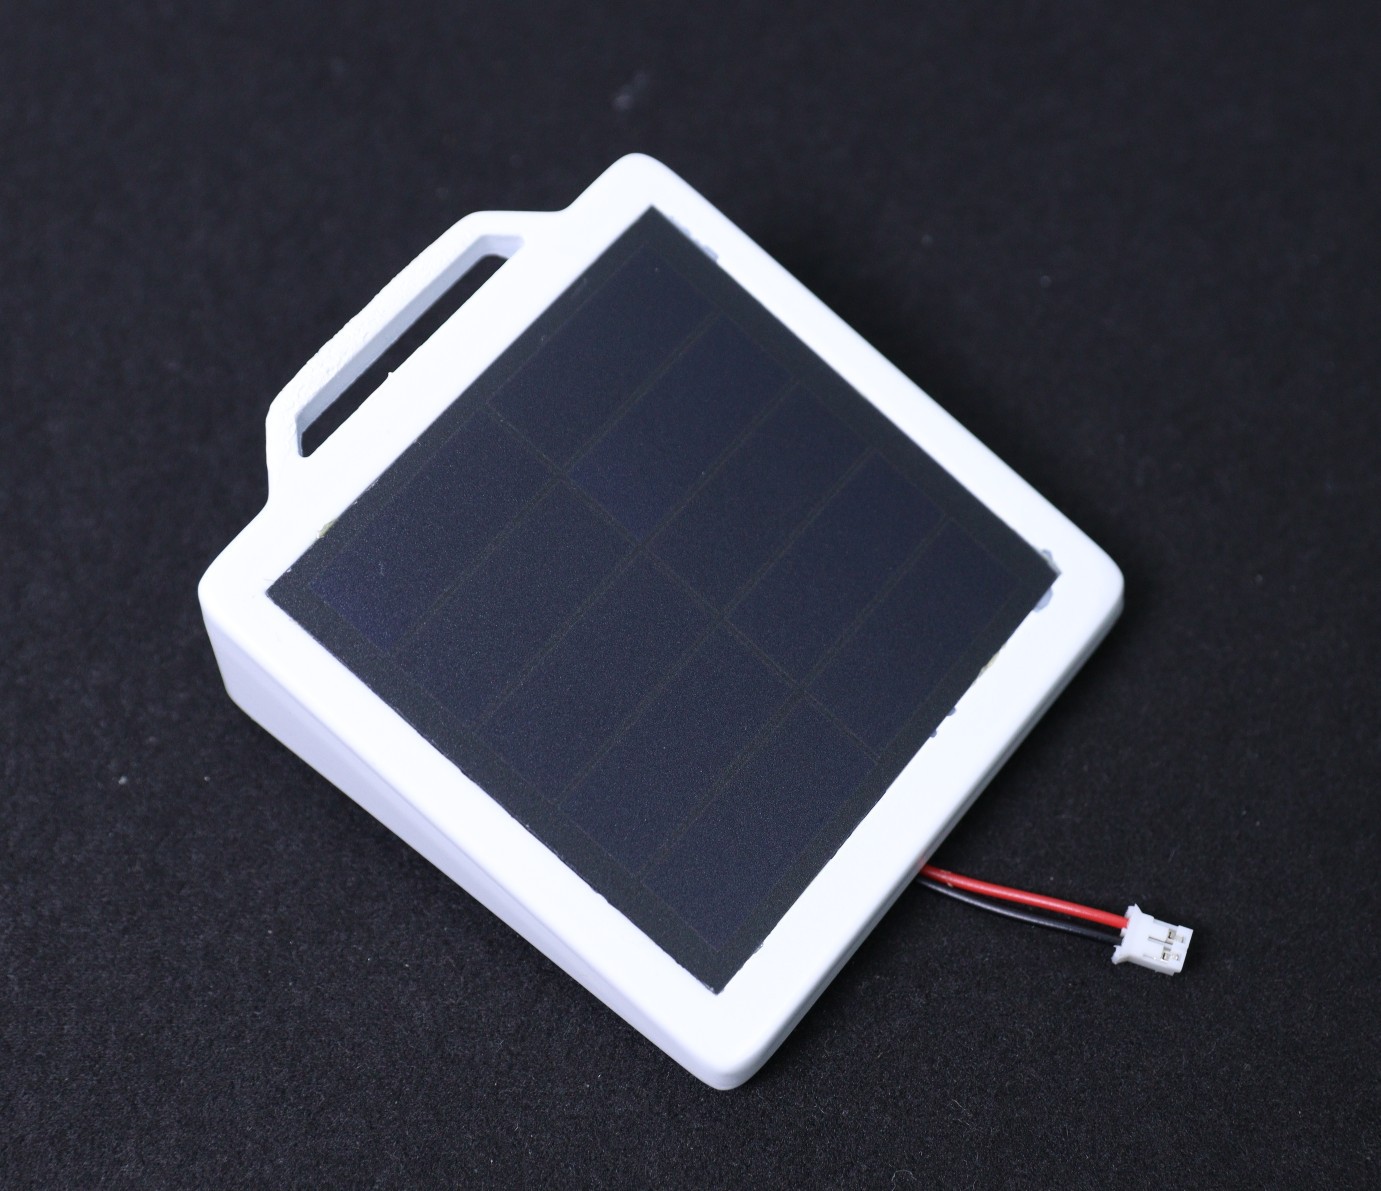
1. Install the Solar panel on the top part of the enclosure.
2. Install the LED PCB and seal it from the inside to prevent water ingress
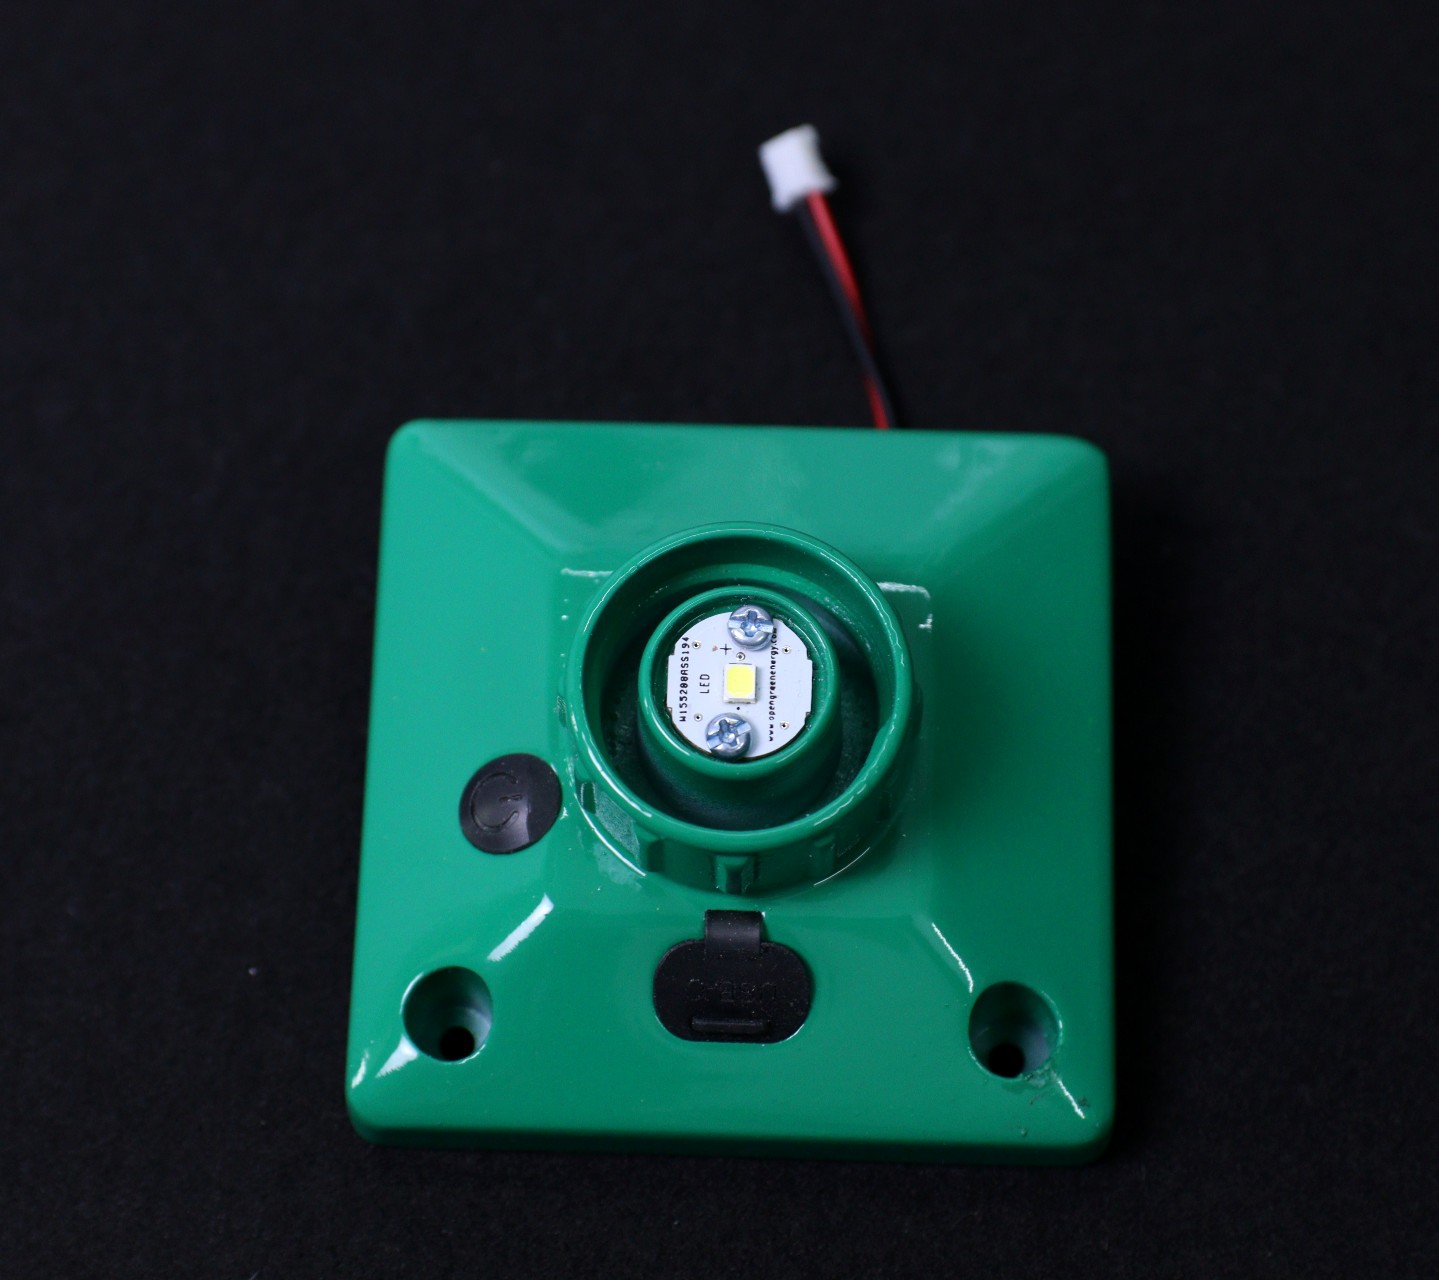
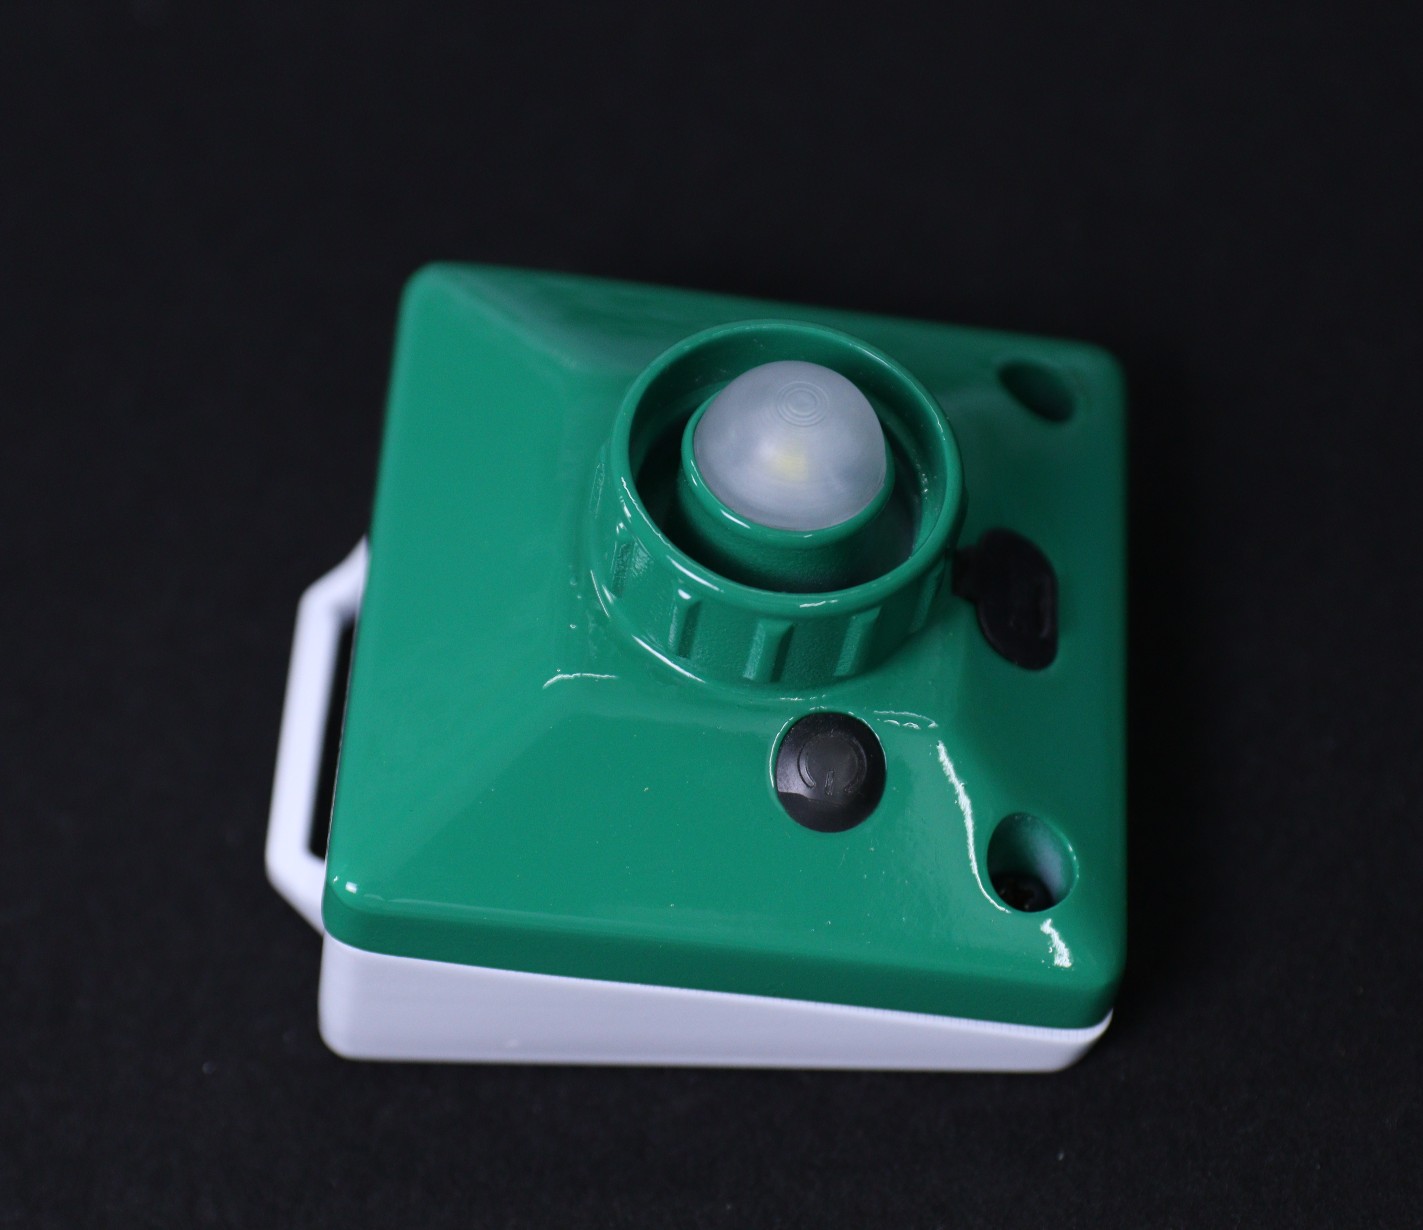
3. Install the Button Switch Cap
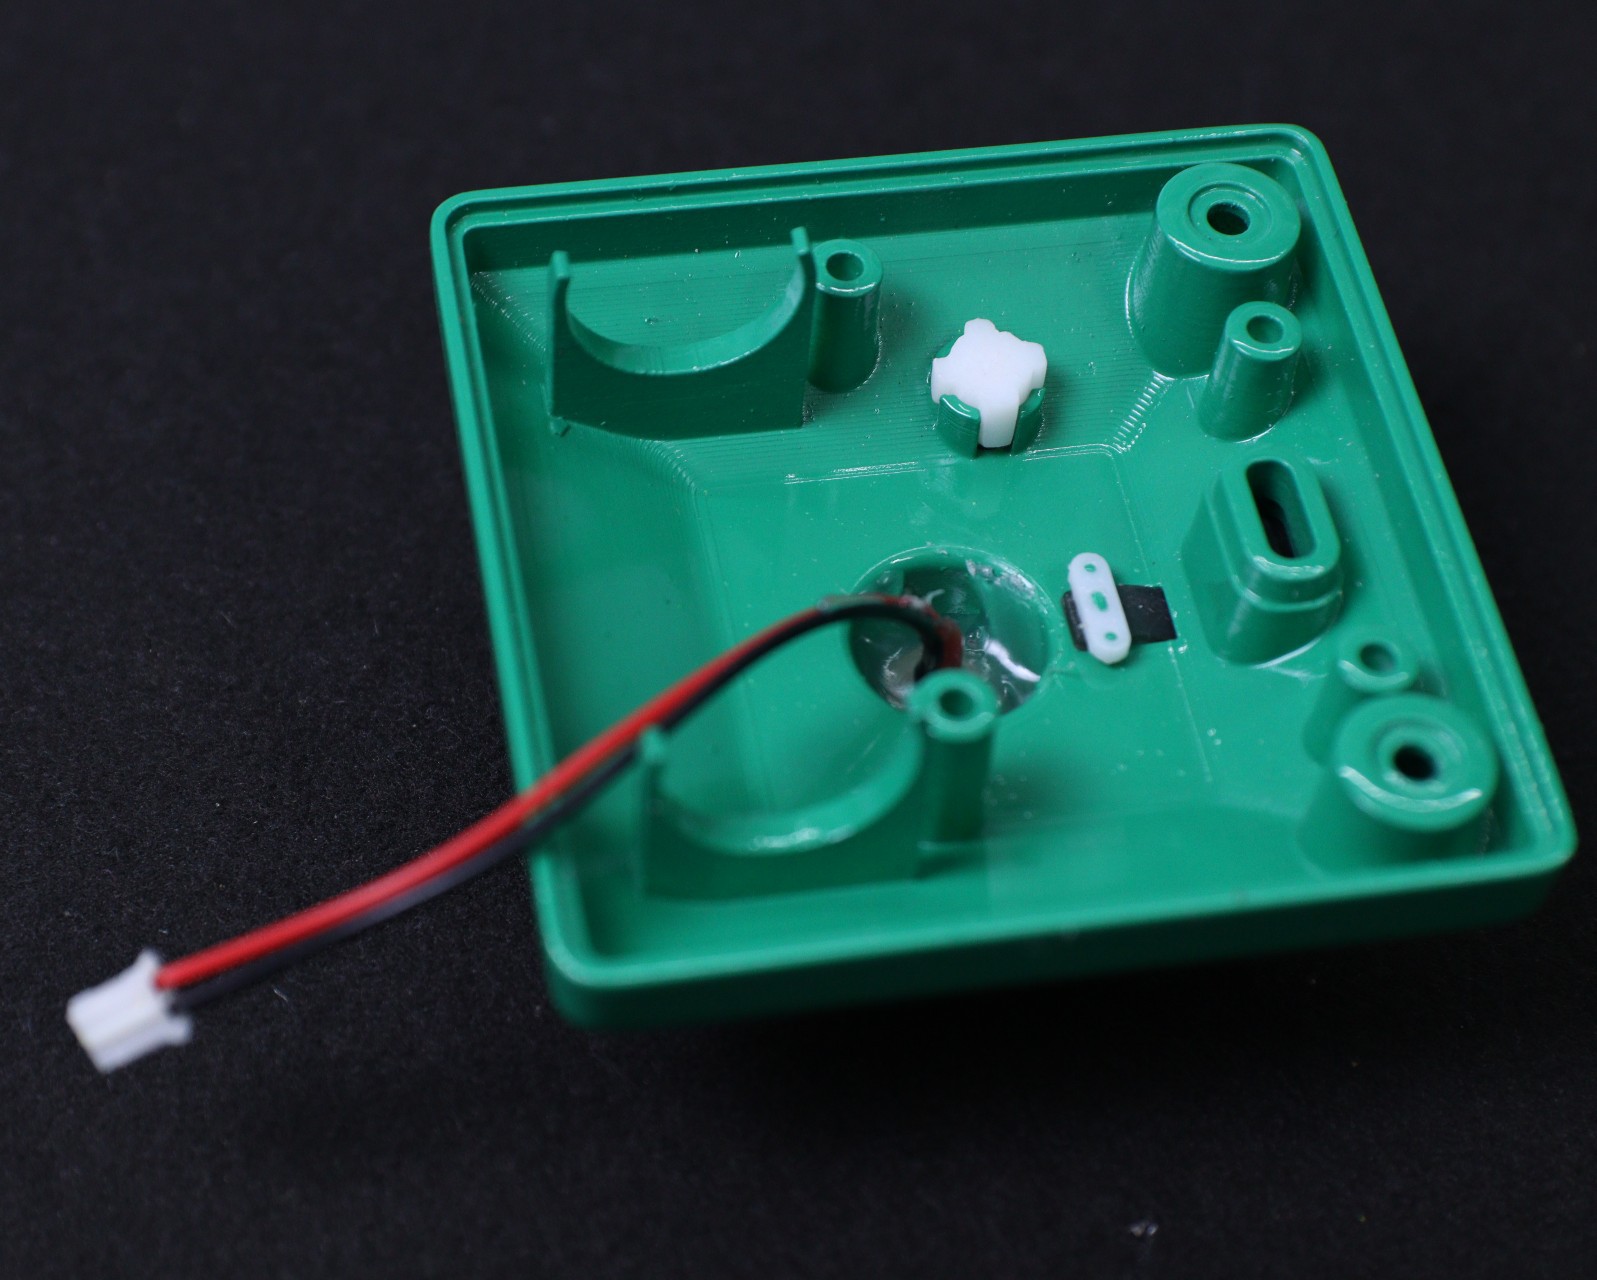
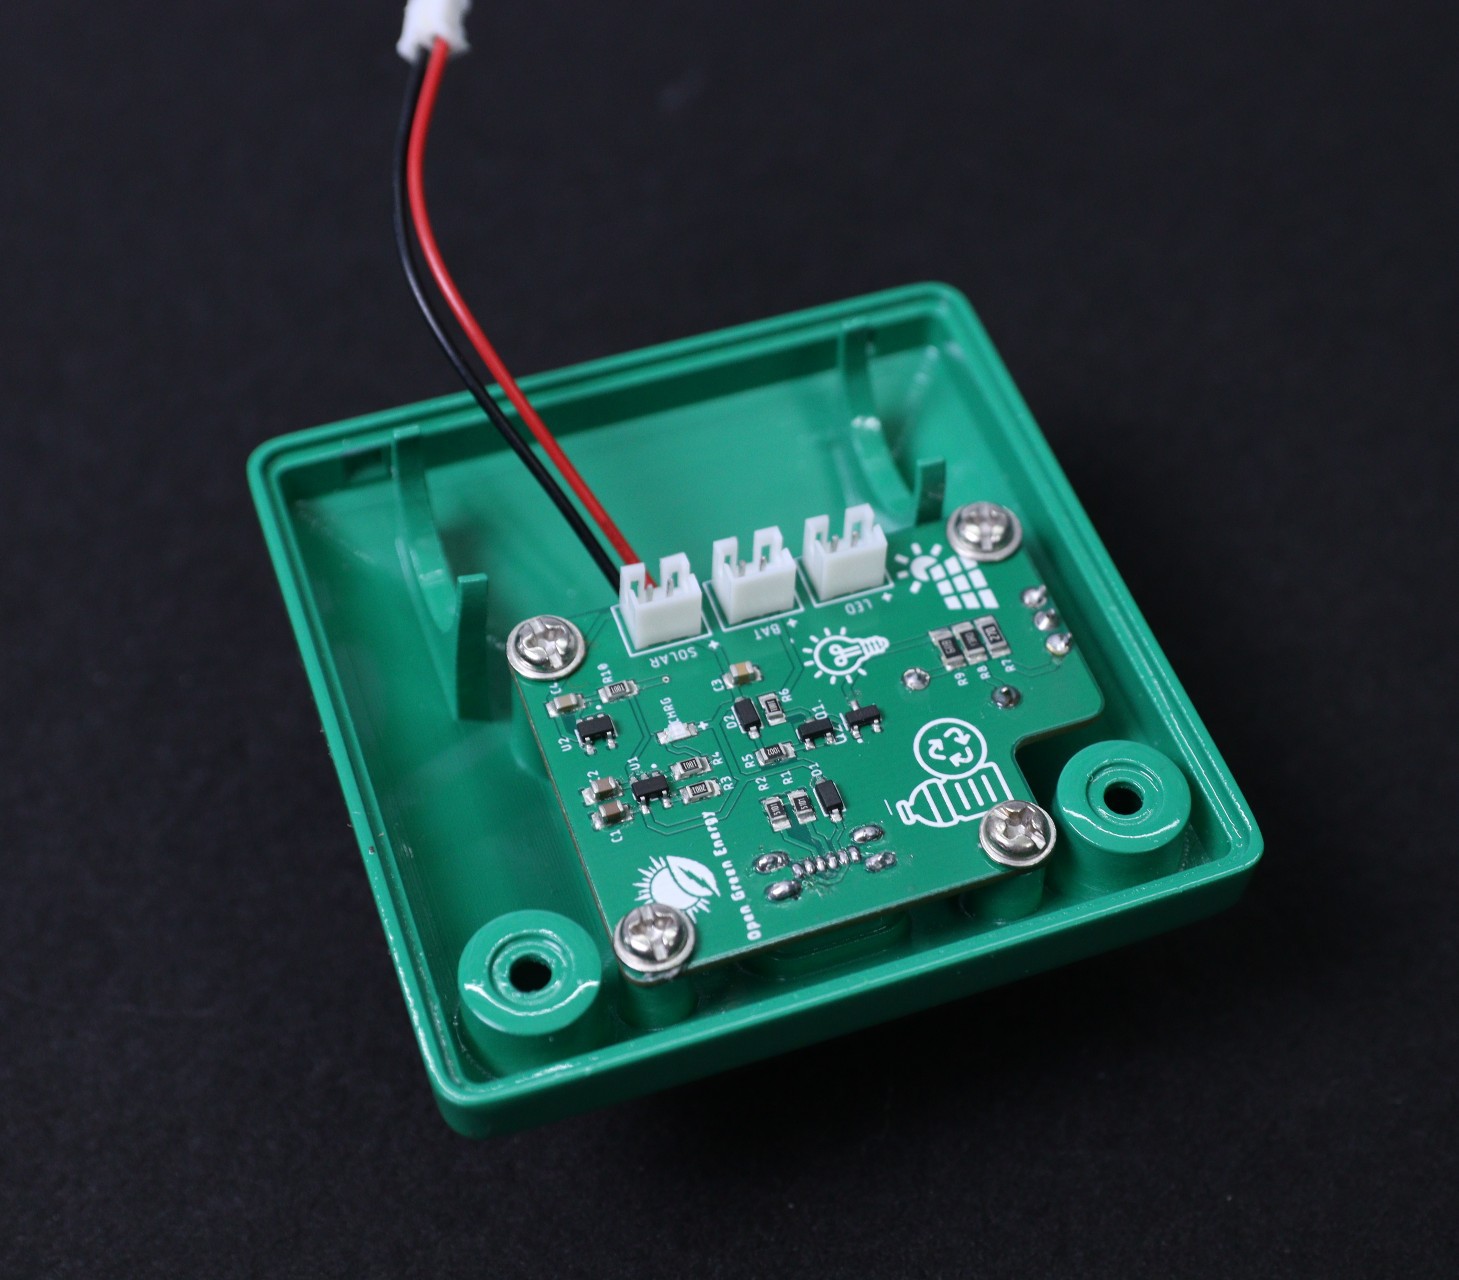
4. Install the PCB board and secure the 4 screws at the corners
5. Install the 18650 Battery Pack
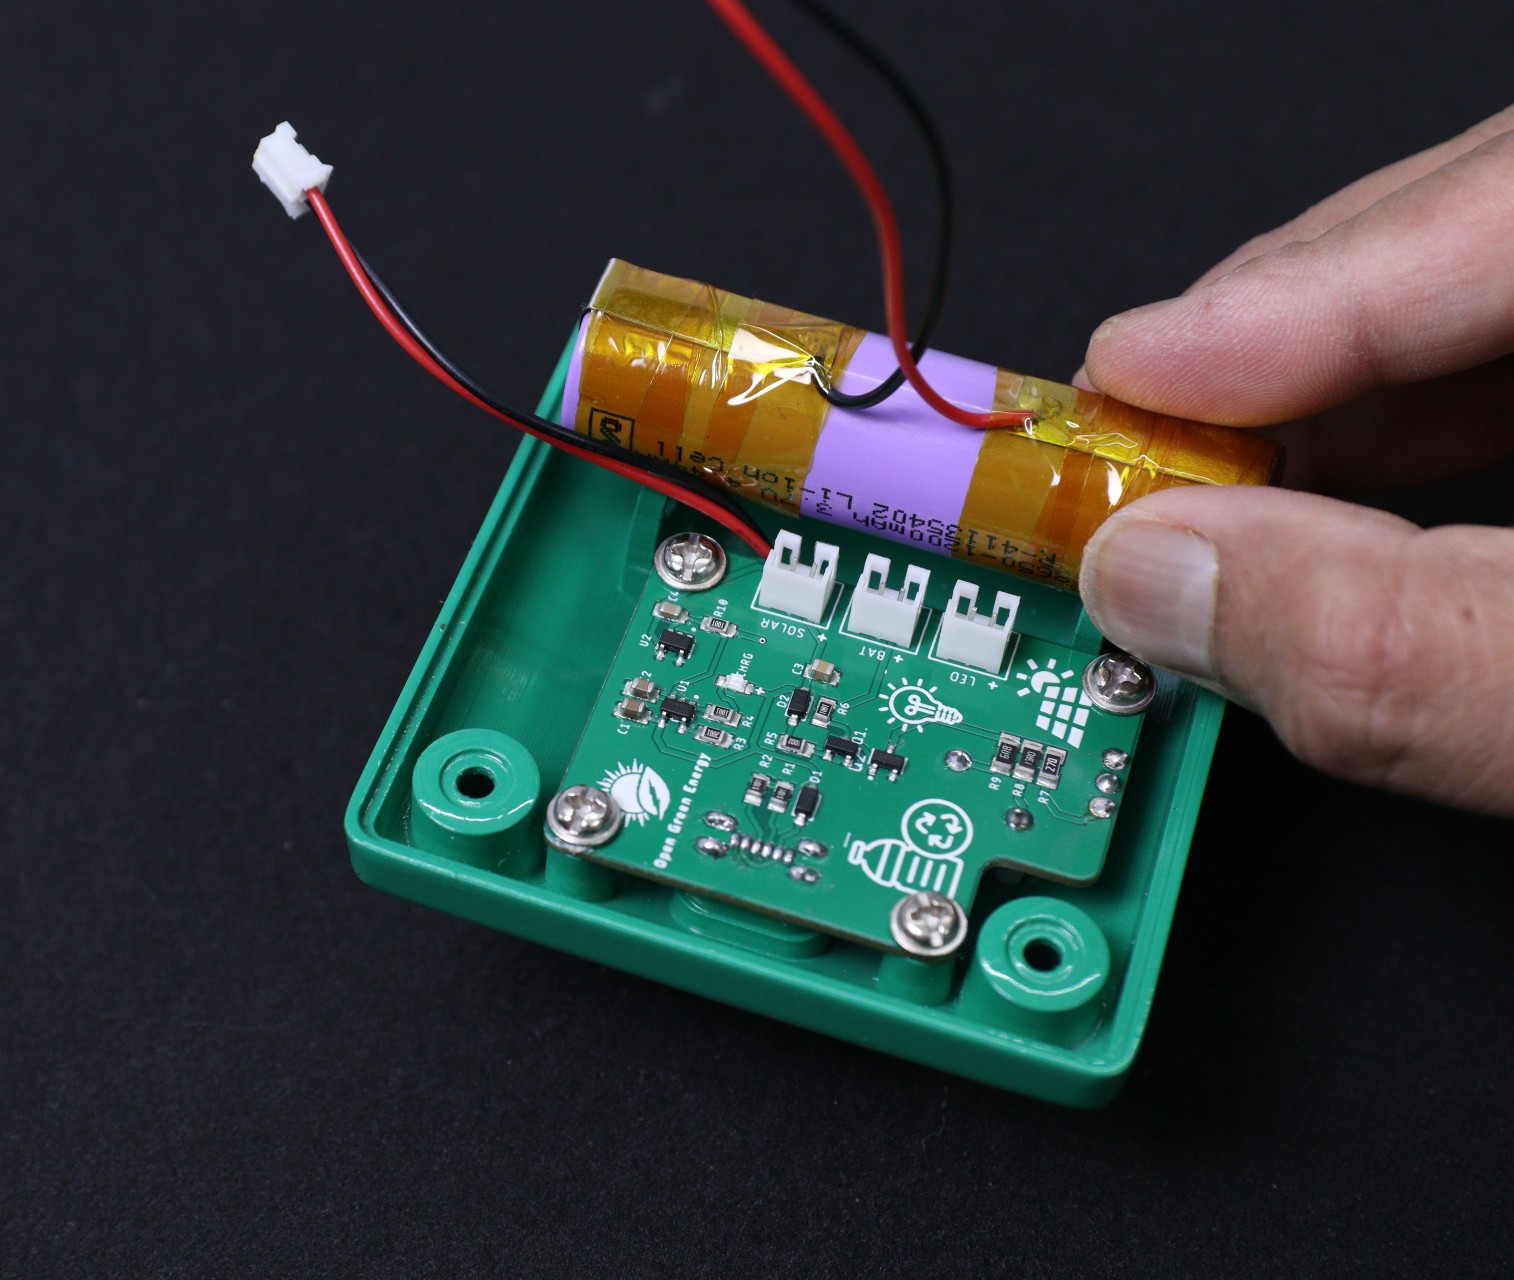
6. Connect the LED, Battery, and Solar panel connectors to the PCB board. The labels are indicated on PCB with a polarity symbol.
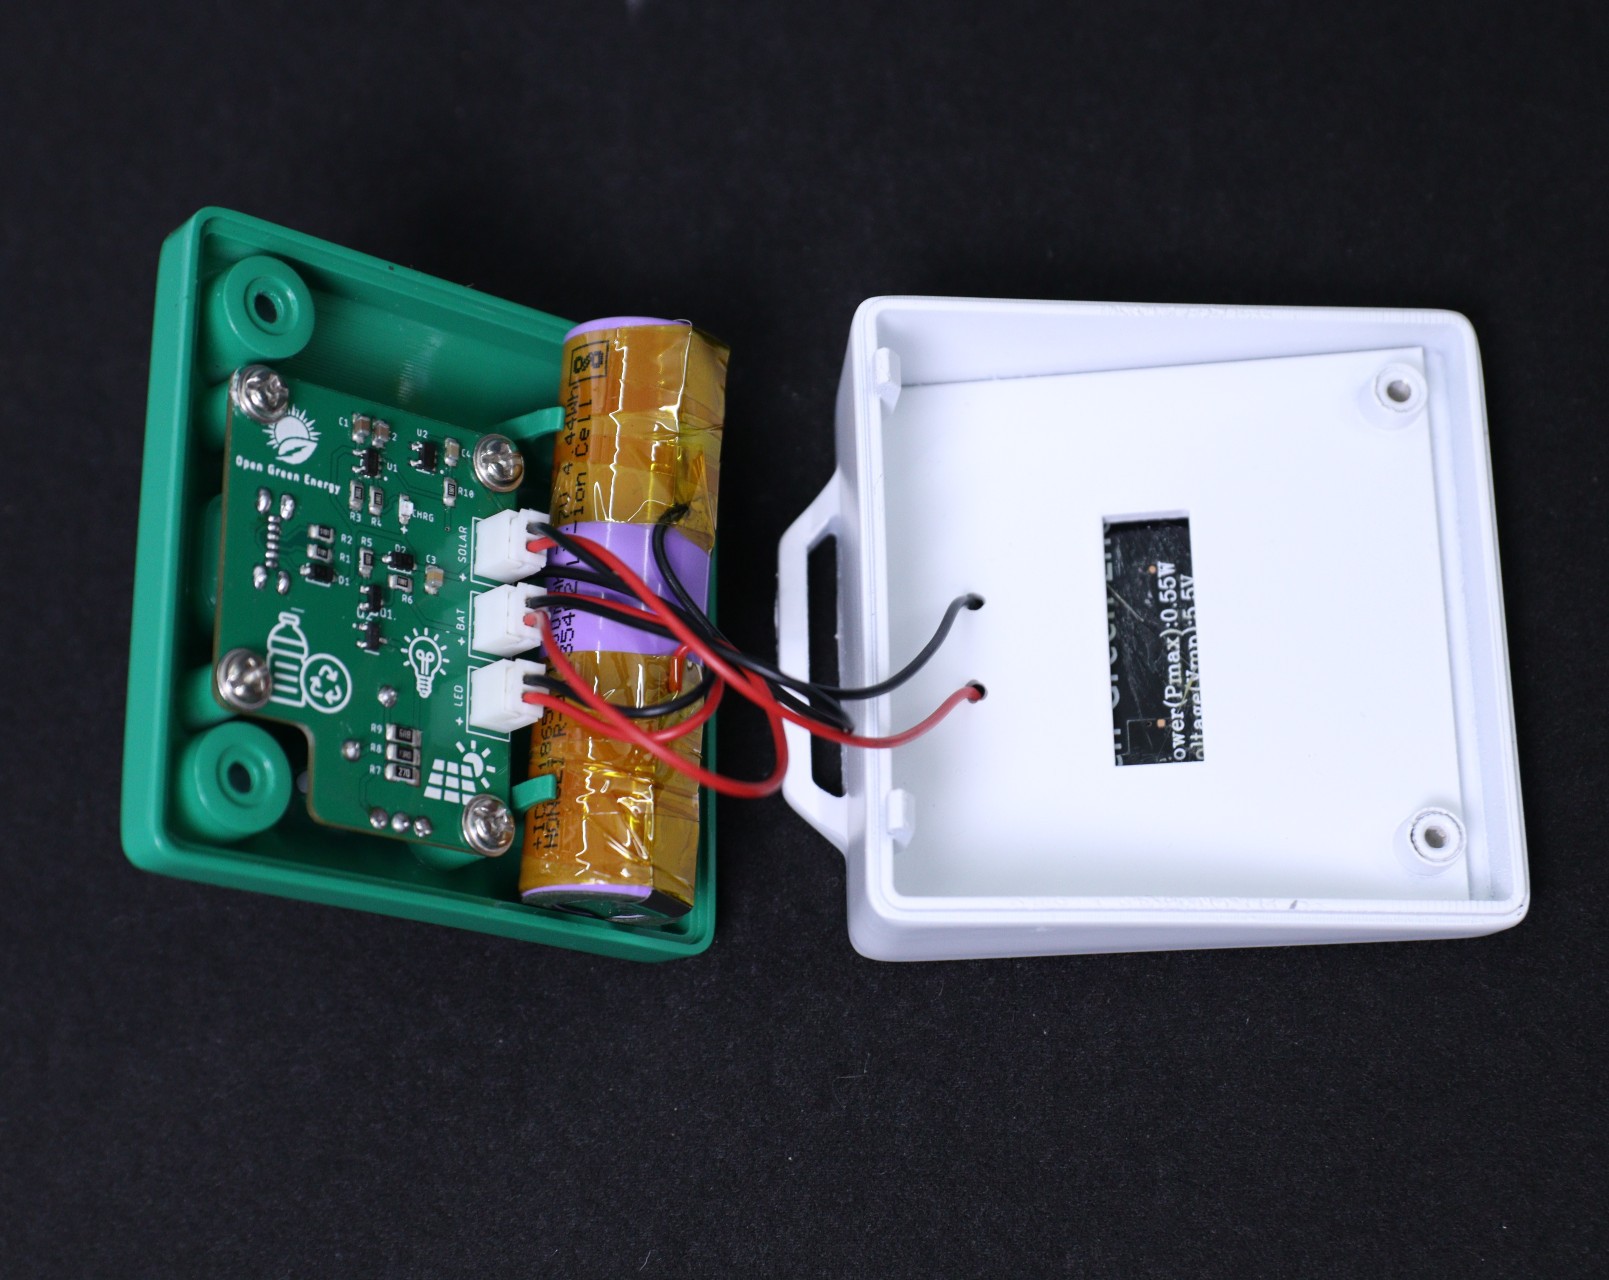
7, Align the top and bottom parts and close them by using two screws. Finally, install LED diffuser.
Discussions
Become a Hackaday.io Member
Create an account to leave a comment. Already have an account? Log In.