-
X-Mas and Birthday coming soon ... / Tonertransfer
12/03/2015 at 21:13 • 0 commentsIf you noticed it is only 20 or 21 (for the people on the other side of the World) days left until Christmas :-)
So its time to get or prepare the gifts ;-)
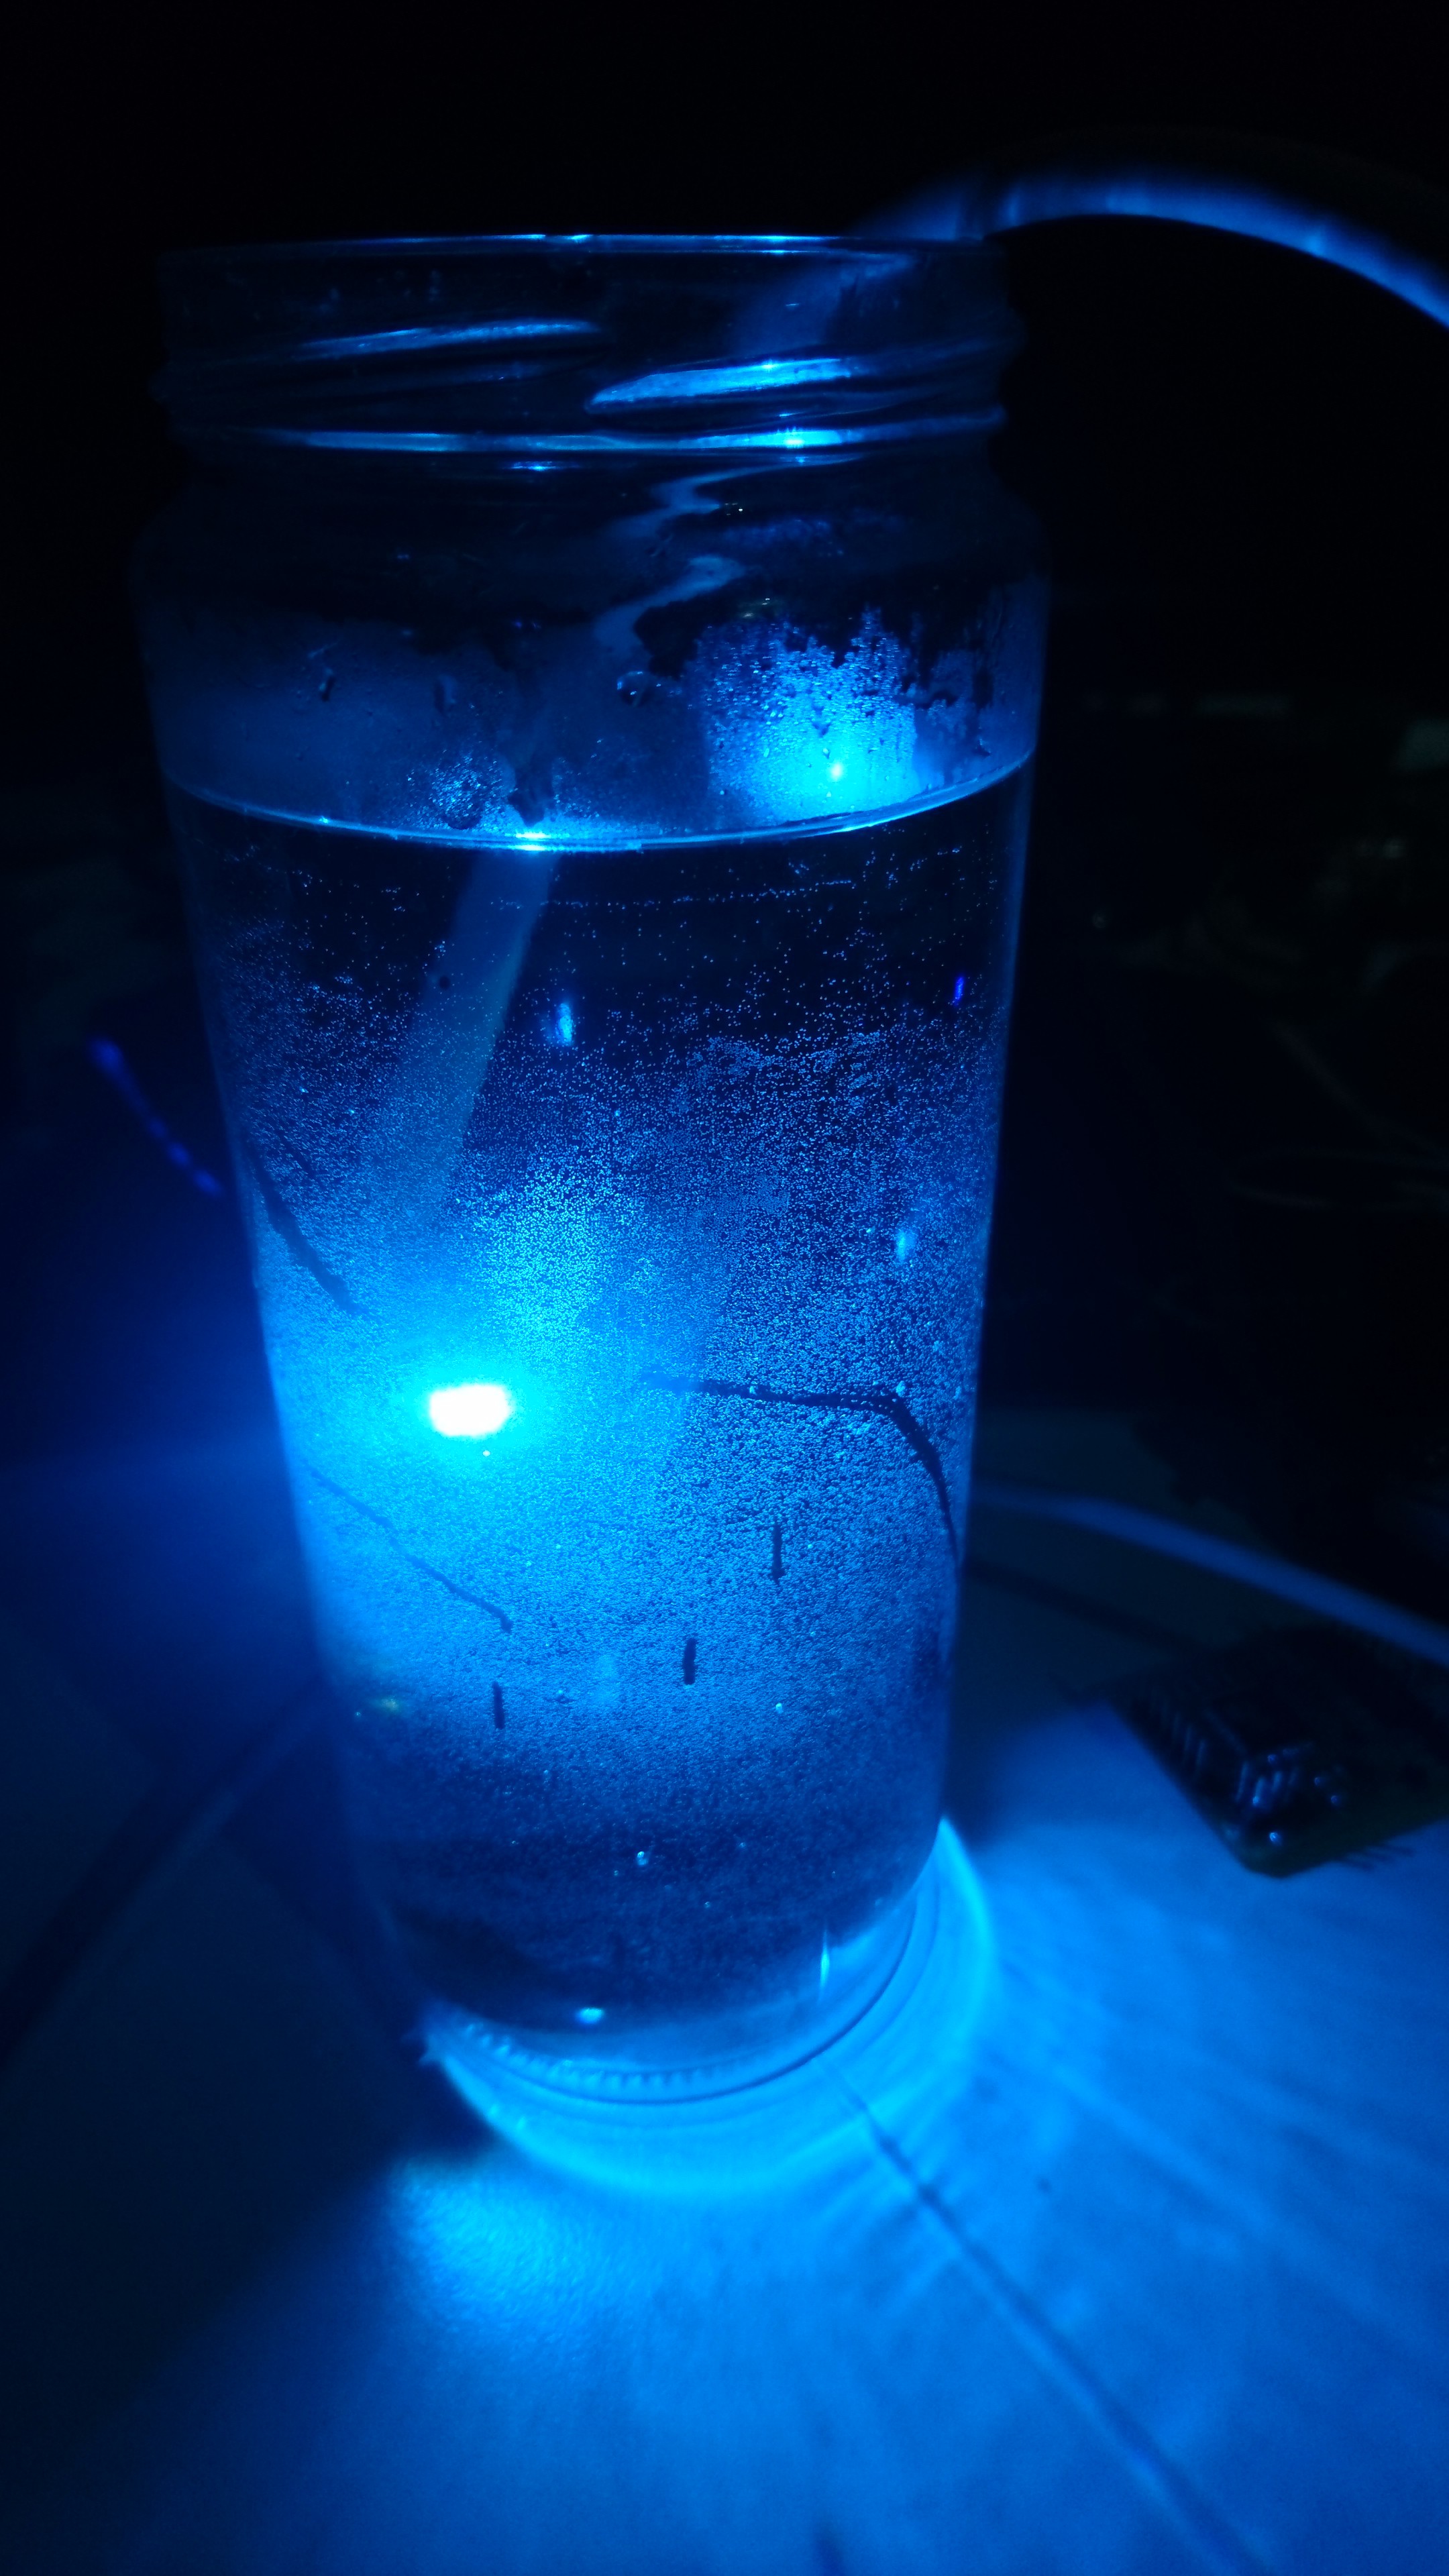
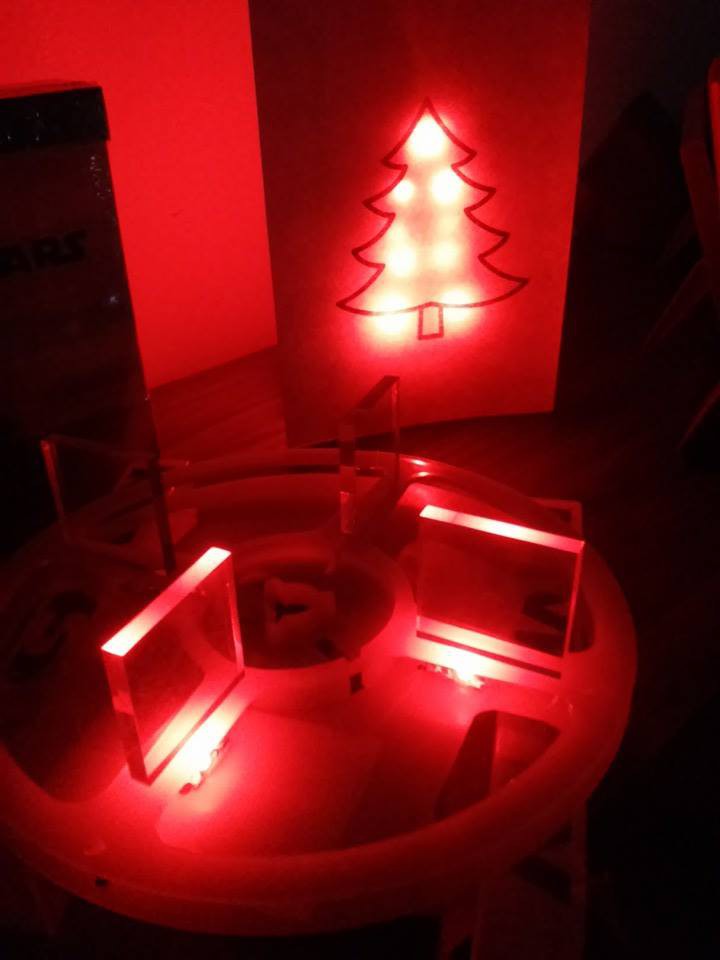
For my mother i will prepare a glowie orchid. The plan is to submerge the sealed AtmegaHearth in the flower pot and illuminate a glass "thing" (i even don't know the german word) which stays next to the orchid.
On the Pro side:
- my mother likes plants
- my mother likes orchids
- my mother likes those glass things
On the Con side:
- It needs Power
- Its a bit complicated to add the pcb to the flower pot
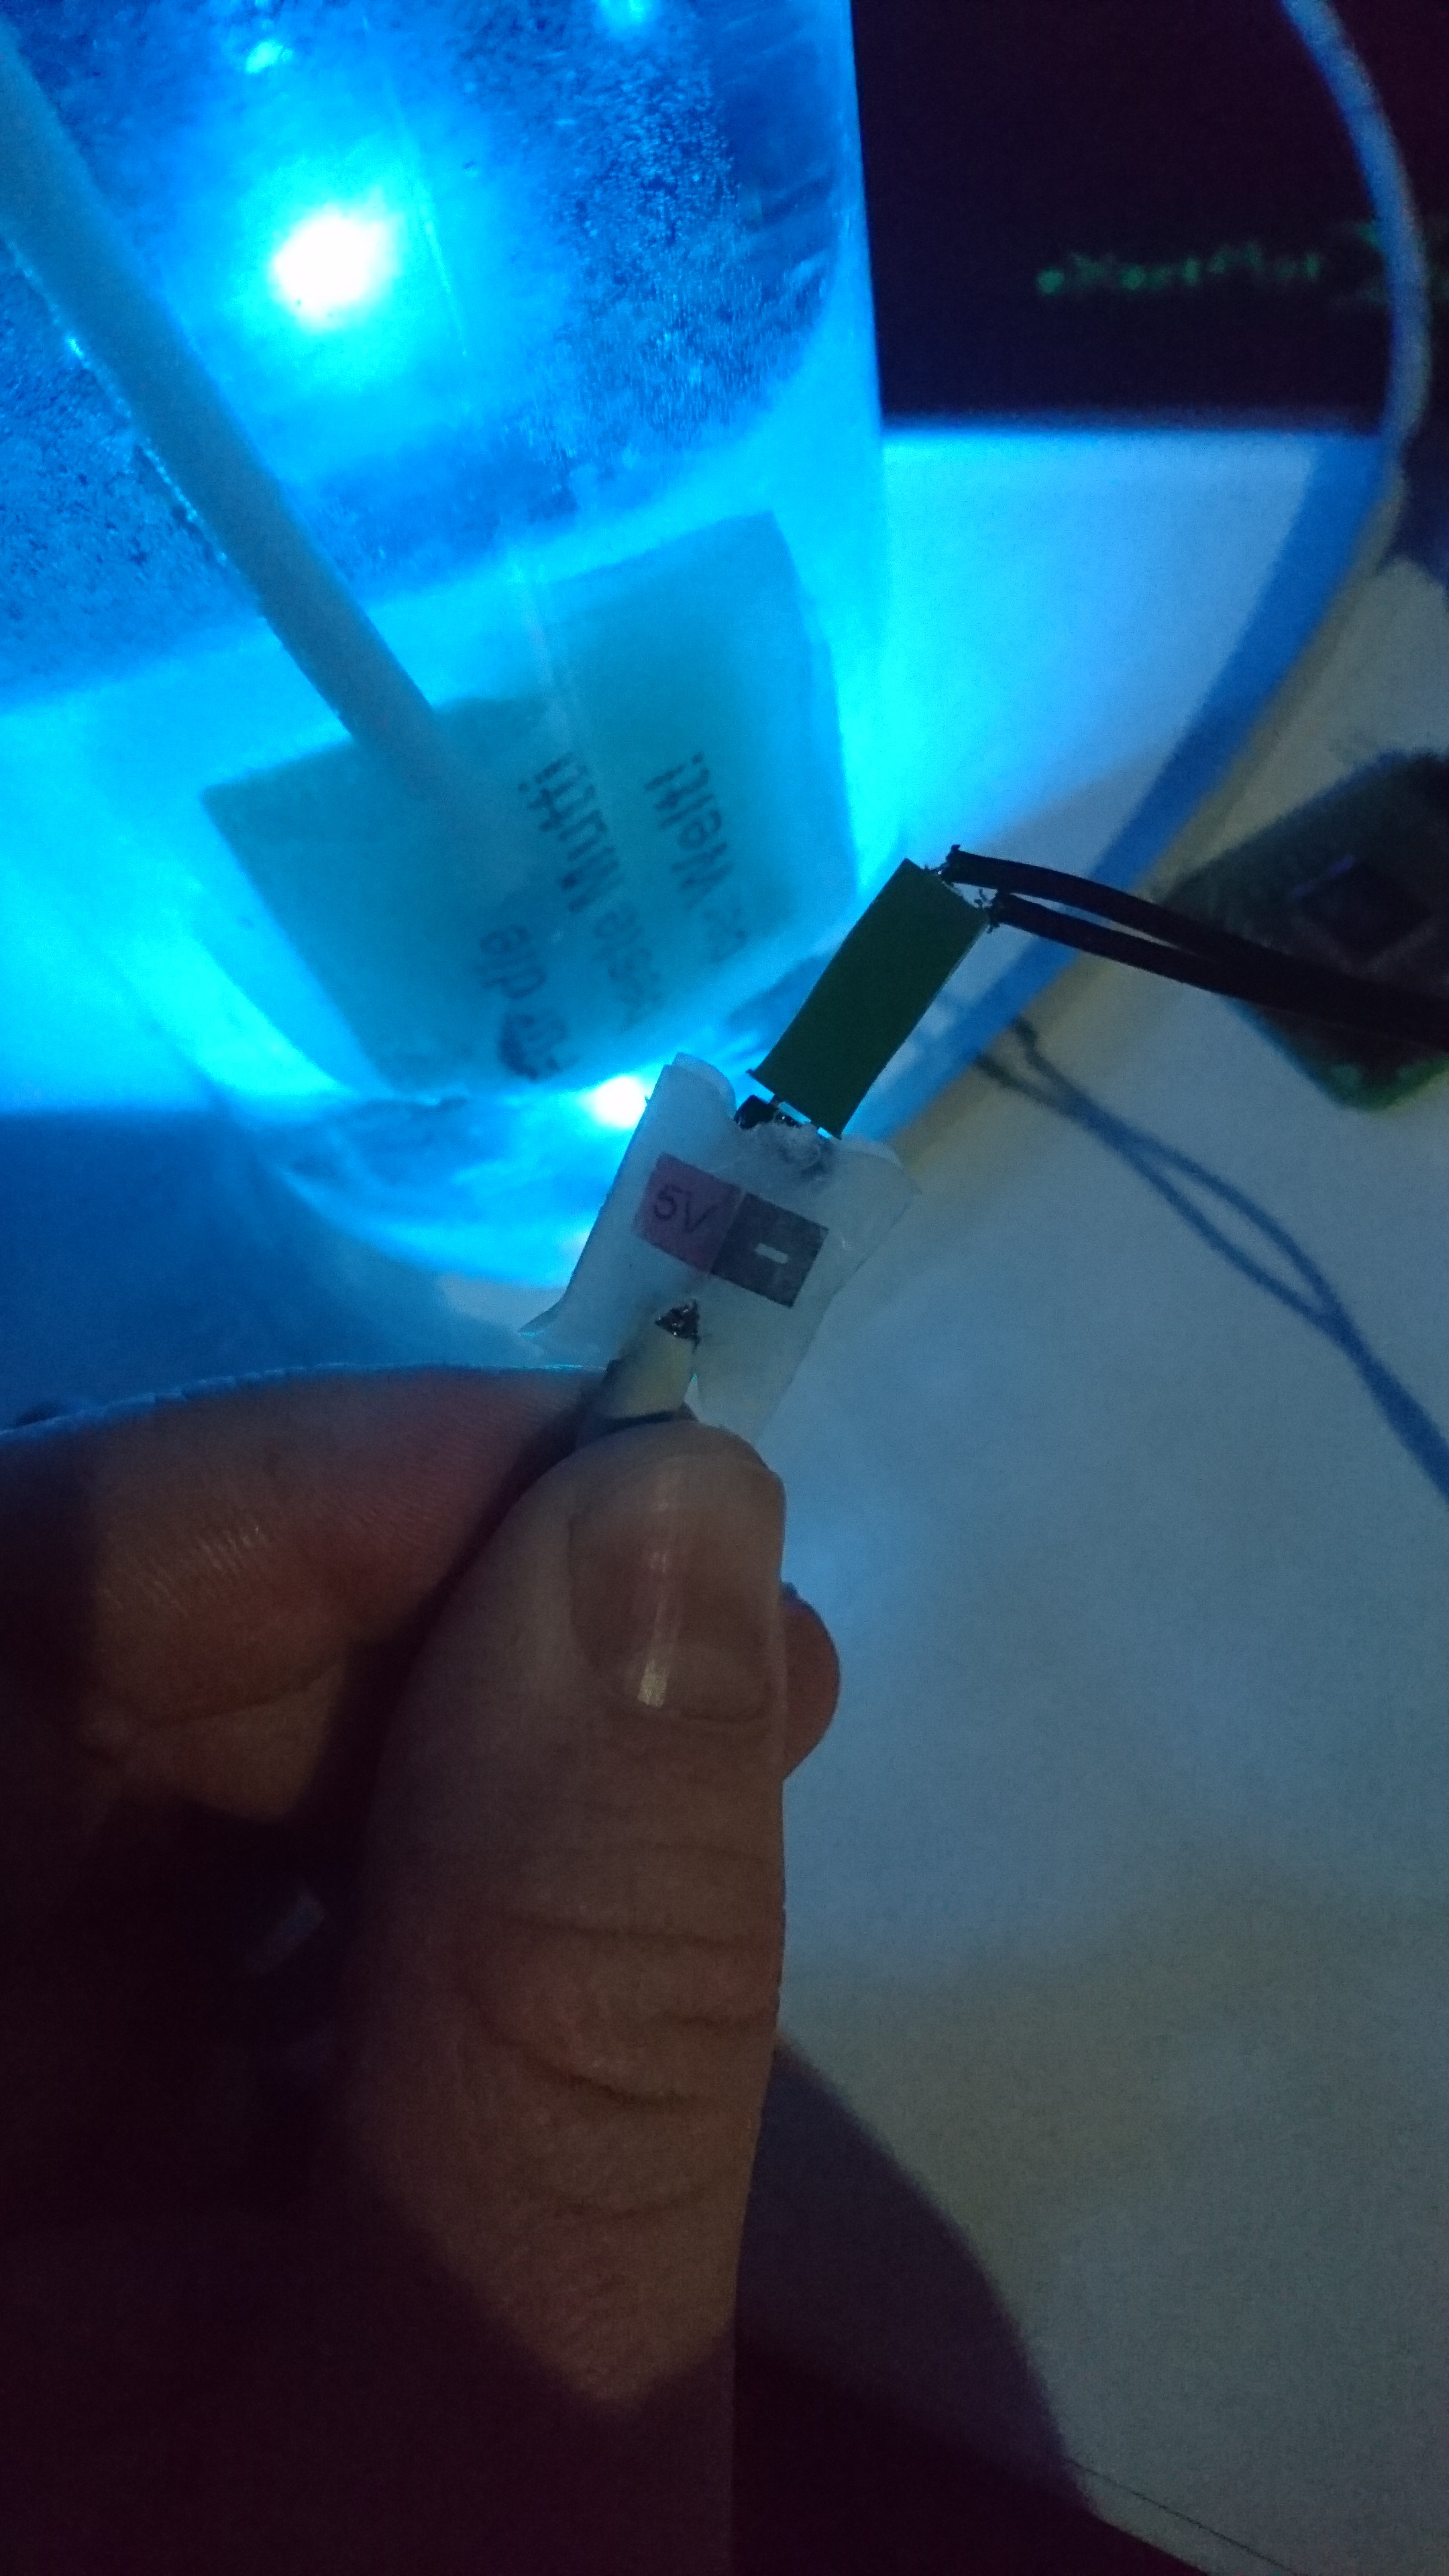
First i "casted" the PCB in Hotglue. Only the LED got a Window made by a part of a MonCherie box.
I tested it in water... it worked:
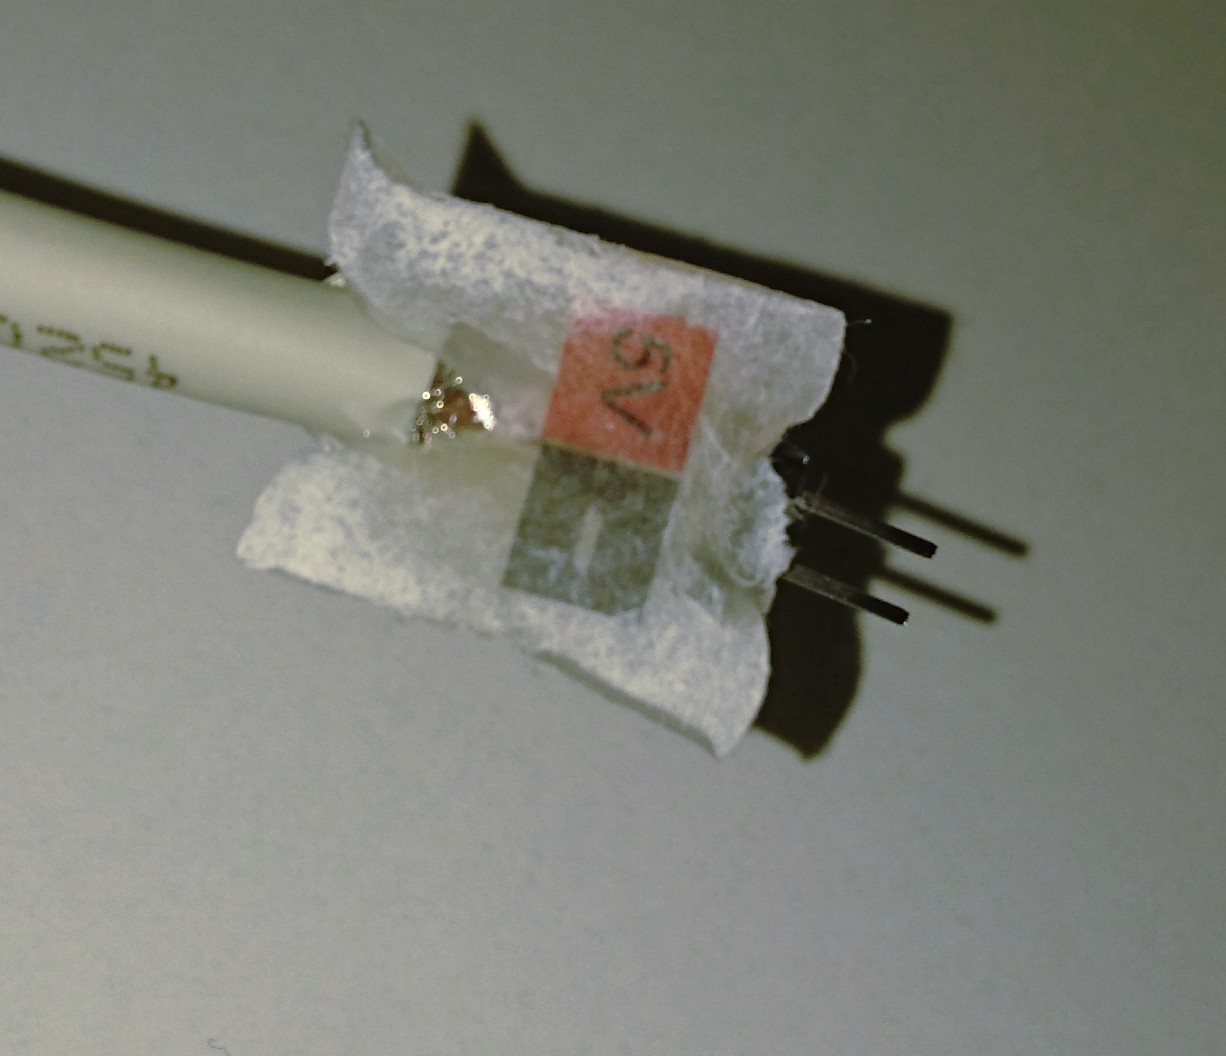
After this nice success i also tried a bit of toner transfer - worked also okay but the standard paper was a bit difficult to remove... should try some other paper types. It was pretty easy. Just print the "artwork" mirrored on a paper and put it on the hotglue as long as it is still hot.
In person it looks a lot better. It's a bit kitschy but its not visible by default :) Here is another close up.
I hope with flower and glass thing and nice packaging she will like it :)I hope you enjoyed this post also.
-
Unleash the Power - The Force Awakens
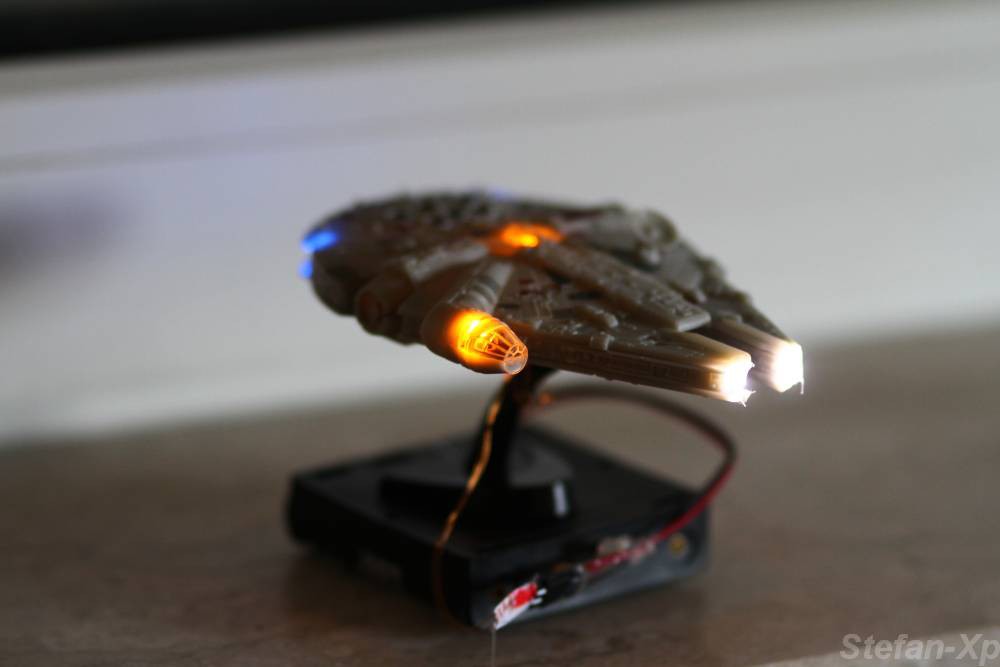
11/15/2015 at 13:56 • 2 commentsI just found a Mini Kit Falcon on Amazon ... https://www.amazon.de/gp/product/B000KSJOSG/ref=oh_aui_detailpage_o00_s00?ie=UTF8&psc=1
I had to enlarge my Order for free shipping ... so i added it to my Basket.
But only like it was it was a bit Boring, so i added some blinky stuff.Steps:
- Build a AtmegaHearth, which works. I had a bit of issue with this this time --> The Crystal is needed to flash the µC. But at least i have now 3 more assembled boards...
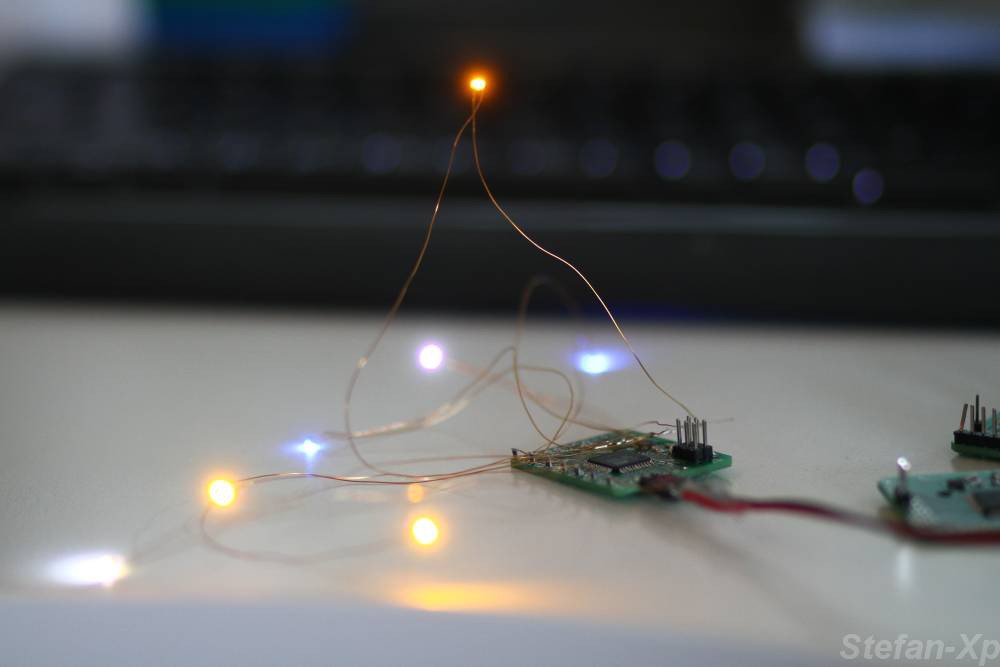
- Solder some Magnetwire to some SMD LEDs.
- Add some Resistors to the AtmegaHearth (Thombstonestyle).
- Check if all LEDs are working (Worked suprisingly well)
- Programm the µC with a small Programm which lights the LEDs and lets the Engine LEDs flicker a bit (Kinda SW PMW)
- Match and Glue the LEDs into the Falcon.
I think it looks nice. What do you think?
... could have done be better.
... the Base it a bit poor.
... the µC is a bit oversized for such a simple Task but it is still extendible
... the Falcons "Metall pieces" are a bit too translucend for the light
-
I2C u no workin?
07/30/2015 at 21:39 • 3 commentsI just tried to attach the TLC59116 [https://hackaday.io/page/818-hmmm-what-about-an-i2c-port-led-driver-ic] to the Atmega Hearth. Unfortunately it is not working.
Not sure why. Perhapps i have to try it again with external 16MHz crystal.
Do you have Ideas why it couldn't be working?
The same sketch works at a Atmega328p...
-
Merry Christmas :-)
12/09/2014 at 20:15 • 2 comments -
Example Project 7 - Christmas LED Tree
12/04/2014 at 21:49 • 0 commentsJust thought about a small seasonal project...
Please enjoy (17s, tell me if you need more ;-P):
The code is here, if you want to sparkle some simple connected LEDs by SW PWM ;-)
https://gist.github.com/Stefan-Xp/f1159327086bc0448415
I'm always happy about comments ;)
-
Example Project 6 - IR Proximity Sensor
11/05/2014 at 21:11 • 3 commentsHave you seen some of the interactive LED tables? How awesome are they!?
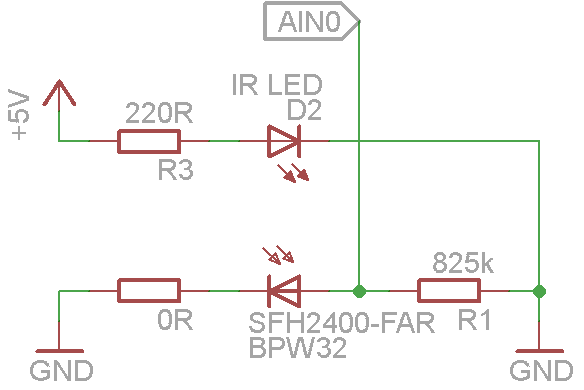
The IR and IR Diode part is still strange to me :D
![]()
In fact i have no clue whit it is working... Last time it worked it had Analog Values between 0 and 60 (active) with Internal Reference (2.56V). Is it enough to work with? Do you have a better schematic proposition?
-
Example Project 5 - 3x3x3 LED cube - New Thoughts
11/05/2014 at 20:16 • 5 commentsToo sad i did't take my time to figure out the progmem feature of the Atmega.
My newer Idea is to use the EEPROM to store the animation Data. It would have at least a few pros ;-)
+ 256kB for 1€ or less
+ You could load the current data directly from eeprom
+ you always can upgrade to 512kB or 1024kB... if its still not enough you can add more EEPROMs :-) (My largest Animation took 567 Byte)
Cons:
- One Part more on the BOM
- You need a PC tool to write the EEPROM (USB connection o.s.)
What do you think?
-
To late for me?
10/01/2014 at 20:50 • 4 commentsHmm... I have no clue why this code
https://gist.github.com/Stefan-Xp/e0cd595200d31ee6518c
doesn't work :-(
If i assign a fixed mode, every mode works ...
Perhapps I have to sleep over it.
-
Example Project 5 - 3x3x3 LED cube - SW Expansion
08/21/2014 at 20:10 • 15 commentsSo after a short revision of the existing code i added two new functions just for fun.
You can find them here:
https://gist.github.com/Stefan-Xp/e0cd595200d31ee6518c (Forked from DaveDarko)
I would love to get some feedback ;)
Next: Create some nice animations :D With a 3x3x3 Cube how many different "frames" could be created before repeating? ;)
-
Example Project 5 - 3x3x3 LED cube
08/20/2014 at 23:49 • 6 commentsInspired by Daves comment below i started a 3x3x3 smd LED (0603 *holy crap*) cube.
I created the circuit according to this website:
The Software was taken from this page (Many Thanks to DaveDarko):
https://gist.github.com/davedarko/62b2d3f6584ba7f11fdf
I didn't check out the SW until now, but it works realy nice :-) I like it!
But at first i found some distraction by soldering the LED Cube ... about 3h.
Please take a look at my video. I will add a better one soon.
Remarks: At the moment the cube is driven by the Arduino uno board ... i forgot my trusty AVRISP MKII at an other place :-/
Result: I'm not the best person to solder LED-Cubes... I think without further preparation 3x3x3 is my limit :-/
 Stefan-Xp