-
Wax infiltration
08/31/2022 at 16:06 • 0 commentsAfter a part is printed on a 3DP printer, it needs to be processed to make it strong. The easiest way is to use CA, but this uses fairly harsh components. The first set of treatments tested were waxes.
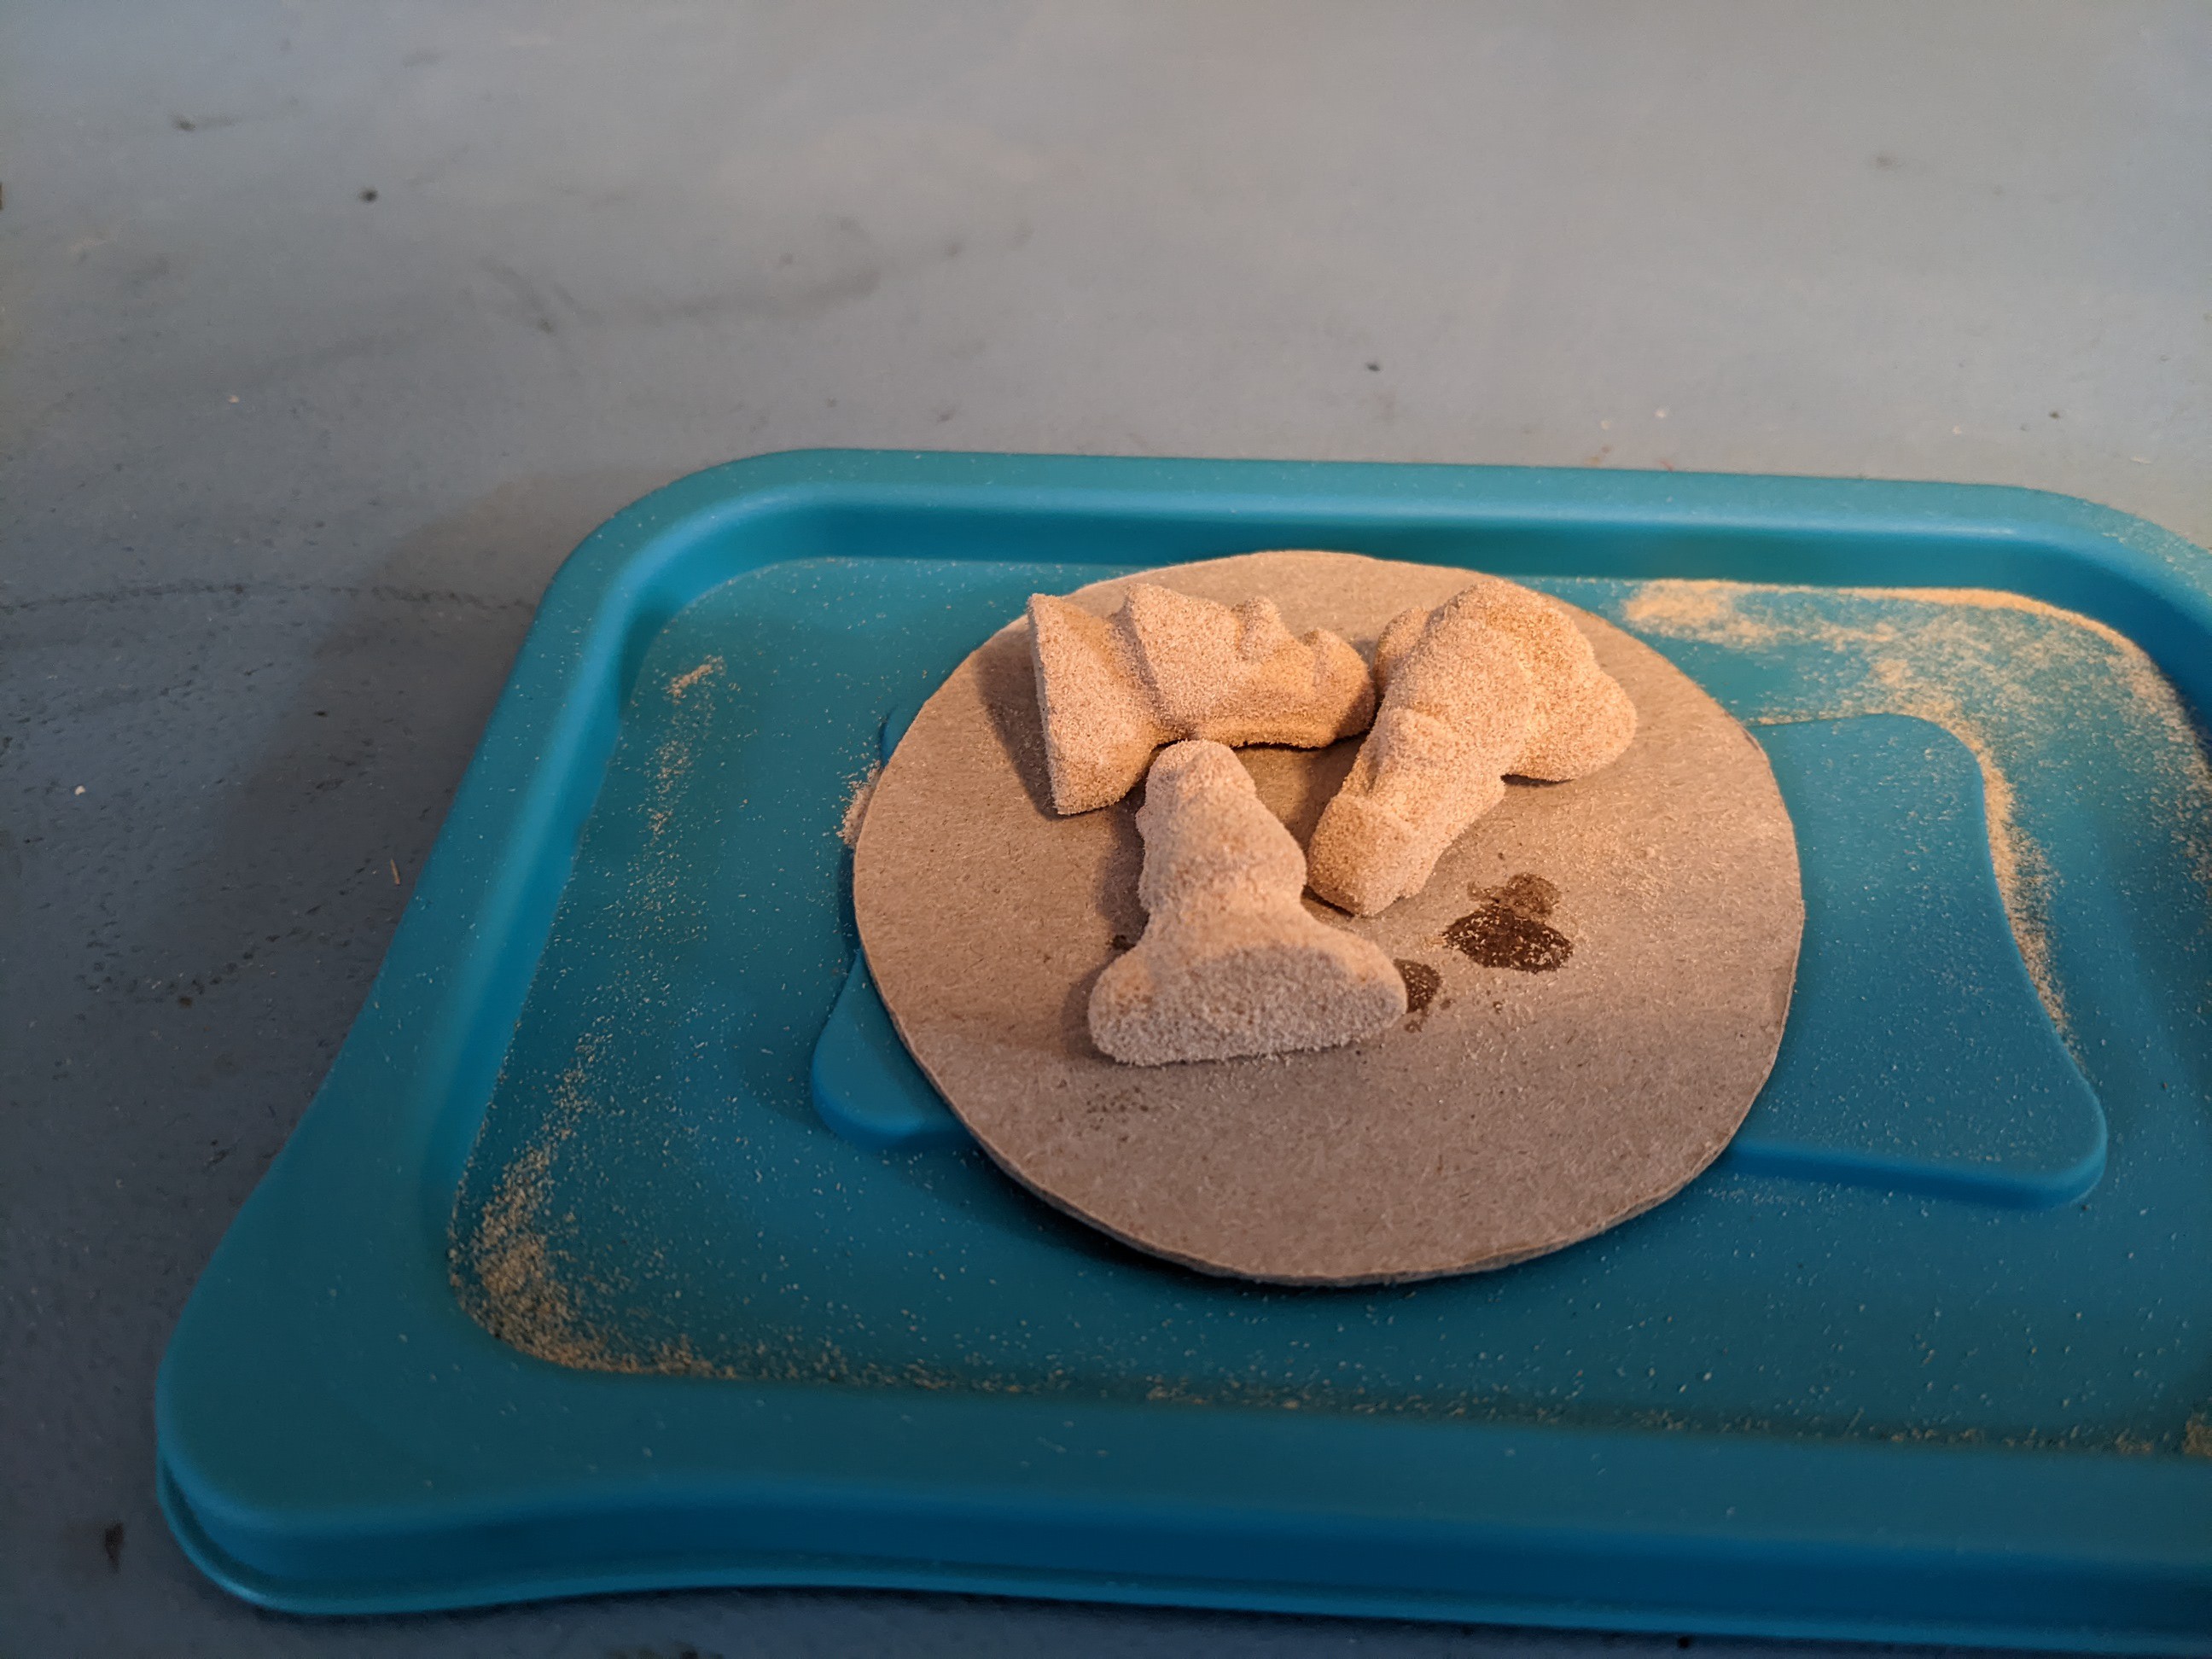
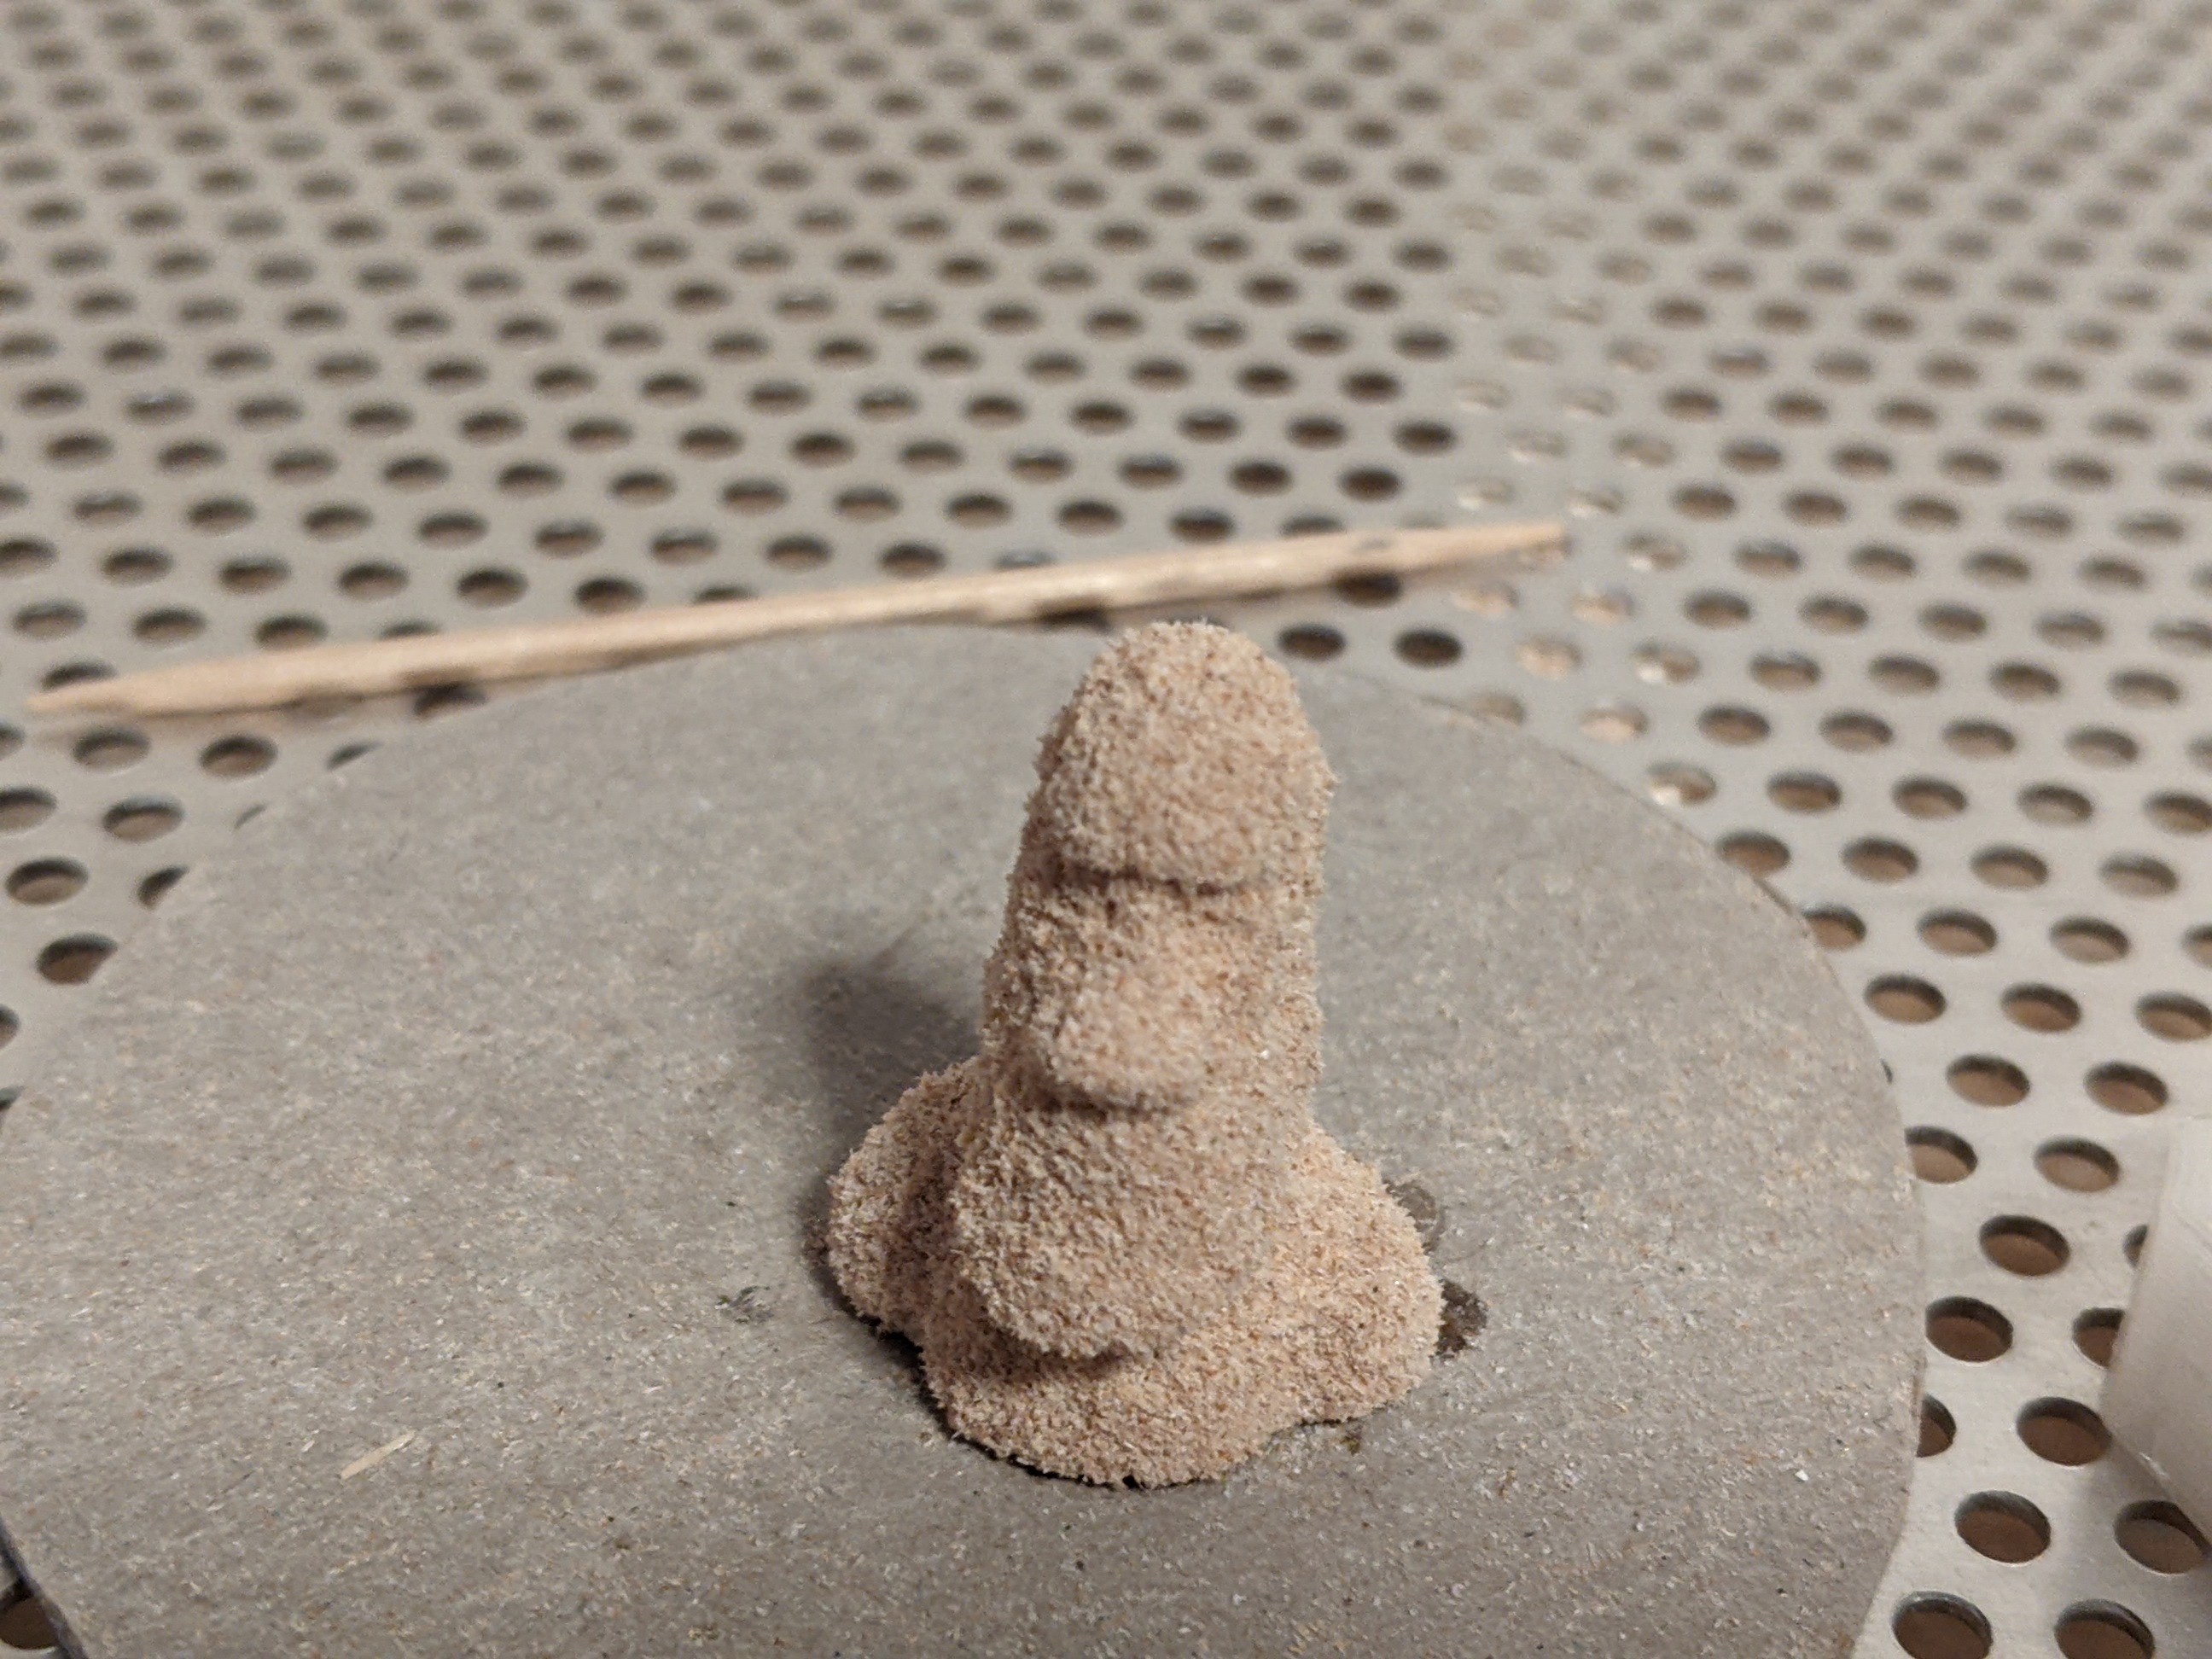
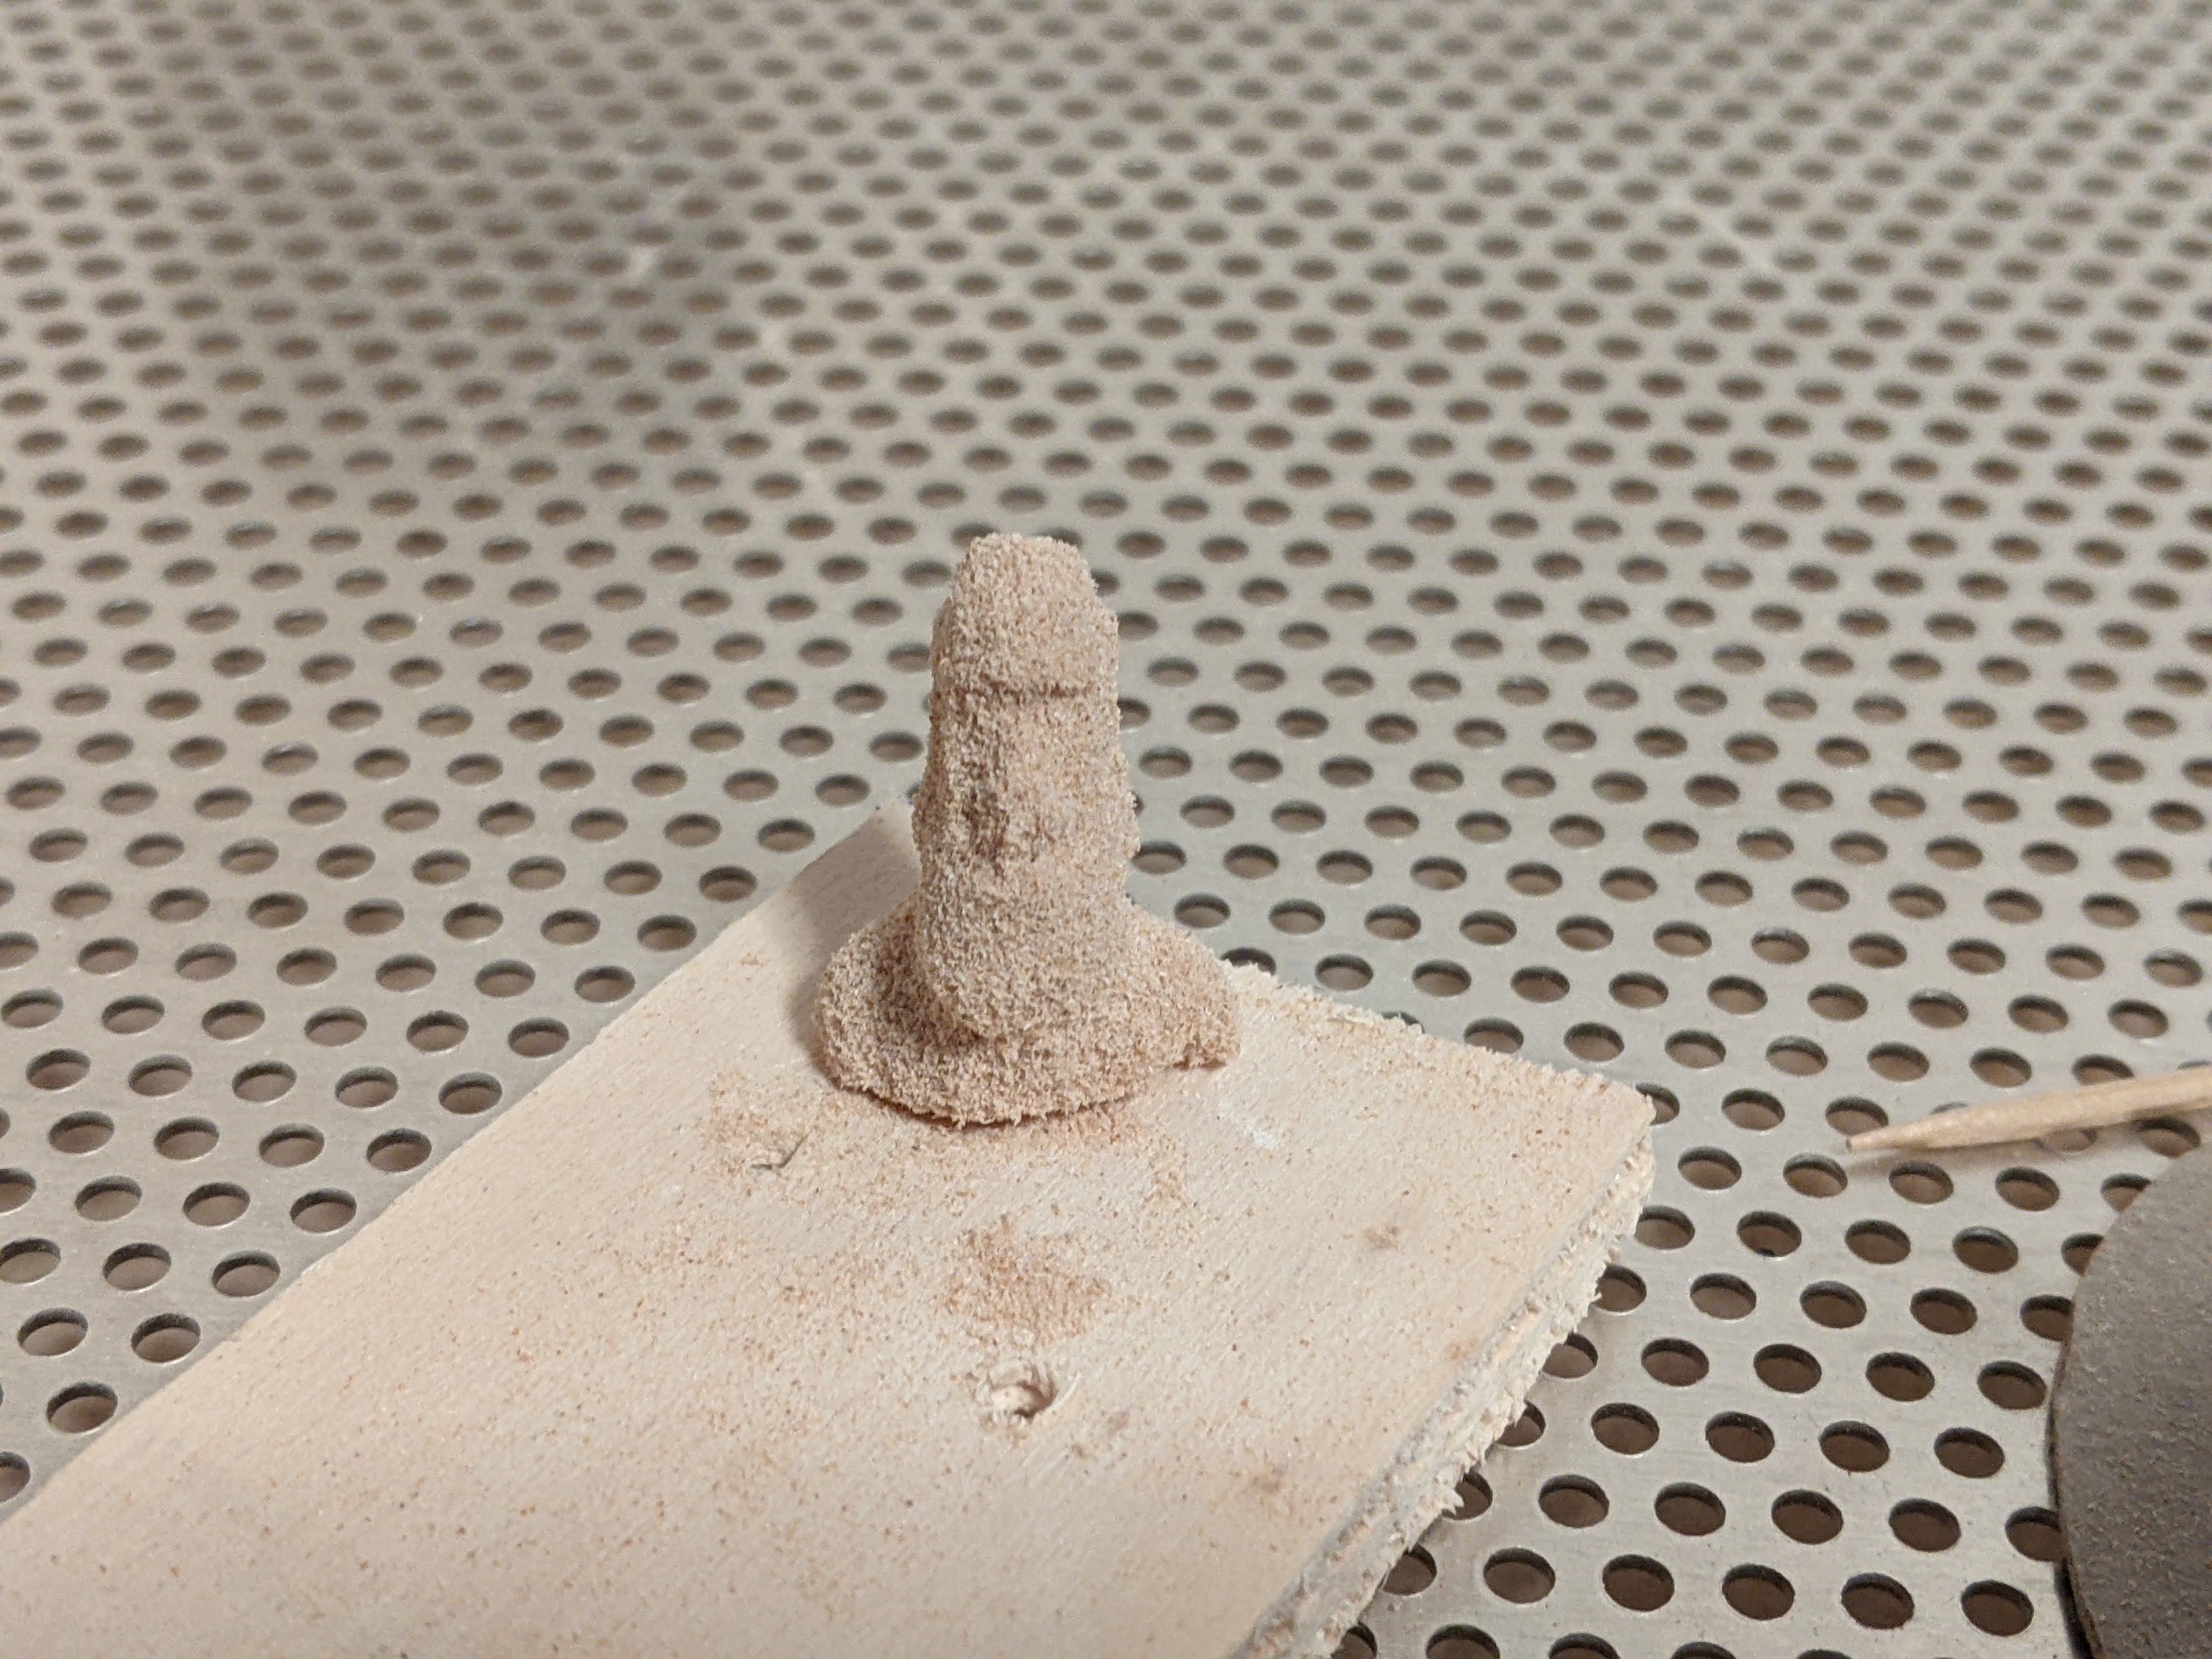
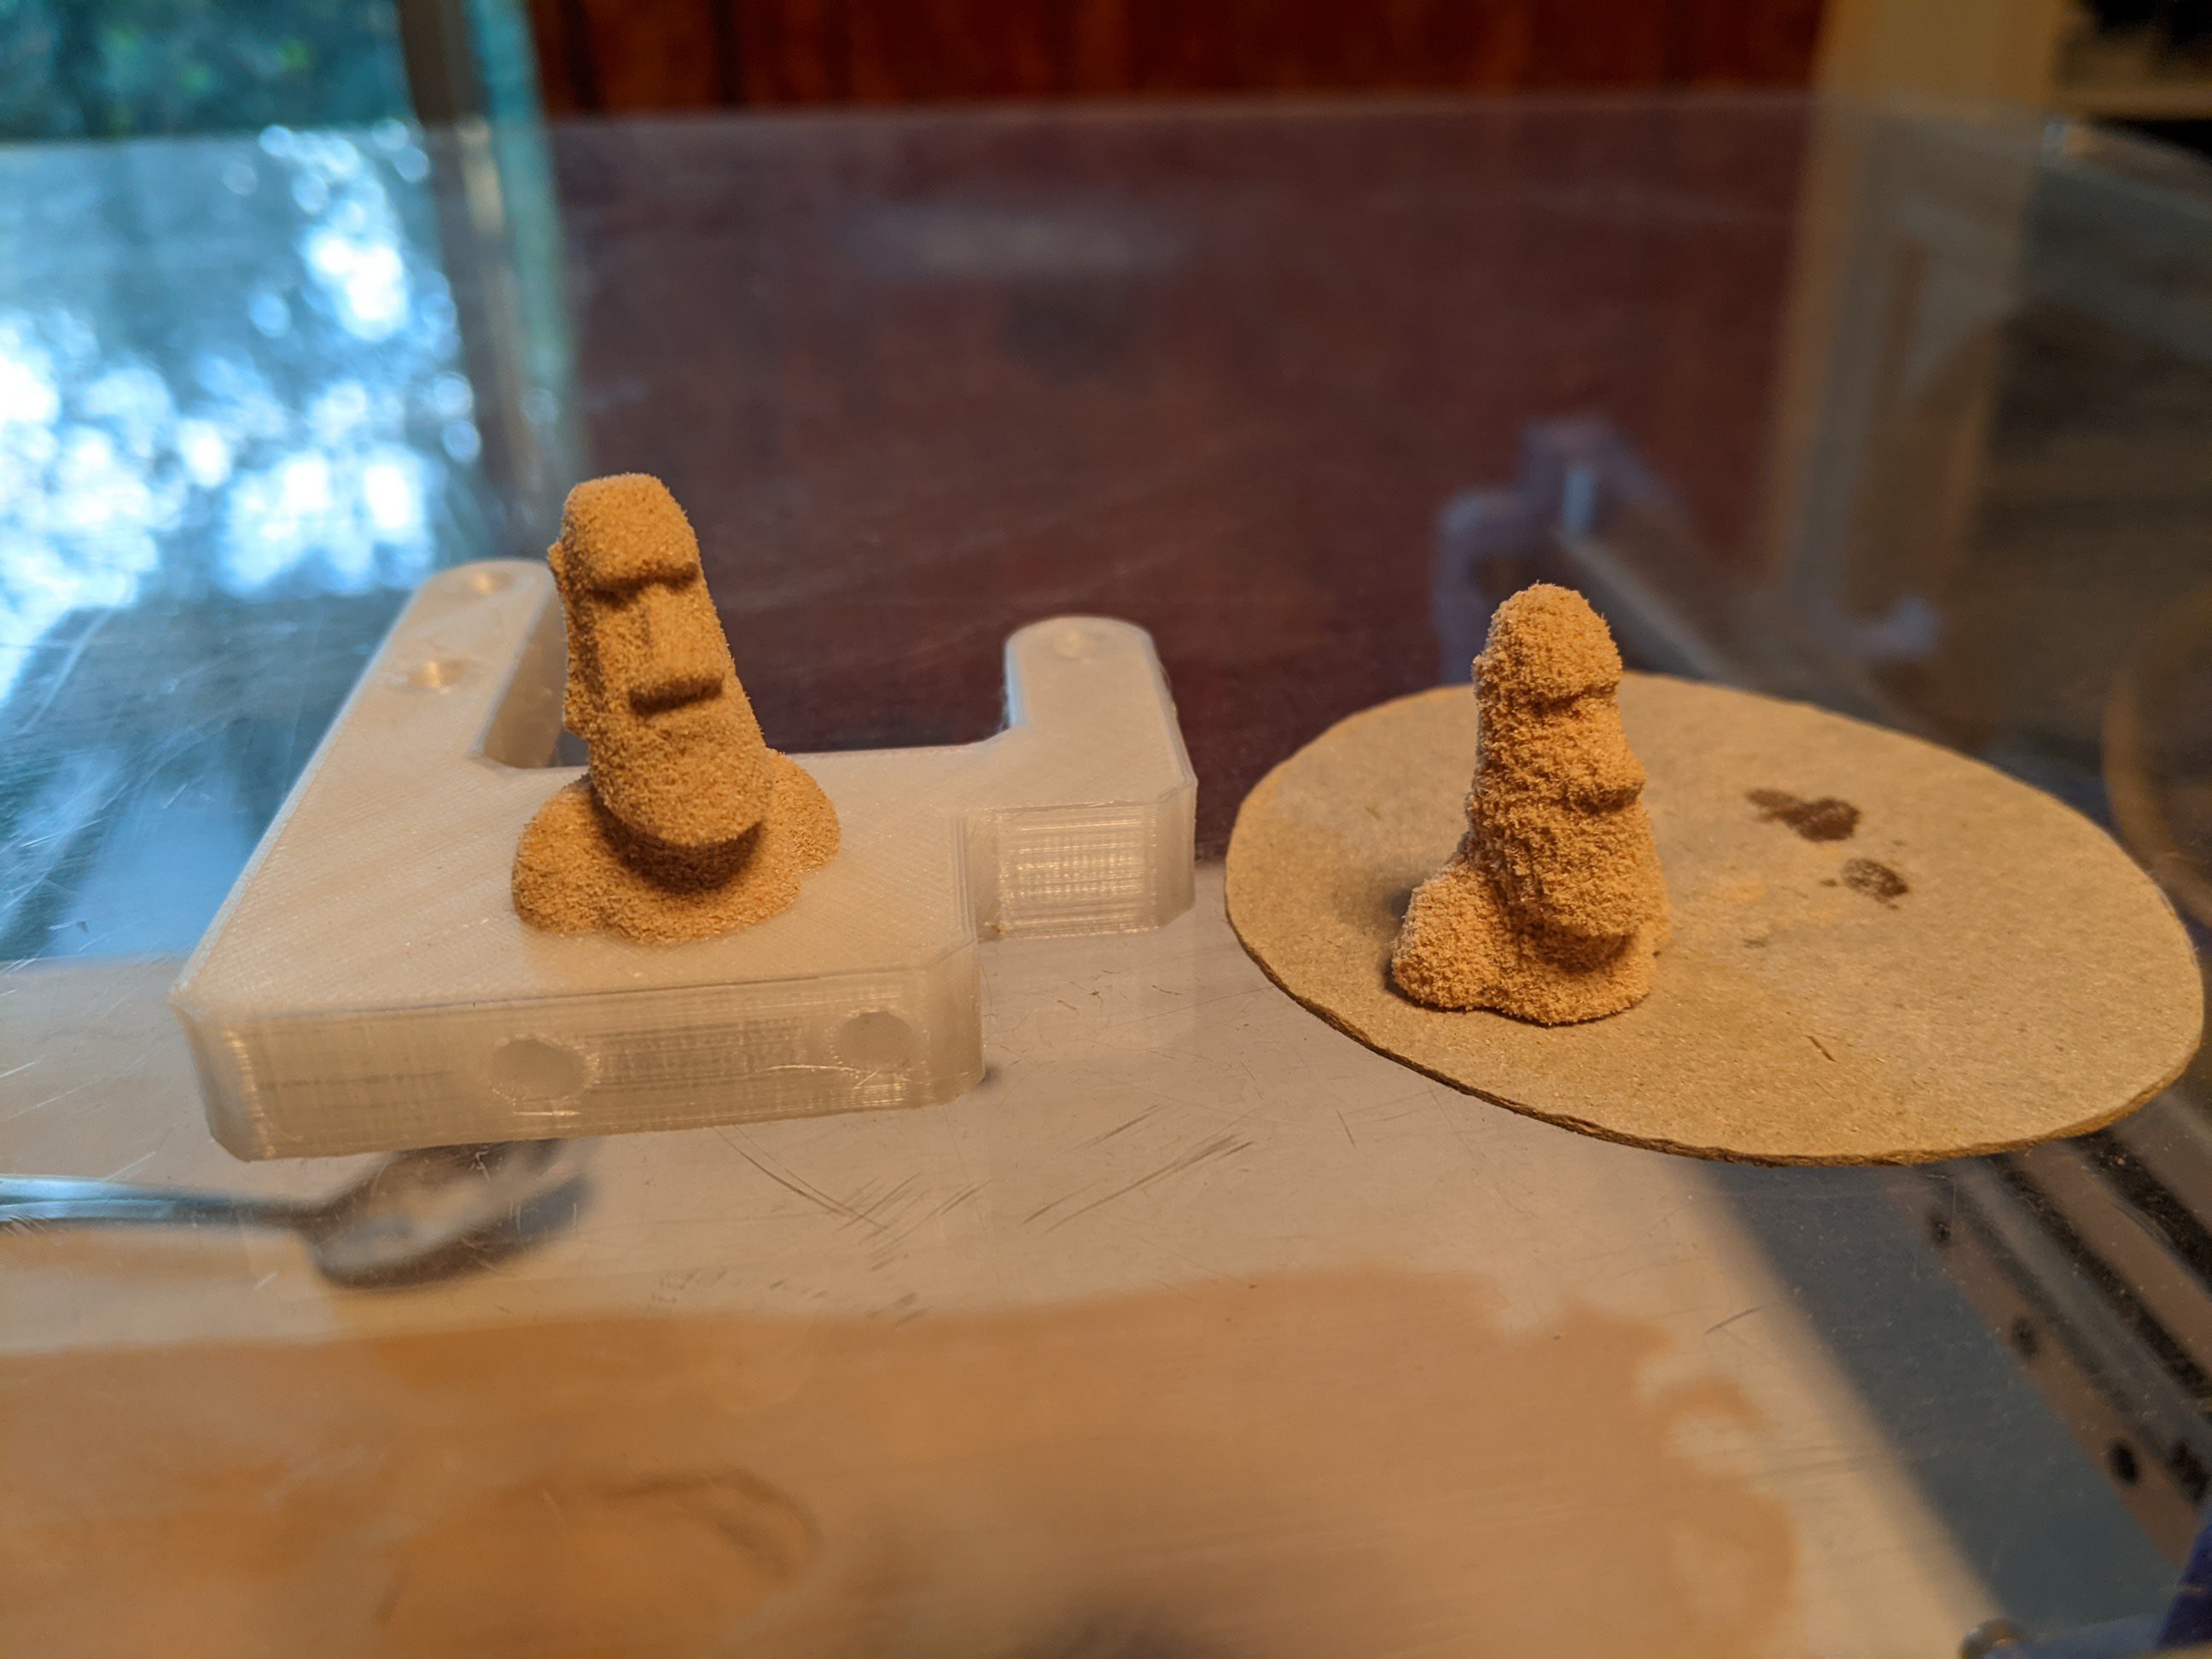
I used beeswax, carnaubawax and shellac to try and infiltrate 3 easter island heads I printed.
![]()
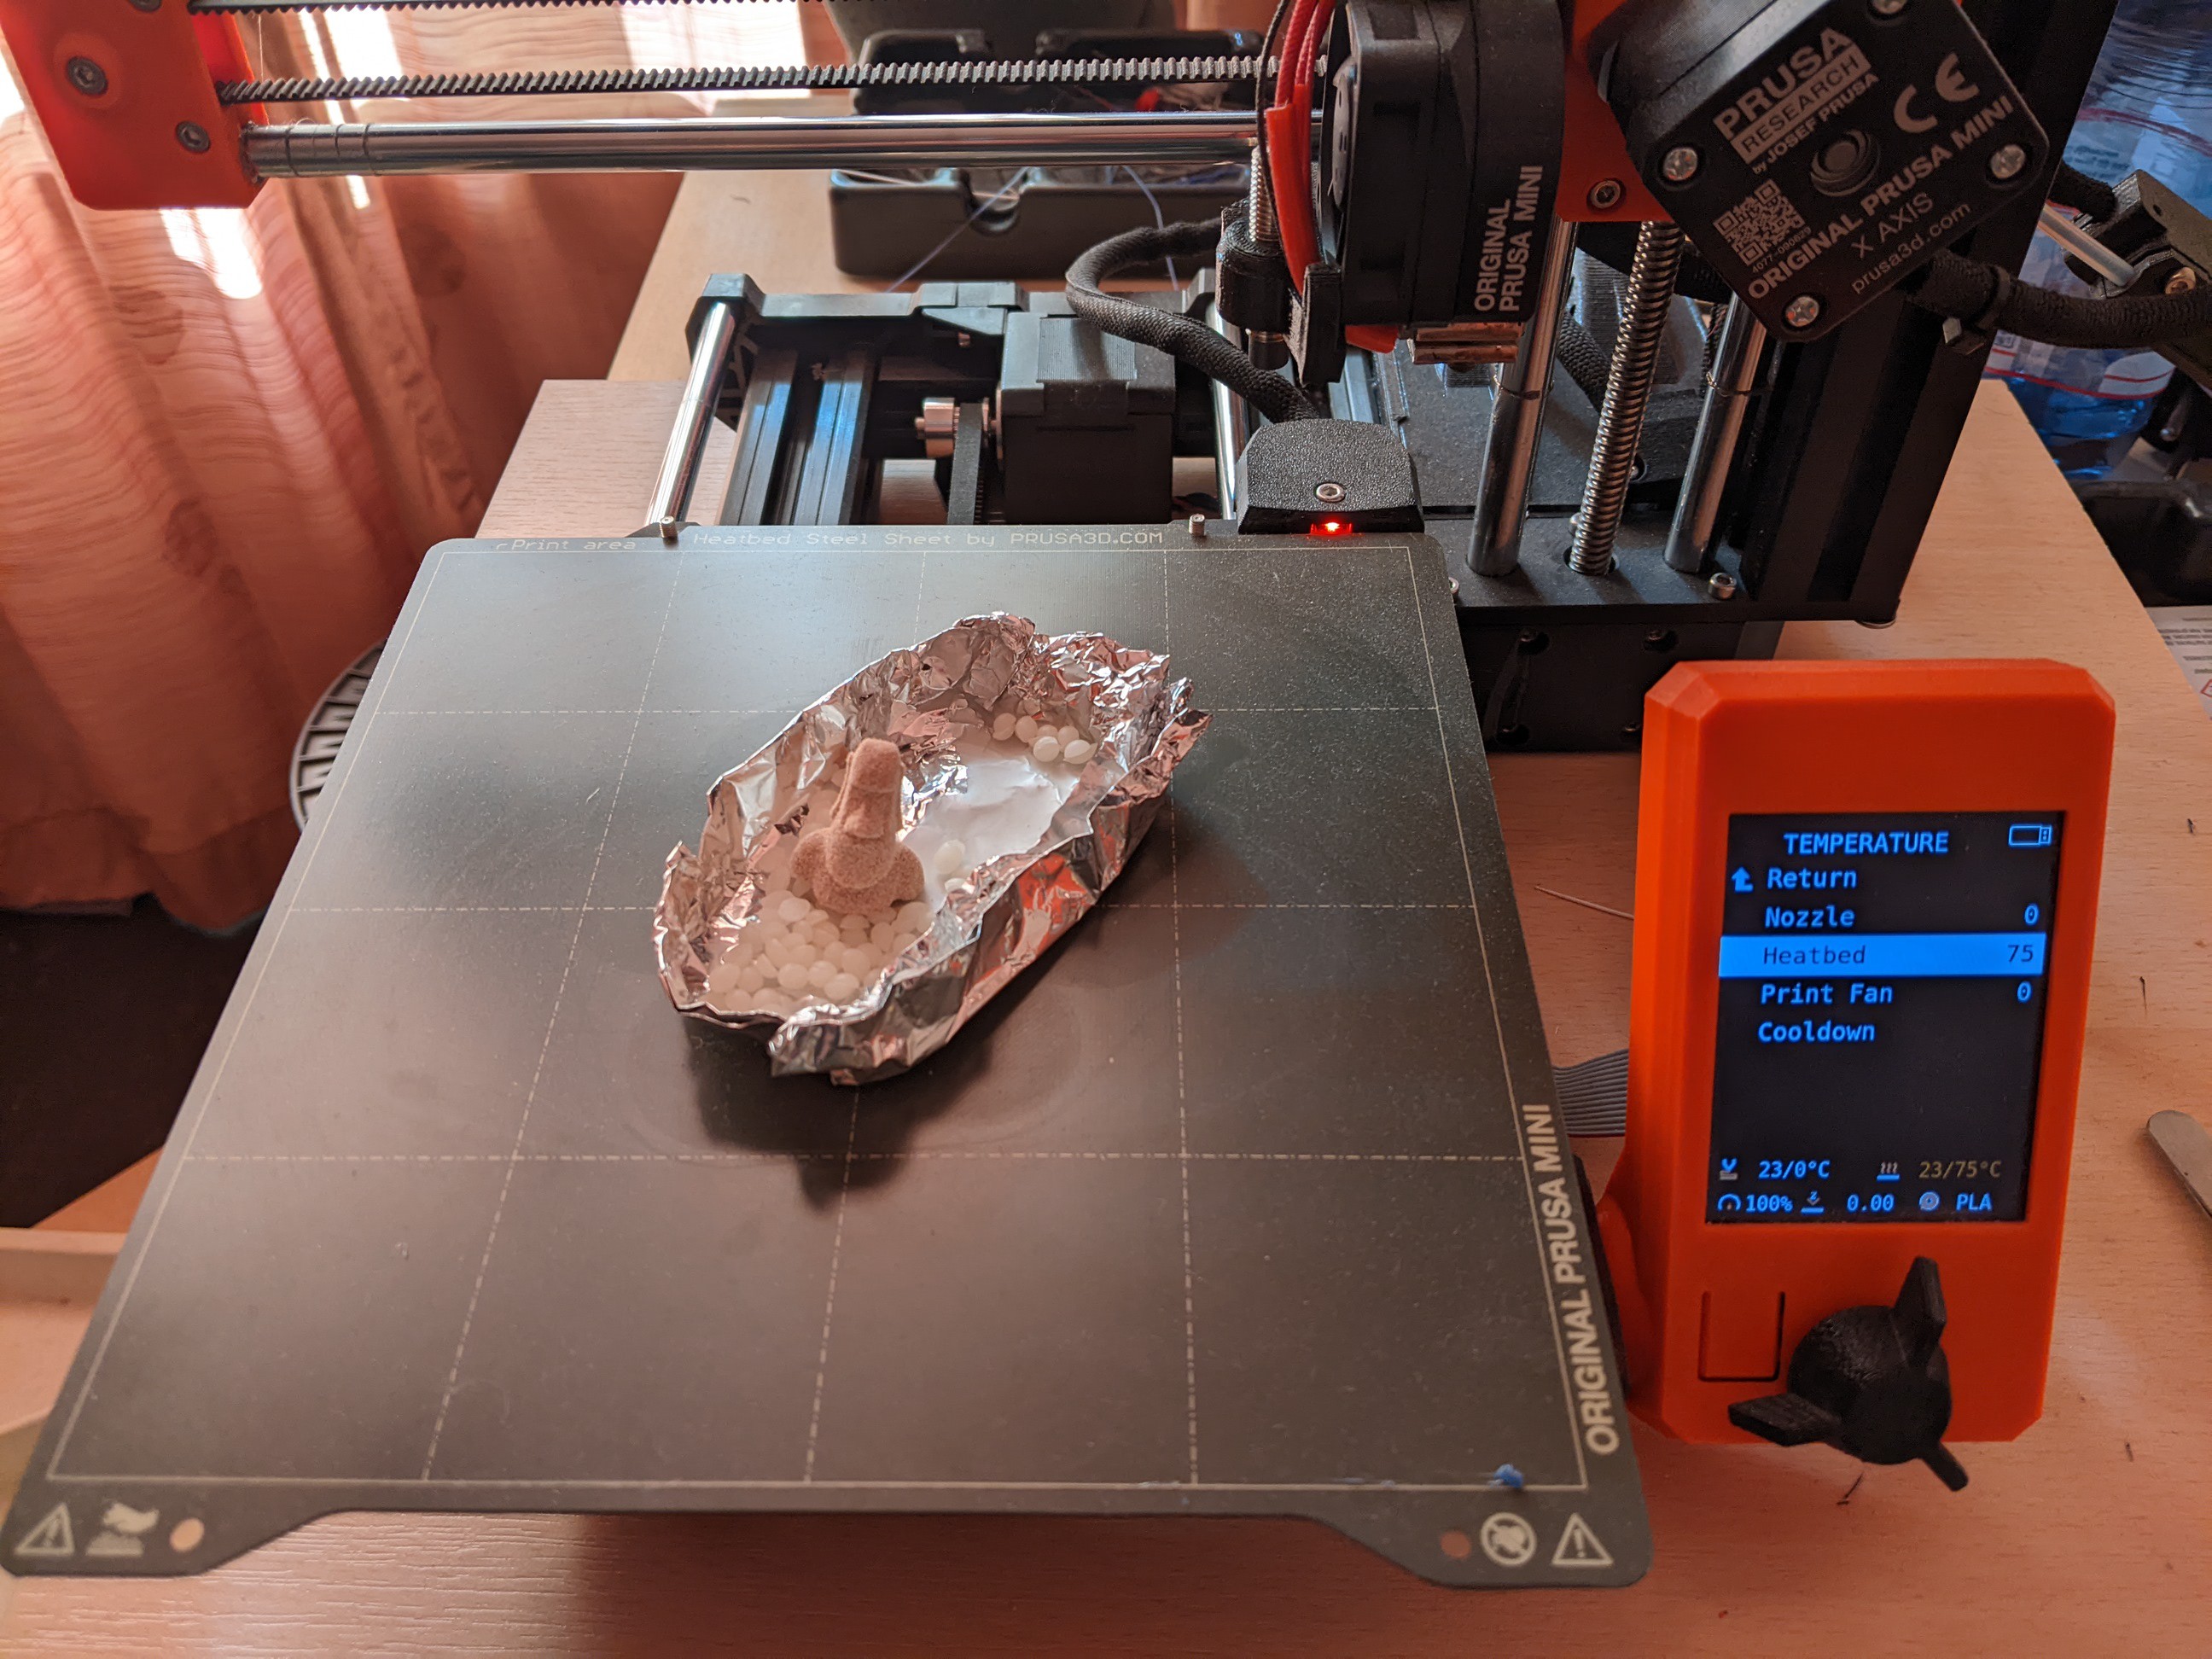
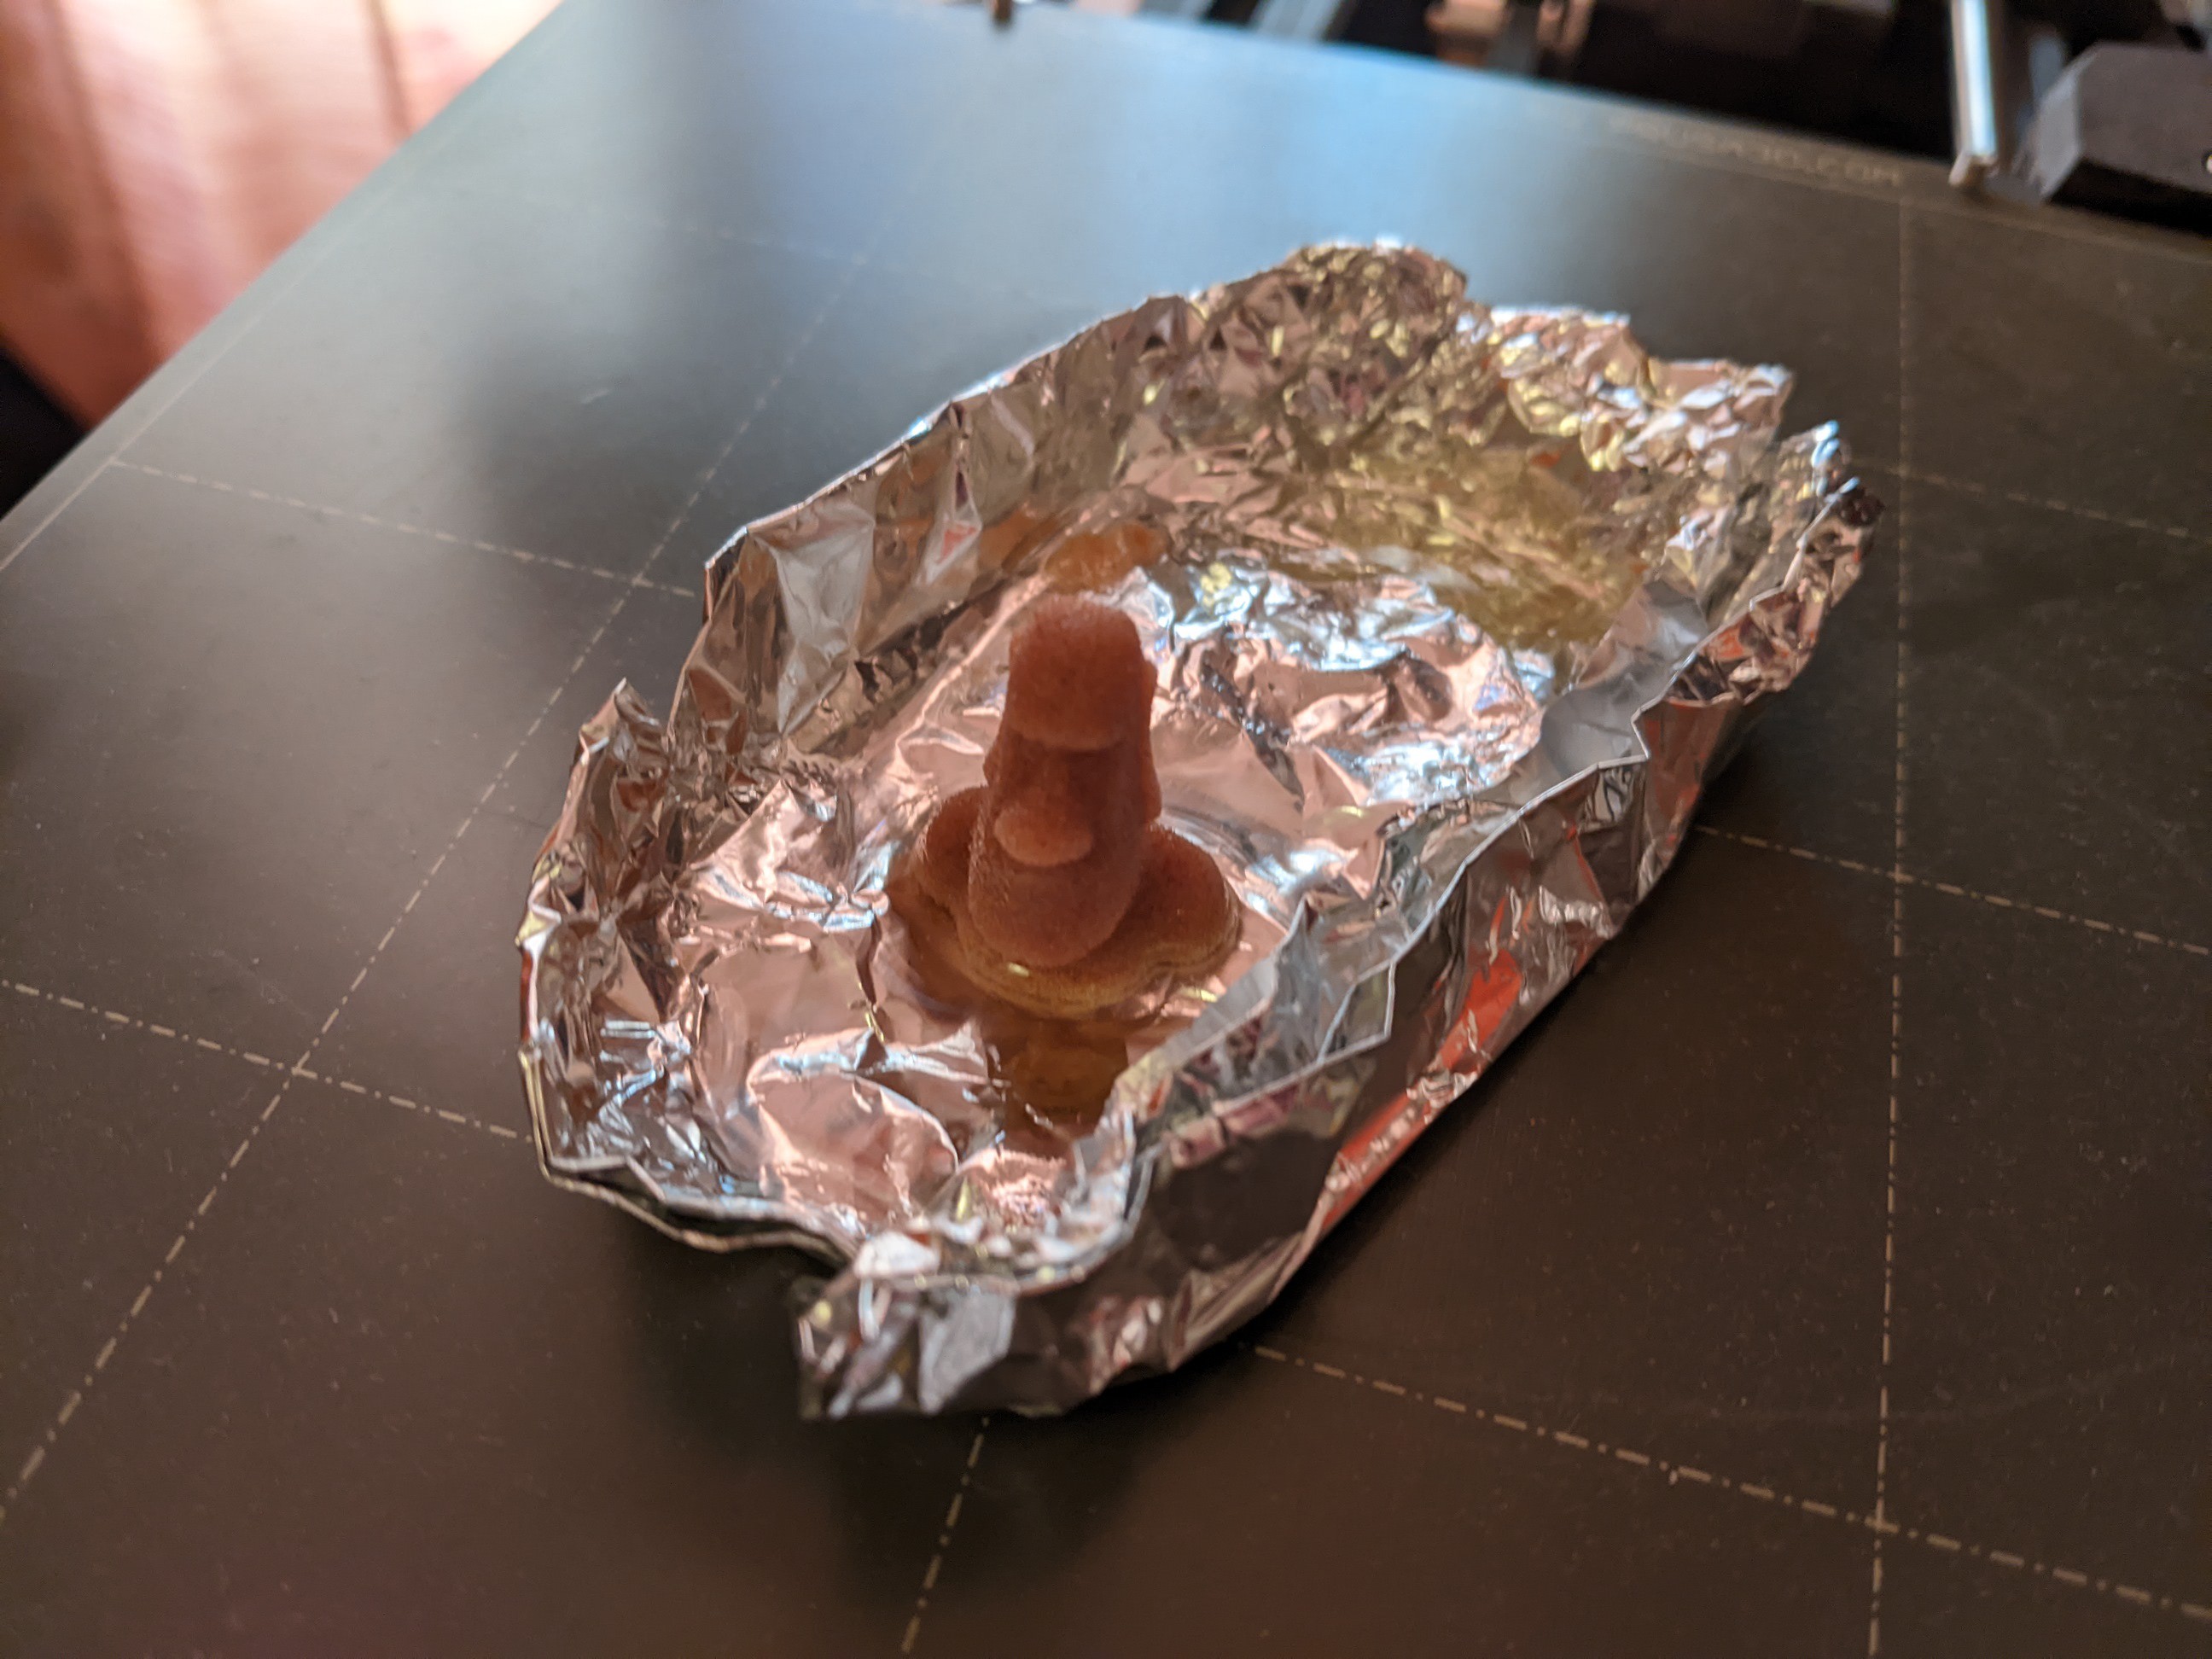
Prints to be infiltrated Beeswax was placed in an aluminium foil cup together with the 3D print. This was placed on the heated bed of a 3D printer to heat it past the melting point of around 64C. The wax wicked into the part nicely. After the part was completely full of wax it was placed on a surface to drip dry and cool.
The beeswax creates a fairly durable layer and the part is significantly stronger, but beeswax is fairly soft, and with force the part can be deformed permanently.
![]()
Melting the beeswax ![]()
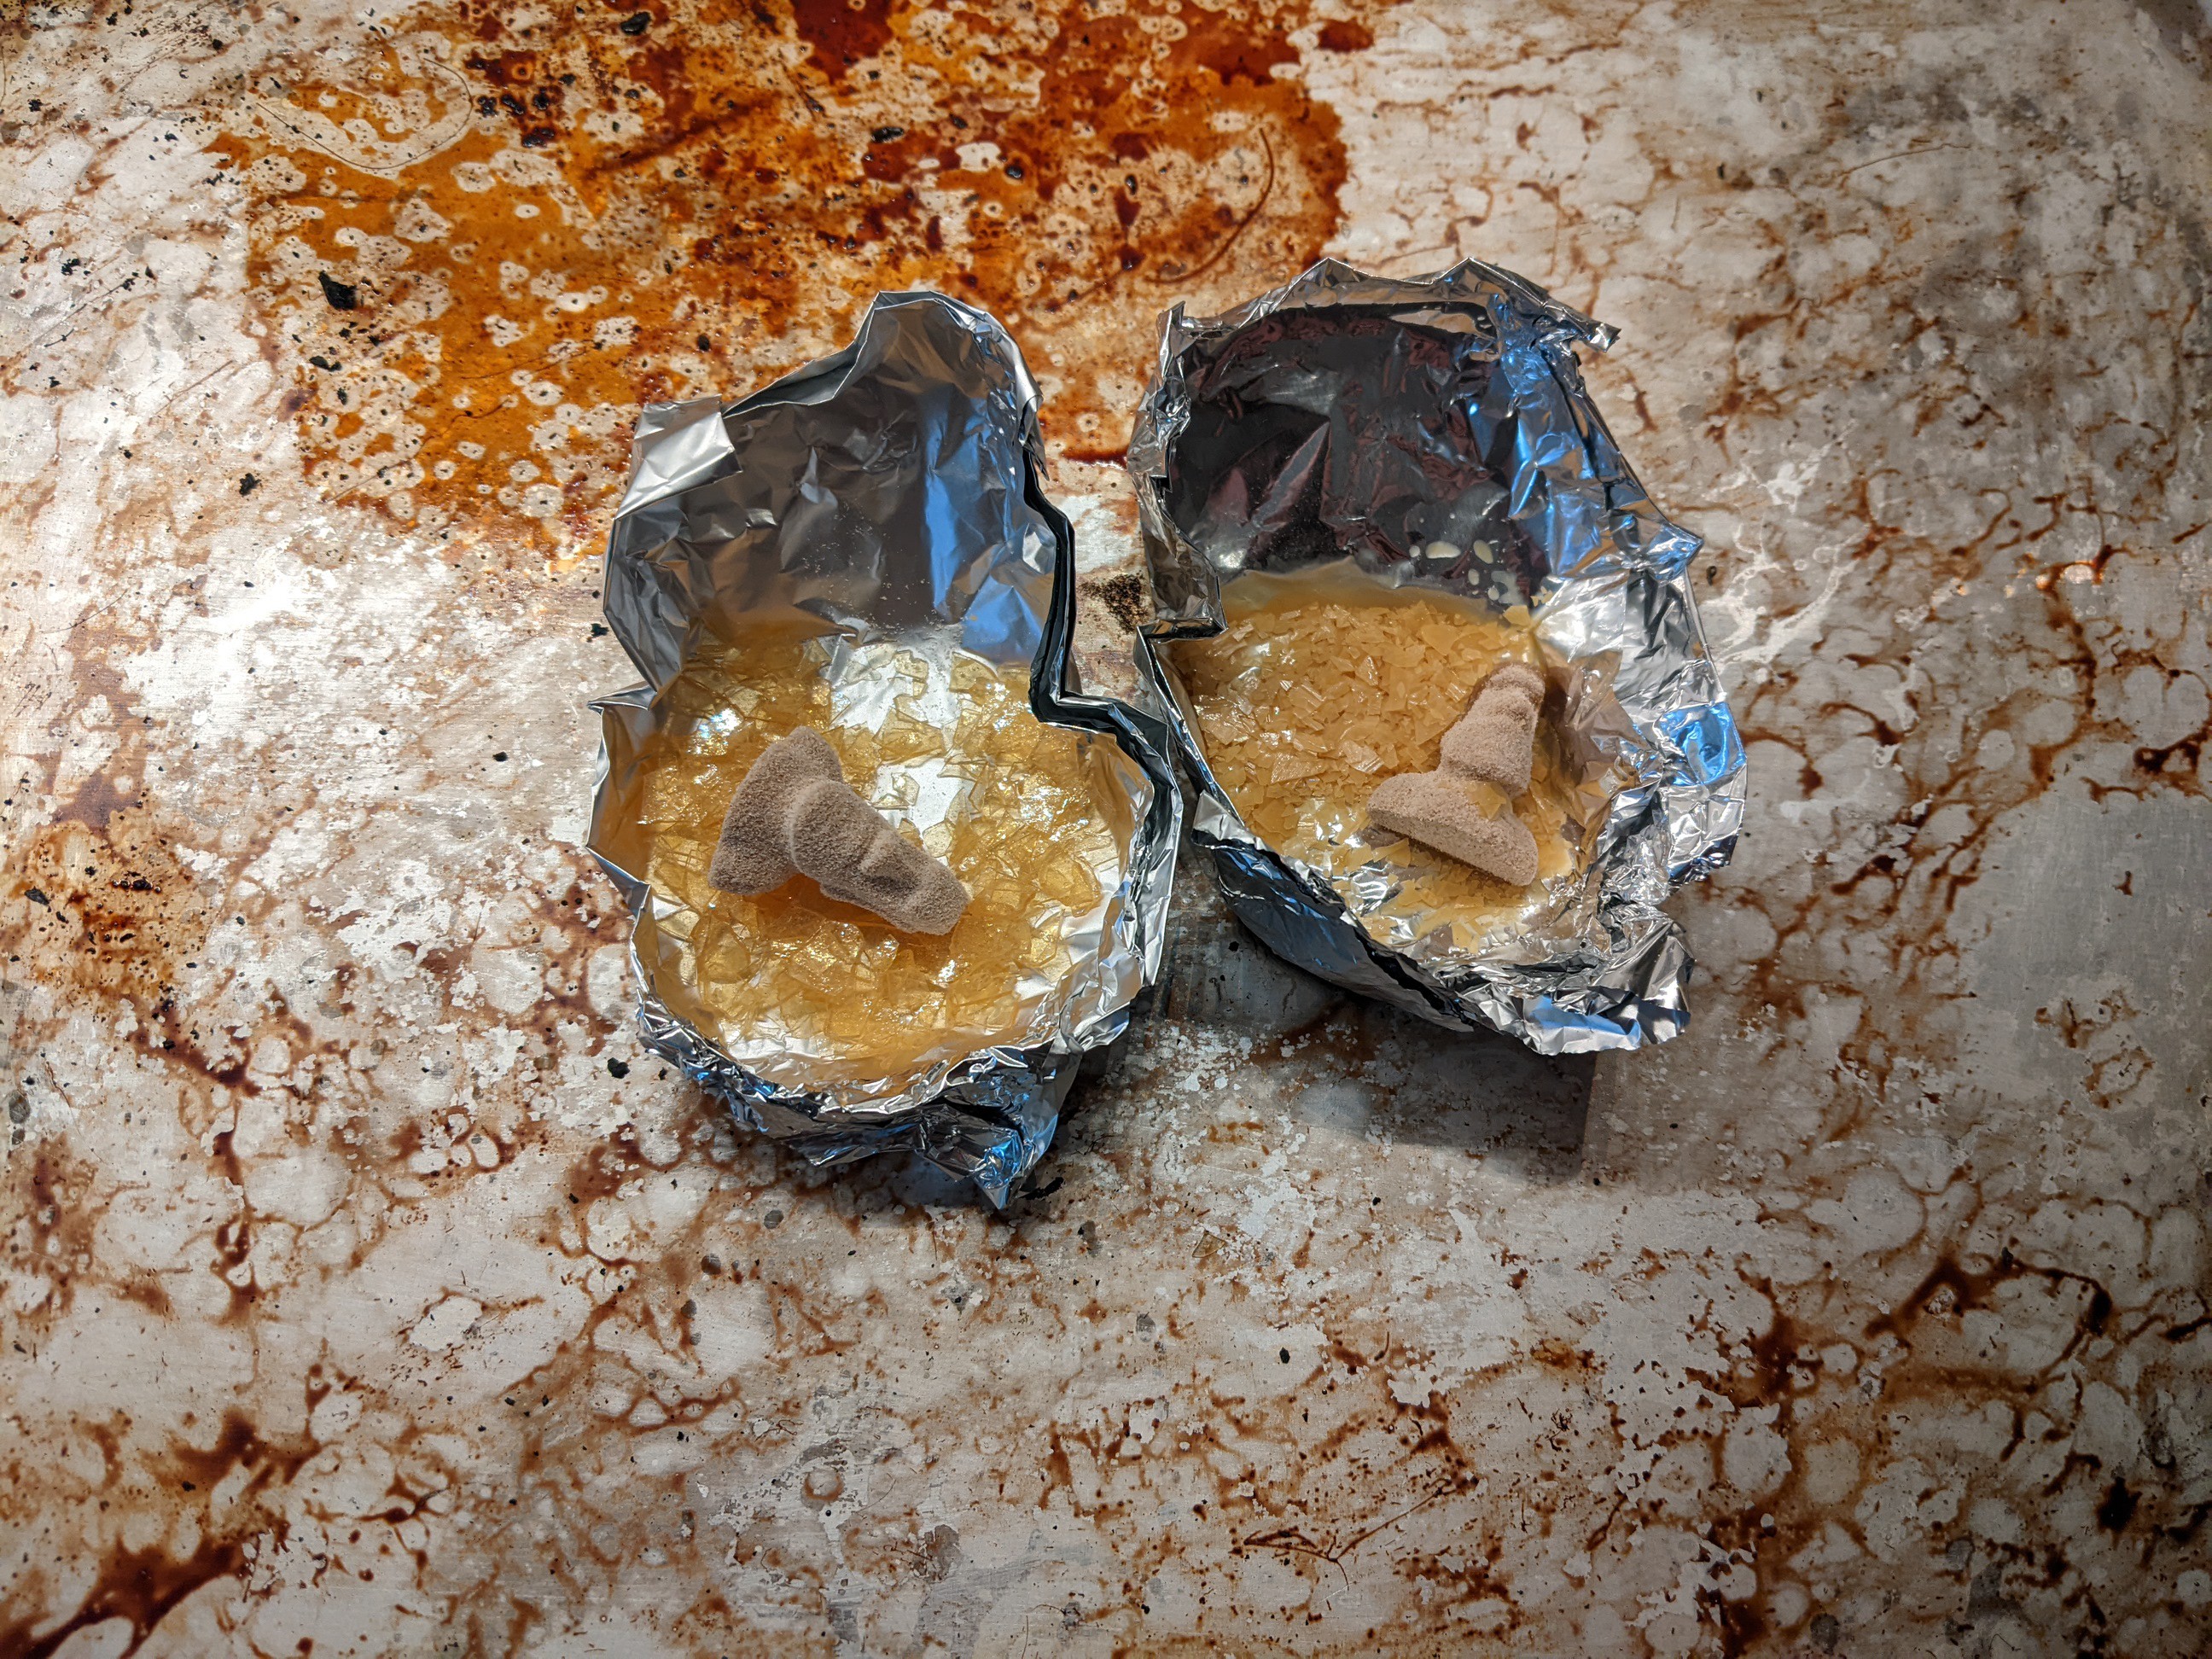
Bees wax part cooling down Carnaubawax was used in the same process. The heated bed of the printer struggled to melt the wax (melts at 86C), so an oven was used instead. The wax wicked into the print easily, but the heat did slightly deform the 3D print. After the part was left to cool, the print turned strong. It cannot be deformed by hand.
![]()
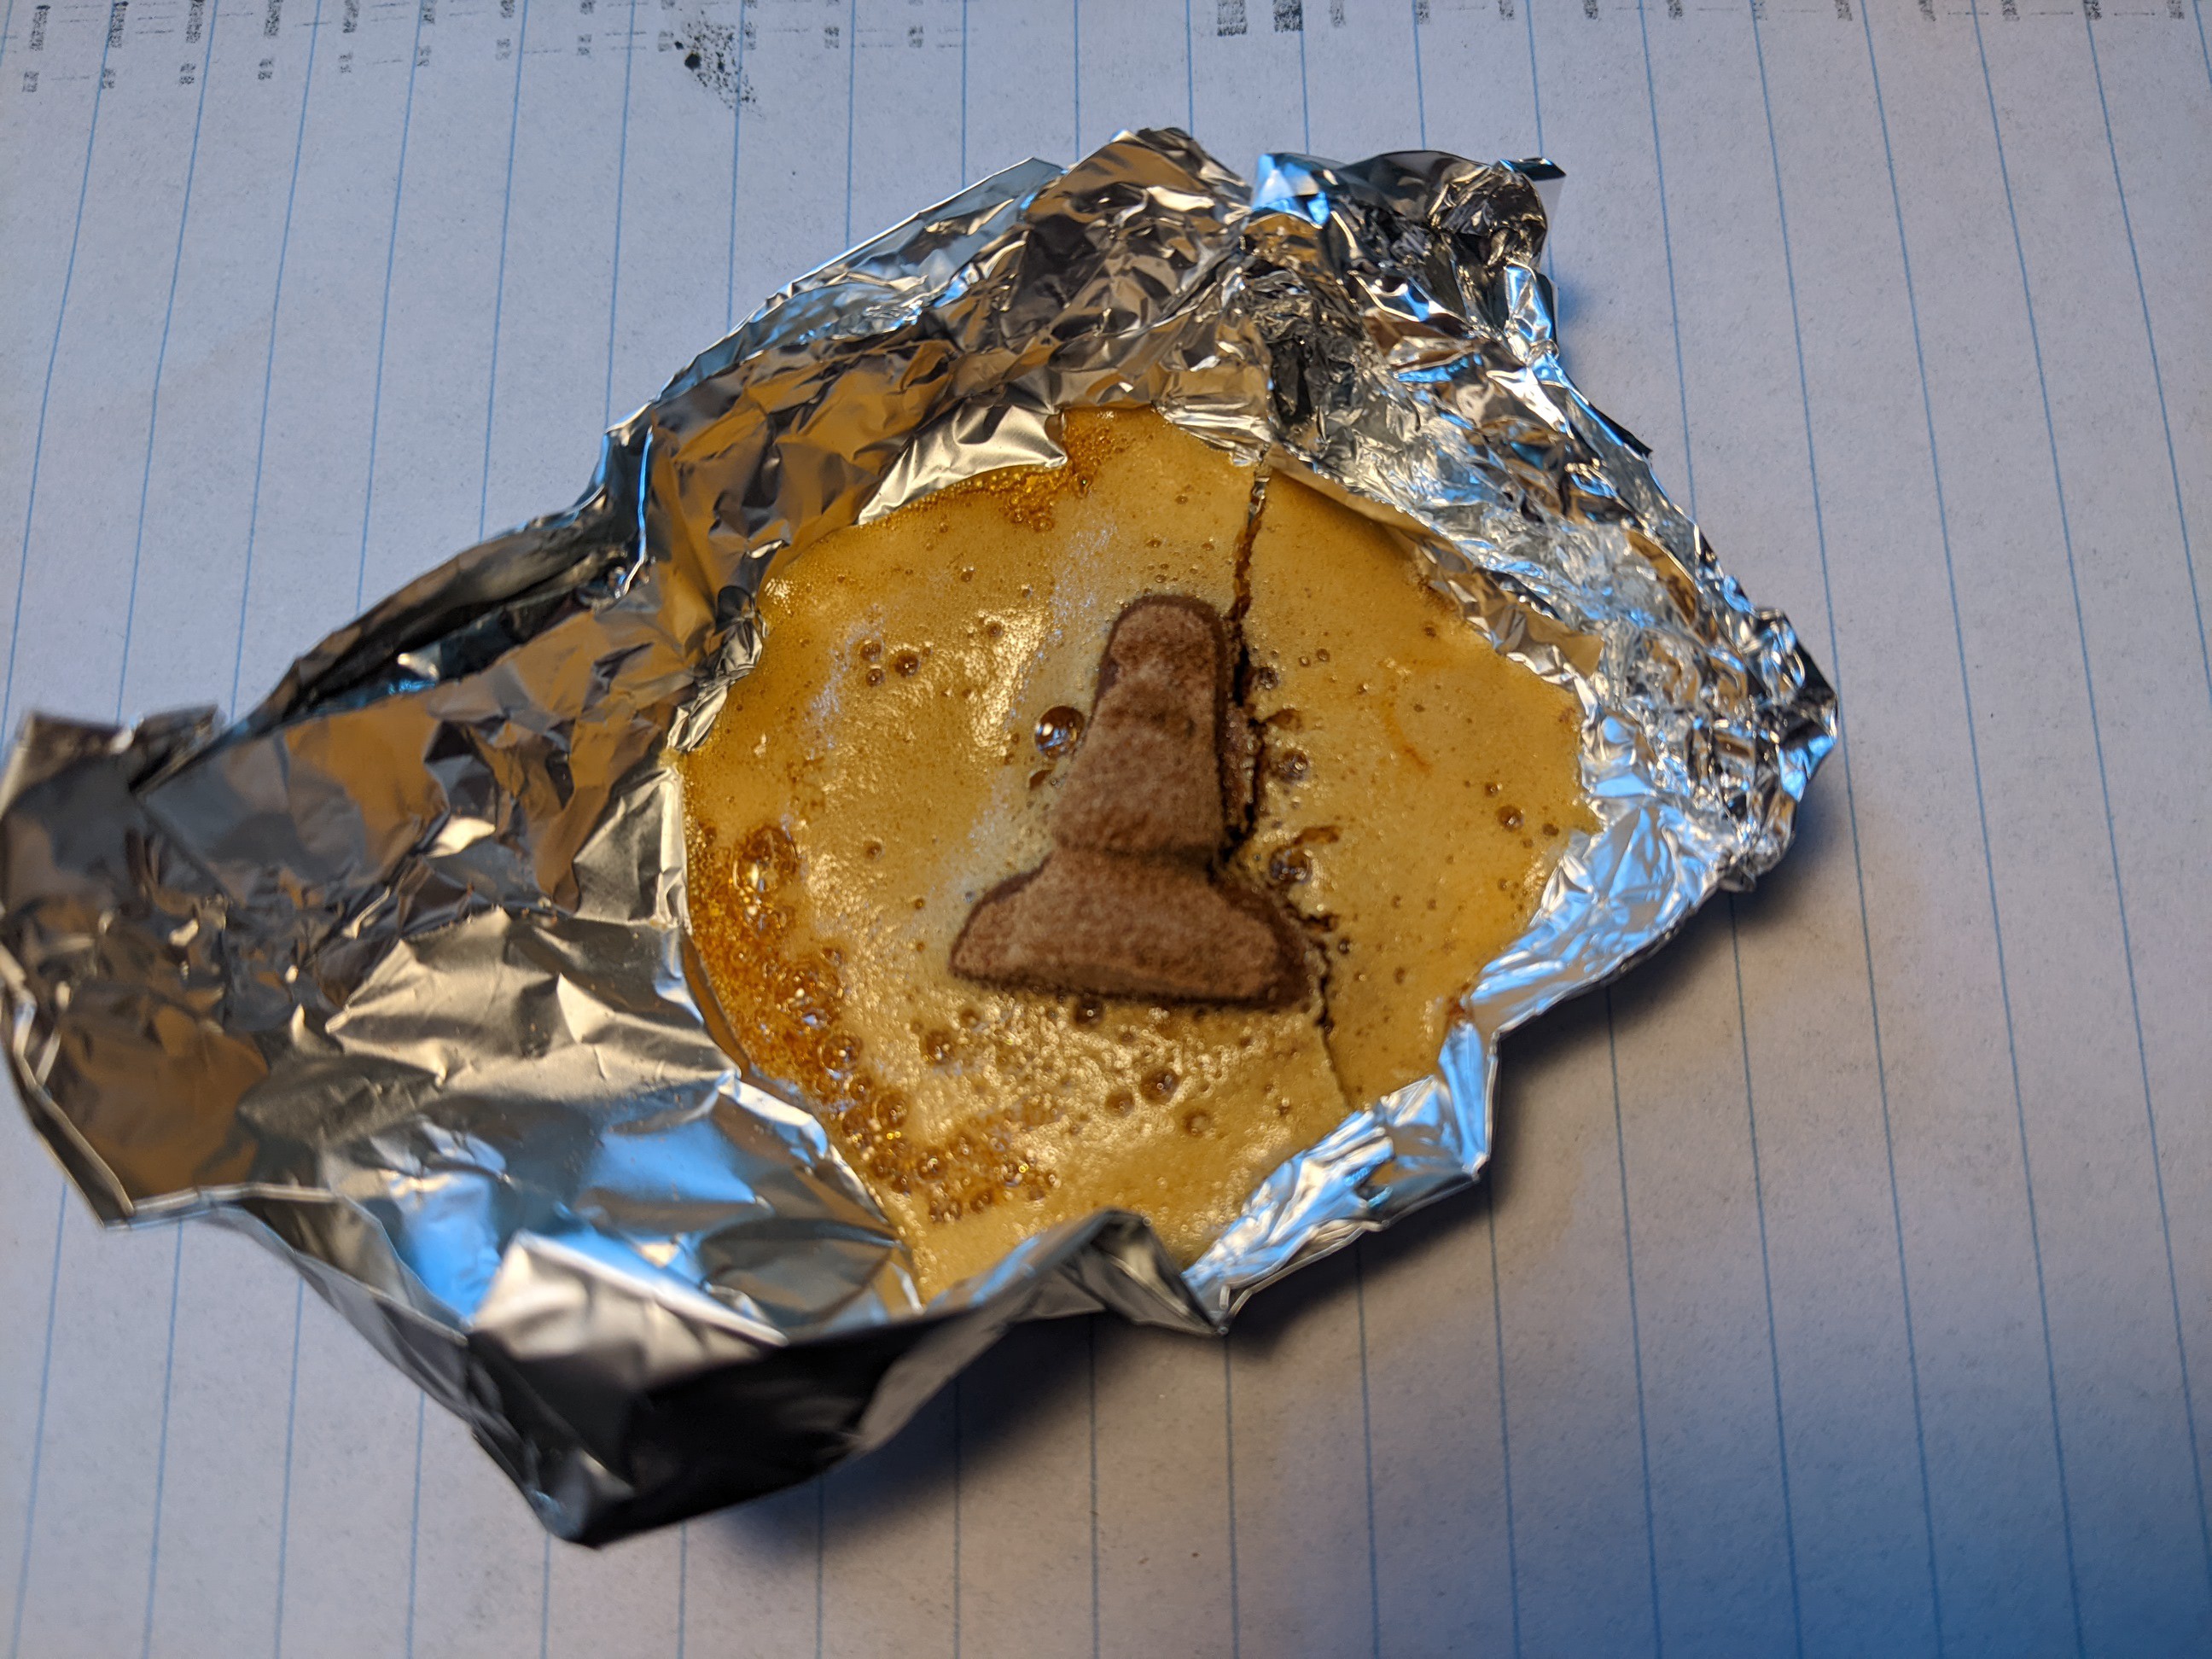
Shellac (left) and carnaubawax (right) ready for the oven Shellac was tested last. It should melt at around 75C. It did melt in the oven, but it was almost like honey. It did wick into the part slightly, but not enough to completely infiltrate the part. Increasing the heat only caused the shellac to foam. This left me with a wood powder part surrounded with a shellac puck. Shellac infiltration with only heat does not seem to work that well.
![]()
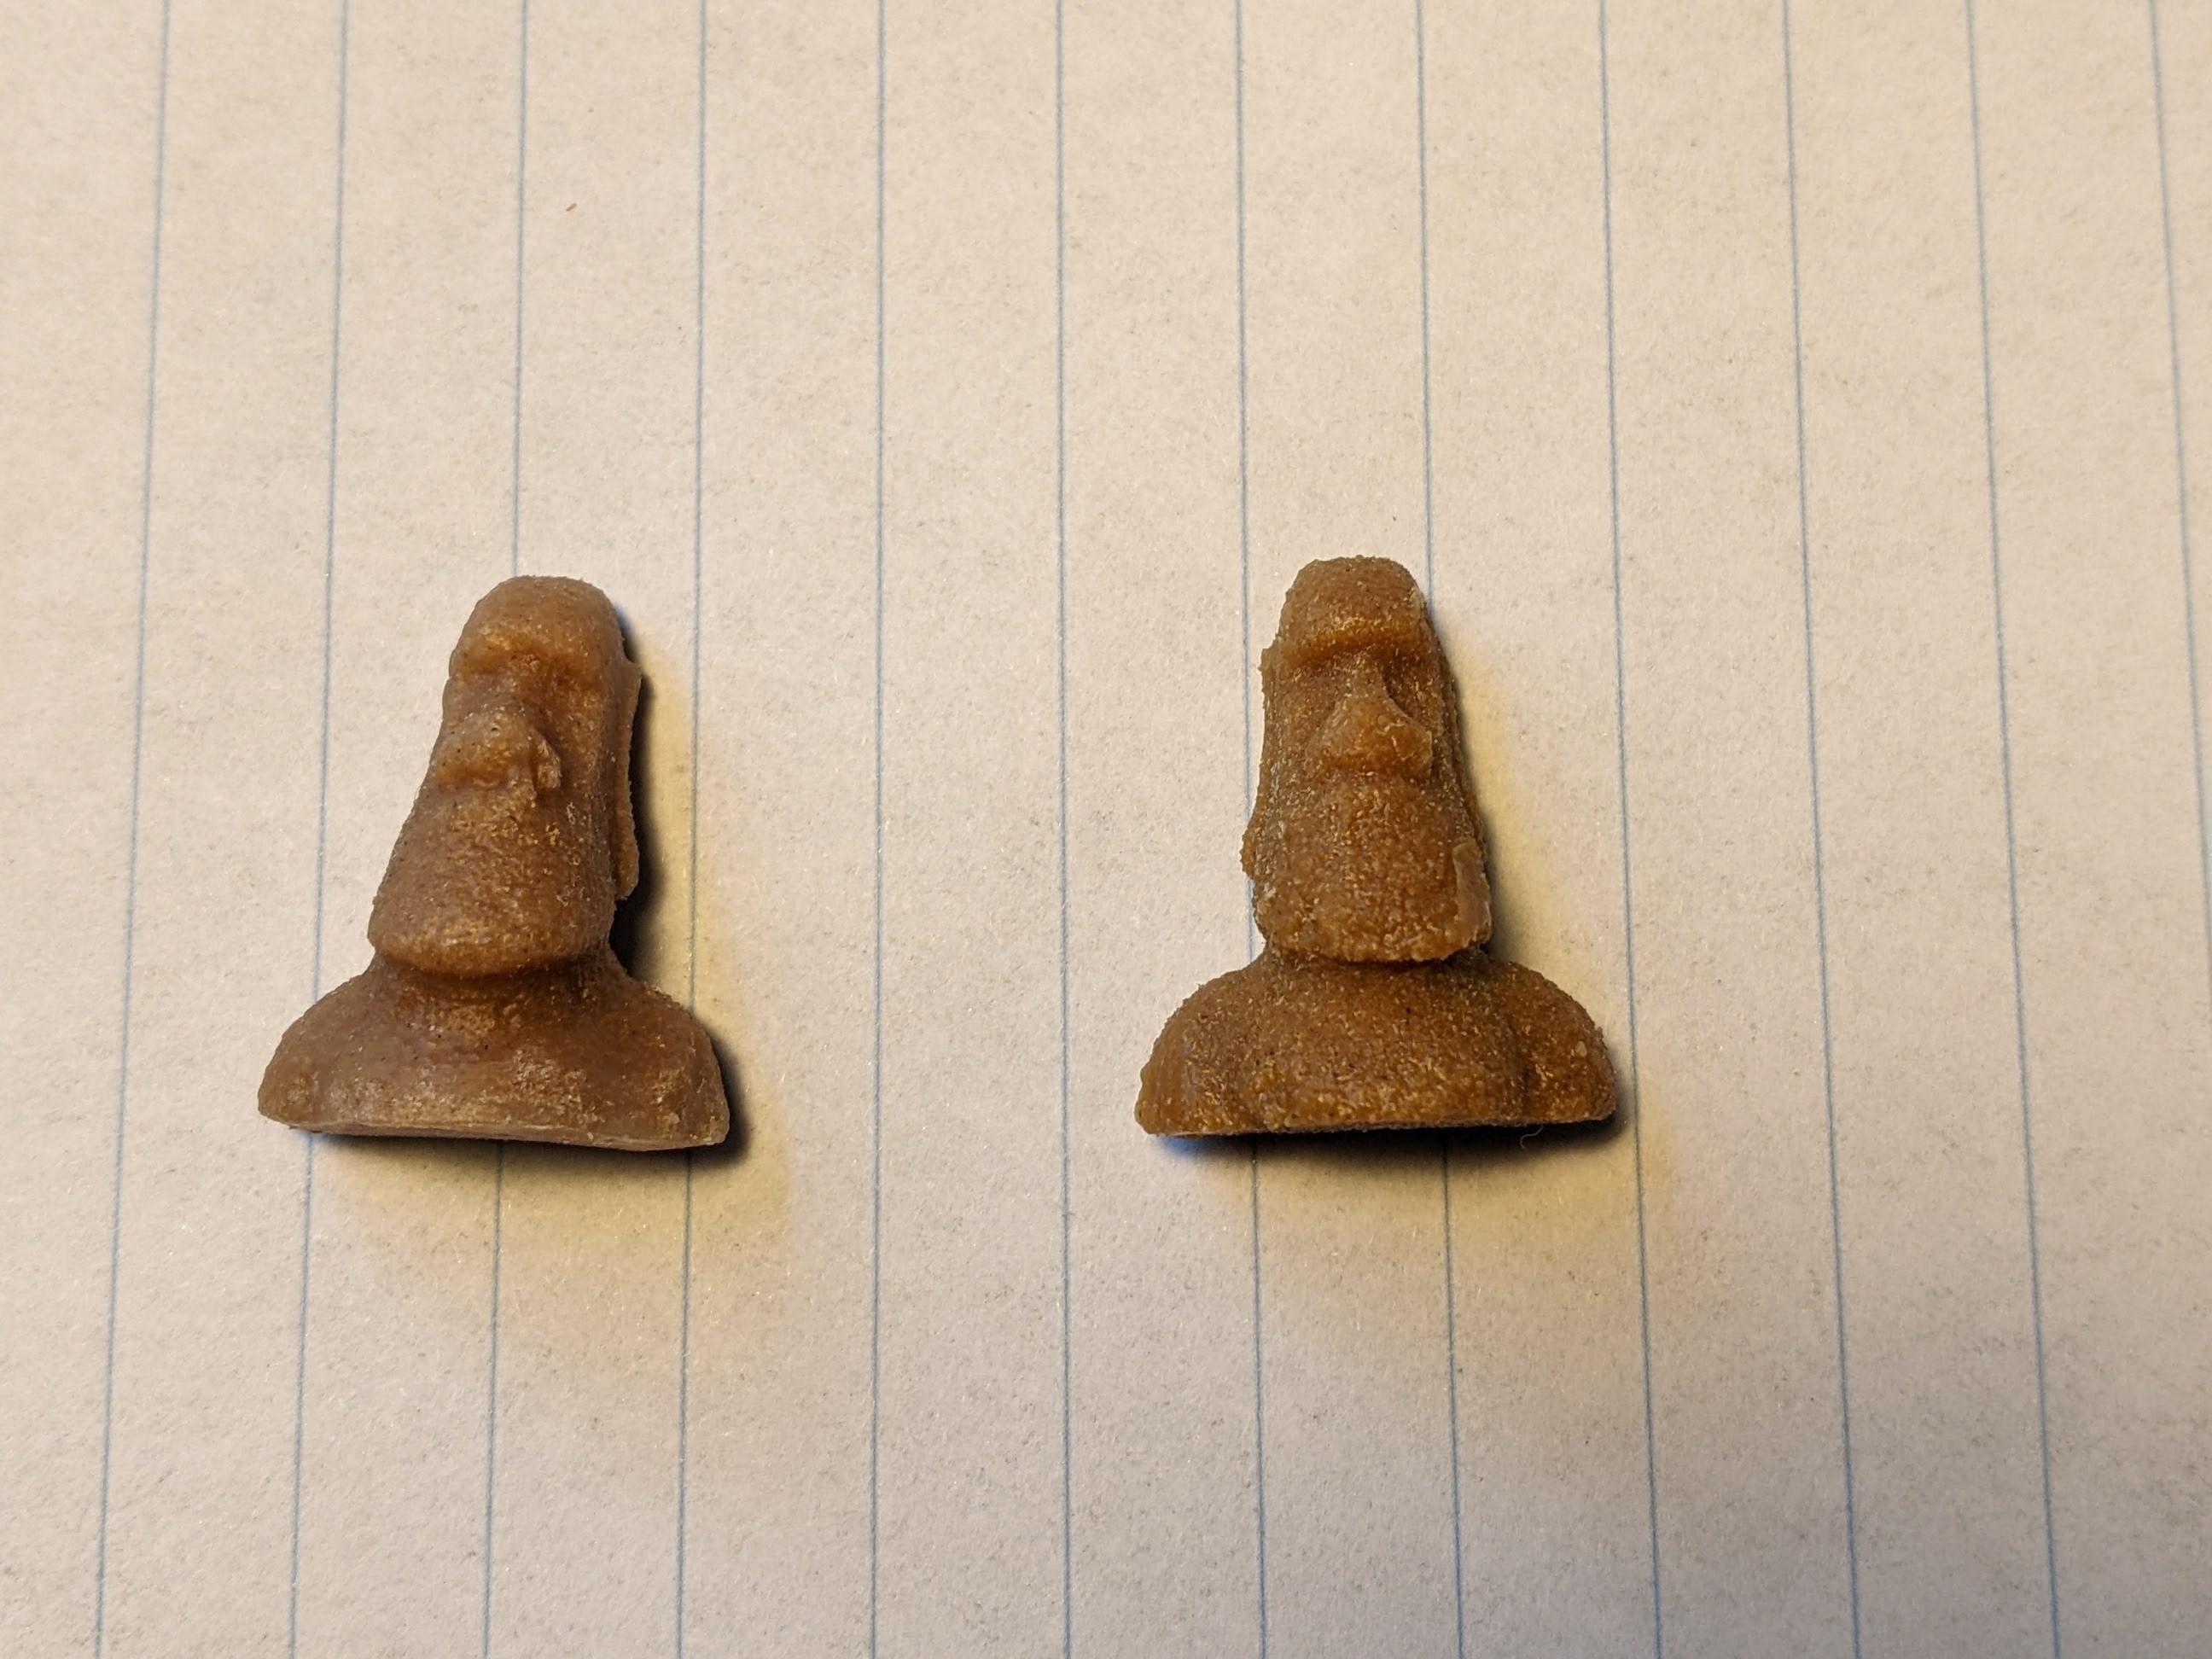
Failed shellac part Both beeswax and carnauba wax can be used to infiltrate printed parts. Beeswax remains softer but is easier to apply, carnauba wax is more of a hassle but becomes a lot harder. Shellac needs another process to apply it.
![]()
Infiltrated parts, beeswax (left) and carnaubawax (right) -
First wood results
08/25/2022 at 17:48 • 0 commentsThe summer vacation with hacker camps are not that productive of a time. Nevertheless, I have found some more time and have been printing again. Only the later experiments have been documented well, so early test parameters have been mostly lost.
UF based powder
An experiment with wood and UF glue has not given the desired results. The UF wicks a lot of the water to unprinted areas, leaving the part swollen. Cleaning the part with air does reveal the part, and green strength is enough to carefully infiltrate the part, but it is not stellar. Also the surface roughness is fairly noticeable.
recipe:
- powder by weight, 4 parts wood, 1 part UF glue
![UF test UF test]()
The slightly swollen test print with the UF based powder PVA based powder
Wood and PVA gave parts that were fairly weak and without a good resolution. I am limited by the fact that I have PVA flakes, ground down and not PVA powder, so I cannot conclude that this recipe cannot work, but I do not have the materials present to properly test it. The parts I had cleaned fairly well, but parts of the model did flake off during cleaning.
recipe:
- Lost in the hiatus
![PVA test PVA test]()
PVA test part with significant flaking, signaling low green strength Dextrine sugar based powder
Wood, dextrin and powdered sugar gave a surprisingly great result. The part was cleaned without much fuss, no parts broke off and the resolution of the part is noticeably higher than the previous prints. This was the first attempt of this recipe. I did want to use the 20% IPA binder, but the printhead was broken, so I had to resort to the 40% IPA printhead.
recipe:
- powder by weight, 4 parts wood, 1 part dextrin, 1 part powdered sugar
- Binder by weight, 4 parts 99% IPA, 6 parts demineralized water
- 0.2mm layer height
- 150% density (900 drops per inch)
- 300DPI print data resolution
- 130% overfeed (printer specific setting)
The dextrin/powdered sugar mix gives such good results that I first want to work on post processing before optimizing the powder further. The next step is to print more parts and see what post processing steps yield the best results. If I can retain these details after post processing I will have a very workable recipe. I can then look for further optimizations in the recipe to make it better.
![Test 001 Test 001]()
The difference in print quality of the old UF based powder (right) and the dextrine sugar based powder (left) -
The materials to test
05/19/2022 at 16:33 • 0 commentsIn my research I have looked at many materials which might help me achieve my goal to print bio degradable wood. I have bought several of these materials to test with. Below I will list all of the materials, and make remarks on some of the properties. Unless otherwise found, a material is assumed to be renewable and biodegradable if it is a natural product that is only lightly refined.
Below a list of the materials I will be testing with to get 3D prints out of wood.
I am of course open to any suggestion of materials which might have potential, so if anyone has an idea I am all ears.
Bulk powder
For the bulk powder I am using fine Beech wood powder. I got mine from a Dutch supplier called Bemap (https://www.bemaphoutmeel.nl/) who sent me a batch. The Batch I got is sieved to 0.05mm. With expected layers of 0.1mm, I wanted smaller grains than that.
![]()
Powdered binder
For the powder binder I have a few materials I want to try.
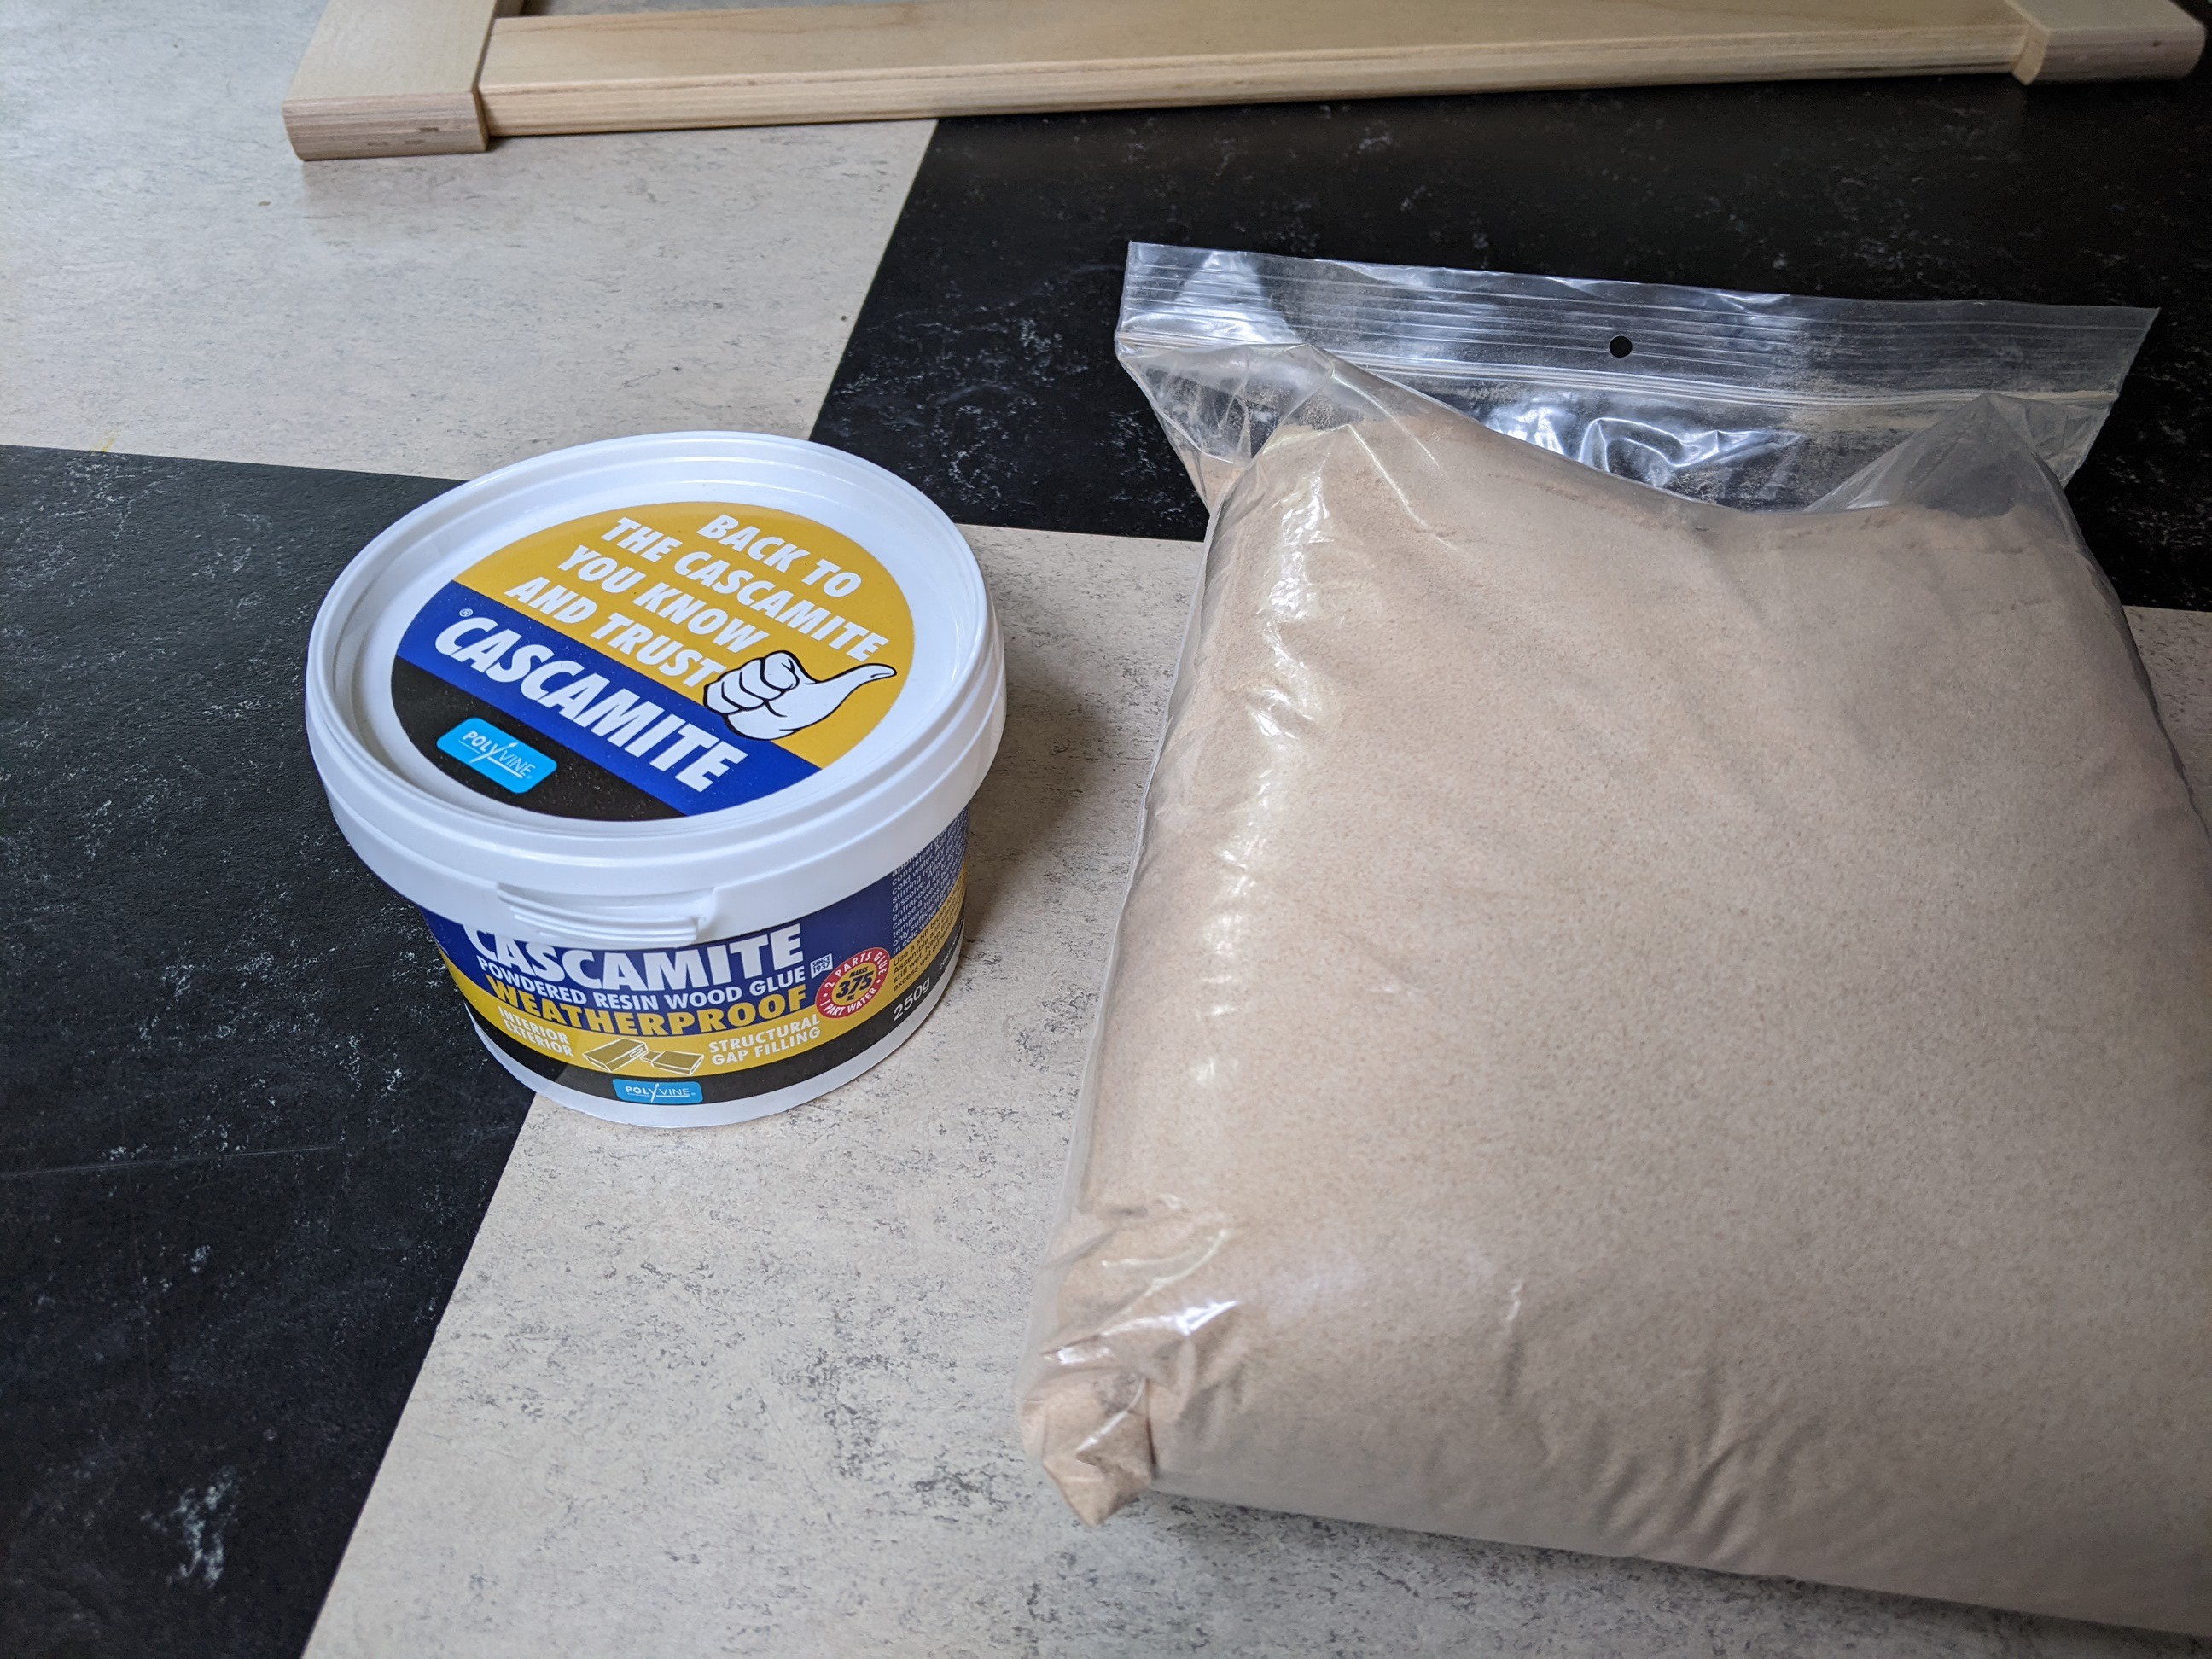
- Urea Formaldehyde UF glue (also called plastic resin glue) is the glue used in plywood, and is what the open3DP research used. UF glue itself I have a hard time getting, but it seems that a product called Cascamite is at least a good portion UF glue. From what I can find this compound is actually used as a fertilizer as well, and is thus fairly biodegrade.
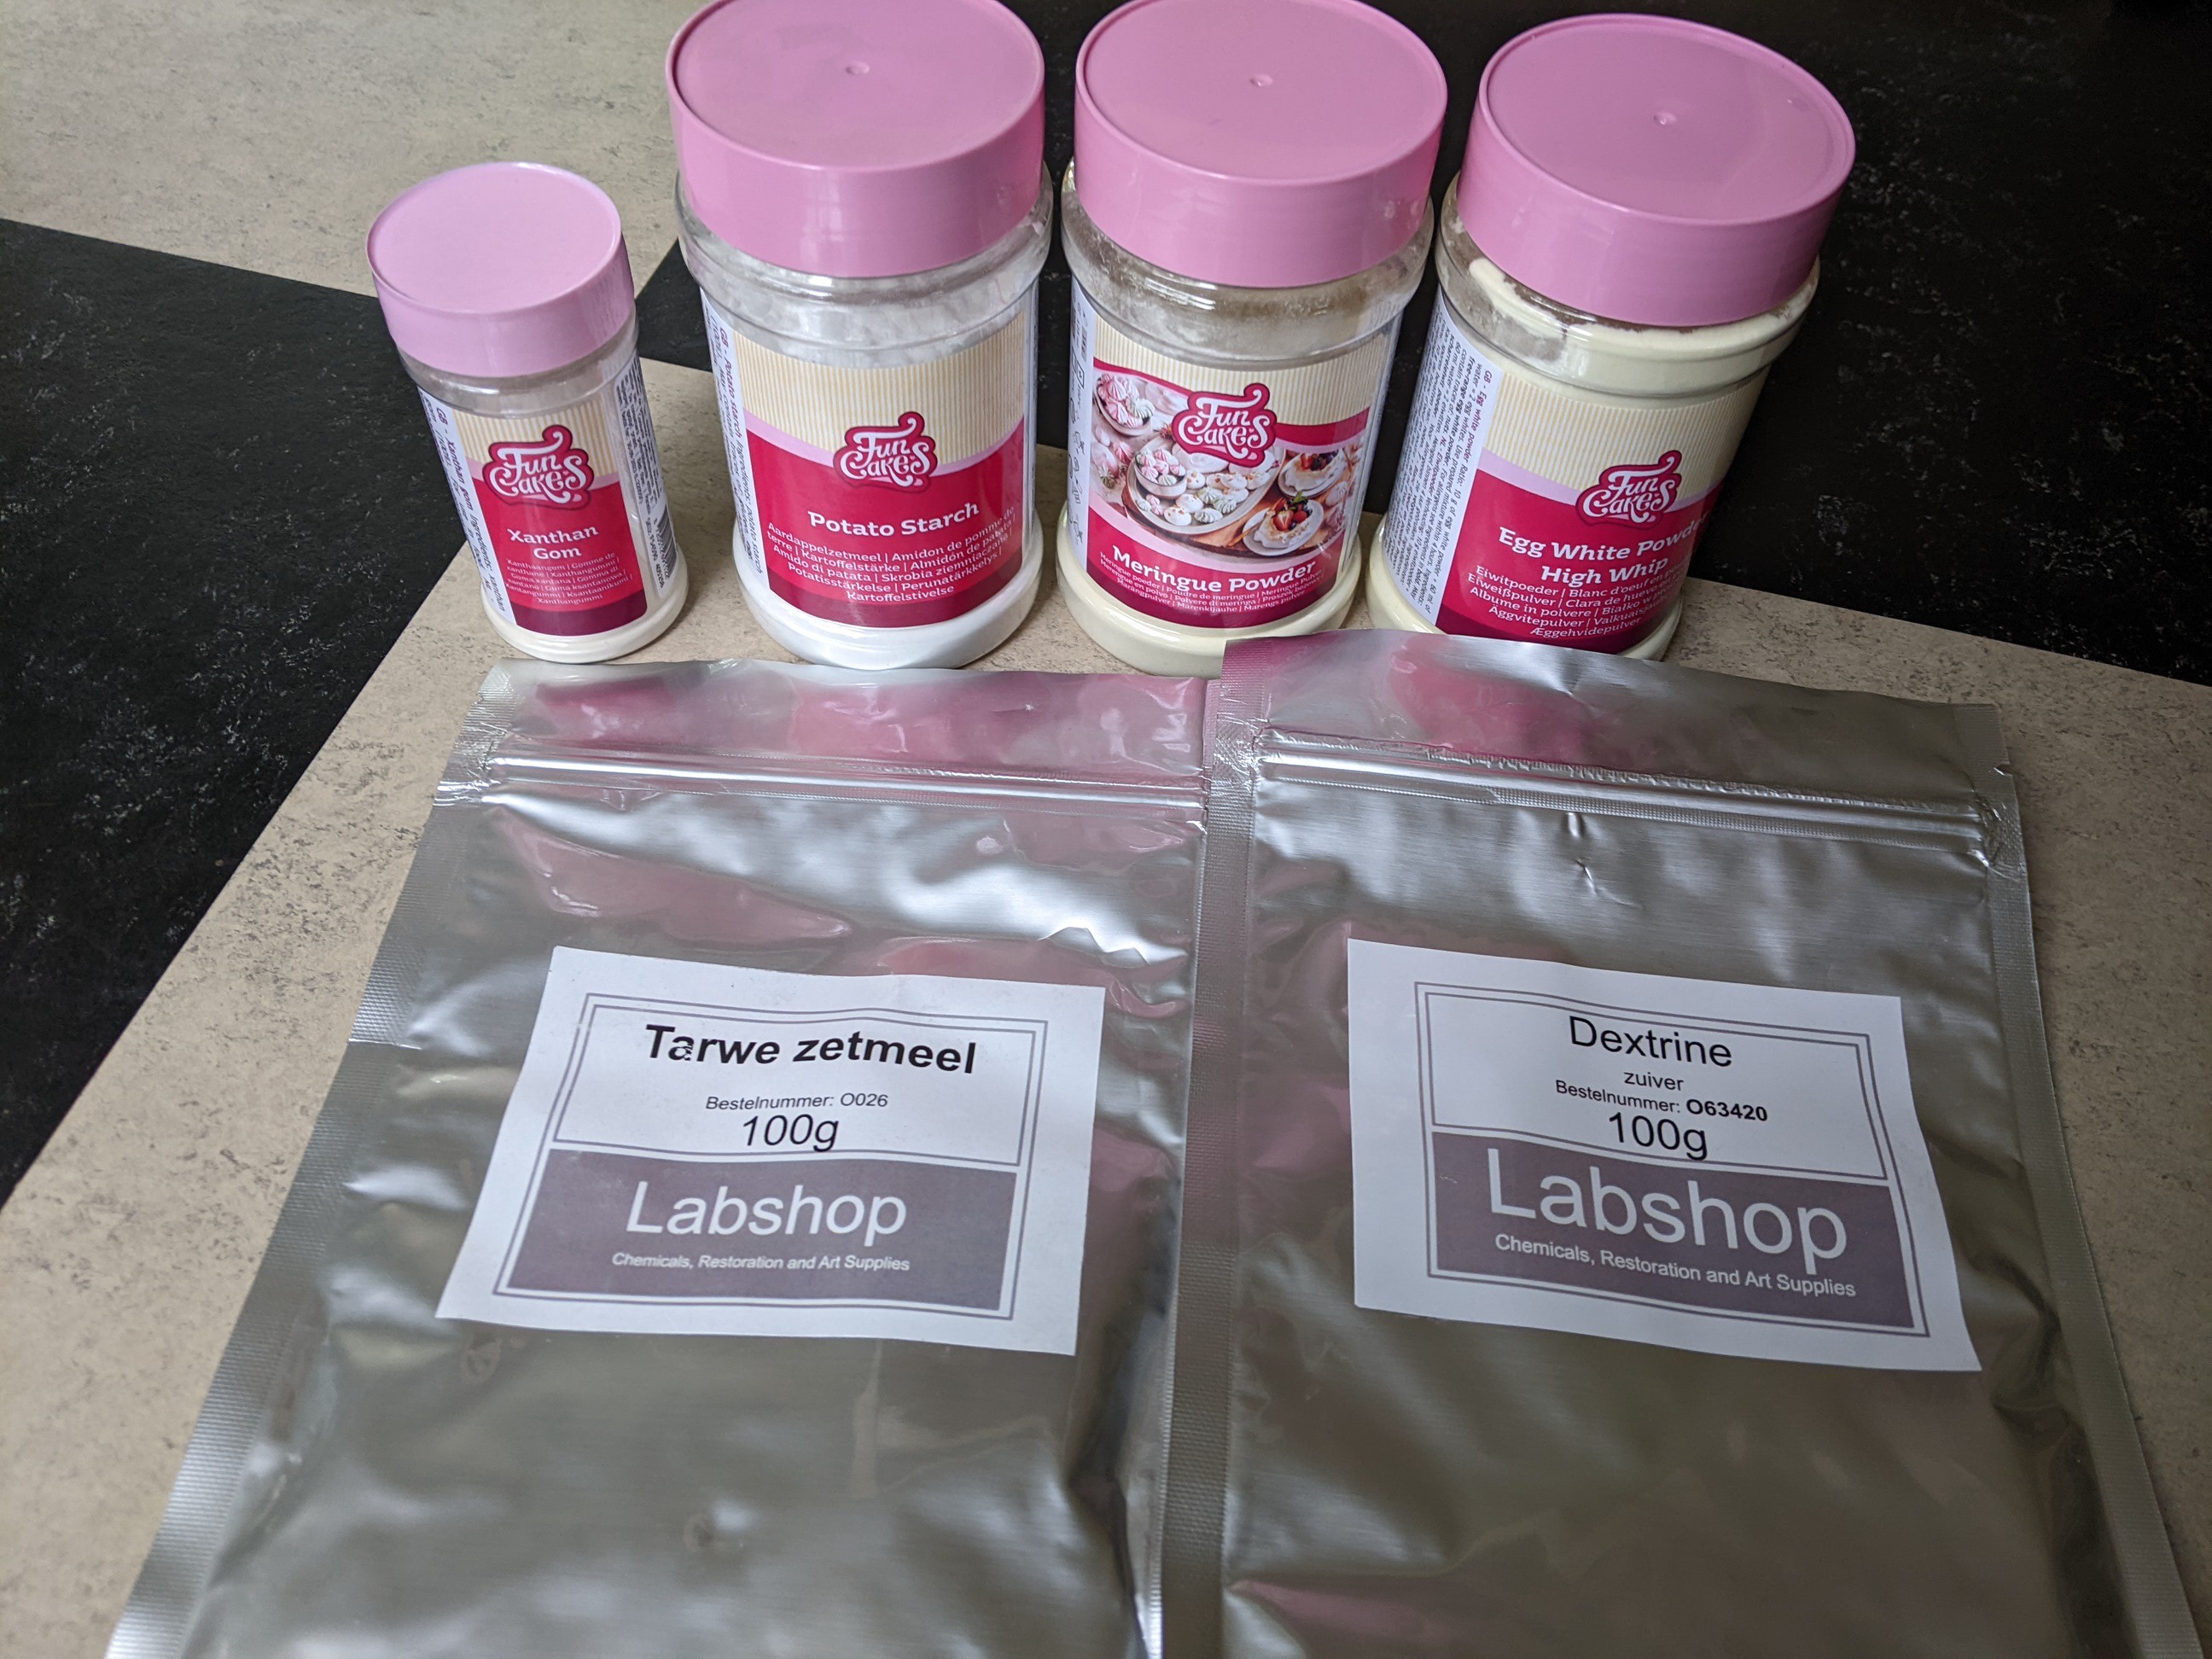
- Dextrine is a name for a collection of starches. An often used one mentioned later was my original goal, but my supplier only had "dextrine". Dextrine should be a fairly hydroscopic glue powder to bind the powder.
- Starch, both potato and wheat will be tried. The expected result is similar to the dextrine one.
- Powdered sugar is also known to be used a lot. Sugar slightly dissolves in water, and solidifies when it dries again. It is low cost and simple, but not the strongest binder.
- Egg white / Meringue are fairly similar powders that are mostly dried egg white. Meringue has sugar added to it, but it otherwise is mostly the same. The idea is that egg white dissolves in water and dries into a fairly hard material. This should make it a decent glue to bind the powder.
- Xantham gum was mostly bought because it was available. It is a thickening agent for liquids, so it is not known if it will really aid in printing in powder.
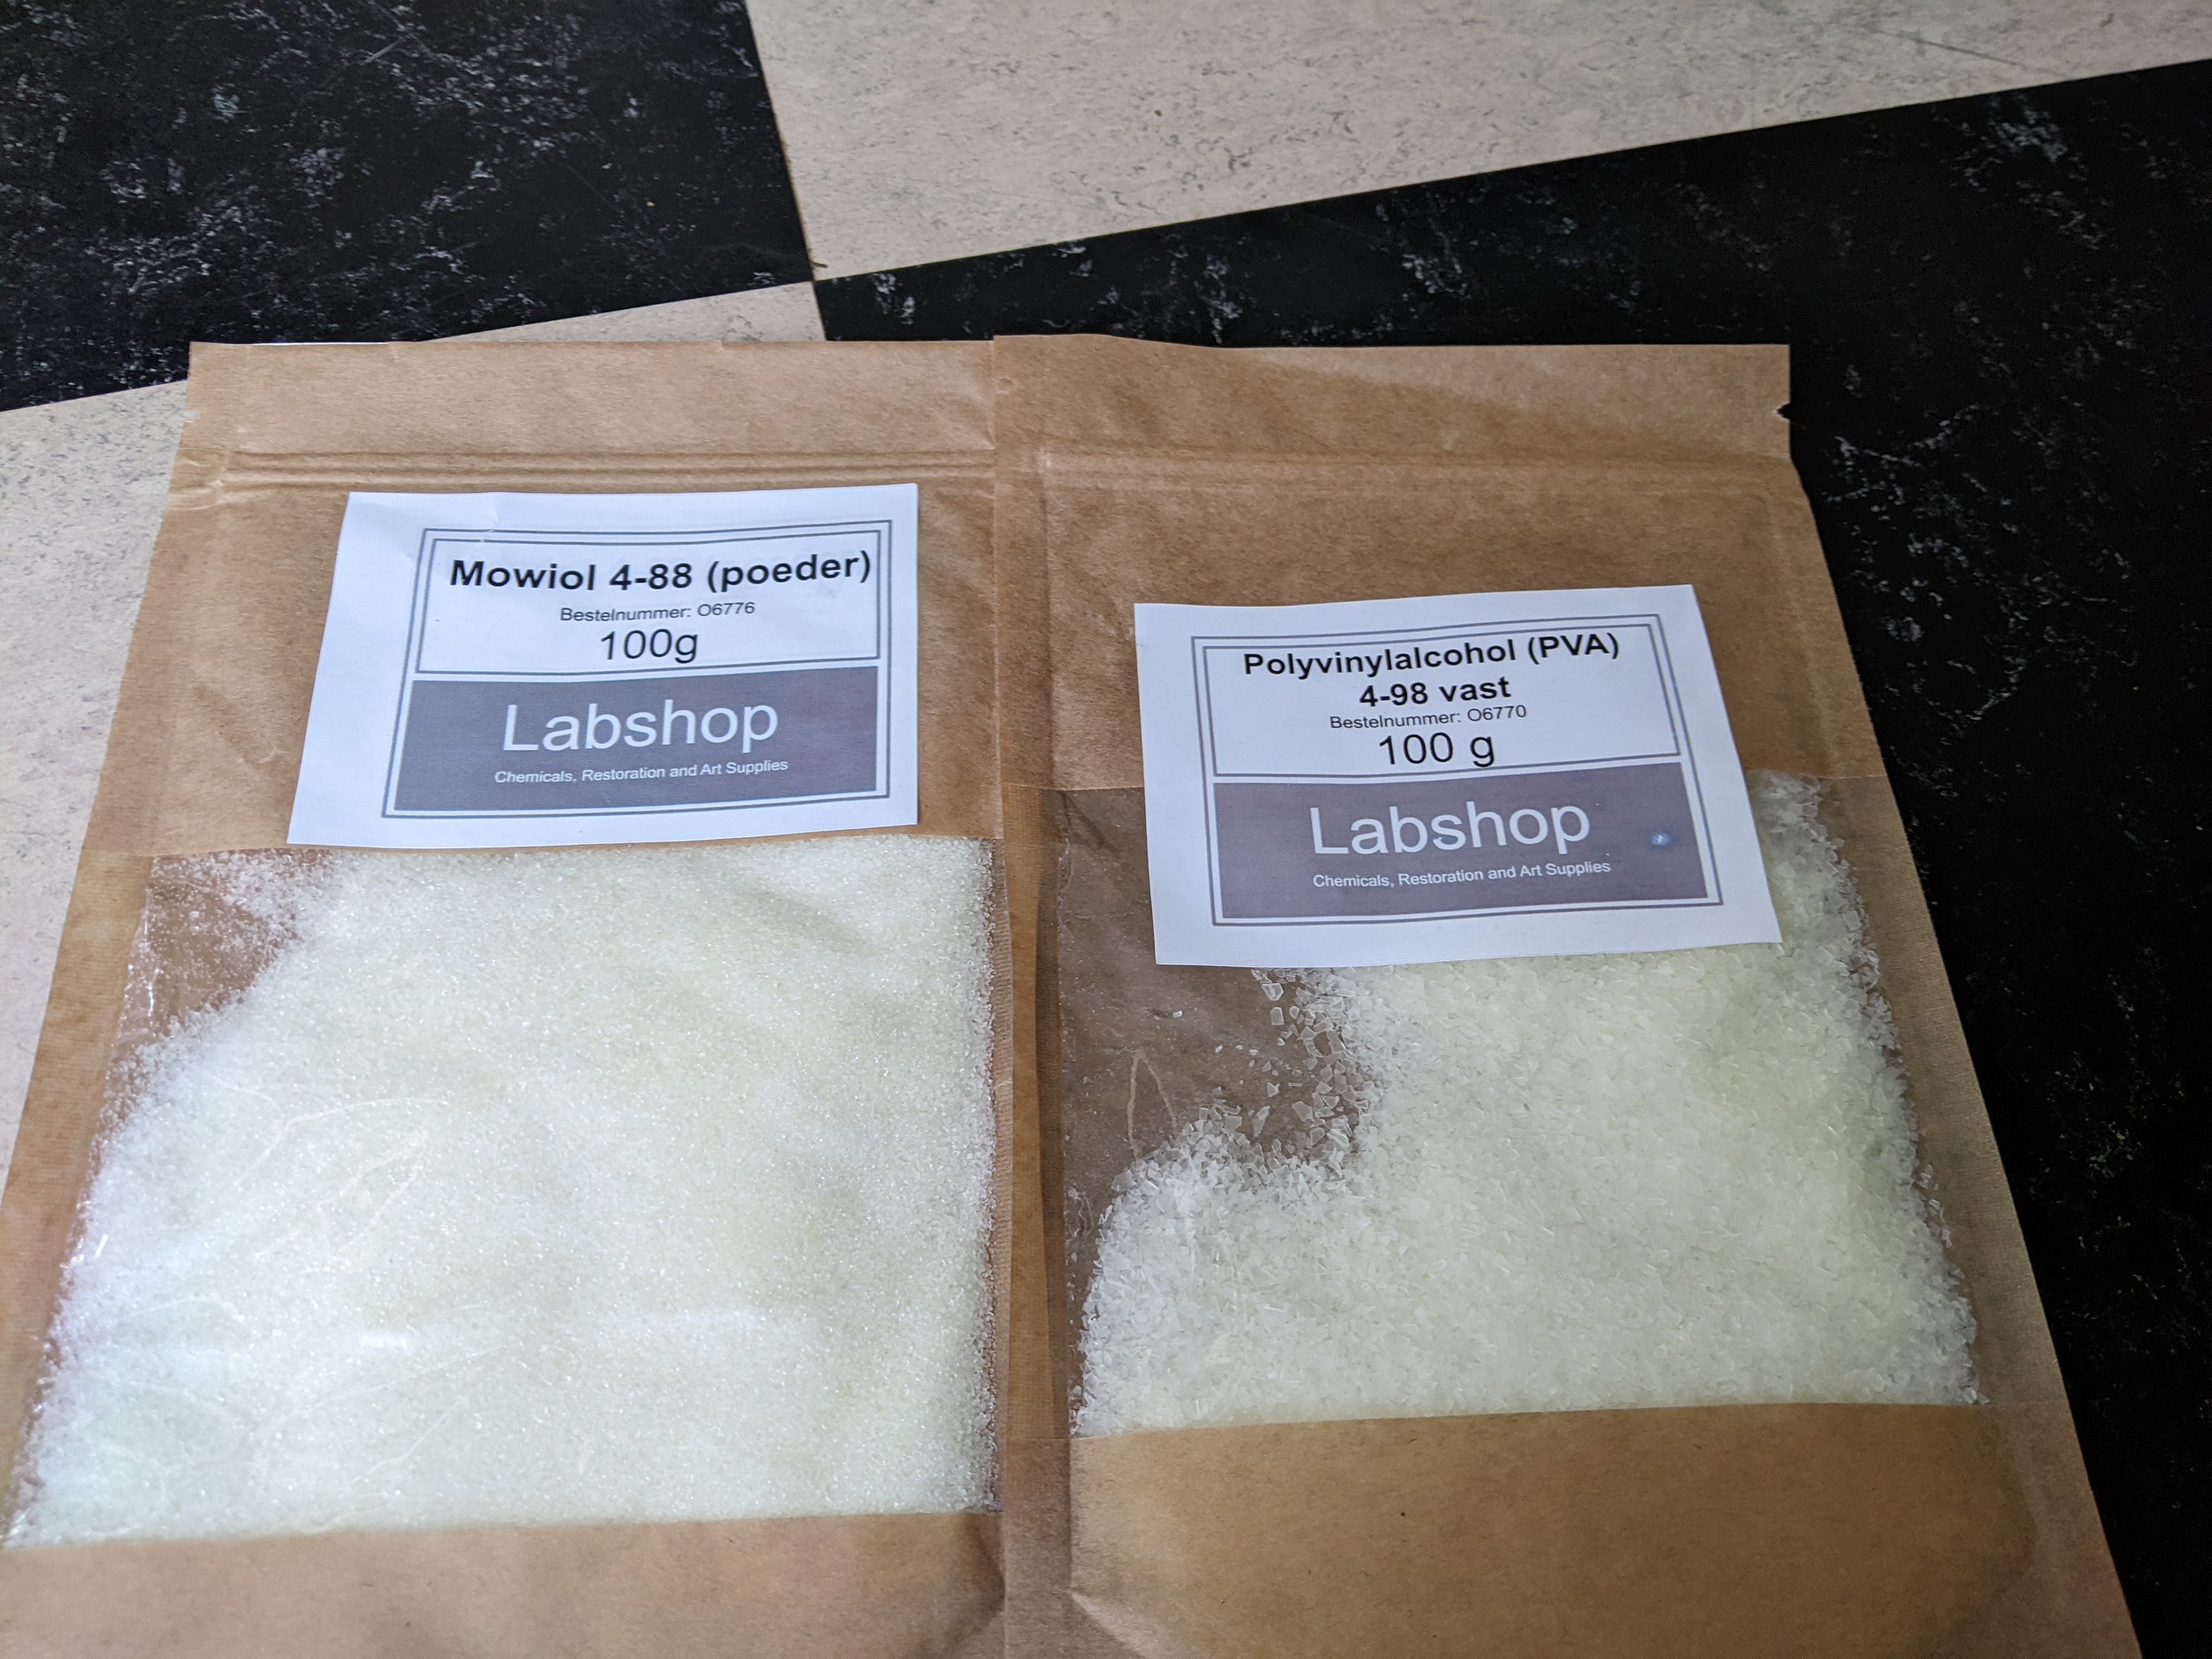
- PVA: One of the best glues in 3DP. PVA dissolves in water and hardens when the water dissolves. Dry PVA is a hard plastic, making it very strong. It is technically biodegradable, but also slightly toxic and not renewable. It will be tested, but recipes without it will be preferred.
- (Maltodextrine): The starch I wanted to get, but couldn't get for now. This starch is known to be a good 3DP printing binder powder.
![]()
![]()
Liquid binder
Some additions to the binder will also be tried. These are materials which might be printed through a TIJ printhead and solidify. These include:
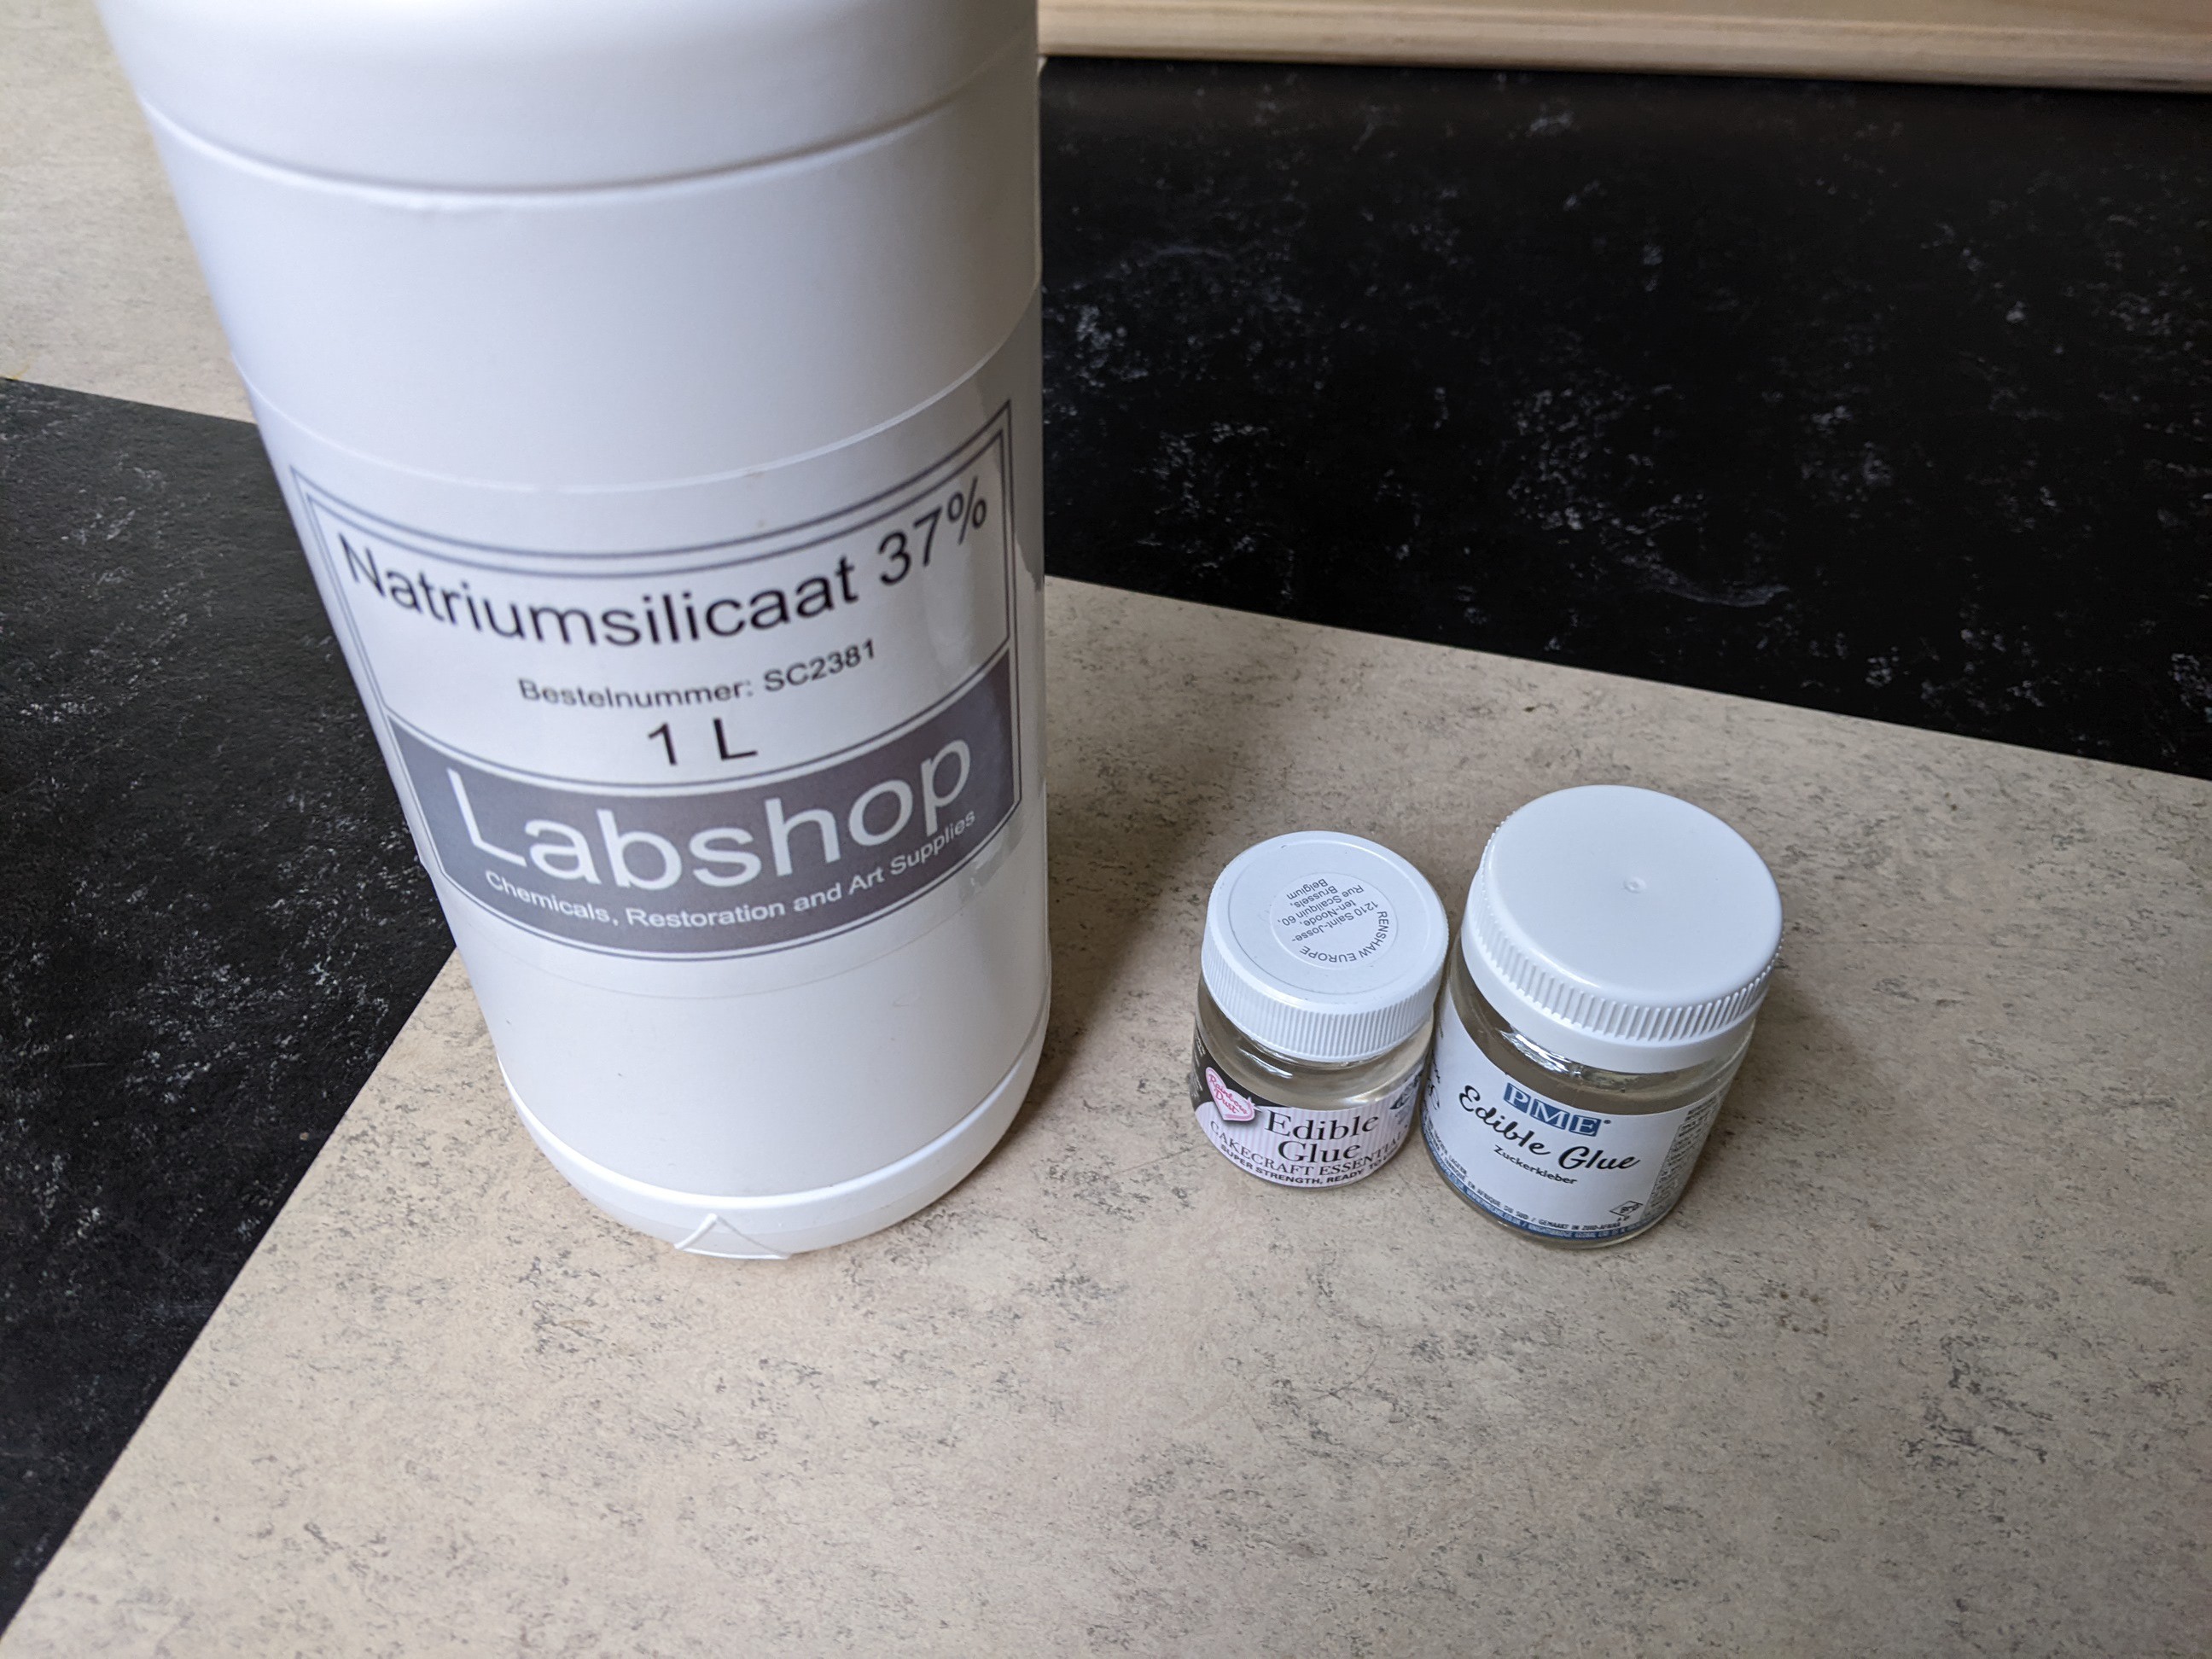
- Sodium silicate (known as water glass) is a compound used in a ton of processes. It is used as an adhesive, and it is hoped that it might improve initial part strength. It is actually used in sandcasting molds, where the molds will set instantly when exposed to CO2 gas. It does not tick any of the boxes for biodegradability, it is toxic and not renewable, but it might work quite well. I do want to try it for sandcasting later, so having it available will be handy.
- carboxy methyl cellulose (CMC or E466) is the main ingredient in a lot of edible glues. It is a cellulose derivative which dissolves in water. Since it is used as glue, I hope it can lead to stronger parts. The only worry is that the printhead might get clogged by the CMC.
![]()
Post processing
After a part is bound and cleaned, it still needs post processing to get the part to its final strength. For this a few materials will be tested.
Waxes and lacquers are turned to liquid either by dissolving into a liquid, or by simple heat. After the part has been infiltrated with the wax or lacquer, it solidifies and the part should be usable.
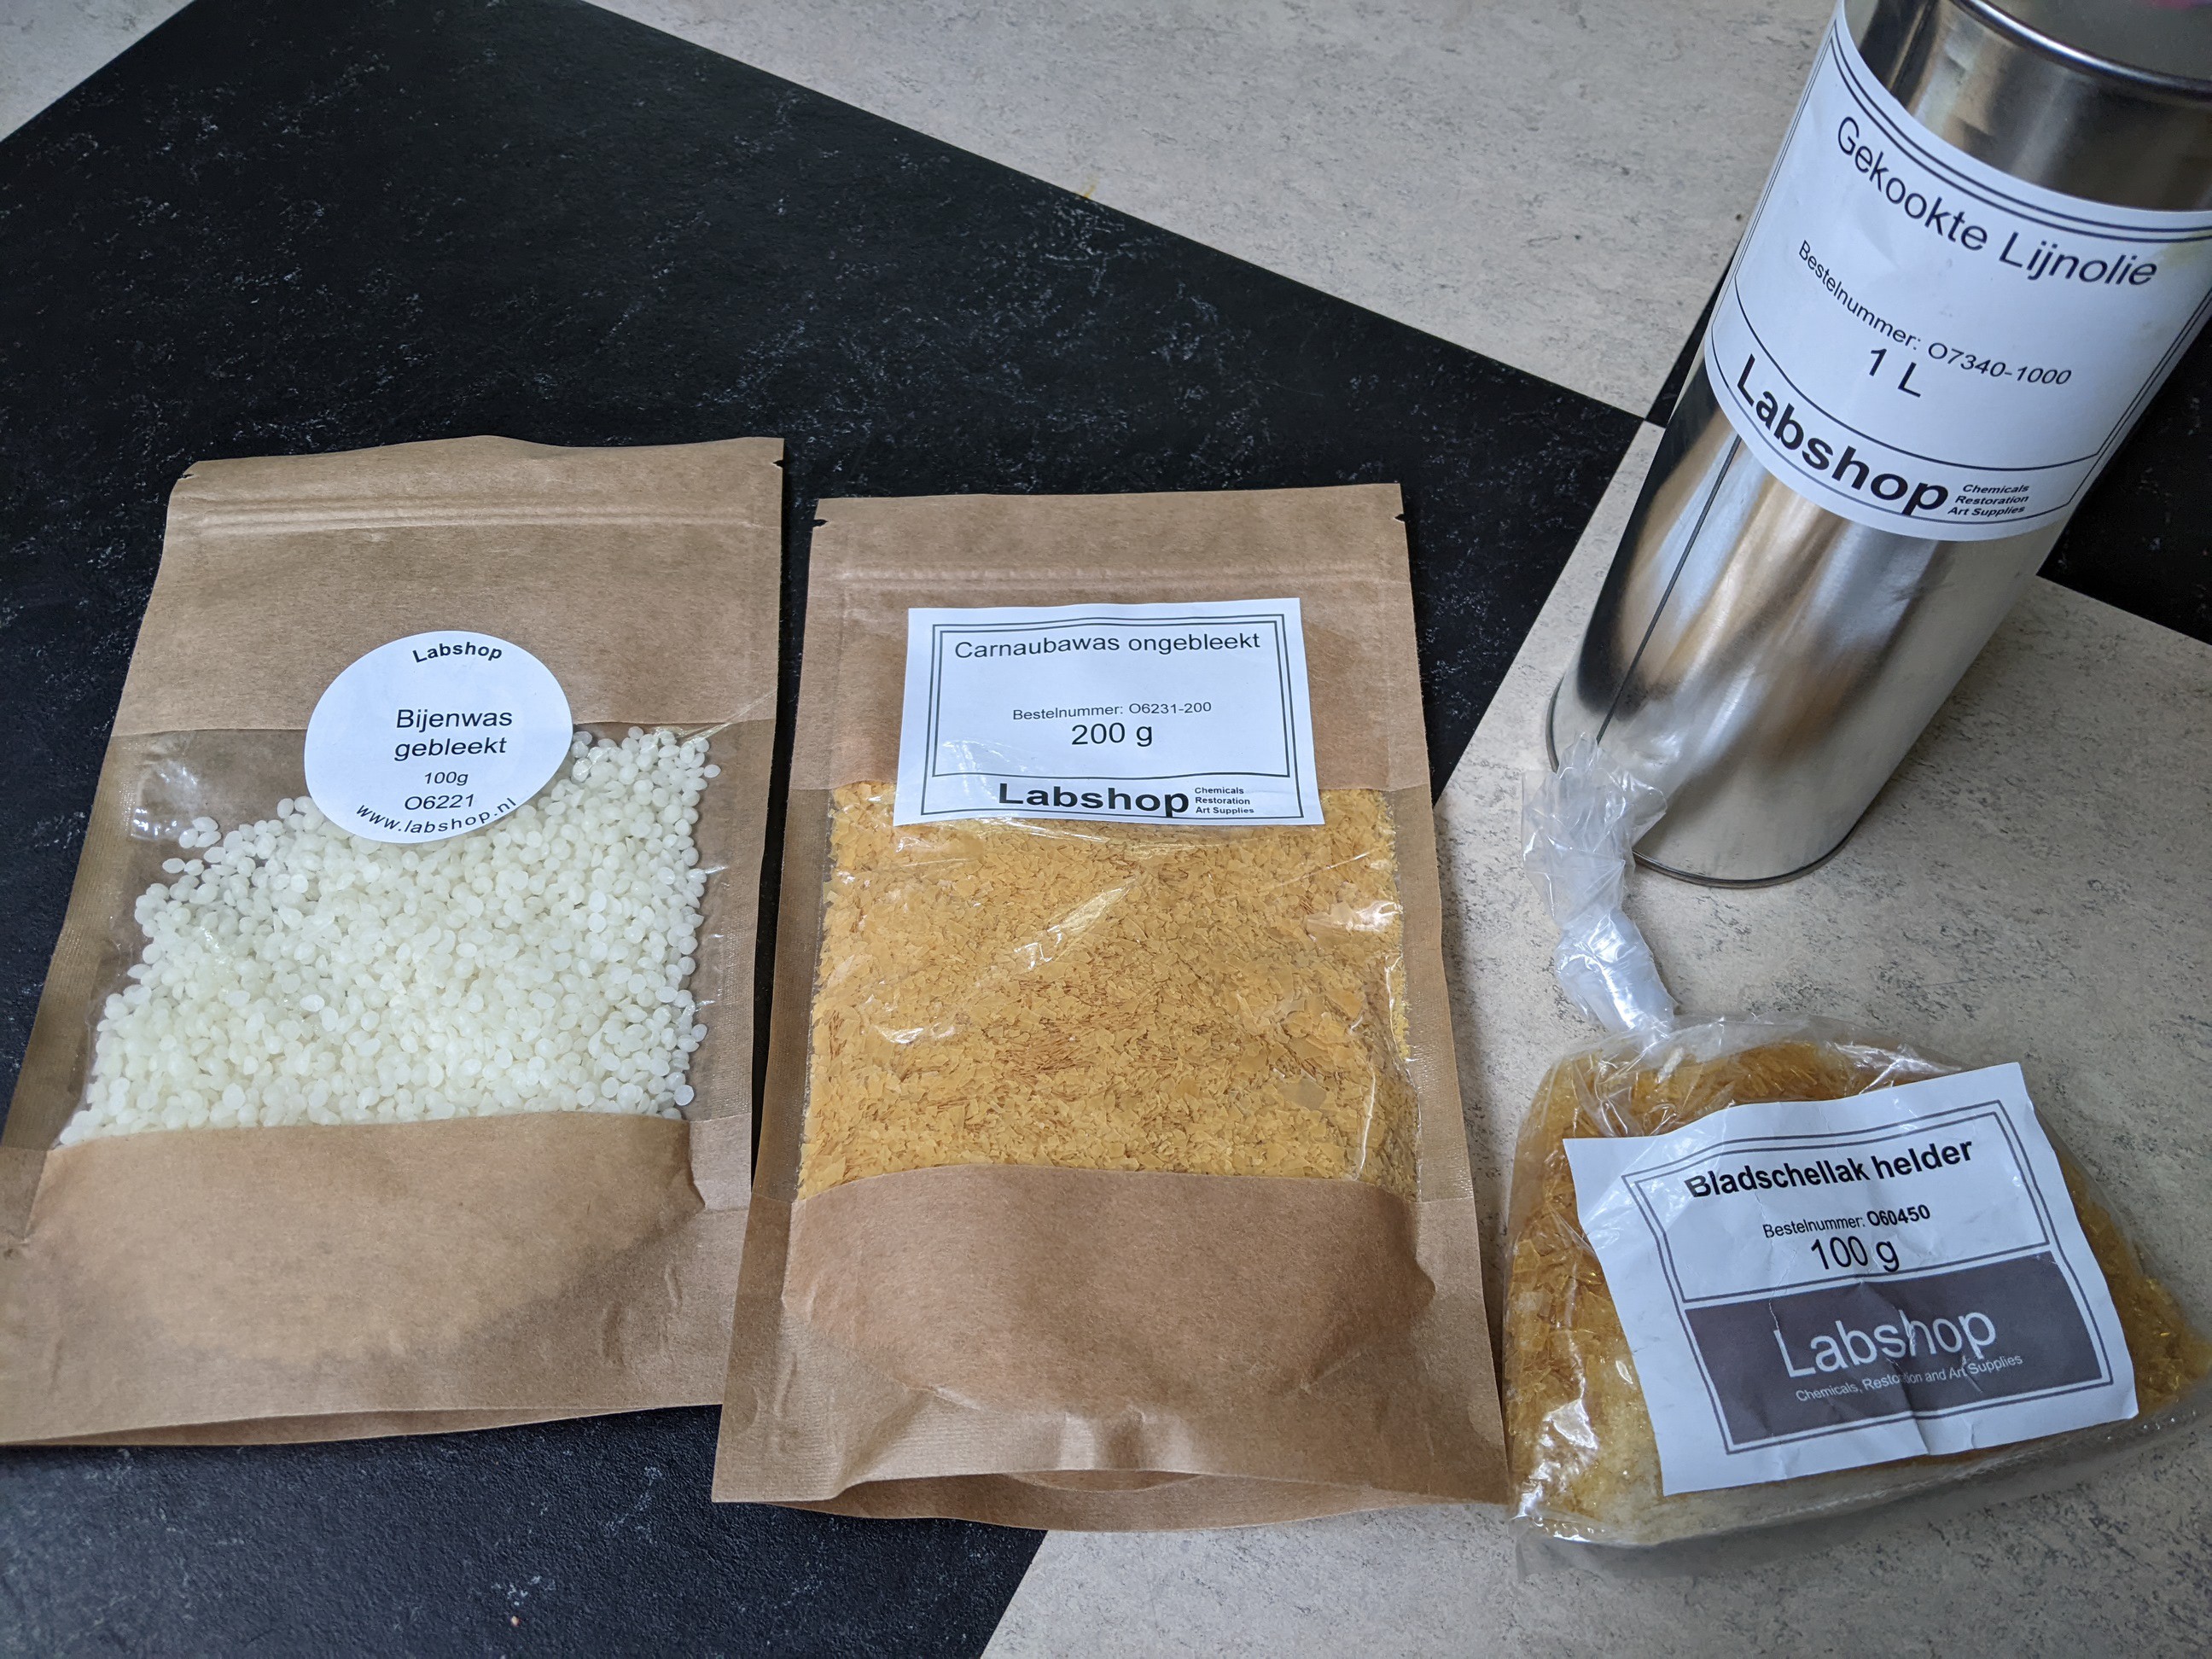
- Carnauba wax (E903) is a palm wax which has one of the highest melting point of all natural waxes at 82-86°C. It is hoped that molten Carnauba wax can wick into a part and harden to create a strong part.
- Beeswax is a natural wax produced by bees (you would have never guessed by the name). It melts at 62-64°C. The expectation is that it behaves similar to Carnauba, only with a lower melting point
- Shellac is natural resin secreted by a bug. It can either be liquefied by melting it at around 75°C, or by dissolving it in alcohol. The wikipedia literally mentions it being mixed with wood flour and molded, so it is at least worth a shot.
On the other side are thermosetting materials. These will harden once, and then will no longer melt when heated, instead burning.
- Linseed oil is oil from flax seed. It is referred to as a hardening oil, which means it actually polymerizes when it dries. Linseed oil does this by reacting with the air. This is an exothermic reaction, so it heats up when it hardens. There are warnings everywhere not to leave rags soaked in linseed in the open for risk of combustion. Linseed oil is also an important part in linoleum where it is mixed with (drum roll please...) wood dust. I have high hopes that linseed oil will be able to bind parts into fairly strong shapes.
- (Tung oil) is an oil from the seeds of the tung tree. It also is a hardening oil, and has a lot in common with linseed oil. It is often mixed with a solvent to help it penetrate deeper into wood. I did not get Tung oil, mostly because it came up too late, but it is on the list.
![]()
-
The Test Equipment
05/16/2022 at 18:27 • 0 comments![]()
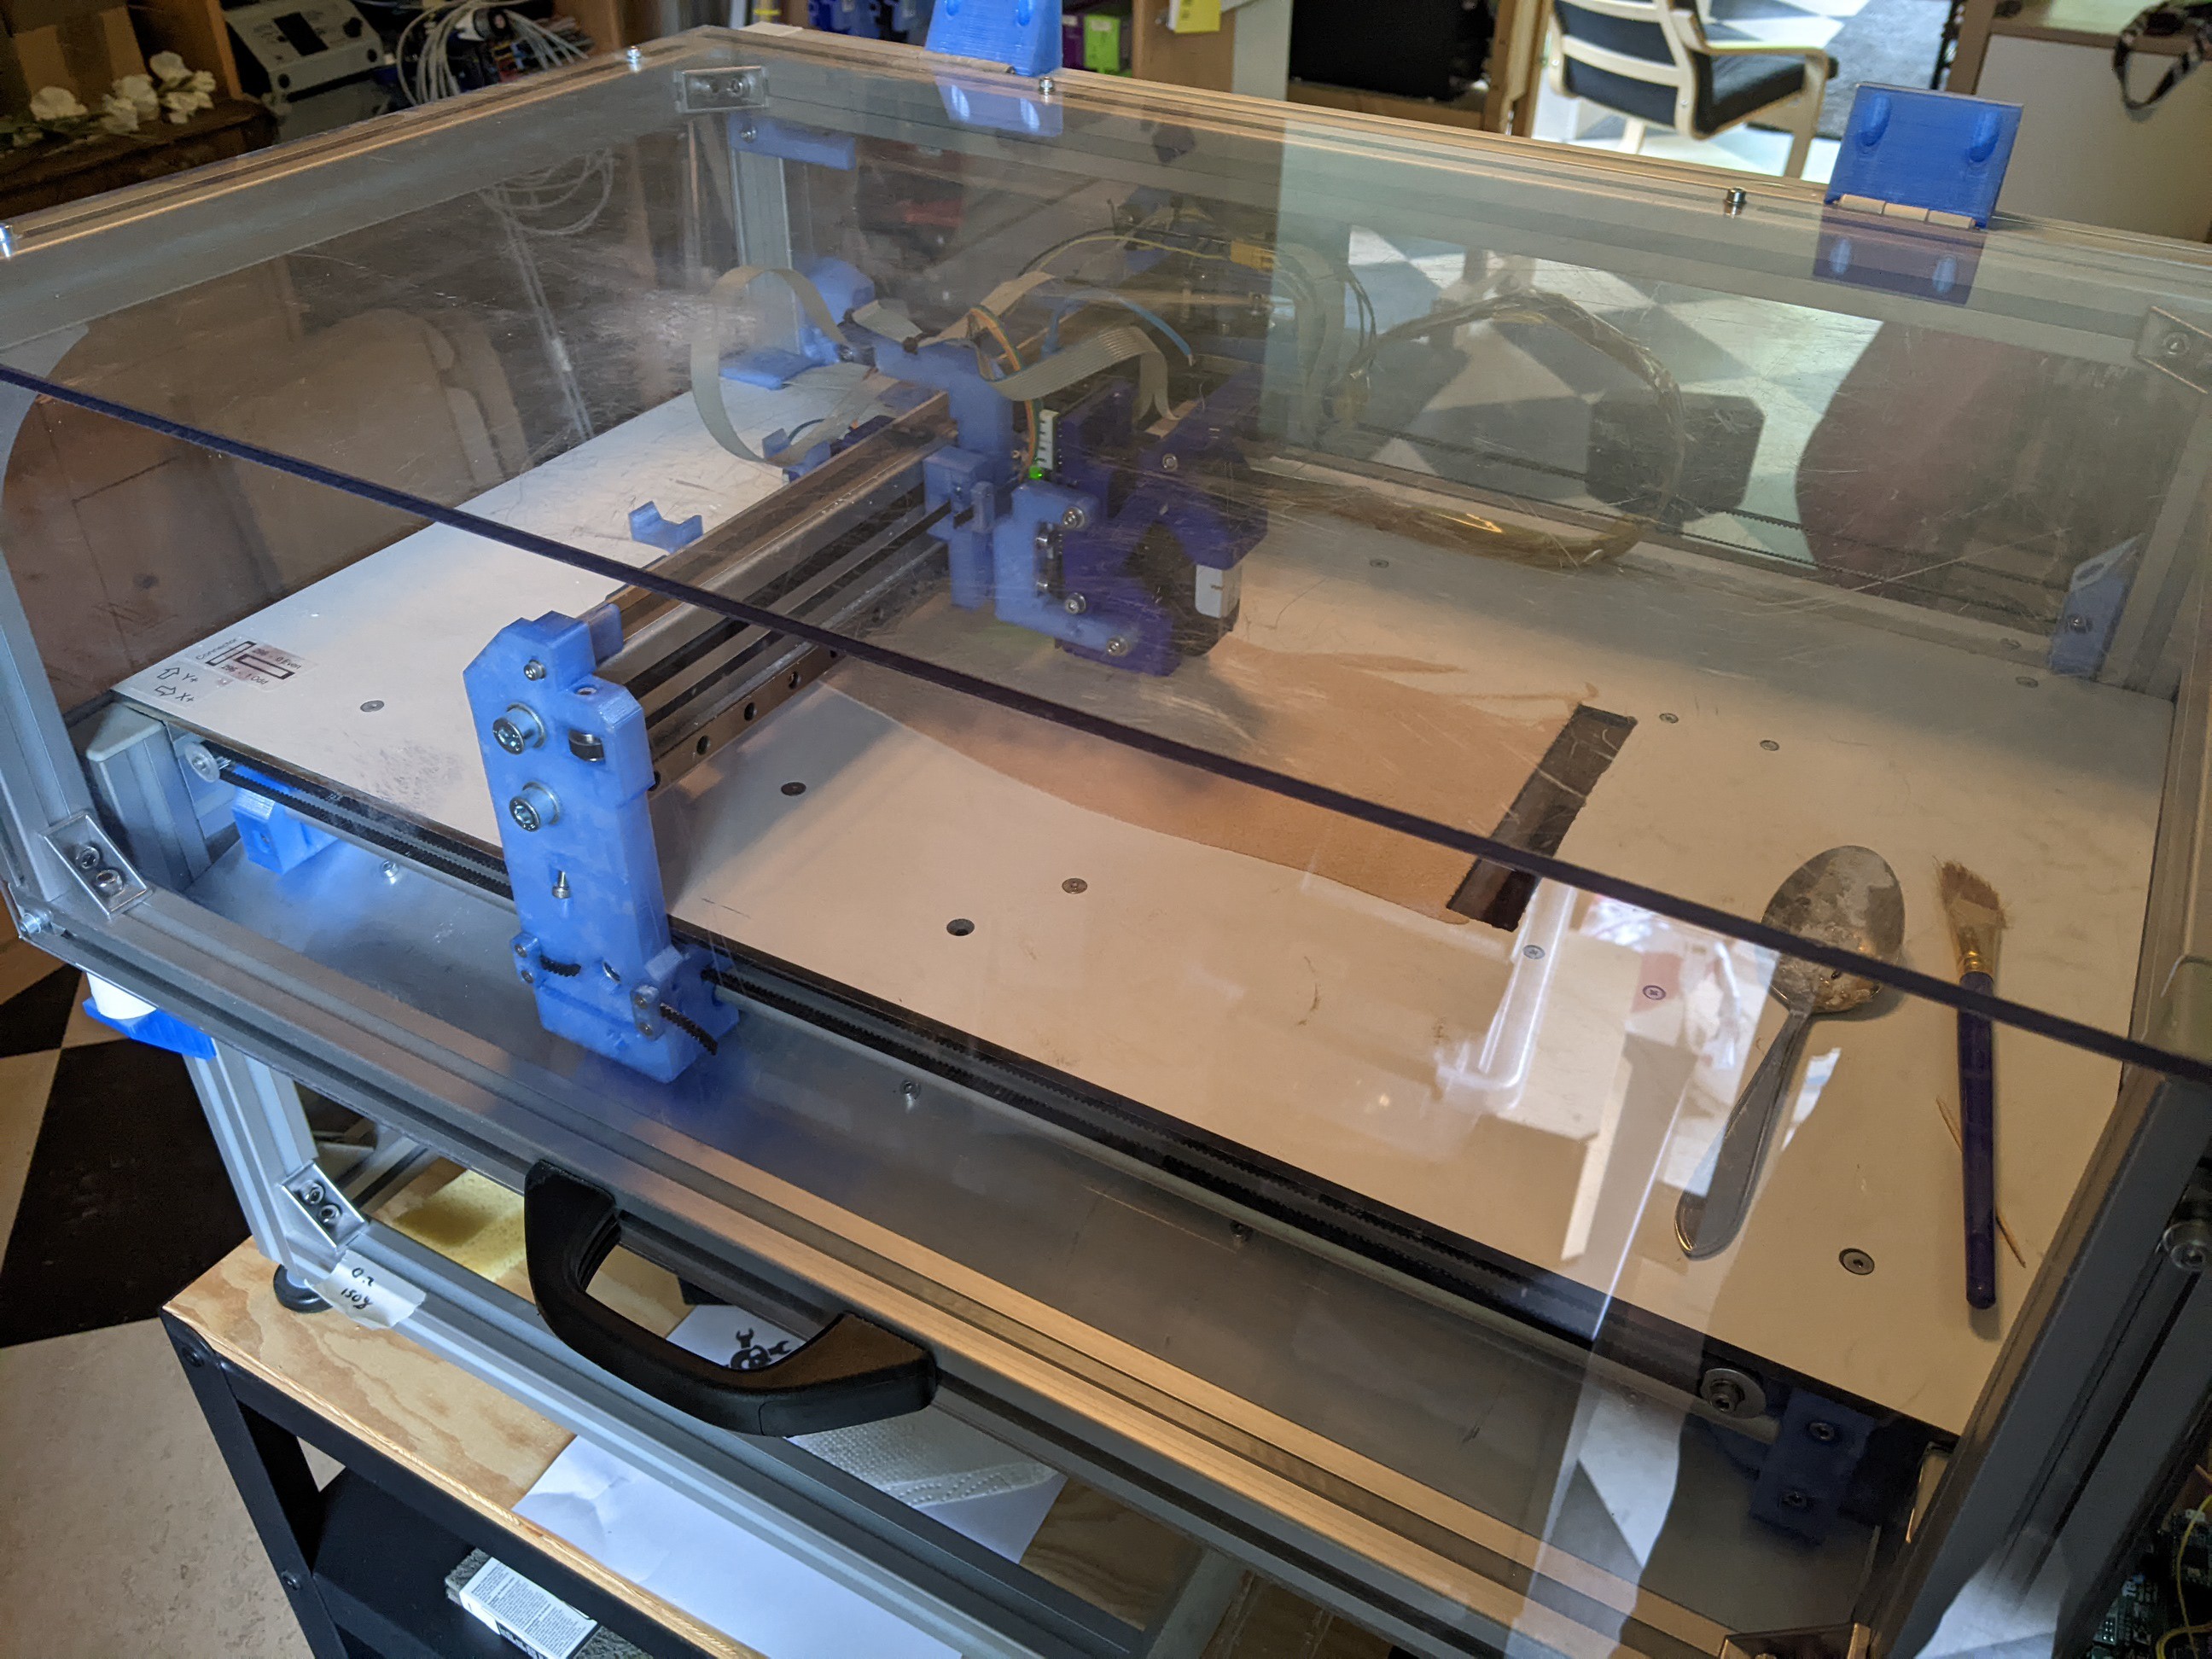
To test all the materials I am going to be using Oasis. This is an older project of mine where I built a 3DP printer (https://hackaday.io/project/86954-oasis-3dp). The printer still has the 80mm piston inside, and is mostly original. There are however some minor tweaks that have happened in the meantime. This will also include some backstory and a mention of the current state of things.
Changing the software
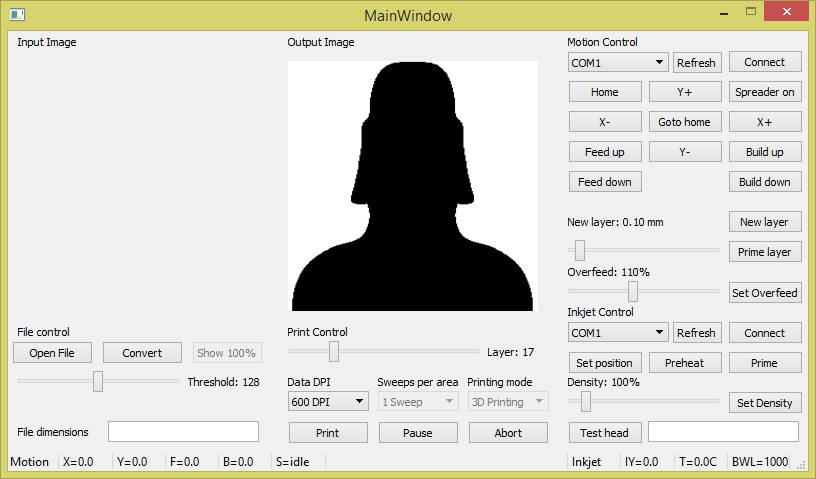
During operation the software has slowly received tweaks. The most notable one is that my current Oasis runs a completely new interface with some quality of life features. This new interface was designed to be able to run on a raspberry pi with a 720p touchscreen interface. While I never really got the software to run nicely on the Pi3 I had, I still use the software. Some of the features include:
- A list of available com ports
- Sliders or combo boxes for all variables instead of text boxes
- Selectable overfeed (how much too much the feed piston adds per layer)
It is still not perfect, but more usable than the old software. Since it does work, and it is an improvement, I will upload this new software to the Oasis project for all people interested asap.
A small format testing printer
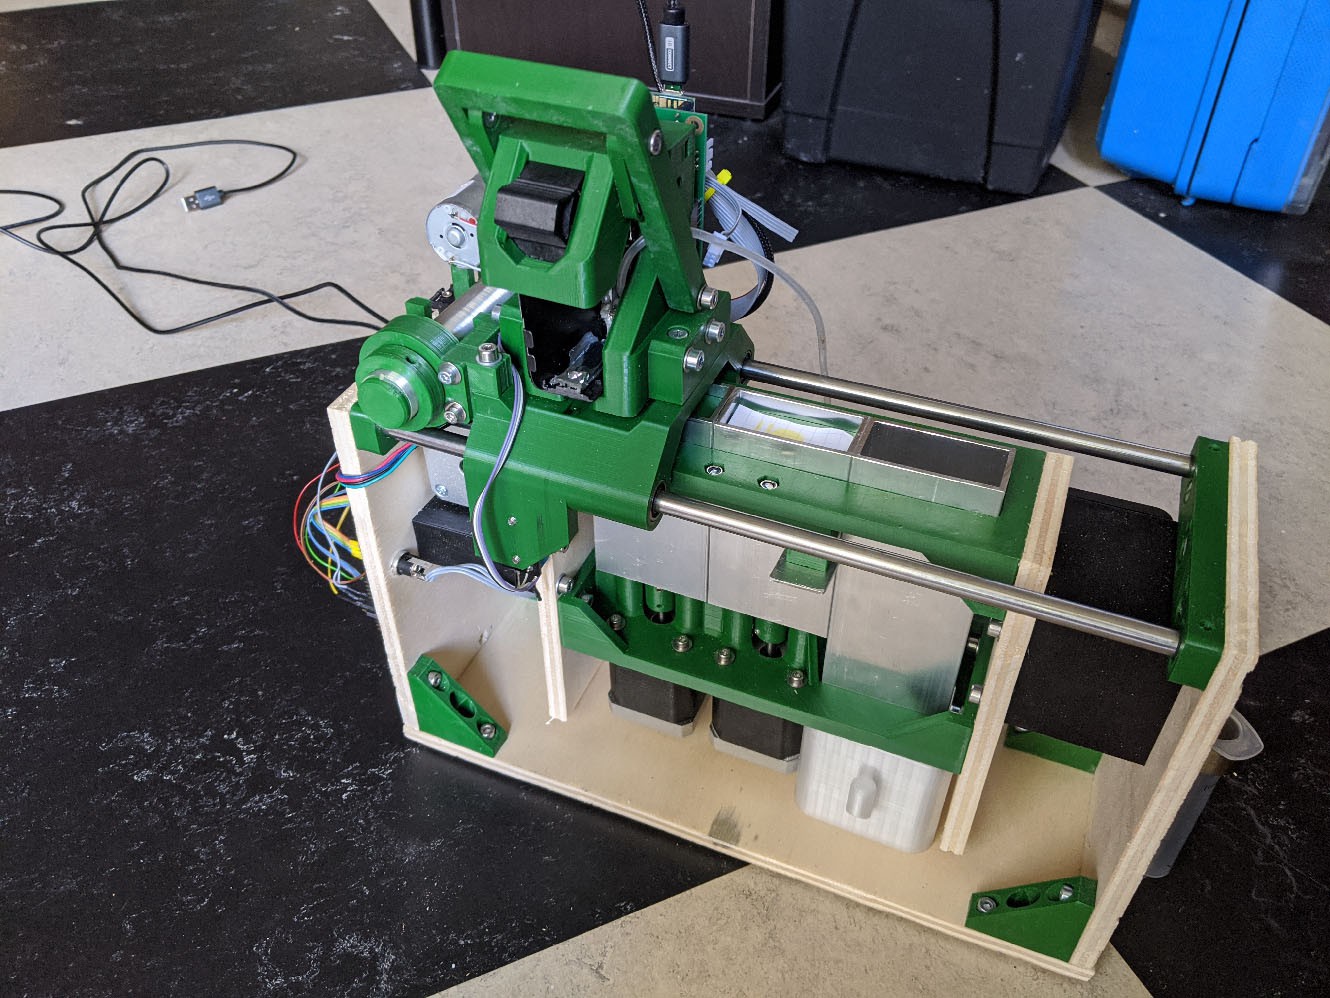
I built Grain, the tiny format test printer. It was designed to test small batches of materials. It only had a 40x15mm piston, and had a specially modified printhead that printed with a feed line instead of an ink tank, to allow for quick binder changing. Grain is the perfect printer to test small batches, except for it sucks. It is messy, it constantly jams and the CISS ink line is a hell to refill. It is still available, and functional, but for printing more different materials there are now other ideas.
![]()
V4 controller and software
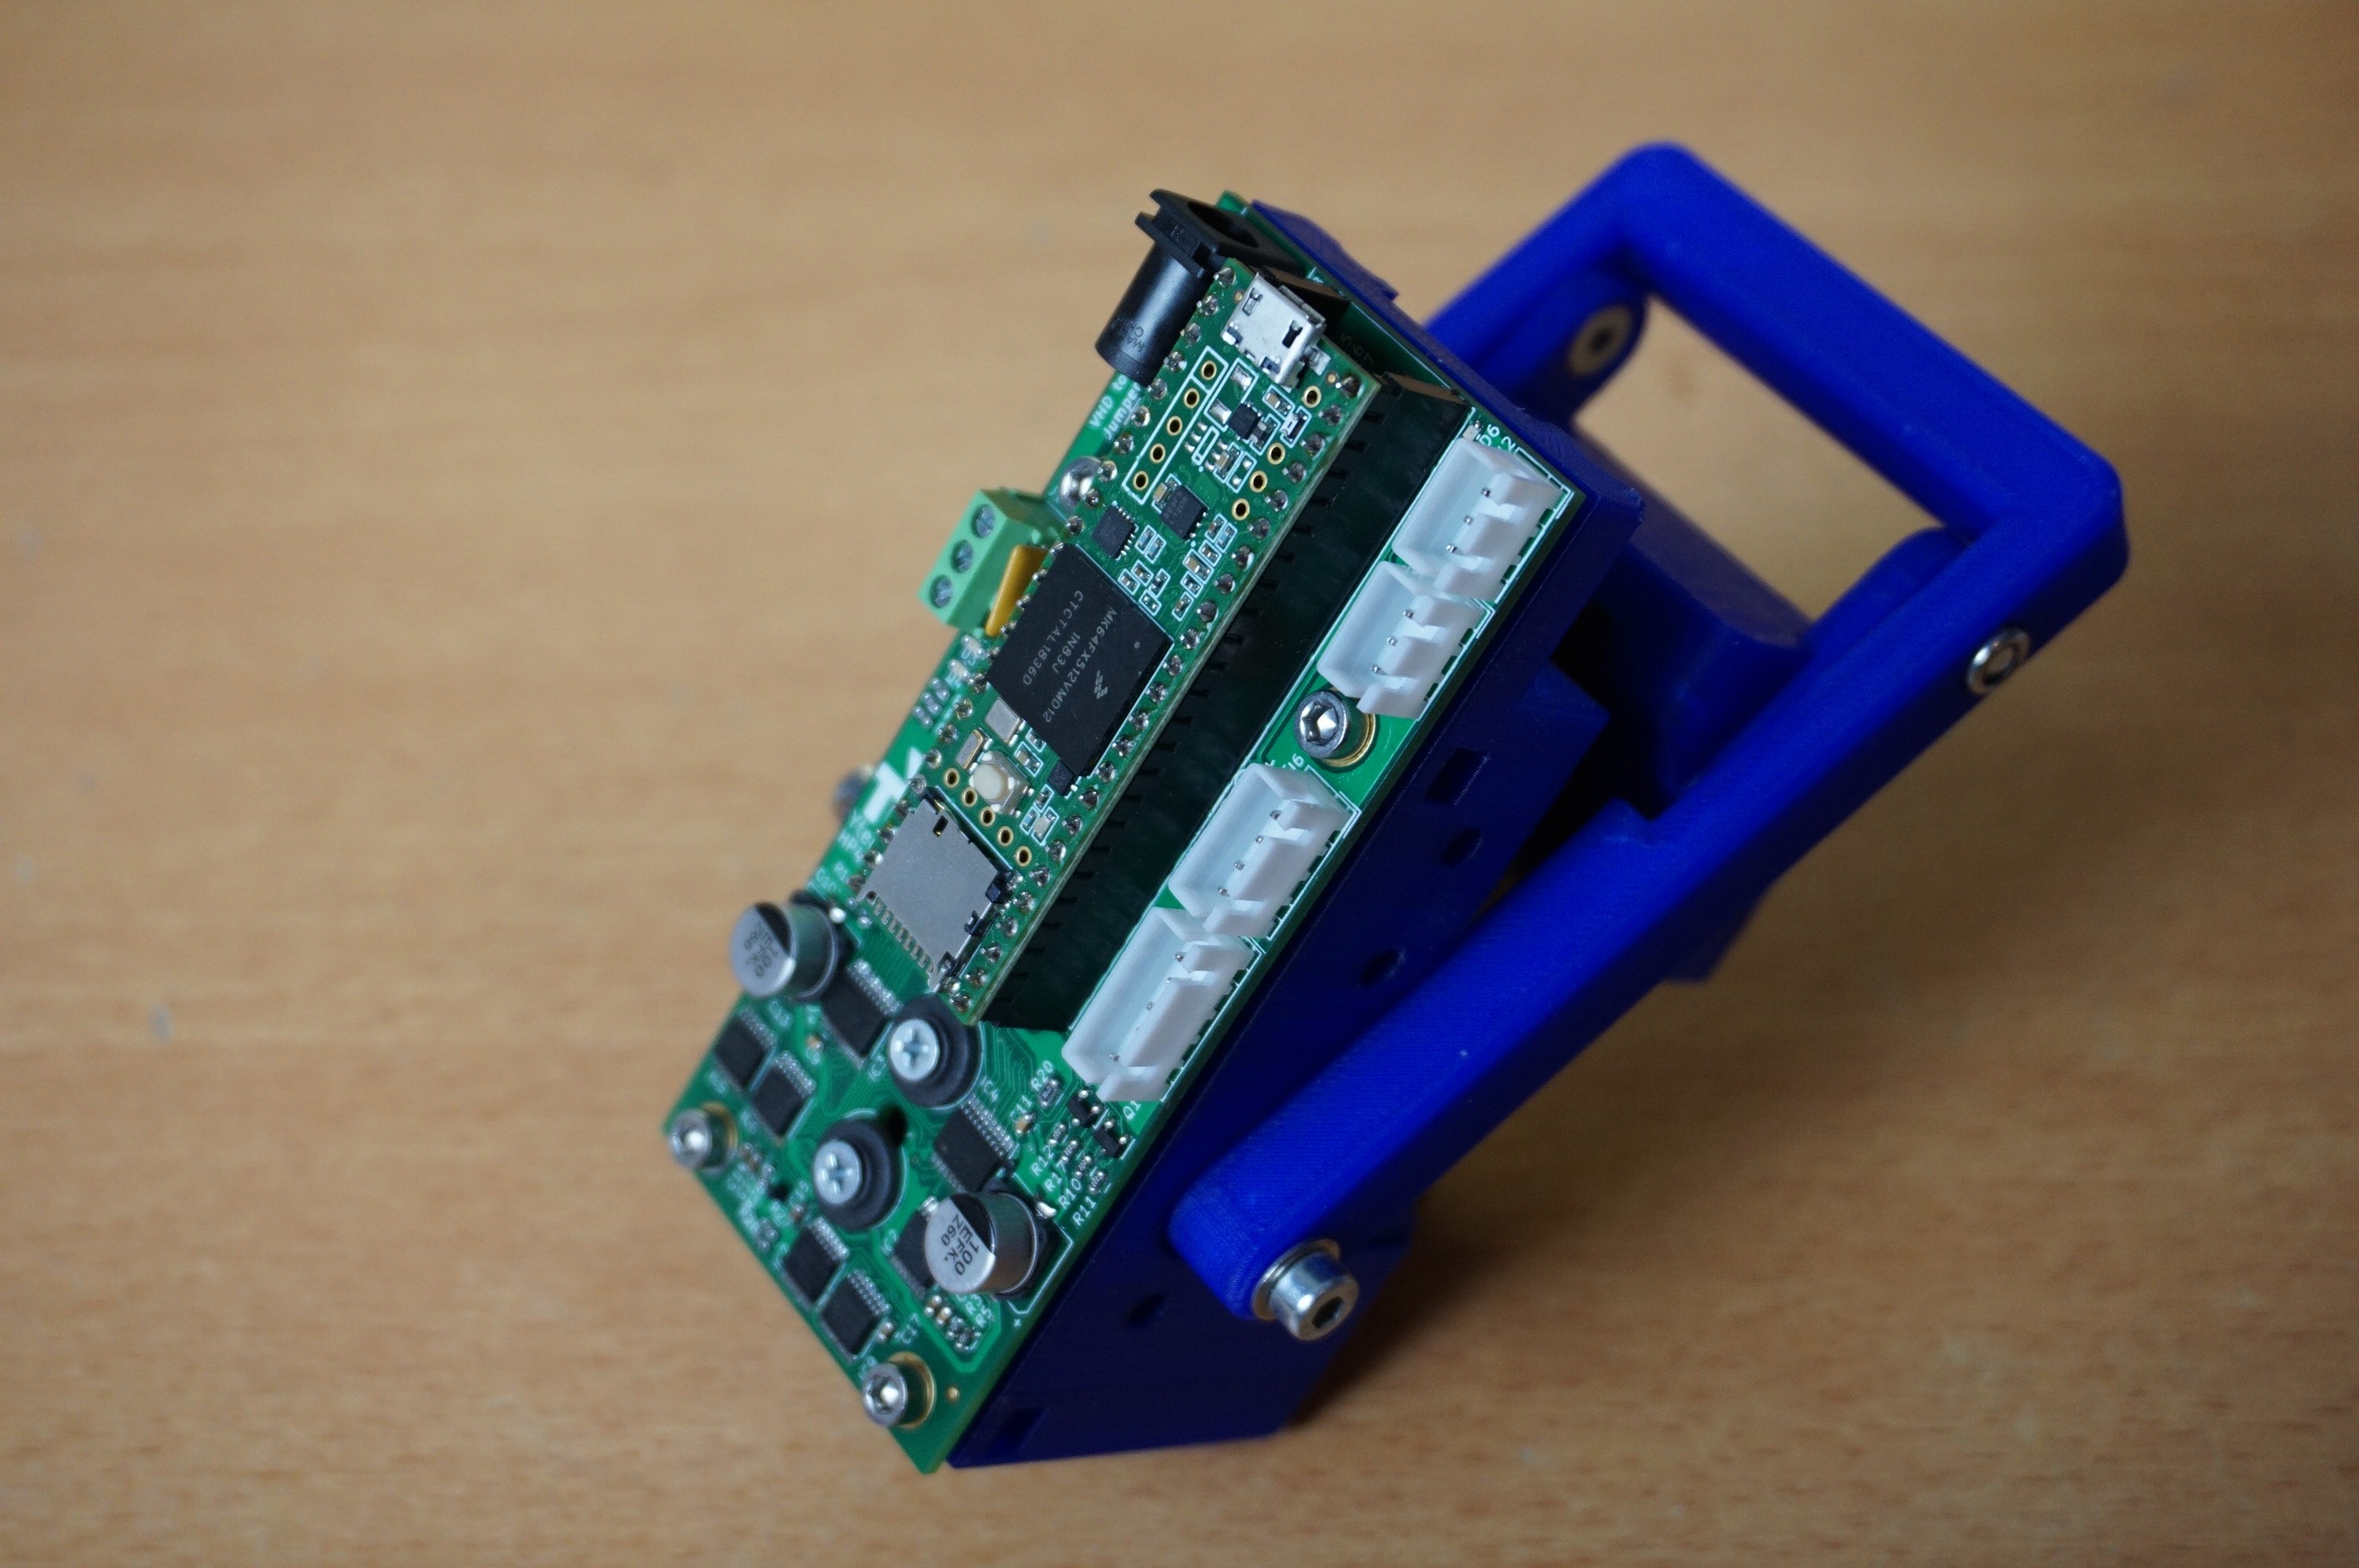
I build the V4 controller (https://ytec3d.com/hp45-controller-v4/). V3 was too much work to make, and was almost impossible to test. I never made them in large numbers because of this. The V4 is still a "work in progress", but it does already work much better than V3.
The V4 uses a Teensy 3.5, It is only a single PCB, has all the improvements from the V3.2 board and includes limited self testing, leds and a DC jack. The last 3 options are an amazing addition, because the board will now tell if it does not have power of misses features, and show leds with all power levels, which is more helpful that I want to admit. The DC jack also allows for simple hookup to power for other projects.
This controller was originally designed for standalone operation in other projects. It is designed to be a completely self contained inkjet controller for all applications. However I have sold some of these, and people asked me if it could work in Oasis. As it turned out, it could with very little modification. It runs more reliable and faster with the V4. The old pi software however does not yet use most of the features.
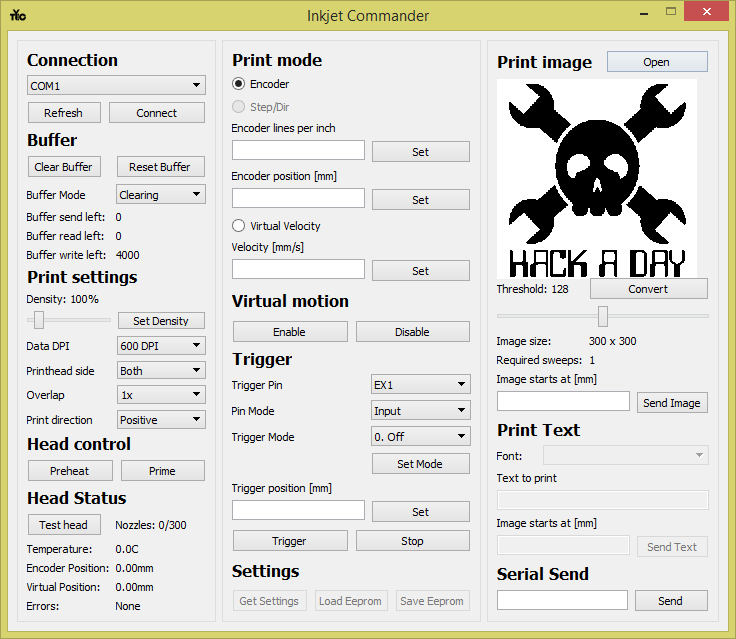
V4 uses a program called inkjet commander, and this does not support 3D printing, only 2D. It does this an order of magnitude better than Oasis could, but it should be able to 3D print, and at some point in the future it will. The new features compared to Oasis include:
- Special buffer modes to print images repeatedly
- A selector for which printhead side to print with
- The amount of overlap in an image between sweeps
- Printing positive direction only, negative direction only and alternating
- Virtual movement, where a trigger (software or hardware) and a fixed velocity is used to print
None of these are game changers, but all of the new features are nice to haves, and more are still being worked on. Some of the desired features are already in the interface.
V4 would be available at the moment, but chip shortages have made the controller hard to source. Once chips become more available I will see how to make V4 available.
Current setup
And that is the current setup. The old Oasis, with a reskinned and slightly reworked piece of software and a fancy new controller with more features than the reworked software can work with. The software that can make use of all the features does not 3D print. It works, and will allow me to run the tests for this project.
Considered upgrades
There is however one thing which I might do during the testing. Upgrade Oasis to be able to test more parts at once. Each single print takes only minutes, but the time spent in the printbed is hours to cure. It would be nice if I could either print multiple settings in one printbed, or have multiple small pistons to test more than one batch at a time. This is still concept at the moment, but if I do get more solid progress on this I share. -
Setting out the challenges
05/12/2022 at 19:02 • 0 commentsAs stated in the description, the goal is to create parts that are biodegradable and made from renewable materials. If a part is 80% wood, but bound by a plastic it loses a lot of the advantages. Wood filaments for FDM printing for instance do gain the feel and sometimes smell of wood, but are ultimately still made of plastic with all the drawbacks thereof.
The challenge of creating a 3DP powder that is fully degradable and renewable is that a lot of common solutions do not meet the given requirements. The specific problems that need to be solved are:
Creating a binder
The binder is sprayed into the powder using an inkjet printhead. In my case the HP45. The HP45 is a thermal inkjet (TIJ), so it can handle water based fluids. TIJ heats a fluid to expel it from the printhead. This means that fluids that burn before vaporizing, or leave deposits when they are vaporized are not usable in printhead. Also the boiling point needs to be close to water.
Luckily, while the fluid is called the binder, it usually does little binding itself. Most of the work is usually done by the powder. The binder can therefore be a simple mix of water and alcohol. People have printed with neat vodka or sake with great success.
Other ingredients are surfactants and if the particles are small enough pigments. Binders with glues do exist, but none are specifically known by me.
Creating a powder
The powder consists off several steps.
- The base material: The material which will make up the bulk of the powder. In this case it will be organic powders such as wood flour, ground nuts and maybe coffee grounds.
- The glue: The material which solidifies when it is hit with water, through various mechanisms. Known glues are:
- PVA powder
- Maltodextrine (a starch)
- Sugar
- Urea-formaldehyde (also called plastic resin glue)
- The stabilizer: A material which add extra properties to powders, such as better spreadability, or making the material more hydrophobic of hydrophilic, to prevent wicking from printed parts to unprinted parts. This includes materials like corn starch.
Creating a good powder is getting the mix right on all of the above points. The goal is to create a part which can be handled and cleaned before the next step.
Creating a post processing step
3DP printed parts are notoriously weak. The strength right out of the printer (called green strength) is usually only enough for some basic handling. Parts right out of the printer are rarely strong enough for real work. A few ways to strengthen cleaned parts are:
- Baking the parts in an oven (either household oven or ceramic oven, depending on the powder)
- Infiltrating the part with a glue like CA glue or epoxy
- Infiltrating the part with a molten material which solidifies like wax or metal
- Soaking the part in water or another fluid which activates something in the part
- Subjecting the part to a gas which activates something in the part
The ultimate goal is to make the part strong enough to be actually used. How strong this is depends on what the expected use is.
Bonus points
Given that we want to create a part in wood, there is one more thing which can be done. Do more to make it look like wood. We work in wood powder, which is an even color, but 3DP, being an inkjet based technique, can add color to parts. While Oasis in it's current form cannot print in color, but this would be a great addition.
Previous work
No work gets done in a vacuum, and this is no exception. A great deal of research has been done by open3DP (https://depts.washington.edu/open3dp/). Even wood has been done already, though it has not been perfected yet in my opinion (https://depts.washington.edu/open3dp/2011/04/woodnt-you-know-it-3dp-in-wood/)
Other links of interest are:
- http://www.evillabs.net/index.php/ZCorp_Z310%2B#Materials
- The book "Printing architecture" by Ronald Rael and Virginia San Fratello
 A small format testing printer
 V4 would be available at the moment, but chip shortages have made the controller hard to source. Once chips become more available I will see how to make V4 available.