 Adsurb
-
1CRT
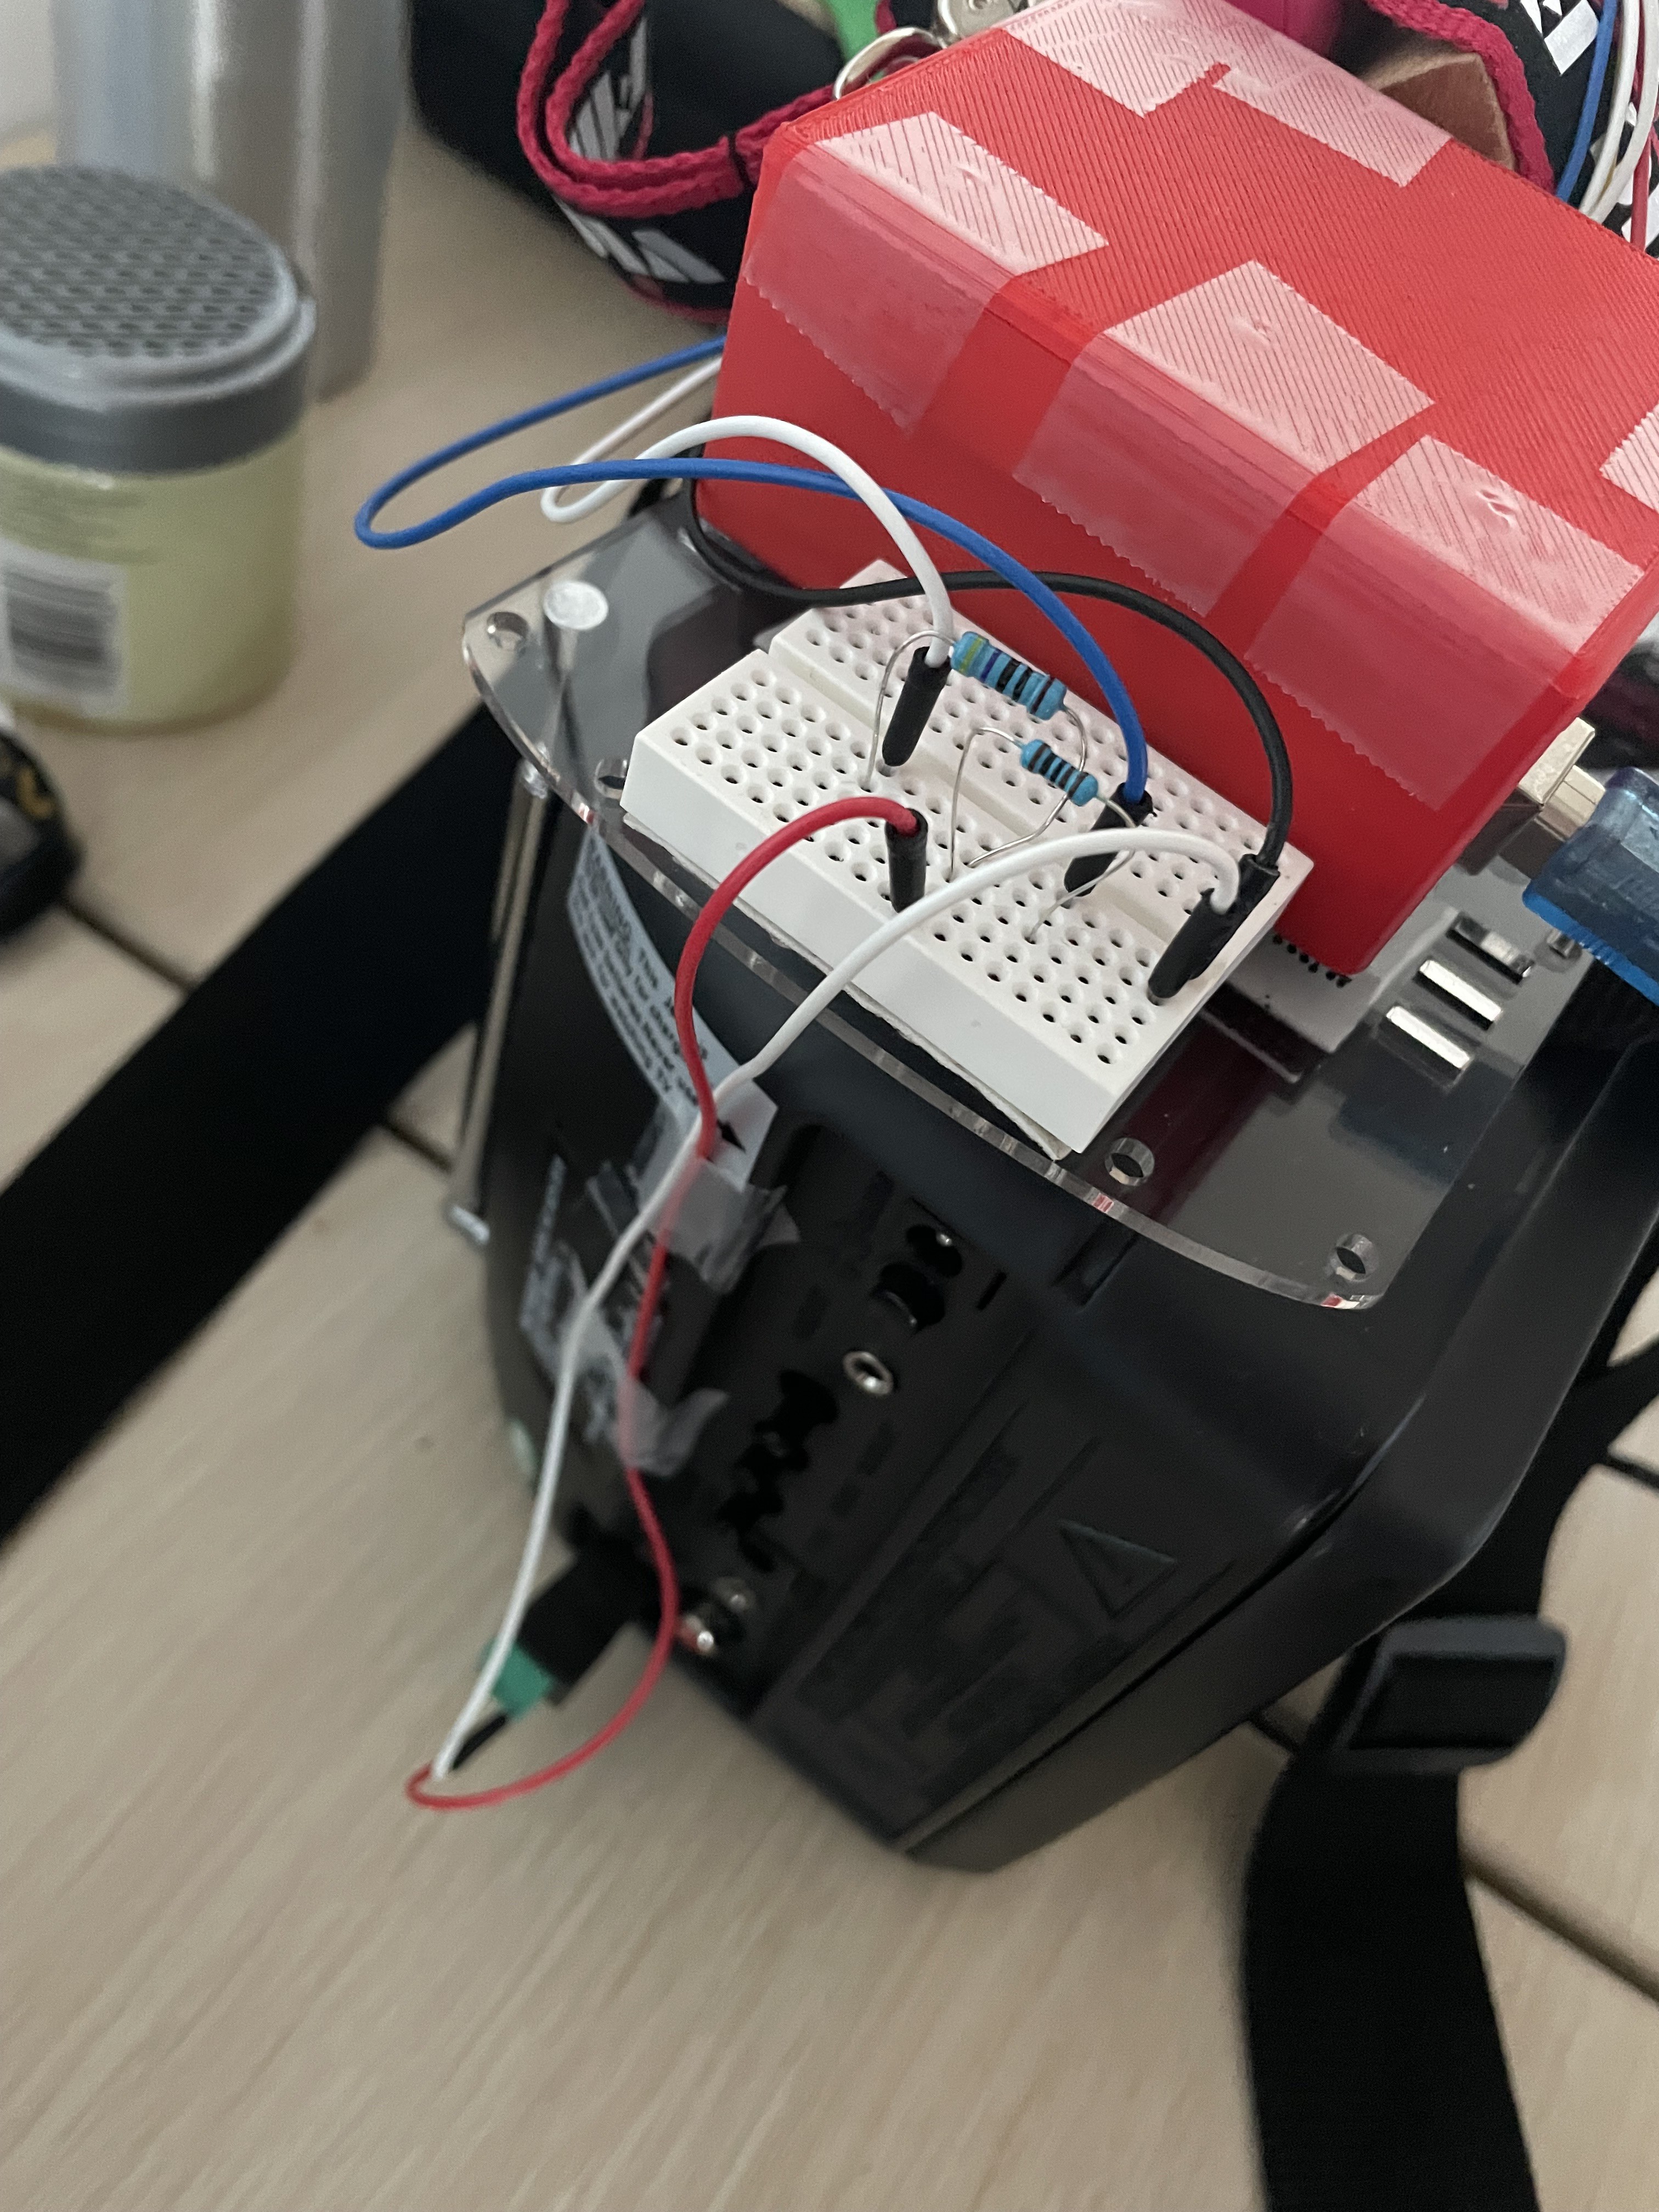
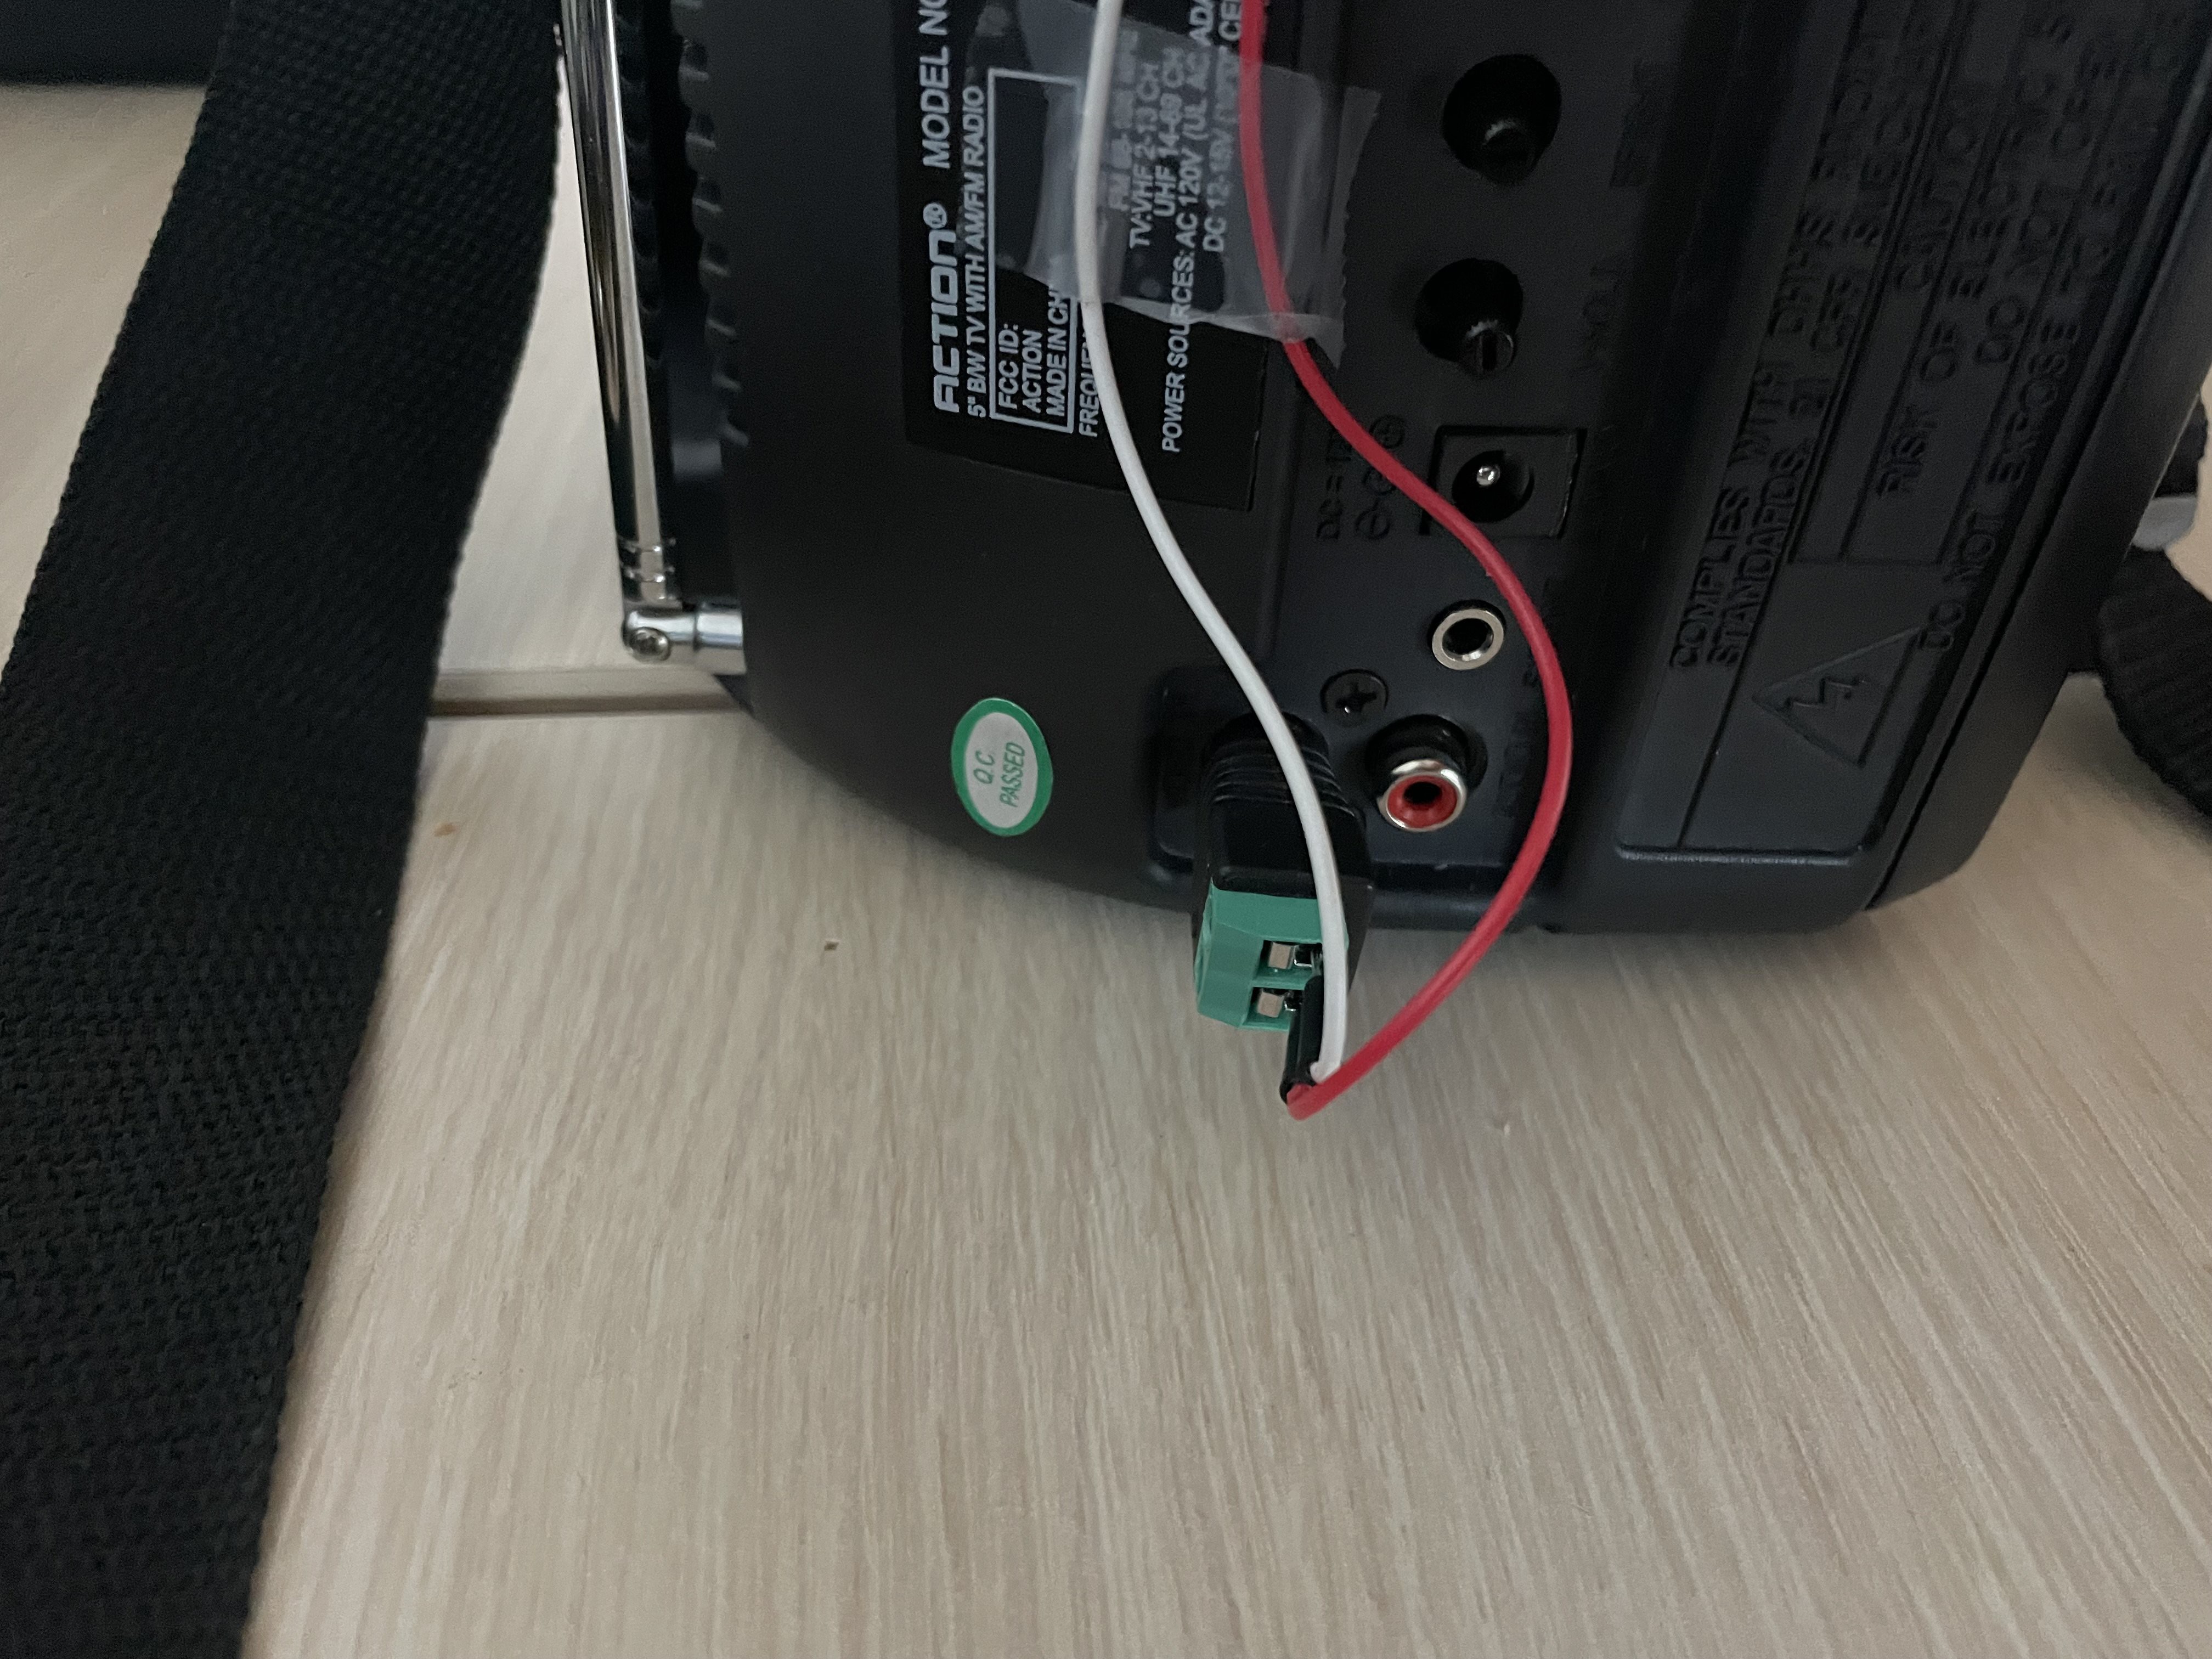
So first thing I did was buy a CRT. You can get a small one off etsy or ebay, I got mine from etsy. Once you get it, plug up a composite video cord from your Arduino to the video port of your TV. You will need to use a 470 & 1k ohm resistor to do this
![]()
![]()
![]()
-
2Sound and Video
After, you should be able to code the Arduino to play tones that should generate lines on the TV. If this isn't the case then you should check your connections and check that your CRT is on AV. If your sound is on then you will be able to hear the tone.
![]()
-
3Ribbons and Wires
Now for the actual control of the tones. You will need the soft potentiometers (https://www.sparkfun.com/products/8679), guitar/ukulele neck, 10k ohm resistors, and wires for this step. I used 2 because my neck was too small to fit more. I would try and use 1 if you're just starting. I used a bunch of Velcro adhesive to keep everything in place and added a portable charger for the Arduino.
Optional: You can also add a pressure sensor underneath the ribbon sensor and program it to act as a sort of modulation. You can pick one up here: (Force Sensitive Sensor) https://www.sparkfun.com/products/9674 keep in mind this is a really long one (over 2 feet). For a shorter one (200mm): https://ddrpad.com/products/force-sensitive-resistor-fsr-sensor-long-200mm-size
![]()
-
4Coil Pick (Optional)
So I haven't done the coil pick yet but all it is is just a Pickup Coil. I'm pretty sure you can make one buy just wrapping a coil around something and plugging it into an amp. Or alternatively you can just use a Amp Cable like I've seen from this guy here.
CRTelecaster
A CRT TV made into a guitar-like instrument Inspired by the CRTelecaster made by ELECTRONICS FANTASTICOS


Discussions
Become a Hackaday.io Member
Create an account to leave a comment. Already have an account? Log In.