let’s talk about soldering in a new and easy method. Because I am working with SMT components and stencils for a long time, I build many projects you can see them here. But coming to the soldering part either I have to use my old hand soldering method or Hot air Gun. But when it comes to heating the pads below critical temperature of electronics components specially LED’s and IC’s.
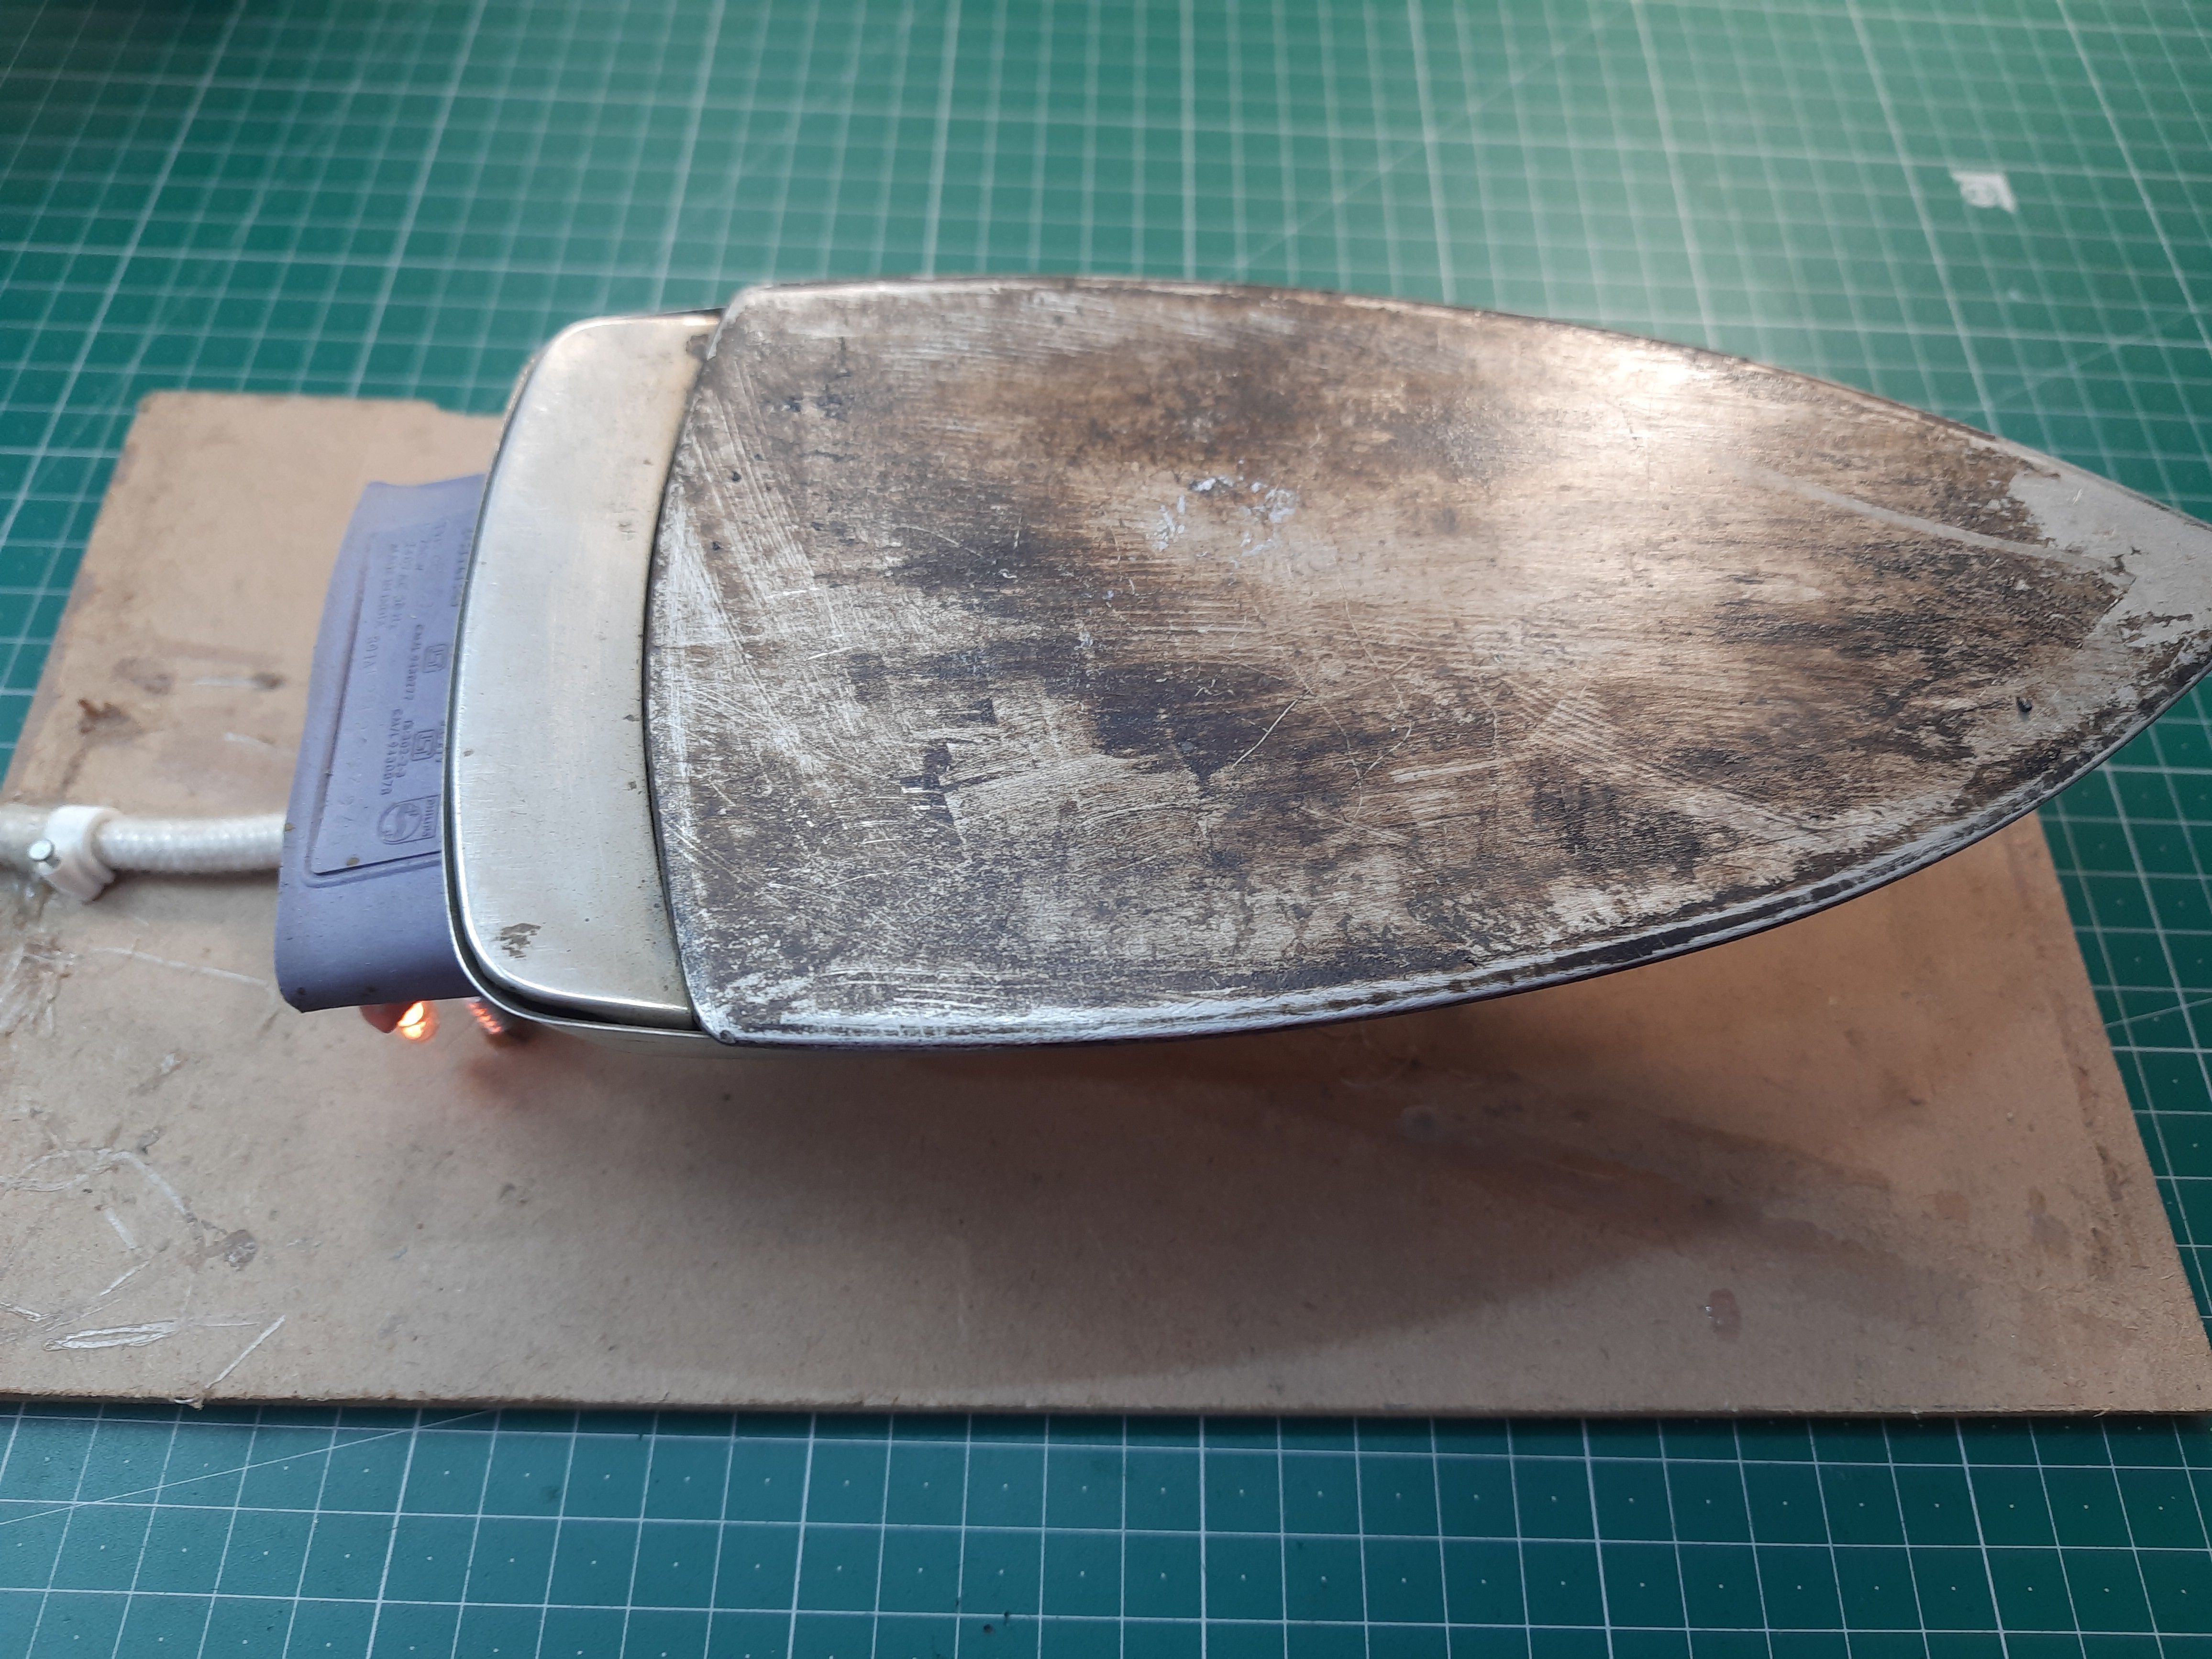
Hot plate soldering can be the solution, this method used in assembling most of the SMT components in industries and factories. This one is easy and reduce the overall residue soldering material. So, a reliable method if you want to go with a cheap one then cloth iron at 250-350 degrees can do the job perfectly. But if you want to go with a DC unit then a simple PCB with copper tracks can be used.
Hot plate concept:
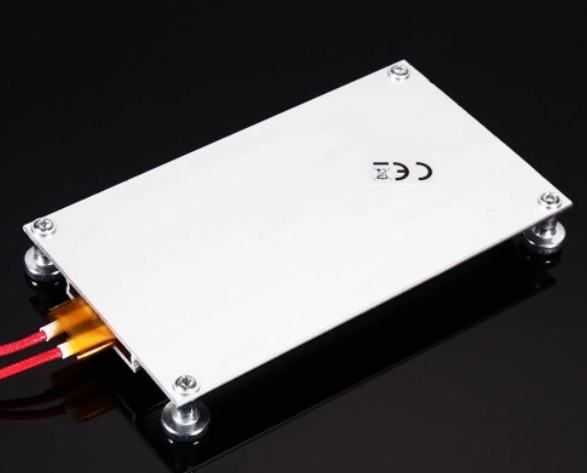
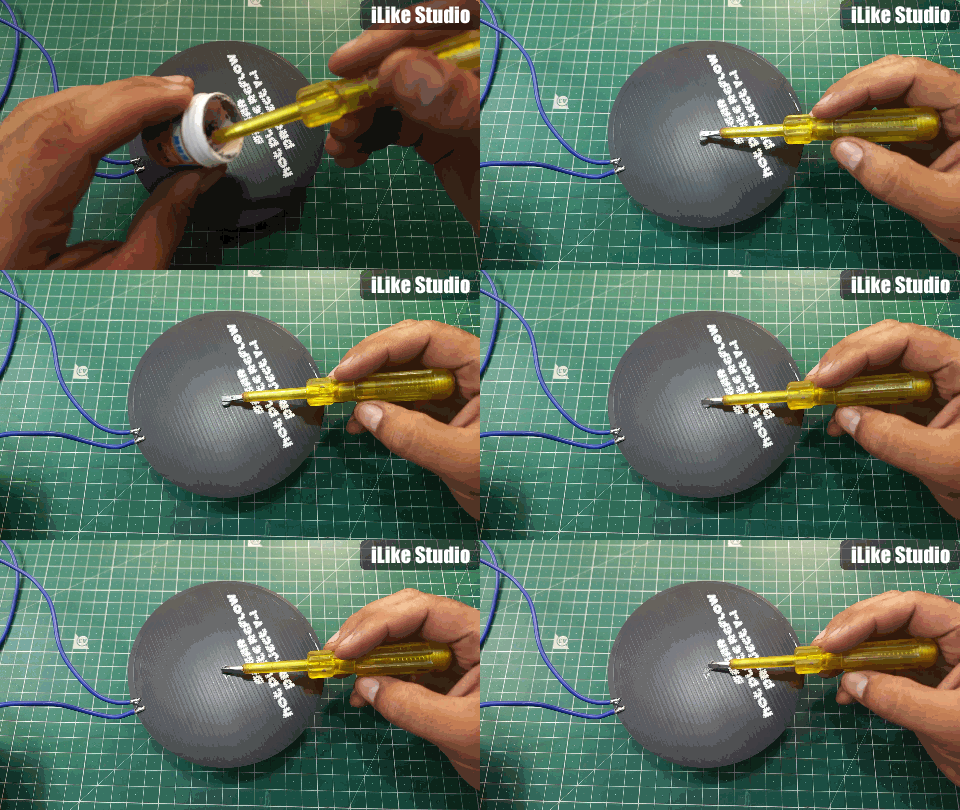
As mentioned earlier it is similar to a cloth iron, if we place our SMT PCB after applying solder paste on iron. Iron will heat the PCB surface directly and make the desired soldering joint, so instead of heating components here we are heating pads of the components. Which saves a lot of components to destroy but we have to maintain the temperatures according to soldering components and joints(big/small).
PCB for Hot plate:
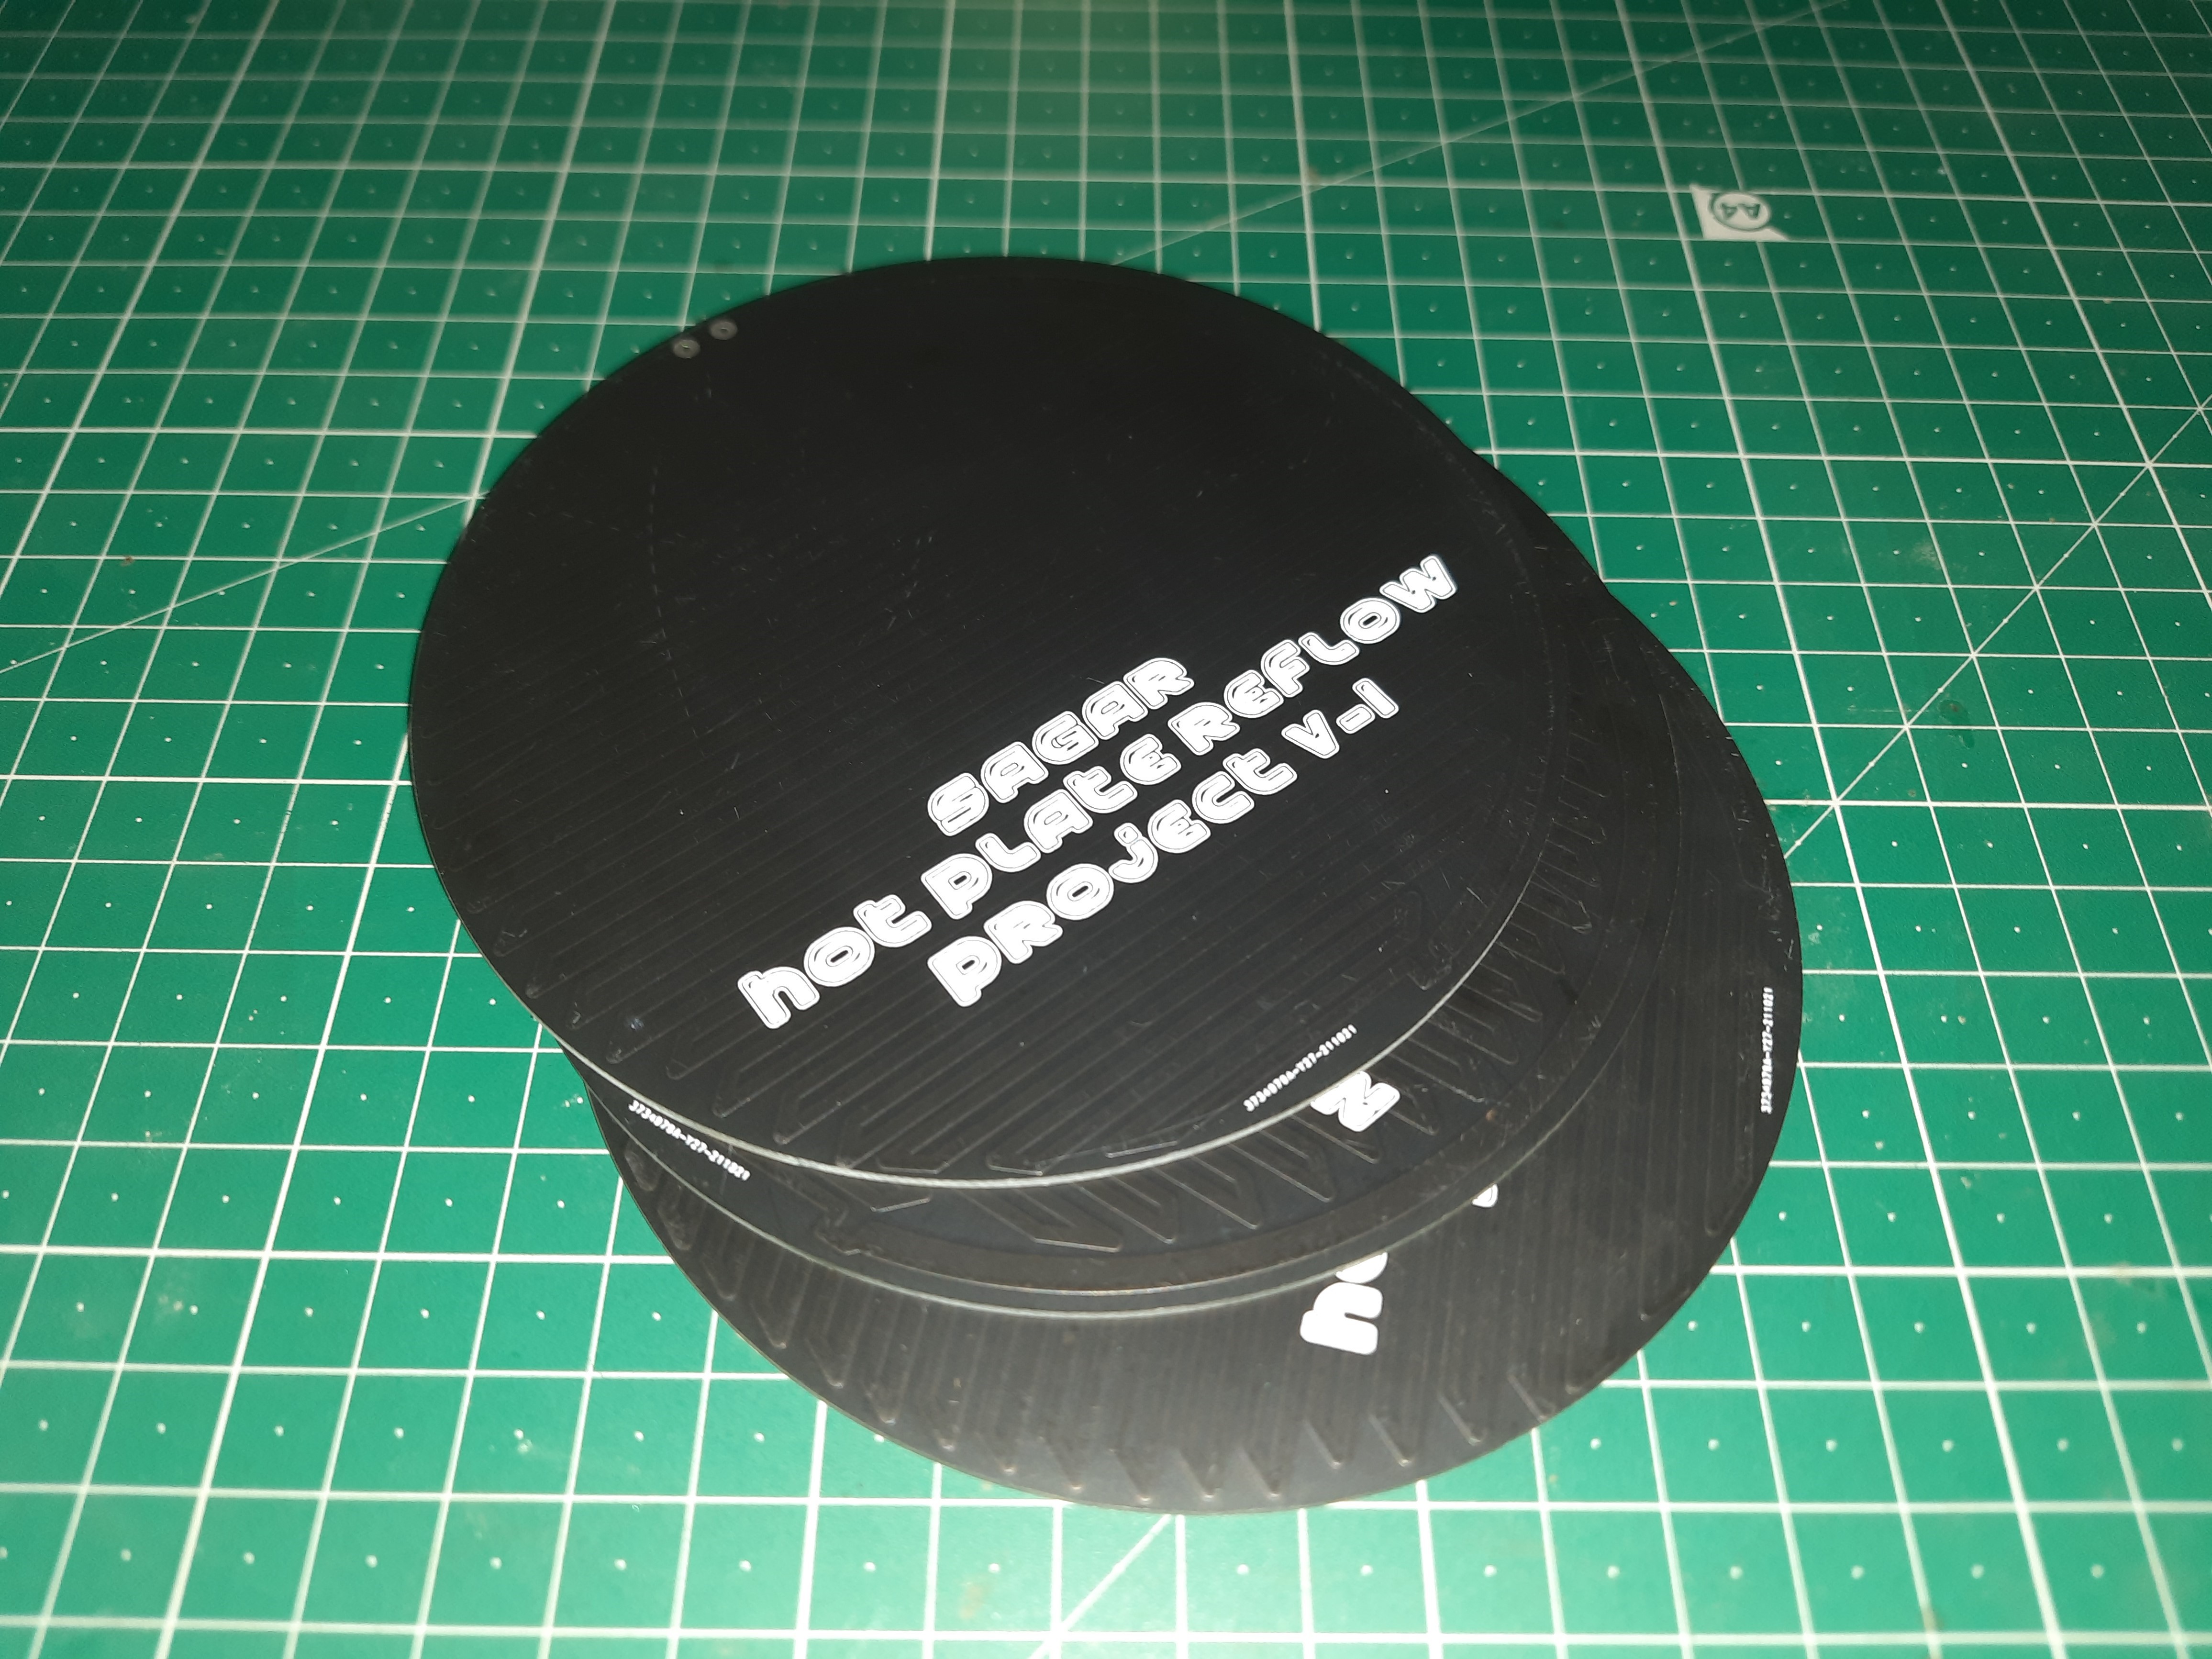
A simple PCB cannot do the job, because we have to arrange a lot of copper tracks. When these copper tracks are supplied with high power SMPS then heat will produce. Also, FR4 material is not capable to tolerate this much (300 degrees) temperature. So, I decided to switch into Aluminum material PCB with copper weight of 1oz. To make the desired PCB the only solution I can found Is "PCBWAY" prototype PCB service, this is the only manufacturer to complete all of my needs. PCBWAY is providing best quality PCB in low prices.
Making desired PCB:
First you have to choose the area, more the area of PCB more will be the track length and more will be the resistance.
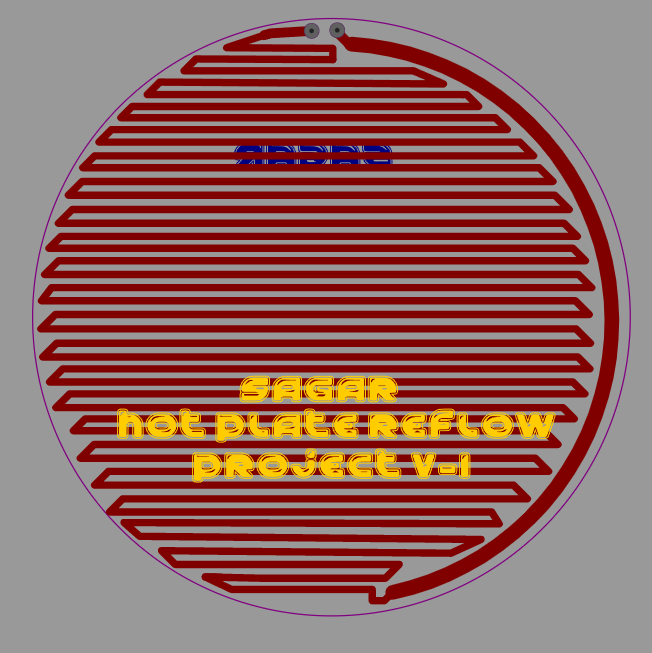
Then set up a separate power supply unit for this, I always suggest to go with a SMPS.
If your PCB is small then, decrease the track width and increase the length accordingly.
My PCB designs:
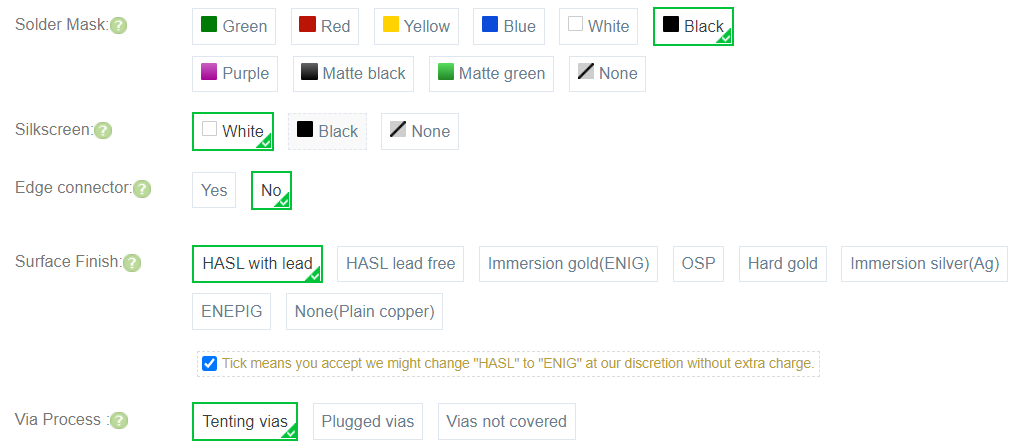
I go with black color 1.6mm aluminum material, ENIG finishing option. Because I want to assemble more boards on a run so I enlarged the size to 120mm. If you want to use same designs as mine then download the Gerber files from here and get the amazing PCB prototype service from PCBWay.
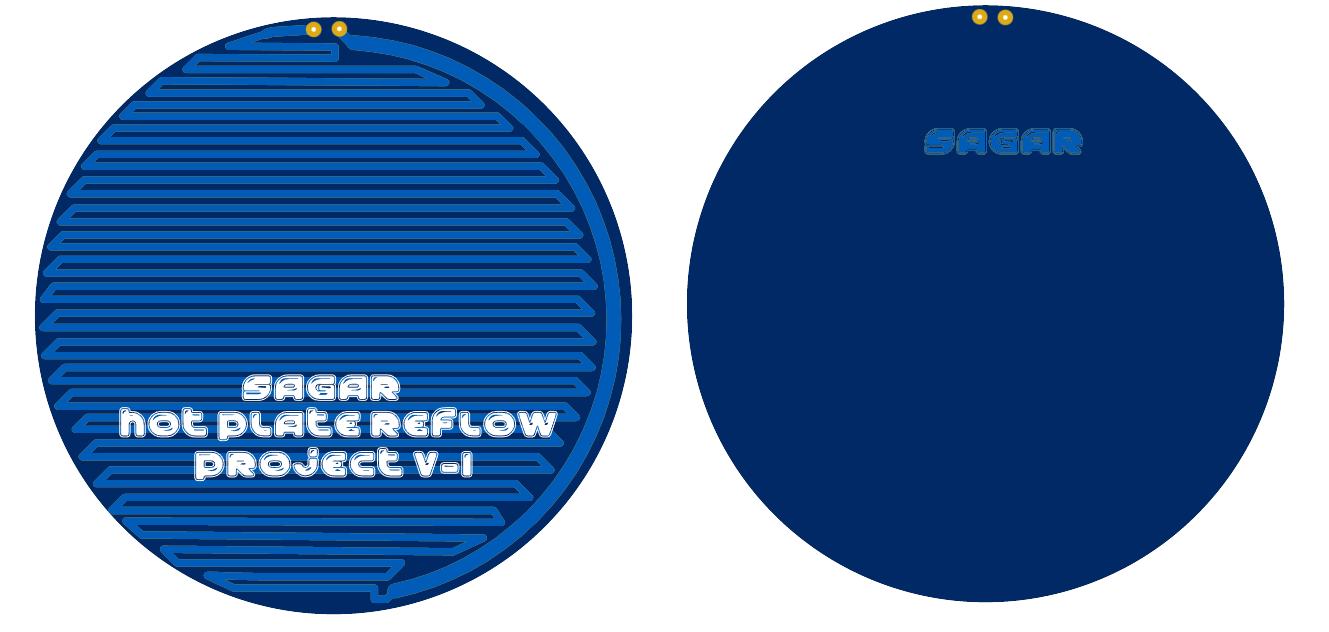
I am using 1.5mm track width with overall resistance of 2 ohms. For this we need a power supply of 18 volts at 9 amperes.
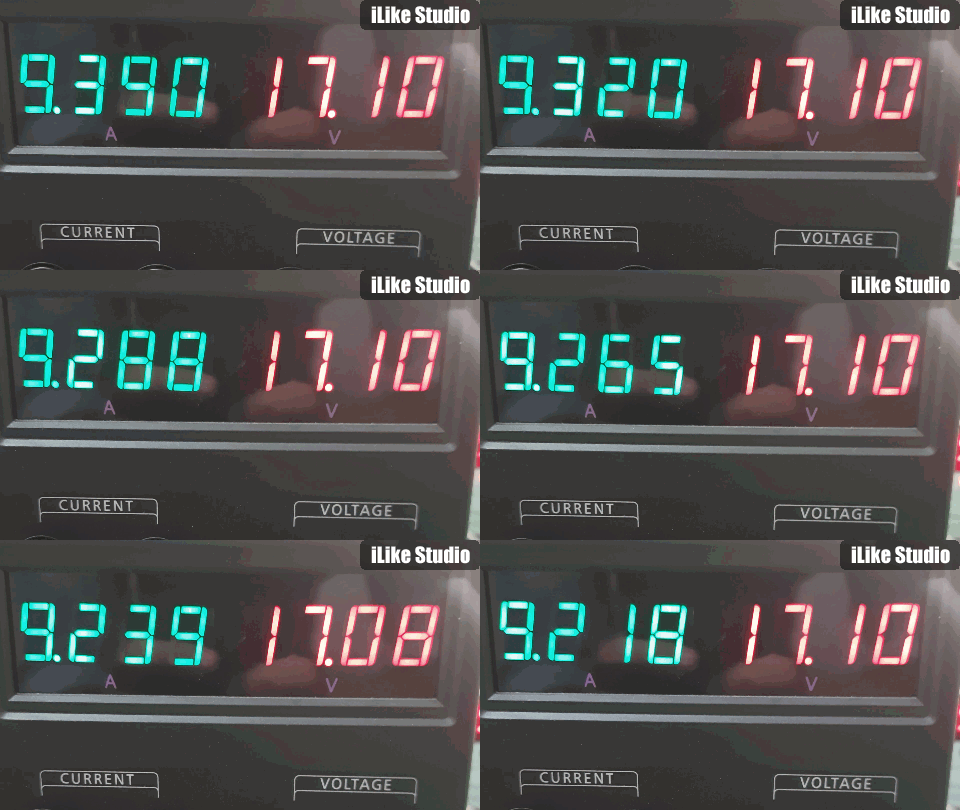
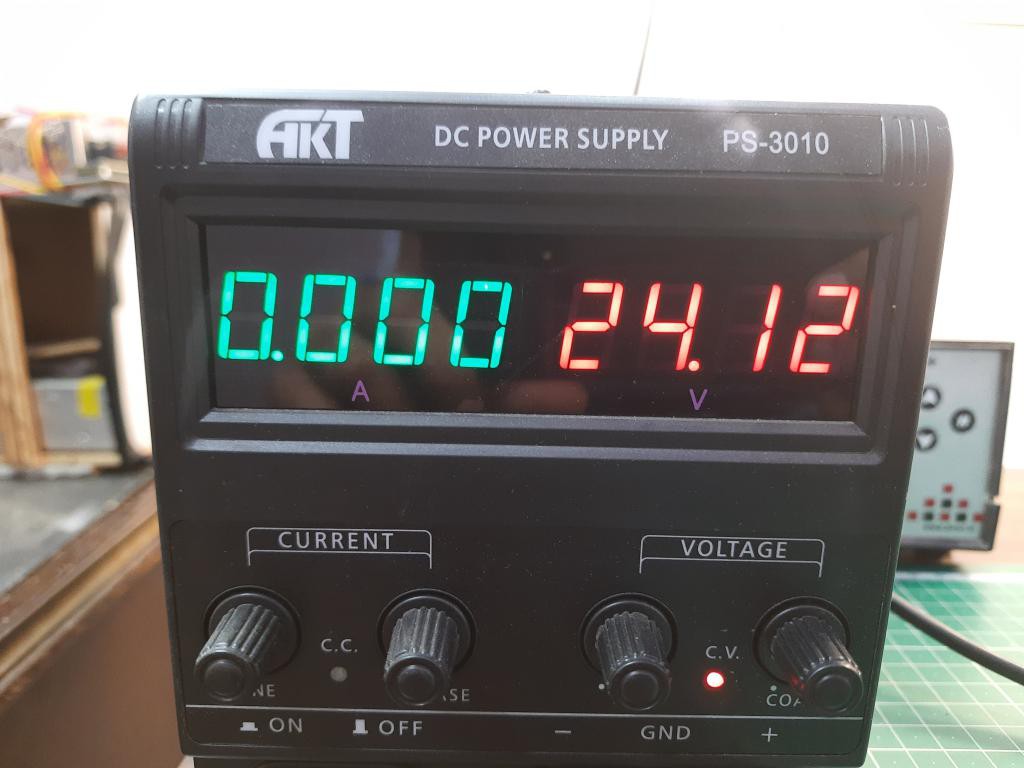
For now, we are not designing the controller circuit, because I am using 30v 10ampere adjustable power supply. here for the initial test, I can adjust the voltage and current to keep the temperature stable. But in future we will make a proper controller board with microcontroller and temperature display function.
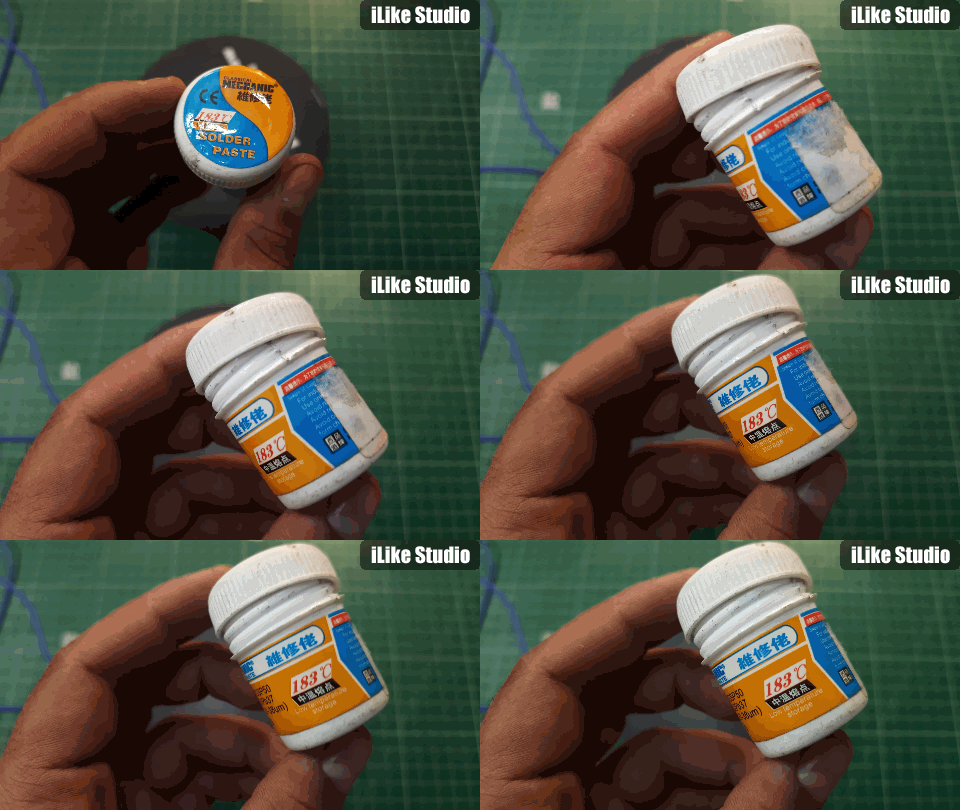
Here I am using soldering paste having low melting point, but to increase the stability and heating (keeping the environmental conditions and physical factors in mind we need at least 250 degrees on this hot plate.
Working and tests:
But I increased the current and voltage to 24volts @10amperes, now at a power of 240watts the performance is very good but I suggest not to use it with high temperature.
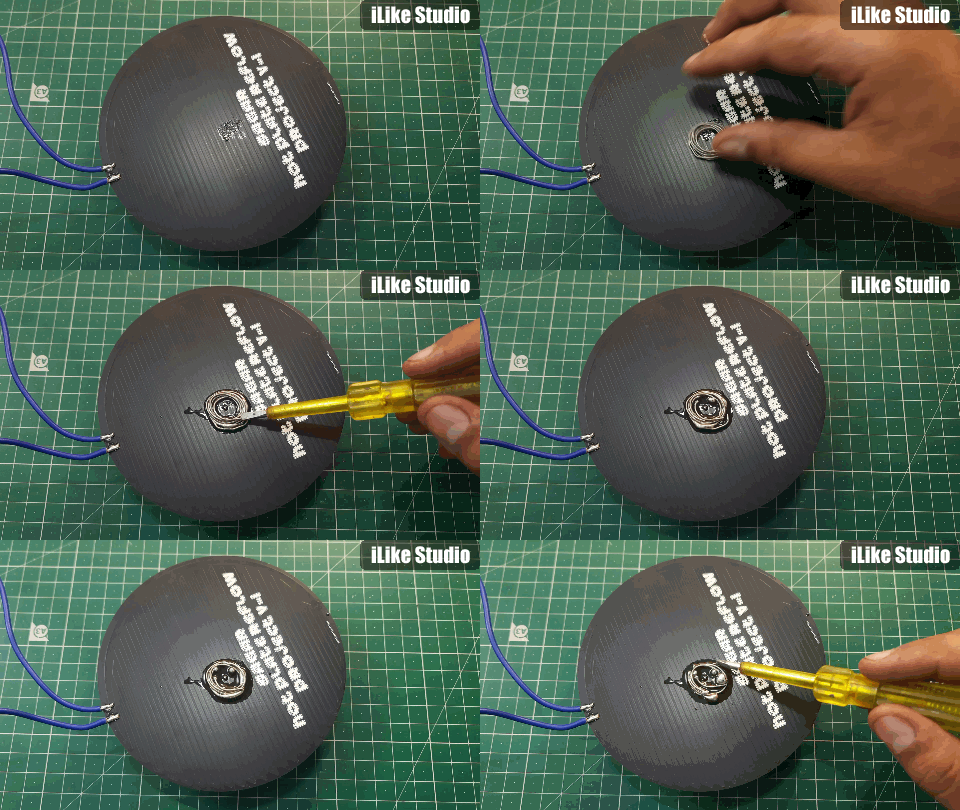
Actually the limit is not temperature, it can go up to 400degrees but only for at most 10 seconds. If further supplied with constant power then copper tracks may burn or excessive heat may cause fire. Try to keep the temperatures stable for 250 degrees supply 15v @8 amperes and cut the supply for 10 seconds after each minute.
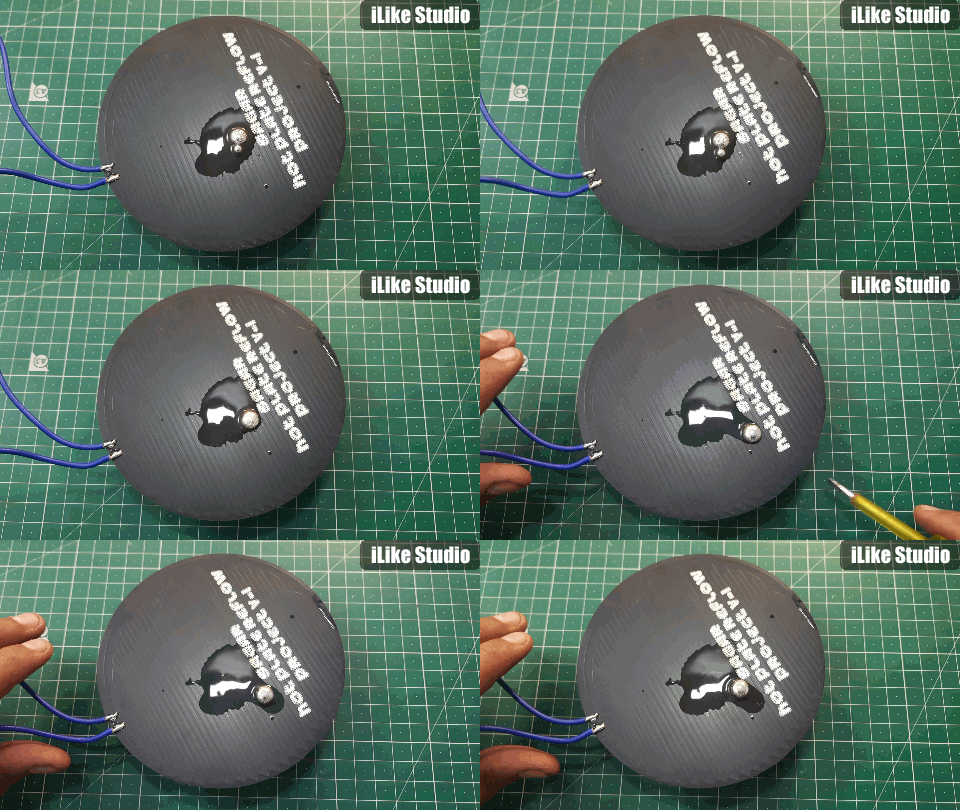
I know very well, this is not practical for everyone so I will design a controller unit soon. Stay tuned for the next updates.
How to order PCB from PCBWAY:
First, Go to PCBWAY and sign-up using this link. Click on instant quote and choose the designed PCB dimensions, If wrong then corrected by the team of engineers.
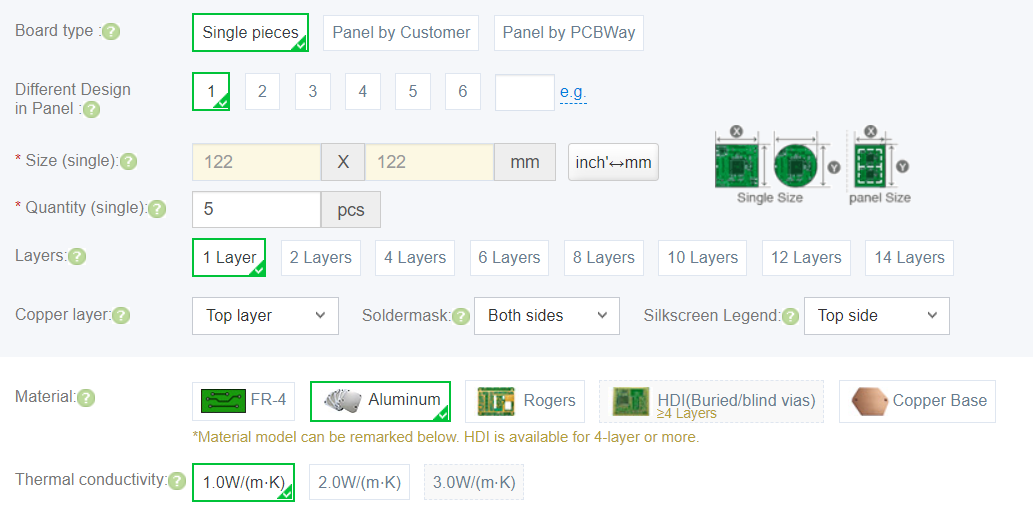
Select the quantity, thickness, color, material and Finishing type.
 Lithium ION
Carl Bugeja has a good video on this: https://www.youtube.com/watch?v=dy9NutXl2OY