-
1Collect or Shred
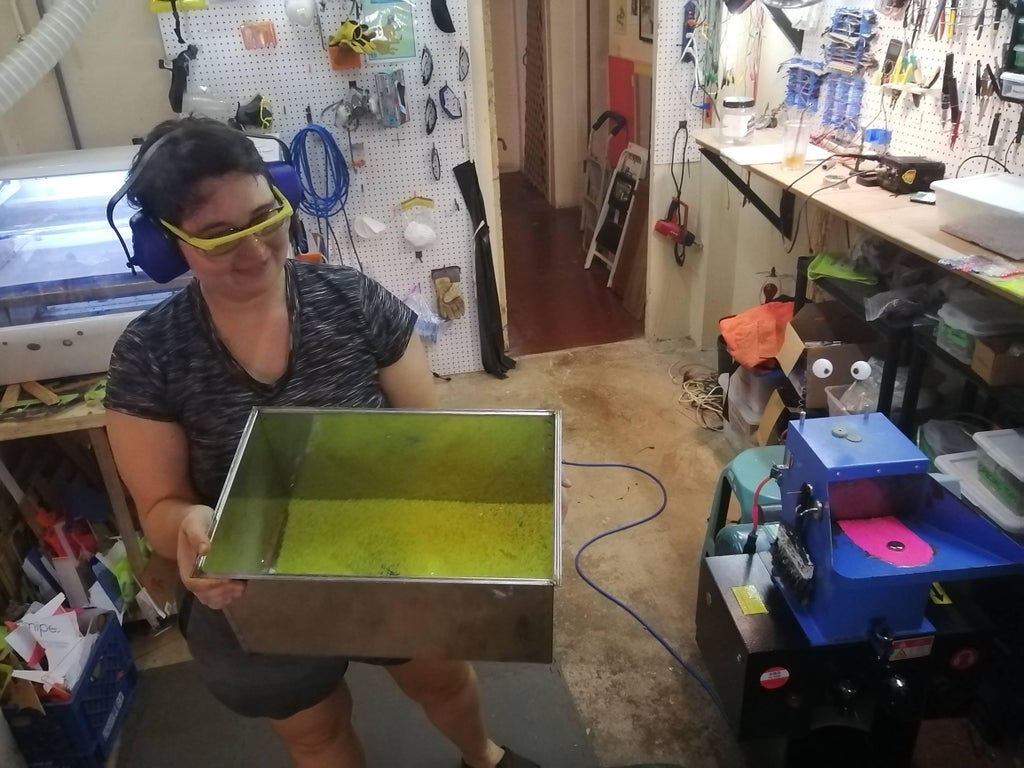
The most basic way to do this is just grab whatever scraps of plastic you have laying around and toss them into the heater. But if you want more control over your work, you can first sort the acrylic by color! Also if you have a plastic shredding machine (we do luckily!) you can break down the acrylic into tinier bits that can make for an even more homogenous sheet when you melt and press them.
![]()
You can also shred it
![]()
-
2Heat Plastic and Plates
Remember one of the keys of this process is that the plastic needs to stay heated WHILE it is being pressed. We are using the steel plates as a way to hold the heat on the acrylic while it is being smashed (They are like thermal ballast). Folks like offcut studio seem to have a cool machine that heats WHILE it is pressing which makes it a lot easier, but we are doing this the cheapo-DIY way!
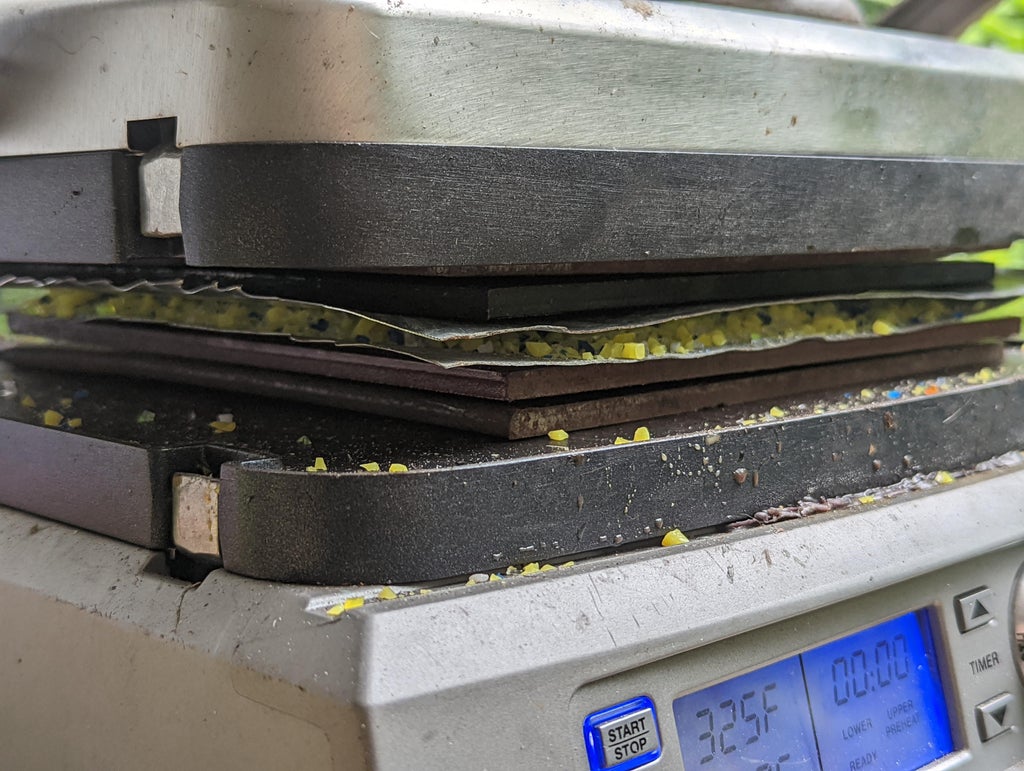
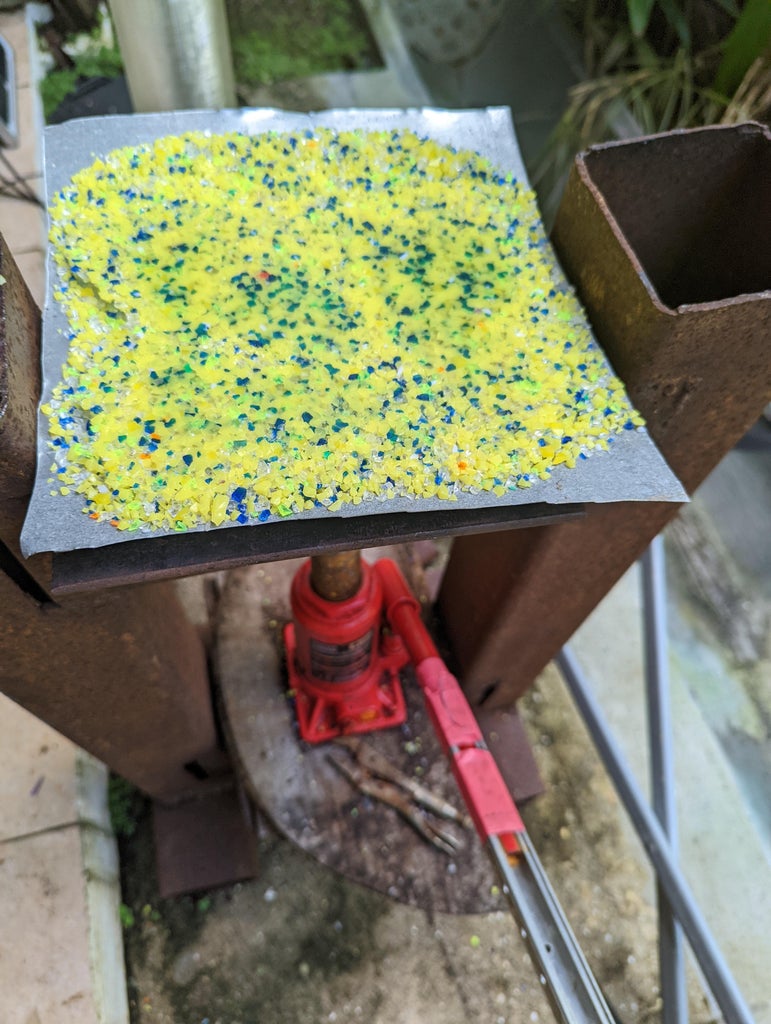
So put your metal sheets onto your pannini press / other heat source. Then put your thin galvanized metal sheets on top of the thick metal plates. Then add your acrylic off-cuts or shredded acrylic. Remember you can do this with small sheets of acrylic or off-cut bits or small shreds, it all works good!
Heat everything 325F / 165C
Let the plates and the acrylic get nice and warm for about 10 minutes.
Notice i have some weights on top, these won't be enough to heat press the acrylic, but the little bit of added pressure helps get the heat into all the parts.
![]()
![]()
-
3Press (with Heat)
After the plates seem saturated with heat and the acrylic is nice and warm it's time to transfer it to the press!
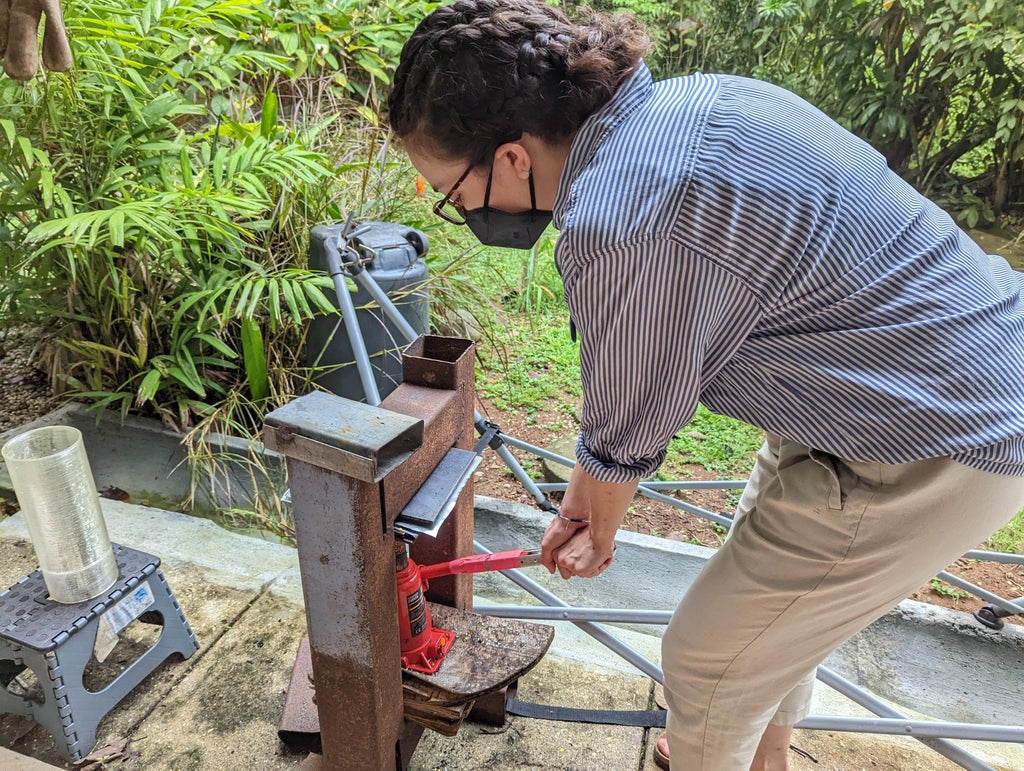
Use some heat-proof gloves to move your hot metal+ acrylic sandwhich to your press.
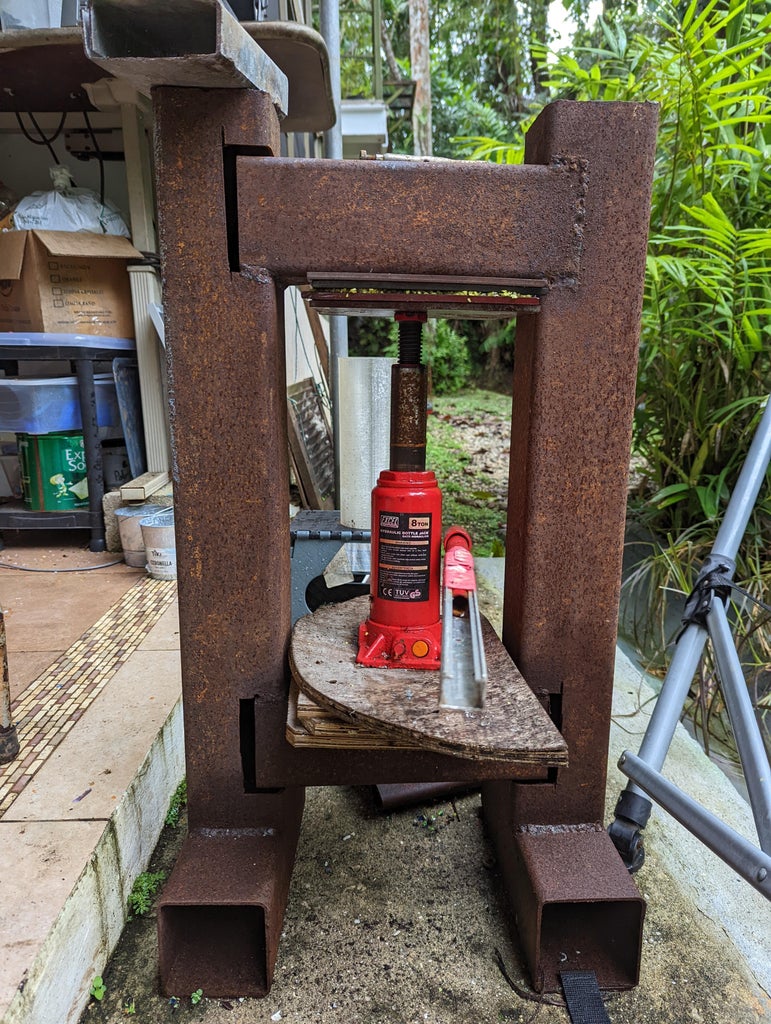
Start cranking the press when everything is locked down into place. You should be able to noticably see the gap where the acrylic is getting noticably smaller. Crank your jack until you have reached the desired thickness (Usually i aim for half the original thickness of what i put in there, so i know it's been smashed well!) and then let the whole setup sit for 30 minutes.
MAKE SURE NOT TO OVERLOAD THE CAPACITY OF YOUR PRESS. That is, if you built a press yourself like we did, don't crank it so tight that the press itself might break!
![]()
![]()
-
4Demold and Cut Again!
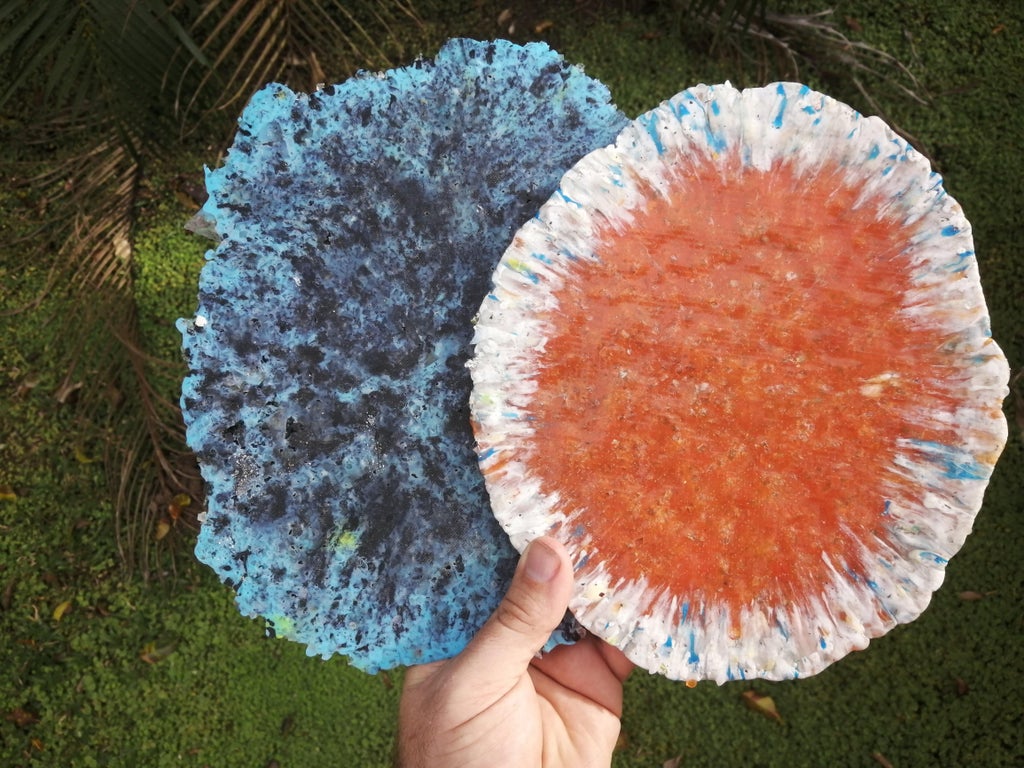
Release the pressure on your bottle jack and see how it turned out! Ideally there should be no gaps and all the plastic is merged together well. If not, you can always heat it up and squish it some more!
![]()
![]()
![]()
-
5Package and Sell Your Upcycled Crafts
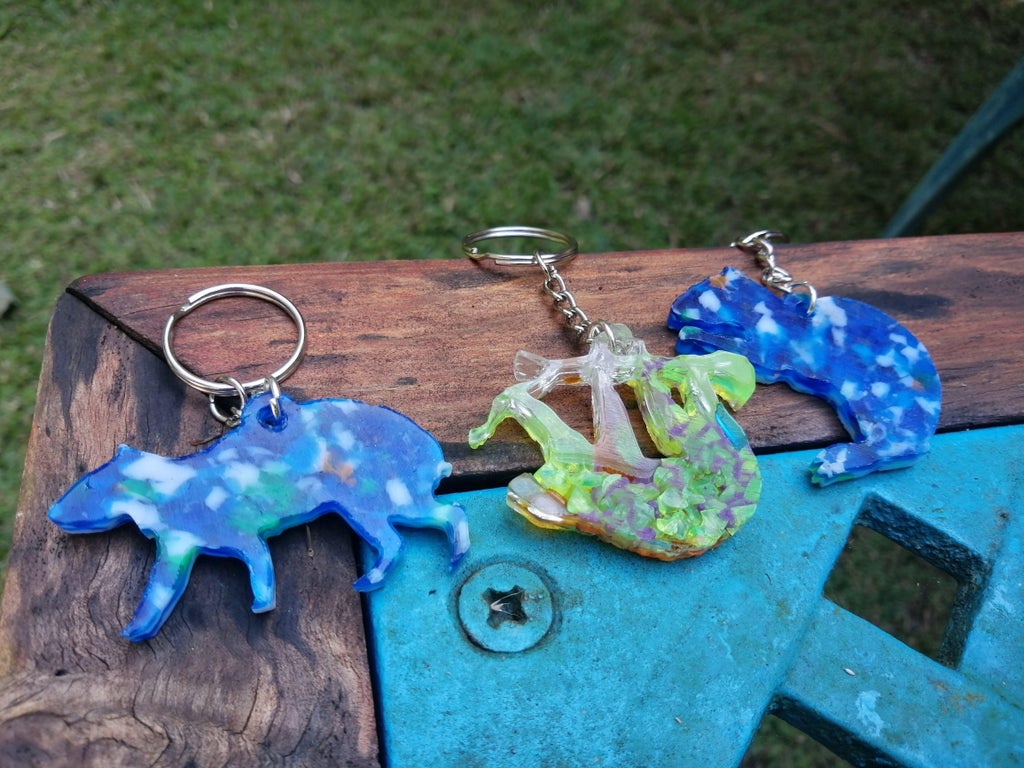
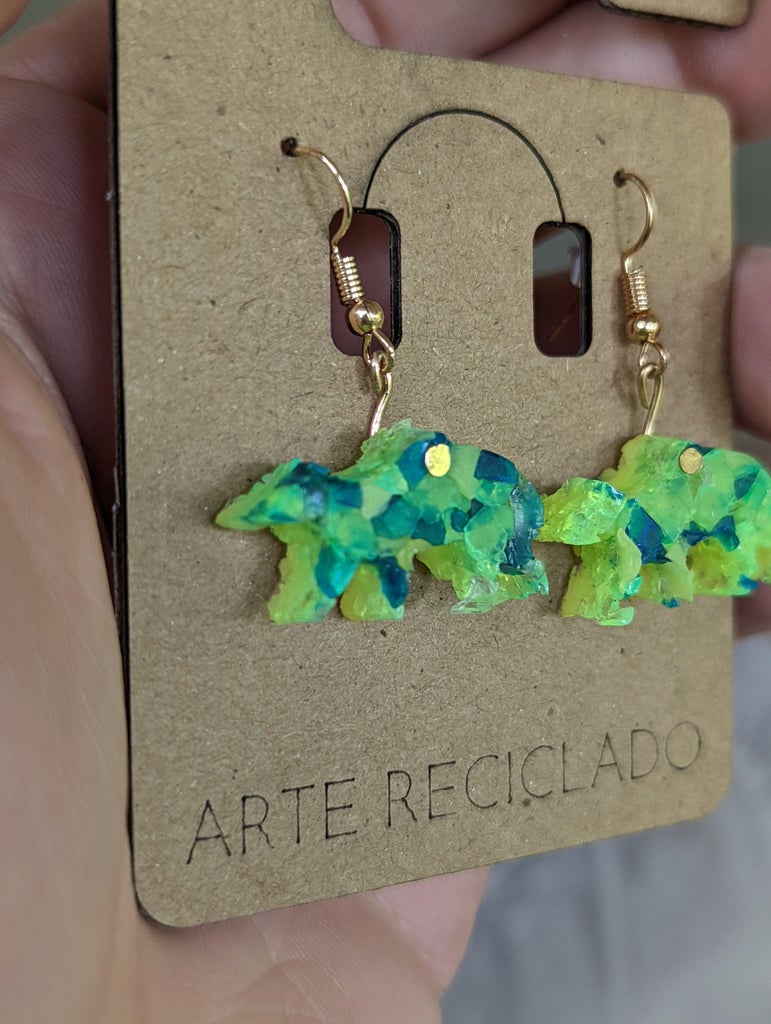
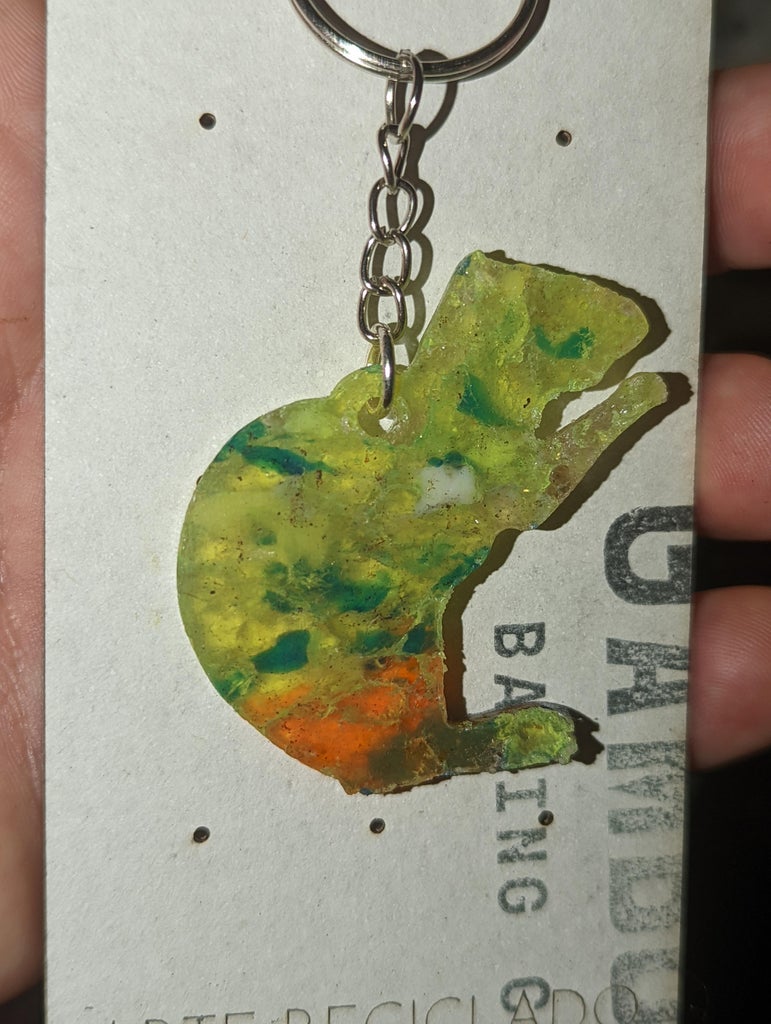
We sell all our upcycled art to help out a really nice rescue center we work with that rehabilitates endangered animals (like sloths and tapirs) https://www.appcpanama.org/. All the money we get selling these goes directly to feeding those hungry friends! Last year we raised over $2500 for them!
We open source all our designs so if you want to use our cute jungle creature designs too, please go ahead!
https://github.com/Digital-Naturalism-Laboratories/Dinalab-Keychains
We even make the jewelry holders out of old pizza boxes from a nearby bakery and have the laser cutter templates for those available to you as well!
https://github.com/Digital-Naturalism-Laboratories/Laser-Cut-Jewelry-Holders
You can use these designs to cut old cardboard (like pizza boxes) to hold earrings, keychains, necklaces, or other jewlery
![]()
![]()
![]()
-
6Troubleshooting
Stickiness
The acrylic can sometimes be sticky and hard to peel off the metal. One solution to this is some people put on a mold release (or you can even use non-stick cooking spray) and it will help the acrylic come off easier.
Discoloration
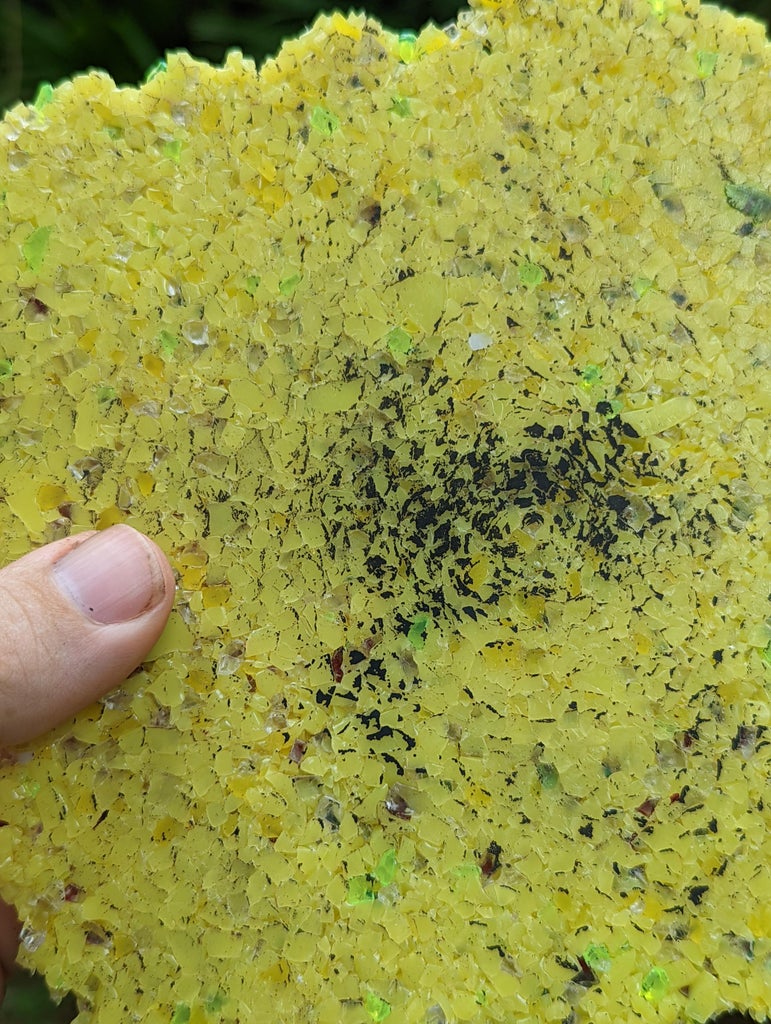
Our first batches we heated and pressed directly on the thick steel sheets. This worked ok, BUT sometimes the paint or rust would embed itself in the surface of our new acrylic sheets and it didn't look that great. So we cut some galvanized steel sheets as liners and the acrylic comes out nice and clean!
![]()
![]()
Too Much Pressure! Too Loose press!
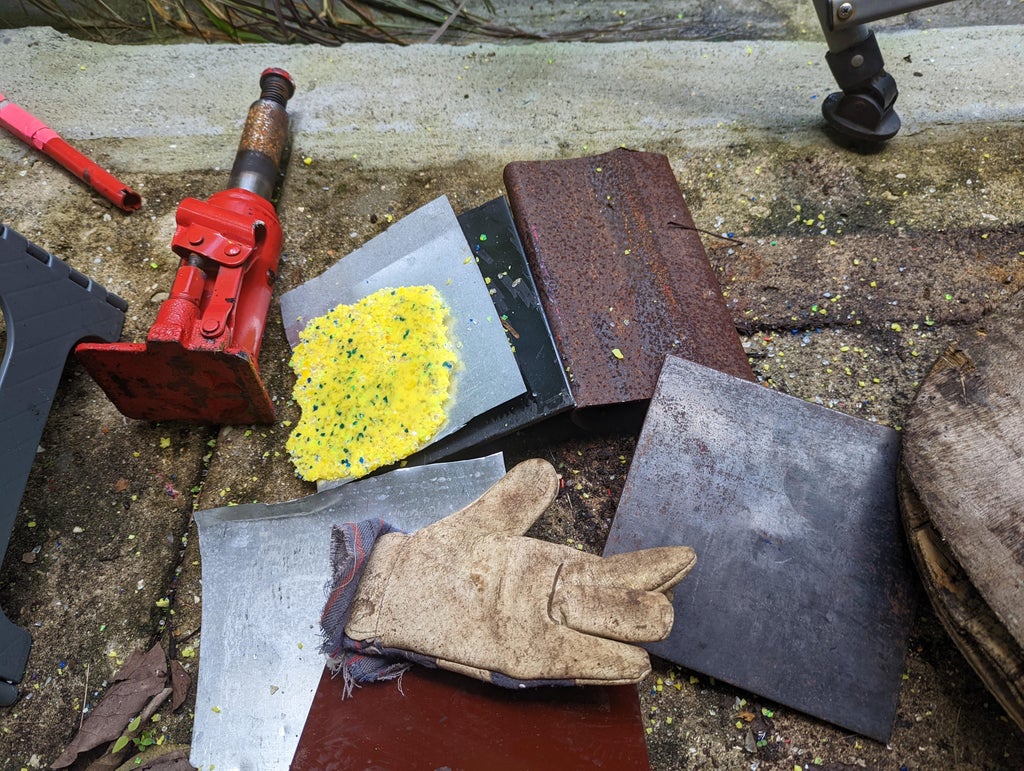
DANGER! If your press is not set up well (like ours was) and the jack isn't bolted in place you can actually tighten the press TOO much and then if the plastic slips the whole press can explode sending your steel sheets flying! so MAKE SURE YOUR PRESS IS SOLIDLY PUT TOGETHER AND LOCKED DOWN to withstand the pressures you are putting it under! You can see the results in the photos above of when our jack slipped out and shot a hot steel plate across the yard! So be CAREFUL!
![]()
![]()
-
7BONUS: Alternate Methods- Mix With Other Plastics
Maybe you don't have the equipment to heat press the acrylic properly, or maybe you don't have the time to wait for each sheet and want it quicker. There is one other approach we tried out:
instead of trying to get the acrylic to stick together, you can instead make a composite and mix the acrylic with another type of plastic that melts easier. As long as the other plastic is also safe for the laser cutter, you should be good!
We used both shredded PLA (from 3D prints) and shredded Polypropylene (PP). The acrylic laser cuts very well on its own, and the PLA and PP are a bit harder/meltier to cut with the laser cutter, so this makes it a bit like a middle ground between the acrylic and other plastics. Plus you can get nice effects where the clear acrylic parts add little windows of transparency.
![]()
![]()
![]()
![]()
Upcycle Acrylic Scraps Into New Sheets and Jewelry
The quick and dirty way to turn your old acrylic scraps from laser cutting into new sheets with panini press and car jack
 blorgggg








Discussions
Become a Hackaday.io Member
Create an account to leave a comment. Already have an account? Log In.