Close
0%
0%

Sunny Surprise

A fun learn-to-solder kit, comes with a cheerful idsposition

Similar projects worth following
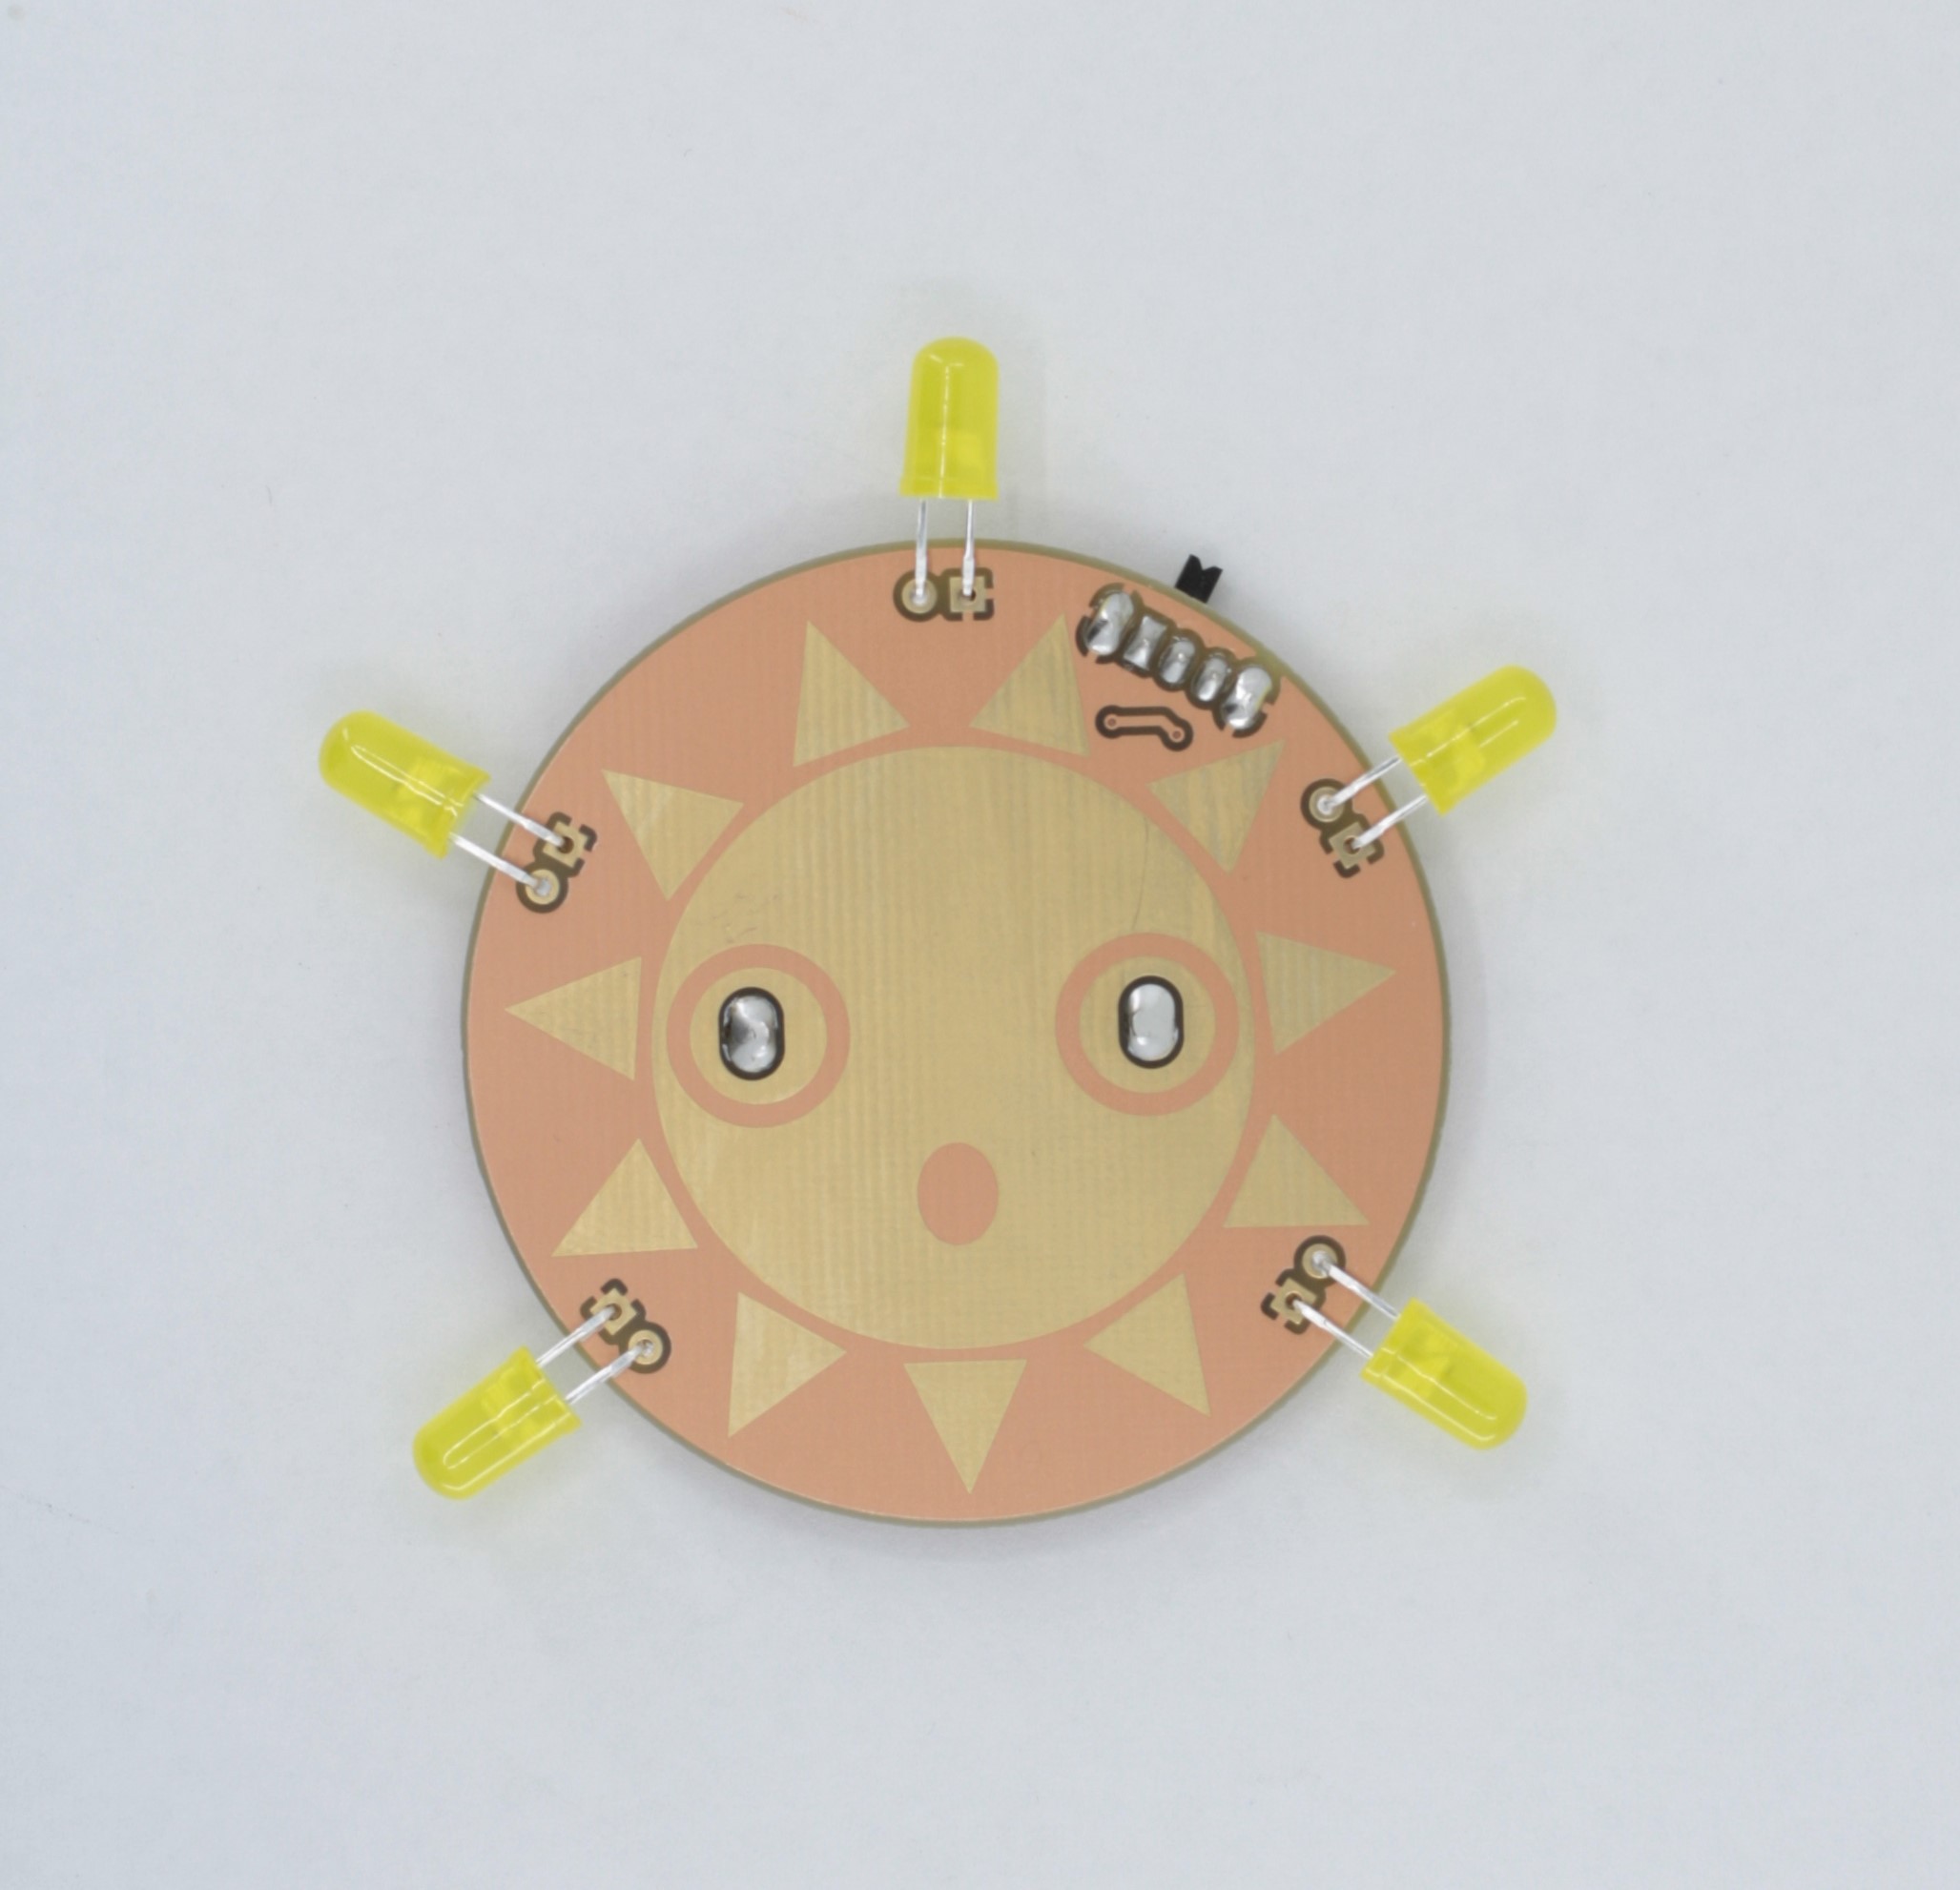
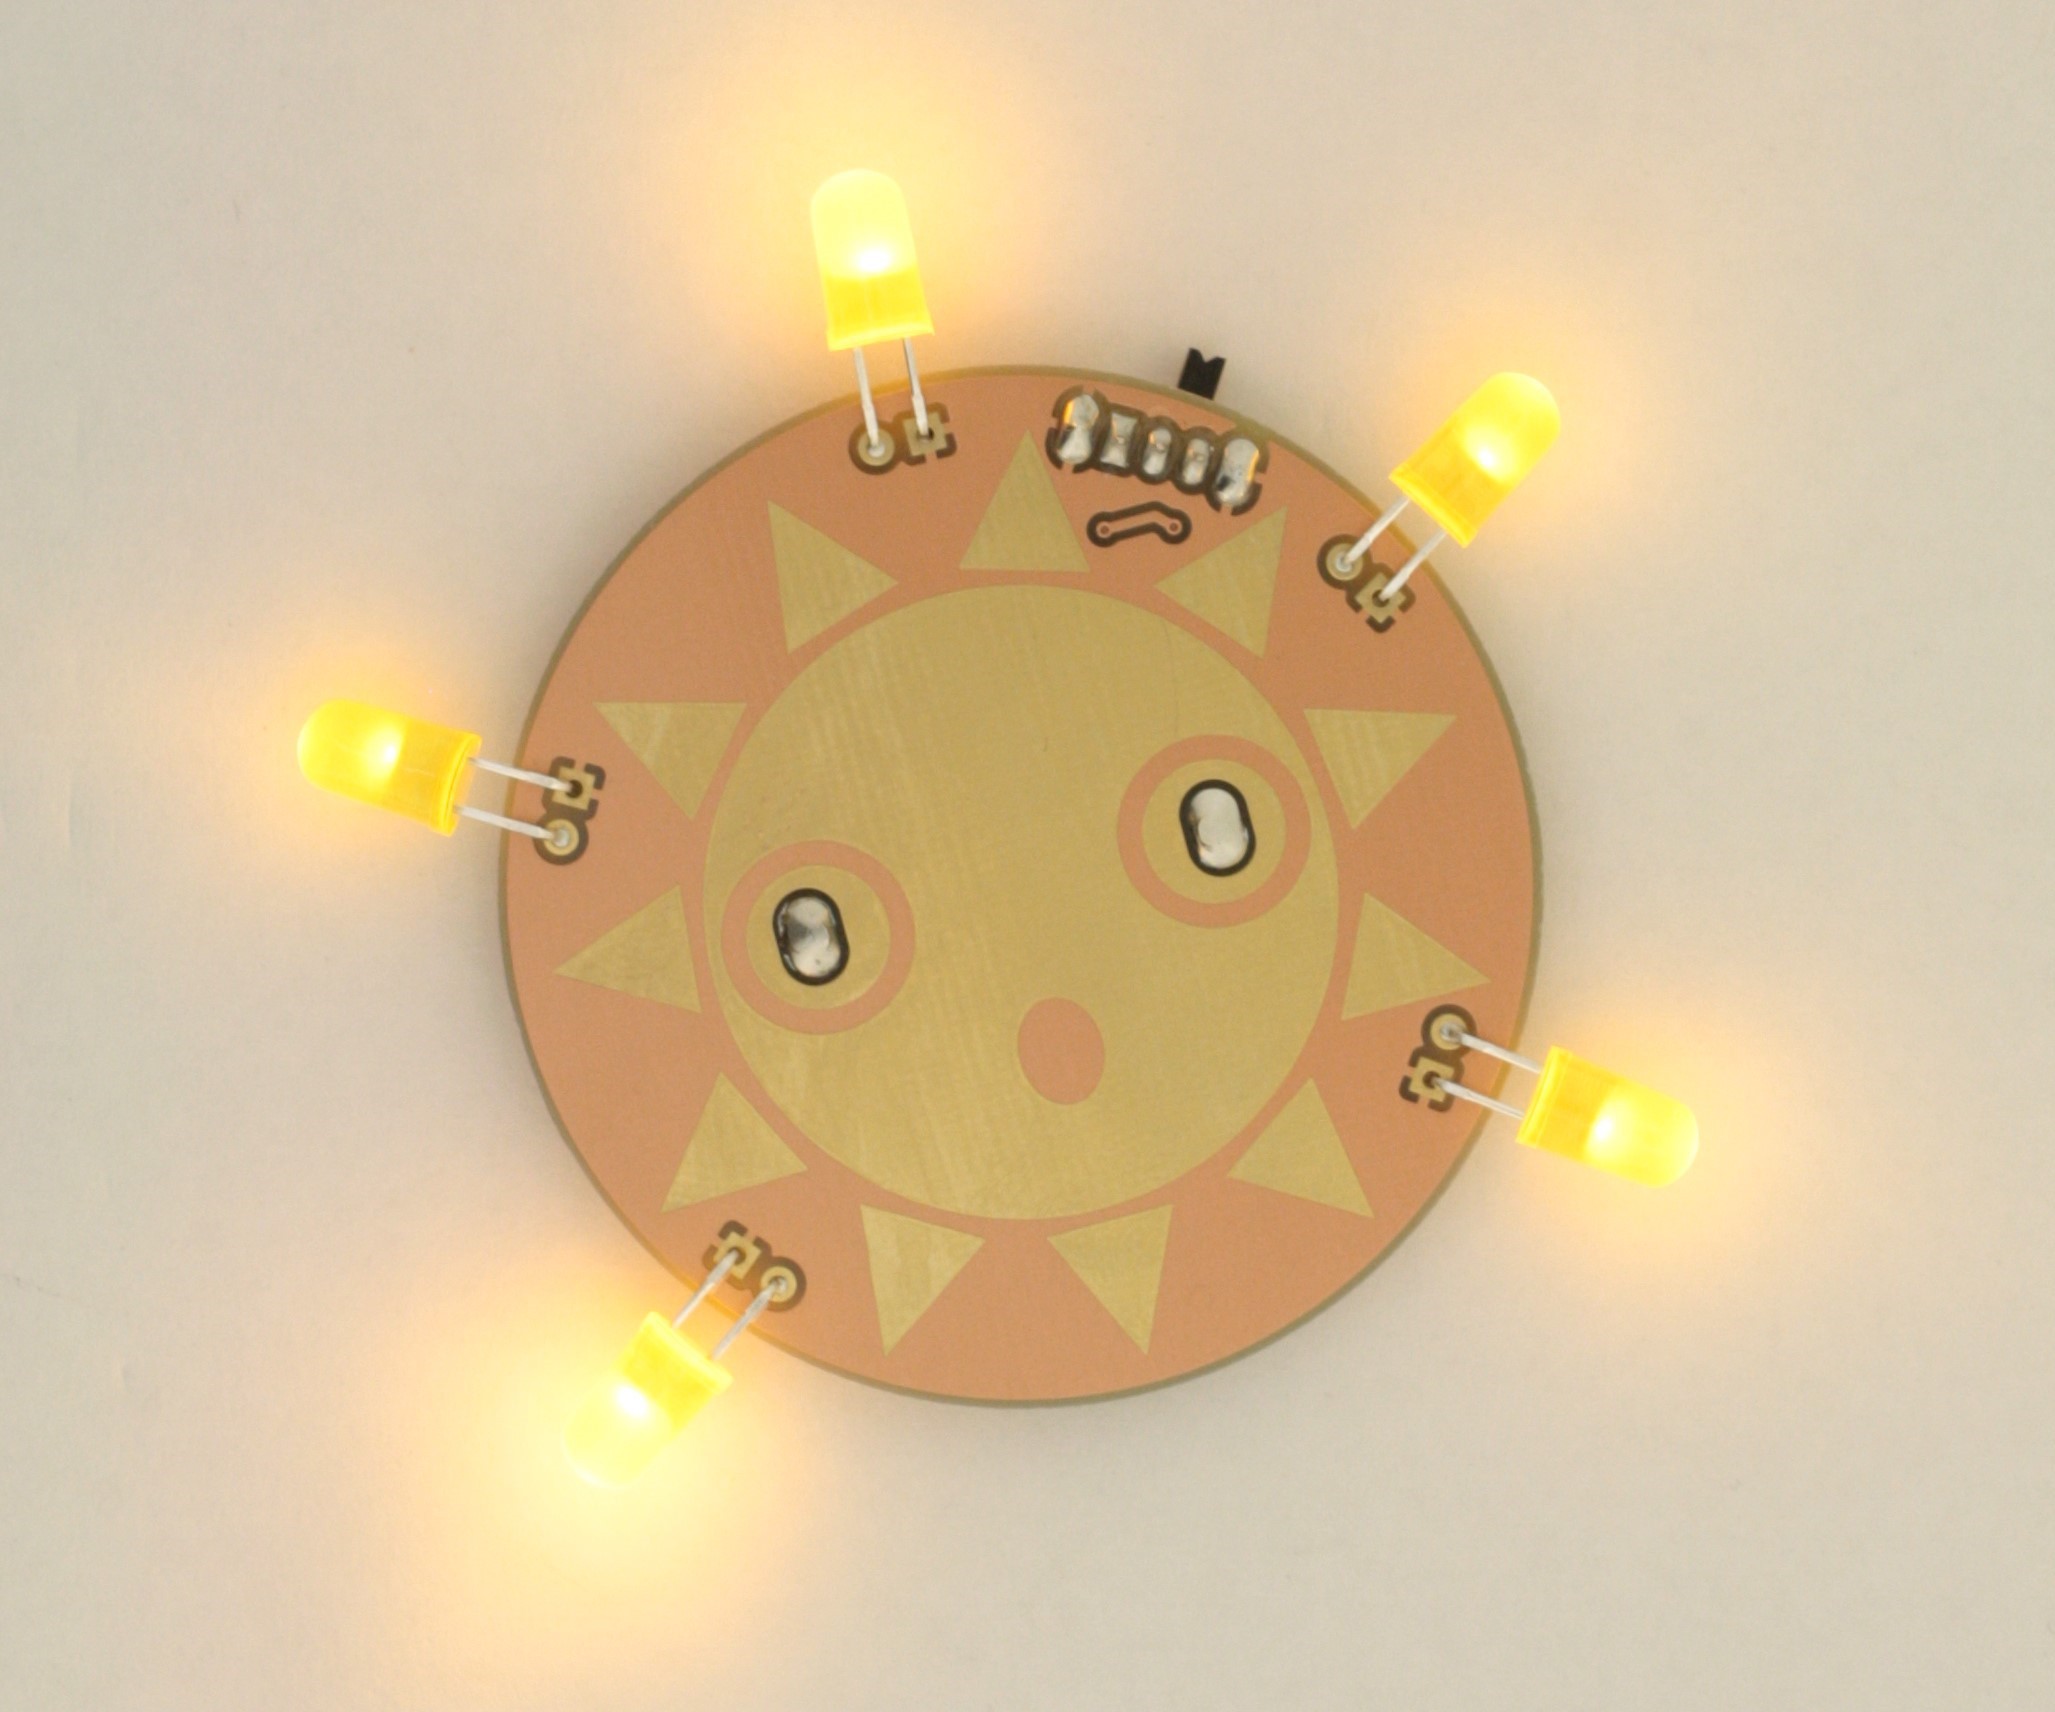
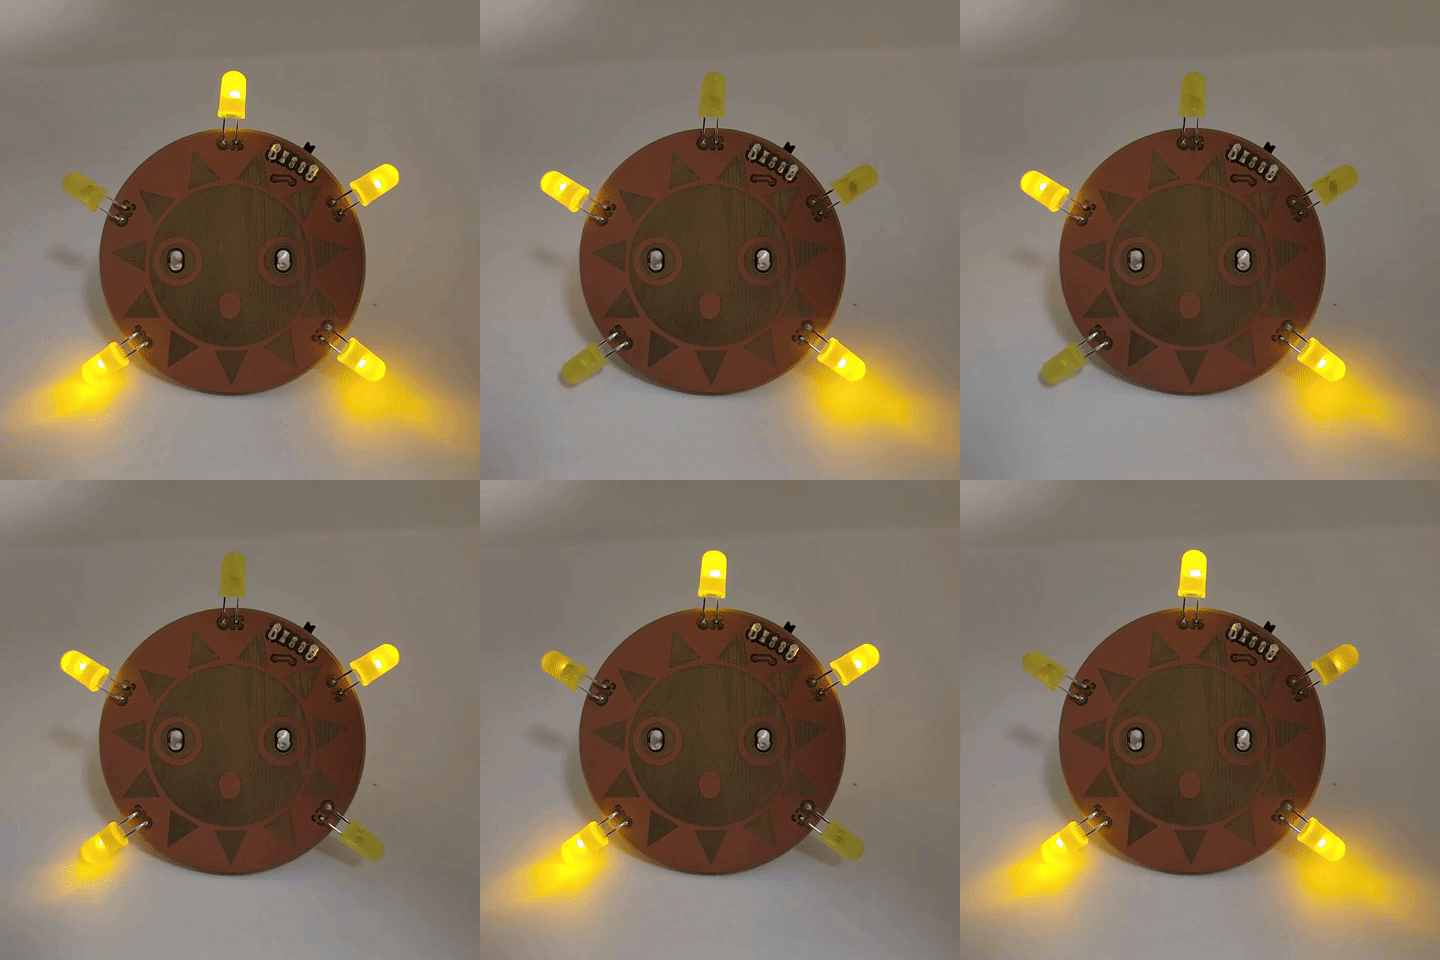
This is part of out Alpenglow Beginning Soldering weather-themed series. It is a solder-it-yourself through-hole board that uses self-flashing yellow LEDs.

We wanted to create a series of small and simple boards for people to learn/practice through hole soldering. This board has a few more LEDs than our Happy Rain Cloud and Angry Storm Cloud and Chilly Snow Cloud, and provides the opportunity to learn how to solder them at a right angle! When you're done with this one, check out our Radiant Rainbow.

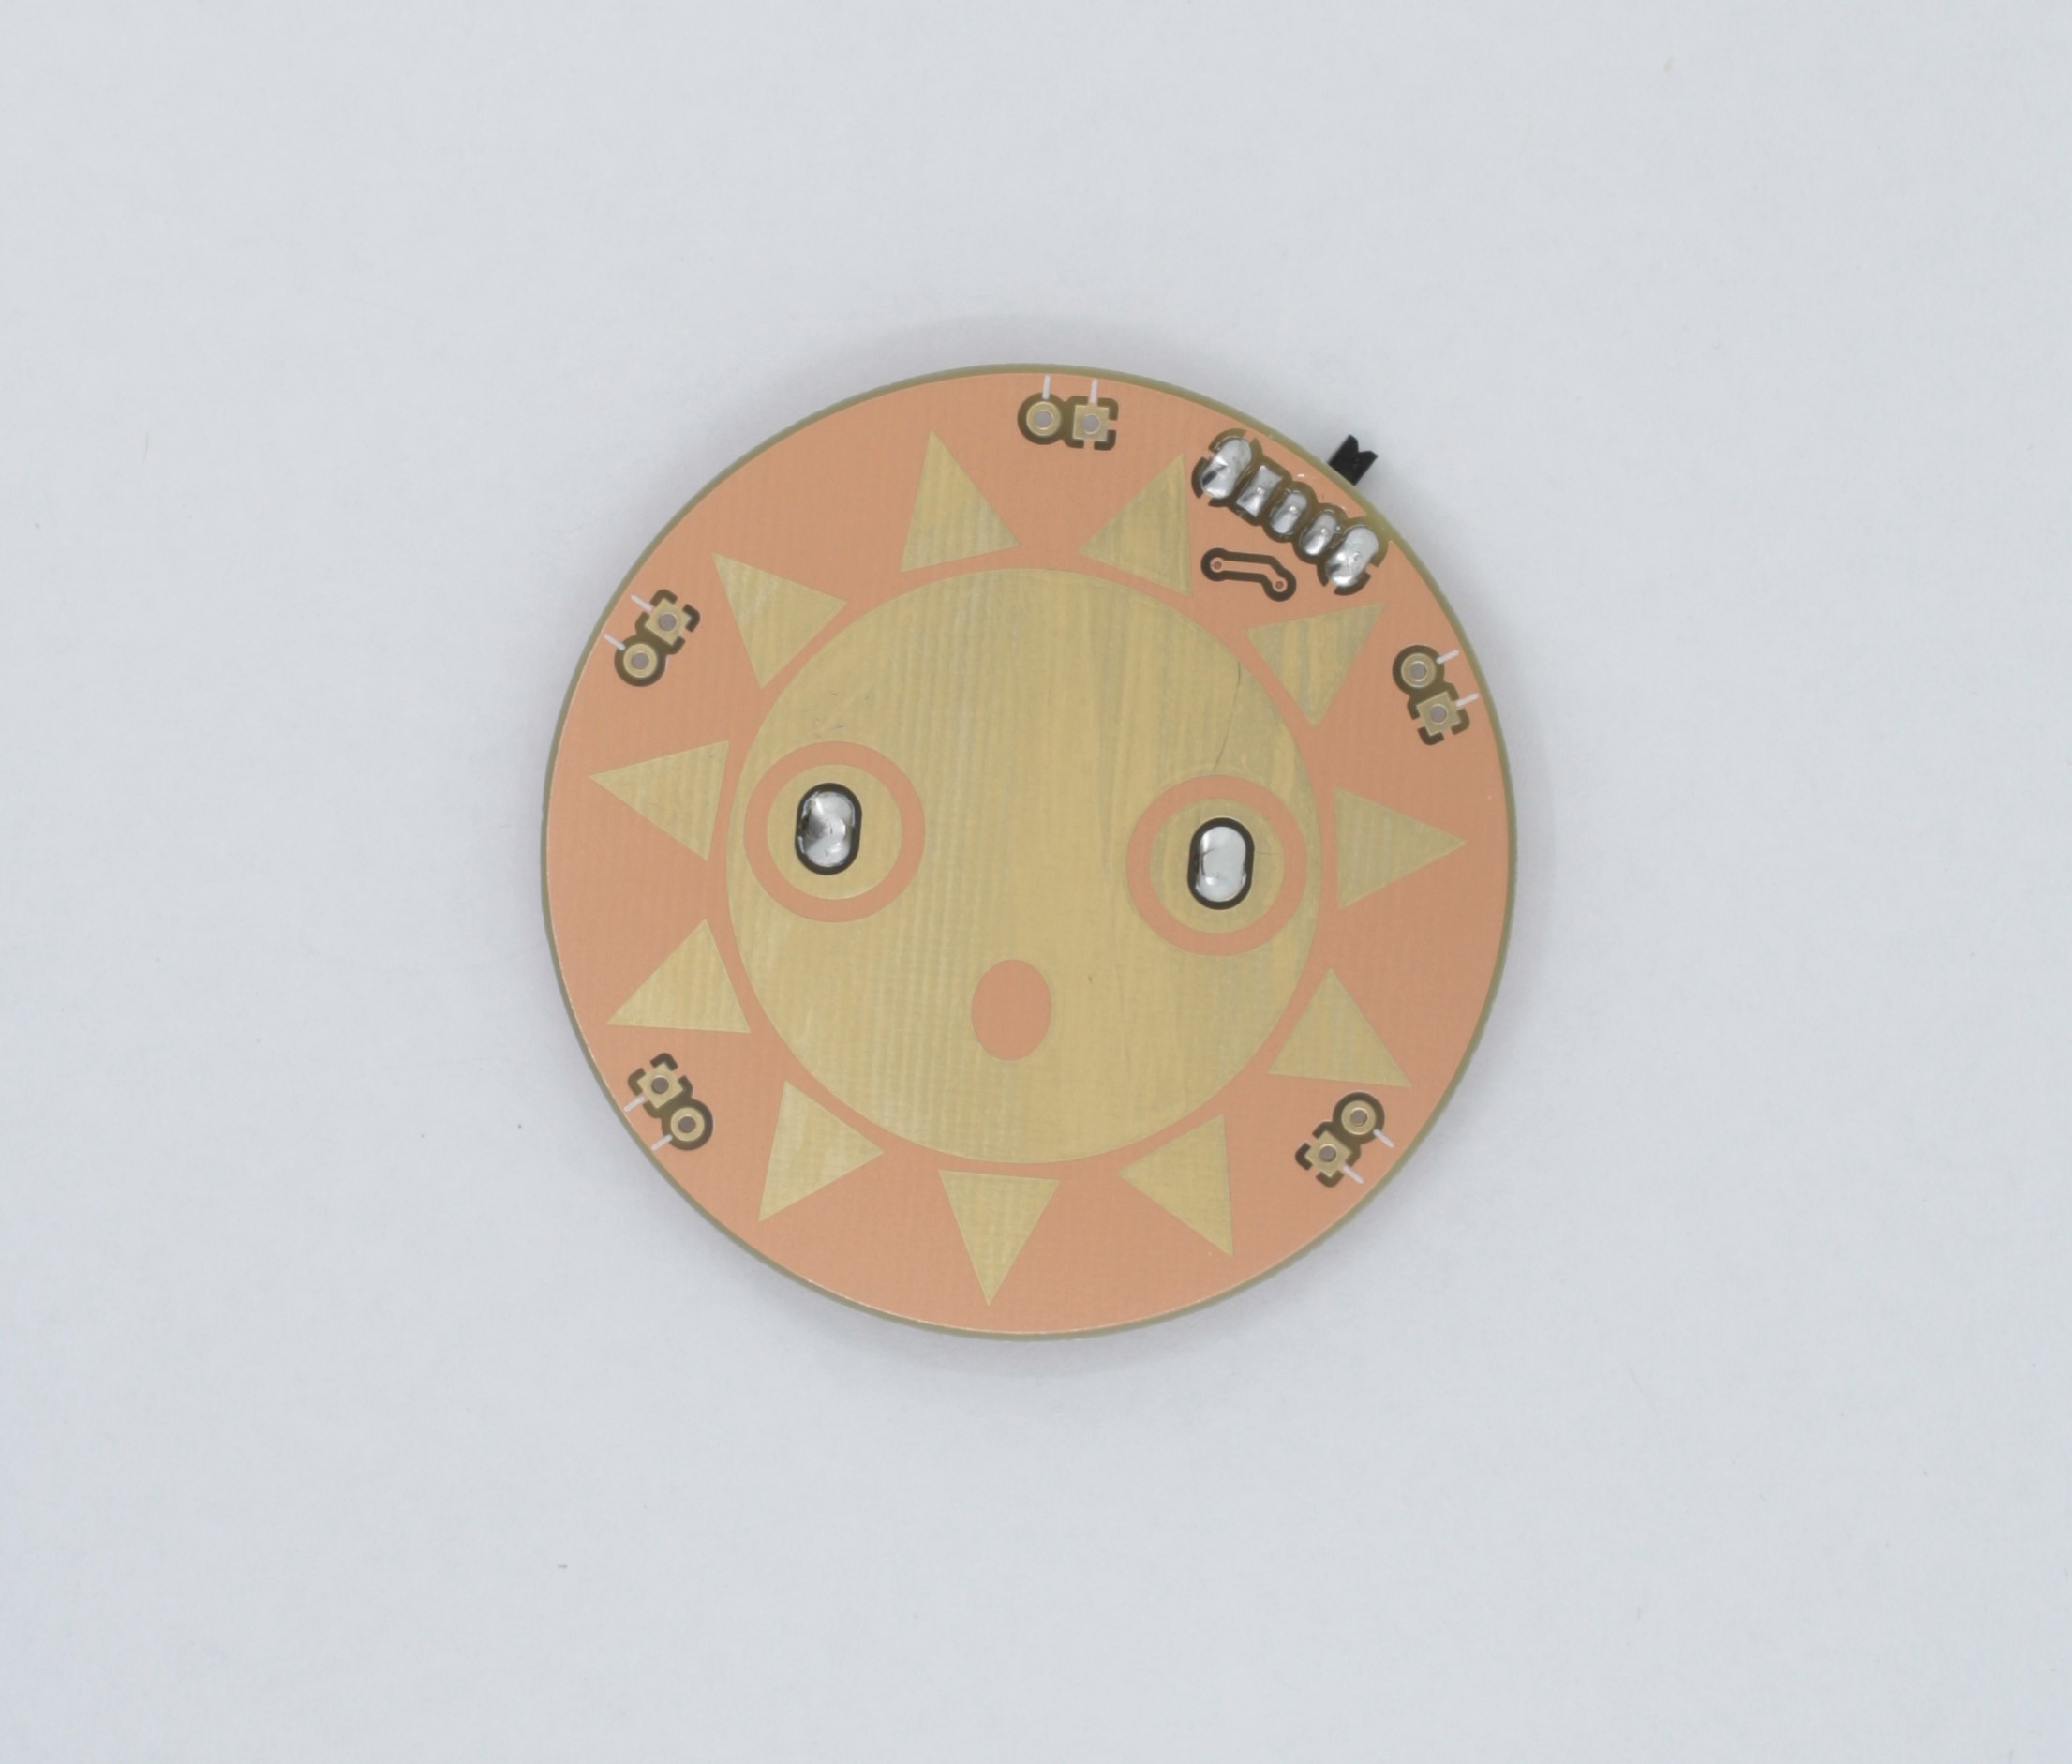
The sun is exposed gold-plated copper with a clear solder mask over copper as the background. We are always looking for new and interesting color schemes for our PCBs.

Is there a story behind "Sunny Surprise"?
Indeed there is! Back when Carrie was in college (Harvey Mudd), there was a crew of miscreants that lived in a corner room on West Dorm. As students were walking back from their morning classes, they'd pass underneath this corner of the dorm. Unwary folks whose brains were full of Science would suddenly hear a delighted and somewhat maniacal falsetto voice yell "Sunny Surprise!!!" and find themselves blinded by a mirror reflecting the morning sun straight into their eyes. Now, some people were really Not in the Mood and were a bit grumpy about this. But Carrie always thought it was kind of hilarious. While our Sun isn't quite as shiny and blinding, we gave it a fun little surprised face so that you can experience your very own Sunny Surprise, and retain your eyesight.

  • 1
    Step 1: Solder the Switch and the Battery Holder

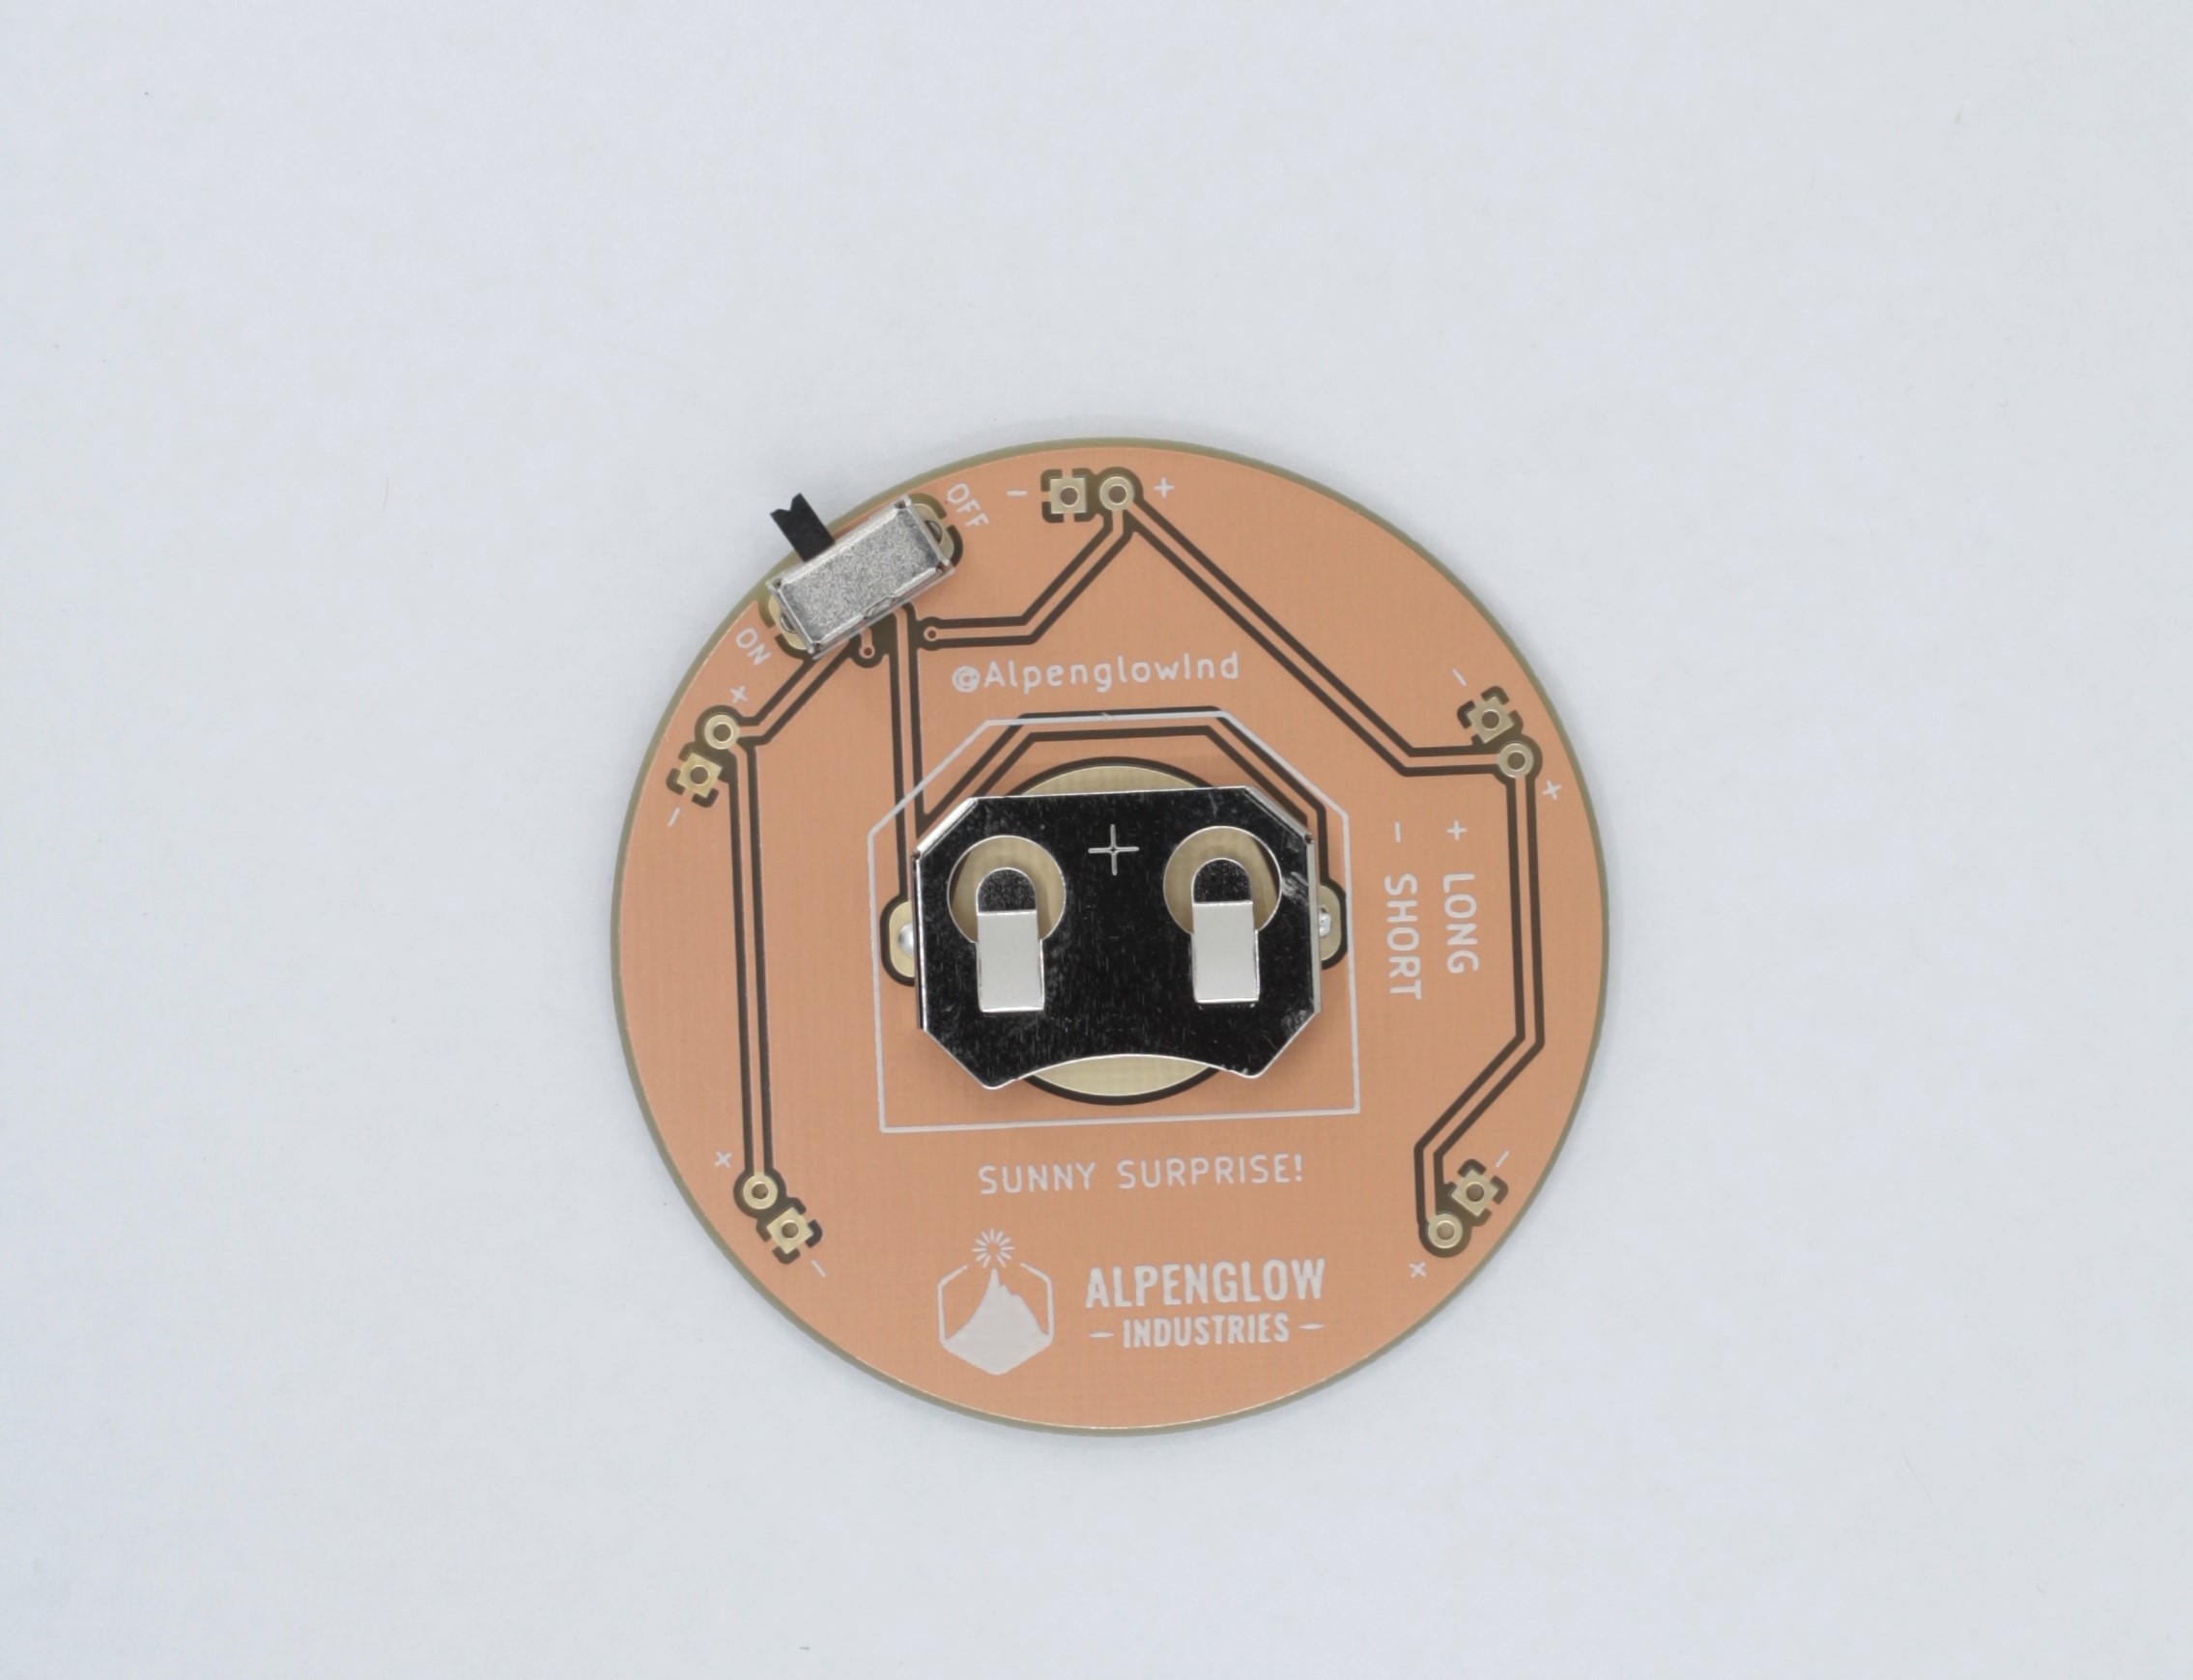
    The design on this board is super simple so you can solder the components on in any order. Personally, I like to start with the switch and battery holder. I made the holes for the battery holder snug so with a little pressure it should snap into place for easy soldering!

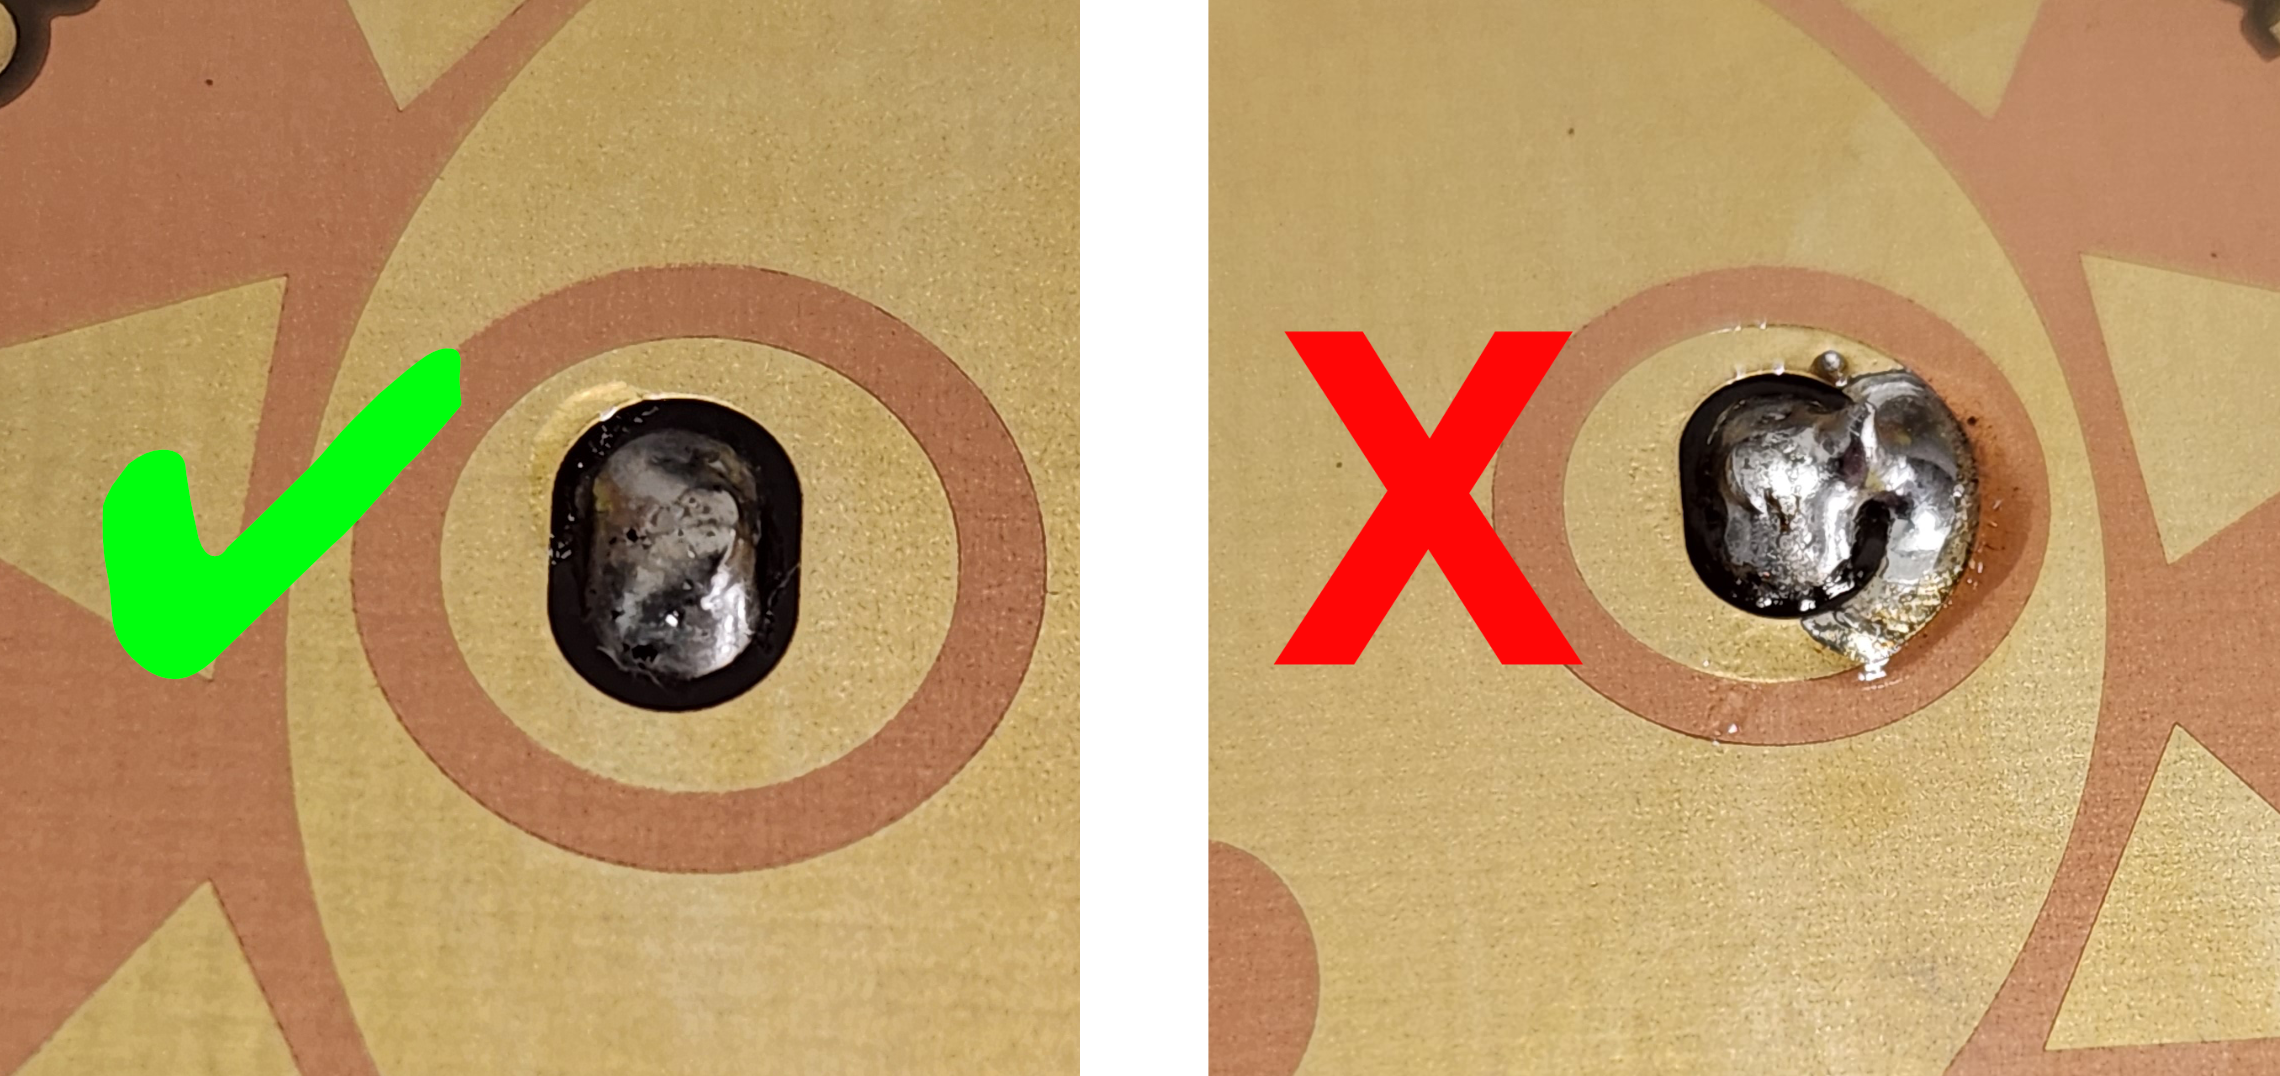
    *Note: When soldering the battery holder be carful not to get solder outside of the pad or the board will short!

    If you're having trouble keeping the board from moving when soldering you can use a piece of tape to hold the board down. Just be sure not to have the tape too close to where you are soldering your joint!

    *Note: The battery holder and switch are made of metal so they get hot when soldering. Be careful touching them during and directly after soldering!

    *I like to add a bit of extra solder so the clouds eyes look nice and smooth.

  • 2
    Step 2: Solder the LEDs

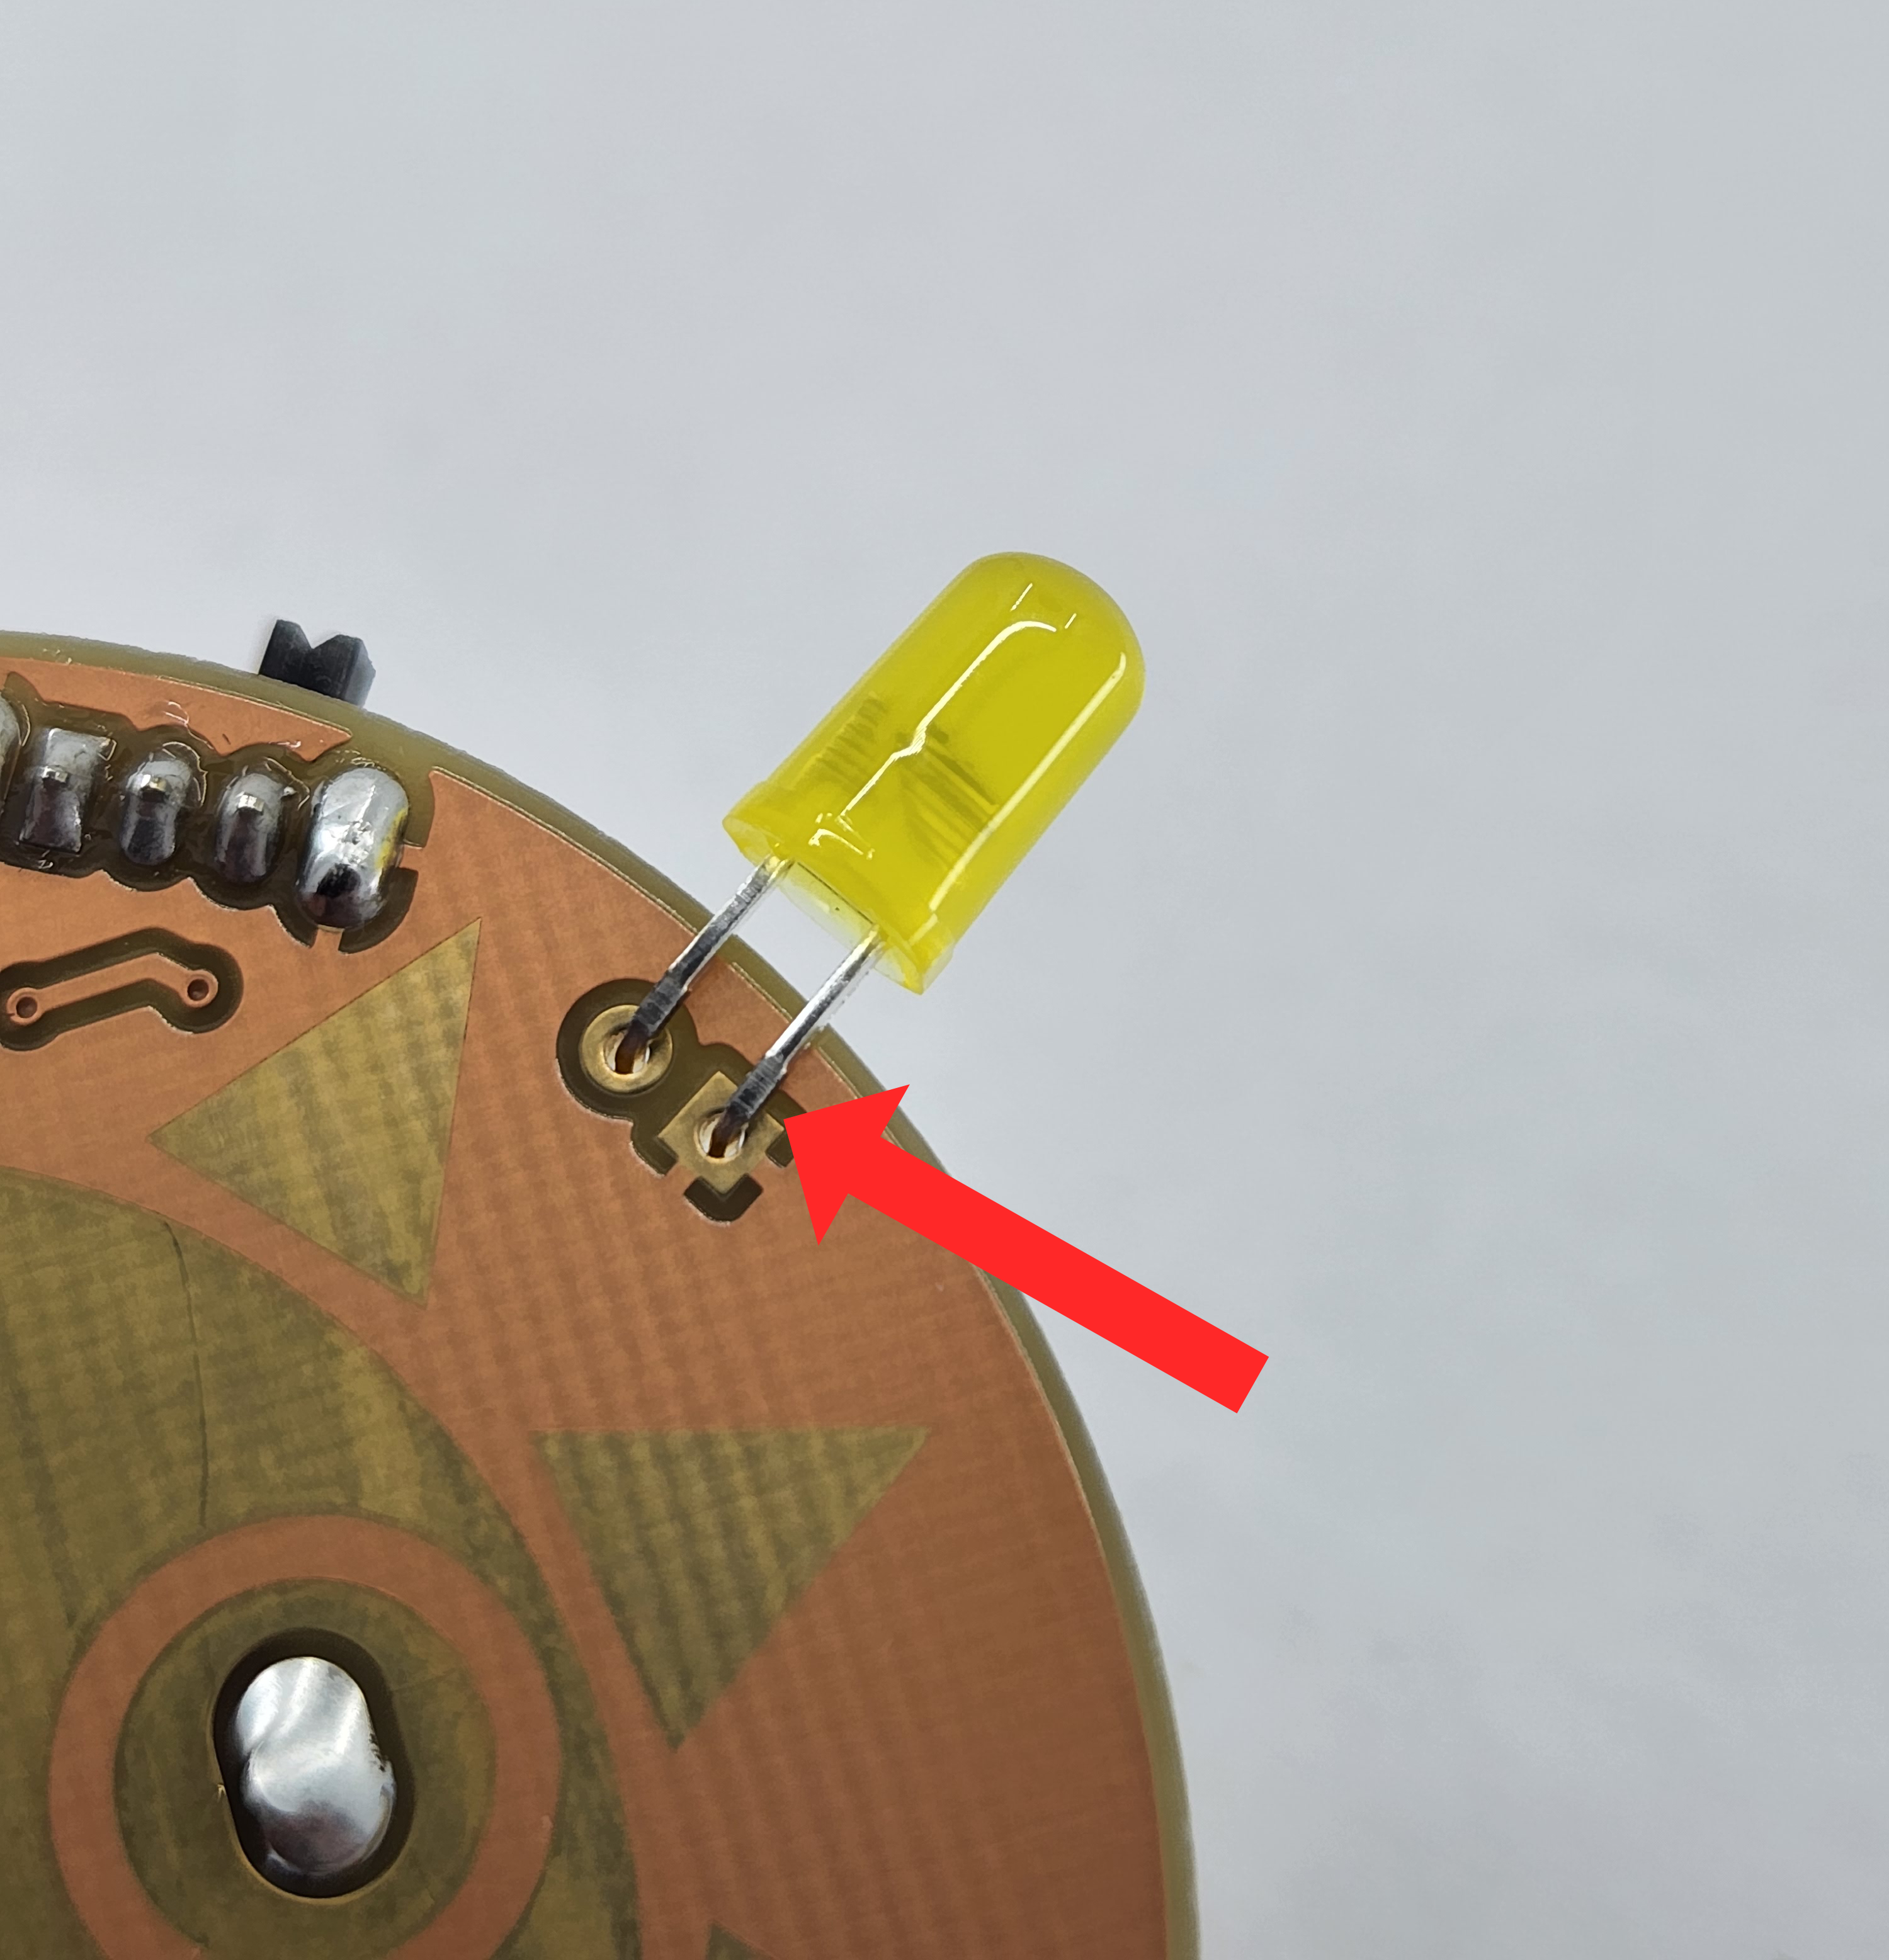
    Insert LEDs up to the little notches then bend into a right angle. Repeat this step for all the LEDs then solder into place

  • 3
    Step 4: Insert Battery and Enjoy!

    Your Sunny Surprise is complete!

View all 3 instructions

Enjoy this project?

Share

Discussions

Similar Projects

Does this project spark your interest?

Become a member to follow this project and never miss any updates