 Timescale
-
1Choosing a camera
A box camera is an easy choice because of the space it has inside and how simple the mechanics are. But there is no reason why this type of input device could not be implemented in other camera bodies. The iconic Agfa Clack series should do nicely for instance, but there is no reason why you could not do this in a typical 35mm SLR camera as long as the ESP32 board is small enough to fit somewhere.
I considered a range of cameras for this project. The Braun super vier, Zeiss icon iconmatic-A, Olympus Trip and even the venerable Pentacon six. In the end I went for the Kodak Brownie Six-20 E, so a six it was! But there is no reason why this could not work in other bodies.
![]()
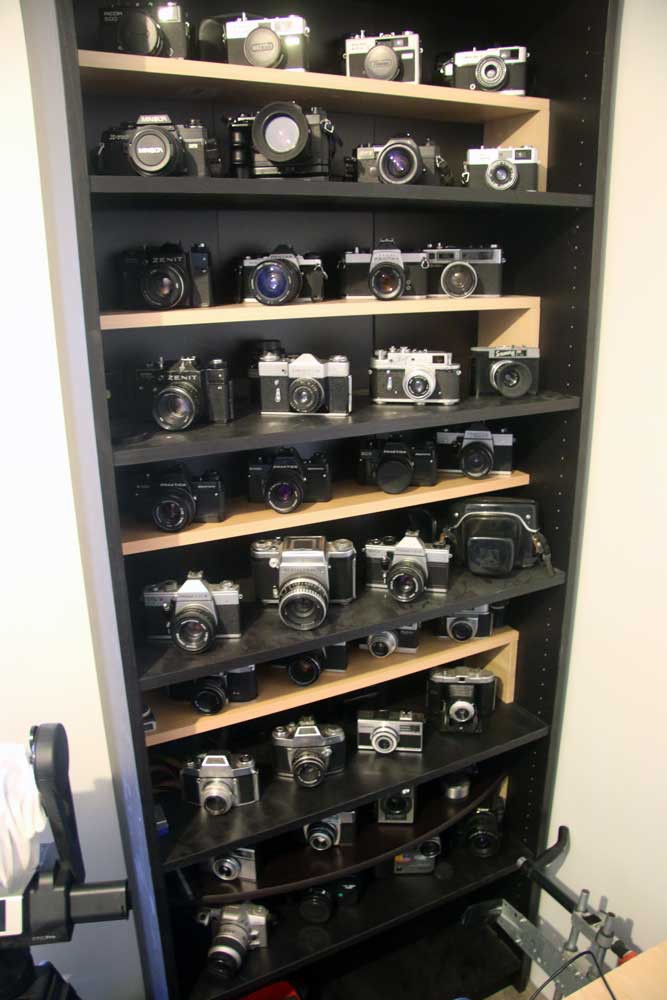
This is just a part of my.... problem! There is more...
The Brownie was chosen for the simple reason it had a lot of space and the dual sights as a function spoke to me, but other functionality and symbolism would be equally apt when used in other cameras. I can imagine an old camera body being a remote for a digital camera for instance. Creating the illusion that an old camera is taking a digital picture with the actual camera somewhere in the distance.
-
2Friction fit
This entire build is non-destructive and completely reservable. The key to doing that is friction! Every component for this hack sits very tightly in its place and does not move. For extra security you could add hot-glue, but I have not needed that to keep things neatly where I want it.
The sensor is mounted in a cap which, with a piece of tape, fits into the well of the lens. This solution will of course vary with the body you choice, but for the Brownie, this 32mm pipe cap seems to be a match made in heaven.
The board and battery are both constrained by carefully cut pieces of MDF board. They just tuck into place and do not move. Again, depending on the components you have, this solution will vary.
The backplate is also a carefully shaped piece of MDF that just friction fits into place. It exposes the status led and the power switch. The original backplate can still be attached to the body, but being a steel faraday cage, not all clients will be able to connect to the device.
This way, no holes or other alterations had to be done to the camera and it can easily be restored to original conditions.
-
3Electronics
For the electronics I used a proto board shield I had lying around. It really is quite simple. If you choose another microcontroller form factor you'll need other solution, but it is not at all complicated.
The board takes 9volt from the battery and sends it to the ESP32 board via a switch. It also connects the photo resistor to one of the analog pins, the roller switch to a digital pin and the status led.
I added a diode for the input power. I do not think it is necessary, but I did it anyway. The roller switch is just a switch so it needs a pulldown resistor if your development board does not have these internally. The ESP32 does!
The photo resistor does need a resistor (10k Ohm) as does the led of course ( I used a 100 ohm which is fine for 3.3v i believe)
-
4Interface
How the system interfaces with the computer is entirely dependant on what you are running and what you want to do with the input device. In this case, I use it on a RPi desktop machine and configured openbox to respond to certain key combinations to do the grabby stuff.
This will of course vary with systems. My OSX machine uses other screengrab and image view software as, I imagine, is the case for windows.
Right now the commands are hard coded in the sketch and as such any replication of this project will have to either conform to the key combo I chose, or alter the code to suite their needs.
There is of course the issue of massive "feature creep" which is not something I am completely unfamiliar with. The ESP32 is perfectly able to, apart from being a Bluetooth device, exist as a fully functional AP web interface device.
For a version 2 of this HID, it would be perfectly reasonable to add a web interface to configure it for various systems and functions without having to reprogram the micro.
-
5Software
For the Bluetooth stack I used this library : https://github.com/T-vK/ESP32-BLE-Keyboard
This is quite nice because it is fully compatible with the usual USB keyboard HID library and I have several project that use that, so if those even have to be converted to wireless, it will be quite easy.
I slight problem I am having with it, is that it does not really play nice with my RPi desktop setup. I works fine with my 2013 macbook every time, despite the fact it says that OSX and IOS are "unstable", but with my RPi, I have to disconnect and reconnect manually via the CLI every time, which is a bit of a nuisance. I do not know if this is a result of the library or Raspberry OS.
(That does bug me a lot.. Assuming it is the Linux BT stack causing problems.. It's bloody 2022!!!! The year of the Linux desktop will never arrive if simple peripherals don't simply work on a Linux machine!). It really irks me that this nonsense is still basic operations.
This is something to figure out later when I have more ESP32 boards to play with. Currently this is my only and first one (But I am liking it a lot!).
The basic sketch is available for download. It is nothing special as intended. That is why I did not allow feature creep to bog down this project. The core message is that sometimes things can be simple!
Screenshot Camera (or Grabby McScreenface)
HaD asked for odd and peculiar? I think I can oblige!
Discussions
Become a Hackaday.io Member
Create an account to leave a comment. Already have an account? Log In.