 Joshua R. Taylor
-
1The Recreator 3D : Home
The Recreator 3D
MK5Kit: Ender 3
DIY Build Notes
Designed and Built By:
Joshua R. Taylor
Strip down PET Recyclable Plastic Bottles, Convert into new usable Filament.
Load up your Favorite 3D Printer and Recreate!
Thank You to Everyone who made The Recreator 3D Possible!
RECREATOR3D.COM - RECYCLE3D.XYZ - JRT3D.COM
https://www.facebook.com/groups/recreator3d
Inspired by The Online DIY PET Pultrusion Community and
The Need of Recycling Properly for our Future Production Needs!
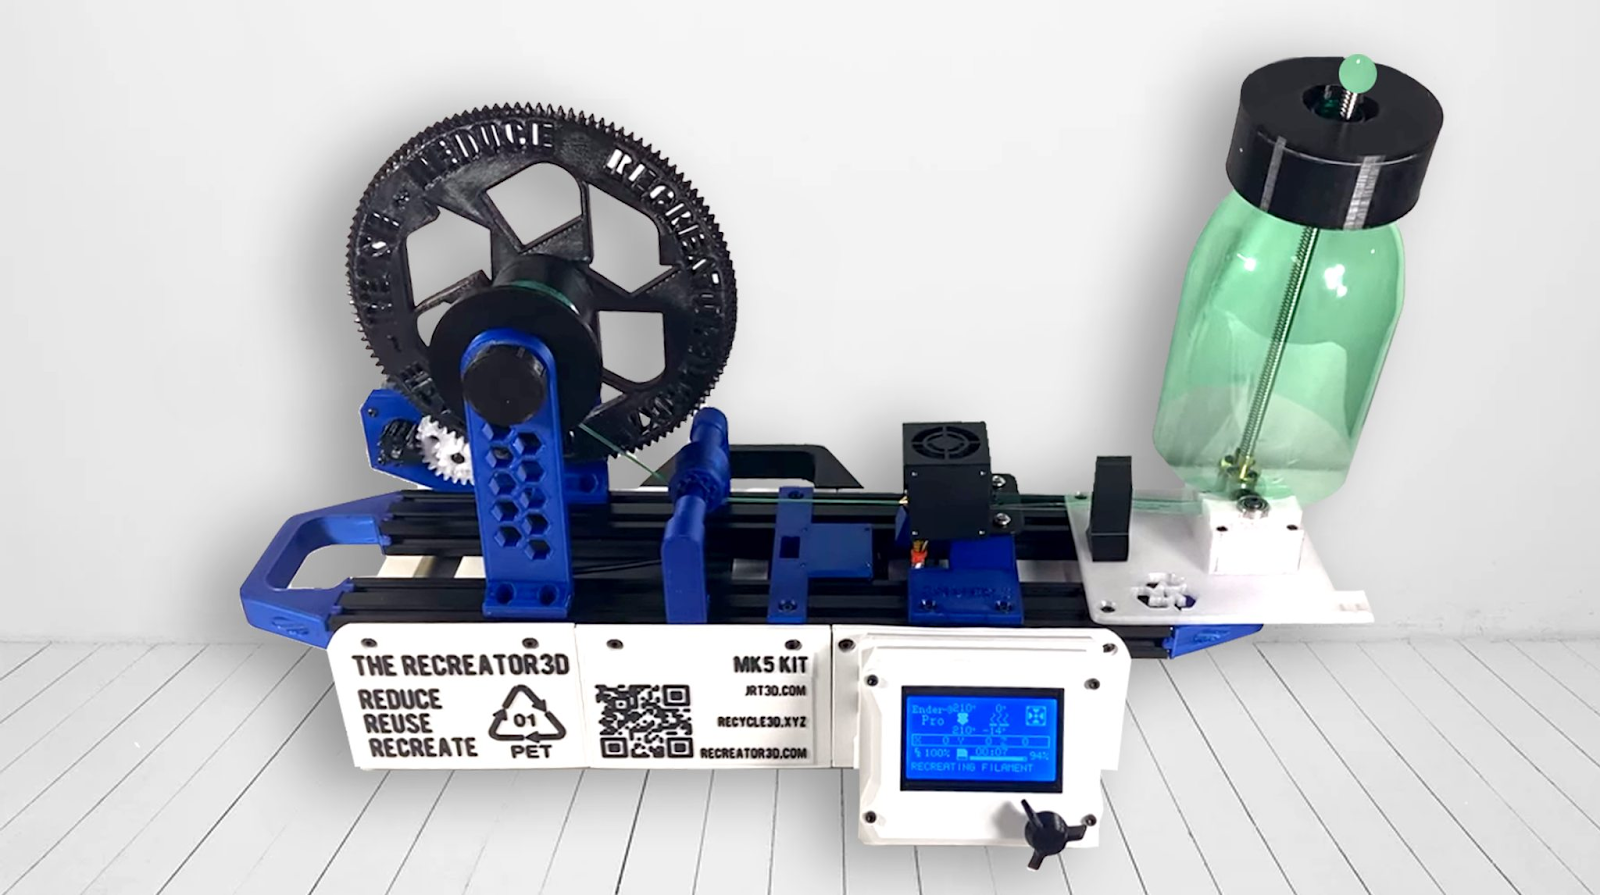
Welcome to the Recreator 3D MK5 KIT: Ender 3 Build
In this build we’ll be converting an Ender3 3D Printer into a Recreator3D; A PET#1 filament pultruder unit, which strips and converts soda bottles into usable 3D printing filament. The MK5Kit was created with the intention to work with almost any 3D Printer board to run it. In this build, we’ll be using the Enders3 as it’s the most popular and easier printer to find inexpensively.
Going through the start of the written manual you’ll find the information on all the parts and tools you’ll need to buy or print in order to build the MK5kit.
Please follow along and shortly you’ll be Recreating your own filament from Soda Bottles!
Also please consider joining the facebook group; where there is constant activity among Recreator3D users and interactions with the creator for future inspirations towards the unit, where we can further go down the road with new methods of recycling. https://www.facebook.com/groups/recreator3d
Let's get started!
-
2BUILD PARTS NEEDED
BUILD PARTS NEEDED :
Build Parts around the following Specs:
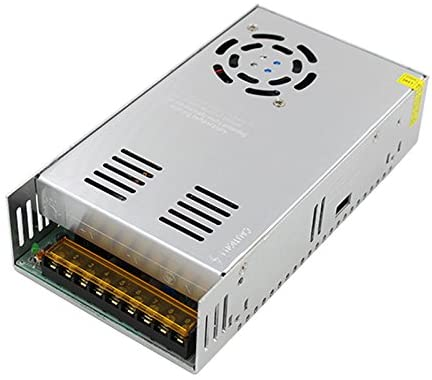
Power Supply / Board / Heater Hotend / Fans / 24V - 40W - 1000K Thermo
$8.99 -
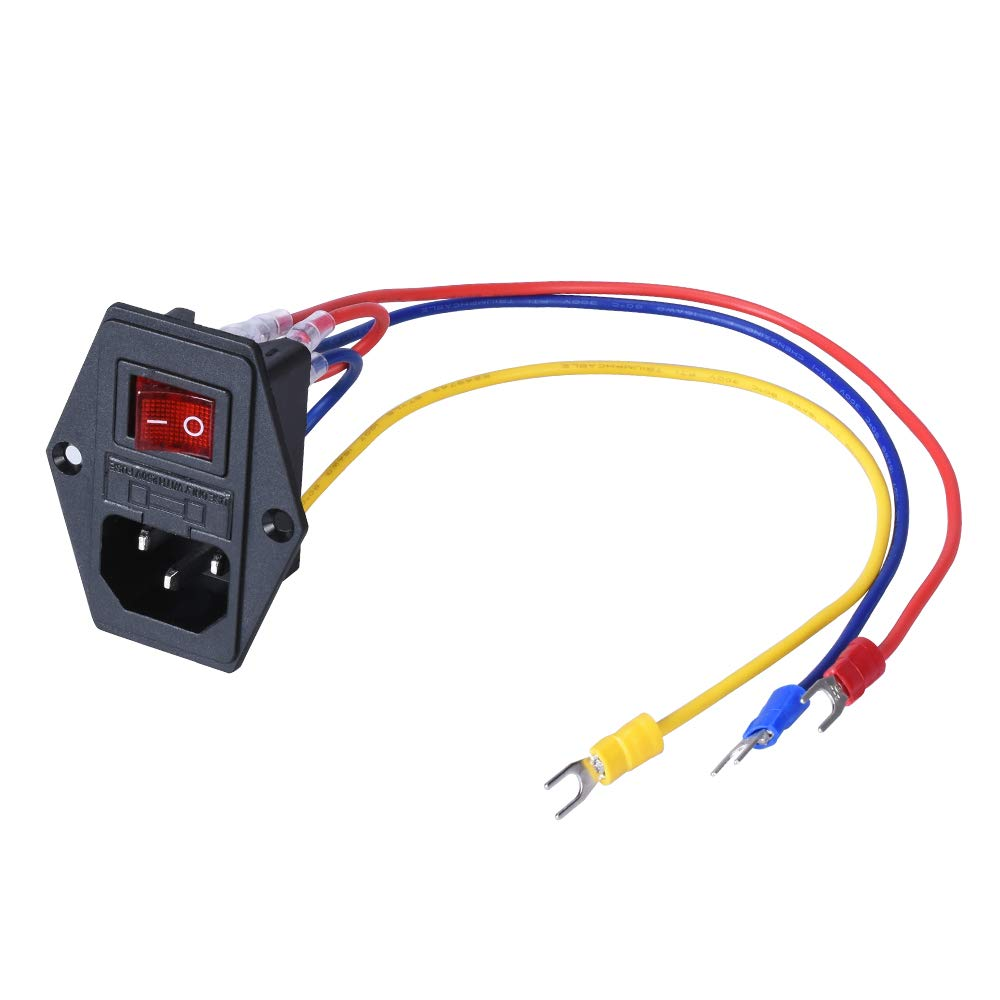
Switch Power Socket Inlet Module Plug
$6.23 -
HHIP 2000-0385 Steel HSS Round Tool Bit, 3/8" x 5" Brand: HHIP Or can 3D Print: RECREATOR3D - Part 4F - Tensioning Rod.stl
$29.99 -
https://plasticbottleandcancutter.com/
Or you can DIY the FREE Community Bottle Cutter.
$18.99 -
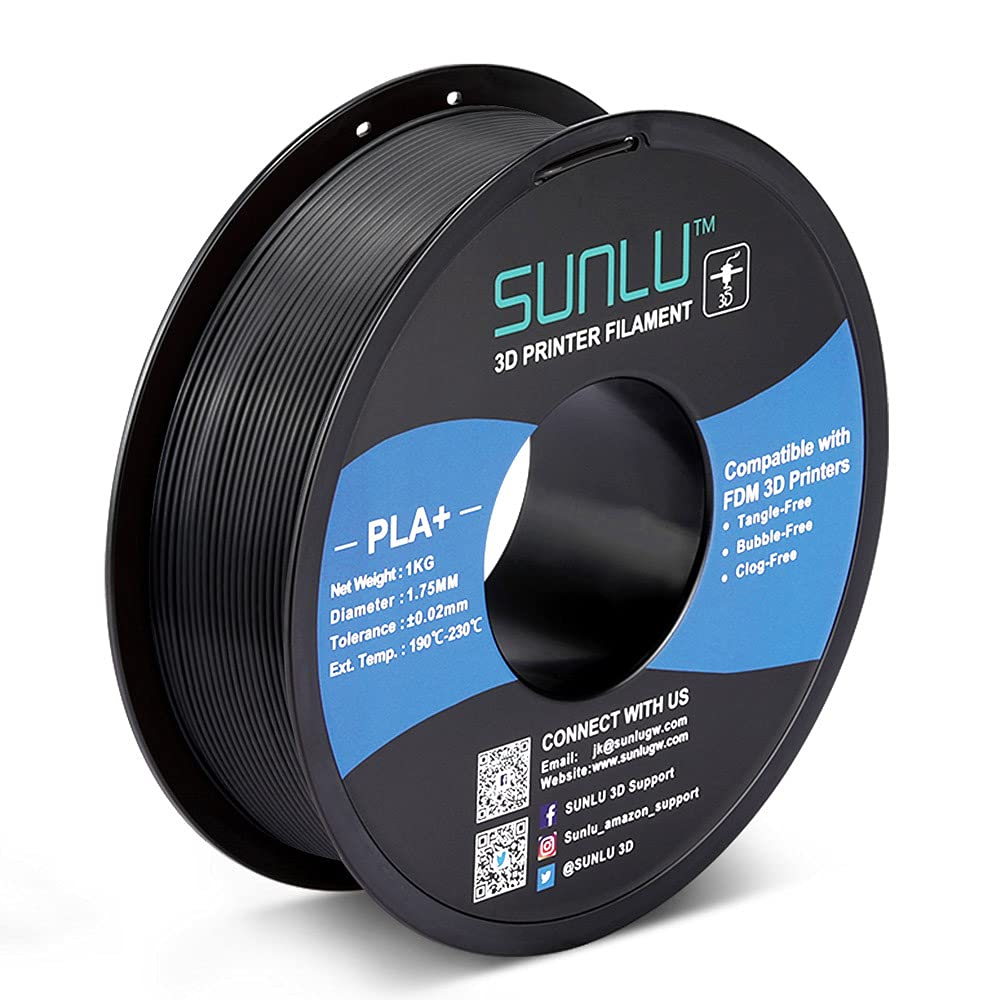
SUNLU PETG 3D Printer Filament PETG Black Best used for Heaterblock and gears. As well the Guide Rod and Spindle.
$23.99
SUNLU PLA+ 3D Printer Filament PLA+ Black Can be used for the rest of the build.
$22.99 -
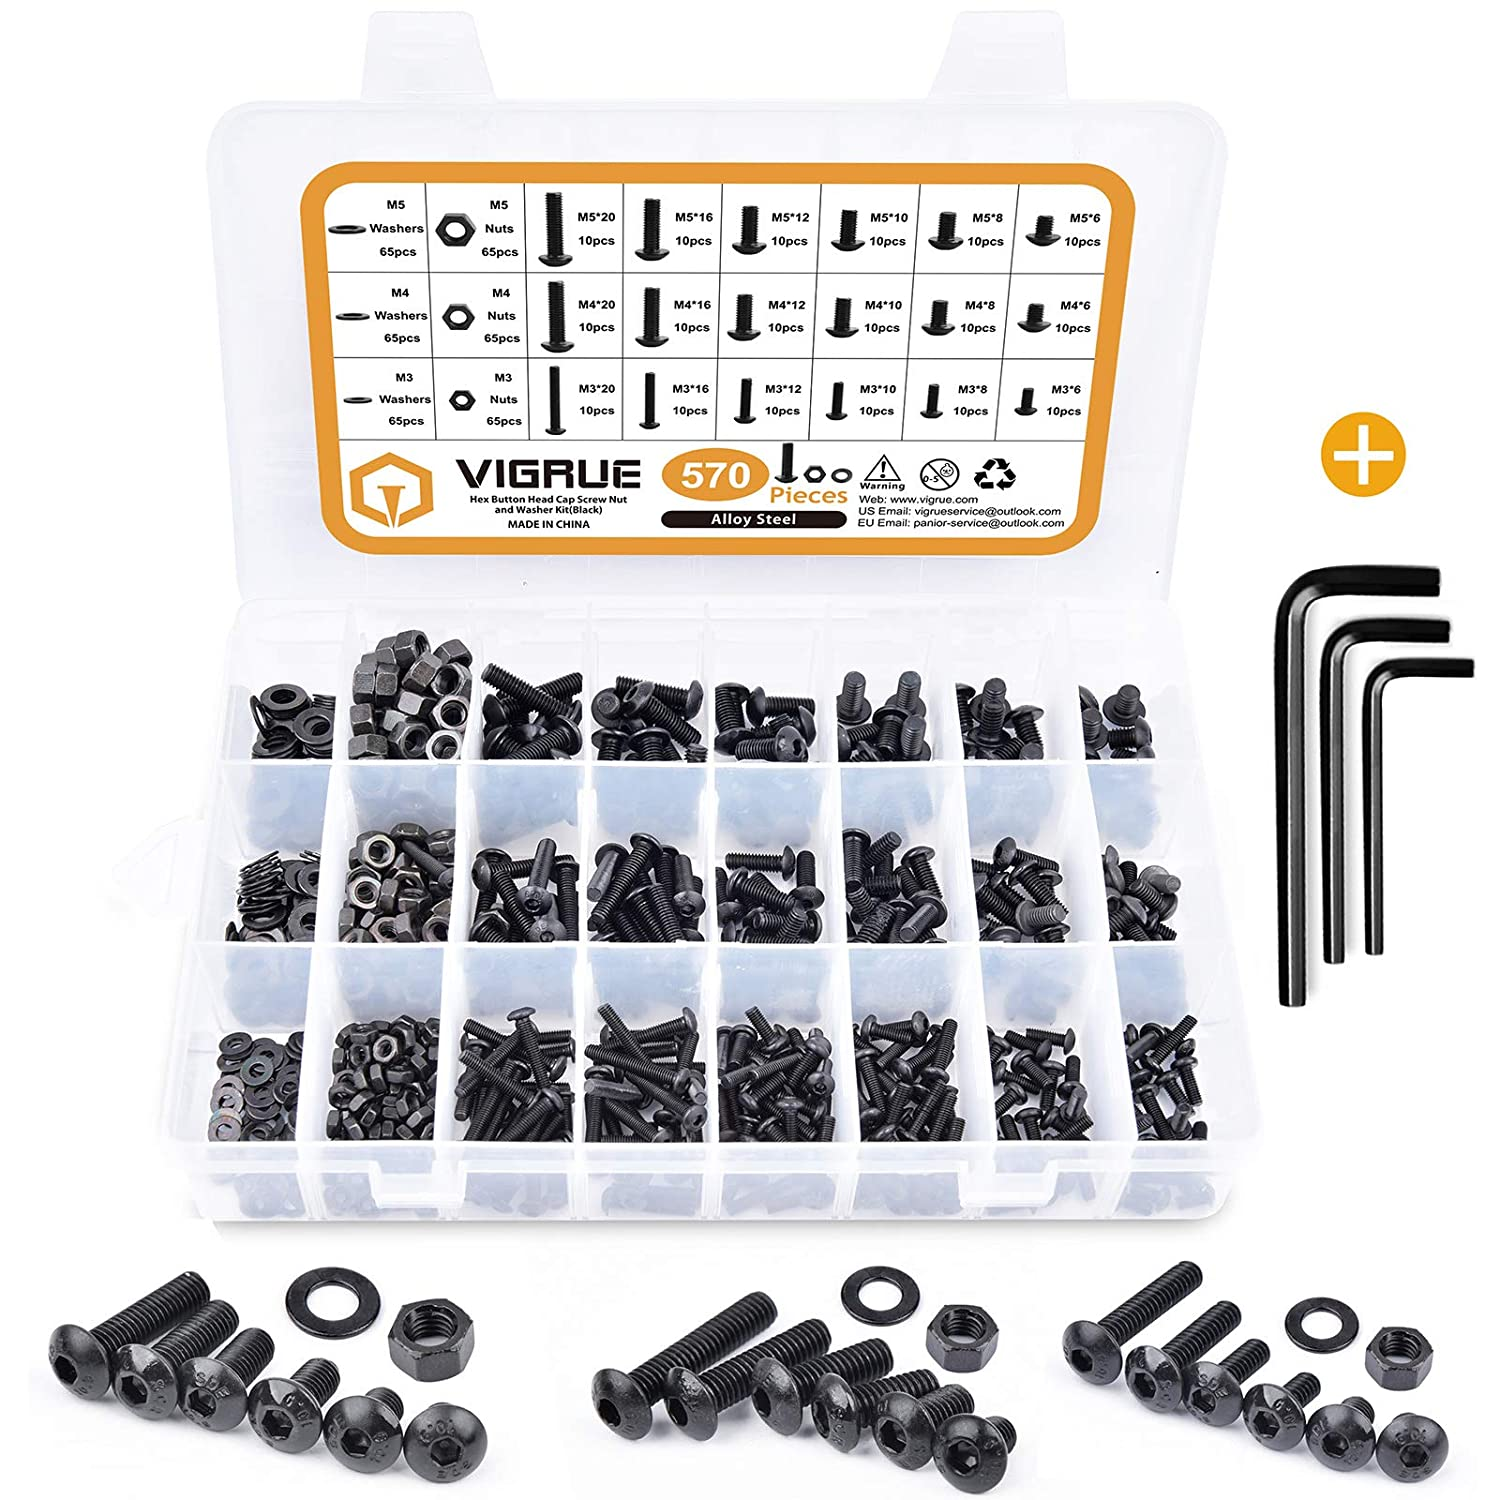
570Pcs M3 M4 M5 Hex Button Head Screws
$8.29 -
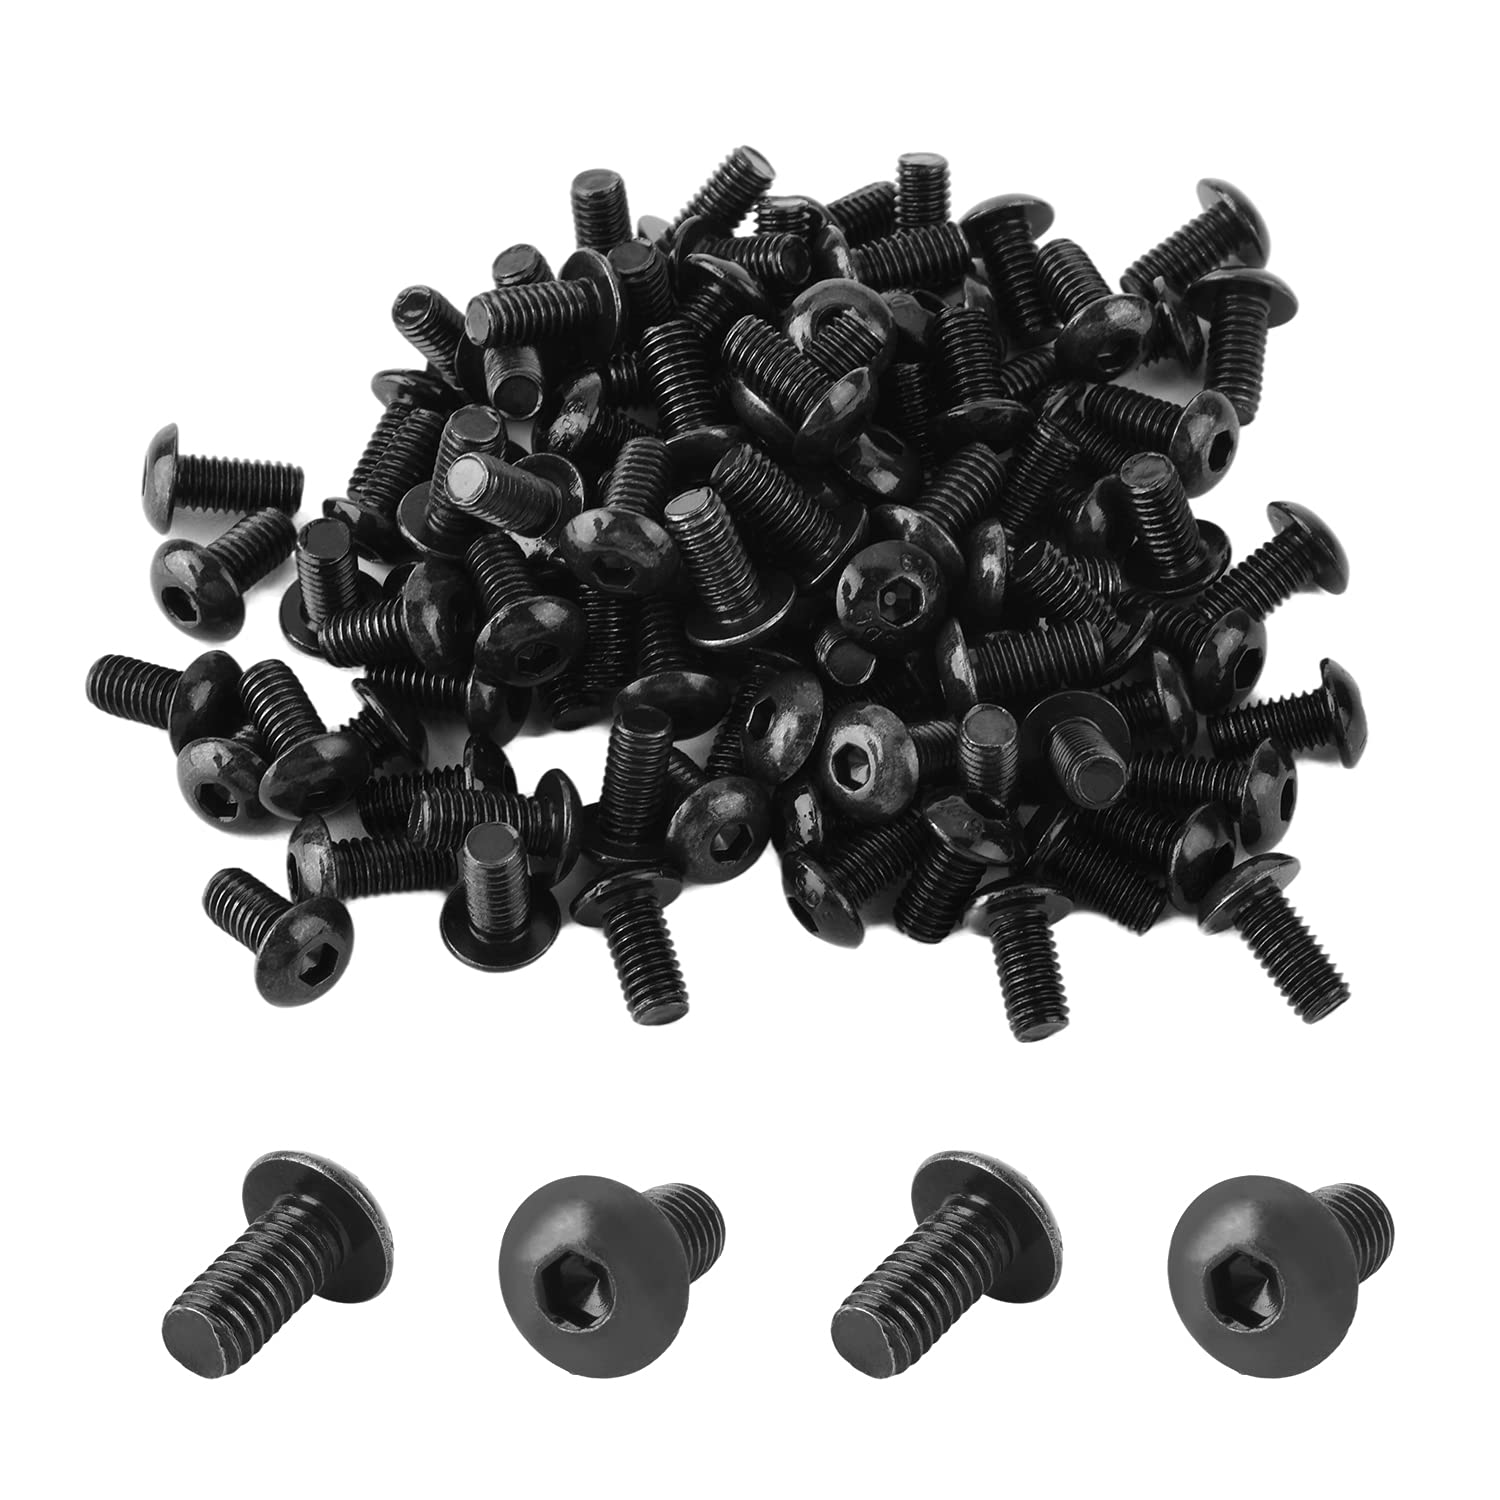
M4x8mm Hex Socket Head Machine Screws
$6.99 -
SpzcdZa 2020 Series T Nuts,105pcs M4
$9.99 -
5pcs 3D Printer POM Wheel
You can also 3D Print these with TPU as they are supplied in the files.
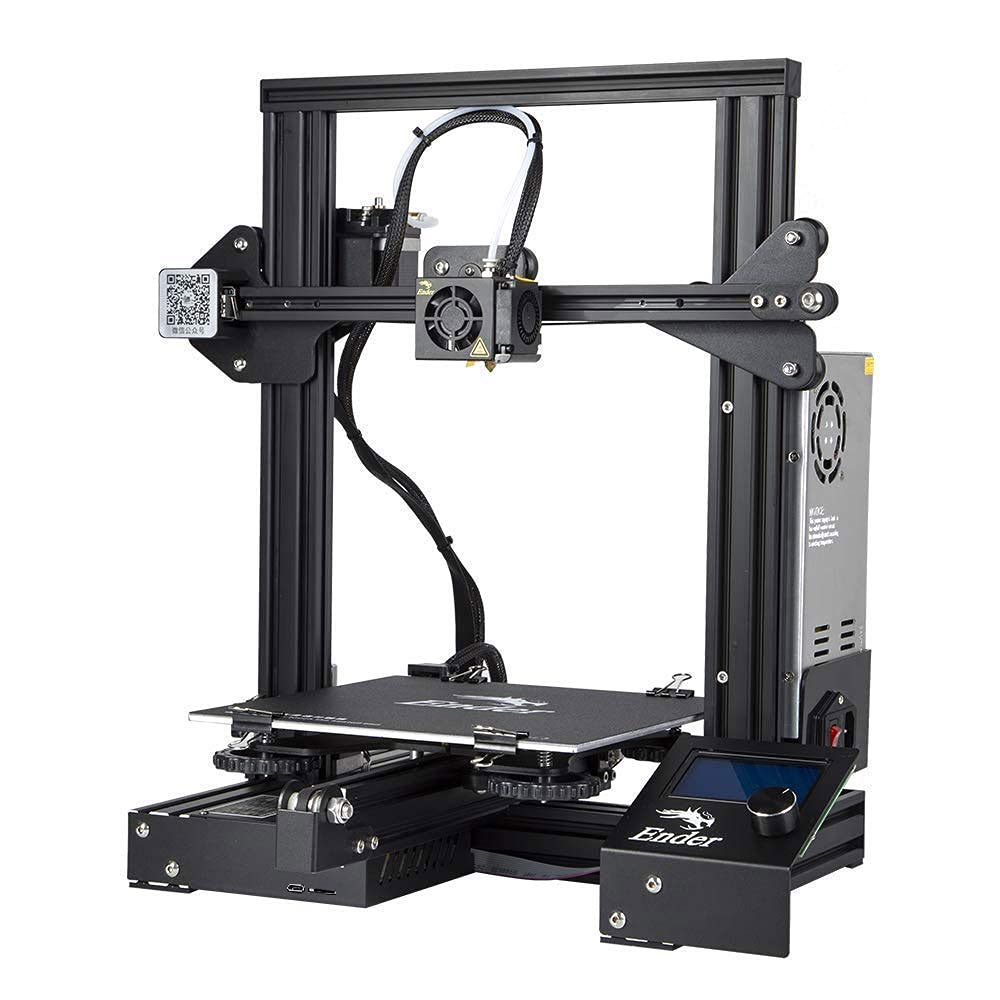
$189.00 -
Creality Ender 3 This printer can be found used from $70, New from $99-$190.
Shop as needed.
The Ender 3 can be found used from $70, New from $99-$190.
Shop as needed.
You may be able to make this build cheaper depending where you source your parts.
If you rather not dismantle a New Ender 3 Kit, have parts, or need parts…
Here is a master list of the 1up parts needed to purchase individually to accomplish the MK5 Kit Build.
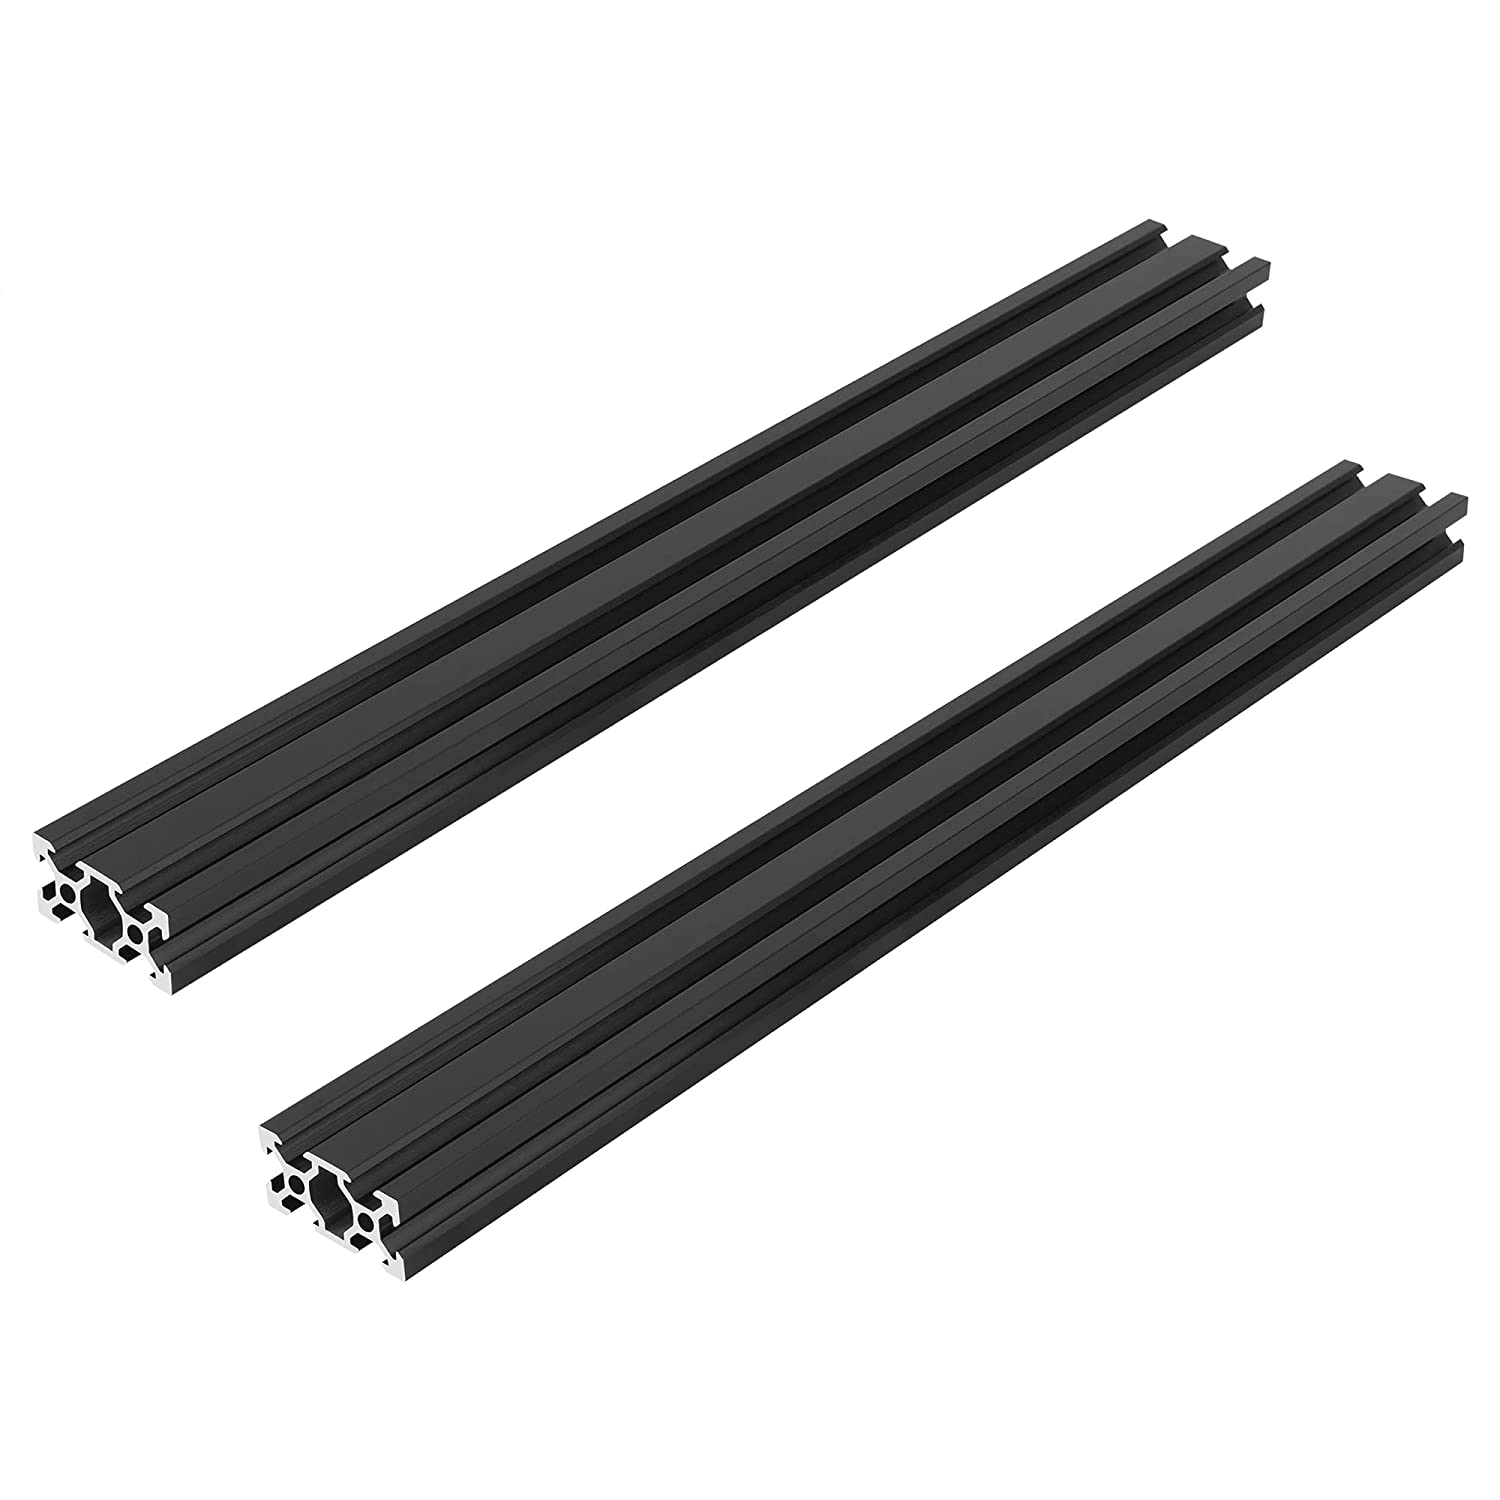
$20.99 -
2PCS 400mm 2040 V European Standard Anodized Black Aluminum Profile
$50.99
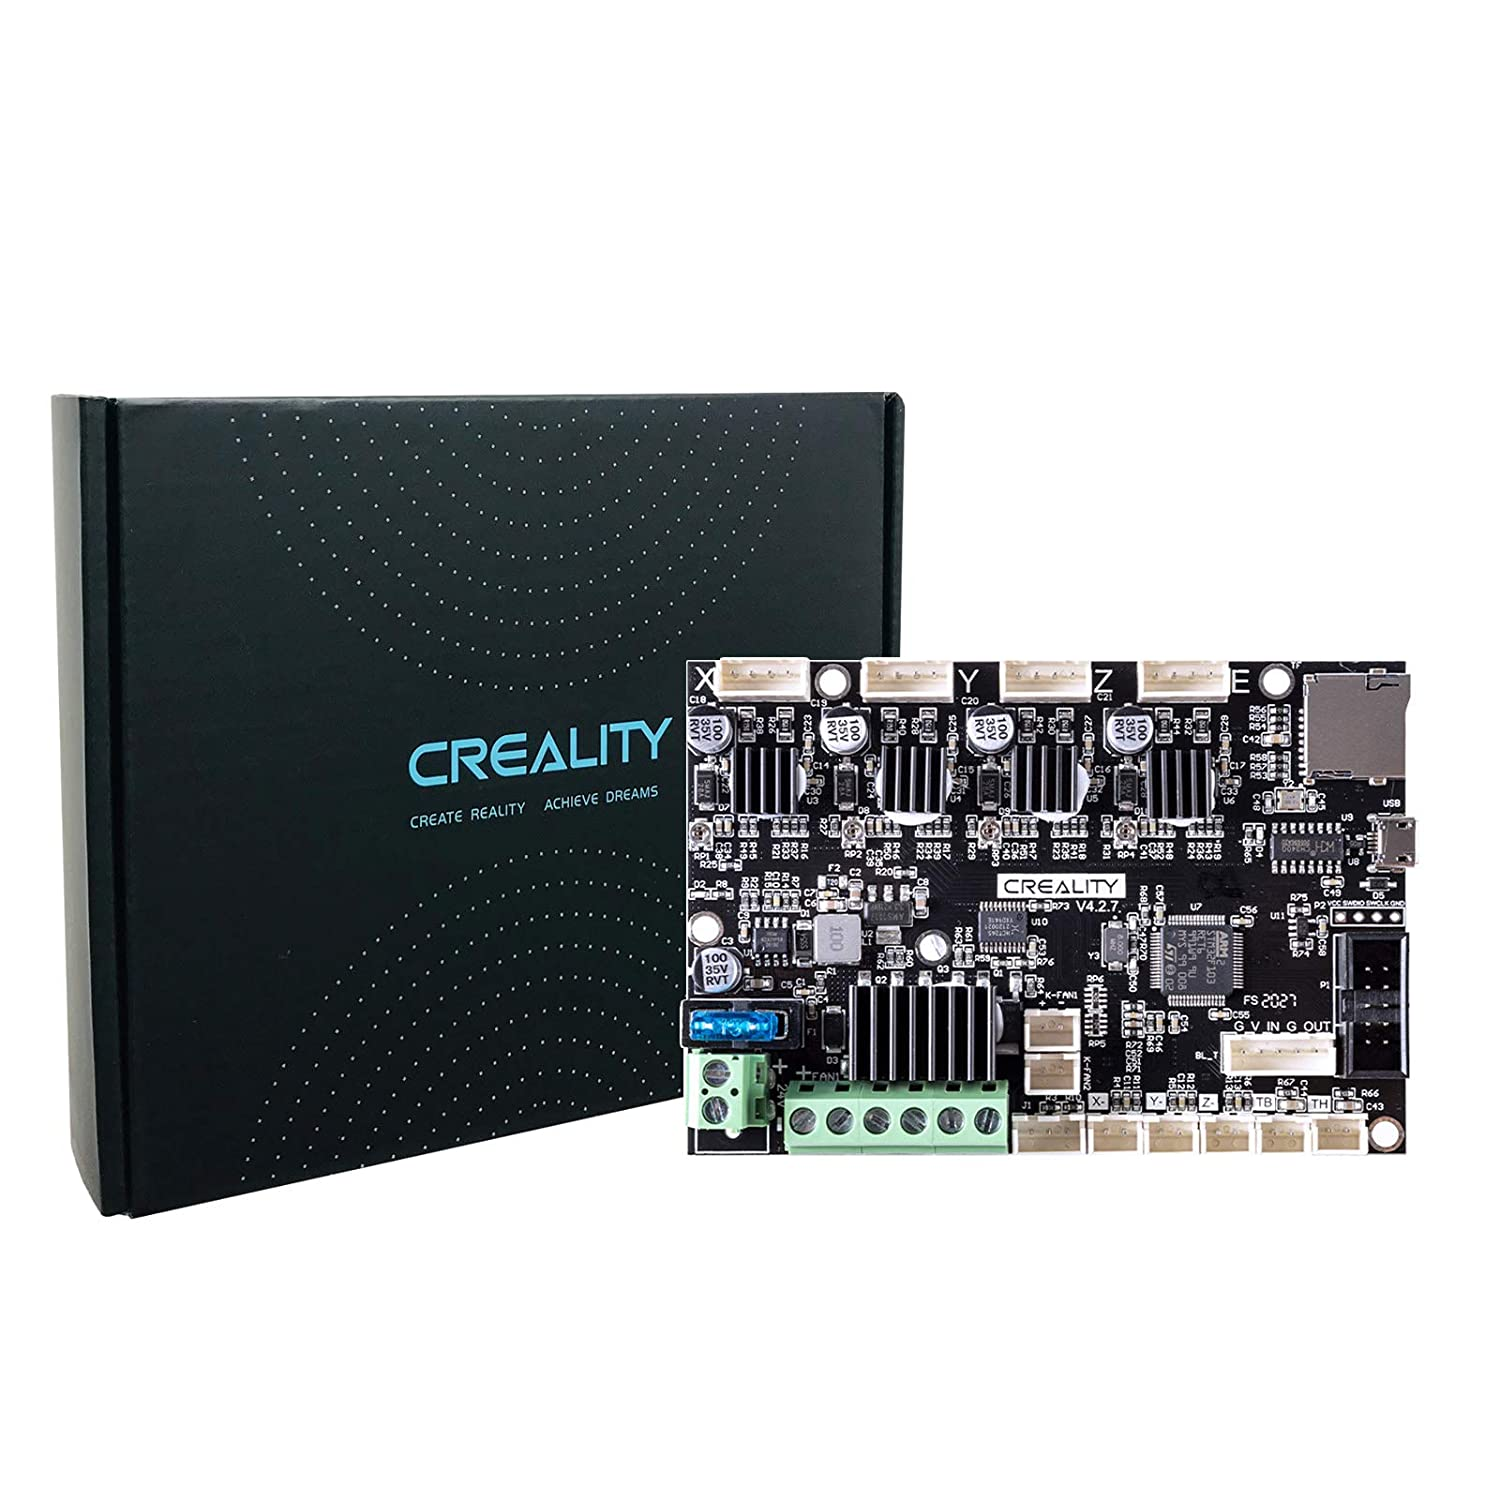
Official Creality New Upgrade Motherboard Silent Mainboard V4.2.7
$25.99
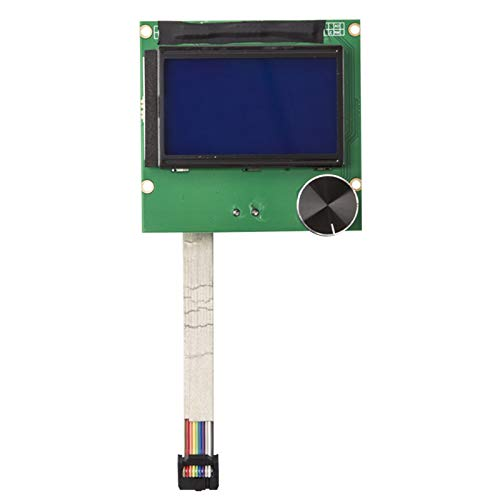
Creality Ender 3 Original LCD Display
$25.79-
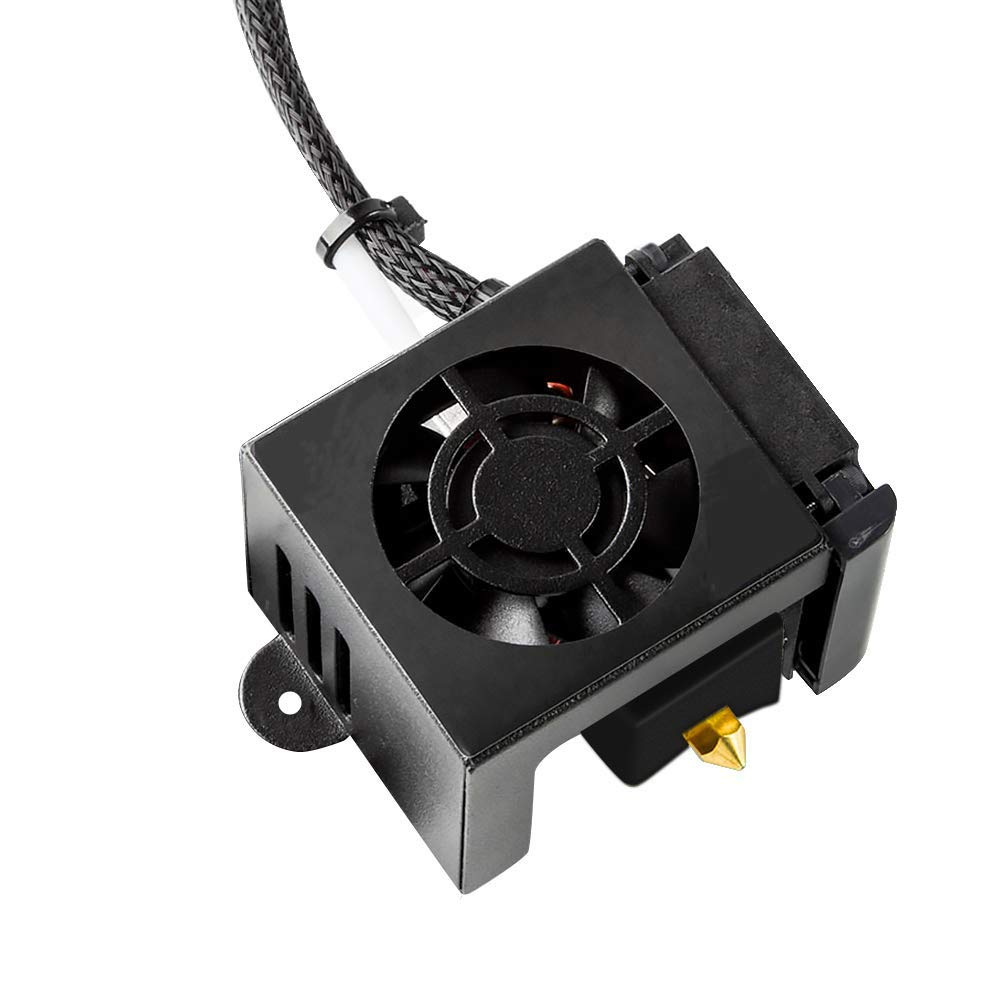
Ender 3 Hotend Ender 3 Pro Hotend 24V 40W Full Assembled Extruder Kit
$16.99 -
CR10 3D Extruder Back Support Plate
Reuse the Wheels from this unit for Community Cutter and DualGear
$18.99 -
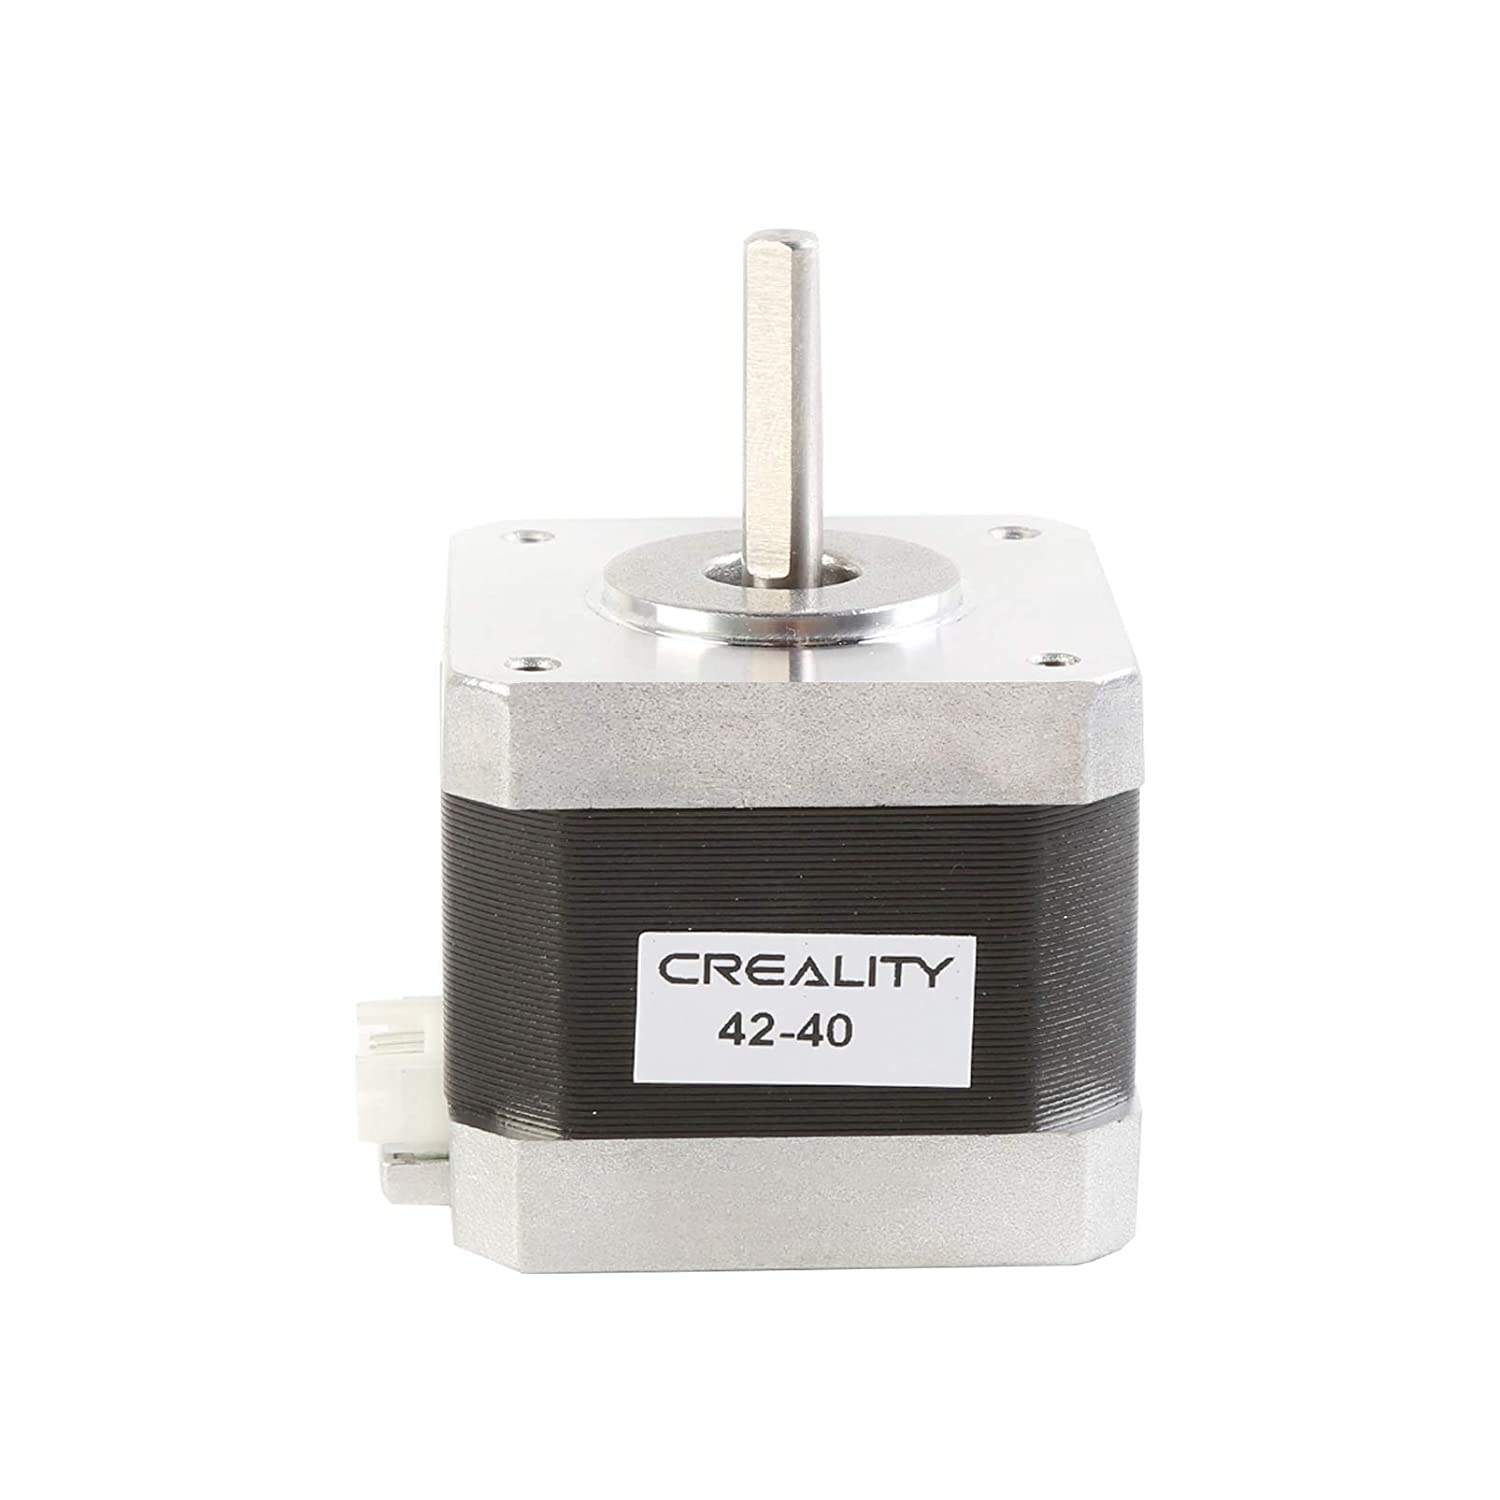
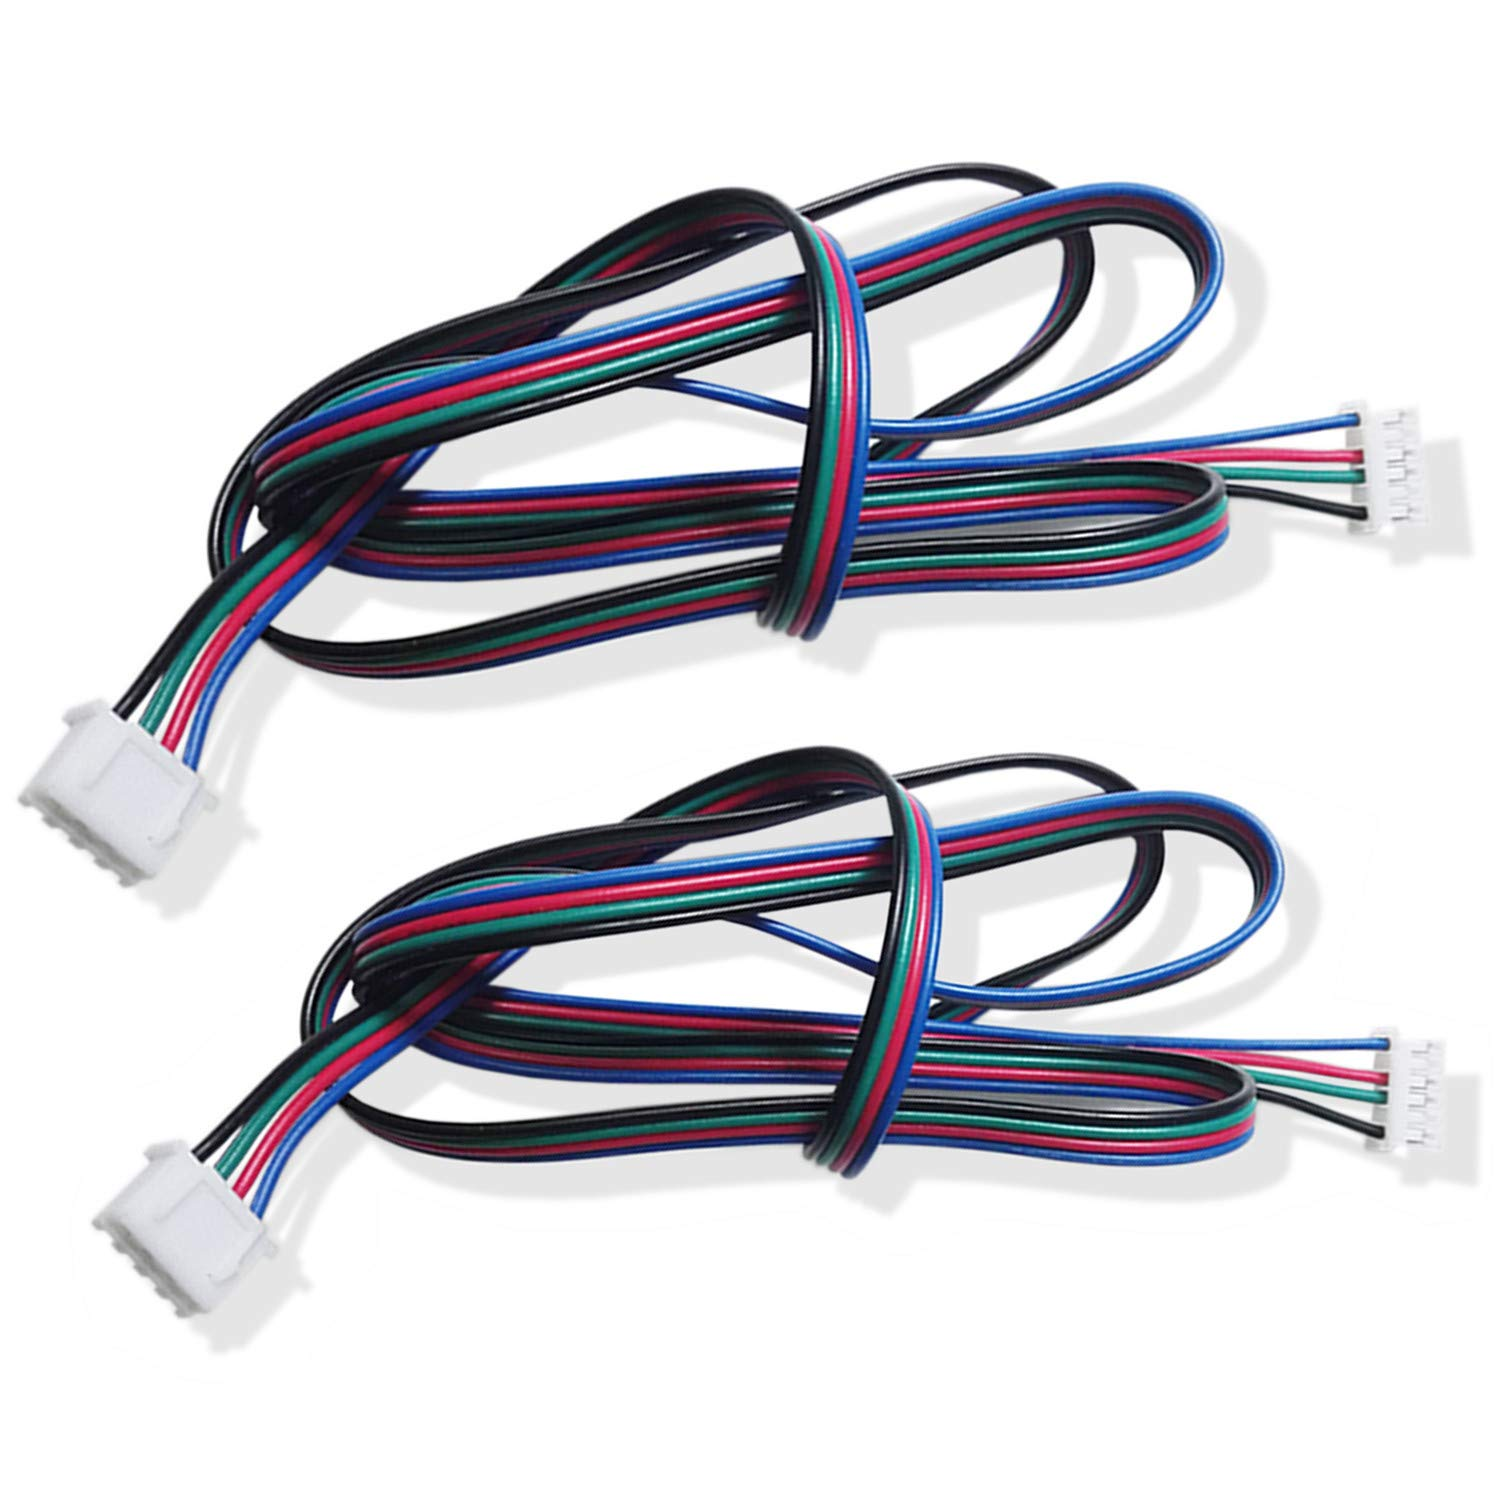
Creality 3D Printer 42-40 Stepper Motor
$8.99 -
SoundOriginal 2pcs M6 3D Printer Stepper Motor Cable
$22.99 -
12V 24V 40V Switching Power Supply
$5.59 -
5pcs 3D POM Wheel
- If you don’t buy the Support Plate, which can reuse the wheels from this for Community Cutter and DualGear
TOOLS NEEDED :
Varying tools will be needed and are listed below as follows. Be mindful these tools can be easily found elsewhere in varying brands and styles. You may not need to buy something if a friend or family member has one instead. Think out of the box as most of the following work can be done in varying ways. Consider the use of these tools beyond this project as well. Once you own a tool it can be very useful in many other applications.
$7.99 -
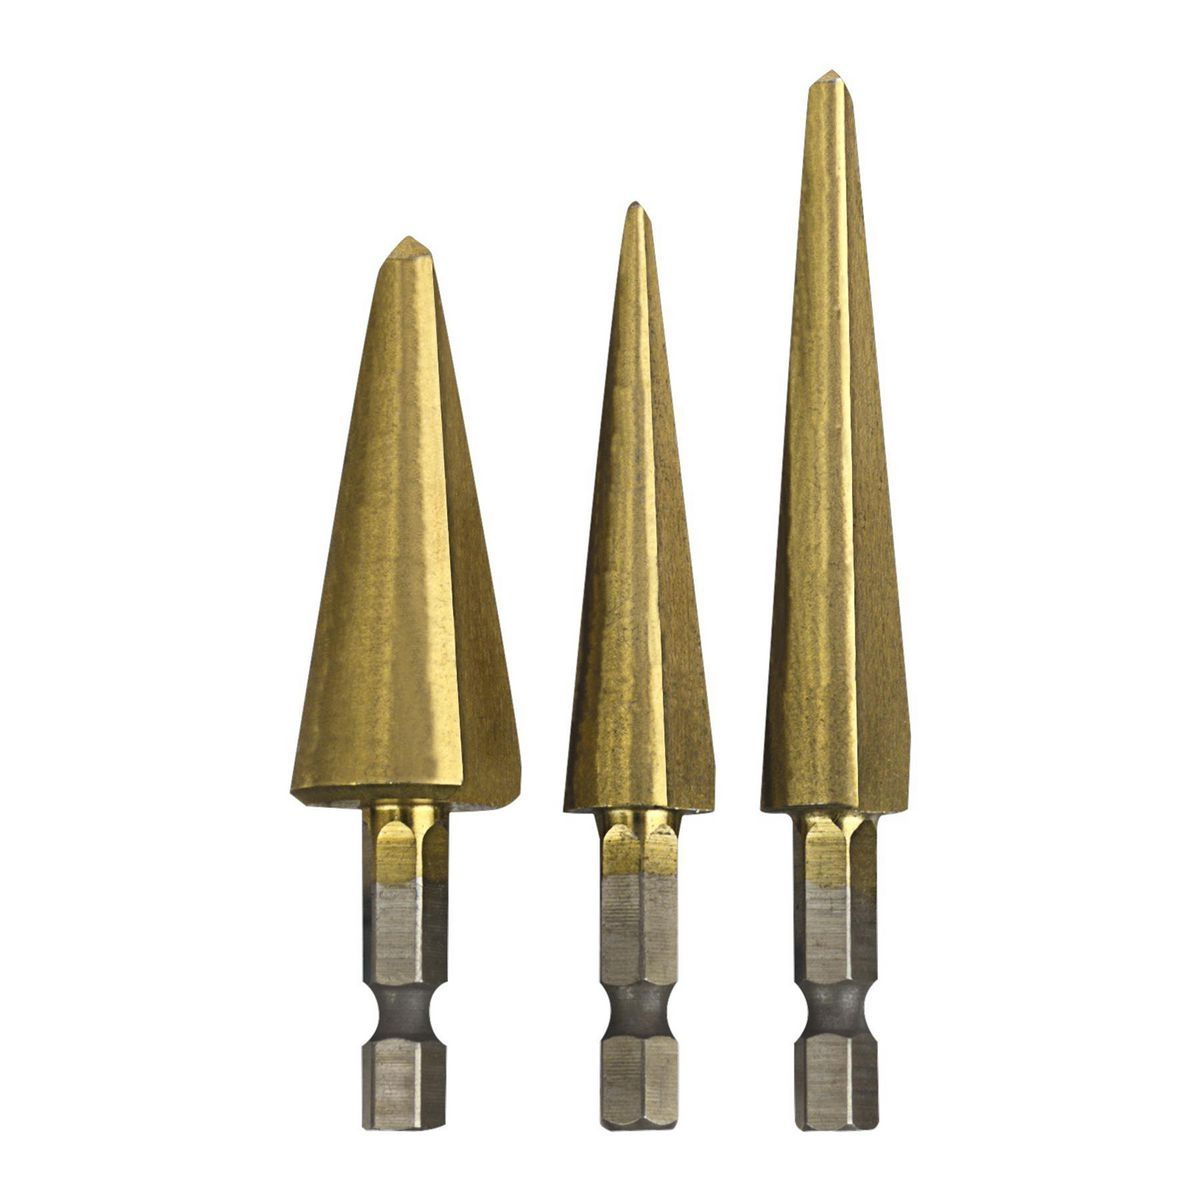
https://www.harborfreight.com/3-piece-stepless-drill-bits-66463.html -
Titanium High Speed Steel Stepless Drill Bit Set, 3 Pc.
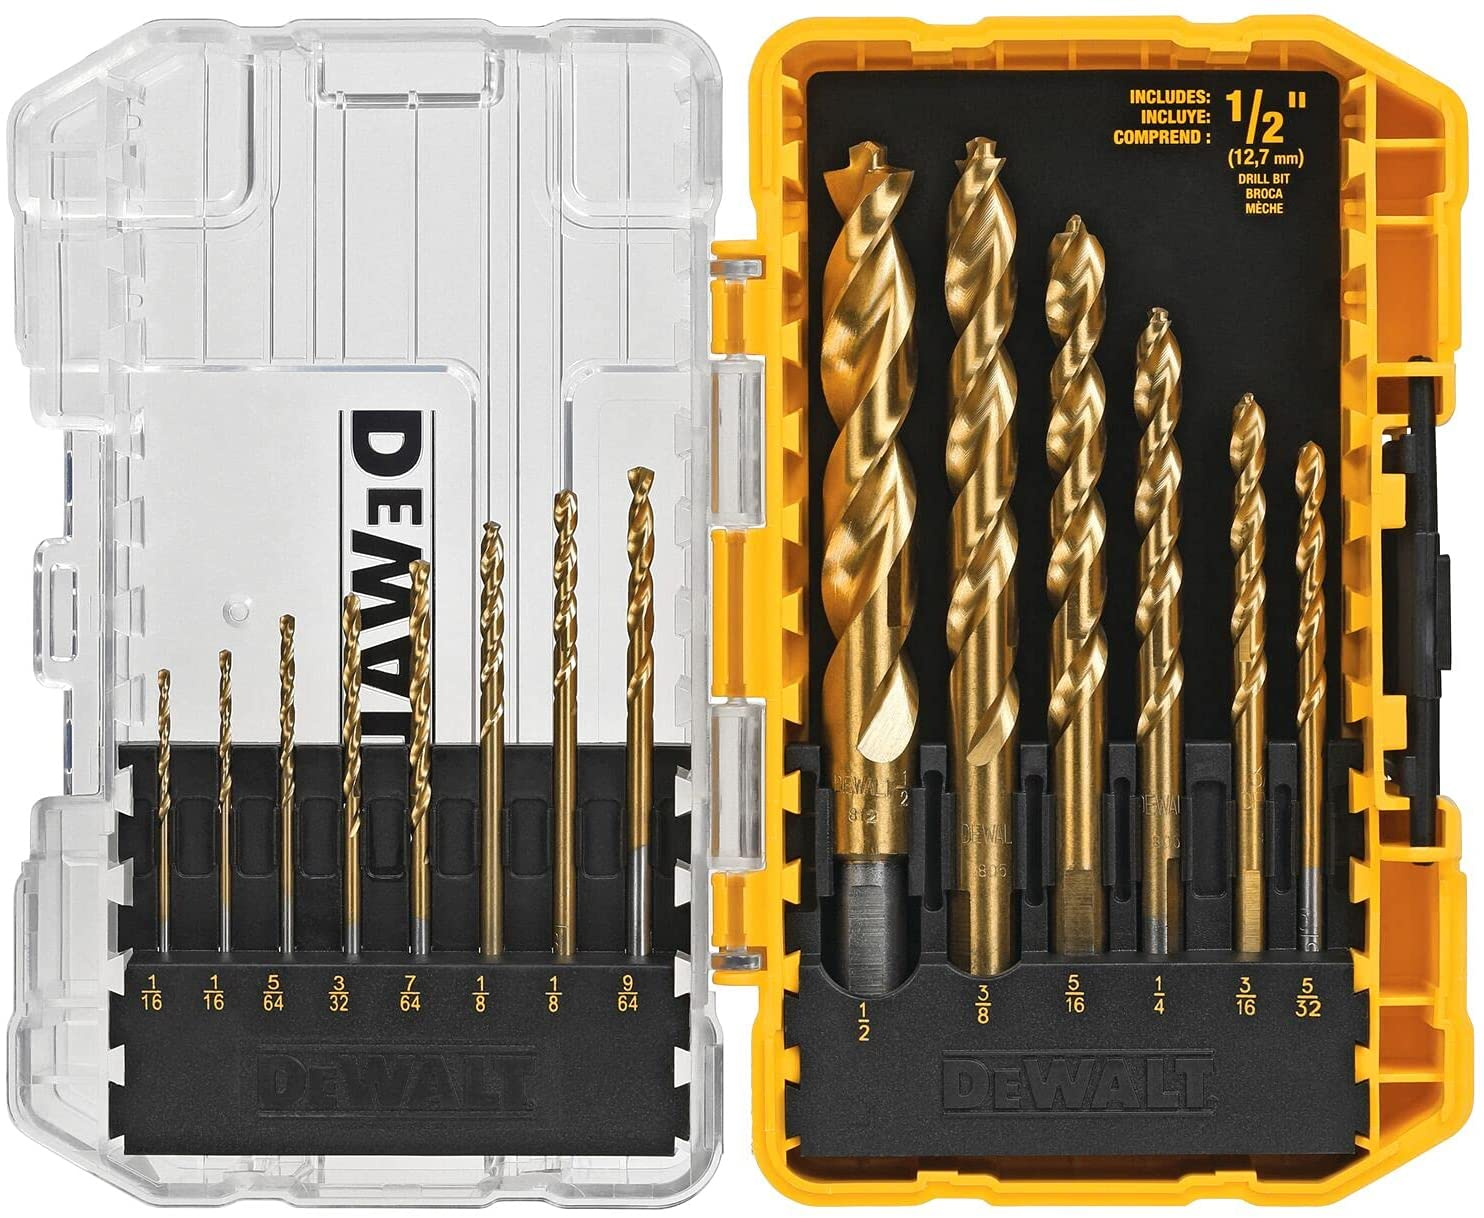
$14.99 -
DEWALT Drill Bit Set https://amzn.to/35GHadn
1.75mm Drill Bit for the Nozzle
$36.99 -
Power Drill Or any Drill You’d Rather
$25.99 -
Housolution Universal Table Vise 3 Inch Or any Vice You’d Rather
PARTS BREAK DOWN
- 1/16th Drill Bit
- for Drilling out the Nozzle Size.
Round out until 1.75mm filament can just pass through it.
- Thinner Steel Stepless Drill Bit
- For drilling out the heatsink core, use a thin bit not a wide as to avoid blowing out the ender 3 style heatsink.
- (40) M4x8mm Hex Screws
- (40) M4 Sliding T Slot Nut
- Used through the entire build.
- (5) M3x6mm Hex Screws
- For Ender 3 Board Mount
- (2) M3x6mm Hex Screws
- For Power Socket
- (6) M3x12mm Hex Screws
- (6) M3 Nuts
- For securing the TPU feet in place
- (4) M3x8mm Hex Screws
- For Mounting LCD Screen to the Mount
- (4) M3x16mm Hex Screws
- (4) M3 Nuts
- For Mounting Mount to the Frame
- (2) M4x10mm Hex Screws
- For mounting the back carrying handle.
- (6) M4x8mm Hex Screws
- For mounting the Power Supply
- (2) M3x14
- For attaching Heater Block to the Heatsink
- (2) M3x14
- For Attaching Assembled Heater to the Mount Plate
- (4) M5x20
- For the Side Handles.
- (4) M3x8mm Hex Screws
- (1) M5x34mm Hex Screw
- (1) M5 Nut
- (2) M5 Washers
- (1) POM Wheel
- For MK5 Single Dual Gear Motor
-
3STEP 0 : PRINT ALL THE PARTS
STEP 0 : PRINT ALL THE PARTS
- Start by Printing out all the Parts for the MK5 Kit, from the Top and Bottom Folders.
You’ll also need a bottle cutter. You can order a Plastic Bottle and Can Cutter Tool or you can make the Free DIY Community Bottle Cutter.
The parts files to 3D Print can be downloaded from here: http://recreator3d.com/mk5kitender3parts
- After the parts are printed
- Add the M4x8mm screws along with the M4 T Nuts for preparation to all the parts.
- Where the back handle attaches, use the (2) M4x10mm screws for the proper needed length. We’ll attach these screws later.
-
4STEP 1 : DISASSEMBLE THE HEAD and DRILL
STEP 1 : DISASSEMBLE THE HEAD and DRILL
*** Be Mindful and Very Careful with the Heat Block and the Thermo/Heater wires. These are delicate wires. The following work can be done with the wires still attached if you trust your skills. They can also be taken off and put back on after the following work. Be advised and do what is best for yourself. These notes will be leaving the wires attached to the block. Again, Take extreme caution in handling these wires so as to not damage them. ***
- Start by disassembling the Hotend
- Remove the PTFE Coupler on the top.
- Remove the Nozzle
- Remove the two screws holding the heat block to the heatsink.
- Remove the small grub screw holding the throat to the heatsink.
- Remove the throat from the heat block.
- Set the heatsink into a clamp.
You’ll need the following Tools:
- Drill
- Vice Clamp
- 1/8”-1/2” Stepless Drill Bit - Drilling the Heat Sink
- 1/16th Drill Bit - for the Nozzle - drill to width of 1.75mm
- With the Heat Sink upside down (the Grub Screw Hole should be facing down),
drill out the center.
- Using the thin stepless drill bit, drill until the inside upper lip has been rounded out.
- Be mindful that the Ender 3 inner wall is thin and can easily be blown out if over drilled. Go slow and stop as soon as this lip is rounded.
- Set the Nozzle into the vice clamp or pliers with the tip downwards.
- Using the 1/16th Drill Bit, Drill downwards into the nozzle to form a 1.60mm hole.
- Continue drilling the nozzle while turning it. Stop to test that 1.75mm filament can be inserted into the nozzle.
- Continue to drill until this can happen. Be mindful to not go over this size. You want the 1.75mm filament to be able to just pass through the nozzle. If too loose, your diameter will be above 1.75mm and it will not print properly.
-
5STEP 2 : REASSEMBLE THE HEAD
STEP 2 : REASSEMBLE THE HEAD
- Using the screw and nuts from the support plate,
- Mount the plate onto the Ender 3 Mount, printed from PETG.
- The wheels can be used with the MK5 Spooler DualGeared Spooler Mount,
as well for the Community Bottle Cutter.
This can save the option of buying them individually.
- Using the (2) M3x14 Screws, mount the heat block to the heatsink.
- Attach the nozzle.
- Using the other (2) M3x14 Screws, mount the heatsink to the support plate.
- If using the blower fan for filament cooling, unmount it from the side of the shroud and using the original 4 Screws, Attach the Parts Cooling Fan to the Printed Bracket “RECREATOR3D - Part 3 - Cooling Fan Plate”, Making sure the sticker side is facing up with the blower facing down.
-
6STEP 3 : ASSEMBLE THE BOTTOM BUILD
STEP 3 : ASSEMBLE THE BOTTOM BUILD
- Attach 1 of the side handles to the (2) 2040 rails.
- Depending on your build, choose the handles that fit your needs.
- You can attach them to the ends if the profiles are tapped with the (4) M5x20
or to the sides with M3x8 screws and T Nuts if untapped.
- Attach the two Mounts to the Power Supply using the (6) M4x8mm Hex Screws.
- Make sure the power supply’s connectors are pointed down.
- With the Power Supply connectors pointing inwards,
- Slide the Power Supply Mounts onto the 2040 profile slot.
- Push the power supply towards the center temporarily.
- Attach the second of the side handles to the (2) 2040 rails.
- Attach the right and left side legs to the 2040 profile.
- Looking at the power supply, push it all the way towards the left and align it against the leg.
- Now add the middle leg. Depending on the length of your power supply, it may align right against the right side of the power supply, but it’s suggested to use the case to align the placement of the middle and right legs.
- Double check the placement of the feet using the case to make sure they’re placed correctly.
- Attach the Ender 3 board with the (5) M3x6mm Hex Screws to the board mount.
- Attach that to the 2040 profile on the right side of the frame.
- Attach the TPU feet to the legs using the (6) M3x12mm Hex Screws and (6) M3 Nuts.
- On the Right Side Case LCD,
- Attach the power switch using the (2) M3x6mm Hex Screws.
- Attach the LCD to the mount using the (4) M3x8mm Hex Screws
- Attach the mount to the front using the (4) M3x16mm Hex Screws (4) M3 Nuts.
-
7STEP 4 : CONNECT THE WIRES
STEP 4 : CONNECT THE WIRES
- Connect the power switch wires to the power supply.
- Connect the ender 3 board to the power supply, Red to V+ and Black to V-
- Feed the motor wire, hotend and fans wires down from the top of the frame through where the middle has a small opening.
- Connect the motor, heater, thermo and fan wires to the Ender 3 board.
- Attach the LCD Screen cable to the ender 3 board.
- Attach the power switch to the power supply, Red to L, Blue to N, and Yellow to Ground
- Attach the back handle onto the right side and middle of the case using the (2) M4x12mm Hex Screws.
- Attach these combined parts to the 2040 profile as well the left side case.
- This completes the bottom of the build.
-
8STEP 5: COMPLETE THE TOP BUILD
STEP 5: COMPLETE THE TOP BUILD
- With the Bottle Cutter, along with the Head and Blower Fan...These Parts can now be mounted onto the base frame along the 2 - 2040 Rails.
- Attach the Cutter Plate towards the right side of the frame. Set the Screws and T Nuts in place on the right side of the main screw holding the 2040.
- Attach the Heater Block Plate with 1 inch in between the Cutter Plate. Set the 4 Screws and T Nuts in place on the 2040.
- Attach the Cooling Fan Plate 1.25 inches from the Heater Block Plate. Set the 2 Screws and T Nuts in place on the 2040.
- Attach the Spooler Guide Parts after the Cooling Fan.
- Run the Motor Wire along the back 2040 Rail and tuck it inside the Rail. Follow the Rail until you reach the motor.
-
9STEP 6: MOTOR SPOOLER
STEP 6: MOTOR SPOOLER
MK5 DoubleGear Single Motor
- For the MK5 DoubleGear Single Motor, Attach the Nema 17 motor to the back of part “RECREATOR3D - Part 5B - Back-Motor-Mount” using the (4) M3x8mm Hex Screws. You’ll combine the (1) M5x34mm Hex Screw with the (1) POM Wheel in between the (2) M5 Washers securing that to the back of part “RECREATOR3D - Part 5C - DoubleGear” with the (1) M5 Nut set in the front of the gear. Set this on the back 2040 rail.
- On the Front 2040 Rail set the “RECREATOR3D - Part 5A - Spool Holder” in place,
- Using the “RECREATOR3D - Part 7A - Spool Rod” as a guide for straightness, when combined with the back motor mount.
- Using the “RECREATOR3D - Part 7A - Spool Rod” as a guide for straightness,
- Double check these two parts are straight on the back 2040 Rail
- Double check the 2 Screws and T Nuts in place on the 2040
-
10STEP 7 : THE END OF THE TUNNEL
STEP 7 : THE END OF THE TUNNEL
- Combine all Parts for “PART 6 - Spool”.
- Due to the way the Spooler Spins, it’s suggested to use some super glue to hold these parts together when screwed together to form one part.
- Otherwise the parts can become loose, separate, and bind while the unit is running.
- Combine all Parts for “PART 7 - Spool Rod”.
- Attach “PART 6 - Spool”, to the Spool Holder with “PART 7 - Spool Rod”.
- Setting the Spacer towards the back to allow Small Gear Clearance.
- Lock the Rod in place with the “PART 7 - Rod Nuts”.
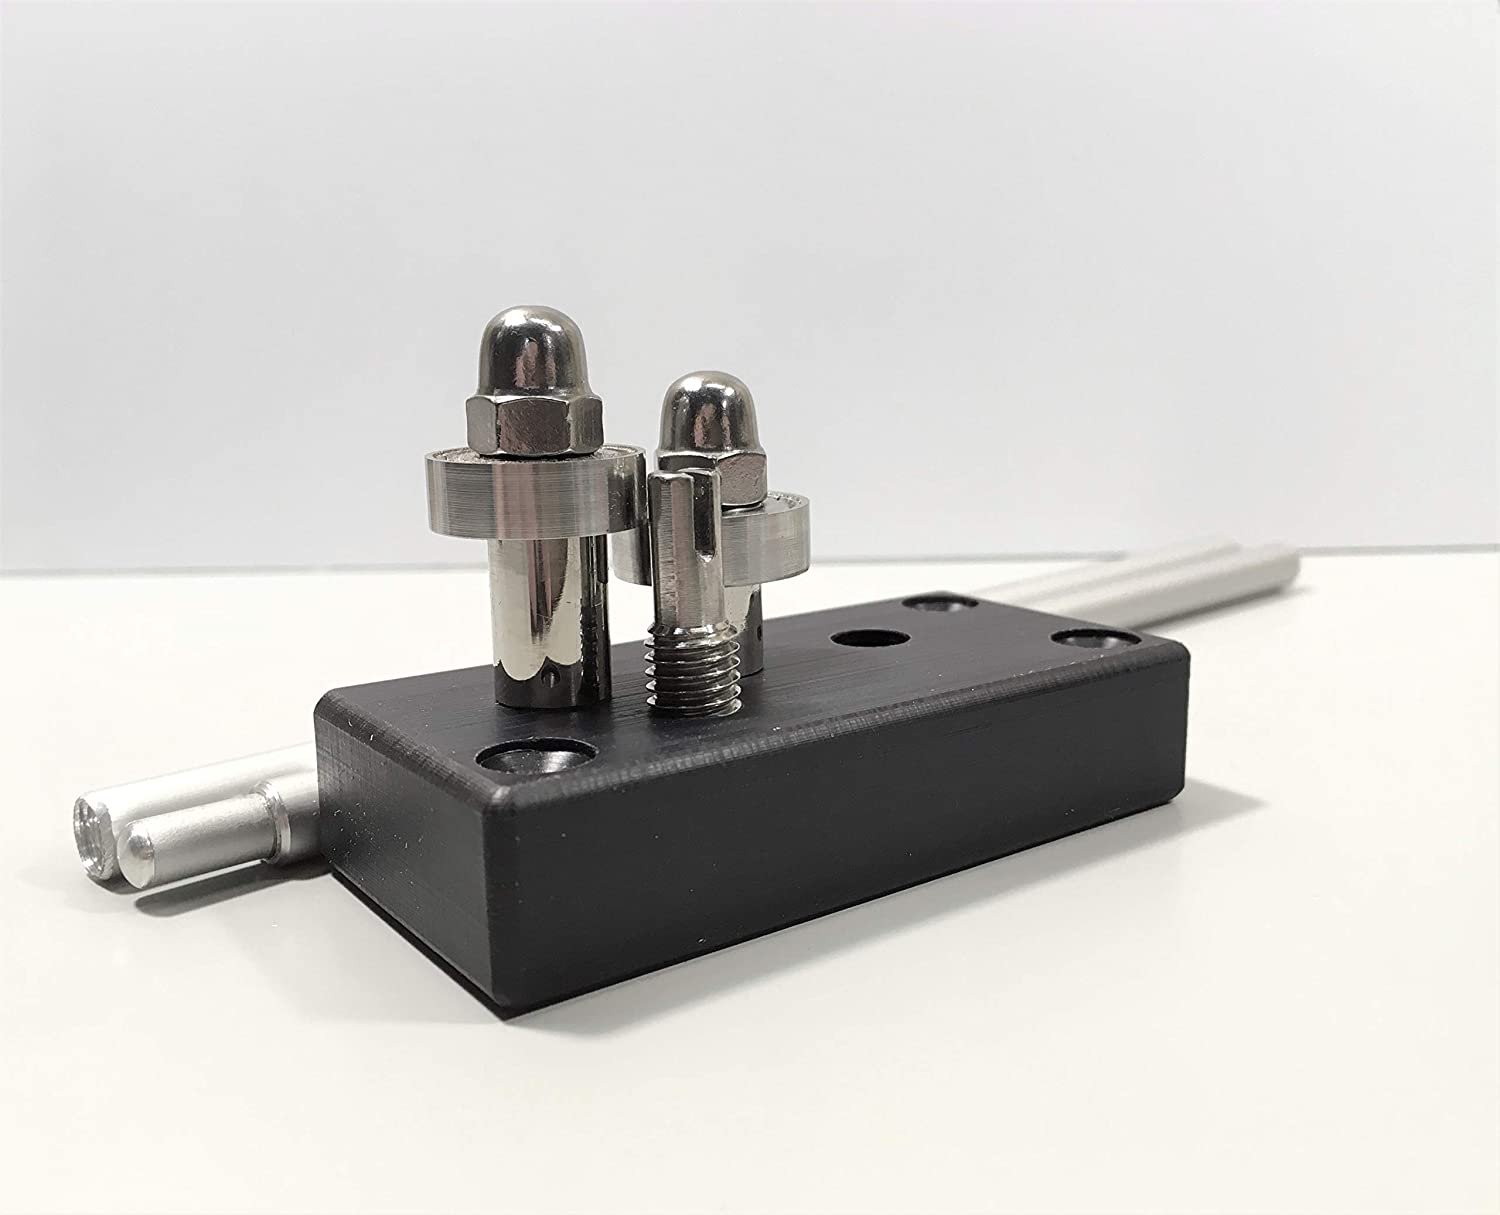
- Combine all Parts for “PART 4”
- with theSteel HSS Round Tool Bit and Attach The Tensioner with 1 inch in between the Cooling Fan Plate
- Set the 2 Screws and T Nuts in place on the 2040
- Attach the Front Signage
- using Double Sided Tape
The Recreator 3D - Make Recycled PET#1 3D Filament
Strip down PET#1 Recyclable plastic bottles. Convert into new usable 3D filament. Load up your favorite 3D printer and recreate!


Discussions
Become a Hackaday.io Member
Create an account to leave a comment. Already have an account? Log In.