Leonard
-
Switching hardware
04/09/2023 at 09:06 • 0 commentsThe last couple of months I haven't been all that busy working on this project. It has been on my mind constantly though, but life requires other sacrifices of worthwhile time.
I have been testing with the banana pi board, but quickly found that the 3v3 rail didn't work, so had to work around that by creating a 3v3 rail with an extra component, just to find out the board isn't reliable.
Sometimes it sits there at my desk for days, replying happily to network request to suddenly stop working and hanging. No kernel panic, nothing, just stops.
That's why I have decided to go with a real raspi. I'd love to go for a raspi zero 2 W, but couldn't get hold of one.
So now I have bought (the much older) Raspberry Pi Zero W.
At least to go testing with. More later.
-
In the meantime, meanwhile, while waiting...
09/11/2022 at 11:54 • 0 commentsI looked around to see who, ever, in all of history, may have been mad enough to have modelled a vulcan scanner.
Yeah, I found exactly 1.
( No, correction, I found a couple more, they are here:
https://www.turbosquid.com/3d-models/3d-star-trek-enterprise-vulcan-hand-scanner-model-1752868
and on thingyverse
https://www.thingiverse.com/thing:407792 )
I went for this one.
https://www.cgtrader.com/3d-models/electronics/computer/vulcan-scanner
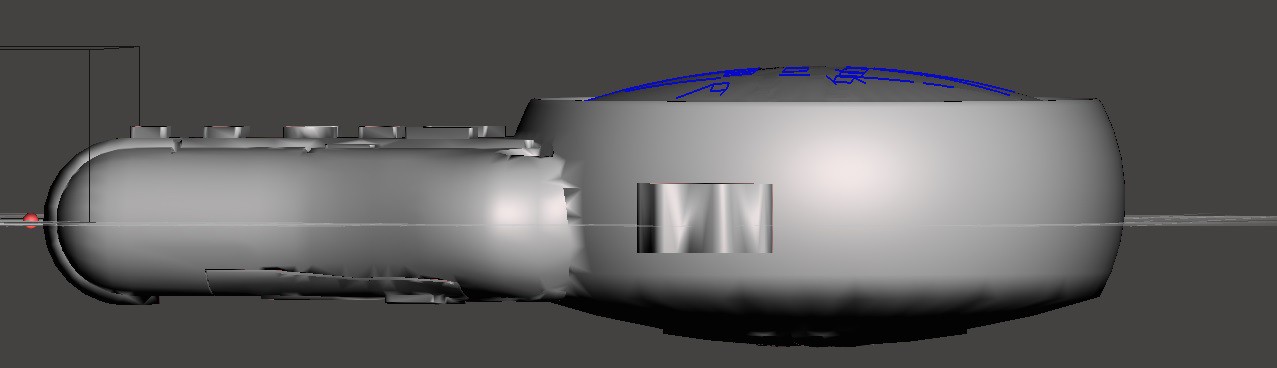
It nicely shows the front, but I really want see how this person imagined the bulky round readout section from the side.
Now I could ofcourse buy this model for several pieces of money...So I did.
![]() Quite bulky indeed!, imagine that the Vulcans were doing scans in space for a long time already, way before humans joined the warp highways. Anyway it is as it is.
Quite bulky indeed!, imagine that the Vulcans were doing scans in space for a long time already, way before humans joined the warp highways. Anyway it is as it is.https://www.cgtrader.com/3d-models?author=kei2000
Thanks kei2000 for your model so we can have a sneak peek.
I'll still model and build my own though.
On the modelling side of things.. well, that requires a new project log entry. Soon. -
Processing... stand by...
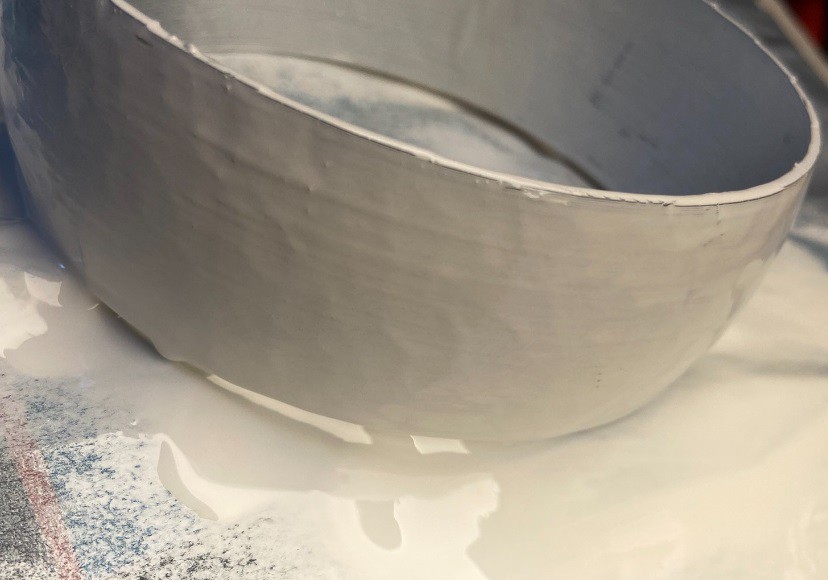
09/11/2022 at 11:12 • 0 commentsRemeber that test ring I got? First time now messing with a primer and a putty.
Wet primer
![]()
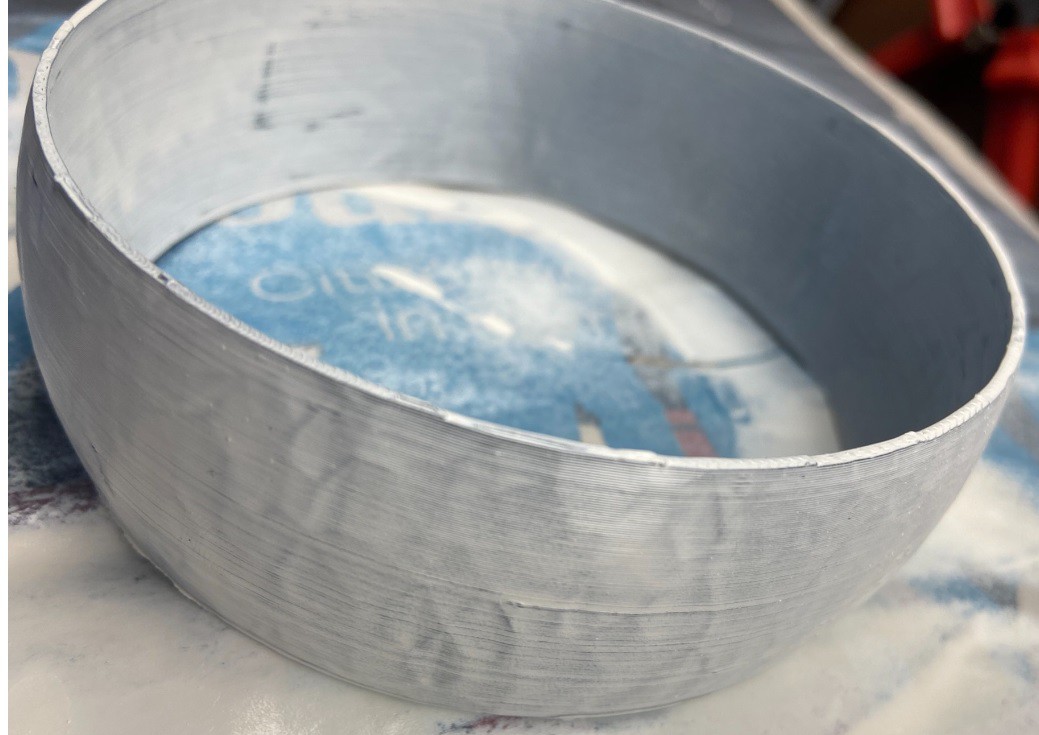
Dried primer
![]()
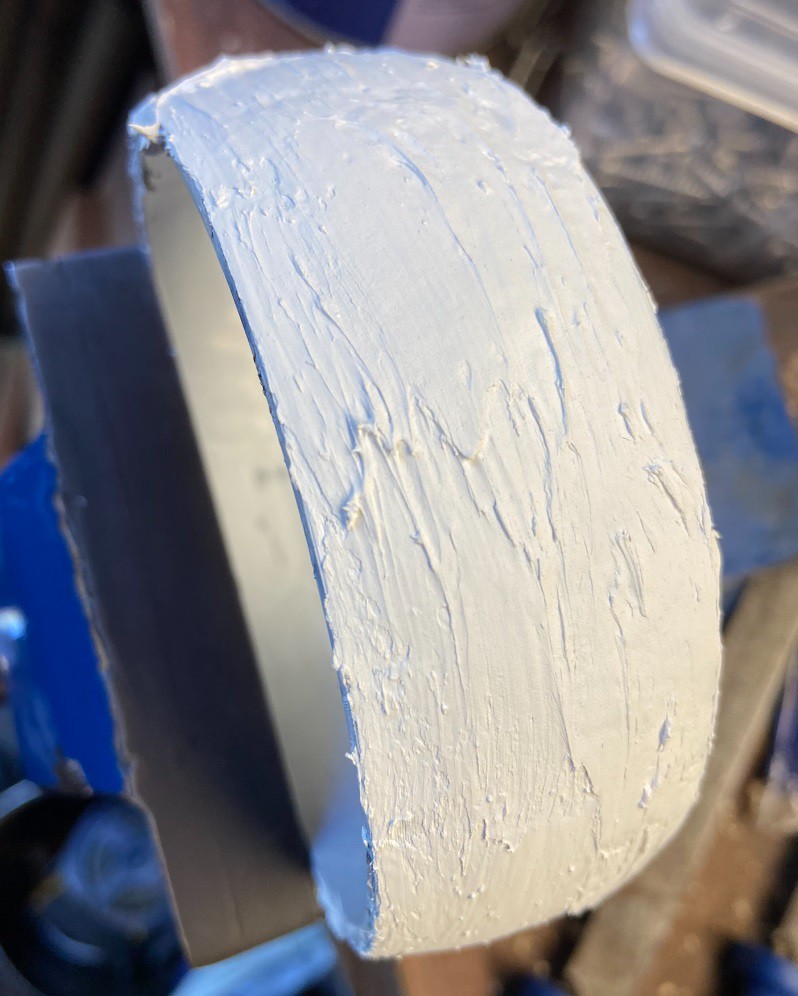
Messing with a reaonably standard putty, one that is used to fix dents and cracks in cars.
![]()
It's drying now... Please stand by...
-
flattening
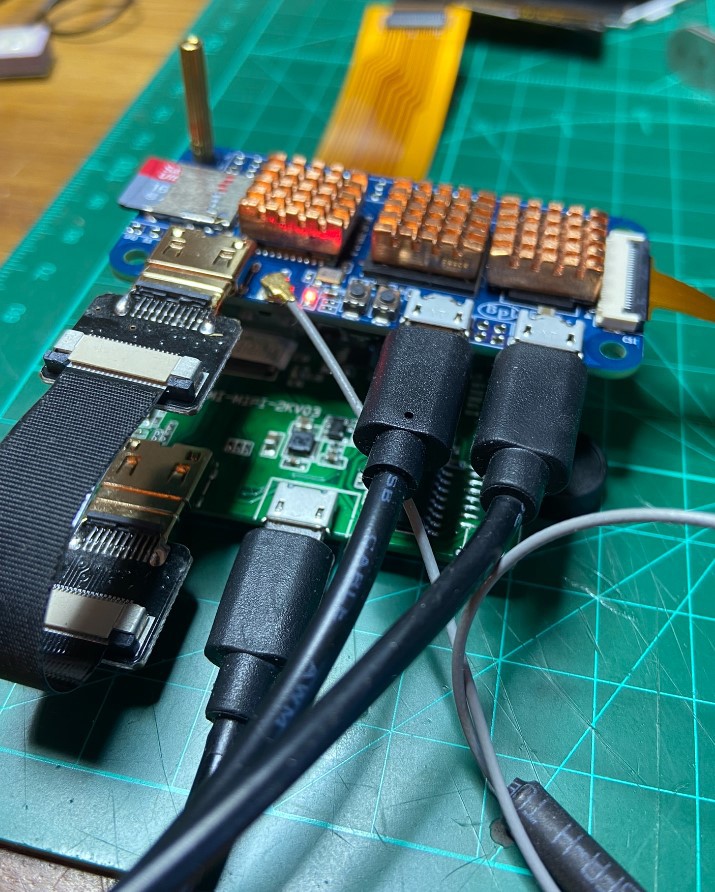
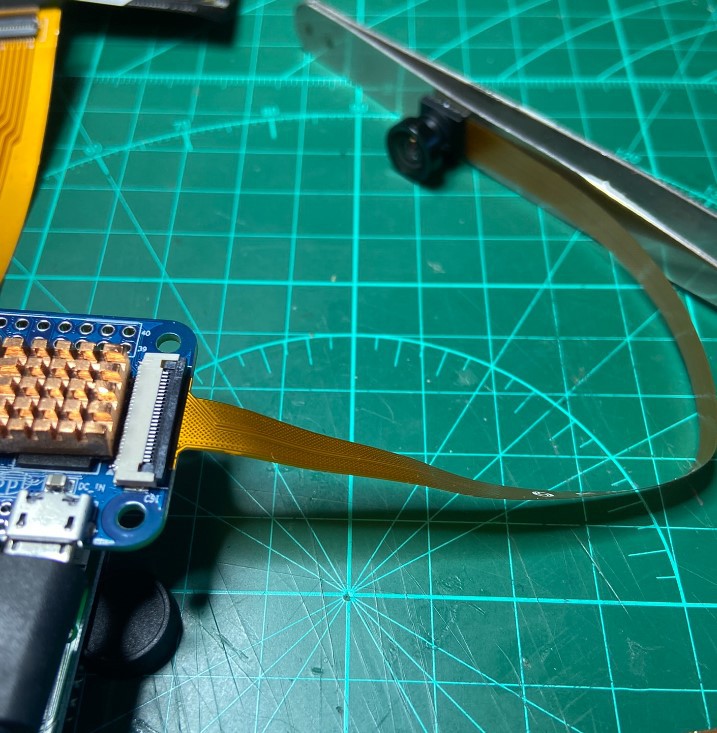
08/07/2022 at 10:14 • 0 commentsToday I replaced the bulky Micro HDMI cable with Micro HDMI connector modules that connect with each other through a flat cable decreasing the bulk of the system quite significantly.
I also got some other small Micro HDMI connectors, just in case I need to solder some myself, which I do not prefer, but you never know if it may be needed:
https://nl.aliexpress.com/item/32852450175.htmlI also connected the camera. I'll have to look up some docs to see how to get that working. I will share this when I get it sorted out.
![]()
![]()
-
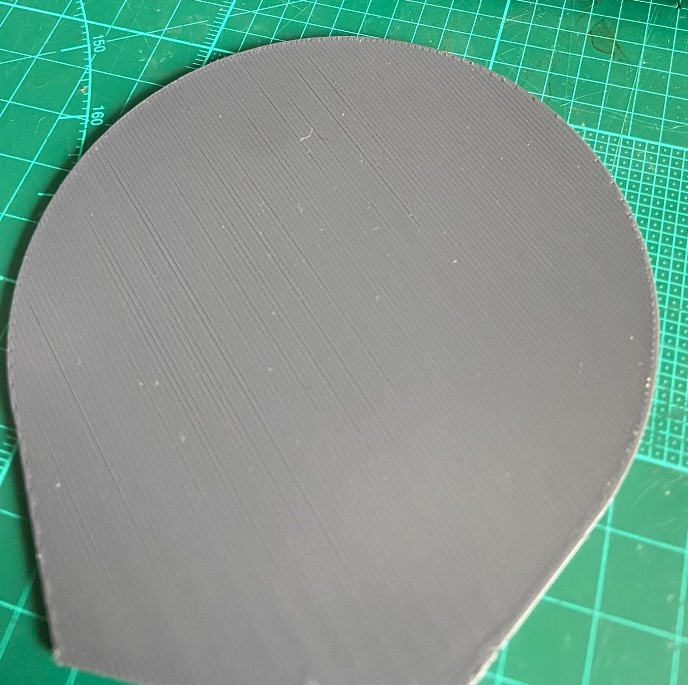
dummy
07/25/2022 at 07:18 • 0 commentsYesterday afternoon I just had enough time to make this photo:
![]()
into this dummy display placeholder:
![]()
It makes sure that when I need to try and test if it fits, I don't have to use the actual display to wriggle it in place.
Meanwhile I'm working on the rest of the body, I'll still have to see if I can do that in tinkercad, or that I'd have to learn a new tool, e.g. Blender or something similar.
-
Info about round displays
07/24/2022 at 09:54 • 0 commentsBest informational video about round displays basically is this:
-
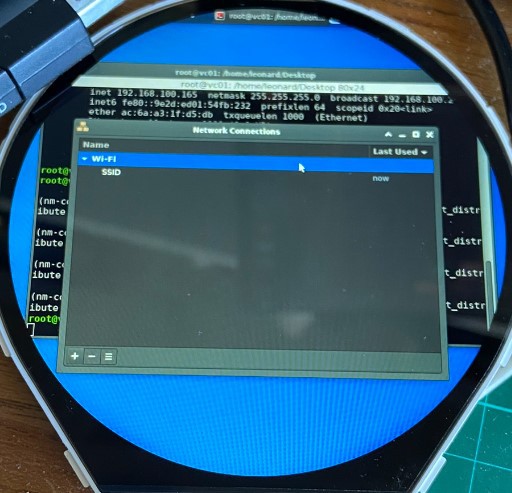
wifi fiddling and then some
07/24/2022 at 09:21 • 0 commentsGetting wifi up and running again meant looking up the command line options for network manager:
sudo nmcli dev wifi connect network-ssid password "network-password"It is also possible to run the command for the connection editor for network manager which is:
nm-connection-editor
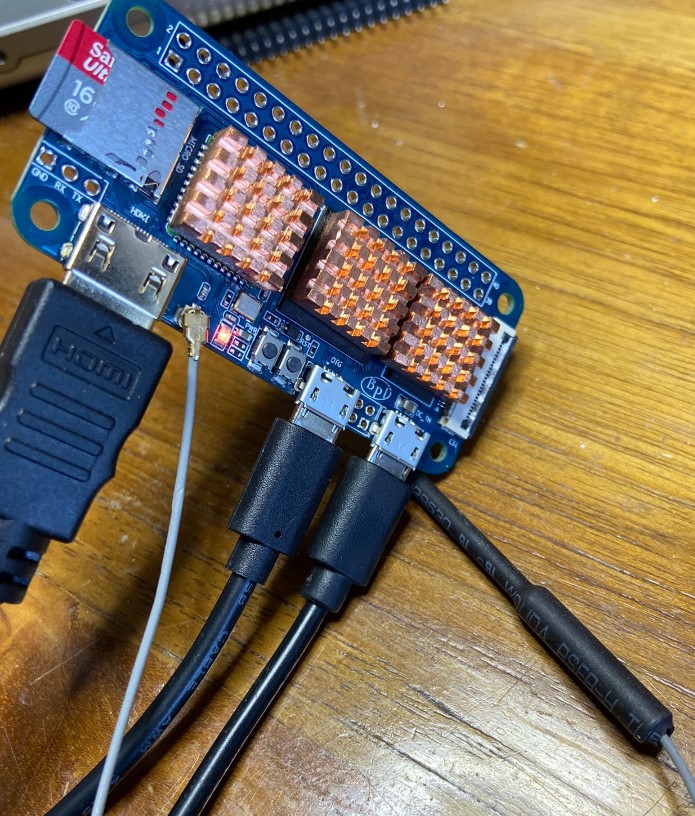
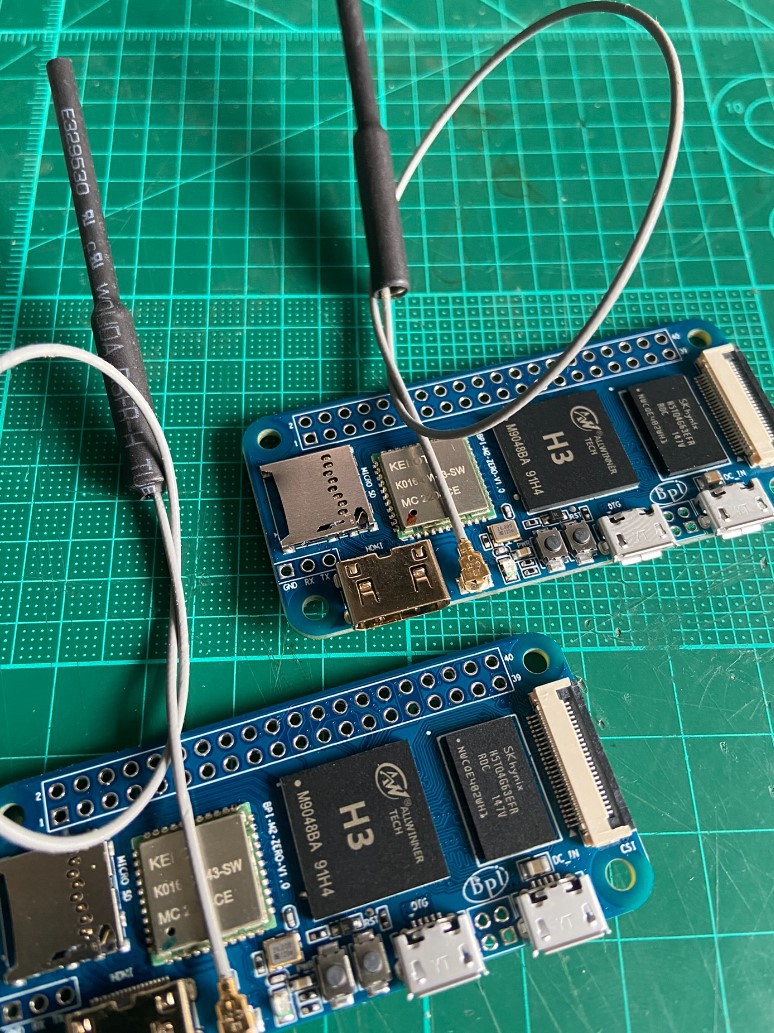
I added a couple of heatsinks to the board and I left the little system running on the desk for the rest of the day yesterday . Verdict: hot, but still touchable. It may need some kind of cooling if you strap this inside of a casing. Temperature is a thing that I will have to monitor and log.
Then there has to be a mention of the wifi antenna. I'll add it to the parts list, as this part didn't ship with the banana pi.
I could not find the exact order for this, as I bought a couple of these a long time ago, but it is similar to:
https://nl.aliexpress.com/item/32729134494.html
![]()
![]()
-
Fiddling
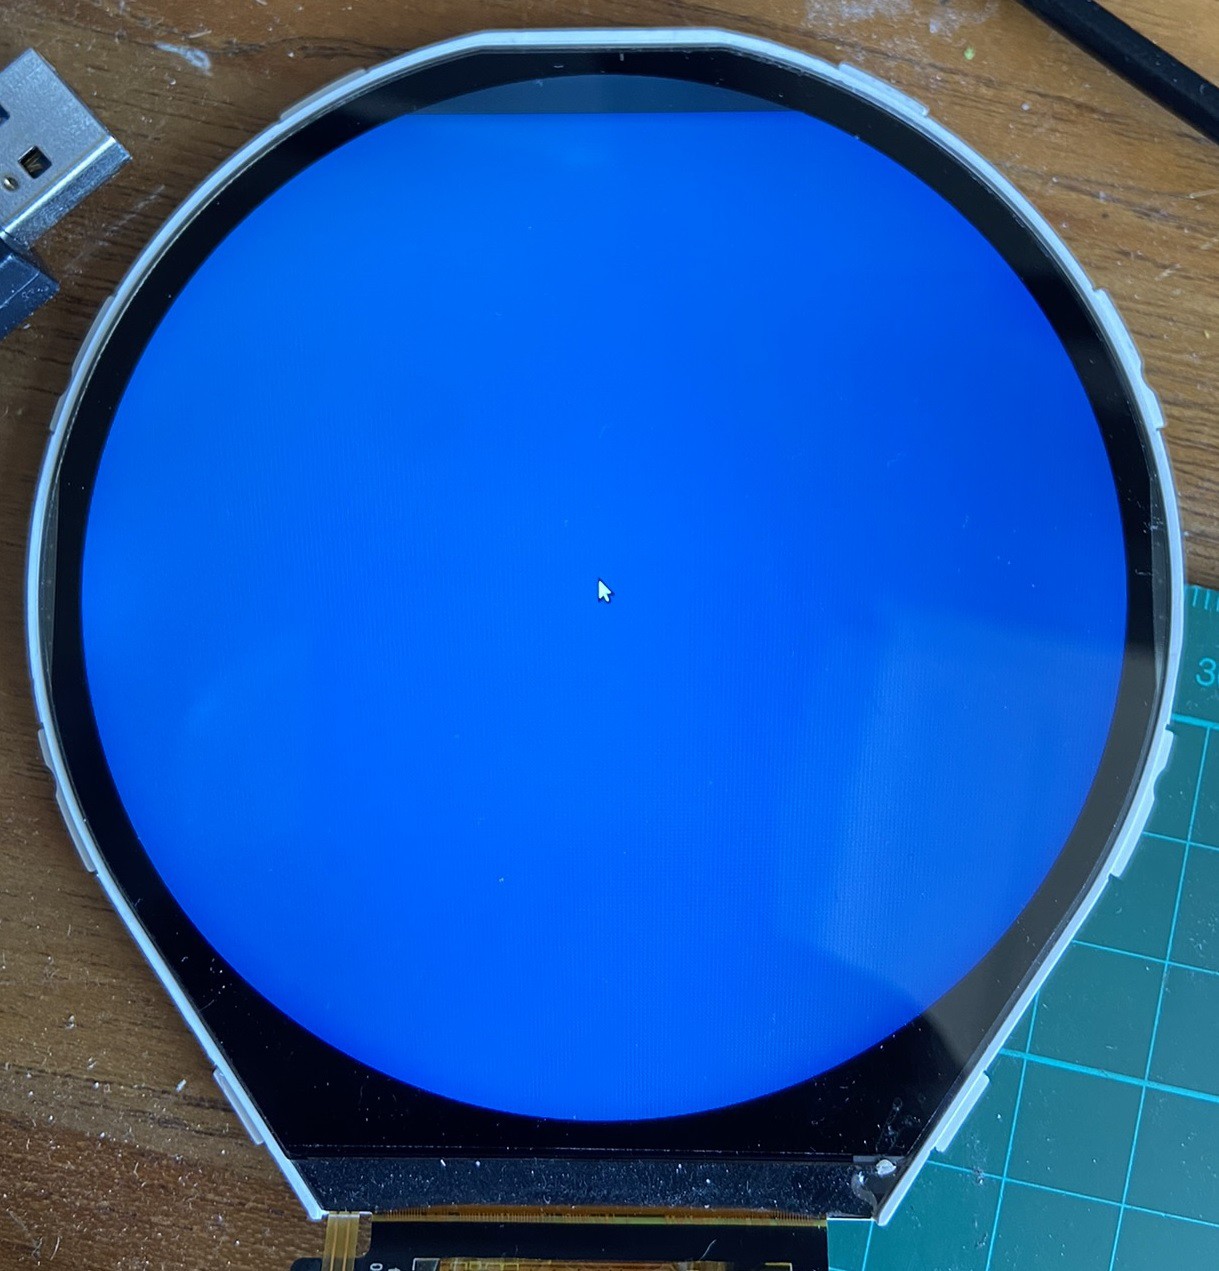
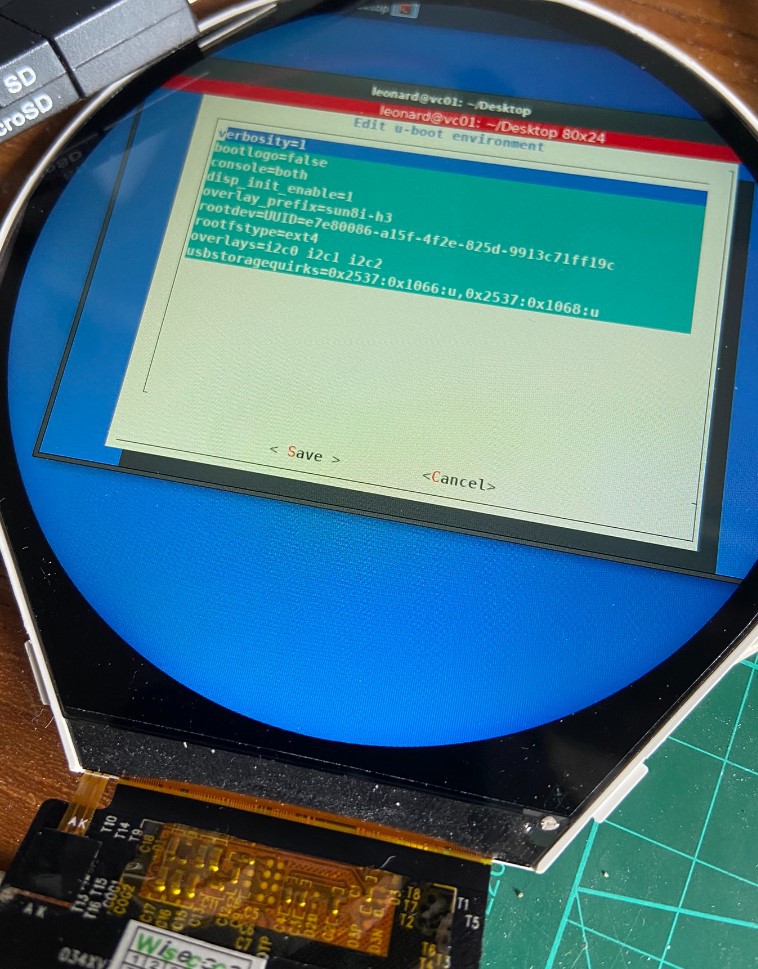
07/23/2022 at 14:11 • 0 commentsI got some time today to play with the linux armbian installation.
After a lot of tries getting the display to work, installing a graphical interface using the armbian configurator, installing lots of packages (which is not entirely fast) I didn't get the display to work.
Right, so, tried lots of boot settings in the form of looking at this page: https://linux-sunxi.org/Fex_Guide#disp_init_configuration
But no go. So in turn I went back to the working configuration of earlier, which was an entirely different board, connected it. Didn't work either. Strange.
Disconnected everything including all flat cables, reconnected everything, and the display sprang to life.
Okay, back from raspi to bananapi. insta-worked.
The boot settings are simply: disp_init_enable=1
The rest is automagically. Imagine my joy, no fiddling with settings. I am happy.
And yeah, I turned on I2c0, 1 and 2, to play with that next.
Alas, the installation of the graphical environment messed up my network settings, so I have to do that again with NetworkManager.. on a screen that misses the corners.. wish me luck.
Image working on bananapi:
![]()
-
A banana is an elongated edible fruit
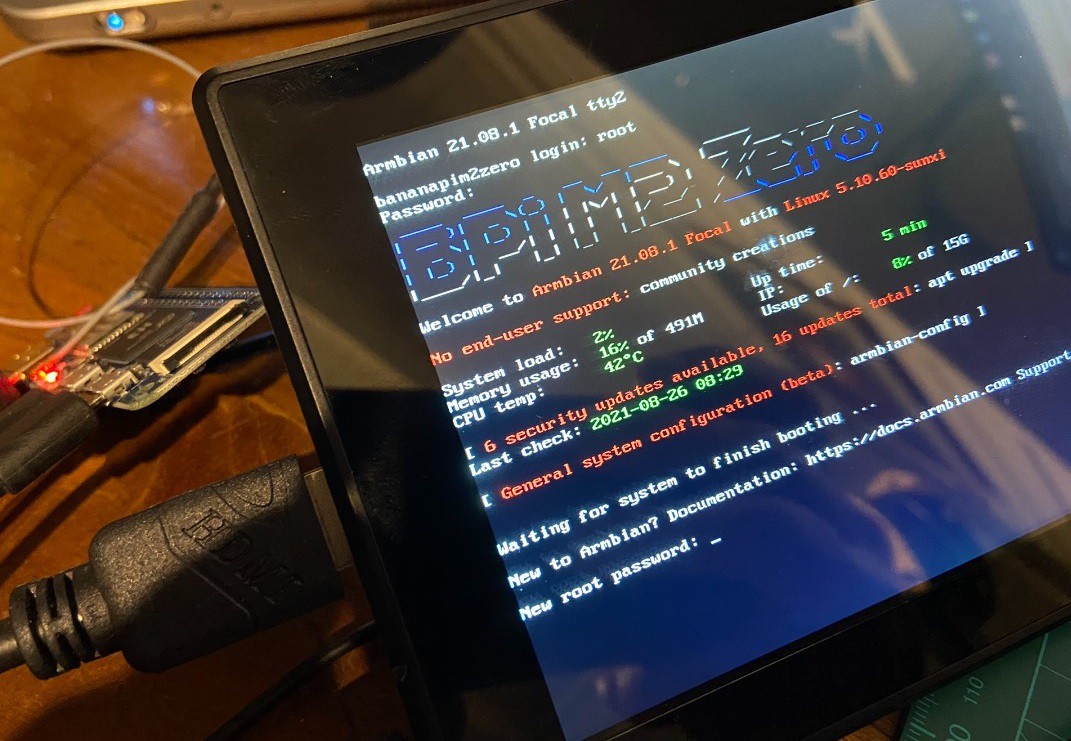
07/22/2022 at 21:44 • 0 commentsOn second thoughts, I just went here for the armbian images:
https://armbian.systemonachip.net/archive/bananapim2zero/archive/
Wrote to SD card with the raspi imager - choose your own image from downloaded and extracted image file. (https://www.raspberrypi.com/software/ )
Went for the ubuntu focal image, just for tests, may change later.
Important side note to _self: https://forum.banana-pi.org/t/banana-pi-m2-zero-latest-armbian-images/9224
Hooked up mouse and keyboard through a convenient 3-port usb hub that has a mini-usb connector for use with these kinds of boards. Well, at least temporary, for setting up this kind of device.
Oh and, I had to use a different HDMI device, apparantly the raspi works a little better out of the box detecting the display.
I'll probably have to tweak some settings to get the rounded display working again, will keep you posted.
![]()
-
got pi
07/22/2022 at 15:31 • 0 commentsBananapi's came in the mail today, I'm happy.
So, i'm gonna download the SD-card image, here:
https://drive.google.com/file/d/1oQrsXJ0fXAyKS1lGSZAyrpy-uXZCaG8w/view
Ii'll use the raspi imager to transfer it to SD.
Some instructions are here:
https://forum.banana-pi.org/t/bpi-m2-zero-armbian-ov5640-opencv-sd-image/12733
Feels a bit awkward to grab a file from a google drive, but maybe that's just me.
Or build a linux system yourself, but that's something I will look into later.
https://nl.aliexpress.com/item/1005003226408284.html
![]()
Vulcan Scanner
Dome-shaped sensor with a triangular handle distinguished by a silver-colored readout portion and a blue handle with black grips
 Quite bulky indeed!, imagine that the Vulcans were doing scans in space for a long time already, way before humans joined the warp highways. Anyway it is as it is.