 Jamie Matthews
-
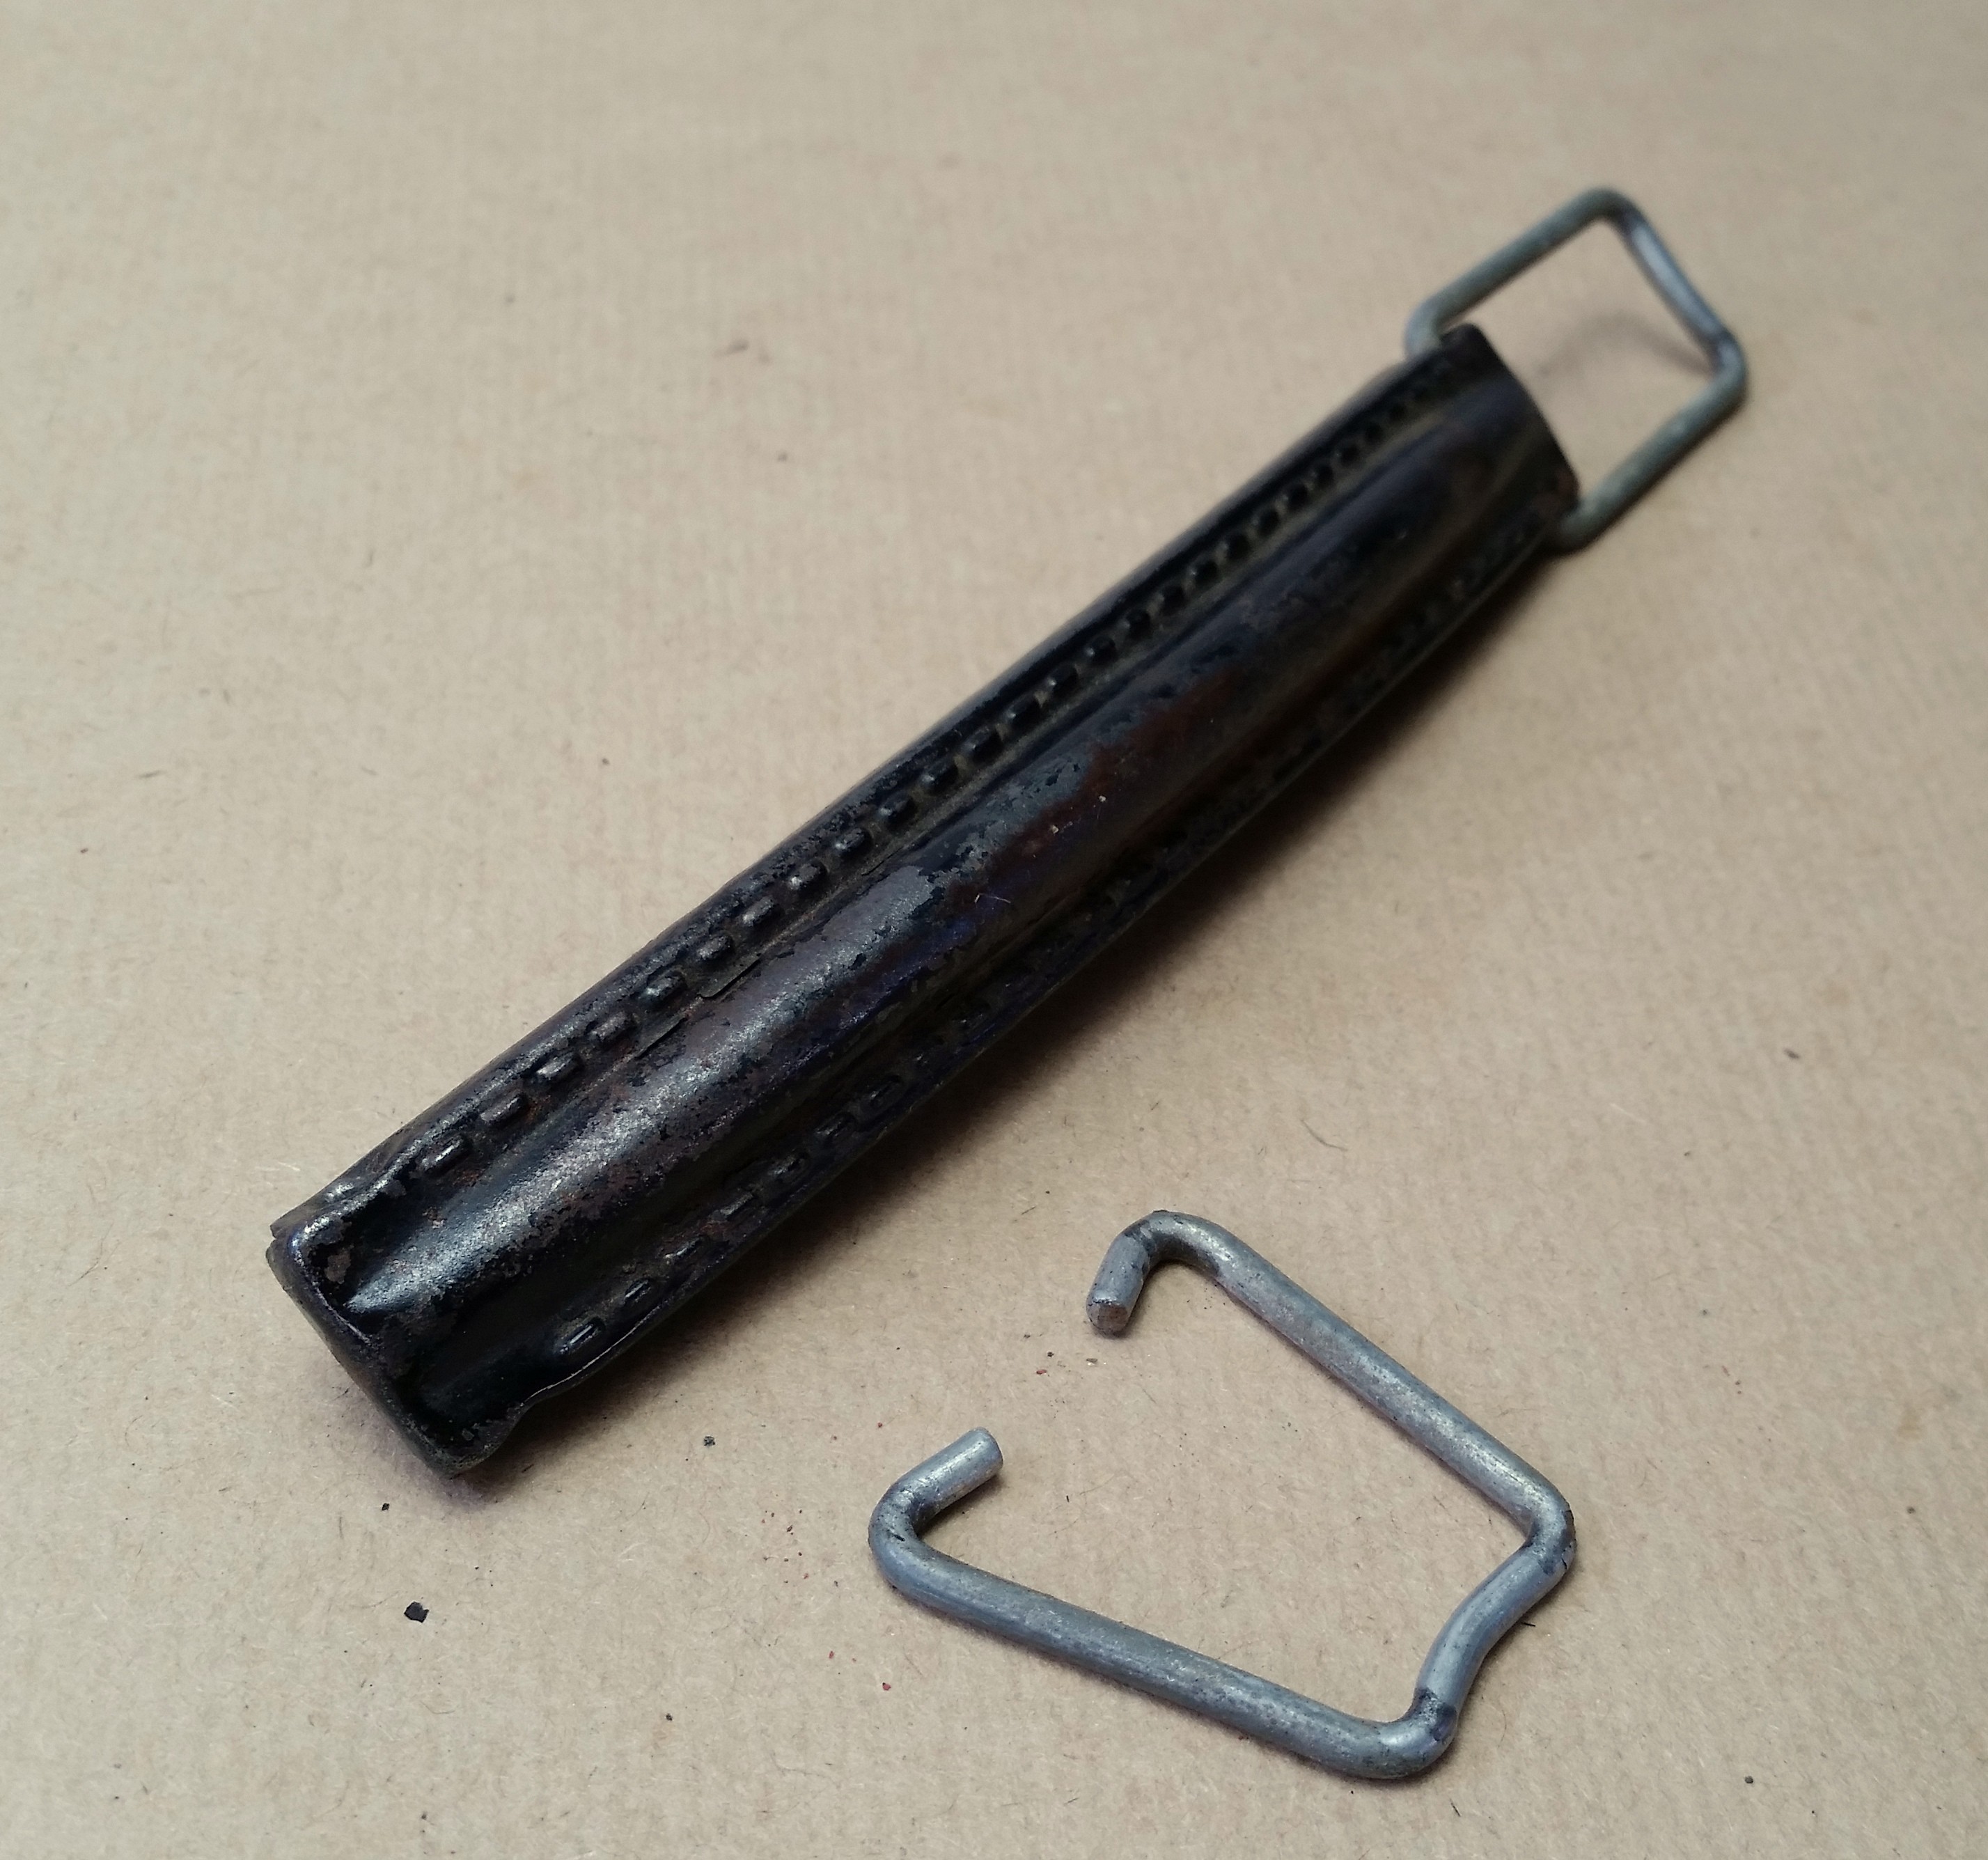
11The Handle:
![]()
At first it looked like the hooks that attach the handle to the enclosure was chrome plated like all of the other components but after desperately cleaning and a lot of polishing I cound not get it to look any better so I decided to bend some new ones out of the same diameter 3mm brass rod and polish them up.
![]()
This looks tons better and blends in with the rest of the brass accents.
![]()
-
12Let's Get Wrapping:
![]()
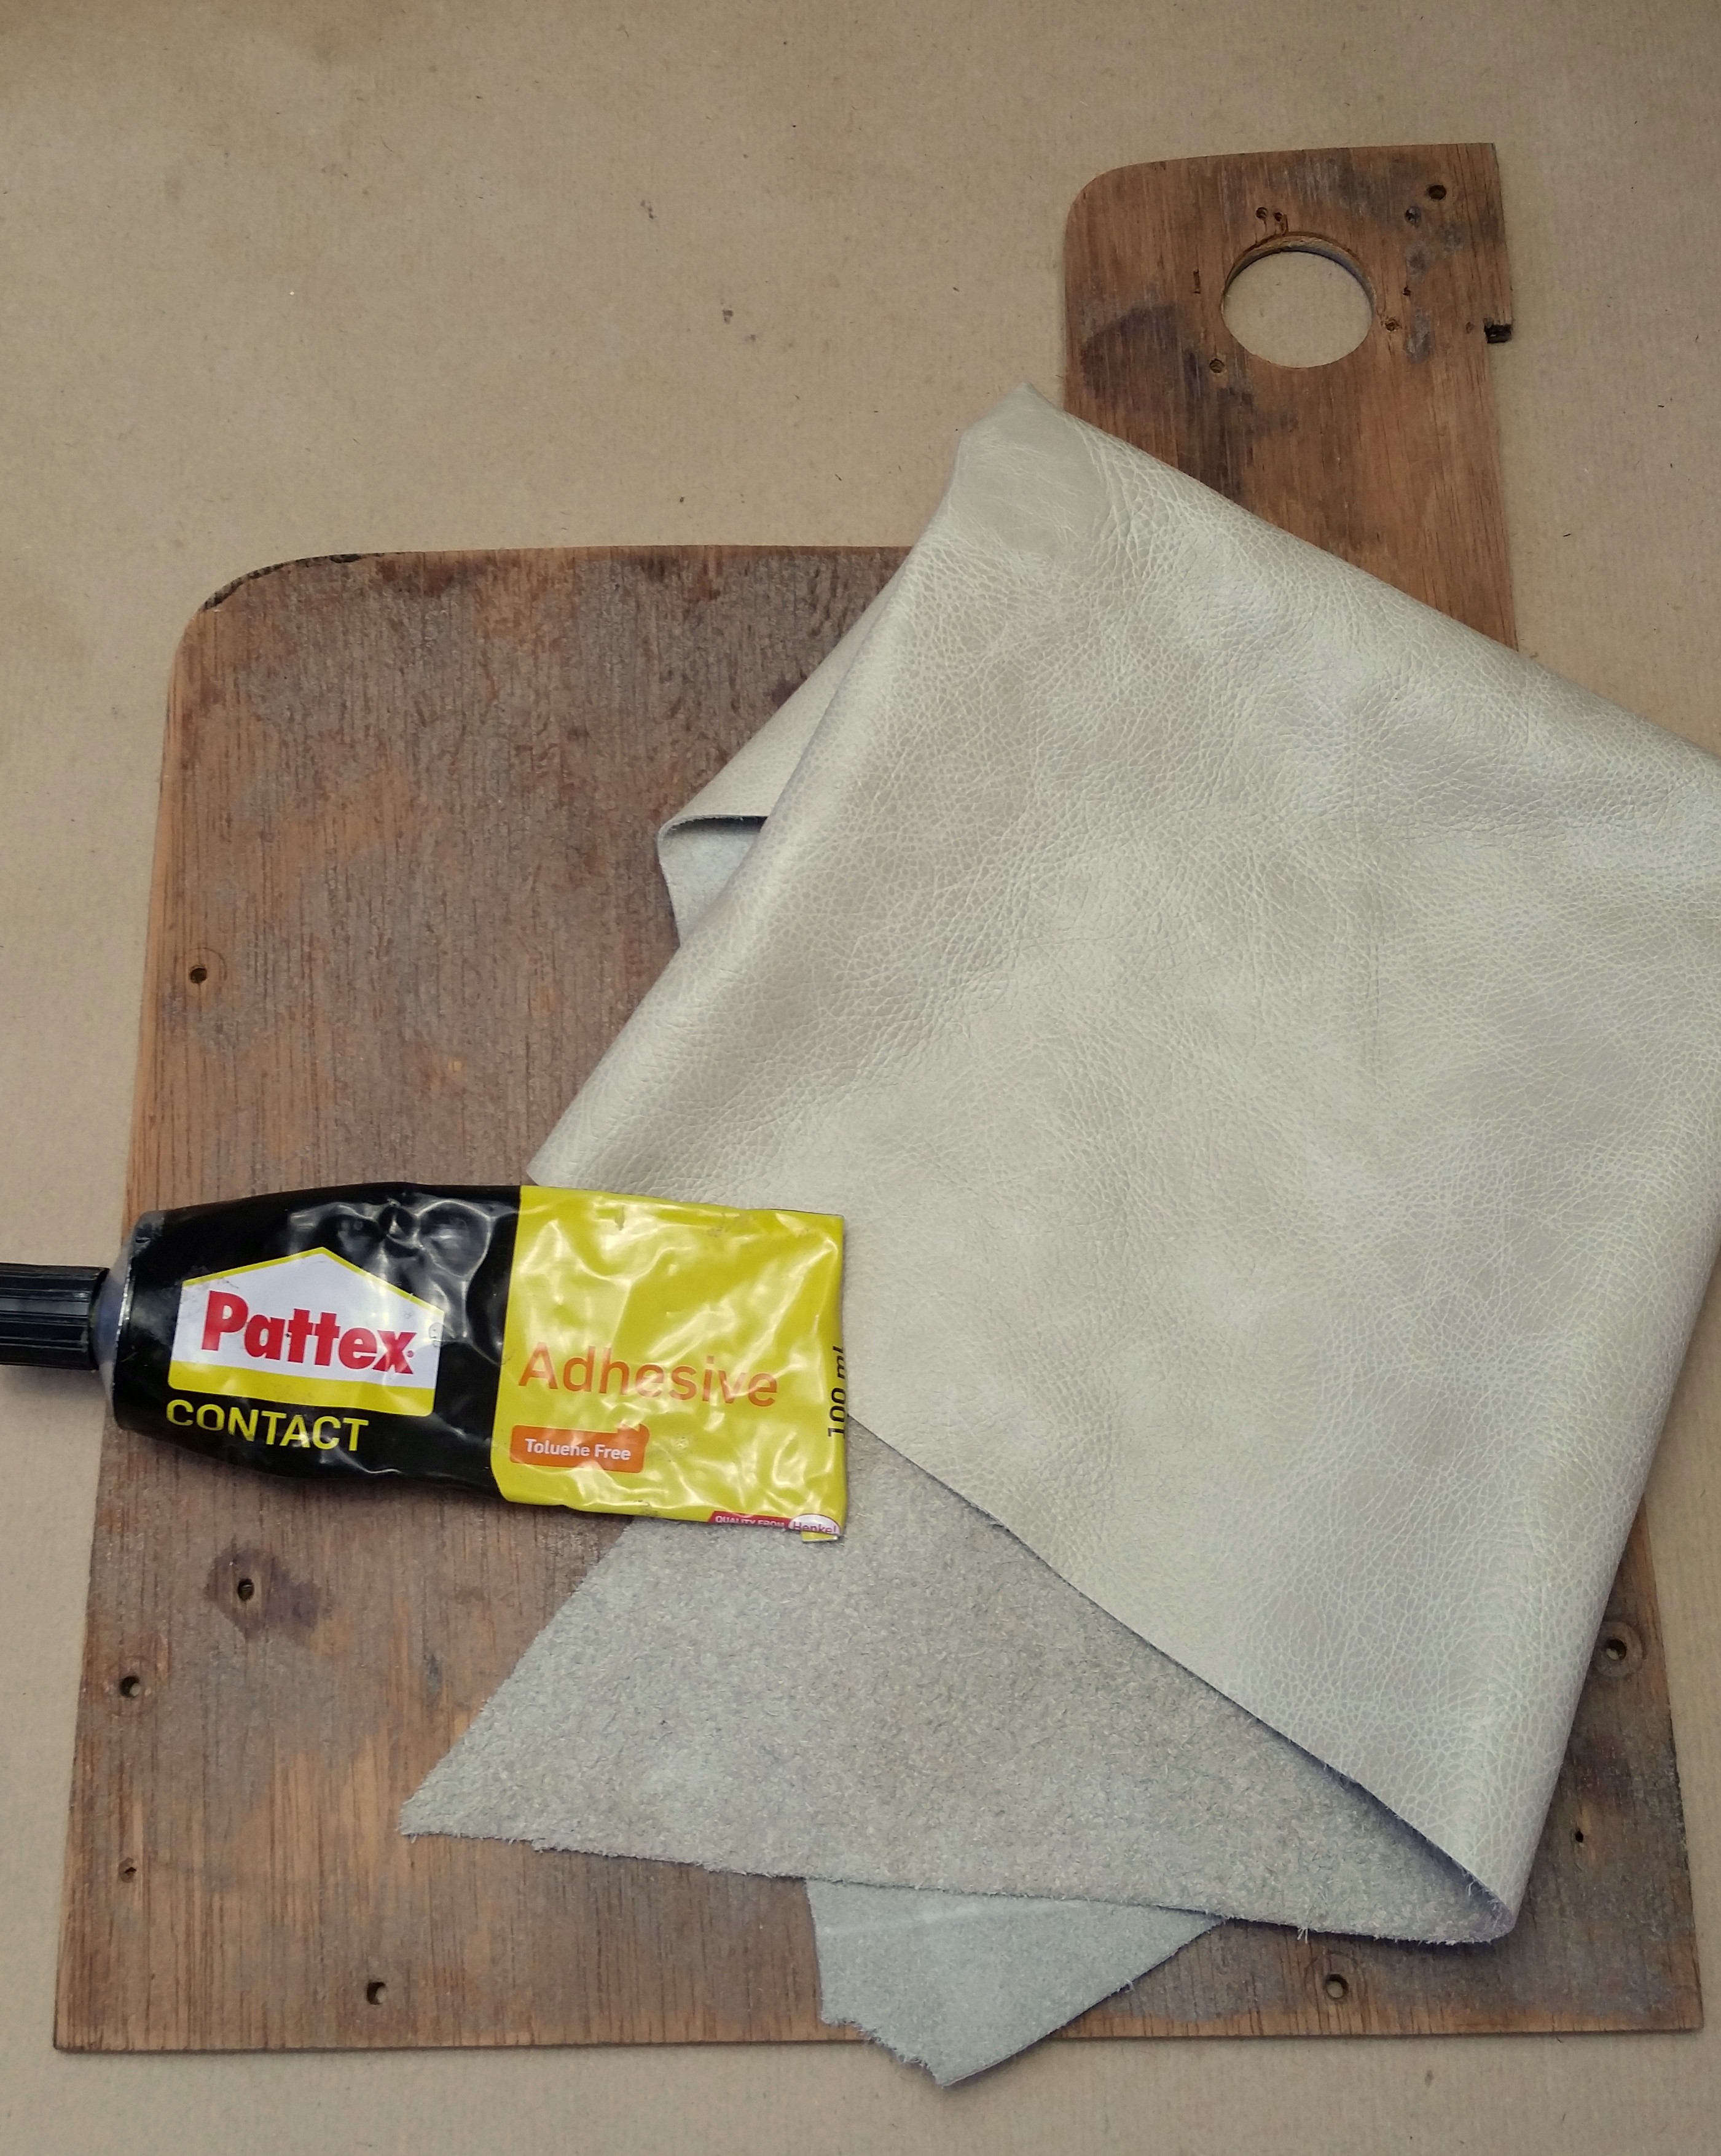
As with all my gramophones I wanted the table to be in genuine leather.
With my projects I always buy bags of off cut leather online from upholsterers, this gives me a lot of options to chose from when doing a restoration.
For this one I had some nice off white pieces that I knew would go great with the seawash green of the enclosure.
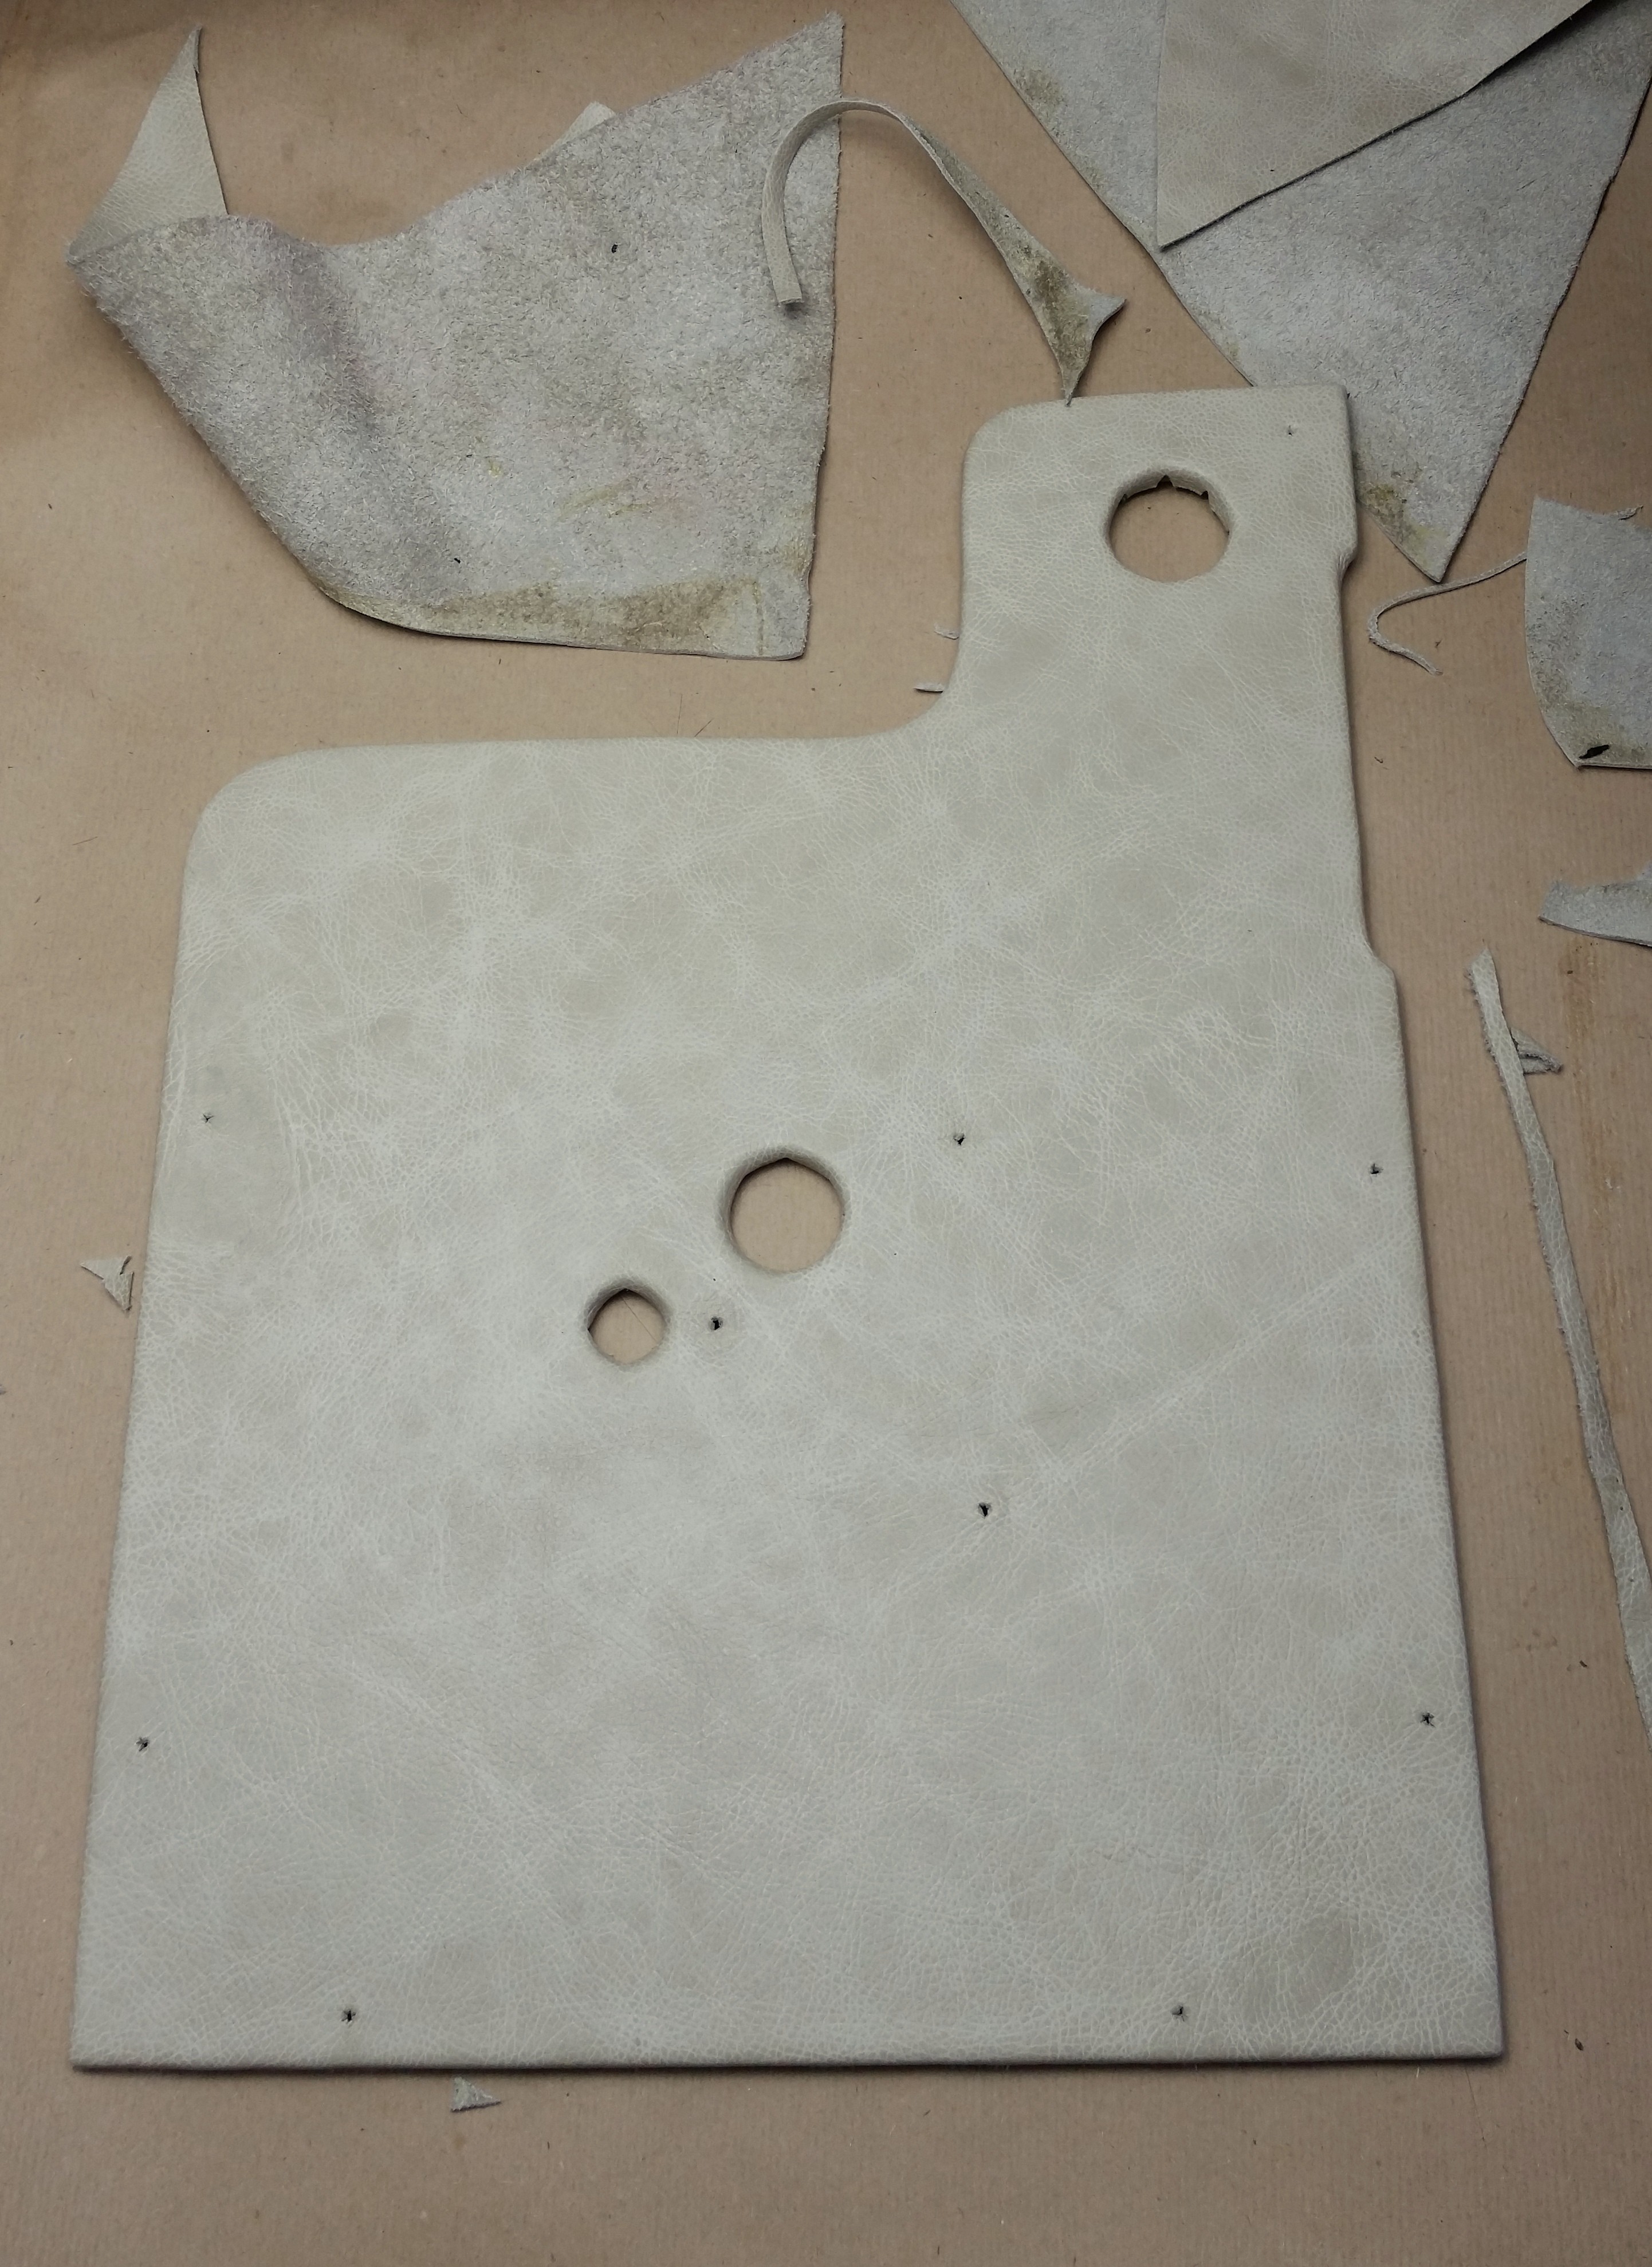
I start by drawing the outline of the table onto the back of the leather and then cutting out around it leaving about a 20mm edge.
Spread contact adhesive over the wood and leather, wait for the glue to stop being tacky when touched and then stick the leather onto the table. Next cut the holes open and trim the excess using a sharp hobby knife.
![]()
-
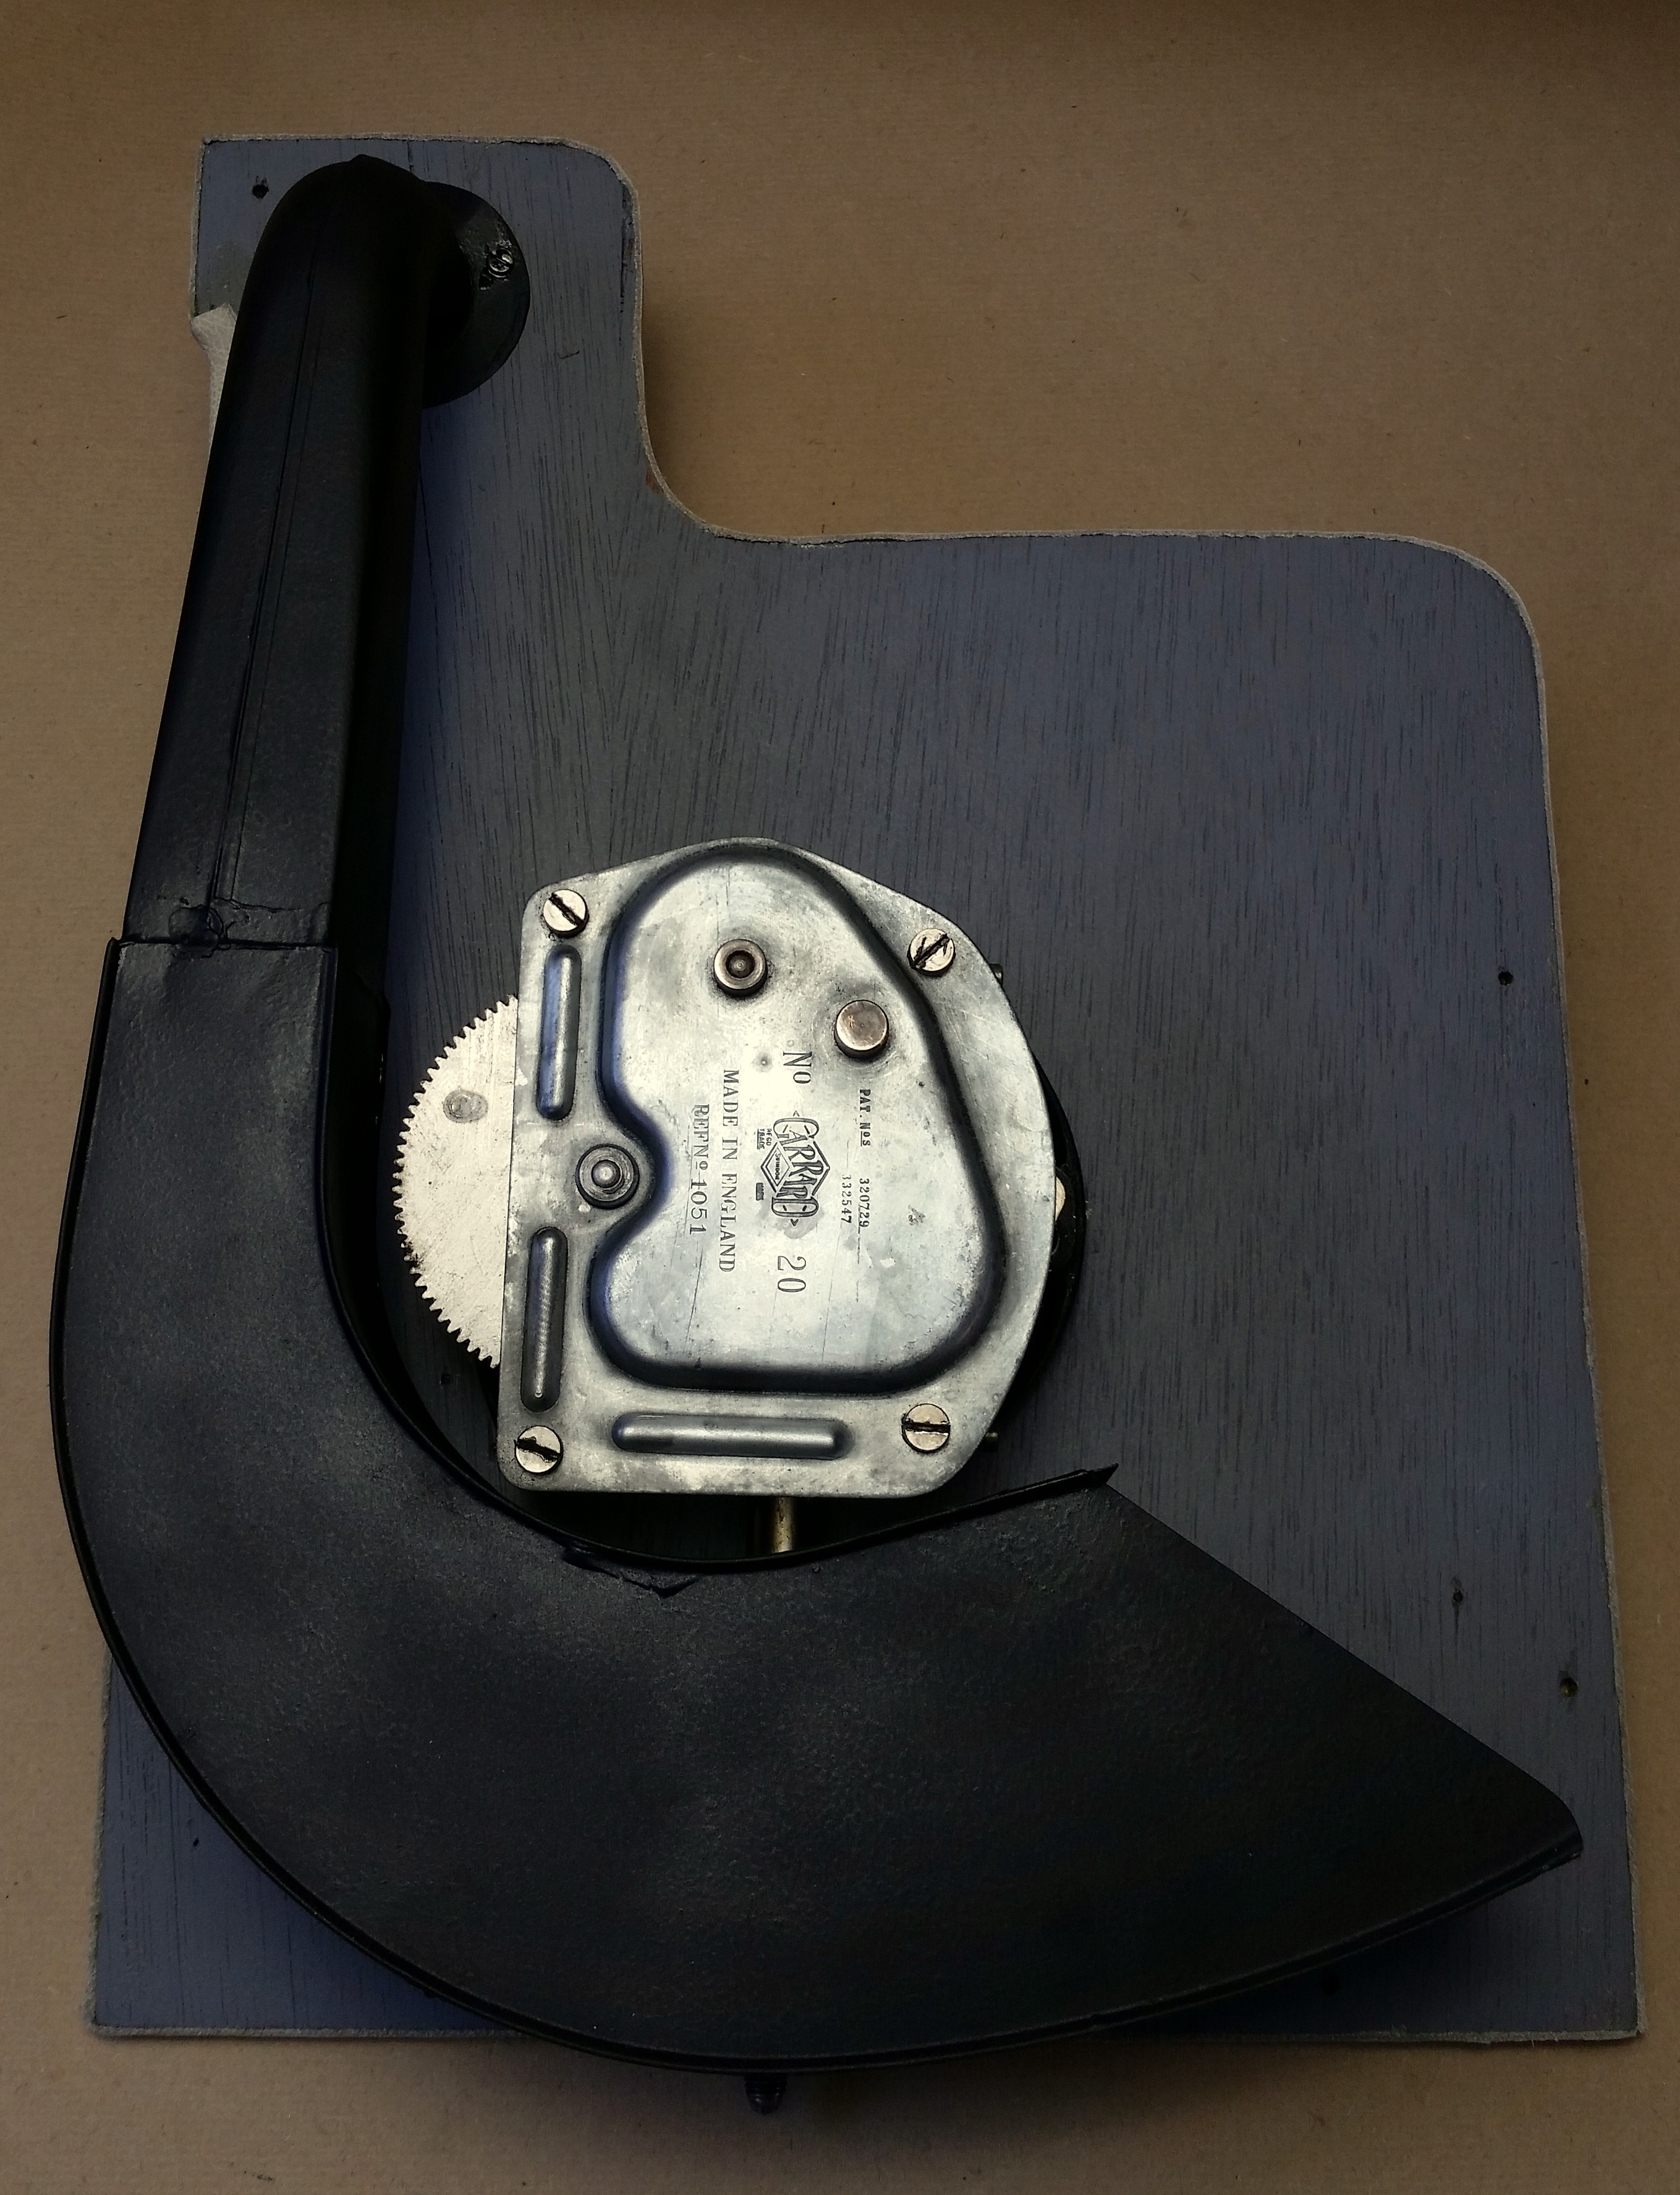
13Assemble the Table:
![]()
Now we can start assembling the table.
This is just done in reverse order from stripping it.
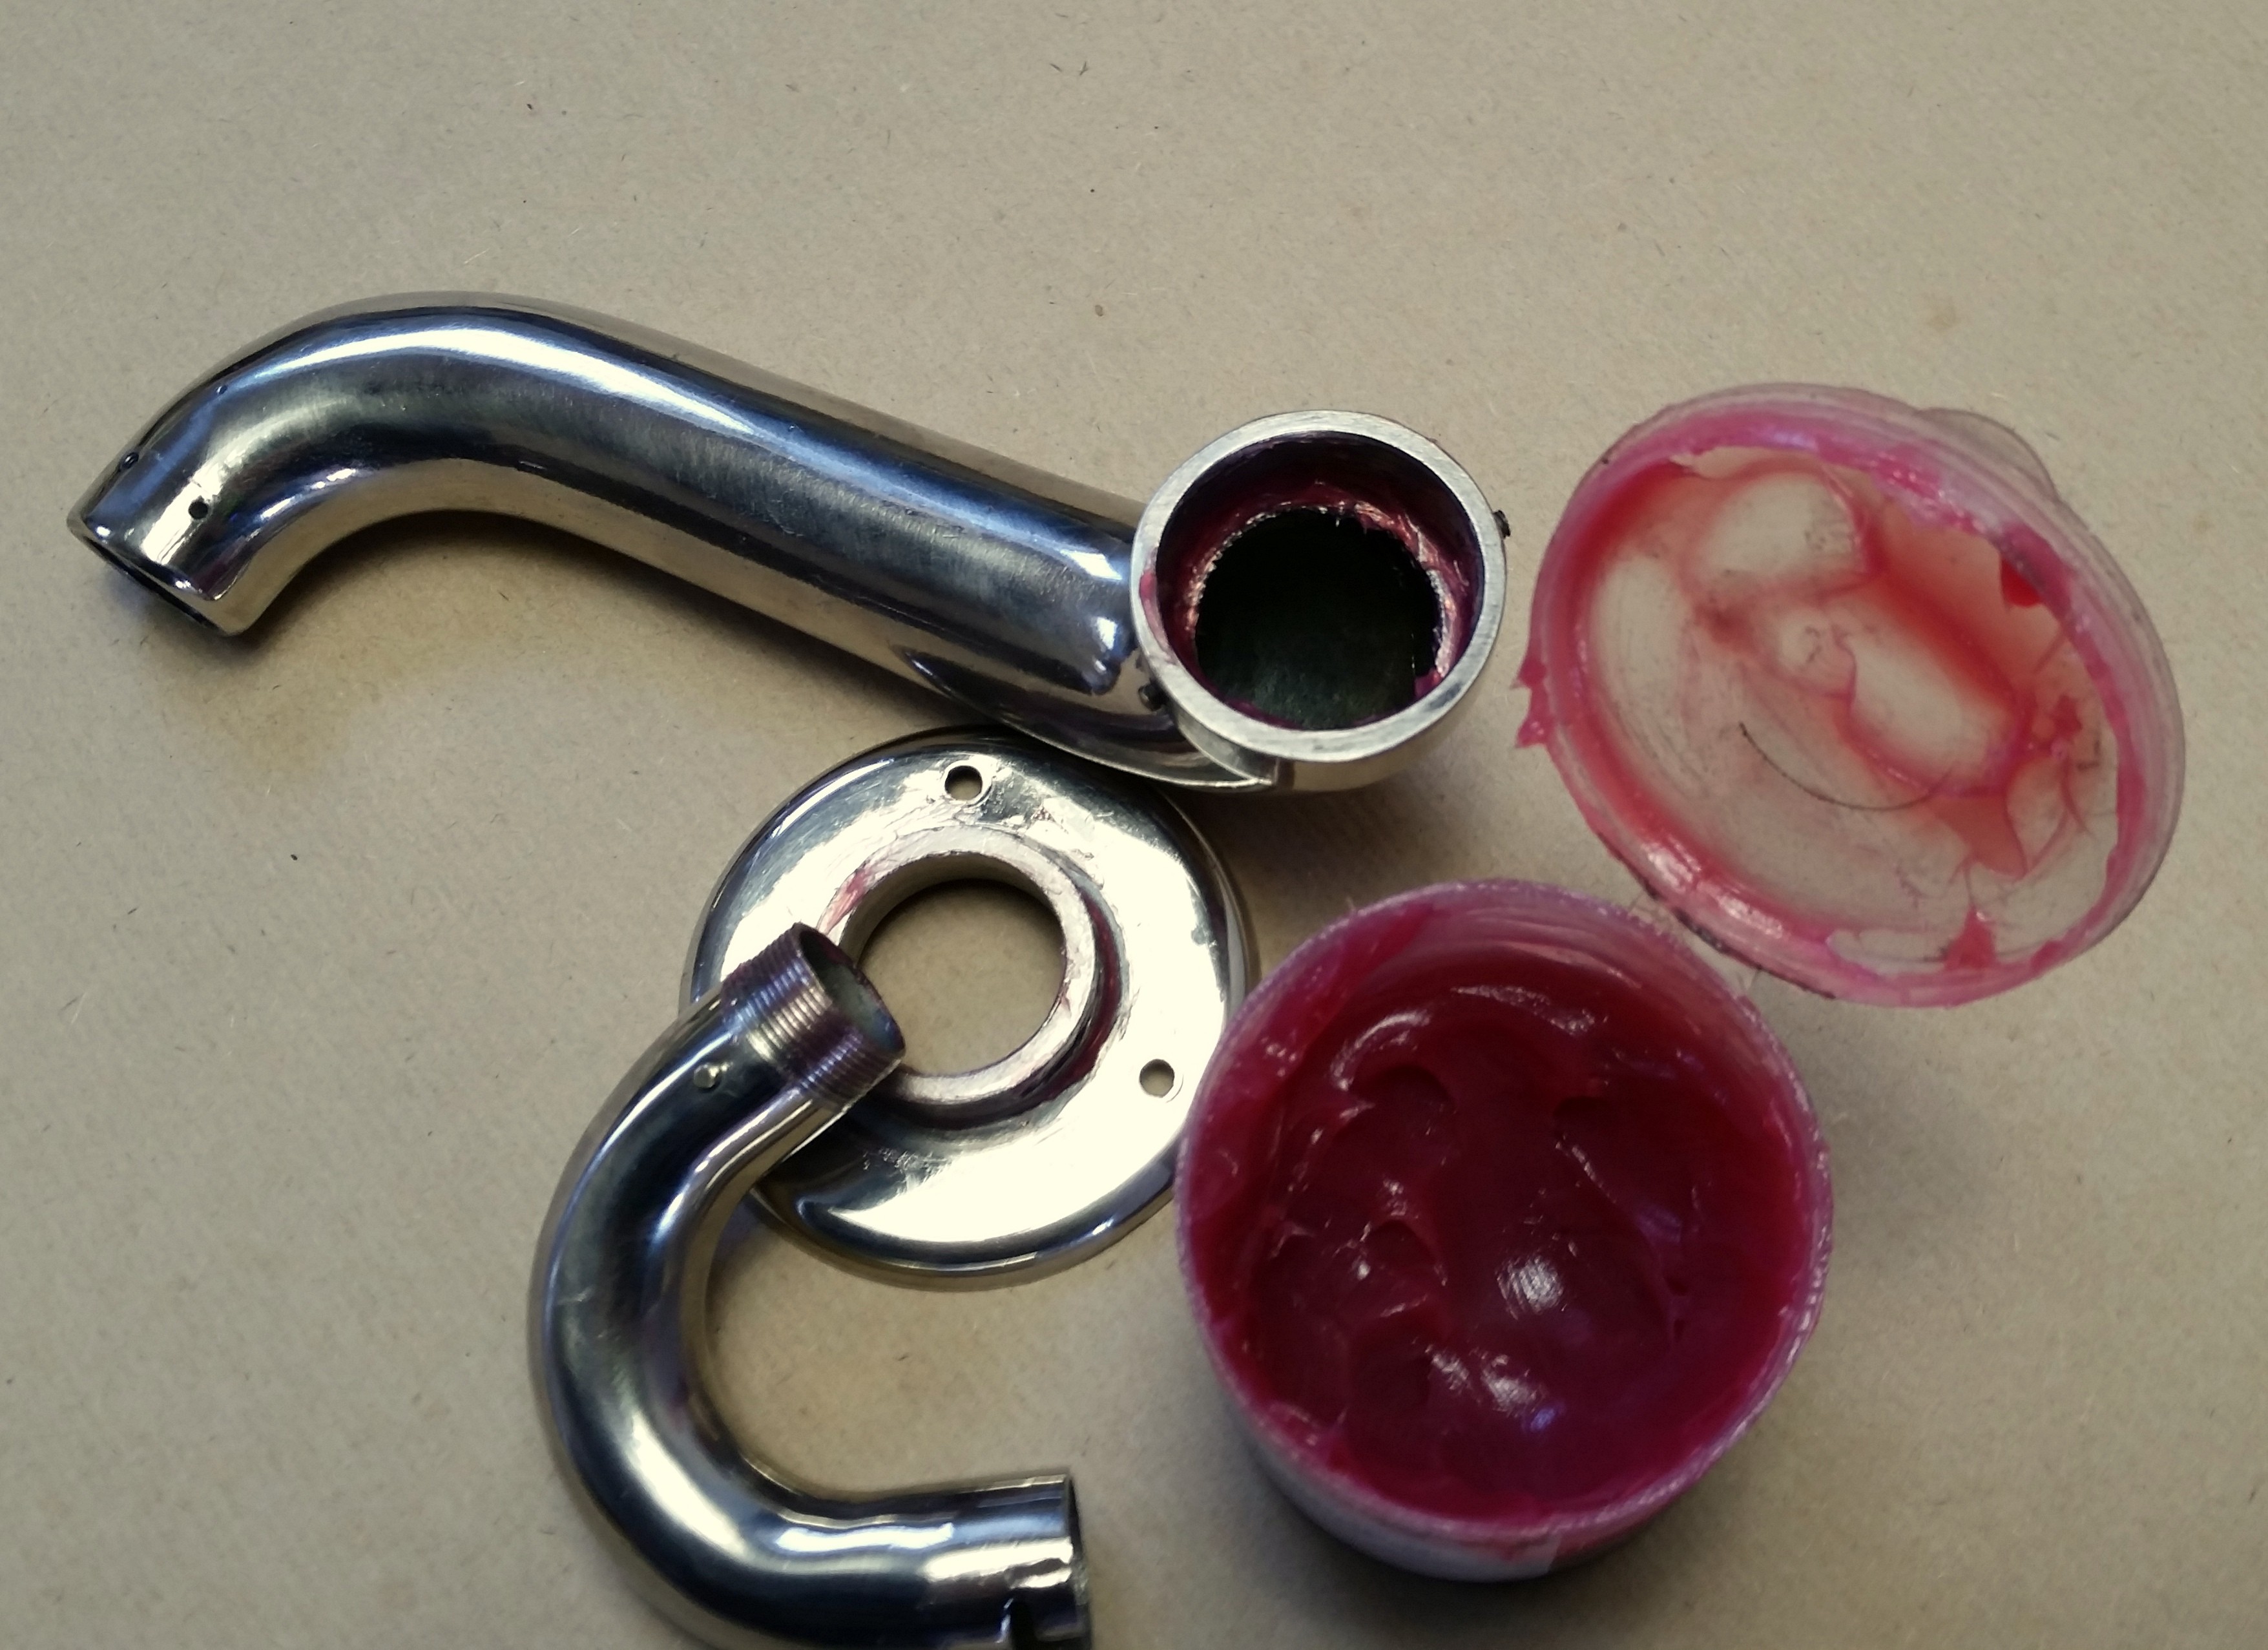
The most important is to make sure that all of the pivoting joints of the tonearm is well lubed up with a good (Moly Lithium blend) grease and not over-tightened, it should swivel freely without slop.
![]()
Don't tighten the speed adjust lever just yet.
![]()
-
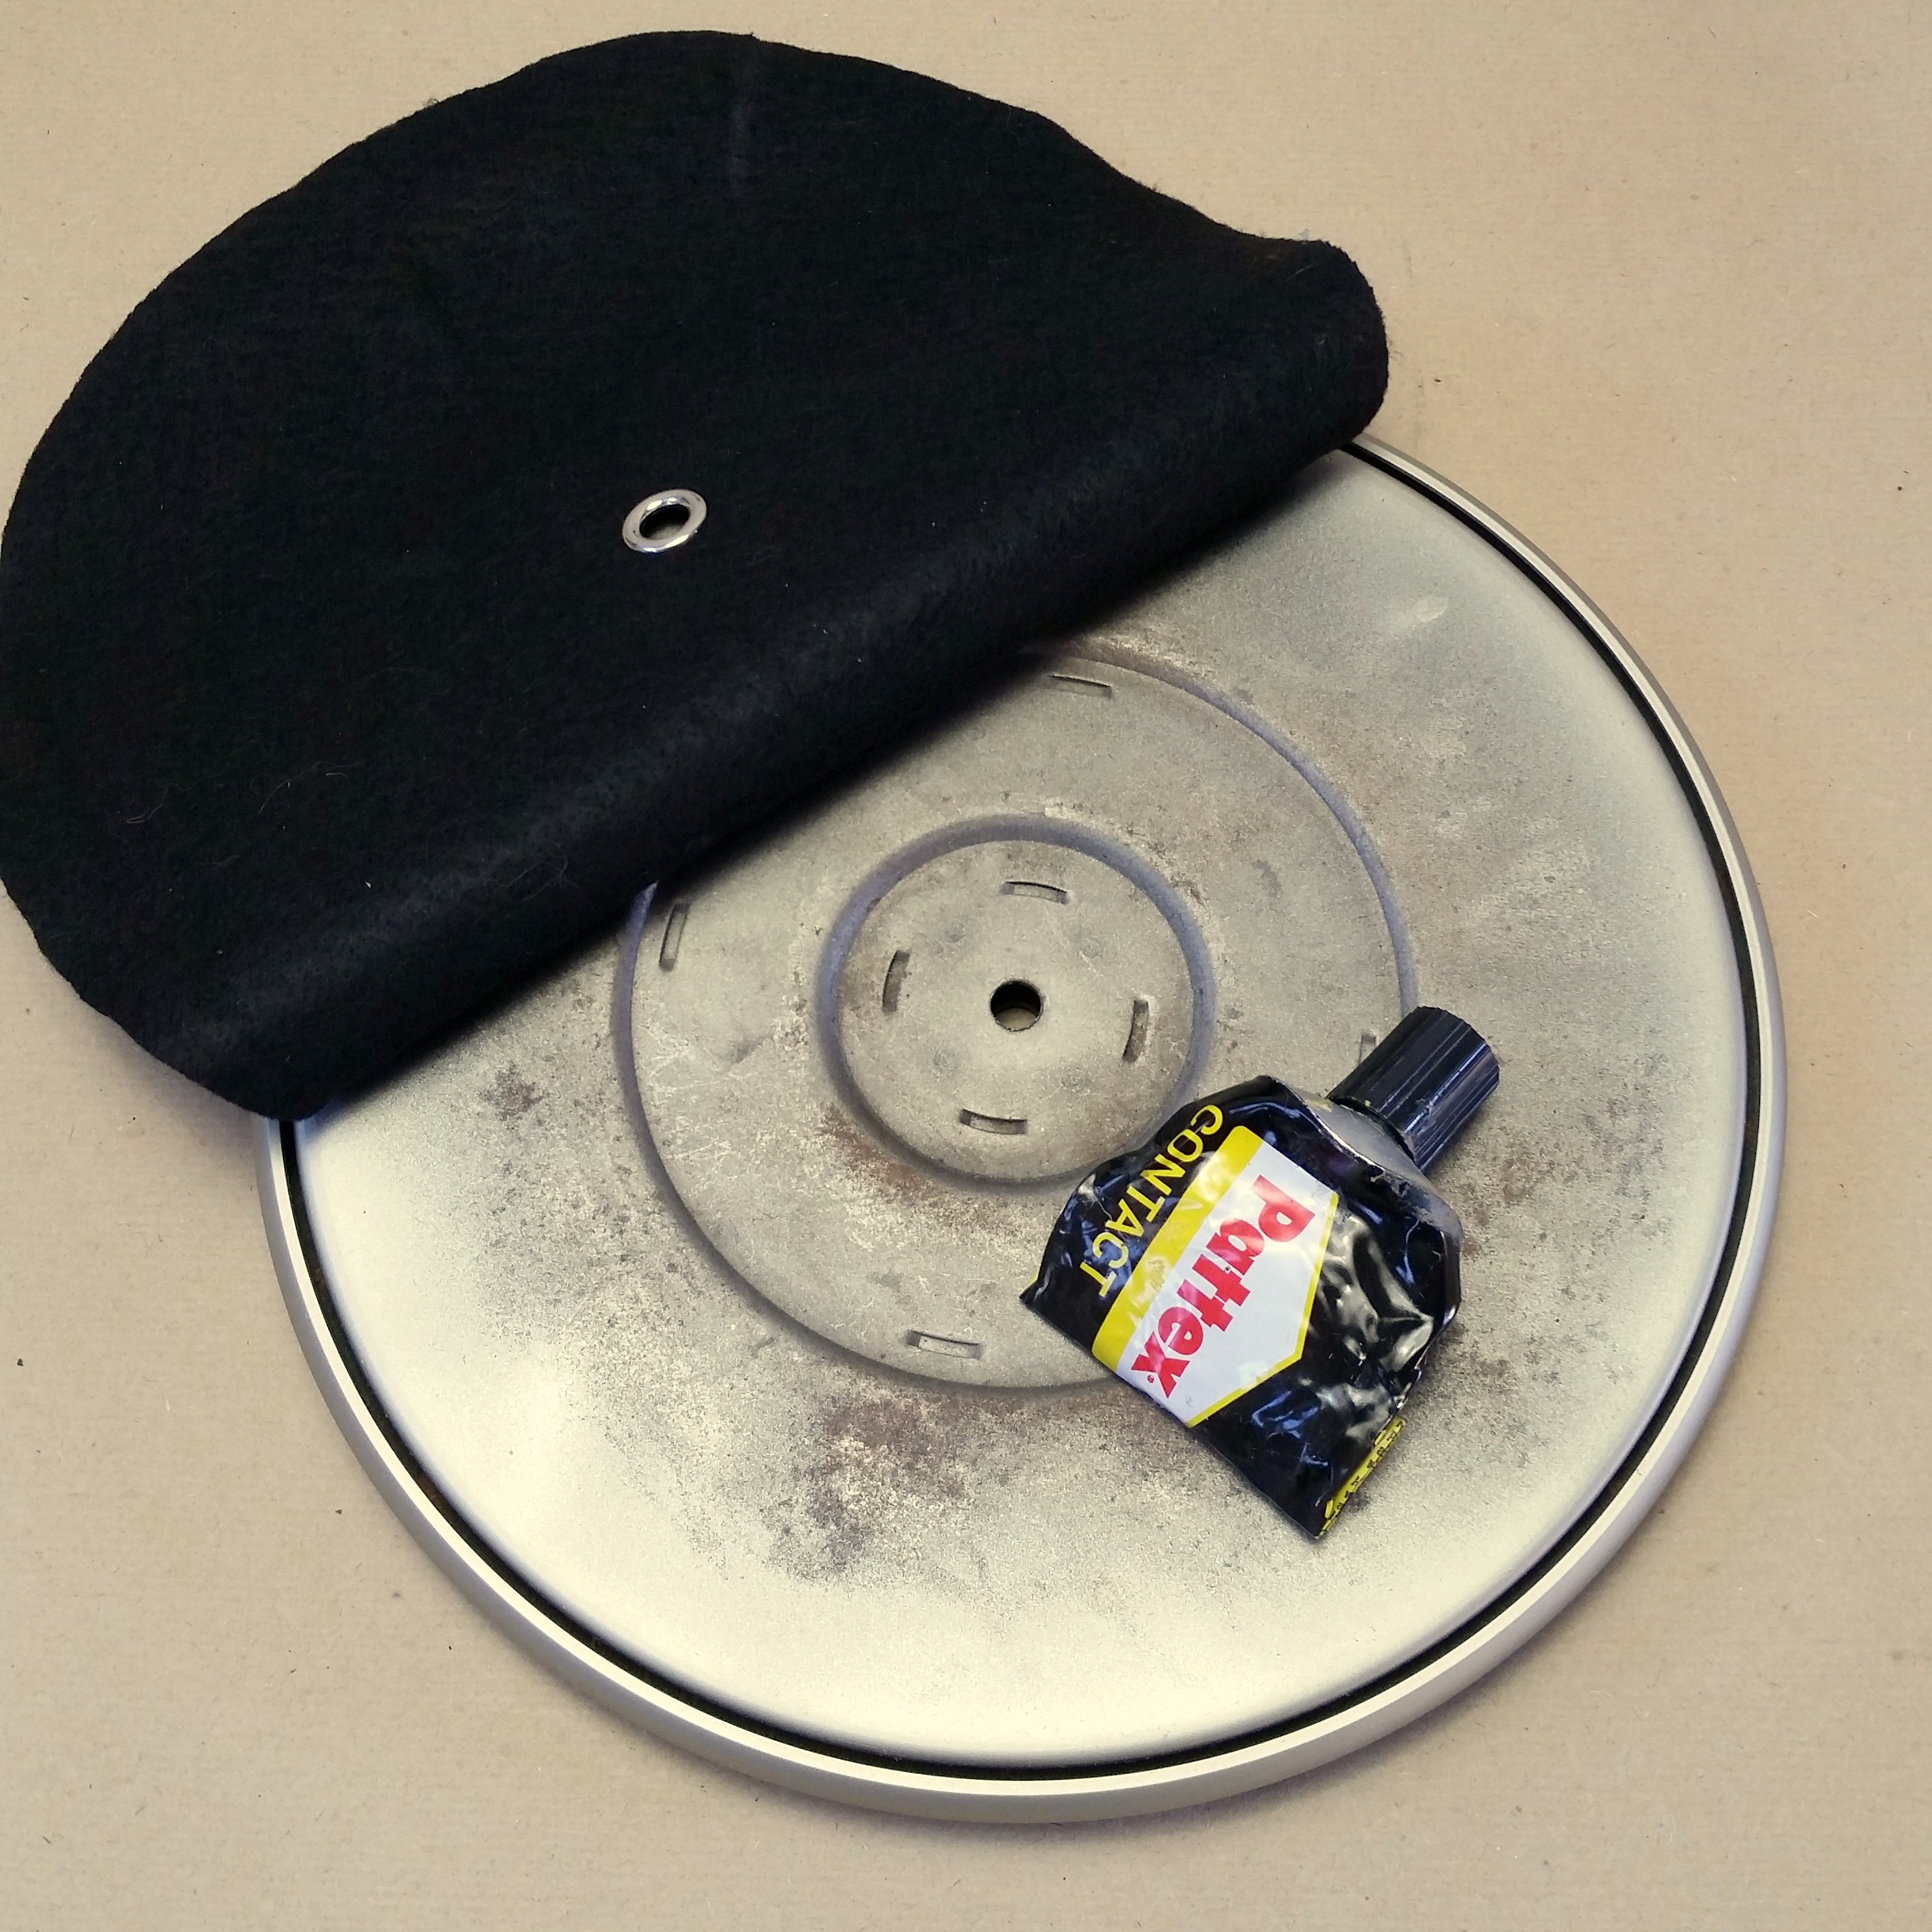
14The Turntable:
![]()
The turntable desperately needed some new felt and a fresh coat of paint.
Using the old fabric that came off of the platter as a template I cut out a new black felt pad to go ontop.
I also sanded the platter and gave it a coat of paint in the same brushed gold as the decals.
![]()
Now you can apply some contact adhesive onto the platter and while it is still wet lay the felt over top and smooth it down. Then using an old credit card I pushed the excess fabric into the slit.
-
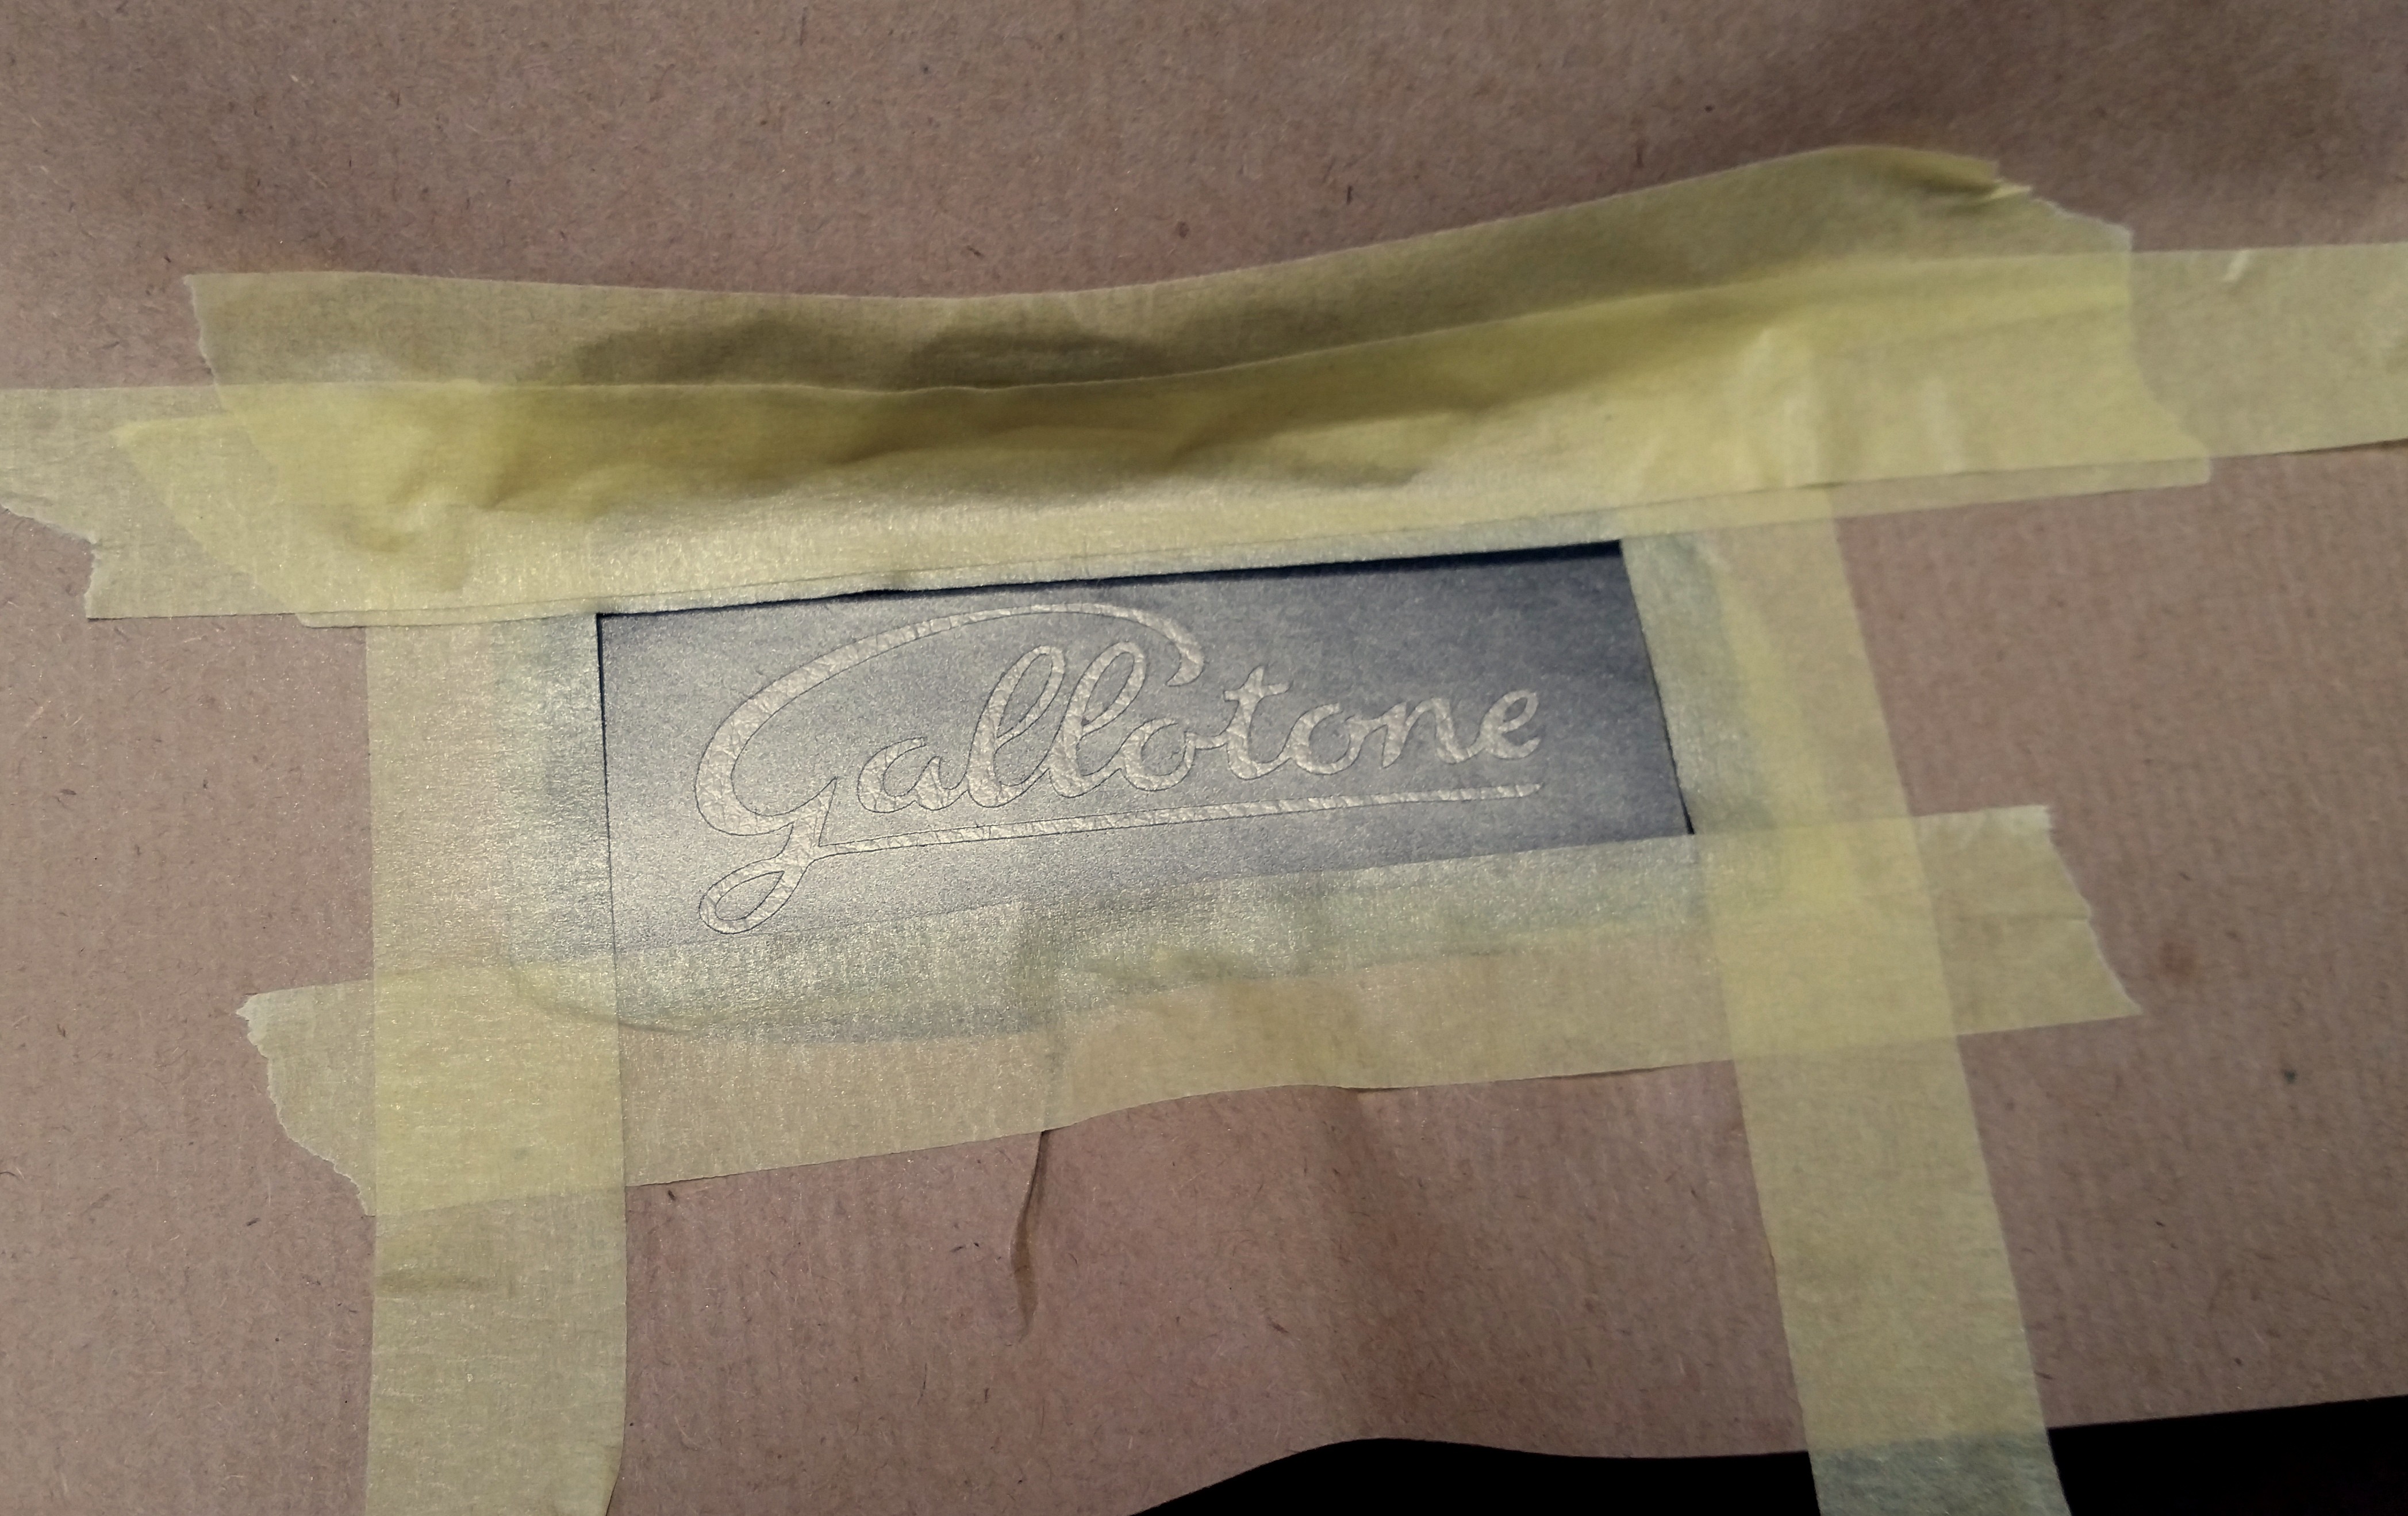
15Even More Decals!
![]()
While I was busy with another project I did some decals onto leather... it turned out so good that I just had to do it on this gramophone too!
Using the same method as we did to apply the decal to the lid we will now paint a decal on the table and inside the lid.
First make sure you wipe the leather clean using some acetone or benzine, then transfer the sticker mask onto the leather and mask off all exposed areas around it.
![]()
Spray a thin coat of paint over and leave to dry.
![]()
-
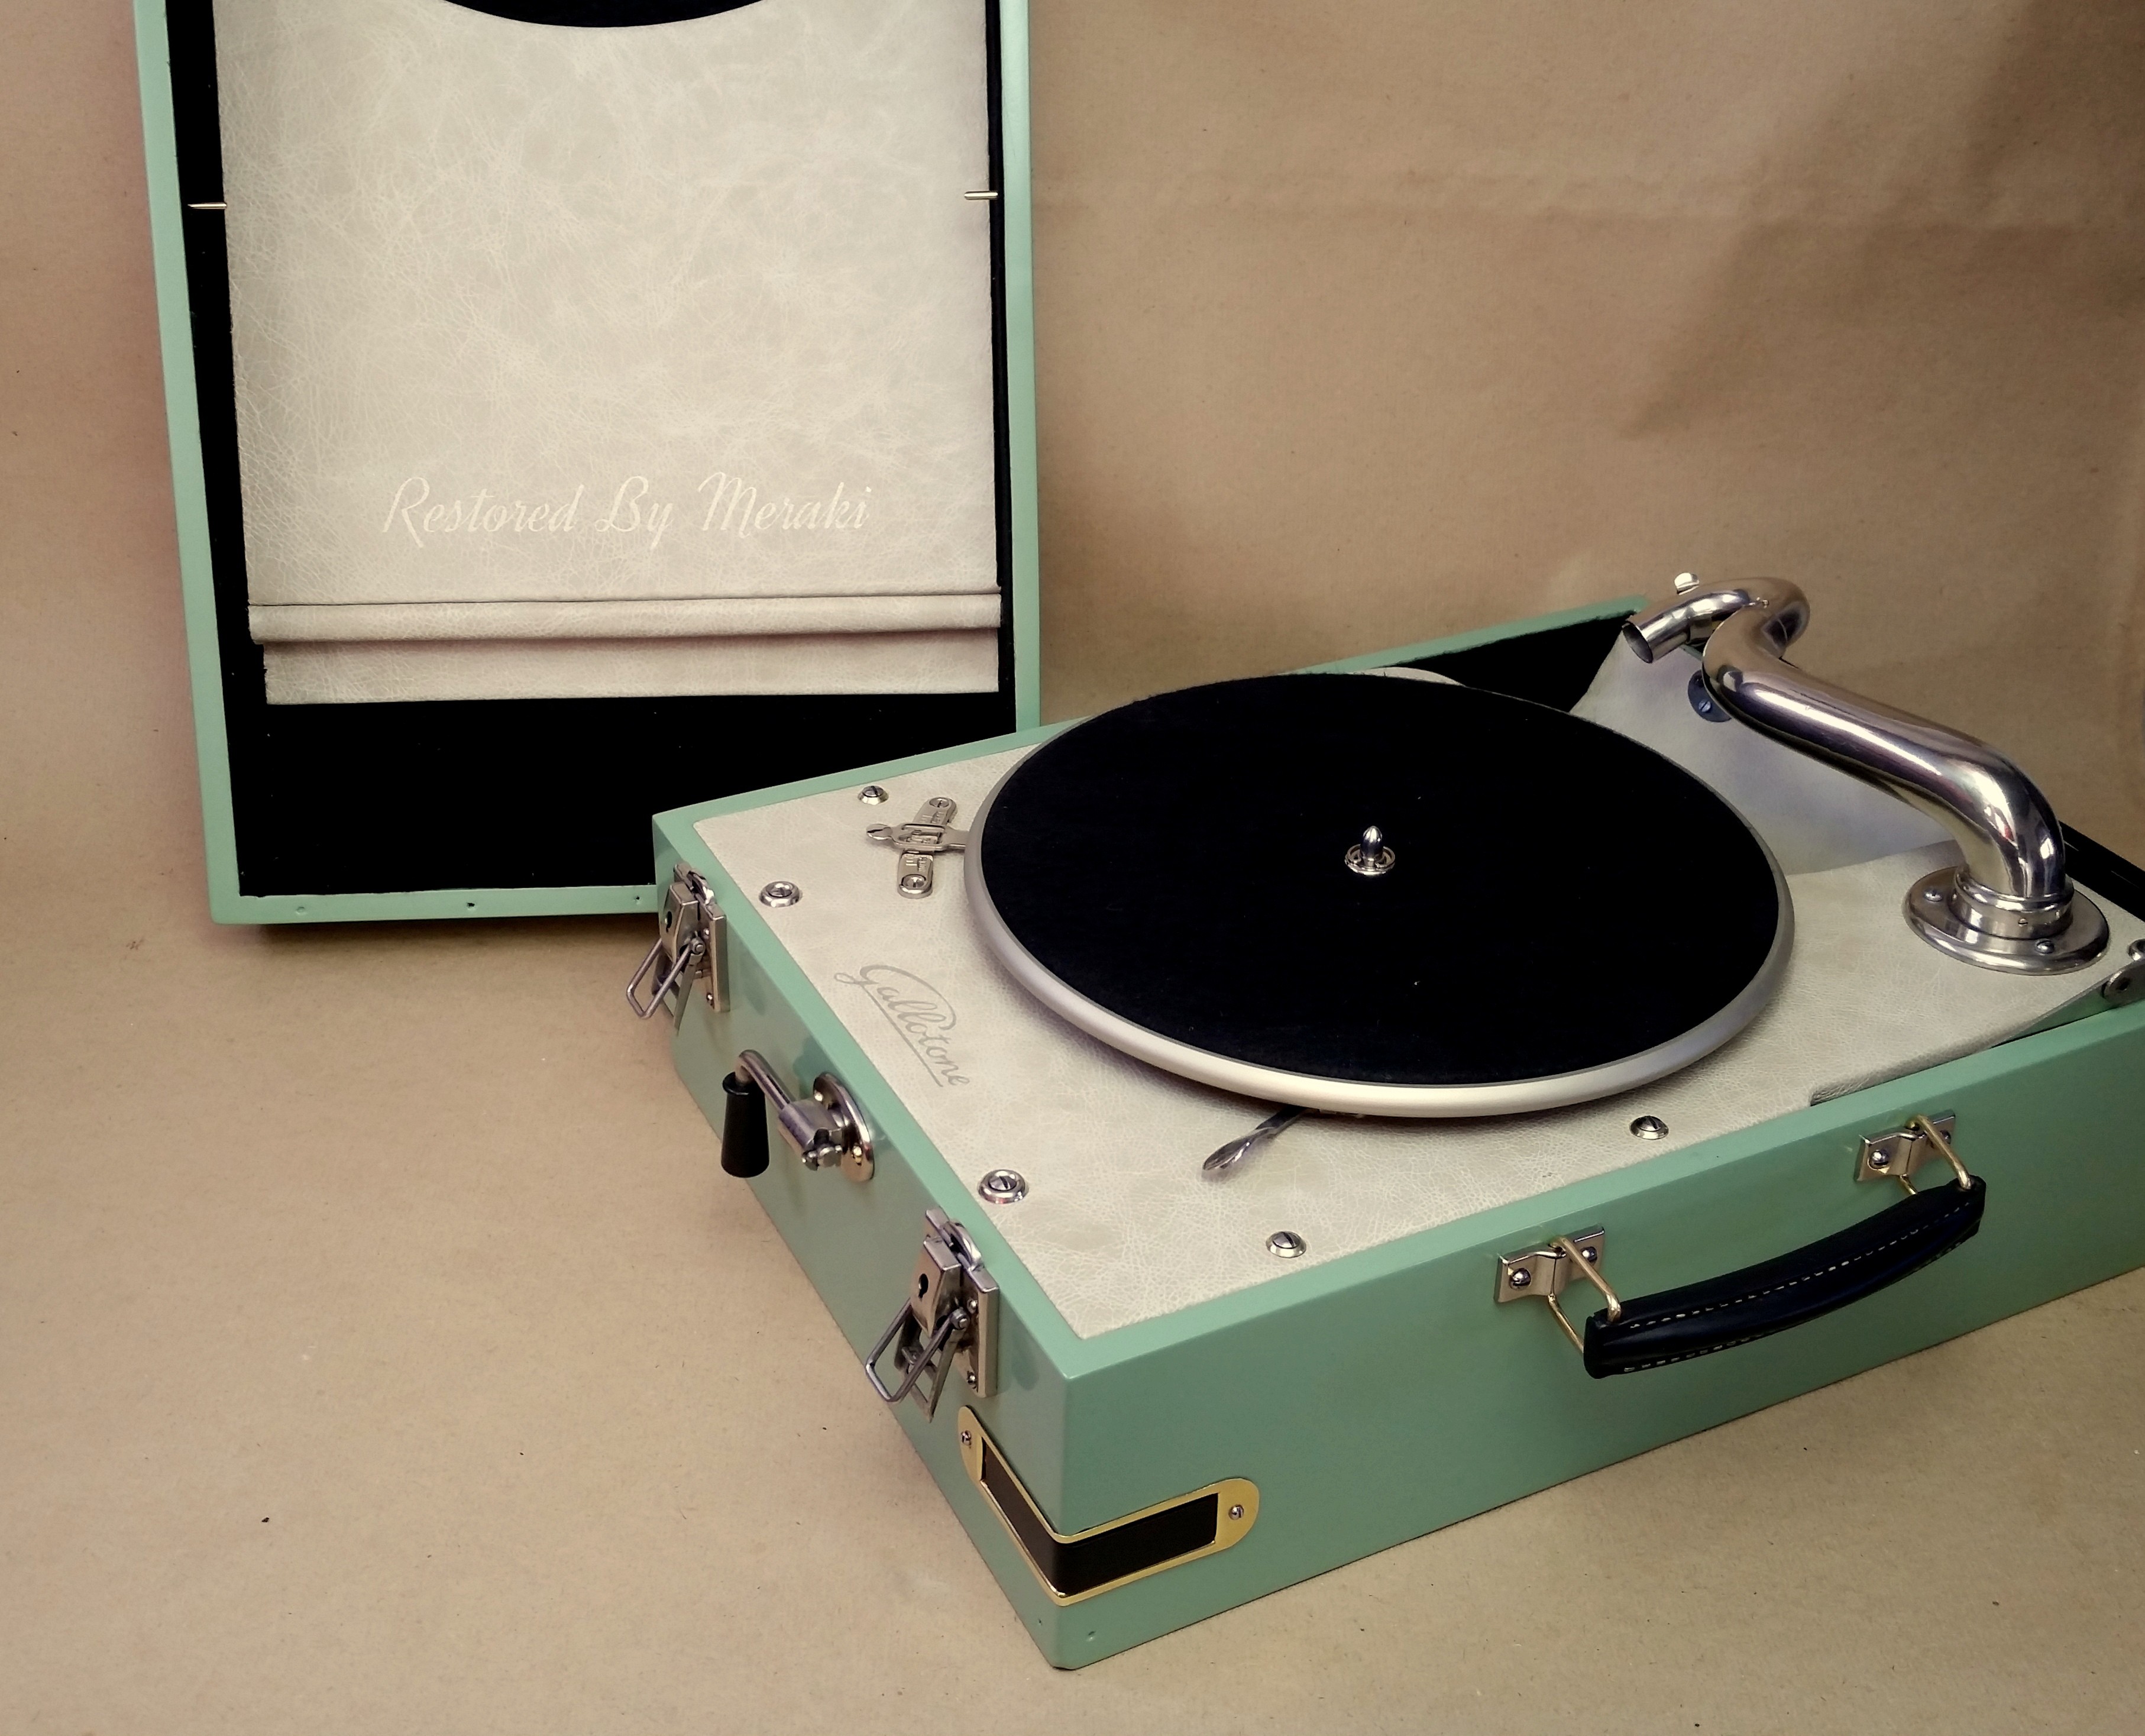
16Final Assembly:
![]()
This is it... the last bit of assembly before we can enjoy our masterpiece!
I finished out the inside of the enclosure by lining it in the same black felt used on the table.
![]()
Next assemble the gramophone using the the corresponding screws and yes I DID POLISH EVERY SINGLE SCREW!
Fine tuning the speed:
- You are going to need to download a turntable RPM app onto your phone.
- The one I use is - "RPM Speed & Wow" on Google Play Store
- Then I place a roll of tape in the centre of the platter so that I can place my phone ontop of it without the centre guide pin being in the way.
- Start the turntable and measure the speed.
- Adjust until you get as close to 78.00RPM as possible.
- Once you get 78RPM loosen the screw on the adjustment lever, move the lever to the 78 mark (centre) and tighten the screw.
![]()
When you're done you can take a soft cloth with some liquid polish to go over everything, then you can go ahead and crank that baby up cause it's listening time!!
Restoring a 1920's Gramophone
Restoring a 1920's Gallotone gramophone that has seen some better days.


Discussions
Become a Hackaday.io Member
Create an account to leave a comment. Already have an account? Log In.