 TechSpiderbot
1 Receive request → 2 Snapshot→ 3 Observations→ 4 Update map → 5 Choose behavior → 6 Return data
1. Receive a request
The Pi is setup as a slave module and awaits for a request. Each request has an ID so it can distinguish new work from a repeated message.
Example: Request 12 arrives. The Pi processes one observation and saves its response. If request 12 arrives again, it returns that saved response instead of recalculating the data.
2. Snapshot
The Pi obtains an image from the camera after the robot has settled. It associates the image with the current mapping step and estimated viewing direction.
Example: “This is view 3. The camera is facing approximately 90 degrees to the right of its starting direction.” That direction needs to come from movement feedback and, potentially, visual alignment. The picture itself does not tell the Pi its heading.
3.Observations
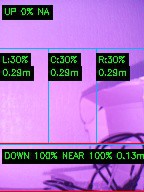
The Pi analyses the image, the image is broken down into 5 sections; Right; Center; Left; Down (near field); and Up
4a. Estimate where the obstacles are
Image position indicates the direction of an object, while distance is estimated using infrared-assisted monocular vision. Infrared LEDs illuminate nearby objects, allowing the camera to distinguish them from the background under both daylight and low-light conditions.
The Raspberry Pi analyzes the object's response to the infrared illumination and uses the resulting image characteristics to estimate its distance. Objects detected within the near field are classified as immediate obstacles and are prioritized by the navigation system.
4b. Add the observation to the map
The Pi combines the observation with its estimated position and heading. Think of drawing a room while turning around: every new view adds information to the same drawing.
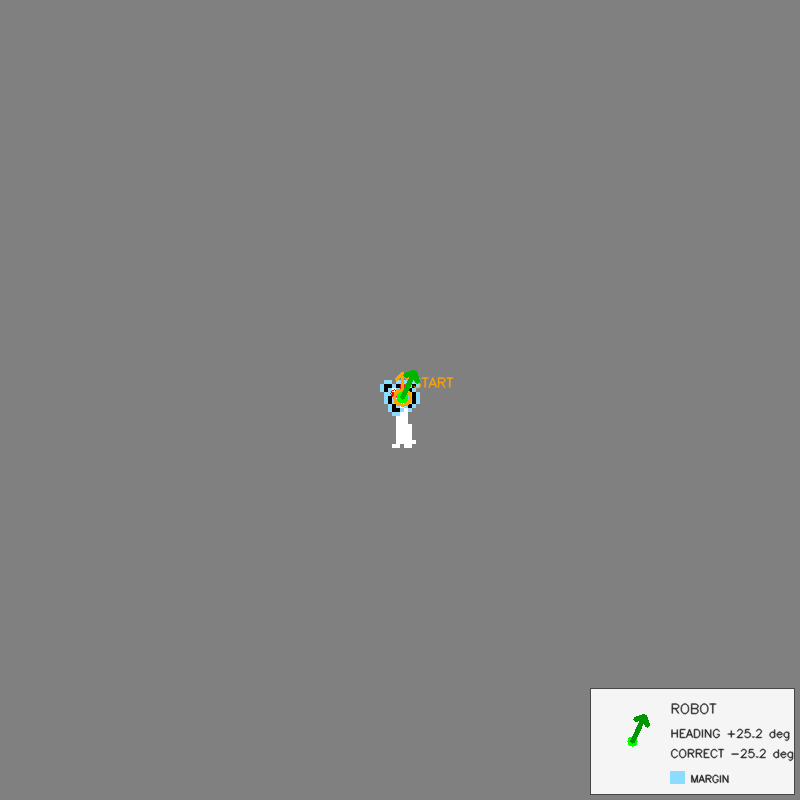
Example: The first view records a wall ahead. After a turn, the next image shows the same wall near the edge and a doorway beside it. The Pi should extend the existing wall and add the doorway, rather than create an unrelated second wall.
5. Choose the next action
During mapping, the Pi chooses the next behavior and plans it route. During navigation, it chooses a movement through sufficiently clear space. The Pi must consider the robot’s size. A visible gap is useful only if the robot can physically fit through it.
6. Return the command and repeat
The Pi packages its decision as a behavior, distance or angle, speed, and mapping step. It reports that the result is ready and saves the response for possible retries.
Example: “Turn right by 45 degrees at 20 percent speed; this response belongs to mapping step 3.”
On the next request, movement feedback helps the Pi update its estimated viewing direction. It then takes the next observation and repeats the cycle.
Discussions
Become a Hackaday.io Member
Create an account to leave a comment. Already have an account? Log In.