 Glinek
-
1Printing!
just print everything that is in files. Some designs were upgraded that's why there could be more than one of each. Things that you don't need to print are handles and seals
-
2Painting and gluing
Soooo after printing goes the worst part. Glueing and painting. Unfortunately this project is so big that it require some glueing (I'm useing ender3) so just glue everything together. It is preaty easy to spot which parts need to be glued together. After that if you want to make it look a litle bit better good idea is to sand it and paint it. Aditionaly u can put some putty to fill all gaps.
-
3Solar panels and hinges
This step requiers a litle bit of skatching. Solar panels are cool feature but you dont need to have that. I used some cheep solar powerbank and took charging board and panels from it. As for hinges i don't now which u will use. I am not able to put link to them cuz i bought them at hardware store.
To mount hinges you will need to mark down where holes are gona be and drill them. Again, i didn't put holes in the design. Same goes with solar panels.
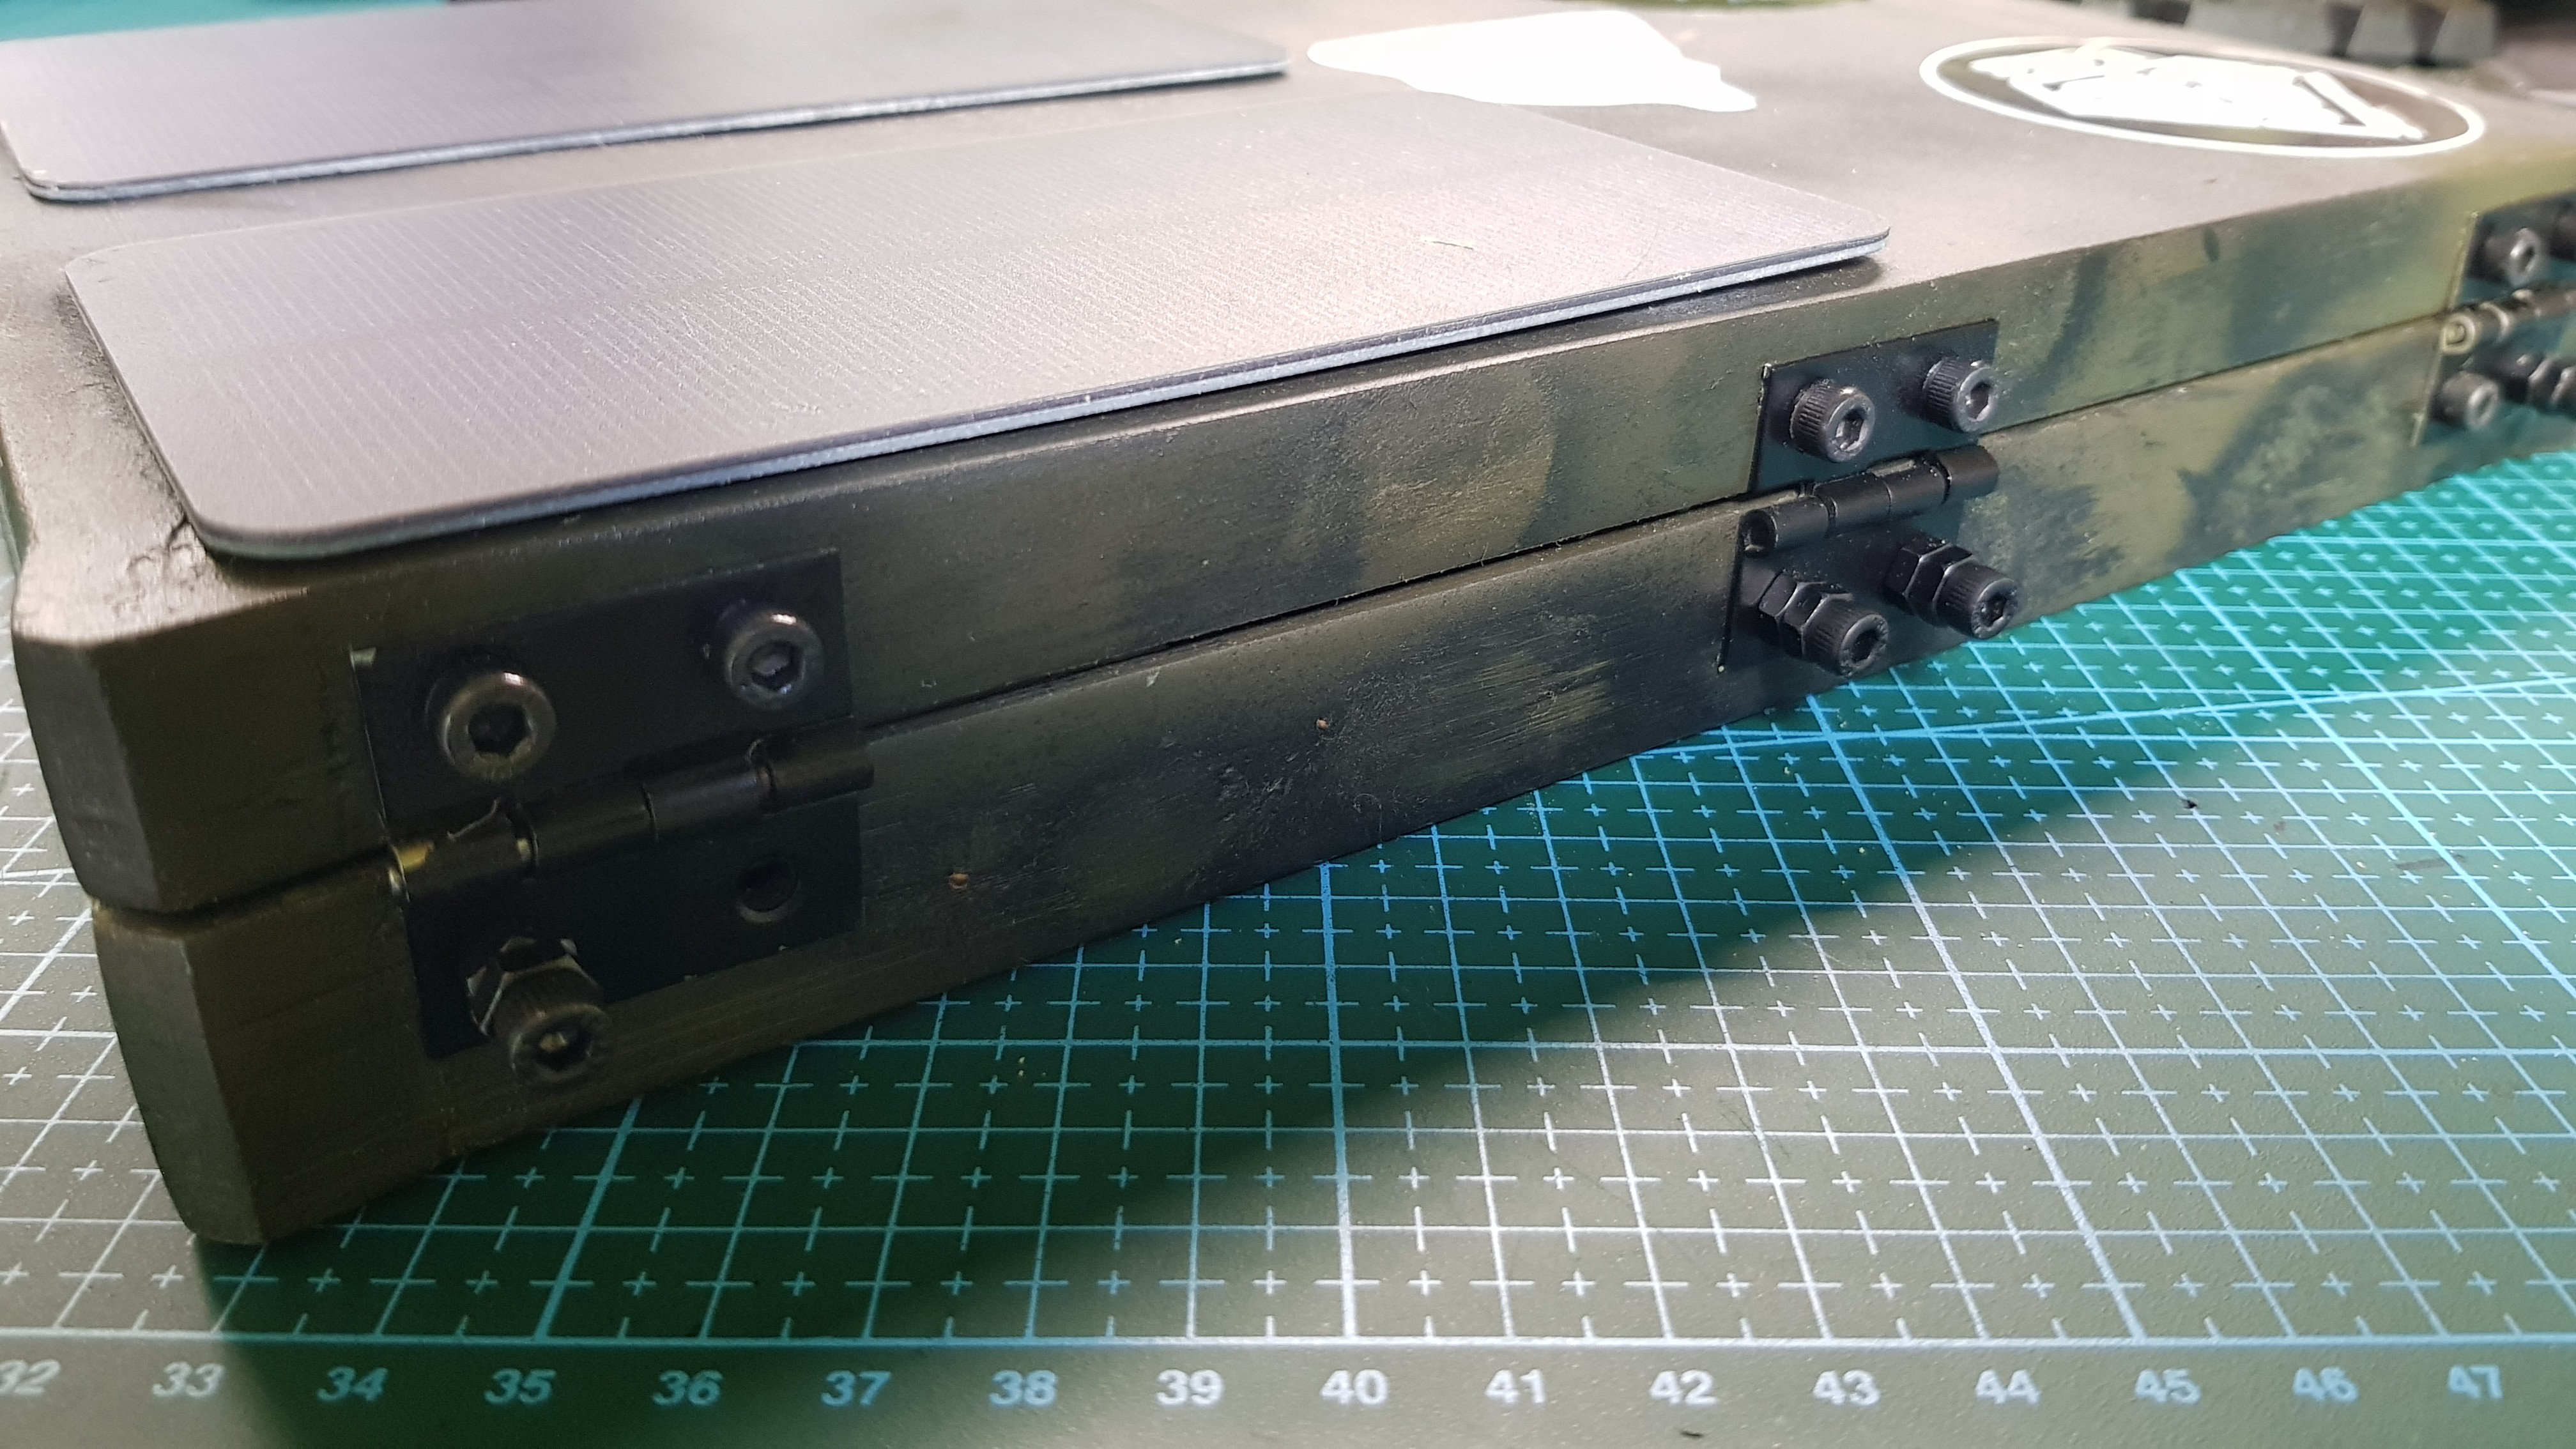
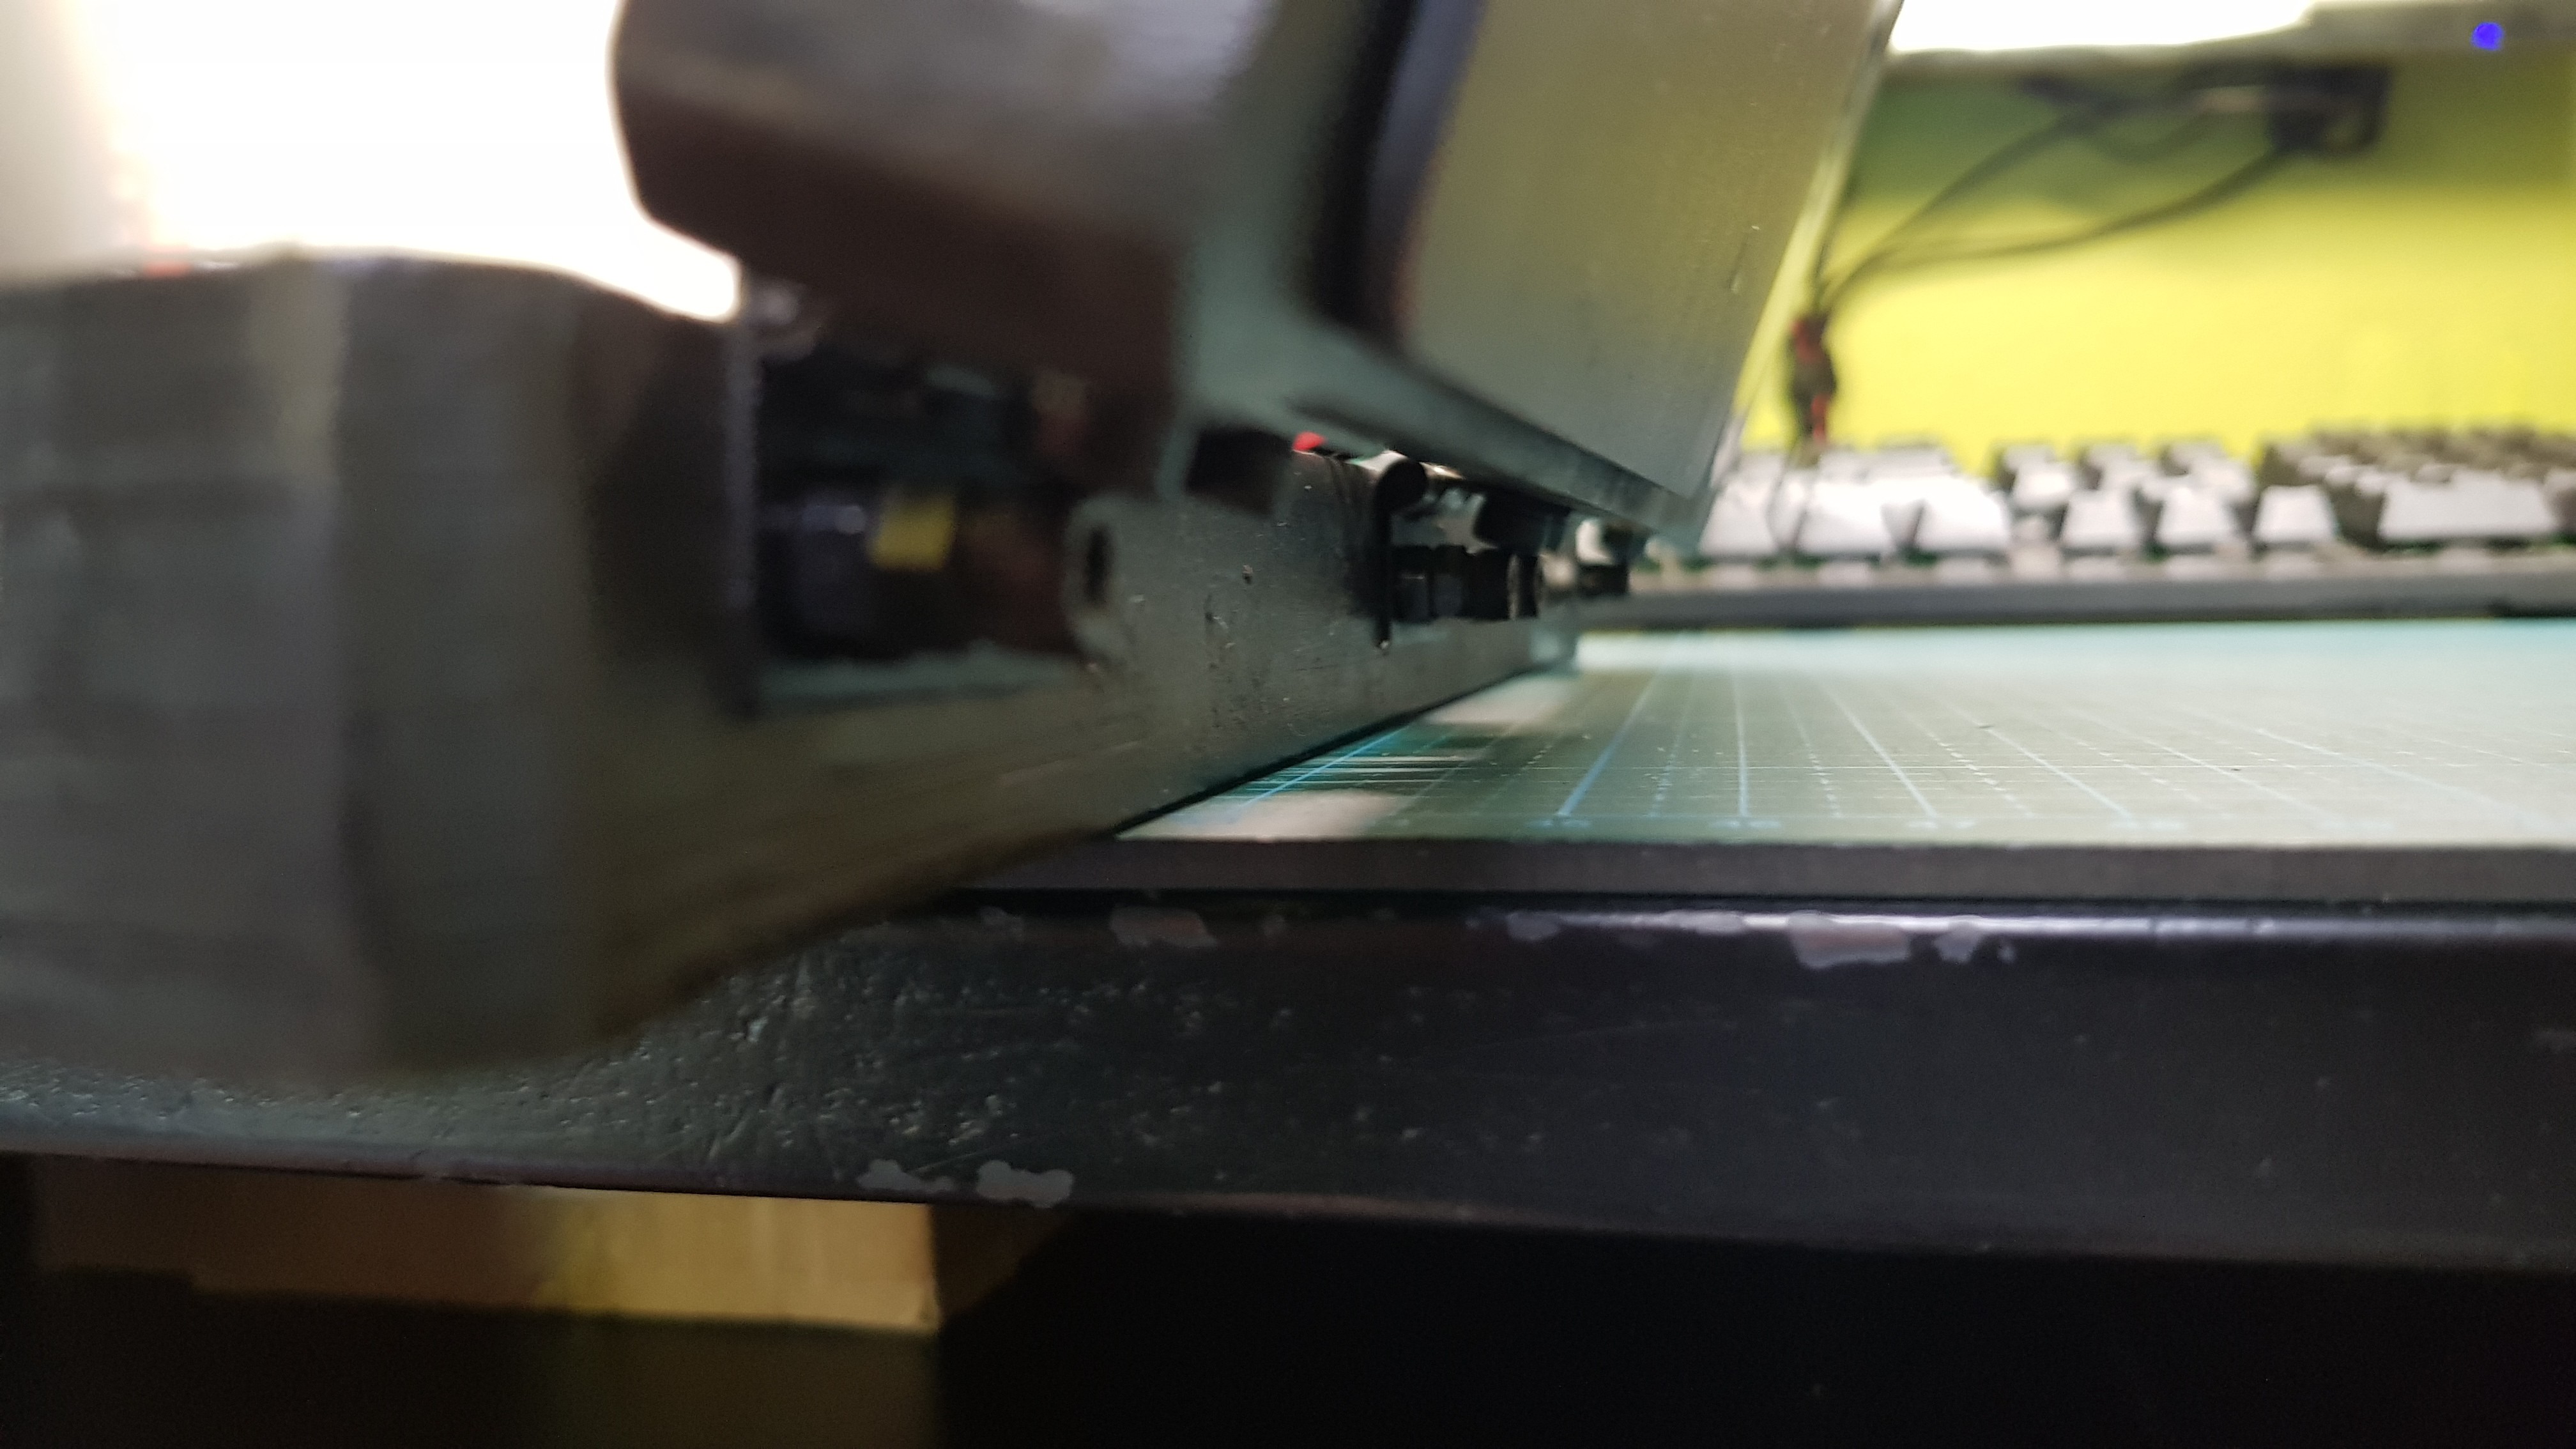
With hinges go m4 bolts and nuts. They are used to hold top part at a nice angle when deck is opend. Here are some photos of it:
![]()
![]()
Just put 2 extra nuts on 4 bolts or more
-
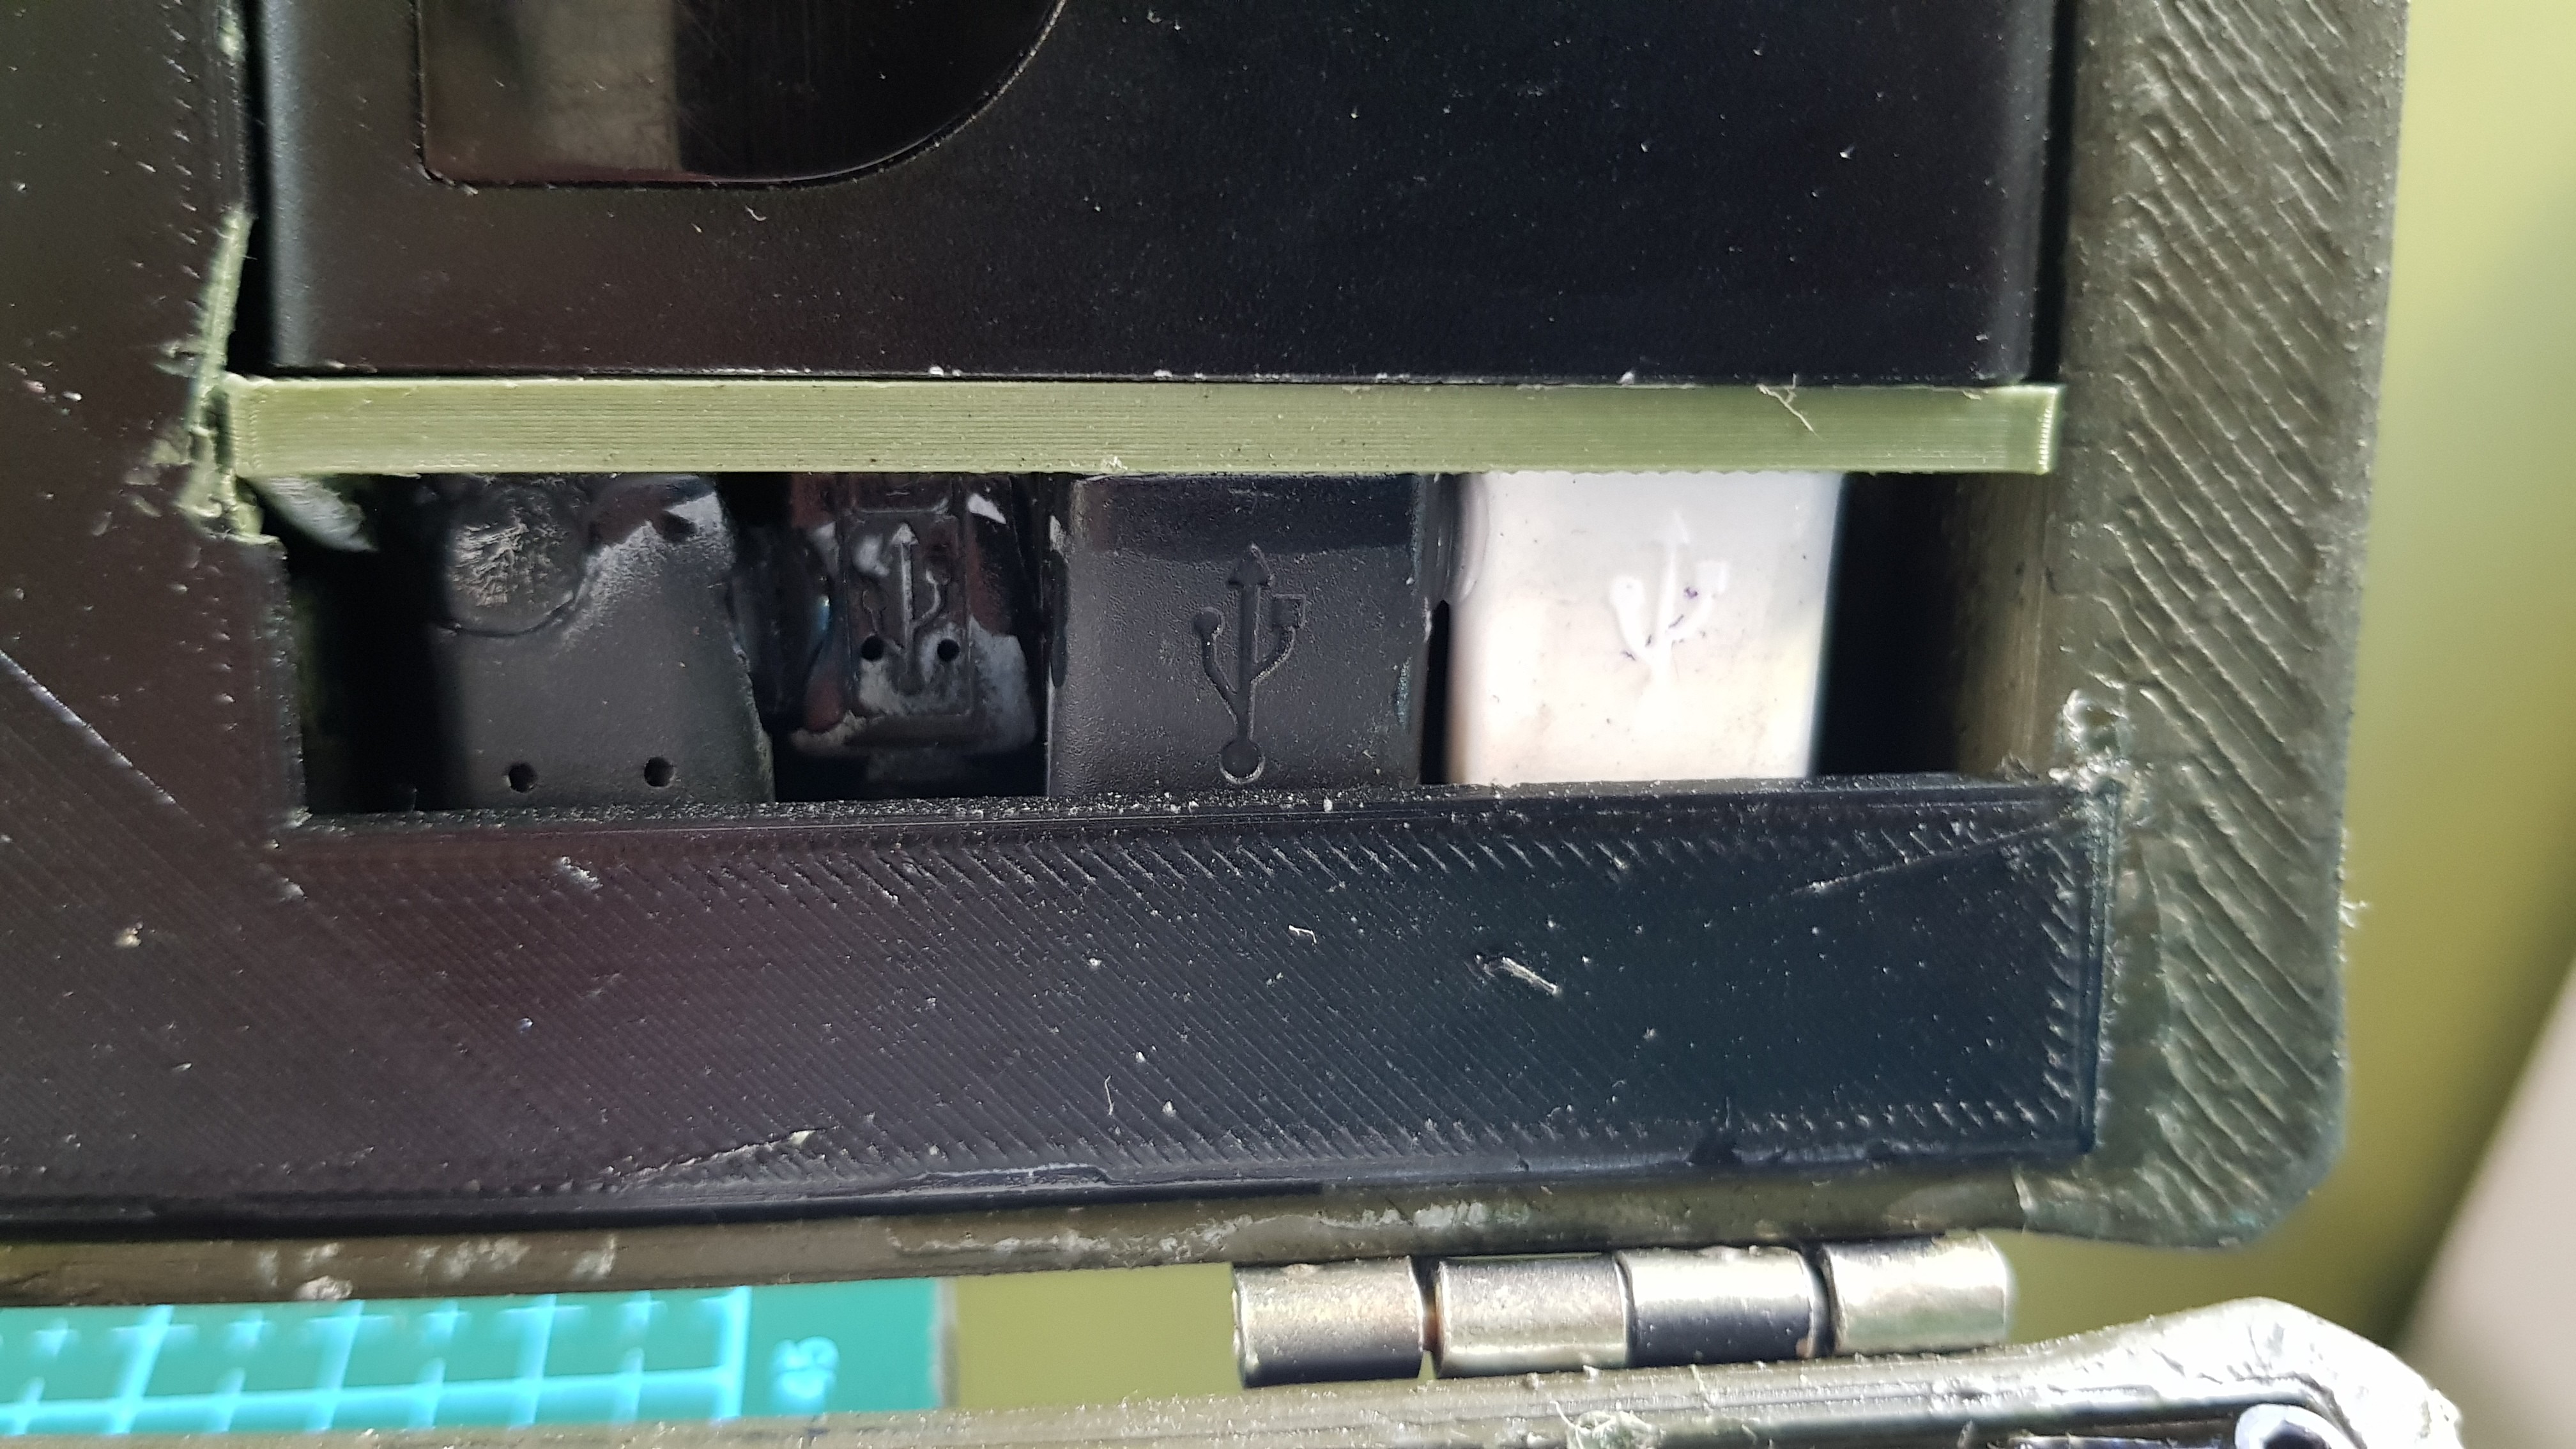
4Prepering powerbank
In parts i have puted link to powerbank that i am using. To make conectror for it you will need: 1 USB C cable, 1 micro USB cable and 2 USB A cables. Now take printed part (powerbank holder) put it on top of powerbank and to holes put all cables. USC C is for chargin powerbank via cable, micro USB is used to charge it via solar panels and 2 USB cables are used to power everything.
![]()
-
5Wiring everything together
This is gona be a long step...
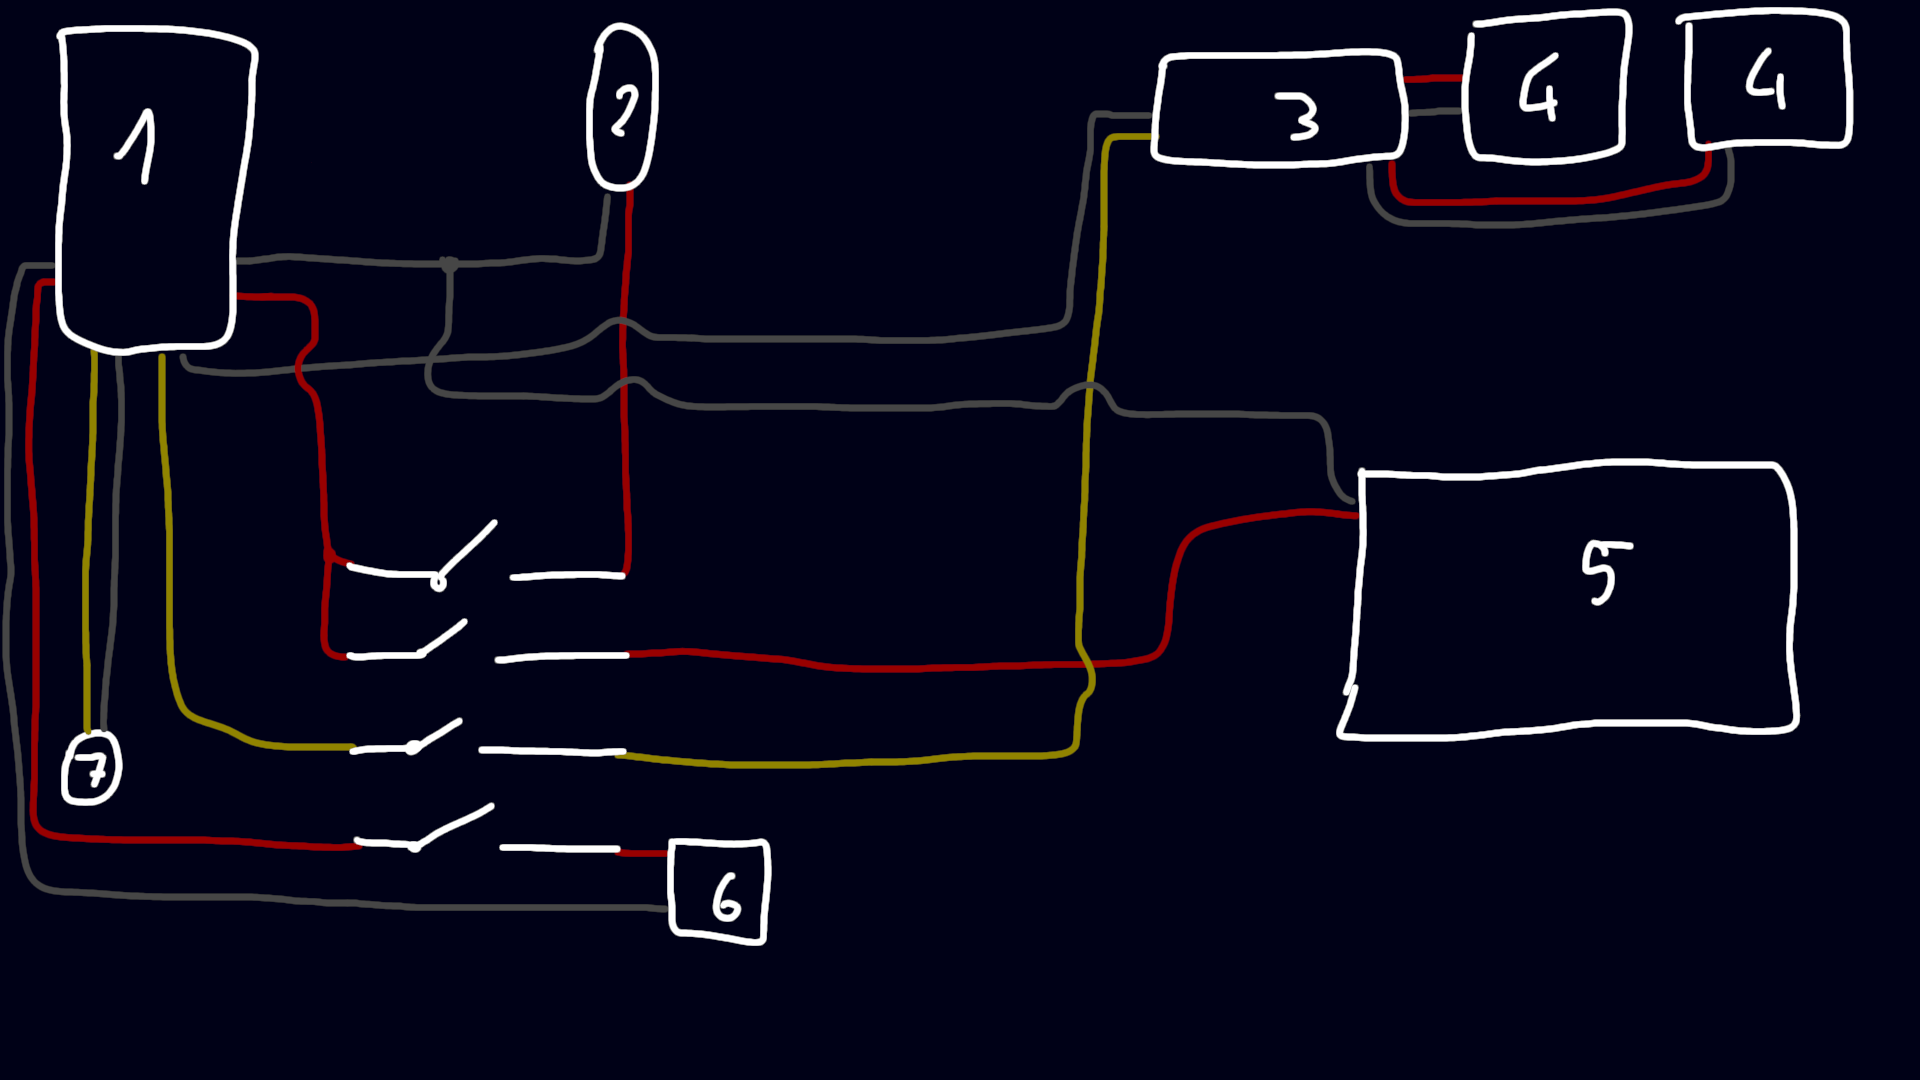
Below i'm putting wiring diagram (or something that suppoused to look like on).
![]()
1. Powerbank
2. Mi band
3. Solar charging board
4. Solar panels
5. LCD screen
6. USB C for powering raspberry pi
7. Magnetic conector - It is part of magnetic cable, i just desolder (rpulled of it) USB C conector and solder 2 wires to positiv and negative output
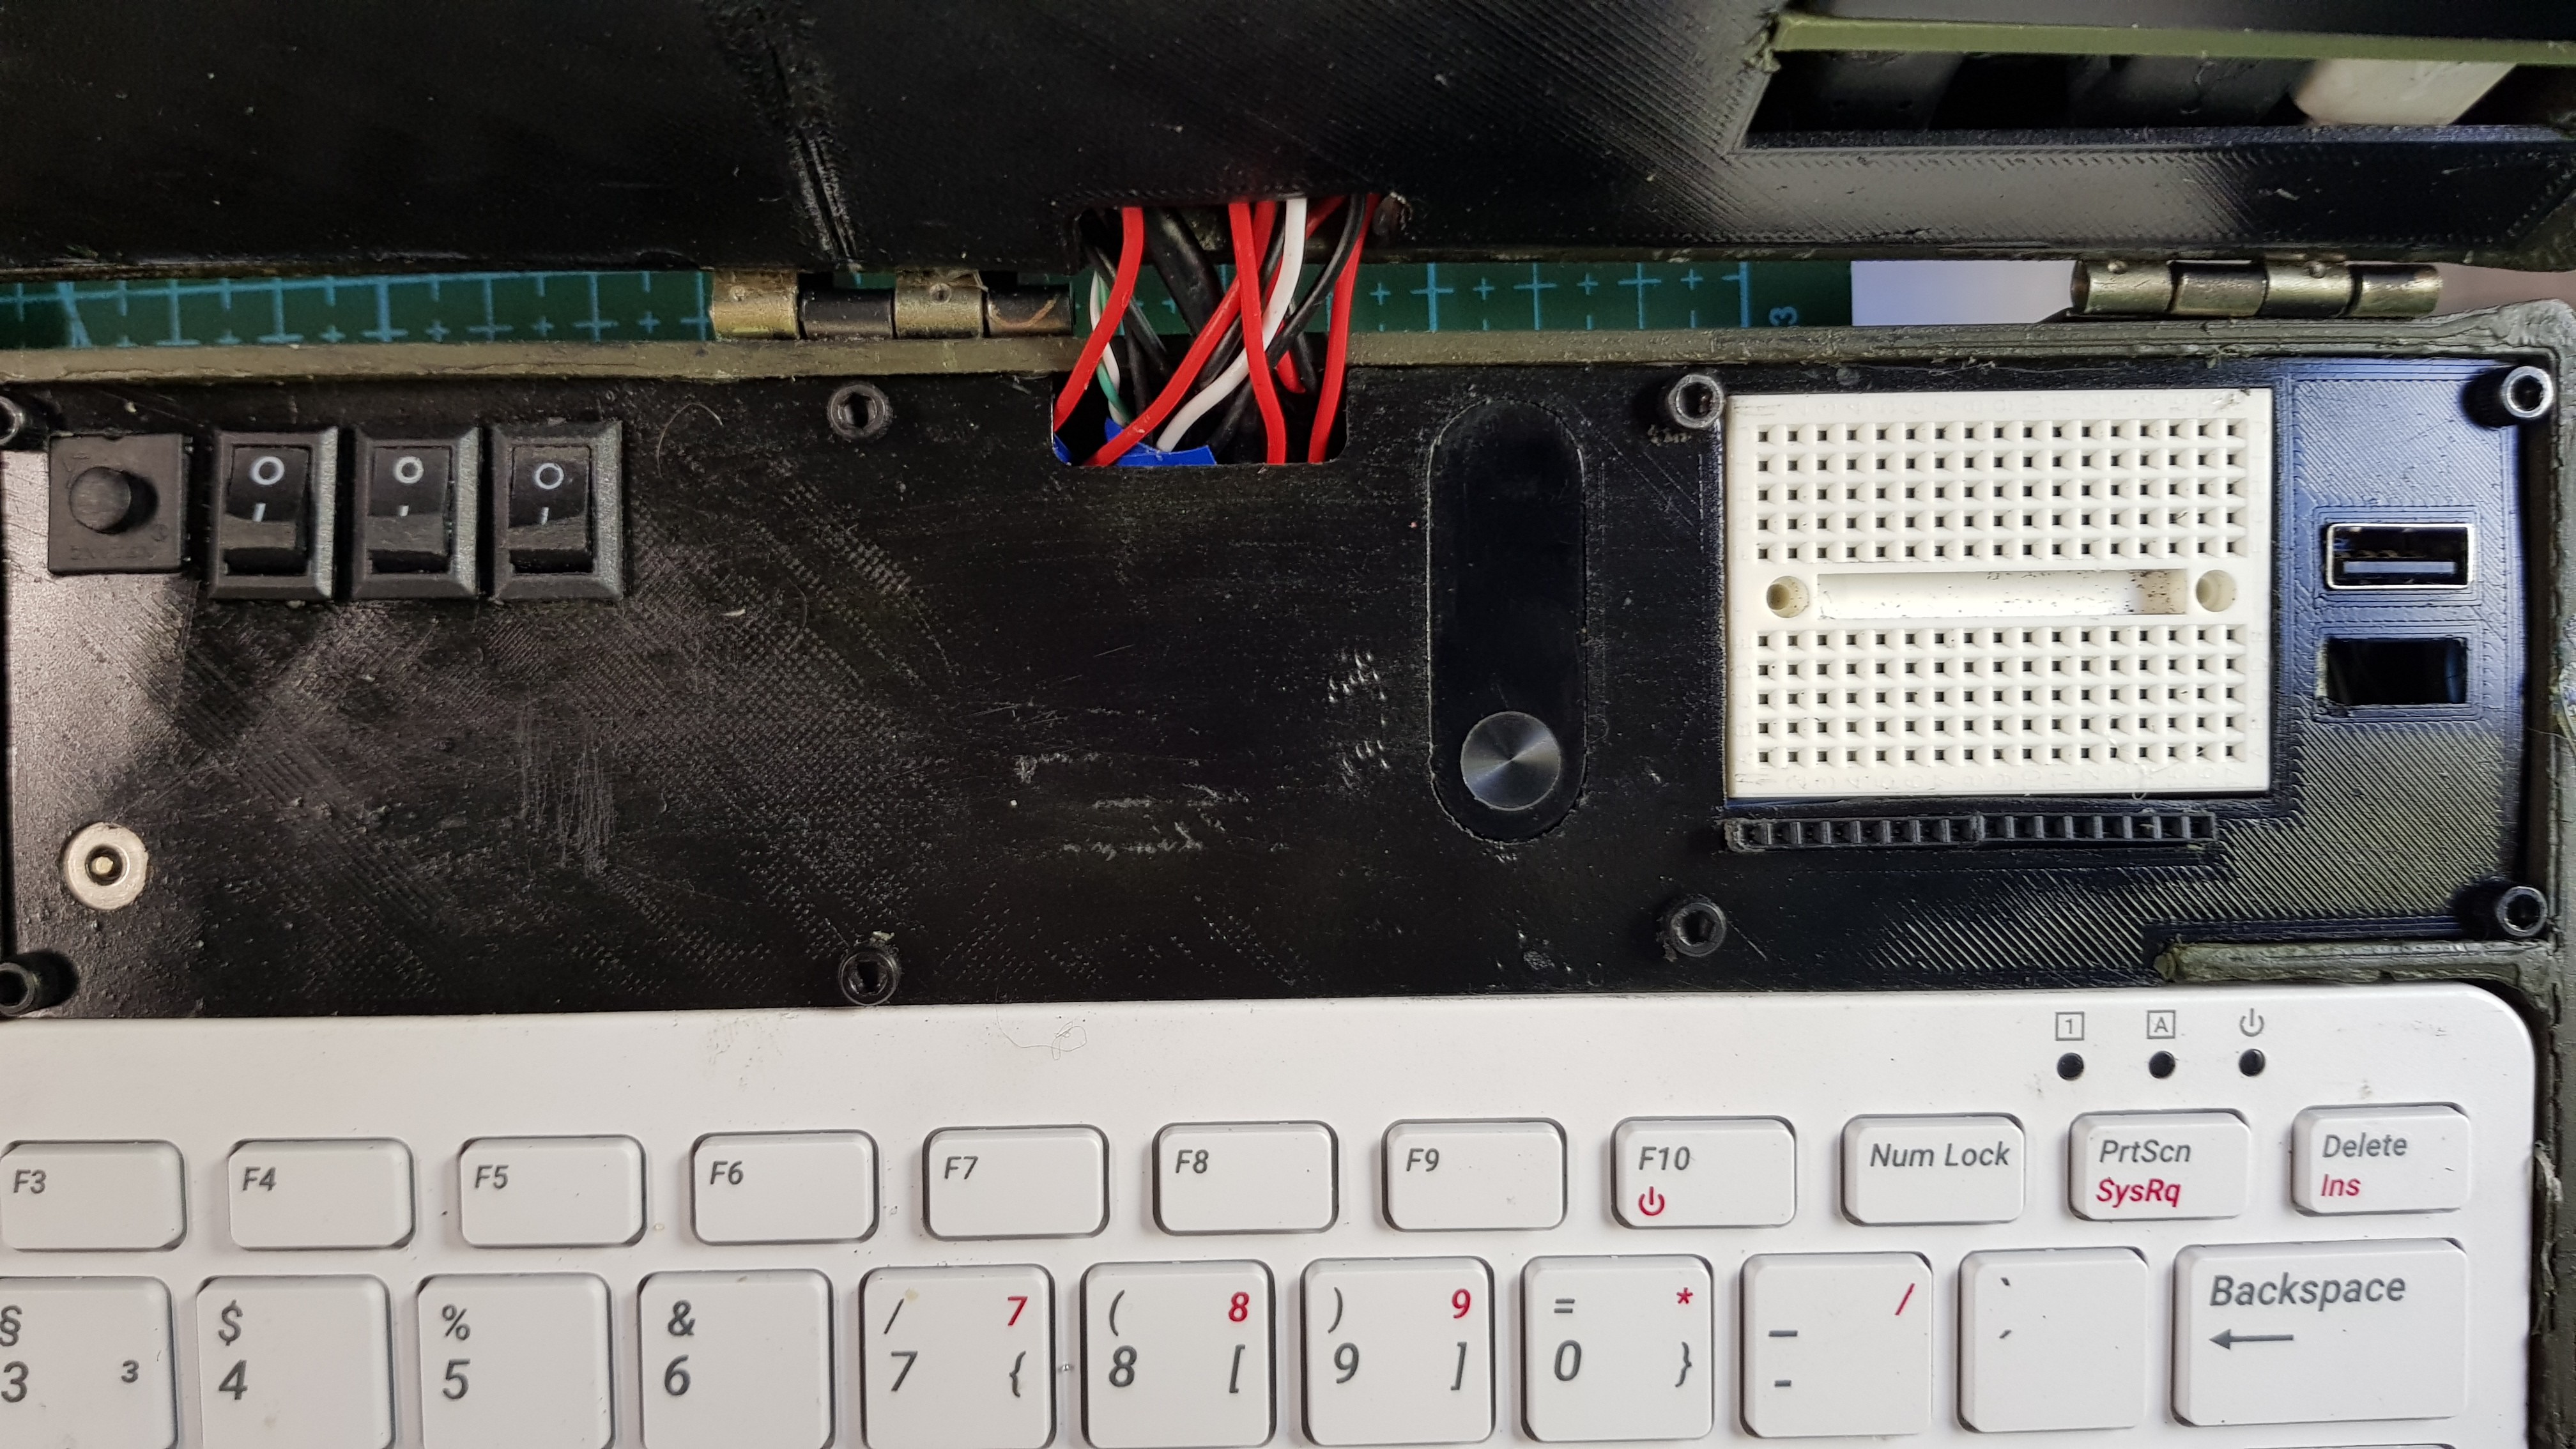
Below are photos of magnetic conector and main panel as well as everything that is under raspberry pi
![]()
rest will be added soon ...ish
At first i need to disassemble it but i'm to lazy... i mean it is hard
PocketWhale
This deck was made to be as useful and at the same time durable as possible
Discussions
Become a Hackaday.io Member
Create an account to leave a comment. Already have an account? Log In.