 John Forsyth
-
1Purchase and Print Components
There is a parts list available to order.
There is also a folder which I am uploading with all of the .stl files in order to print the parts. Included in this folder is also more information.
Once you have each part printed, you can go about assembly.The frame and venting were both printed with PLA (I believe I did 20% infill at .28 resolution). I printed the tube that runs up your shirt with TPU so that it would be more flexible. If you have any printing questions on the parts feel free to reach out.
-
2Assembly
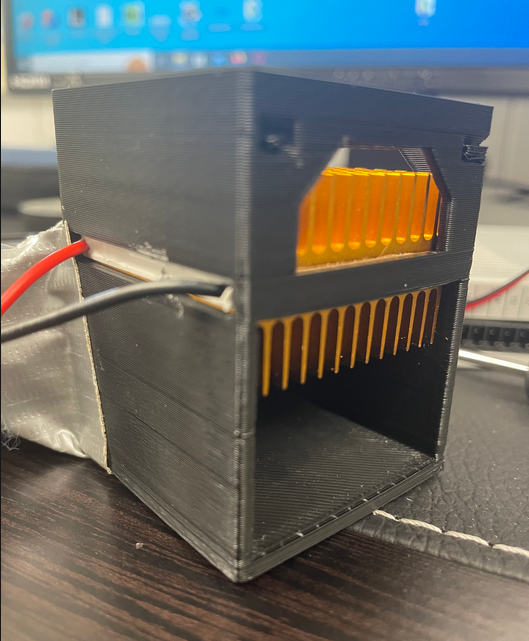
First take the peltier, and plug it into a power source so that you can be sure you know which side is hot, and which is cold.
There are grooves in the main frame where the Peltier slides. Slide the Peltier in so that the hot side us up (toward the shorter open side).
Now, place a heat sink onto each side of the Peltier.
![]()
-
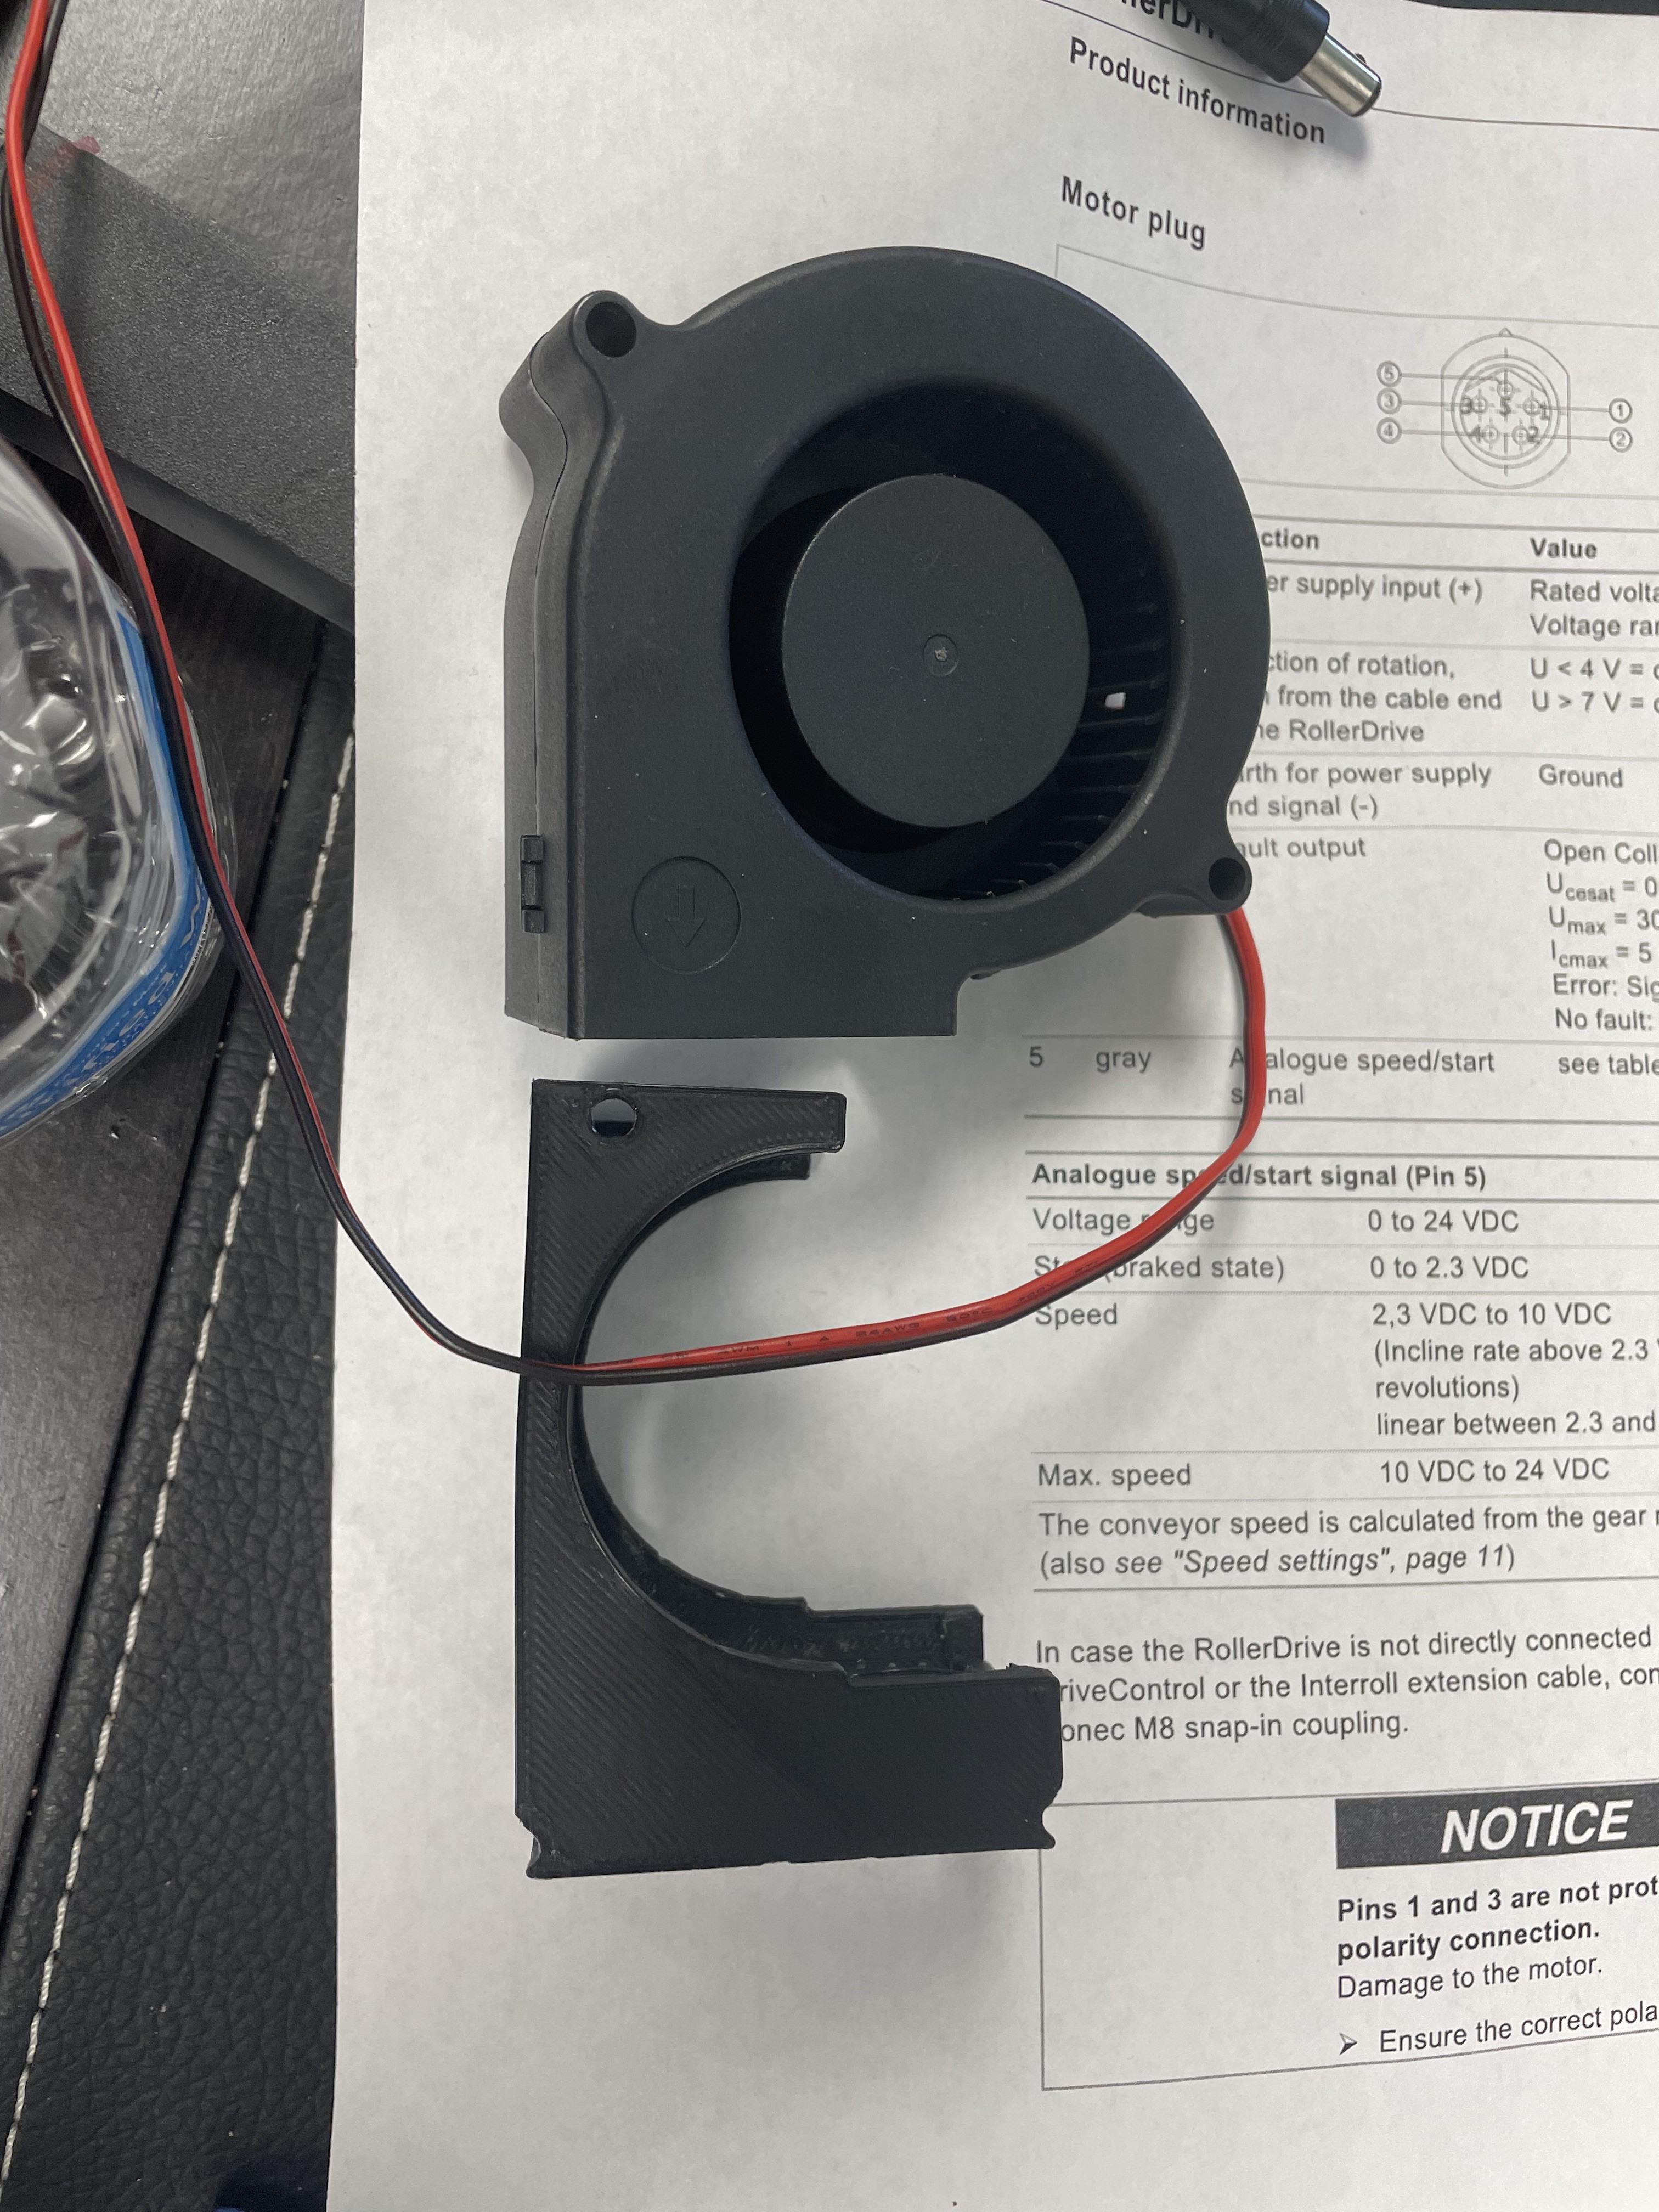
3Place fan into fan holder slot and screw it in
![]()
![]()
-
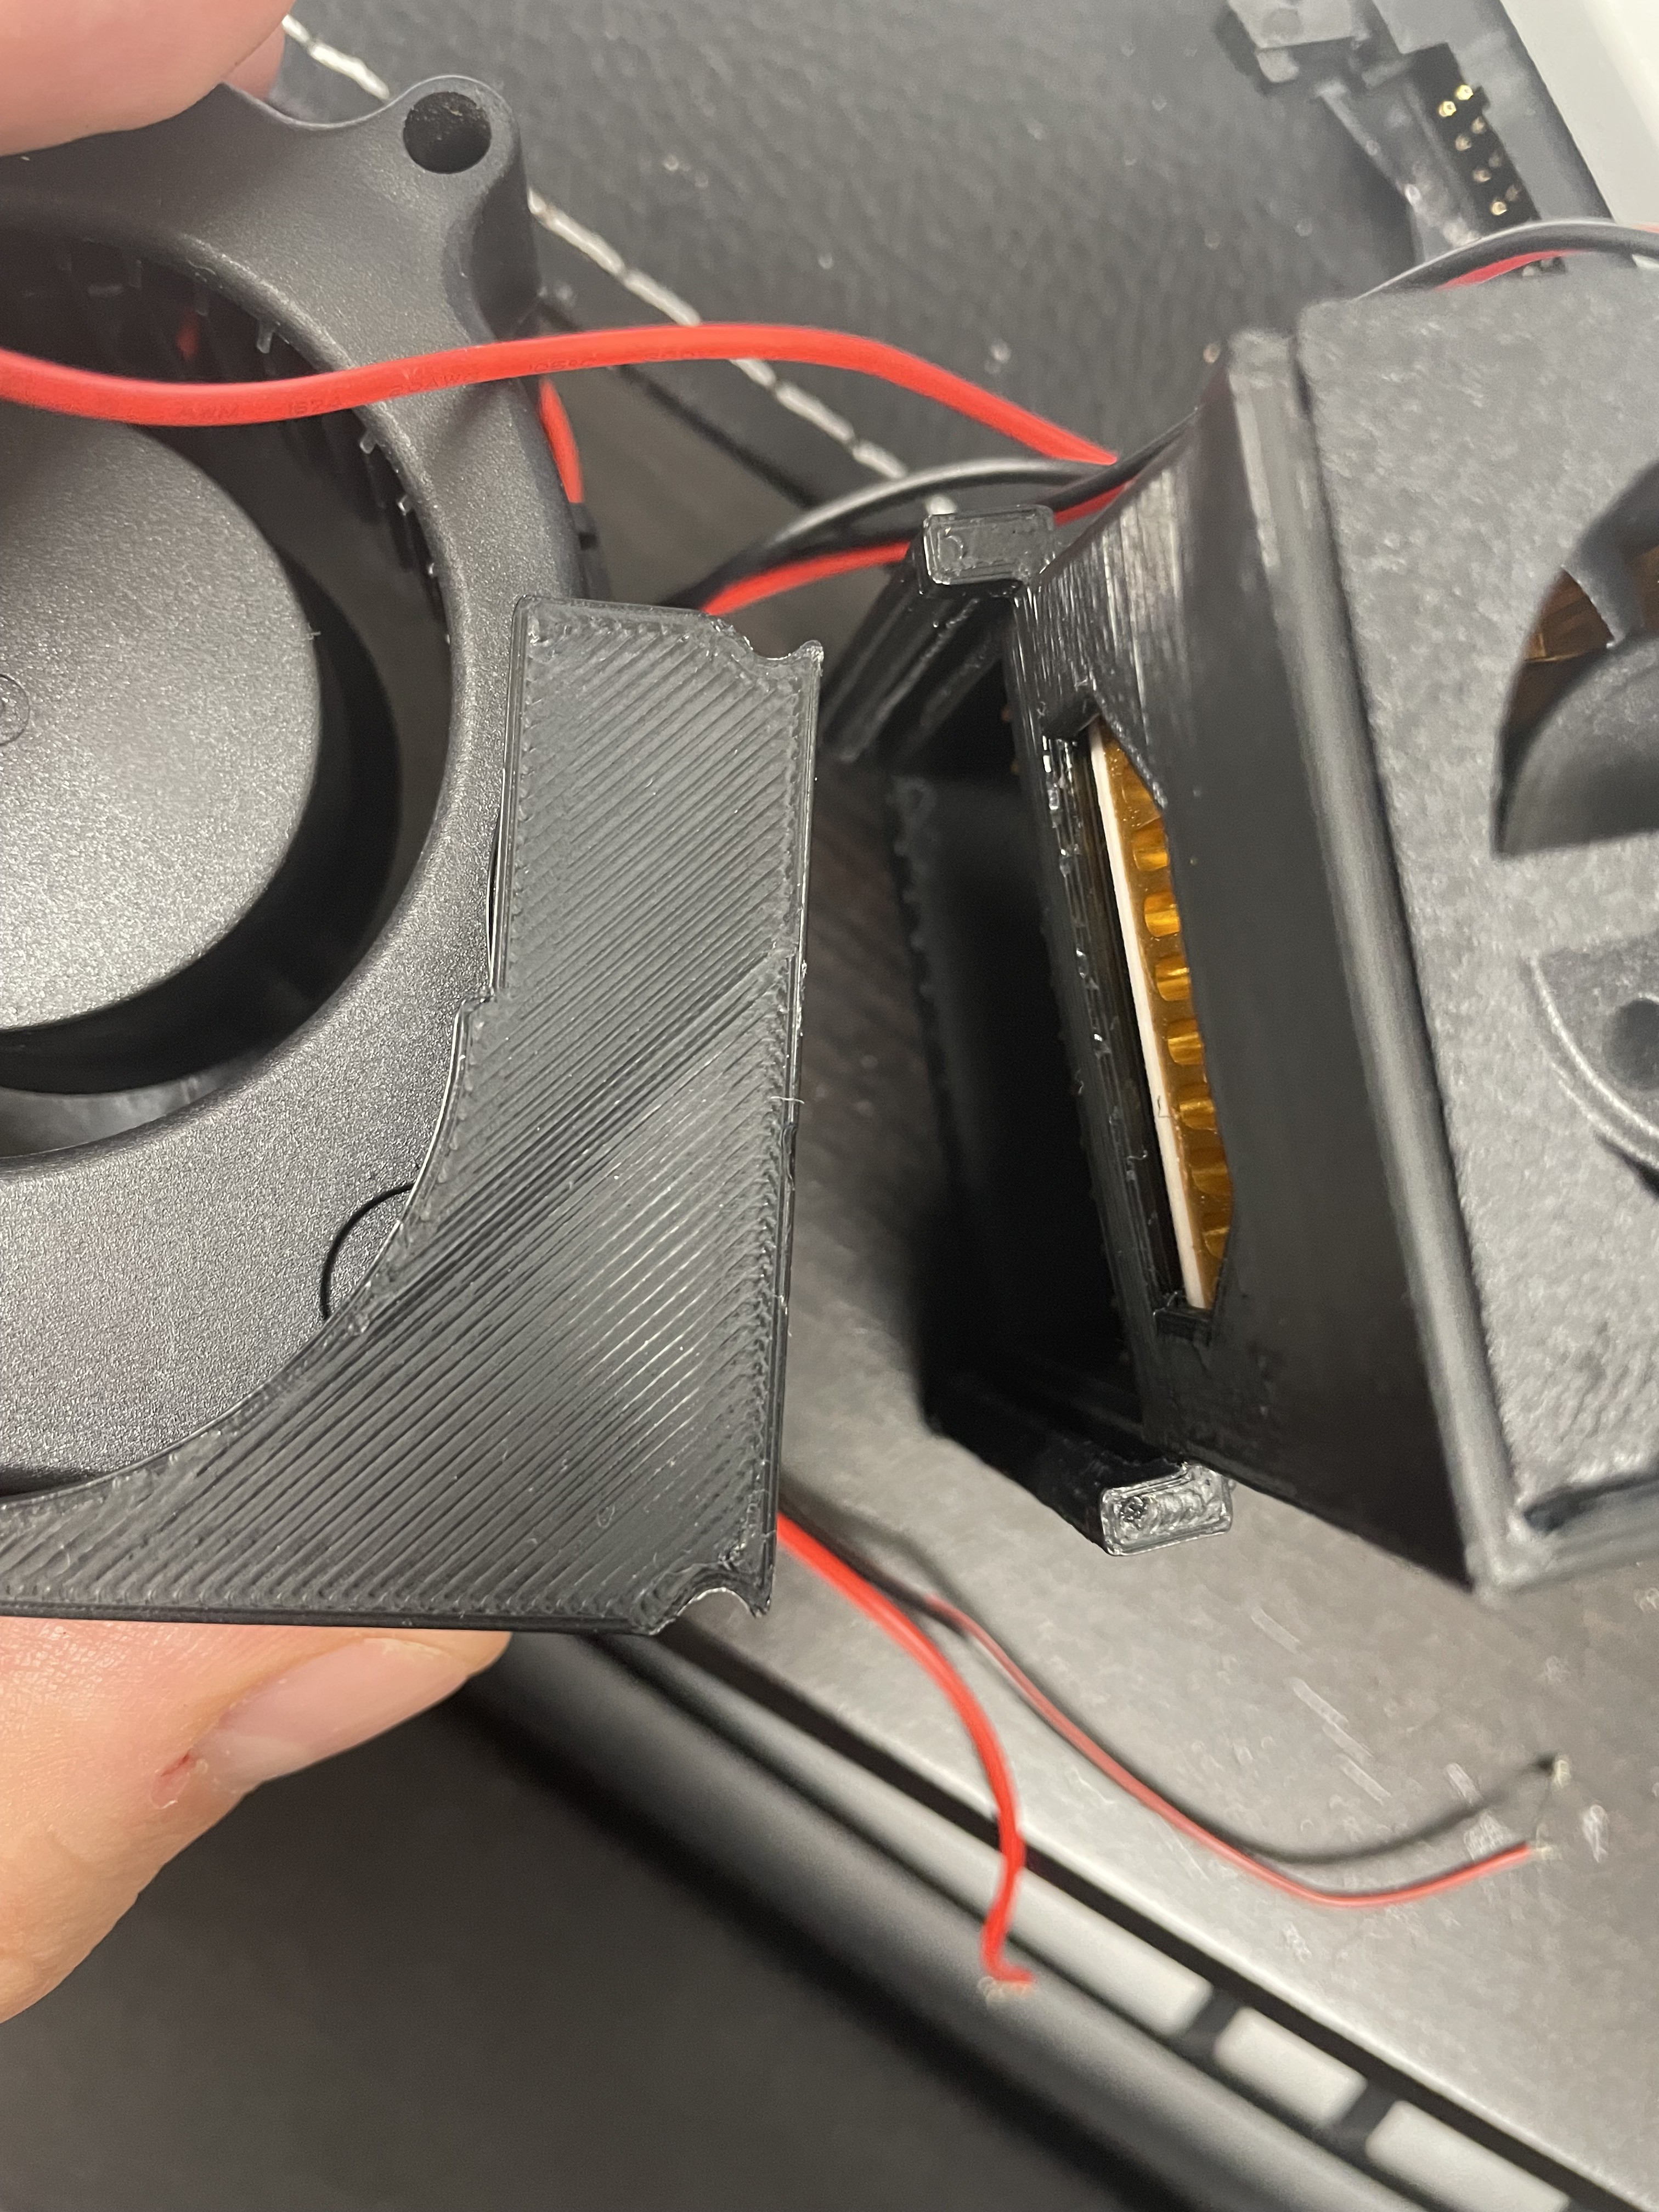
4Slide fan onto frame
![]()
![]()
-
5Place fan into top on frame and slide cover over fan
![]()
![]()
-
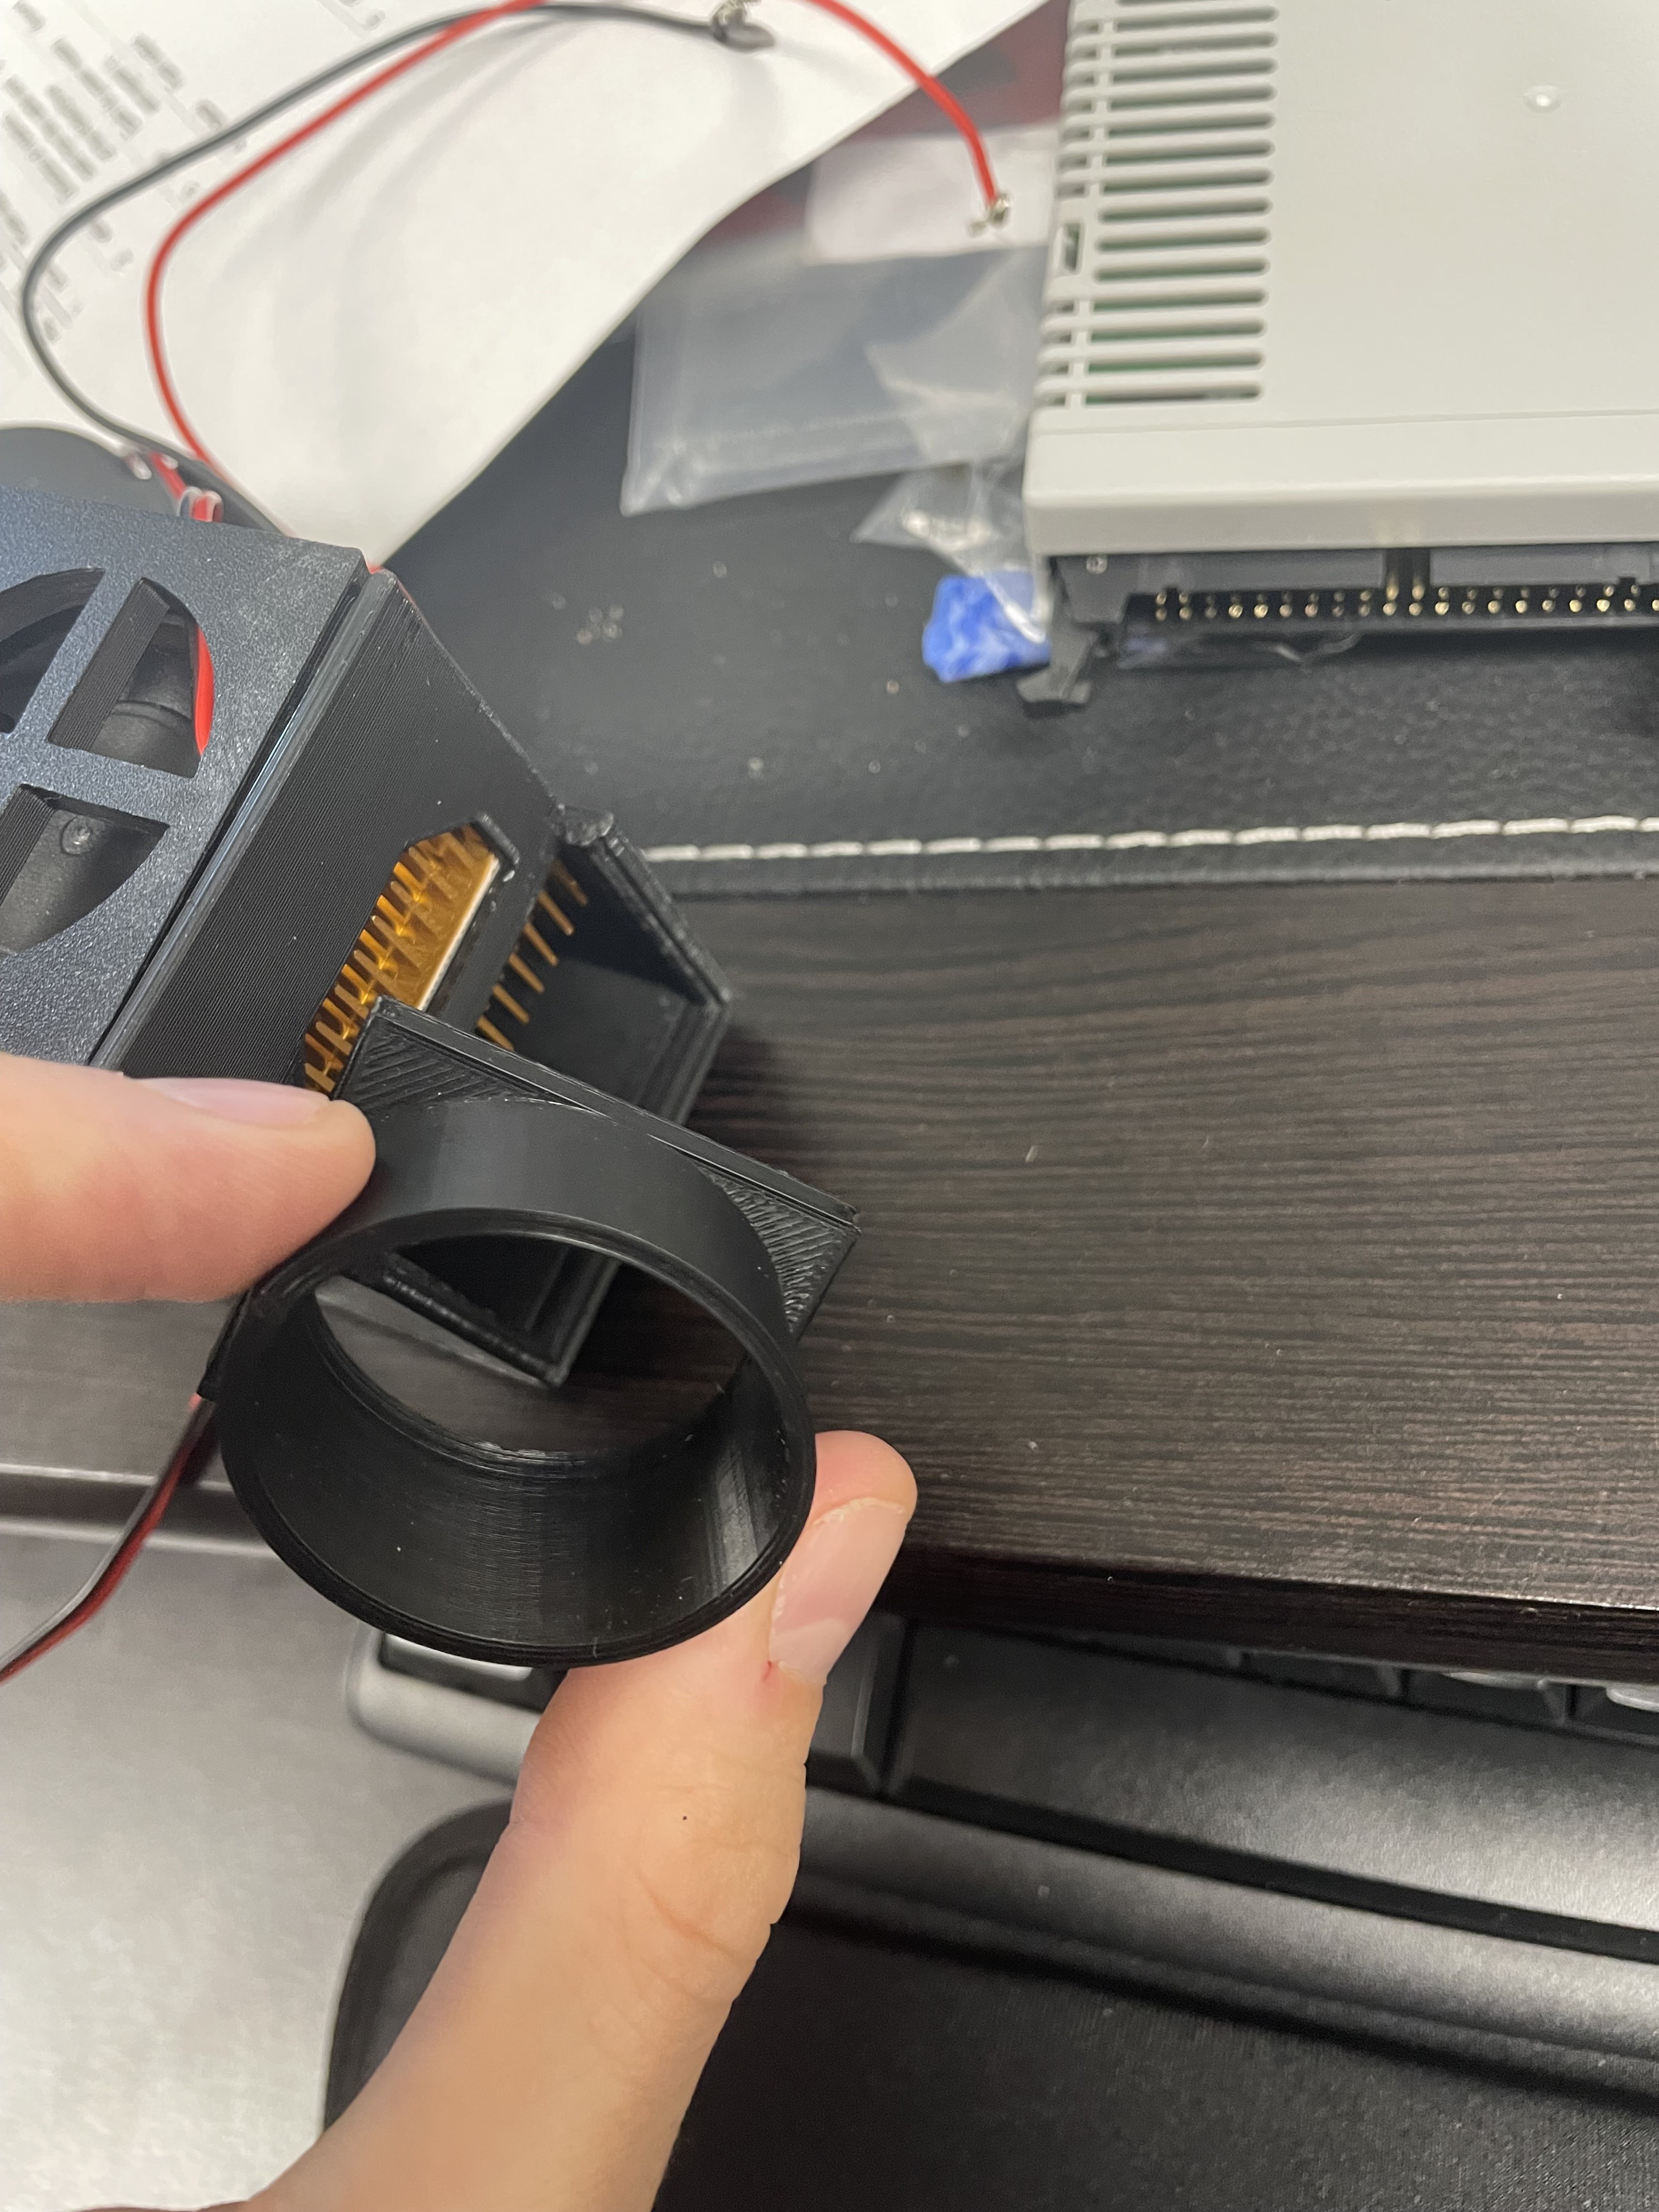
6Place Nozzle into slot
![]()
![]()
Portable Air Conditioner
Attempting to create an open-source air conditioner that you can wear on your belt or use to cool a tent


Discussions
Become a Hackaday.io Member
Create an account to leave a comment. Already have an account? Log In.