 jegatheesan
-
11Step 11
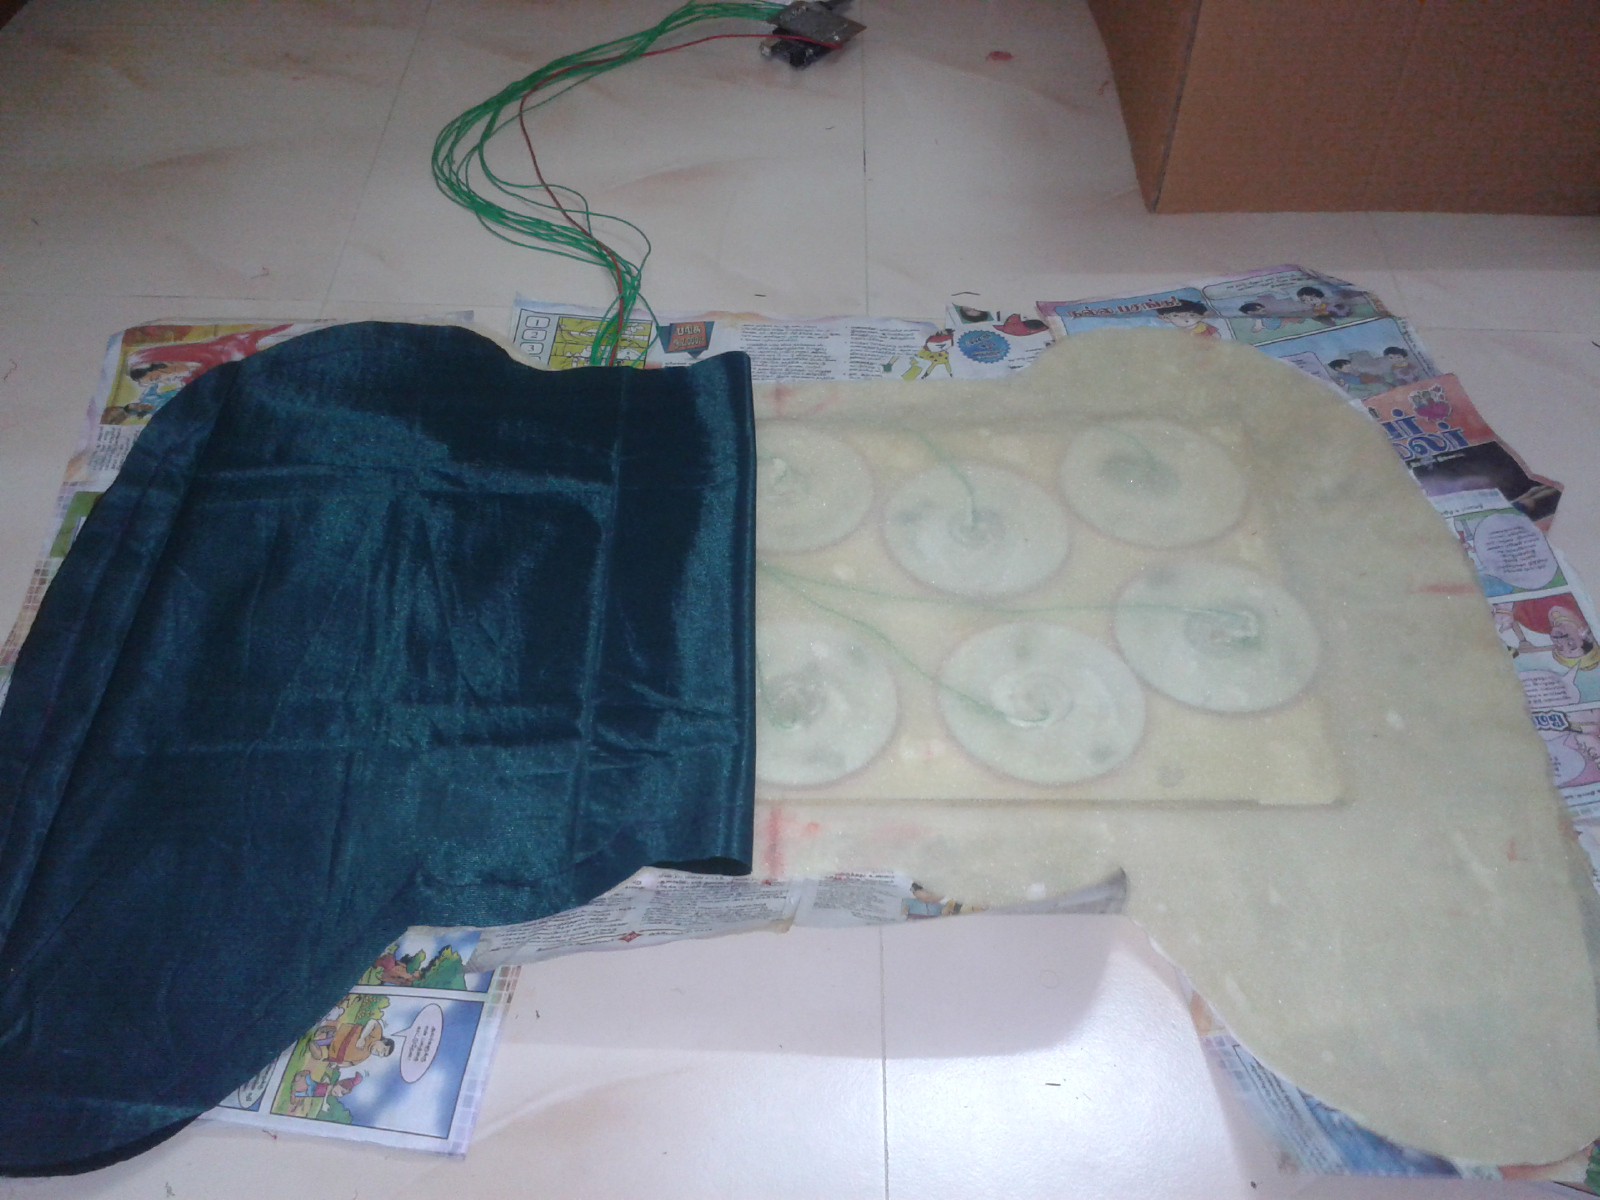
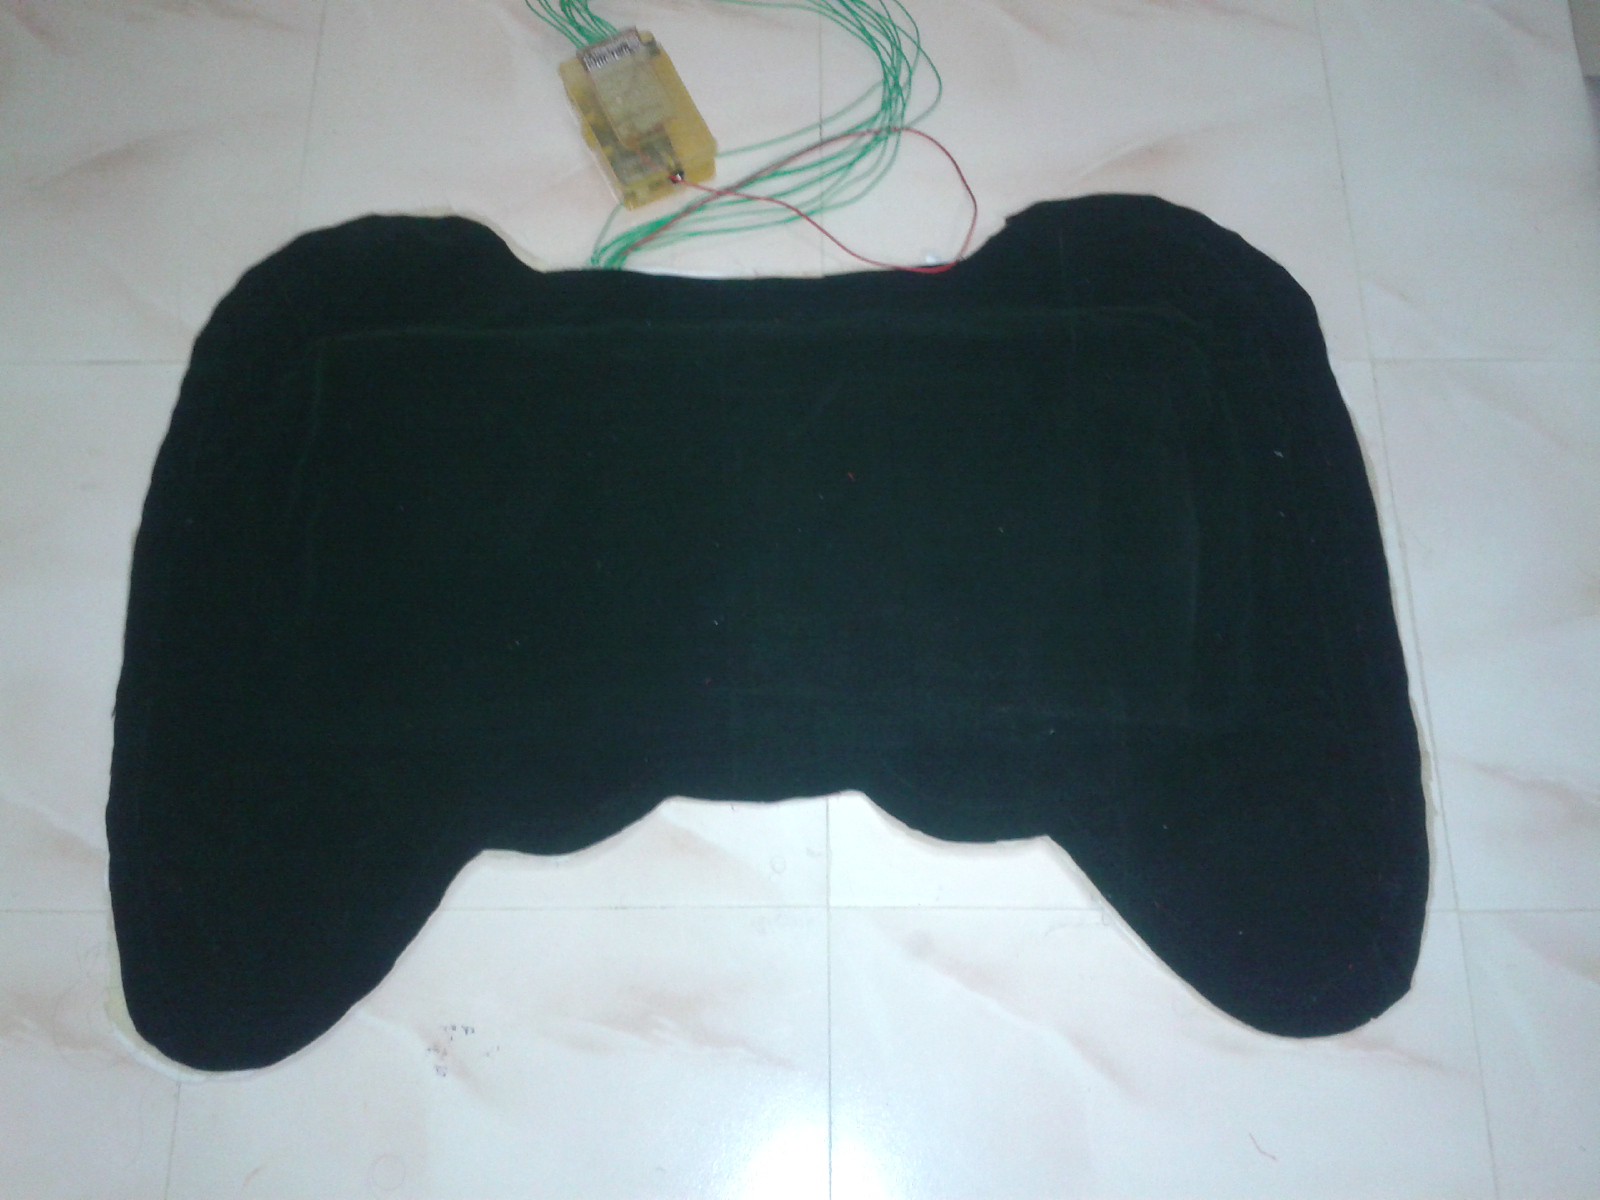
Preparing cloth for Carpet
1) Take a velvet cloth bigger than the size of the board we make.
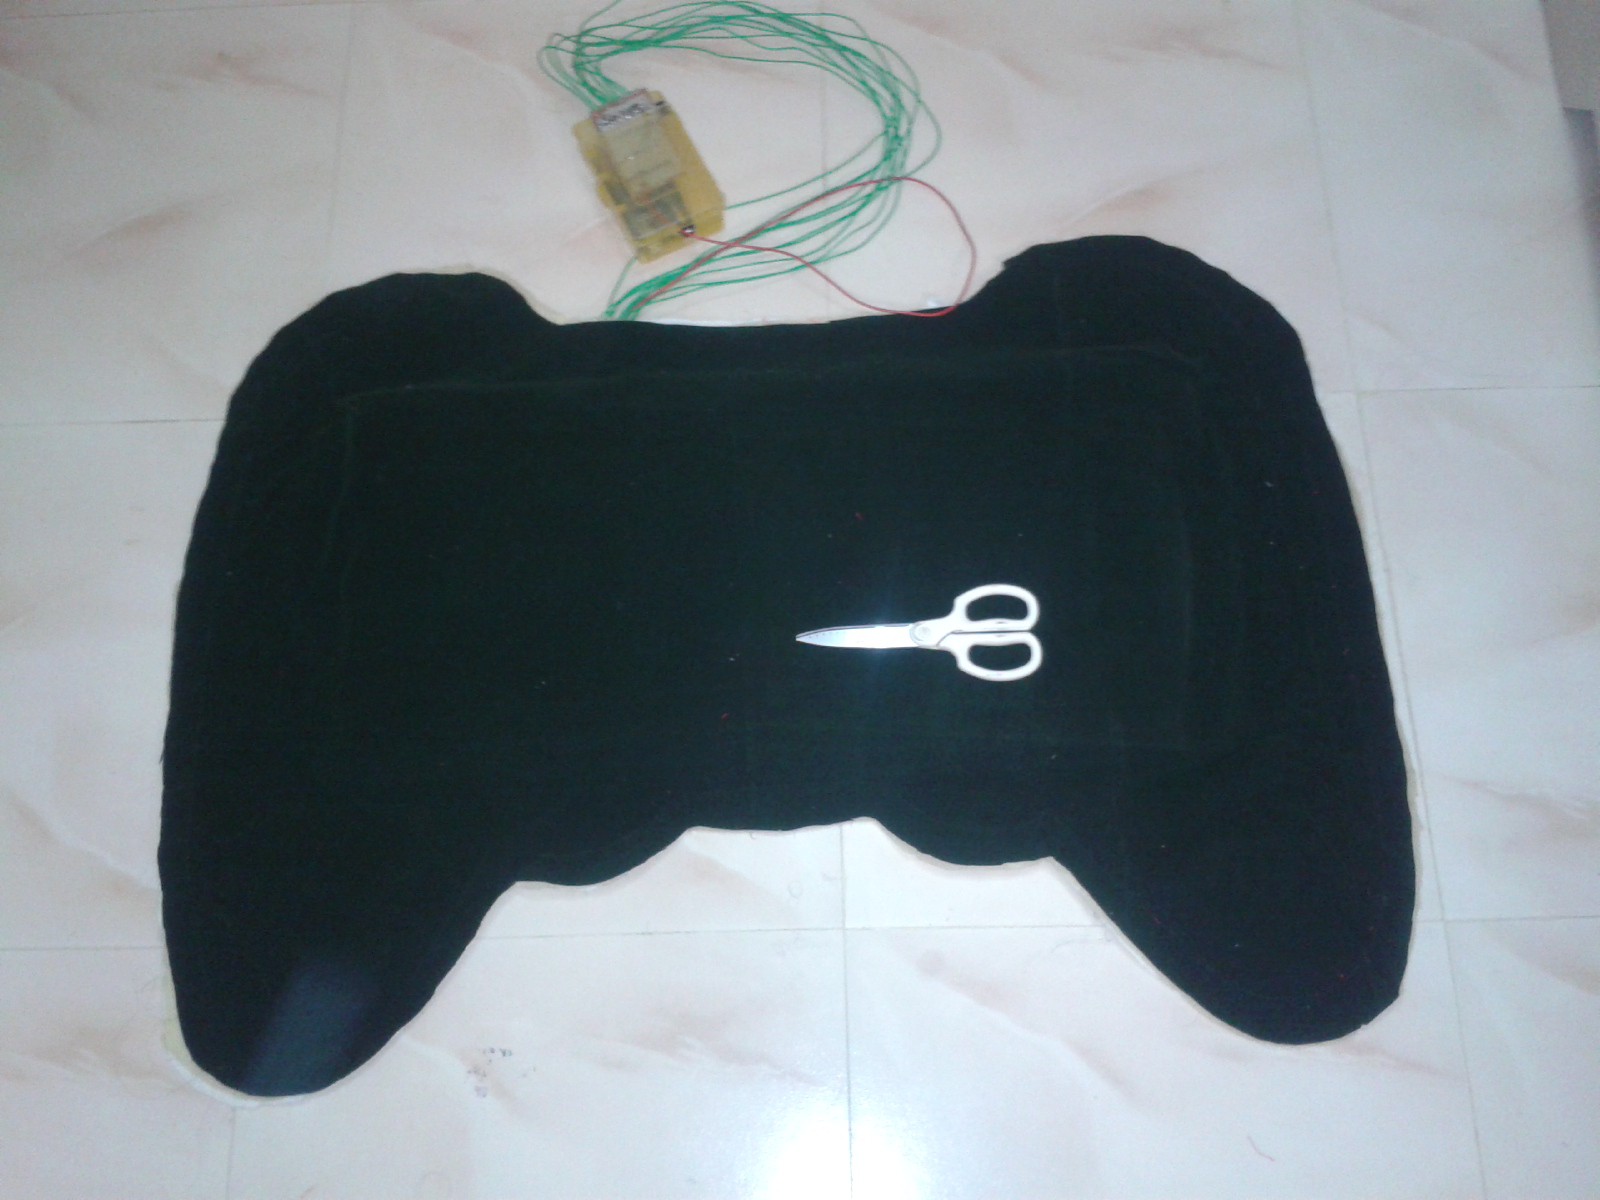
2) Draw the shape of the joy stick with sketch.
3) Draw a parallel line greater than the line we already draw.
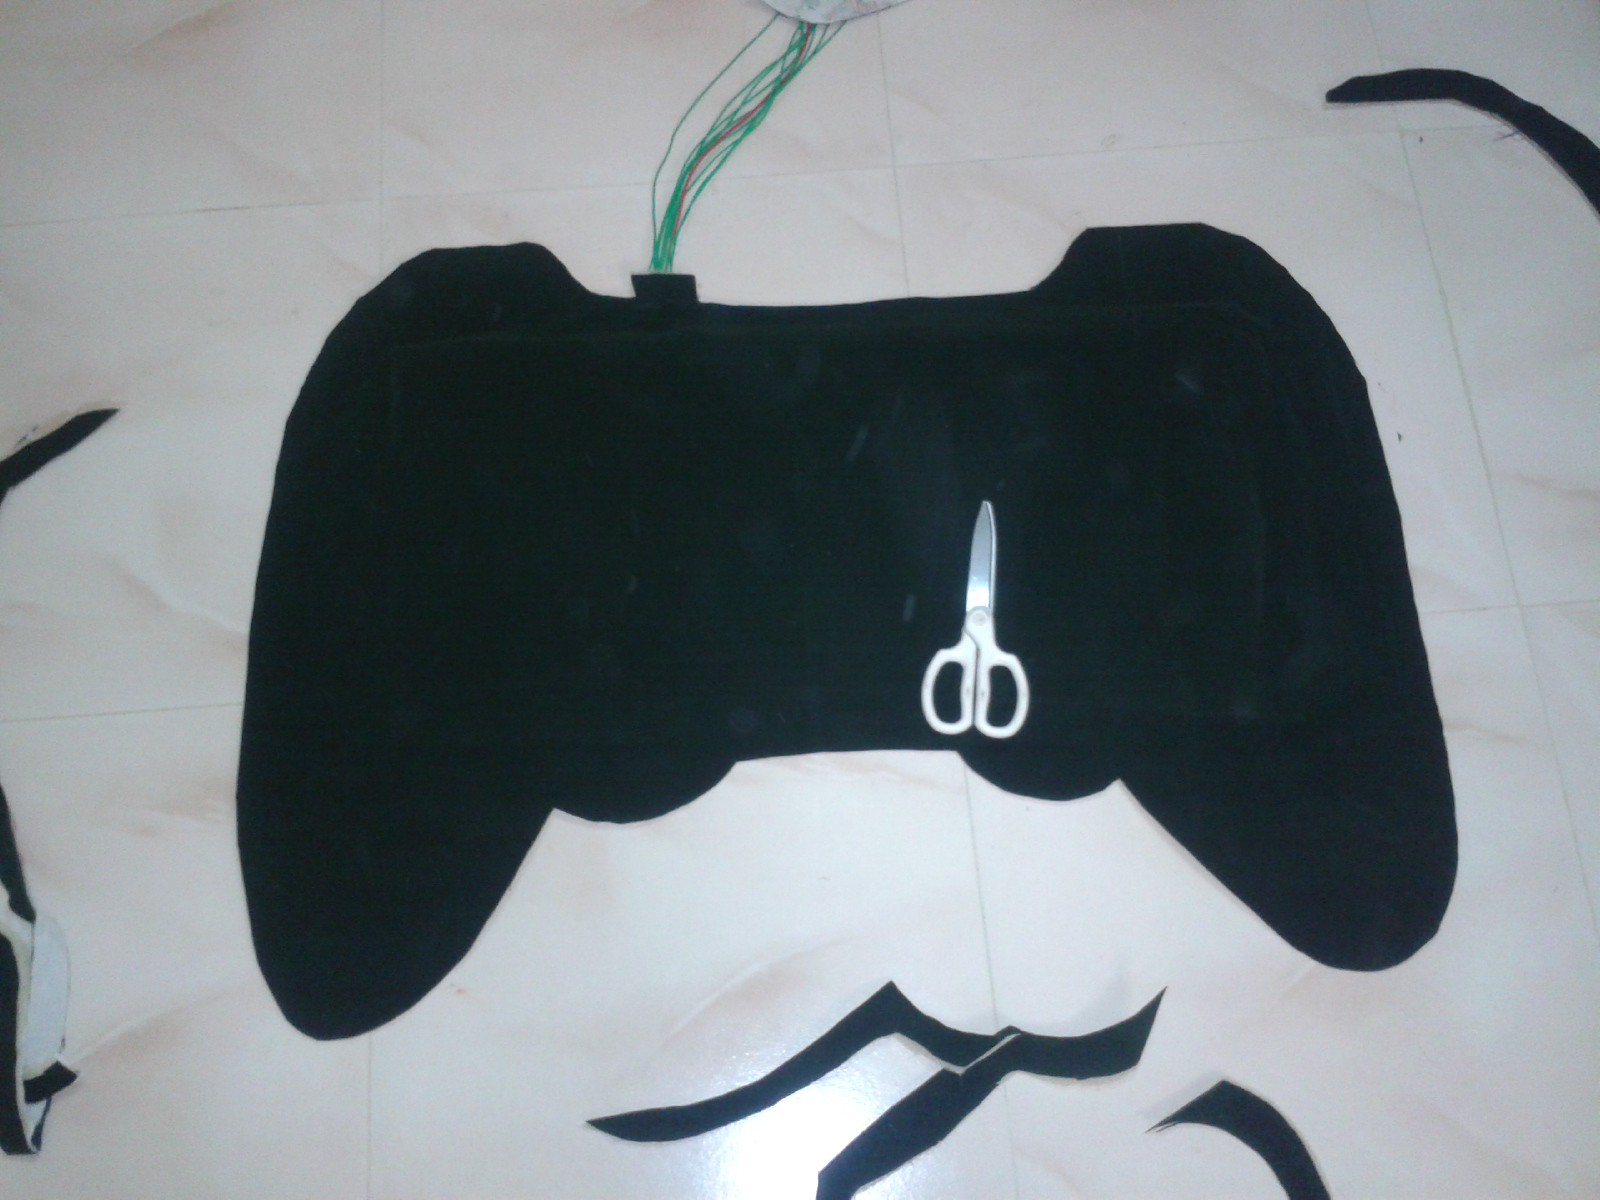
4) Cut the cloth to the second line.
5) Like wise cut a sponge by put it over the velvet cloth.
6) Then a cloth for the bottom is also cut to that shape ( I use a whit cloth for that).
7) Now we have two cloth and a Sponge in the same design and size.
![]()
![]()
![]()
![]()
![]()
![]()
![]()
-
12Step 12
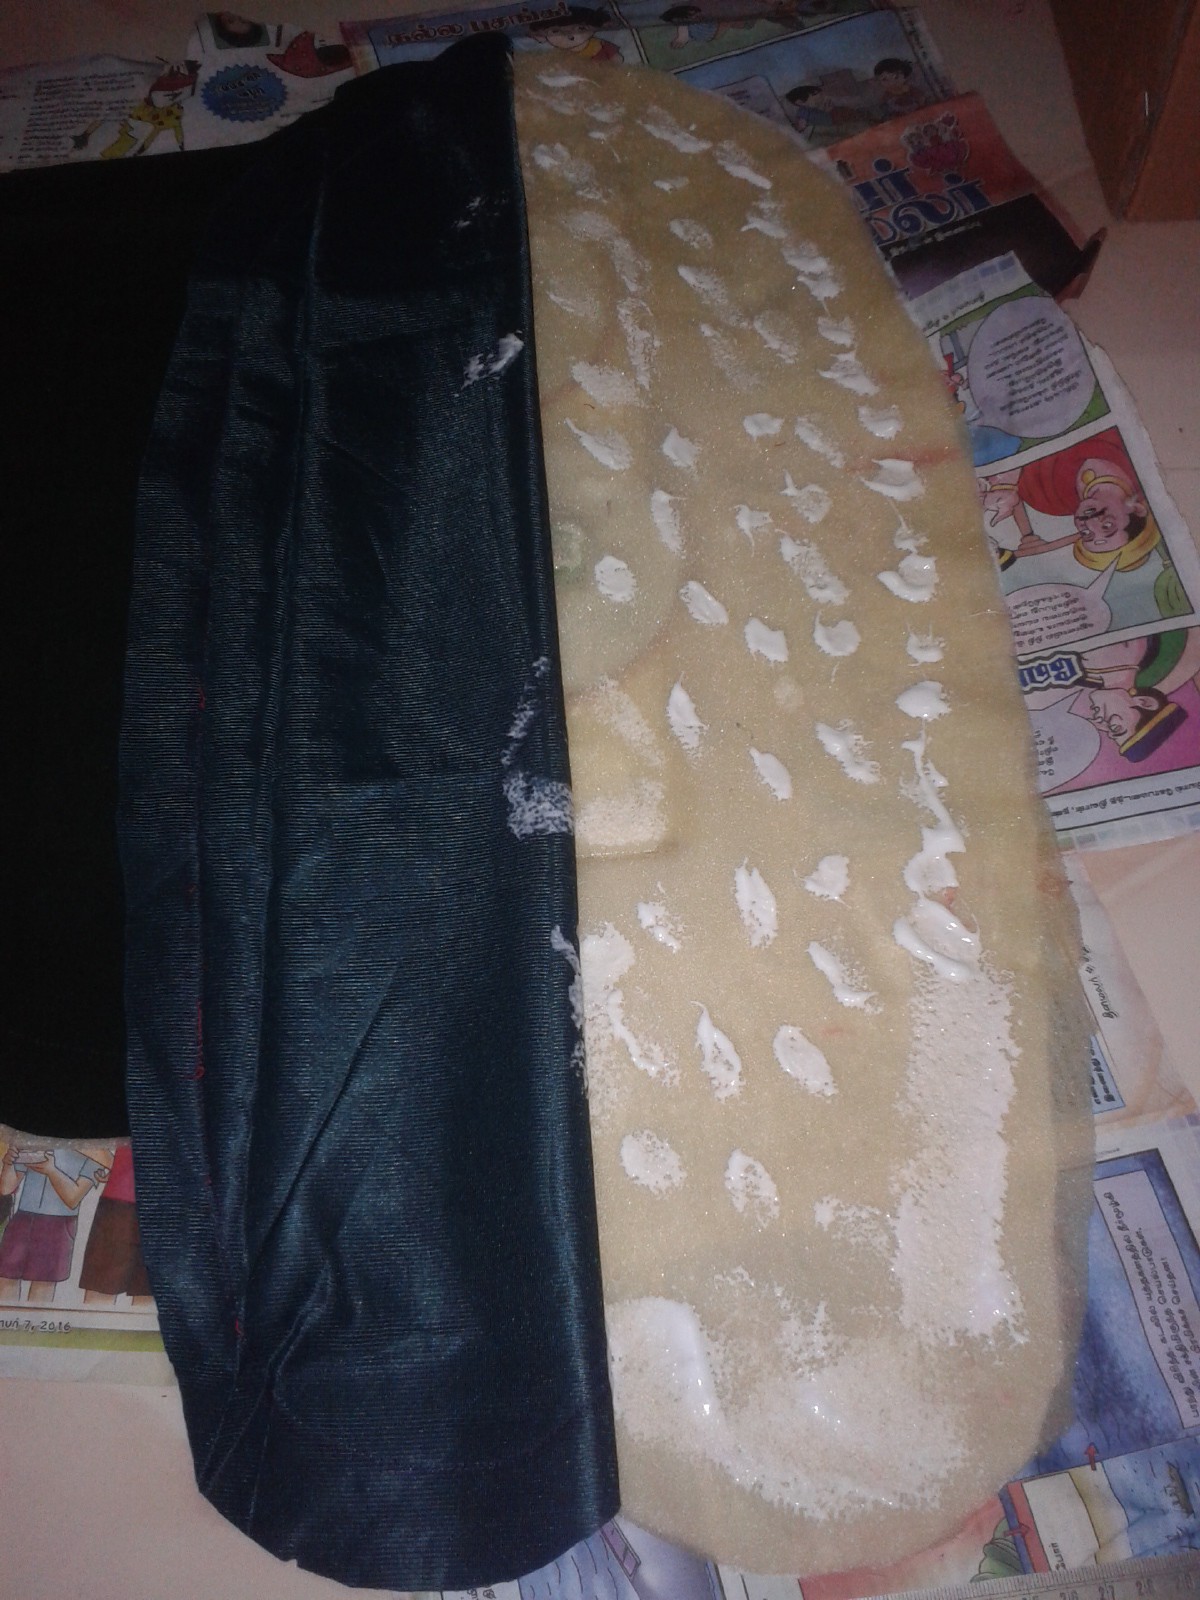
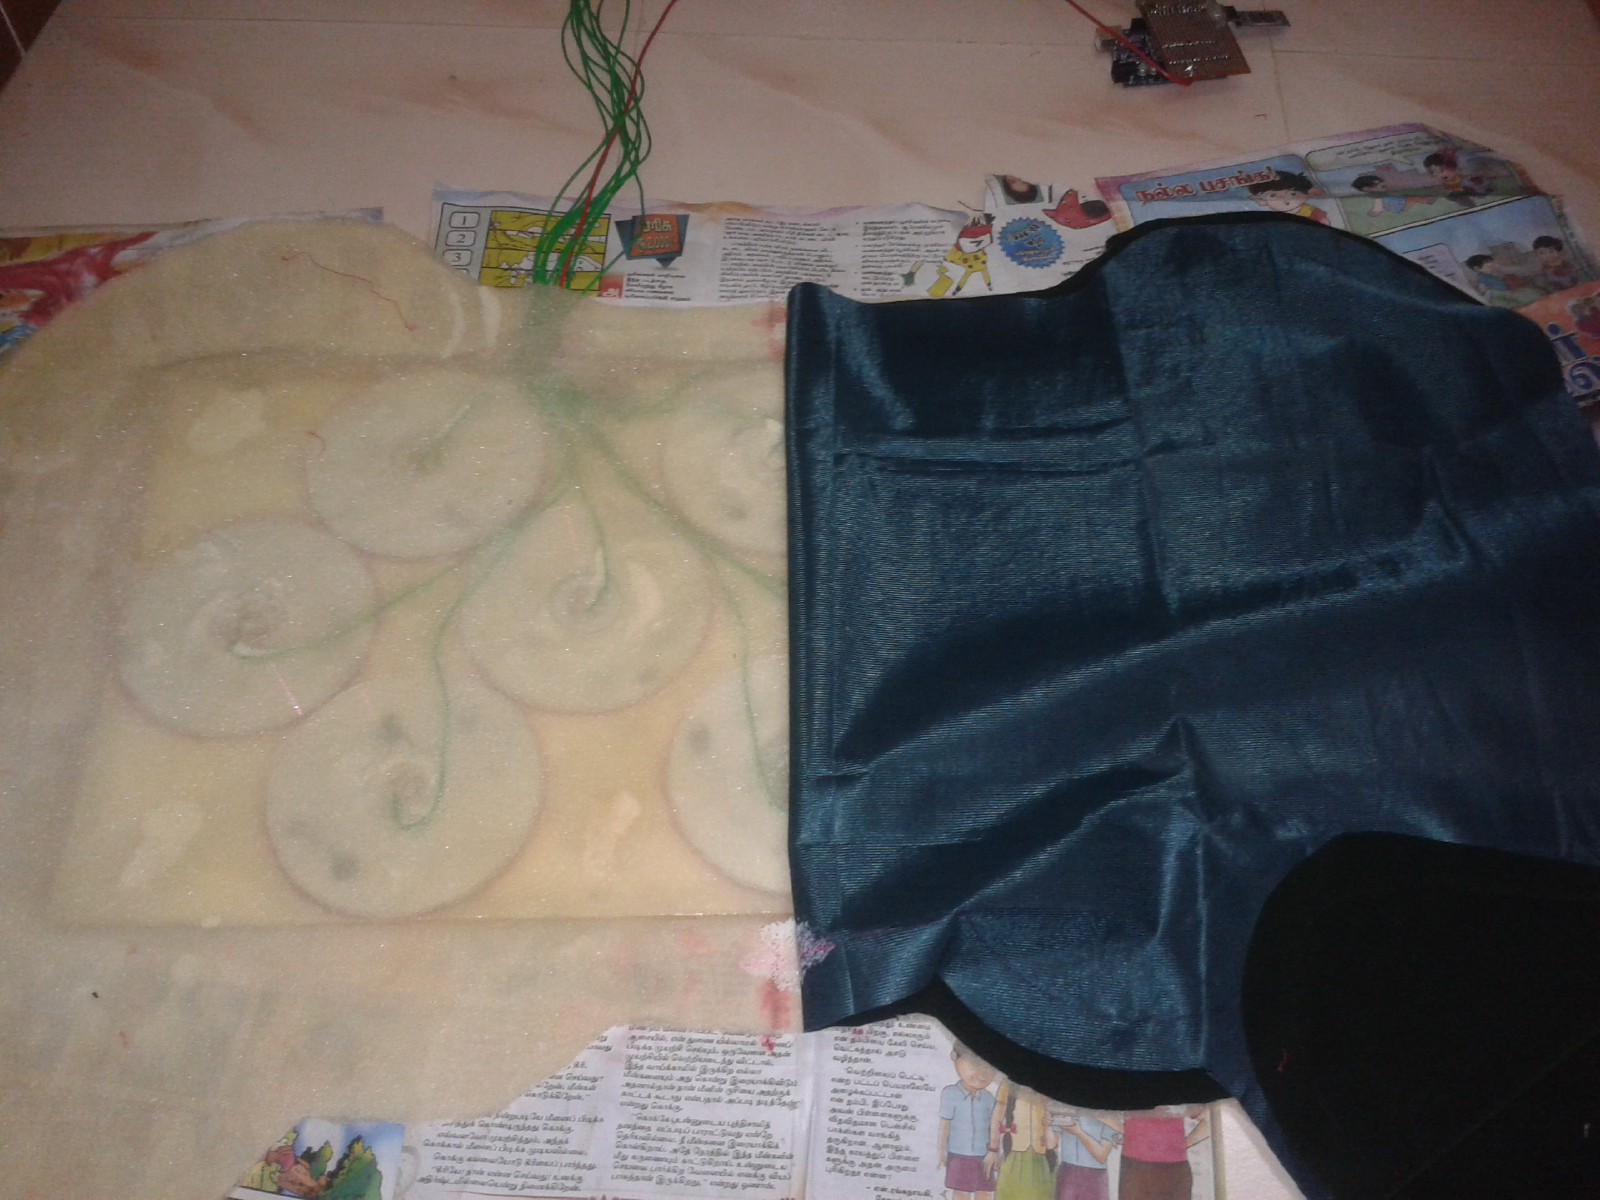
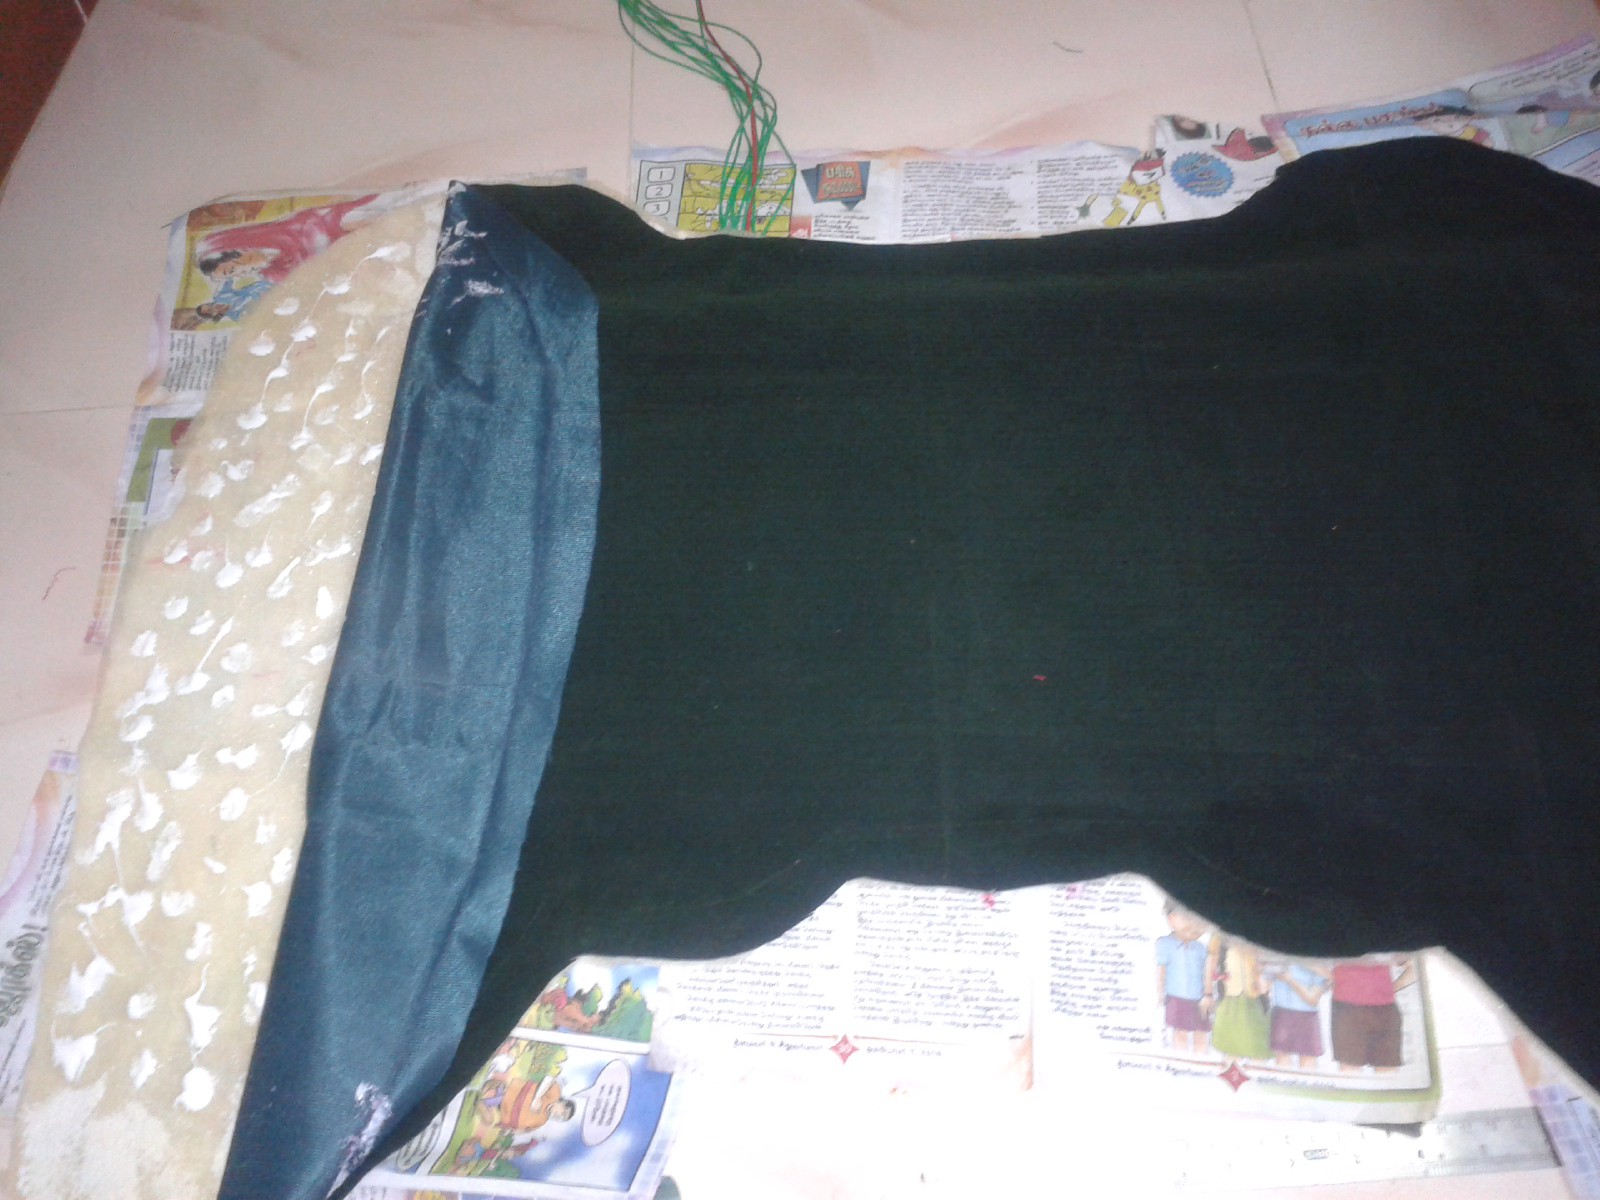
Paste the cloth and Sponge In Layers
1) Now put the circuit we make in the board up side down.
2) Apply gum fully over the bottom surface of the board.
3) Spread the white cloth by mark the center of the board to the center of the cloth.
4) Allow it to dry.
5) Now flip the board.
6) Apply gum on the top of the switches we ready and remaining white cloth on the sides of the board.
7) Spread the Sponge over the board and press it gently to stick on the surface of the board. By using sponge no wires or CD spot in the leg and its very soft to stand.
8) Like wise cover the velvet cloth over the sponge.
9) Fold the cloth one side and apply gum all over the sponge on the other side and stick the velvet cloth over the sponge with out curves.
10) Now did it to the next side of the cloth.
11) Allow it dry for a night.
12) After dry cut the three cloth together to the line first draw in the velvet. Now all the 3 cloths are equal.
![]()
![]()
![]()
![]()
![]()
![]()
![]()
![]()
![]()
![]()
![]()
![]()
![]()
![]()
-
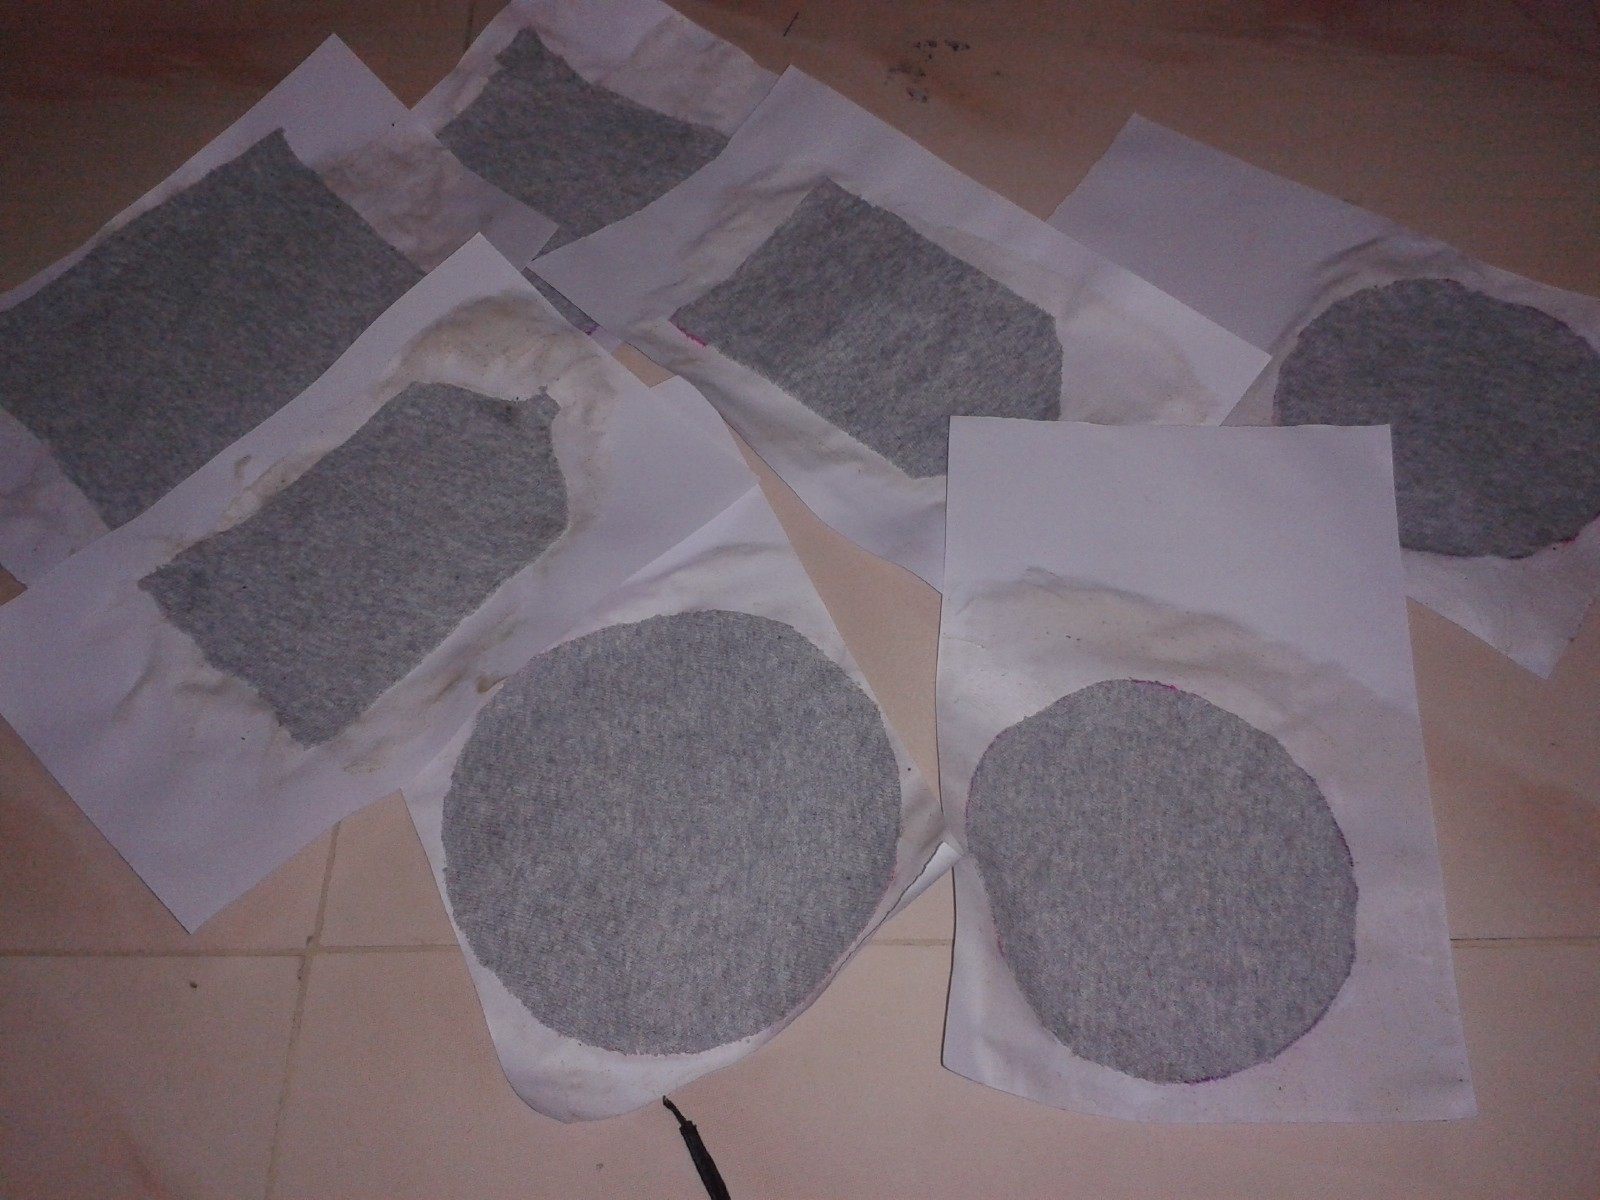
13Step 13
Prepare the Buttons
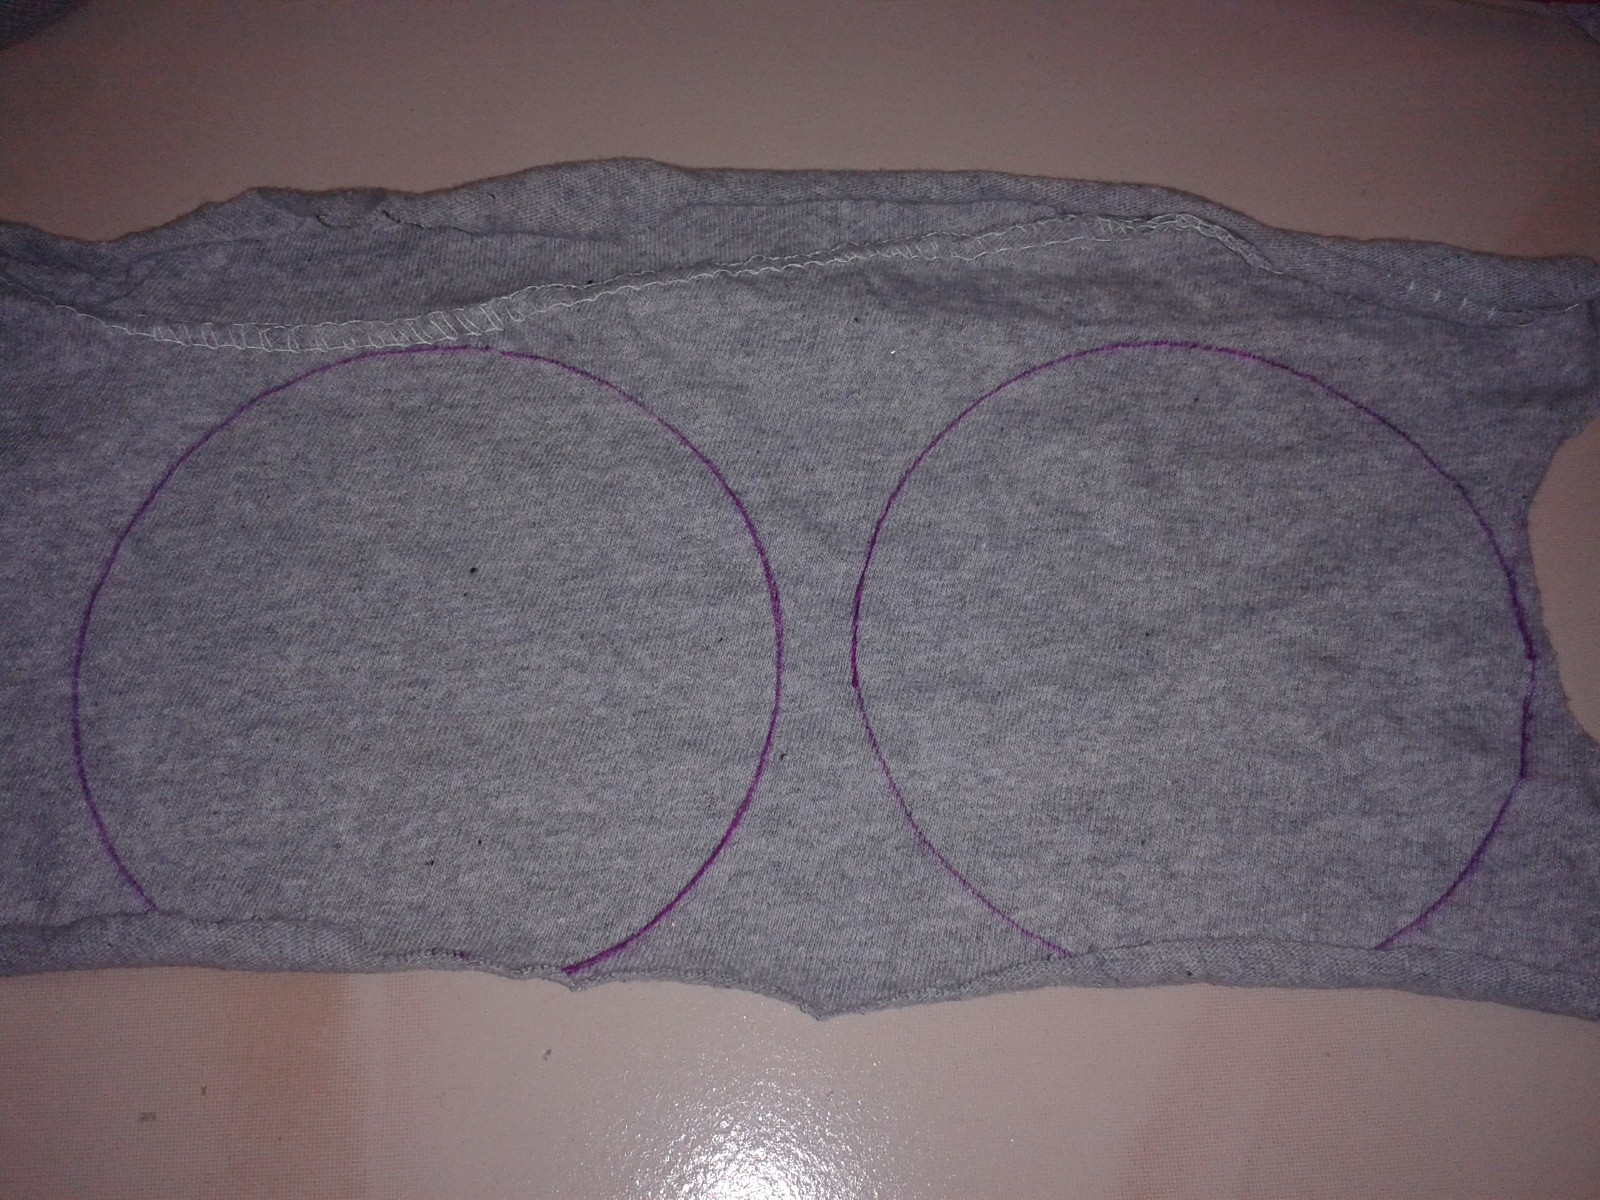
1) Take a old T-shirt (I choose a ash color).
2) Cut 10 pieces of cloth as per our requirement for buttons.
3) I cut 6 round pieces and two rectangle pieces.
4) We cant able to stick it directly over velvet cloth because the t shirt cloth is not strip and roll it self.
5) So paste all pieces fully in separate papers and after dry cut the pieces to the required shapes
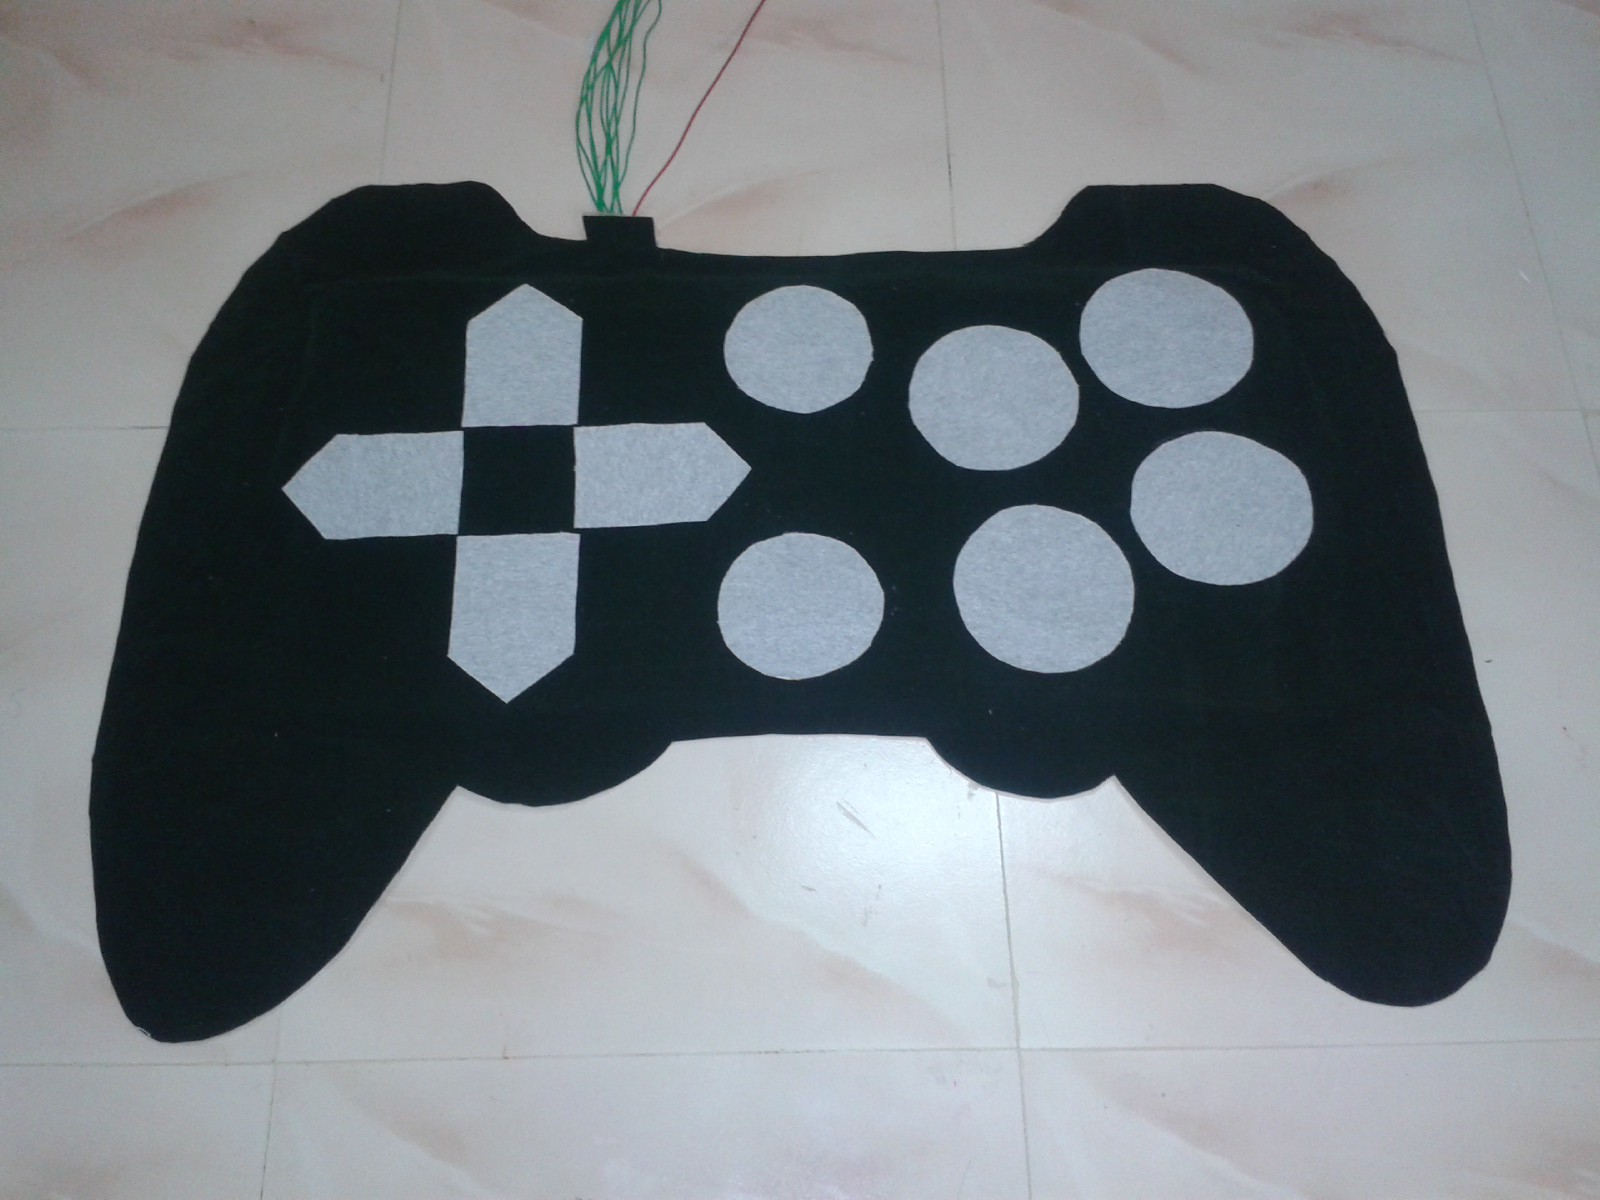
6) Now the pieces are ready to stick over the board.
7) place the pieces over the board and find the center of each cd below the cloth and mark it.
8) Apply glow fully and stick it over the board now the Joy stick is completed.
![]()
![]()
![]()
![]()
![]()
![]()
-
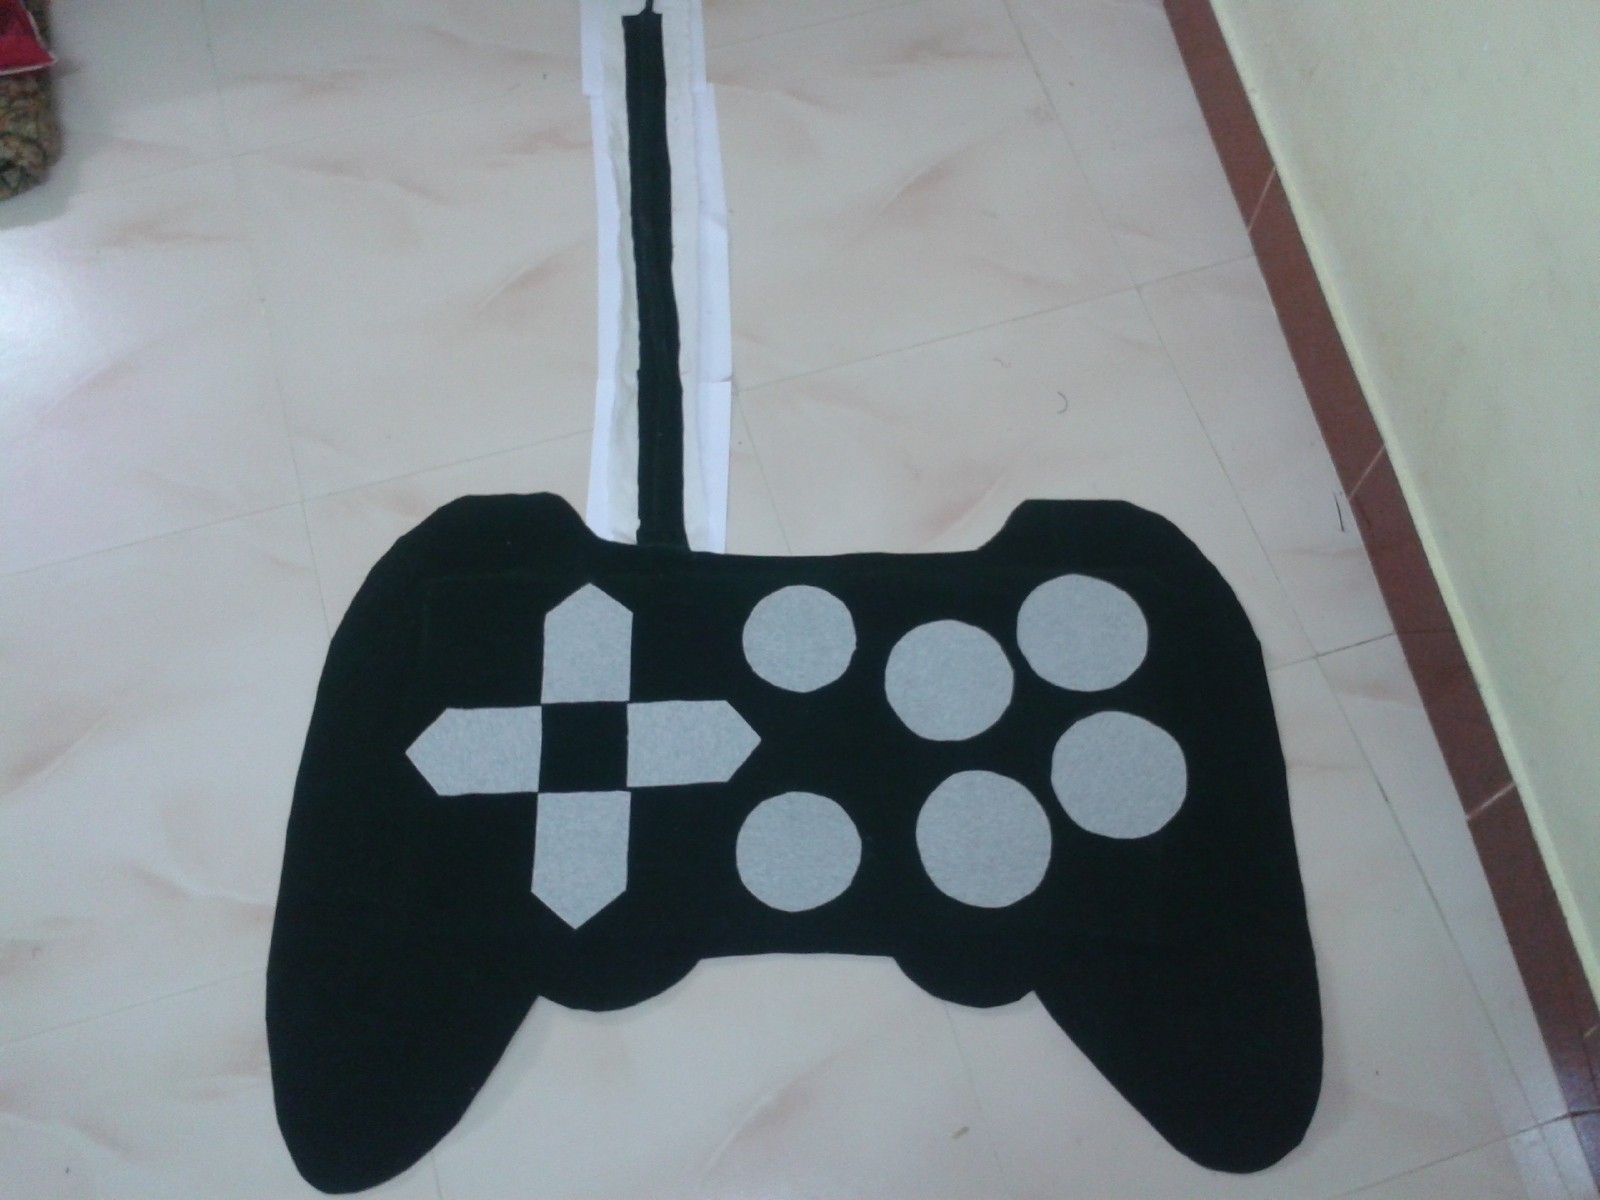
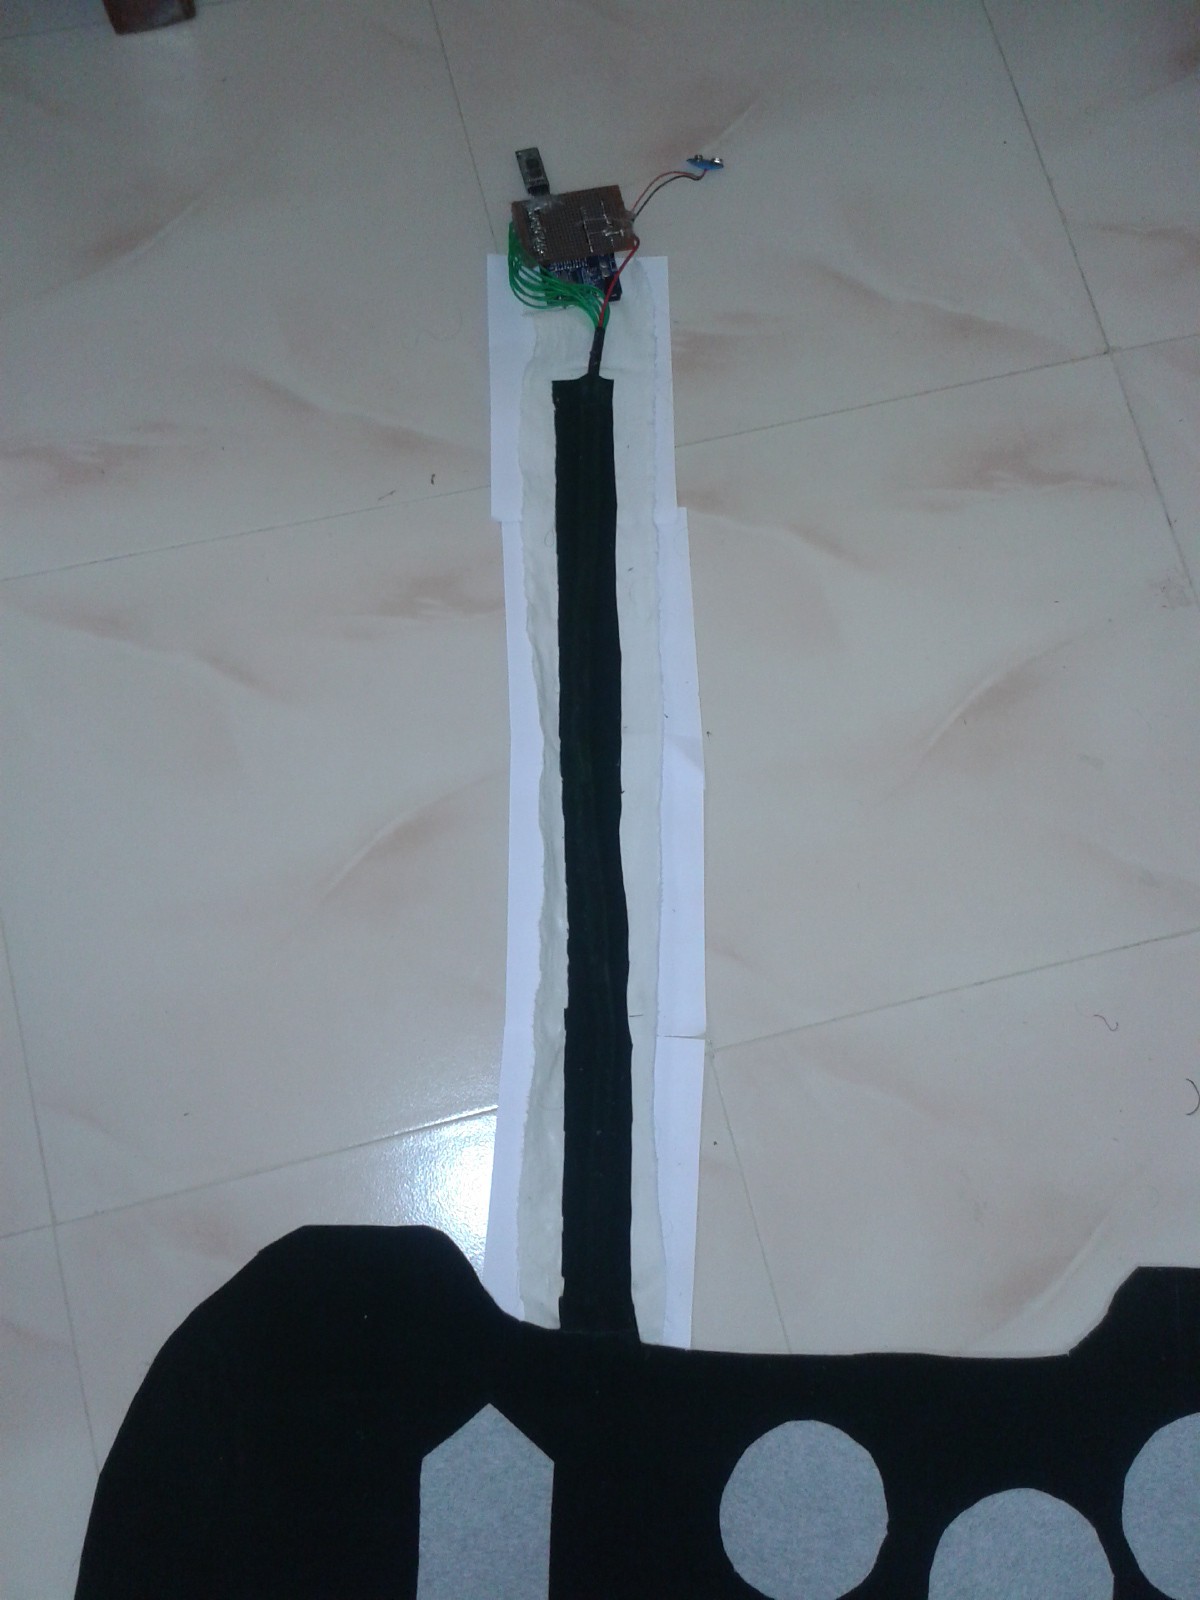
14Step 14
Cover the Wire
1) To make it neat stick a cloth over the wire for the board.
2) In the bottom side paste a whit cloth.
3) After dry, cut the waste portion of the board to controller.
![]()
![]()
![]()
-
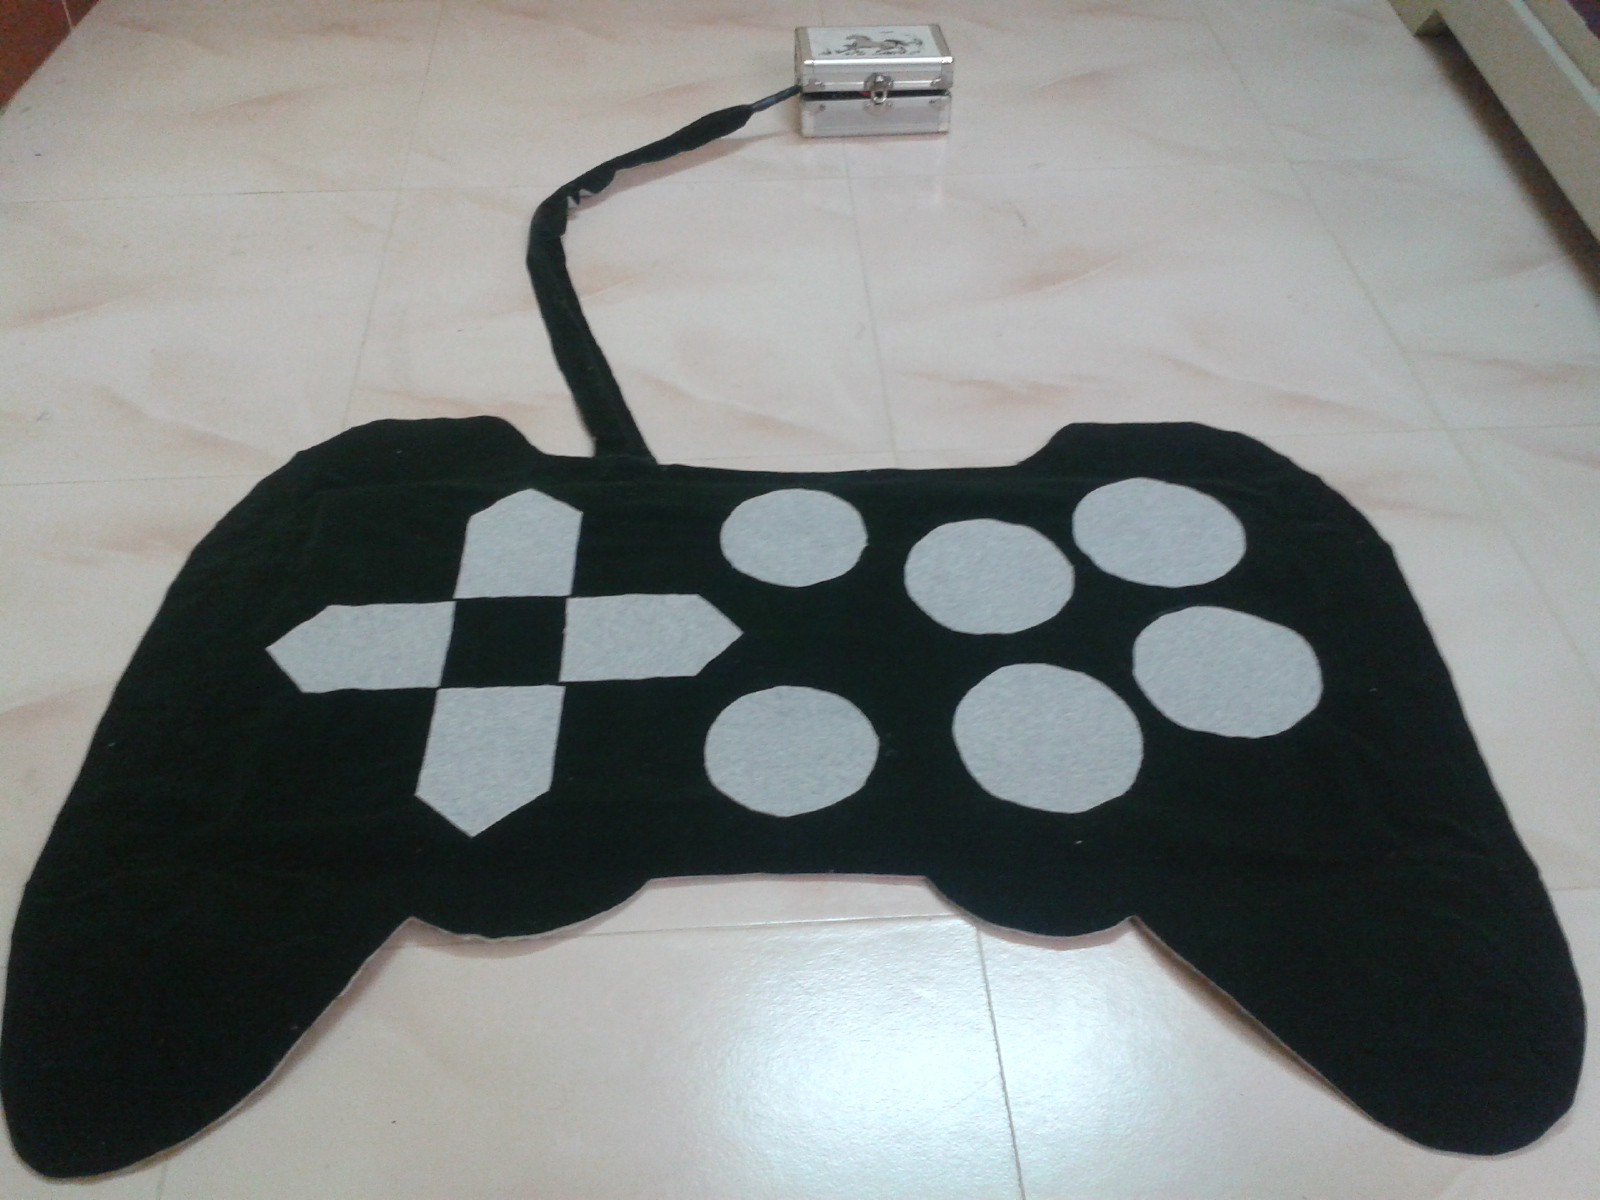
15Step 15
Battery Connection and Box the Controller
1) To make it portable use a 9V battery to the input Vin pin and Gnd through connector.
2) connect the battery.
3) Select a suitable container for Arduino board, Own Shield etc.
4) Place the circuit inside the box and all over.
![]()
![]()
![]()
![]()
-
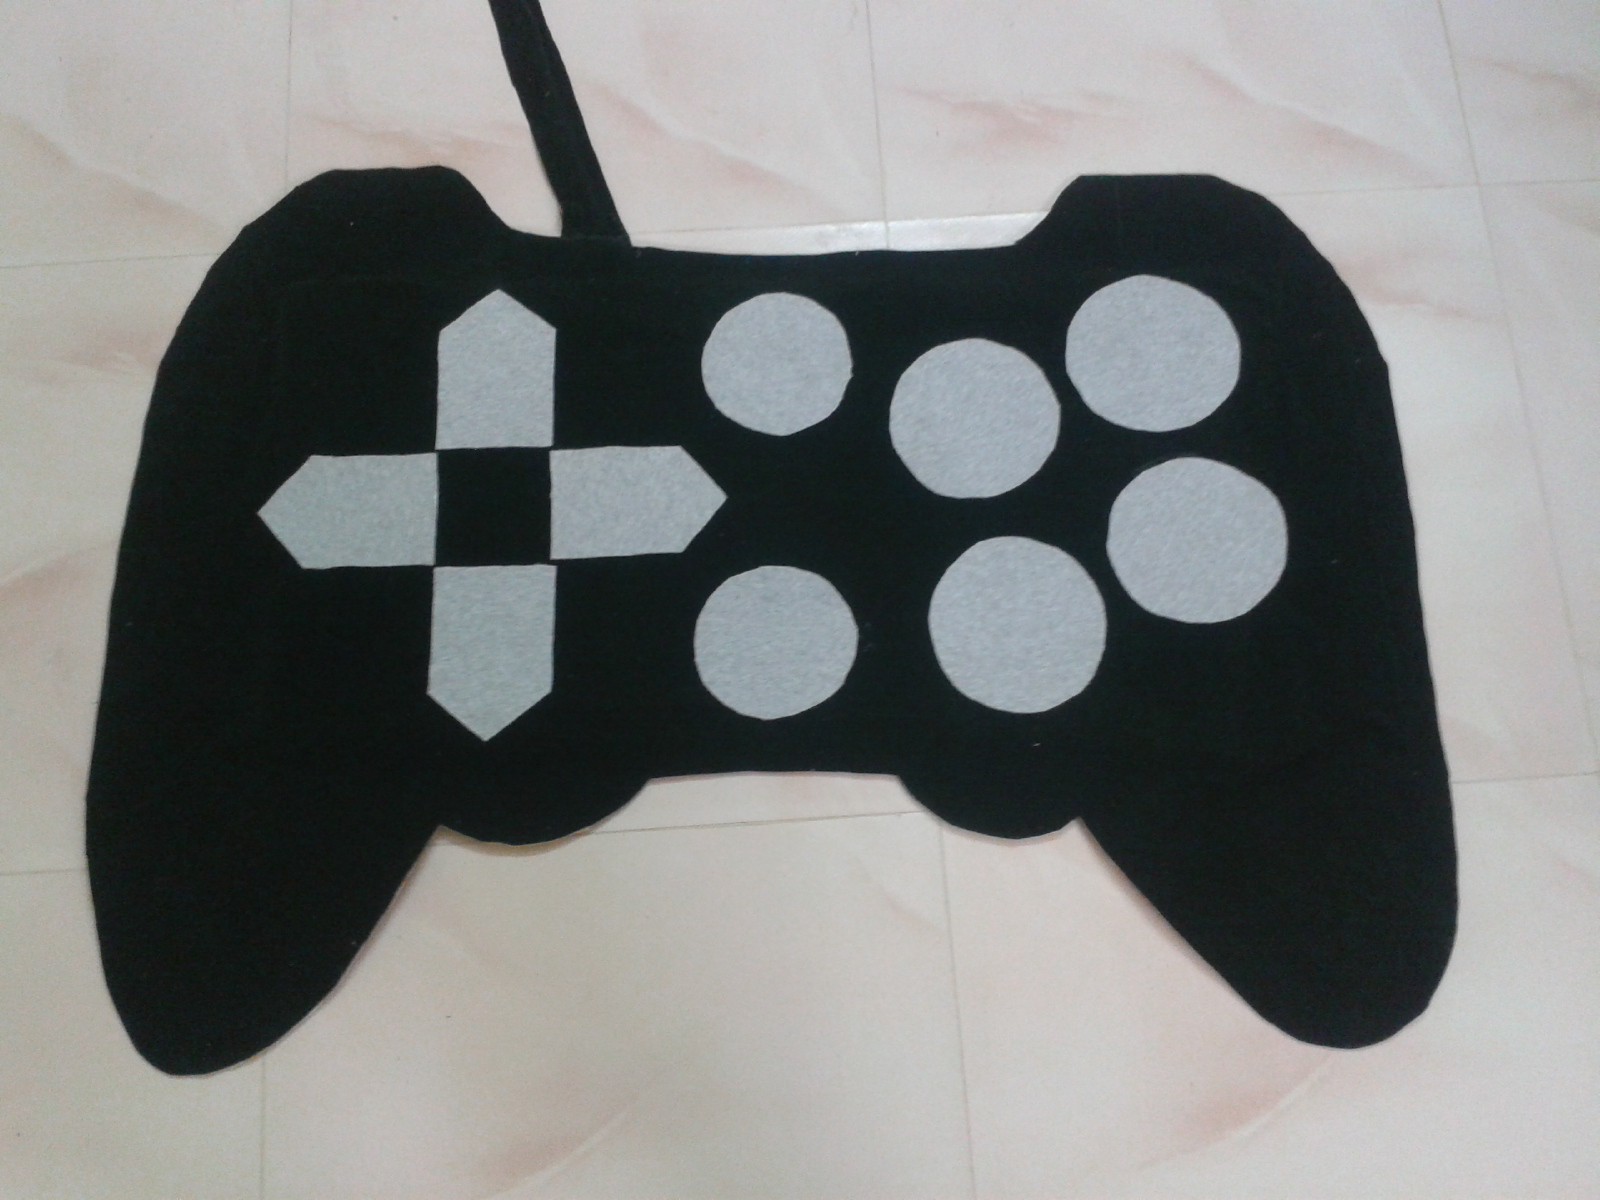
16Step 16
Soft Joystick Ready To work
1) Now the joy stick ready to work.
2) I design it for my daughter so i provide minimum gap..
3) Connect the battery and close the box. Now the Joy stick fully ready to operate.
4) I Leave a long wire because I don't like the box to disturb while playing.
![]()
![]()
![]()
![]()
-
17Step 17
Play a online flash drums
1) Open the online flash application drums.
2) Connect with the Rug using Bluetooth.
3) Open the Vb program and enter the com port and click start.
4) Now stand on the Rug to play the drums
-
18Step 18
Play a online game
1) Open the online flash Games.
2) Connect with the Rug using Bluetooth.
3) Open the Vb program and change the send keys button keys with the games keys and run.
4) Enter the com port and click start.
5) Now use the rug to play games in PC.
Its Time to allow my child to play. You also have fun with your kids. Like to hear comments from you all. Thanks for Watching....
Full function Wireless joystick Rug for PC
I like to make cheap joy stick for all gaming and application purpose in Computer for my child. By jump and move around she play drums.


Discussions
Become a Hackaday.io Member
Create an account to leave a comment. Already have an account? Log In.