 Scott Feldman
-
1Prepare the Raspberry Pi with Raspberry Pi OS
Flash a copy of Raspberry Pi OS onto an SD card. The 32-bit Raspberry Pi OS Lite version is sufficient.
At this stage, it is convenient to configure for WiFi headless access to the Raspberry Pi over the local WiFi network. To do so, in the /boot directory of the SD card, manually add the following files:
- A userconf.txt file to add a user "gardener"
- A wpa_supplicant.conf file to automatically setup WiFi
- A file named ssh, without any extension
Boot the Raspberry Pi on the SD card. If headless access was configured, and WiFi connected, you can SSH into the Raspberry Pi with user "gardener" and proceed to the next step.
-
2Deploy the Software
On the Raspberry Pi, download the deploy script:
$ wget -O deploy https://raw.githubusercontent.com/merliot/projects/main/scripts/deploy
Run the deploy script:
$ chmod +x deploy
$ ./deploy
There are some prompts to answer. Enter the project name "garden". Answer "y" to the y/n prompts. Enter a SSID, or choose the default "garden" SSID. Disabling SSH after reboot is to close a security hole.
Project: garden
Auto-start (y/[N])? y
Configure as access point (AP) (y/[N])? y
AP Country Code: US
SSID: garden
Disable SSH access (after reboot) (y/[N]? y
The deploy script will
- install the required build tools
- build the garden system
- install the garden system to run on startup
- setup the access point software
Once the deploy script is done, shutdown the Raspberry Pi and continue with the next step of setting up the hardware.
$ sudo init 0 -
3Setup Hardware
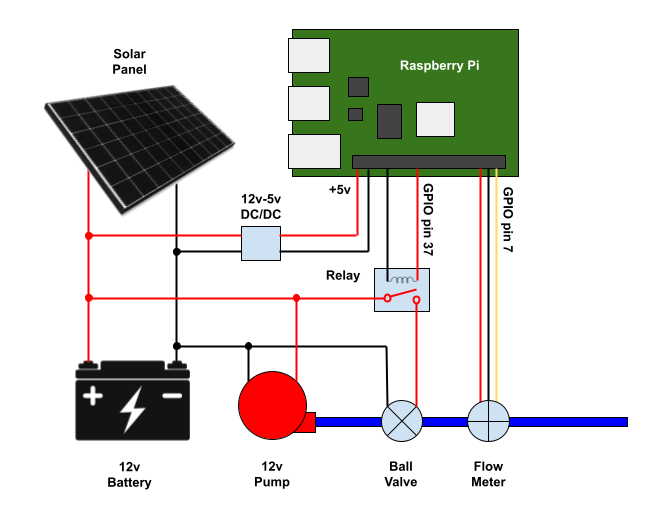
Wire the hardware according to:
![]()
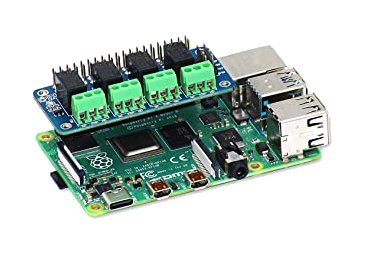
The relay shown in the diagram is one of four relays on the relay hat. I've broken it out in the diagram from the Raspberry Pi but it really sits on top of the Raspberry Pi so it's already wired to GPIO pin 37. Connect the ball valve to the relay's normally open (NO) terminal and the 12v supply to the common (COM) terminal.
![]()
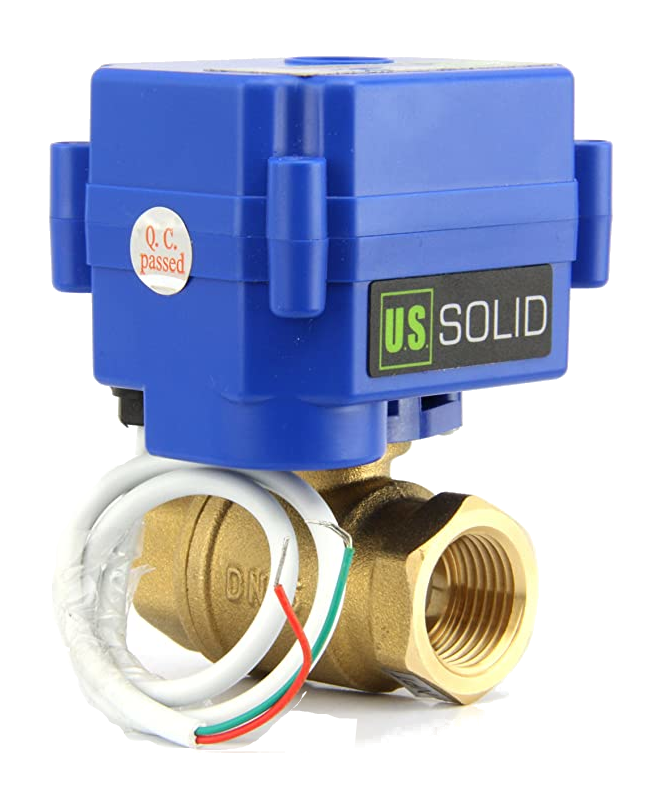
The ball valve is a two-wire auto-return valve. When power is supplied, the valve opens. As long as power is supplied, the valve remains open. Once the open state, the valve consumes very little current. When the power is cut, the valve closes. Closing on power failure is a helpful feature in shutting off the water.
![]()
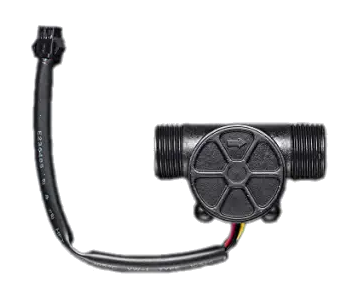
The flow meter is a hall-effect sensor switch which counts pulses. For this particular flow meter, there are 450 pulses per liter of water. We'll run the sensor off of the Raspberry Pi's 3v. GPIO pin 7 will be used to sample the pulses, so wire the signal wire to GPIO pin 7.
![]()
         Pin
Vcc       1
Gnd       9
Signal    7
-
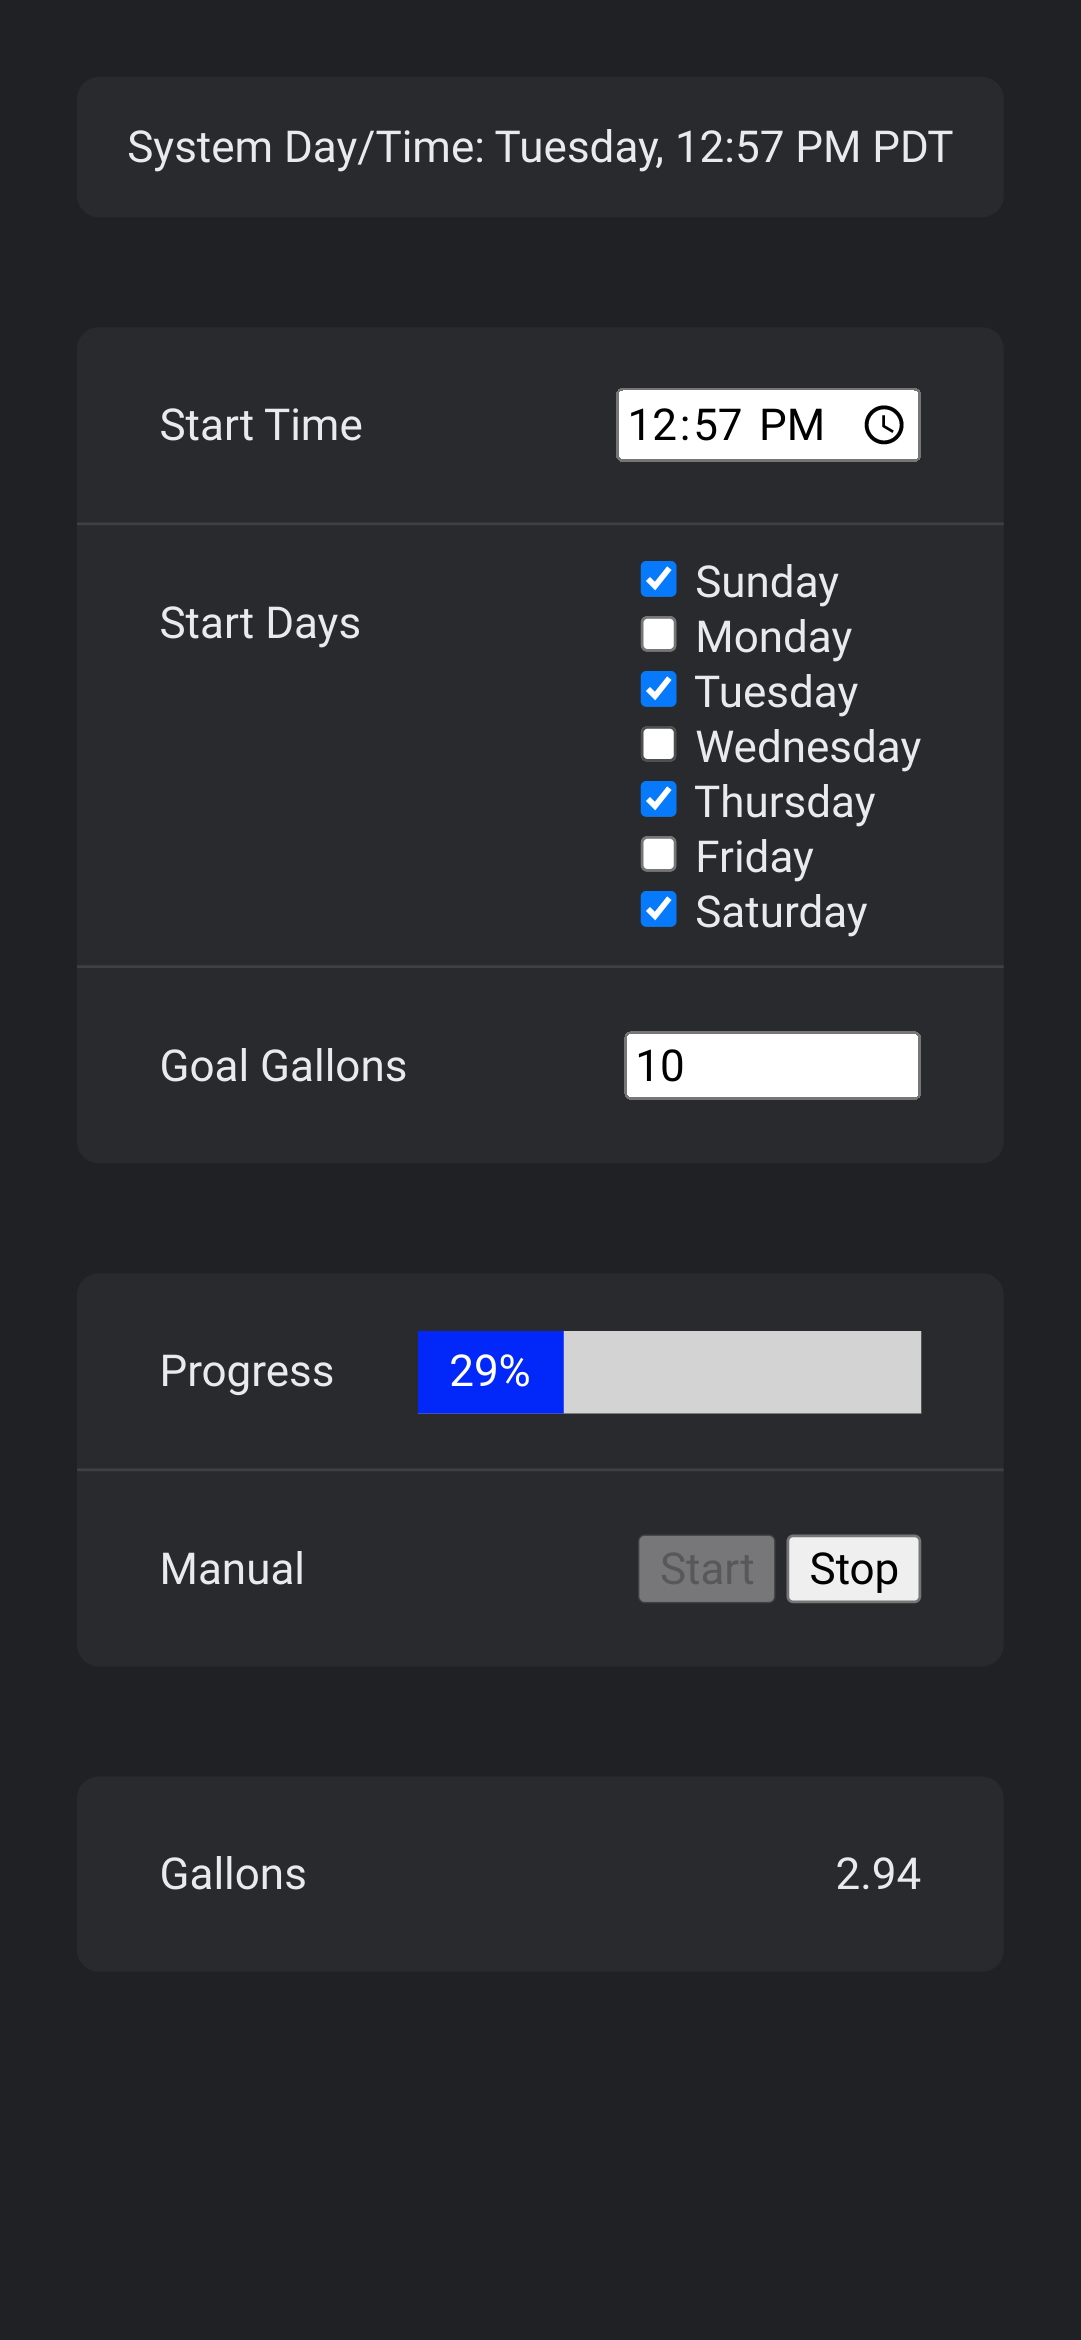
4Run the System
Power on the Raspberry Pi. The garden system software will automatically start on startup. The access point is active, so from another device such as a cell phone, connect to the access point WiFi. The SSID for the access point is "garden". Look for a WiFi connection named "garden".
Once connected to "garden", browse to http://10.0.0.1. This will show the garden system user interface. The system is live!
![]()
Off-Grid Garden Watering System
Solar powered watering system controlled with a Raspberry Pi to deliver an exact metered water volume to your garden plot, on schedule
Discussions
Become a Hackaday.io Member
Create an account to leave a comment. Already have an account? Log In.