 Peter Lyons
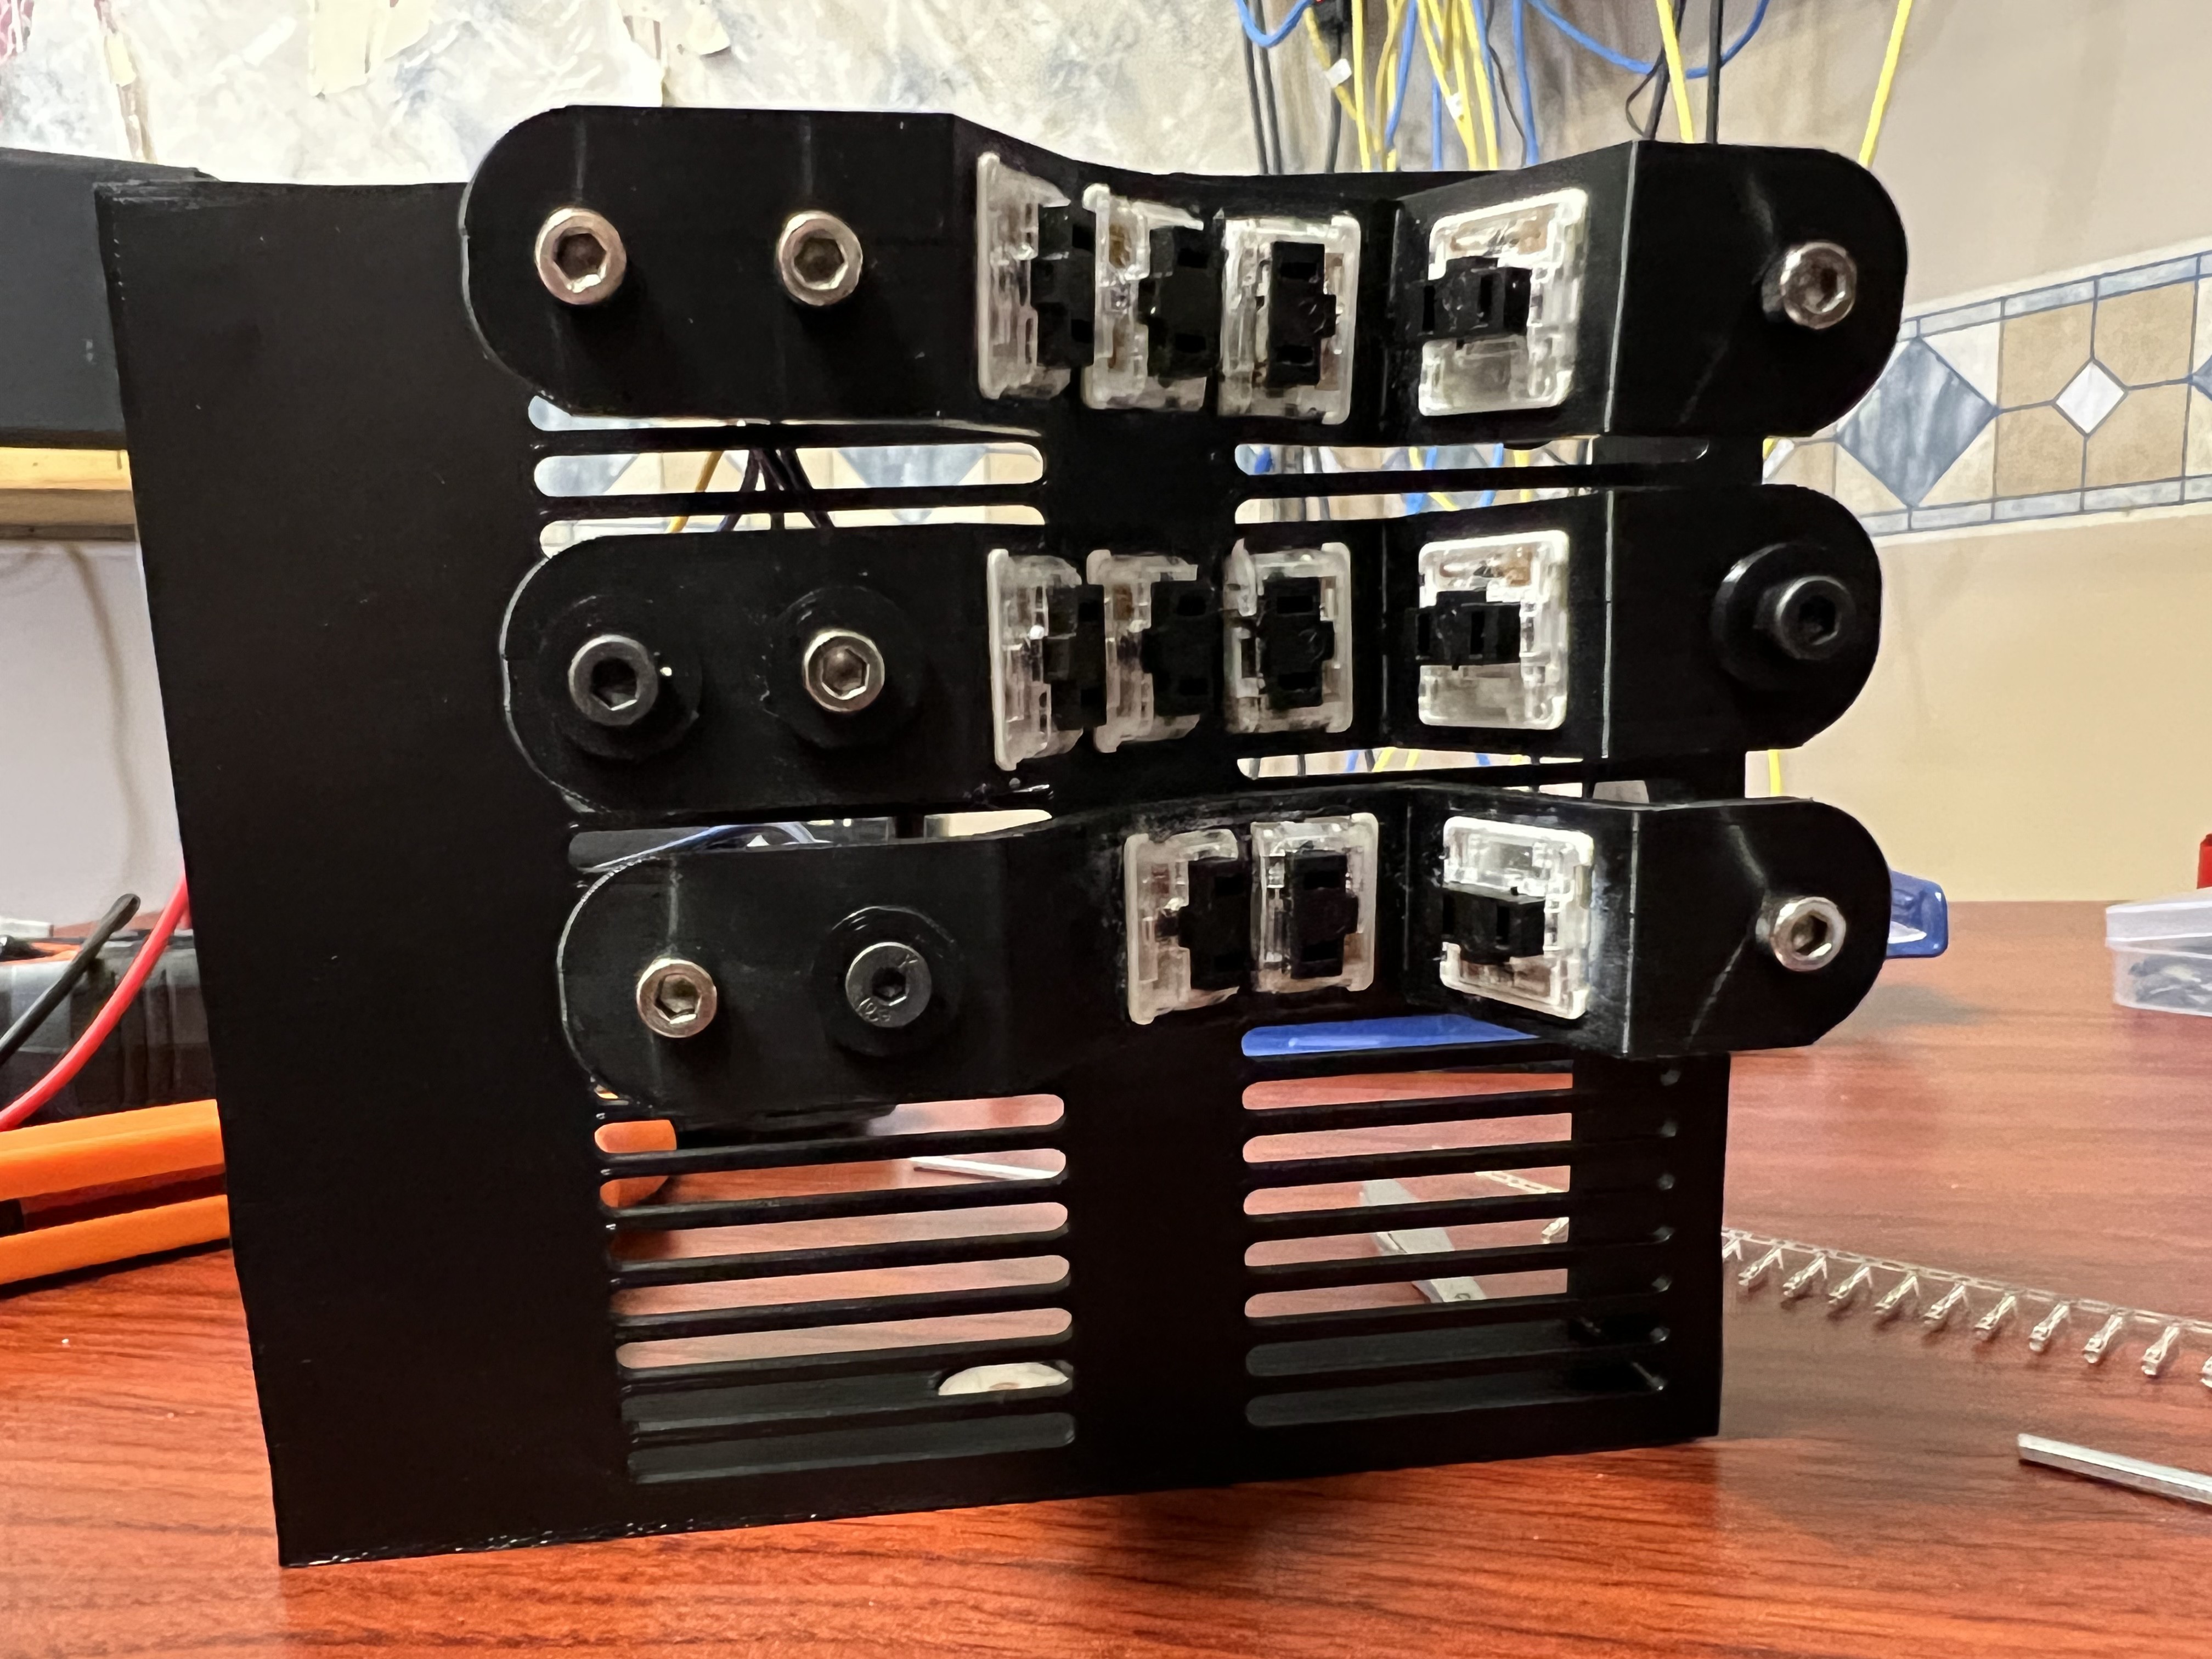
Today I wired up one middle finger 1x3 keywell column and one pinky 1x2. So I've got a left hand except for the thumb. Crimping DuPont connections is very fiddly and I don't really have a good technique for it, but I mostly manage to hack my way through it.
Since I soldered the pin headers onto the first PCB wrong and the excess solder on the pins is interfering with the DuPont connections connecting fully, I decided to build out another PCB. The pin headers went in properly this time and I did all the diodes and socketed the MCU. However, at the end of the day after I moved the MCU from the 1st PCB to the 2nd PCB it was kind of D.O.A. so I decided to call it a day and try again next session. Not sure if the socketing diode legs are screwed up or something is shorted now or what but it won't type anything and won't reset and won't flash anymore.
The DAP Rapid Fuse adhesive I'm using to hold the switches into the keywells is creating some ugly white residue as it dries. I put it on very precisely with the brush applicator but it shows up dried well aware from that so my current theory is it's actually leeching into the PLA itself and working its way through to the nearest surface. Some of it came off OK with a small file but it's a bummer.
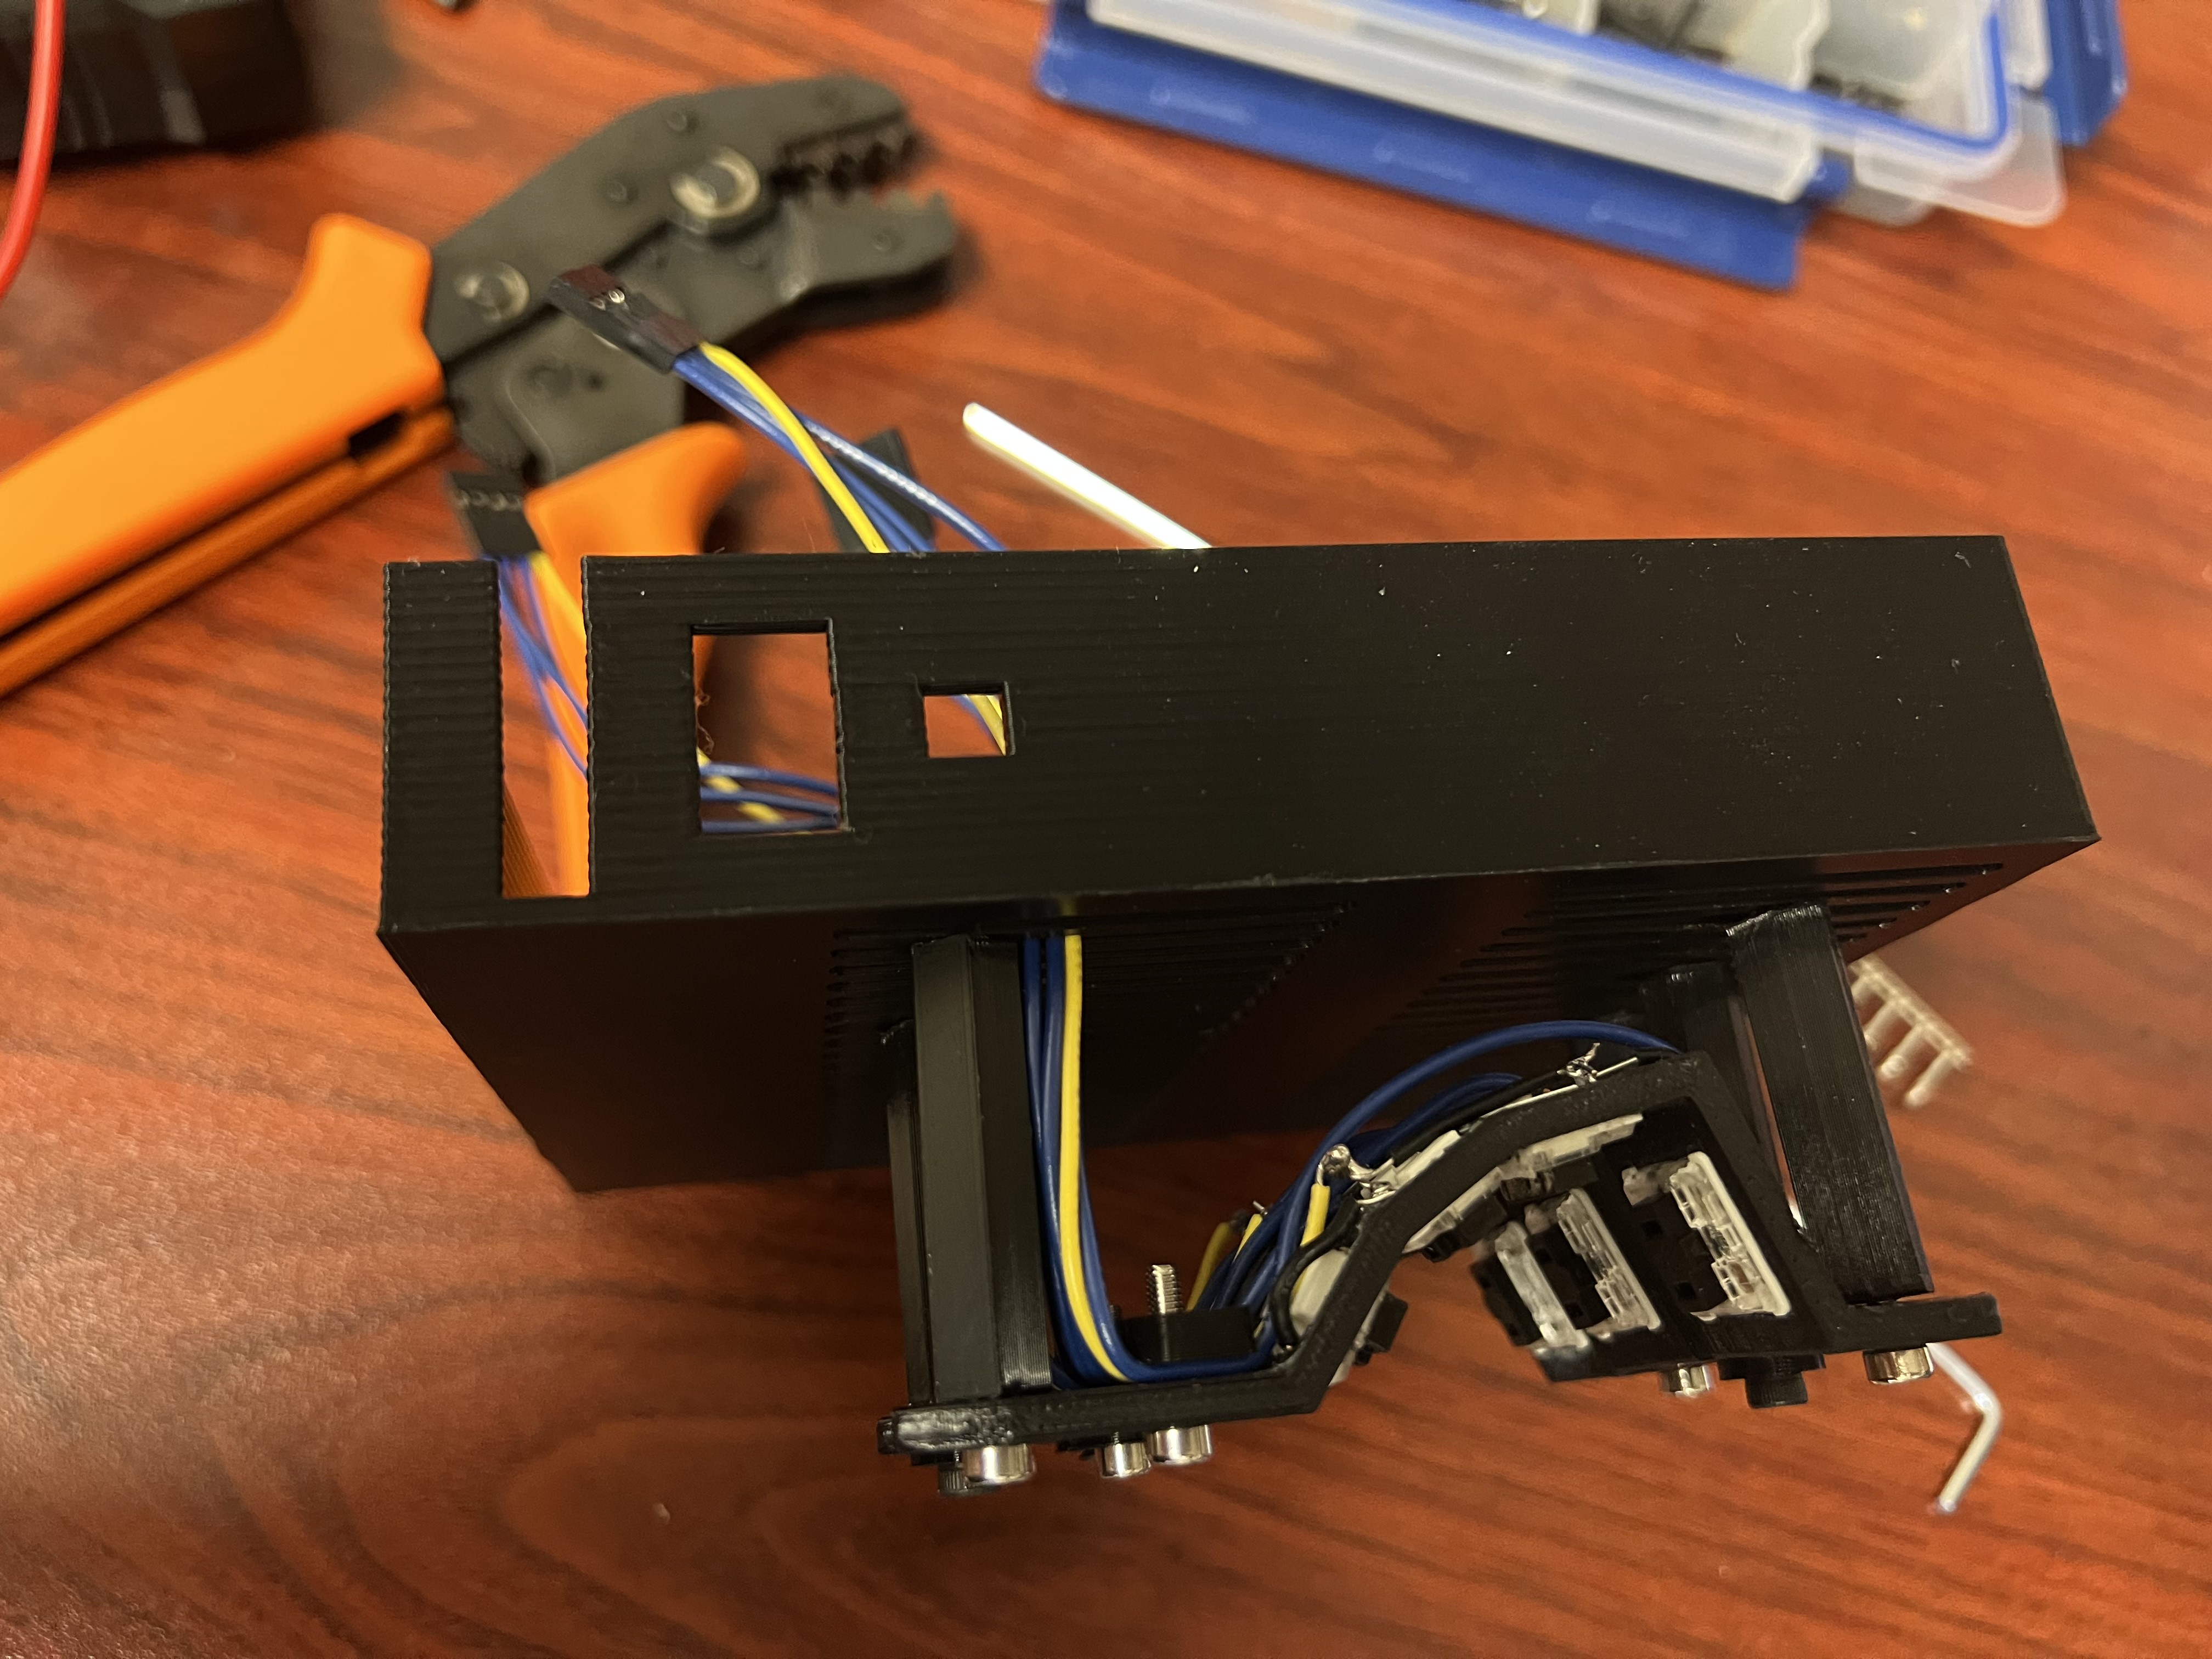
Overall the strain relief is working nicely and having all the row interconnects handled on the PCB instead of hand wiring really does clean things up a lot.
So I've got 4 keywells fully built. 2 PCBs mostly built, and one thumb cluster glued up. Hopefully the MCU misbehaving will be easily solved at the start of next session with a clear head.
Discussions
Become a Hackaday.io Member
Create an account to leave a comment. Already have an account? Log In.