Sp4m
Sp4m-
VR Integration
09/30/2022 at 04:22 • 0 commentsVR Support for Linux is still in it's infancy. I think If I'd set up a Windows partition on my steam deck, this would work much better, but it still works.
Using ALVR, side-loaded onto my Quest, and installed on the Steam Deck in Desktop mode (https://github.com/alvr-org/ALVR/wiki/Installation), it pretty seamlessly connects and renders a VR environment.I'd like to try SumulaVR (https://github.com/SimulaVR/Simula) or XrDesktop (https://uploadvr.com/xrdesktop-collabora-linux-vr/), but I haven't had the opportunity yet.
-
The CPC Cepter
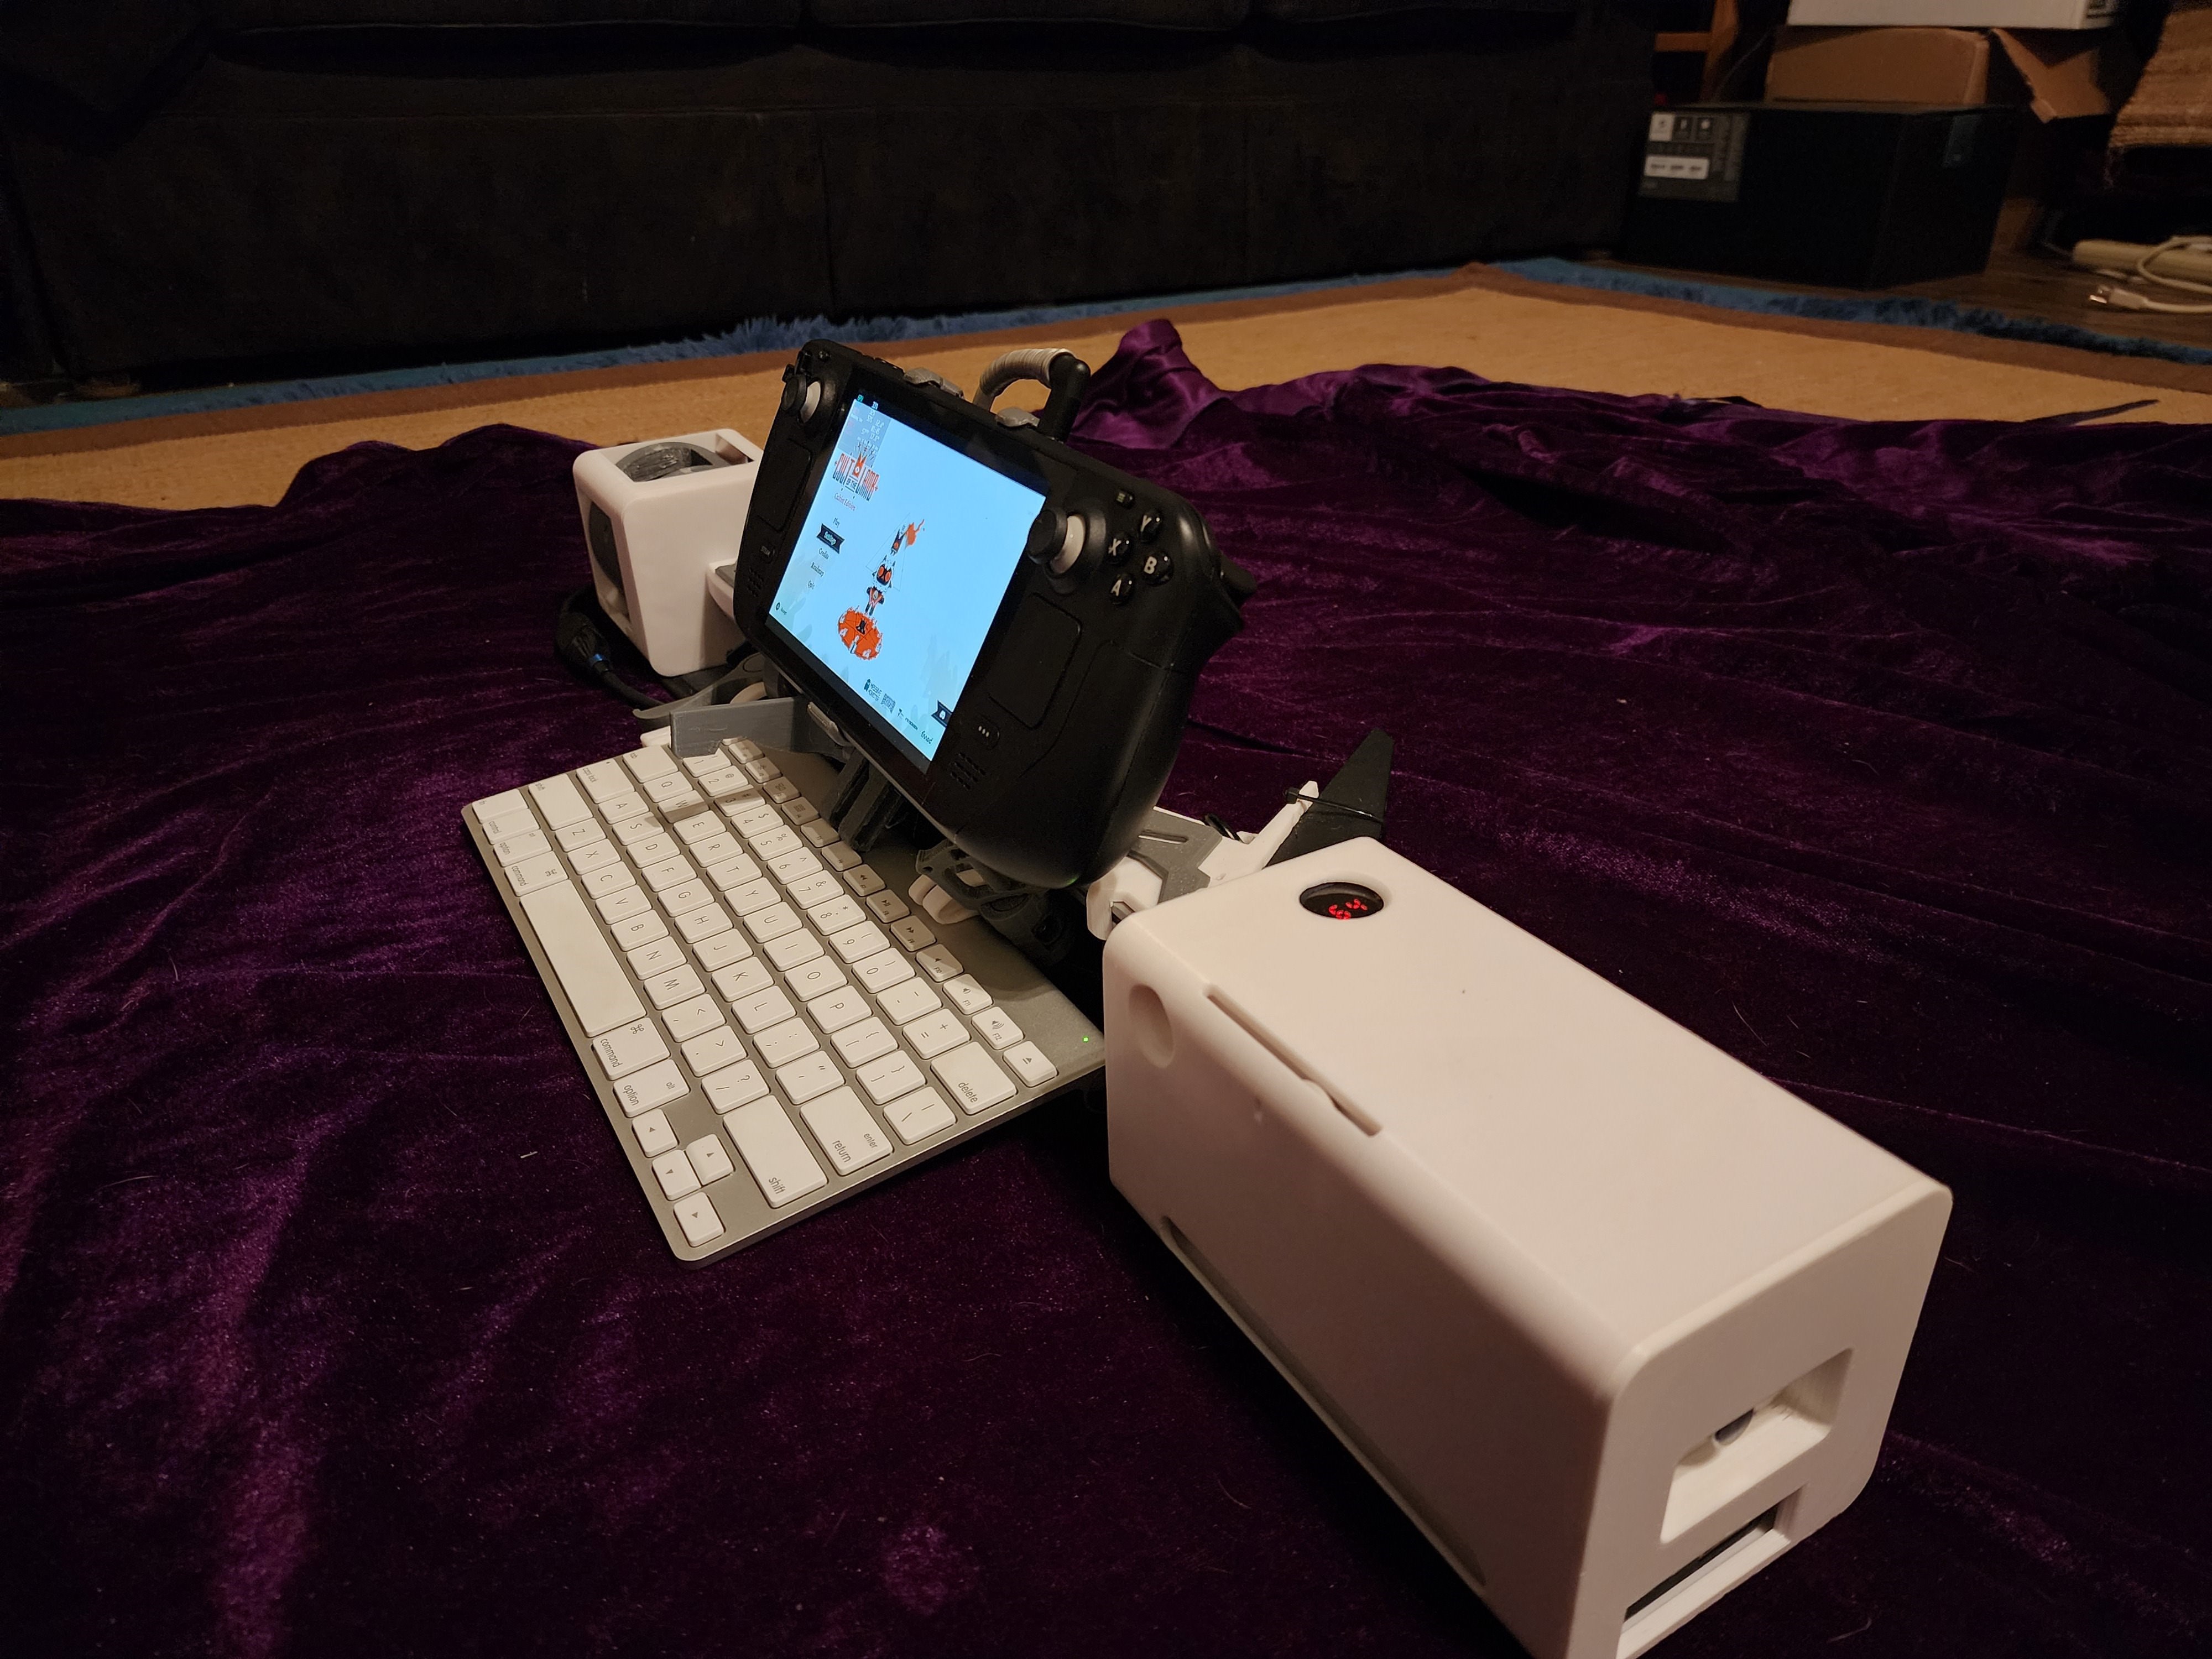
09/21/2022 at 04:24 • 0 commentsHere it is, in it's glory!
The Comprehensive Peripheral Cluster, Cepter![]()
![]()
![]()
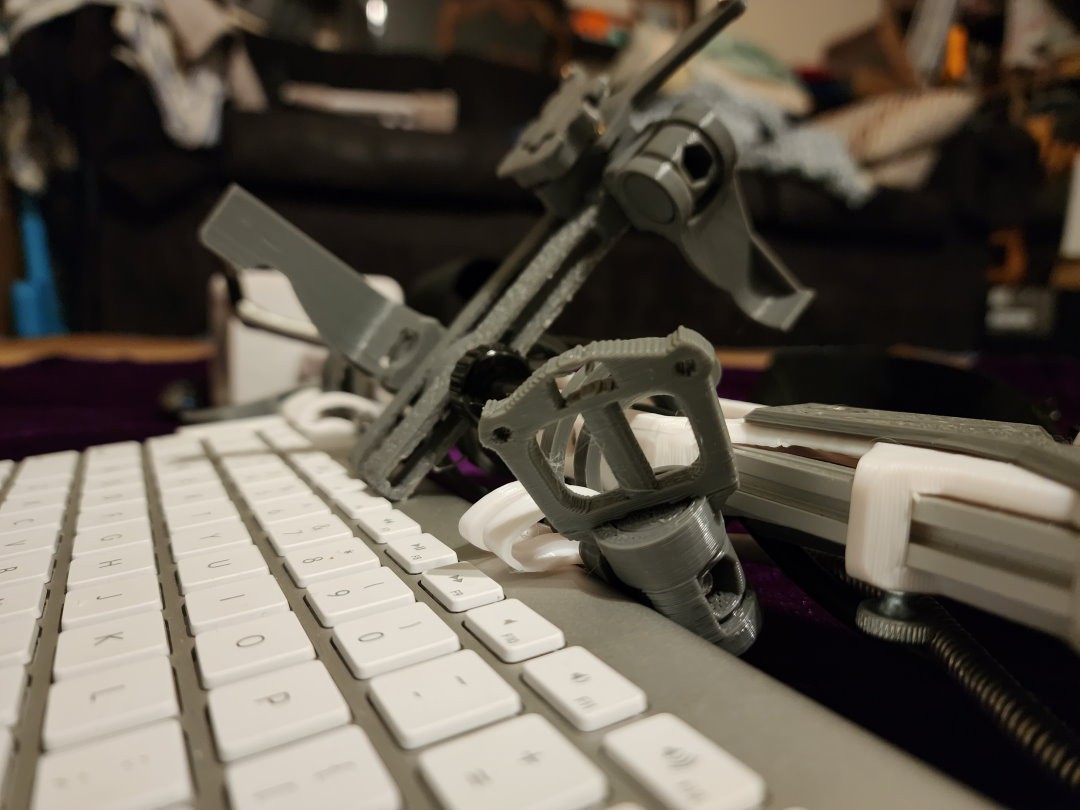
Check out that CAM lever. It's a Keyblade from Kinddom Hearts. I made that!
![]()
This would look better if I had a proper screen, but I wanted to show off my water-color maps of Elden Ring.
-
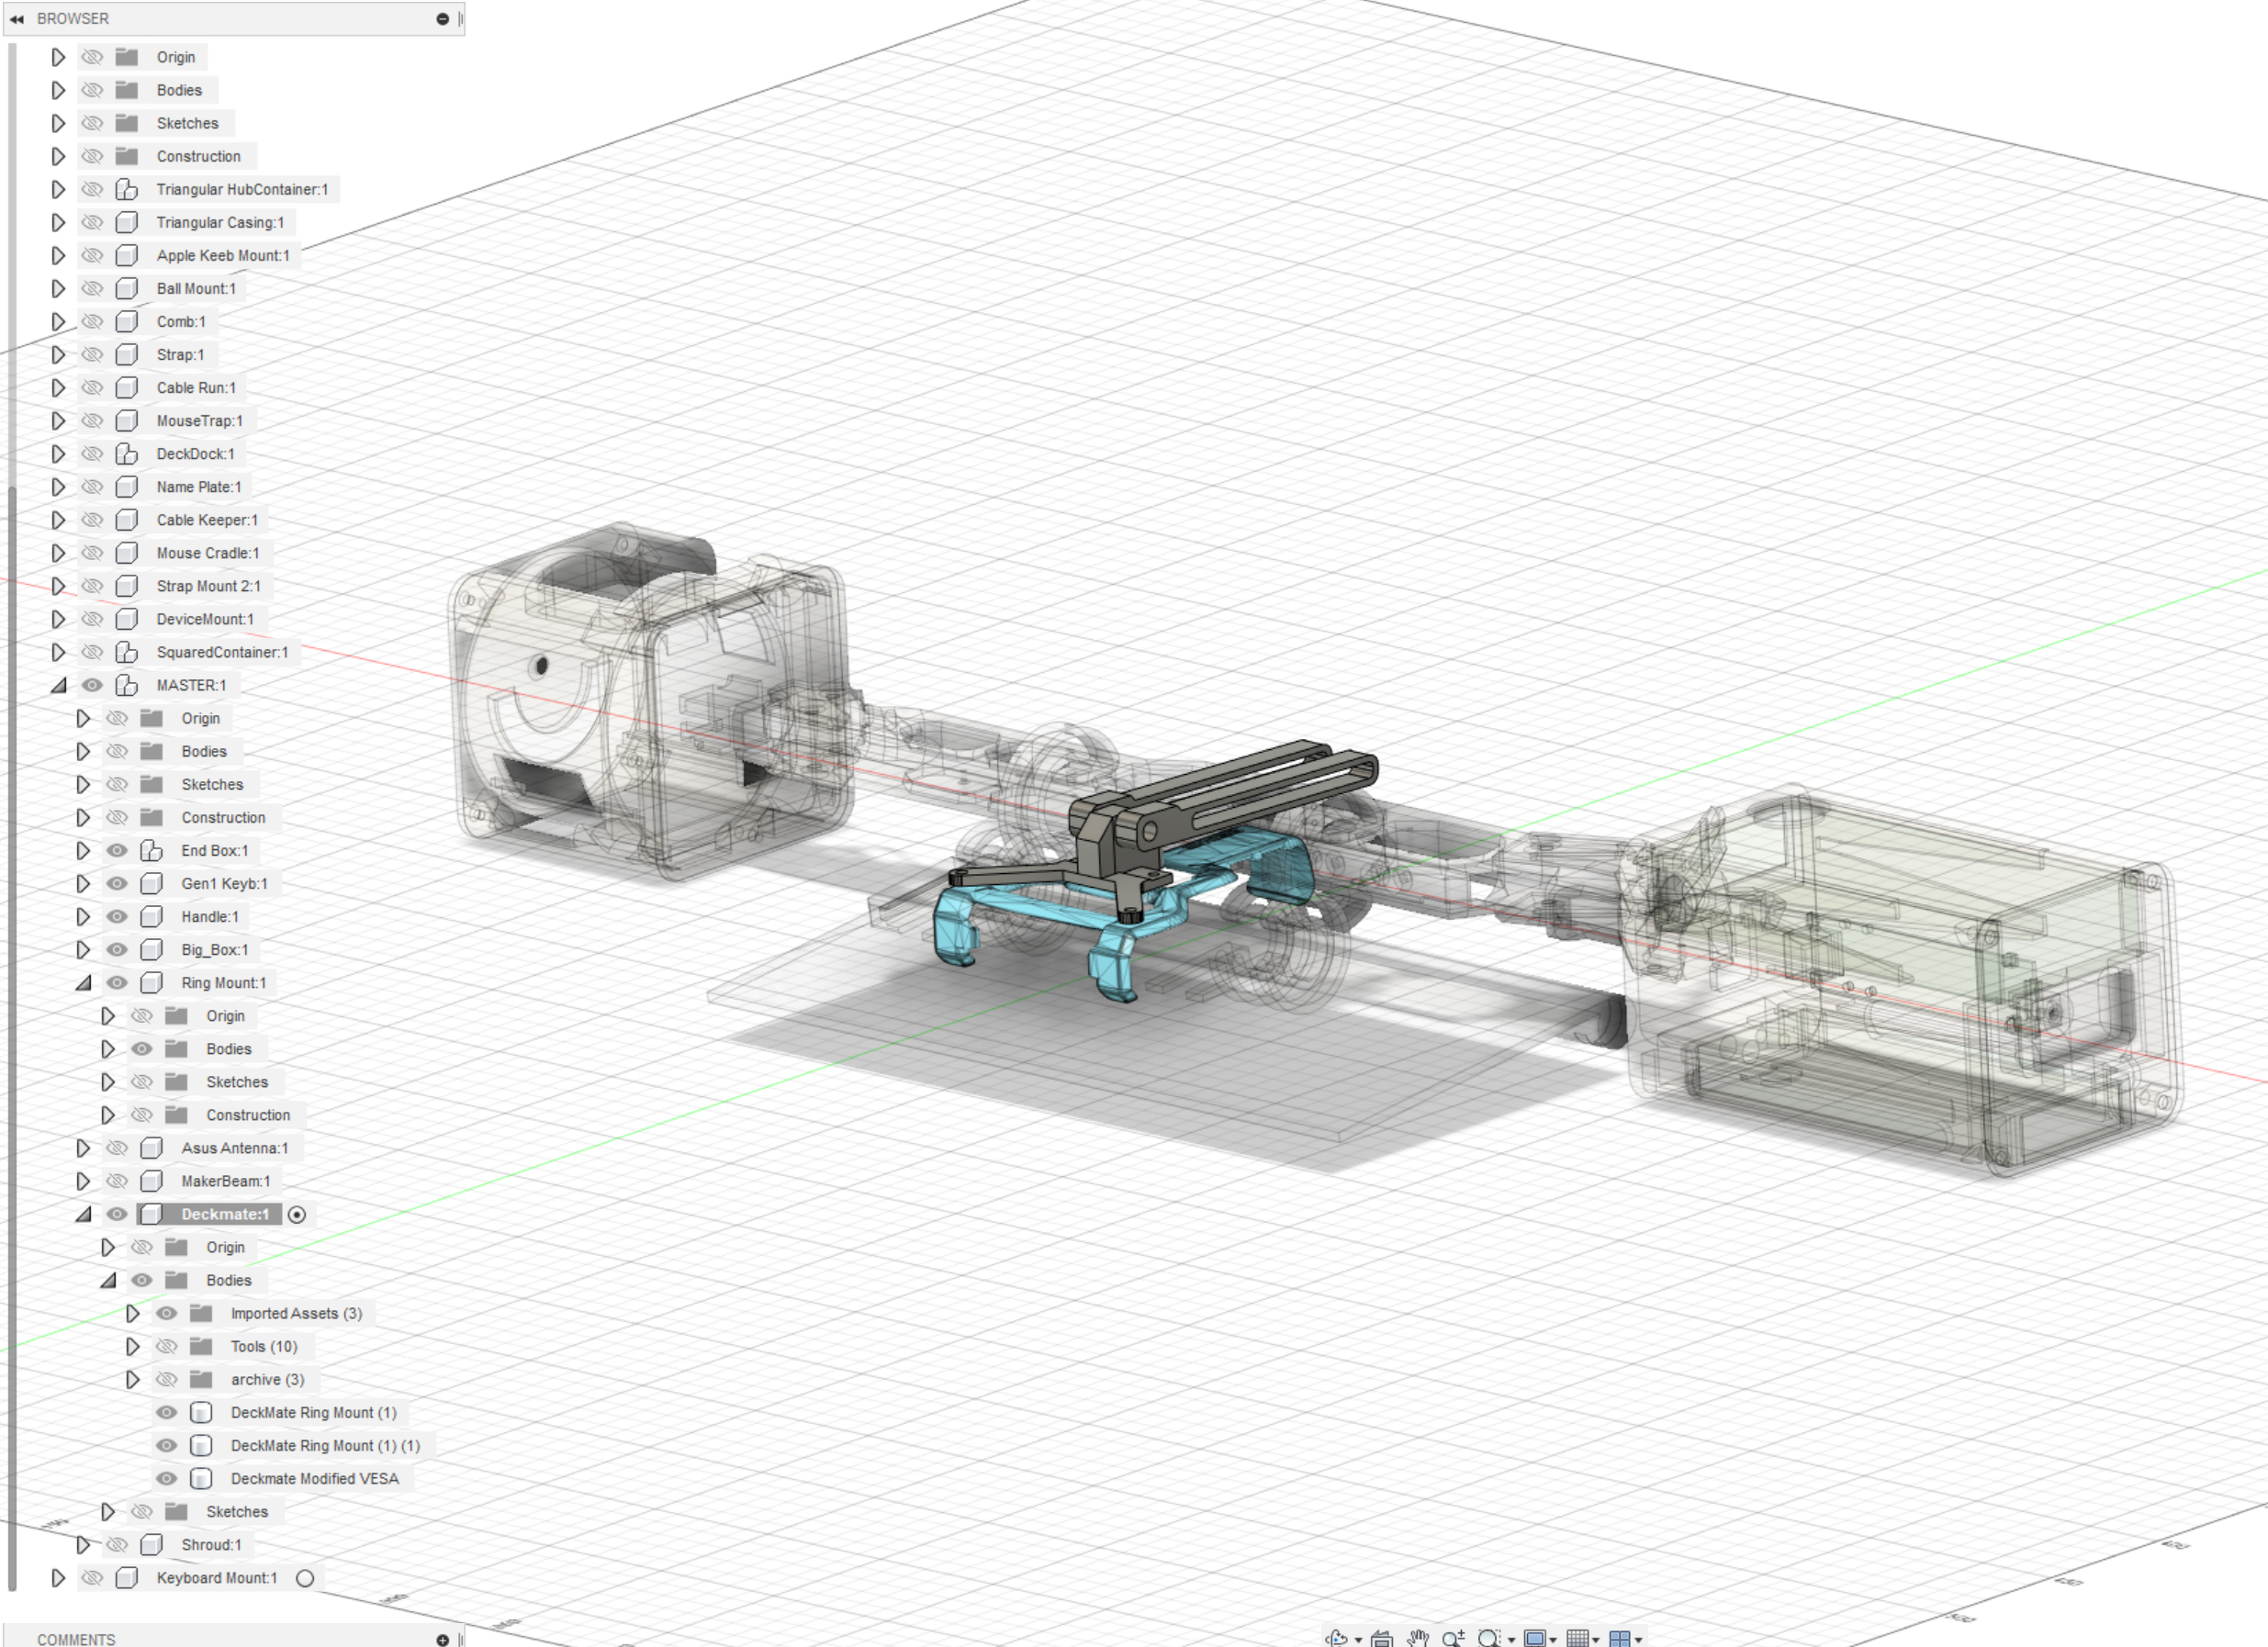
Steamdeck Device Mount
09/21/2022 at 03:36 • 0 commentsI'd tried a handful of SteamDeck mounting kits, and the DeckMate (even the version I printed at home) stands out above the rest.
I made my own mount that would connect to the ring-mount, and featured VESA-compatible prongs that I could use for additional accessories, if desired.
![]()
I printed the support "beams" of the deckmount with a rough texture (called fuzzy skin) in PRUSA Slicer, so it would have a little more friction when clamped onto the rings, and that (plus some rubber washers) seems to hold quite nicely.
-
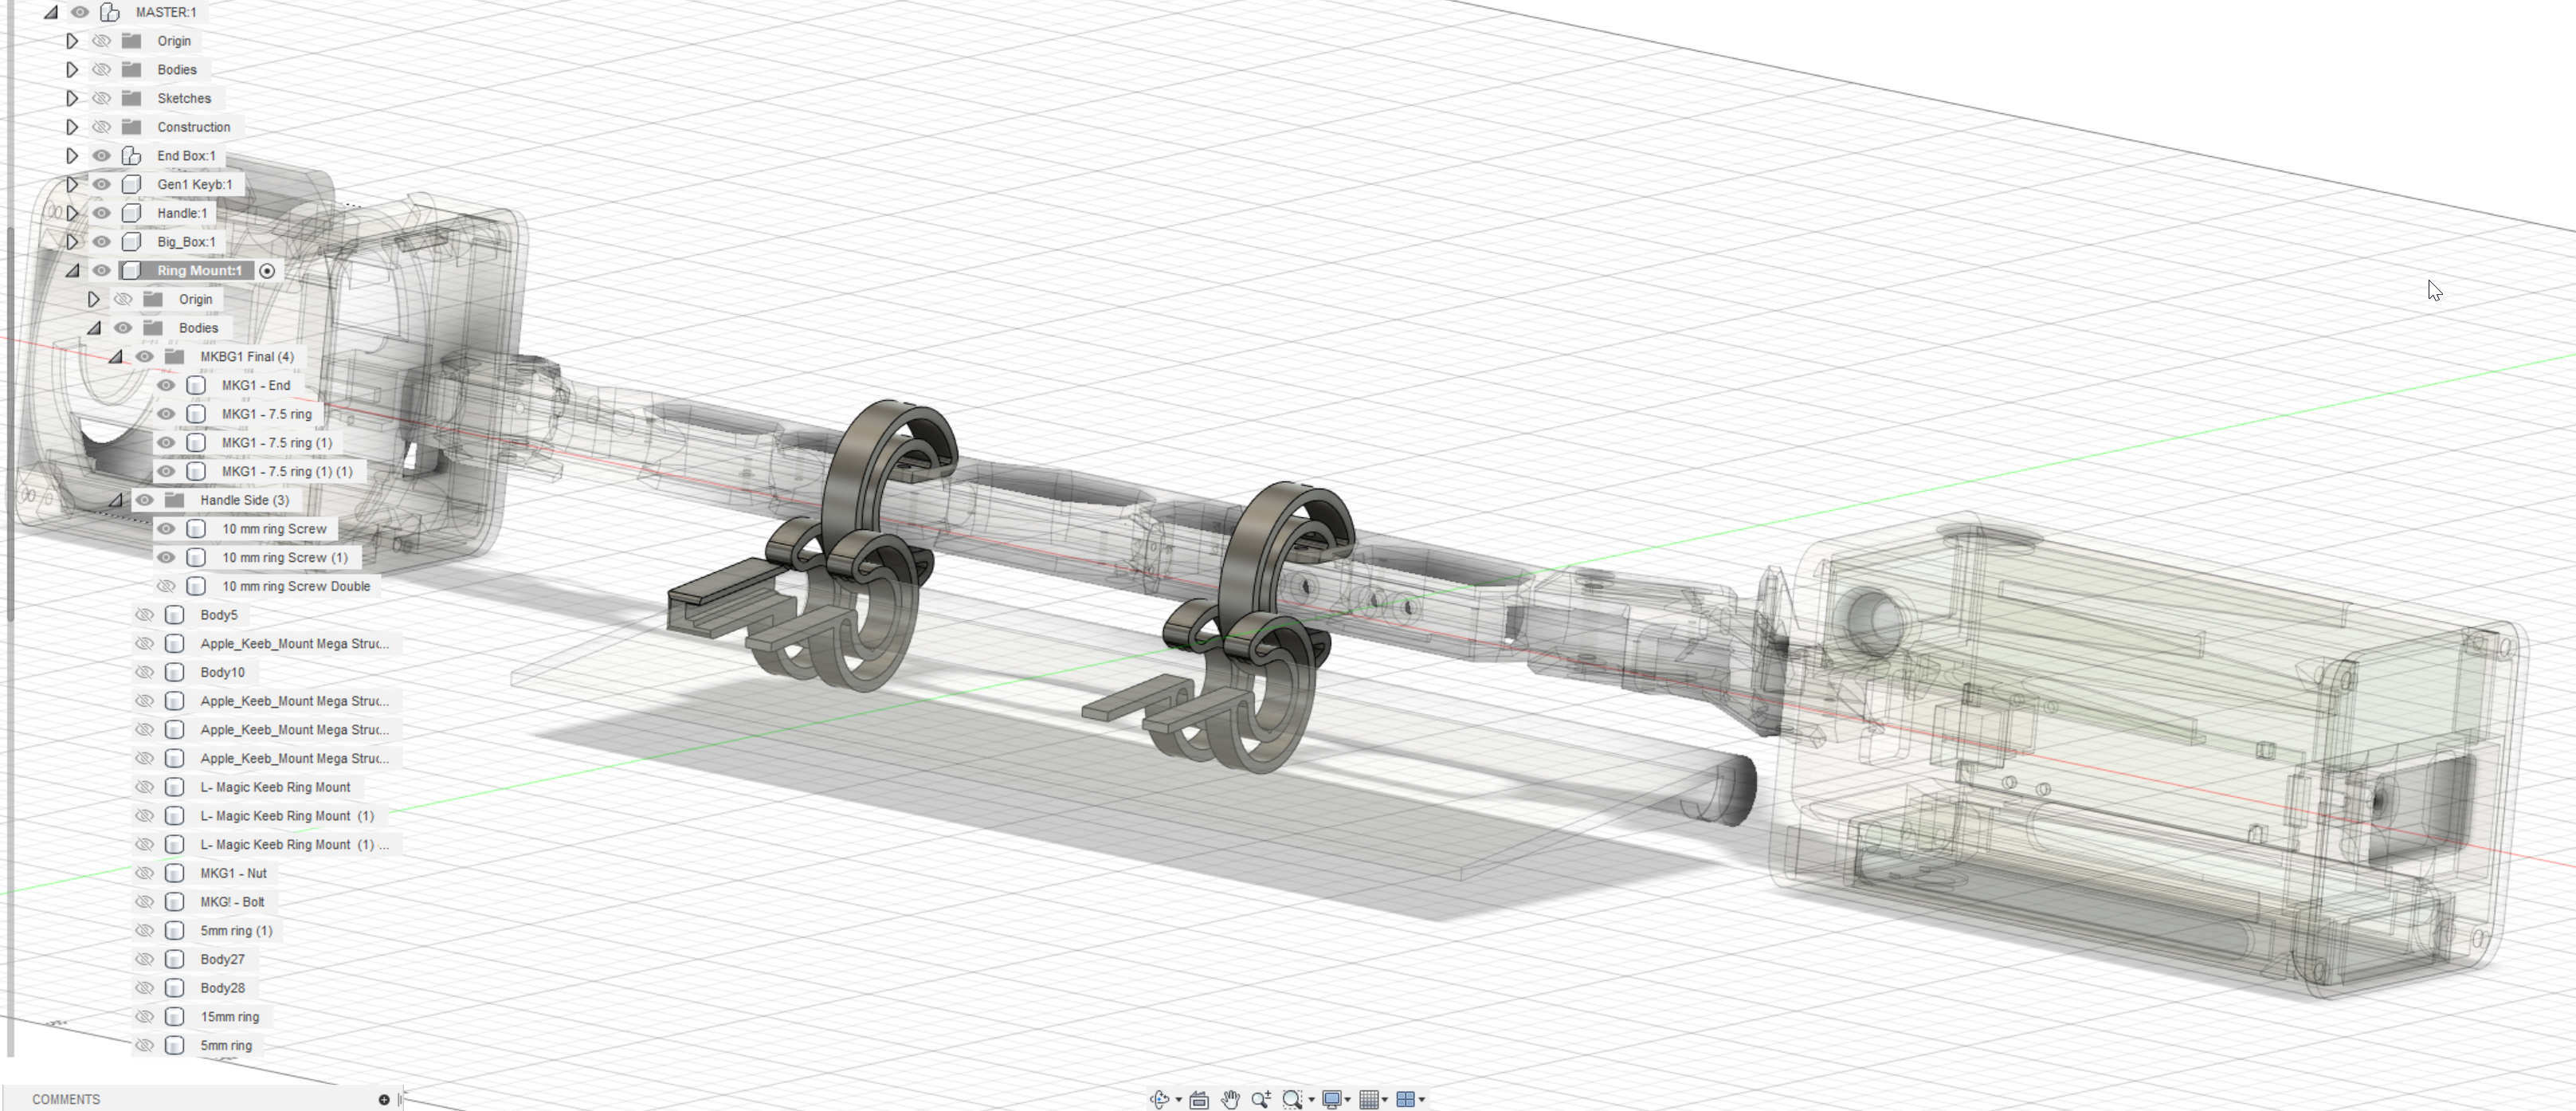
Ring-Mount Keyboard
09/21/2022 at 03:30 • 0 commentsFinally, I needed a way to connect my keyboard and device, so they could be adjusted if necessary.
Why do I need to adjust them? Because I like to make things difficult.
![]()
The E-Waste Gods had graced me with a Gen-1 Apple Magic Keyboard. I made these parts to securely affix it to the hilt, using Cam-levered 5mm "go-pro" compatible bolts. It took a lot of trial and error to get the mounts to fit the keyboard properly, but it works just as well as I'd hoped.
-
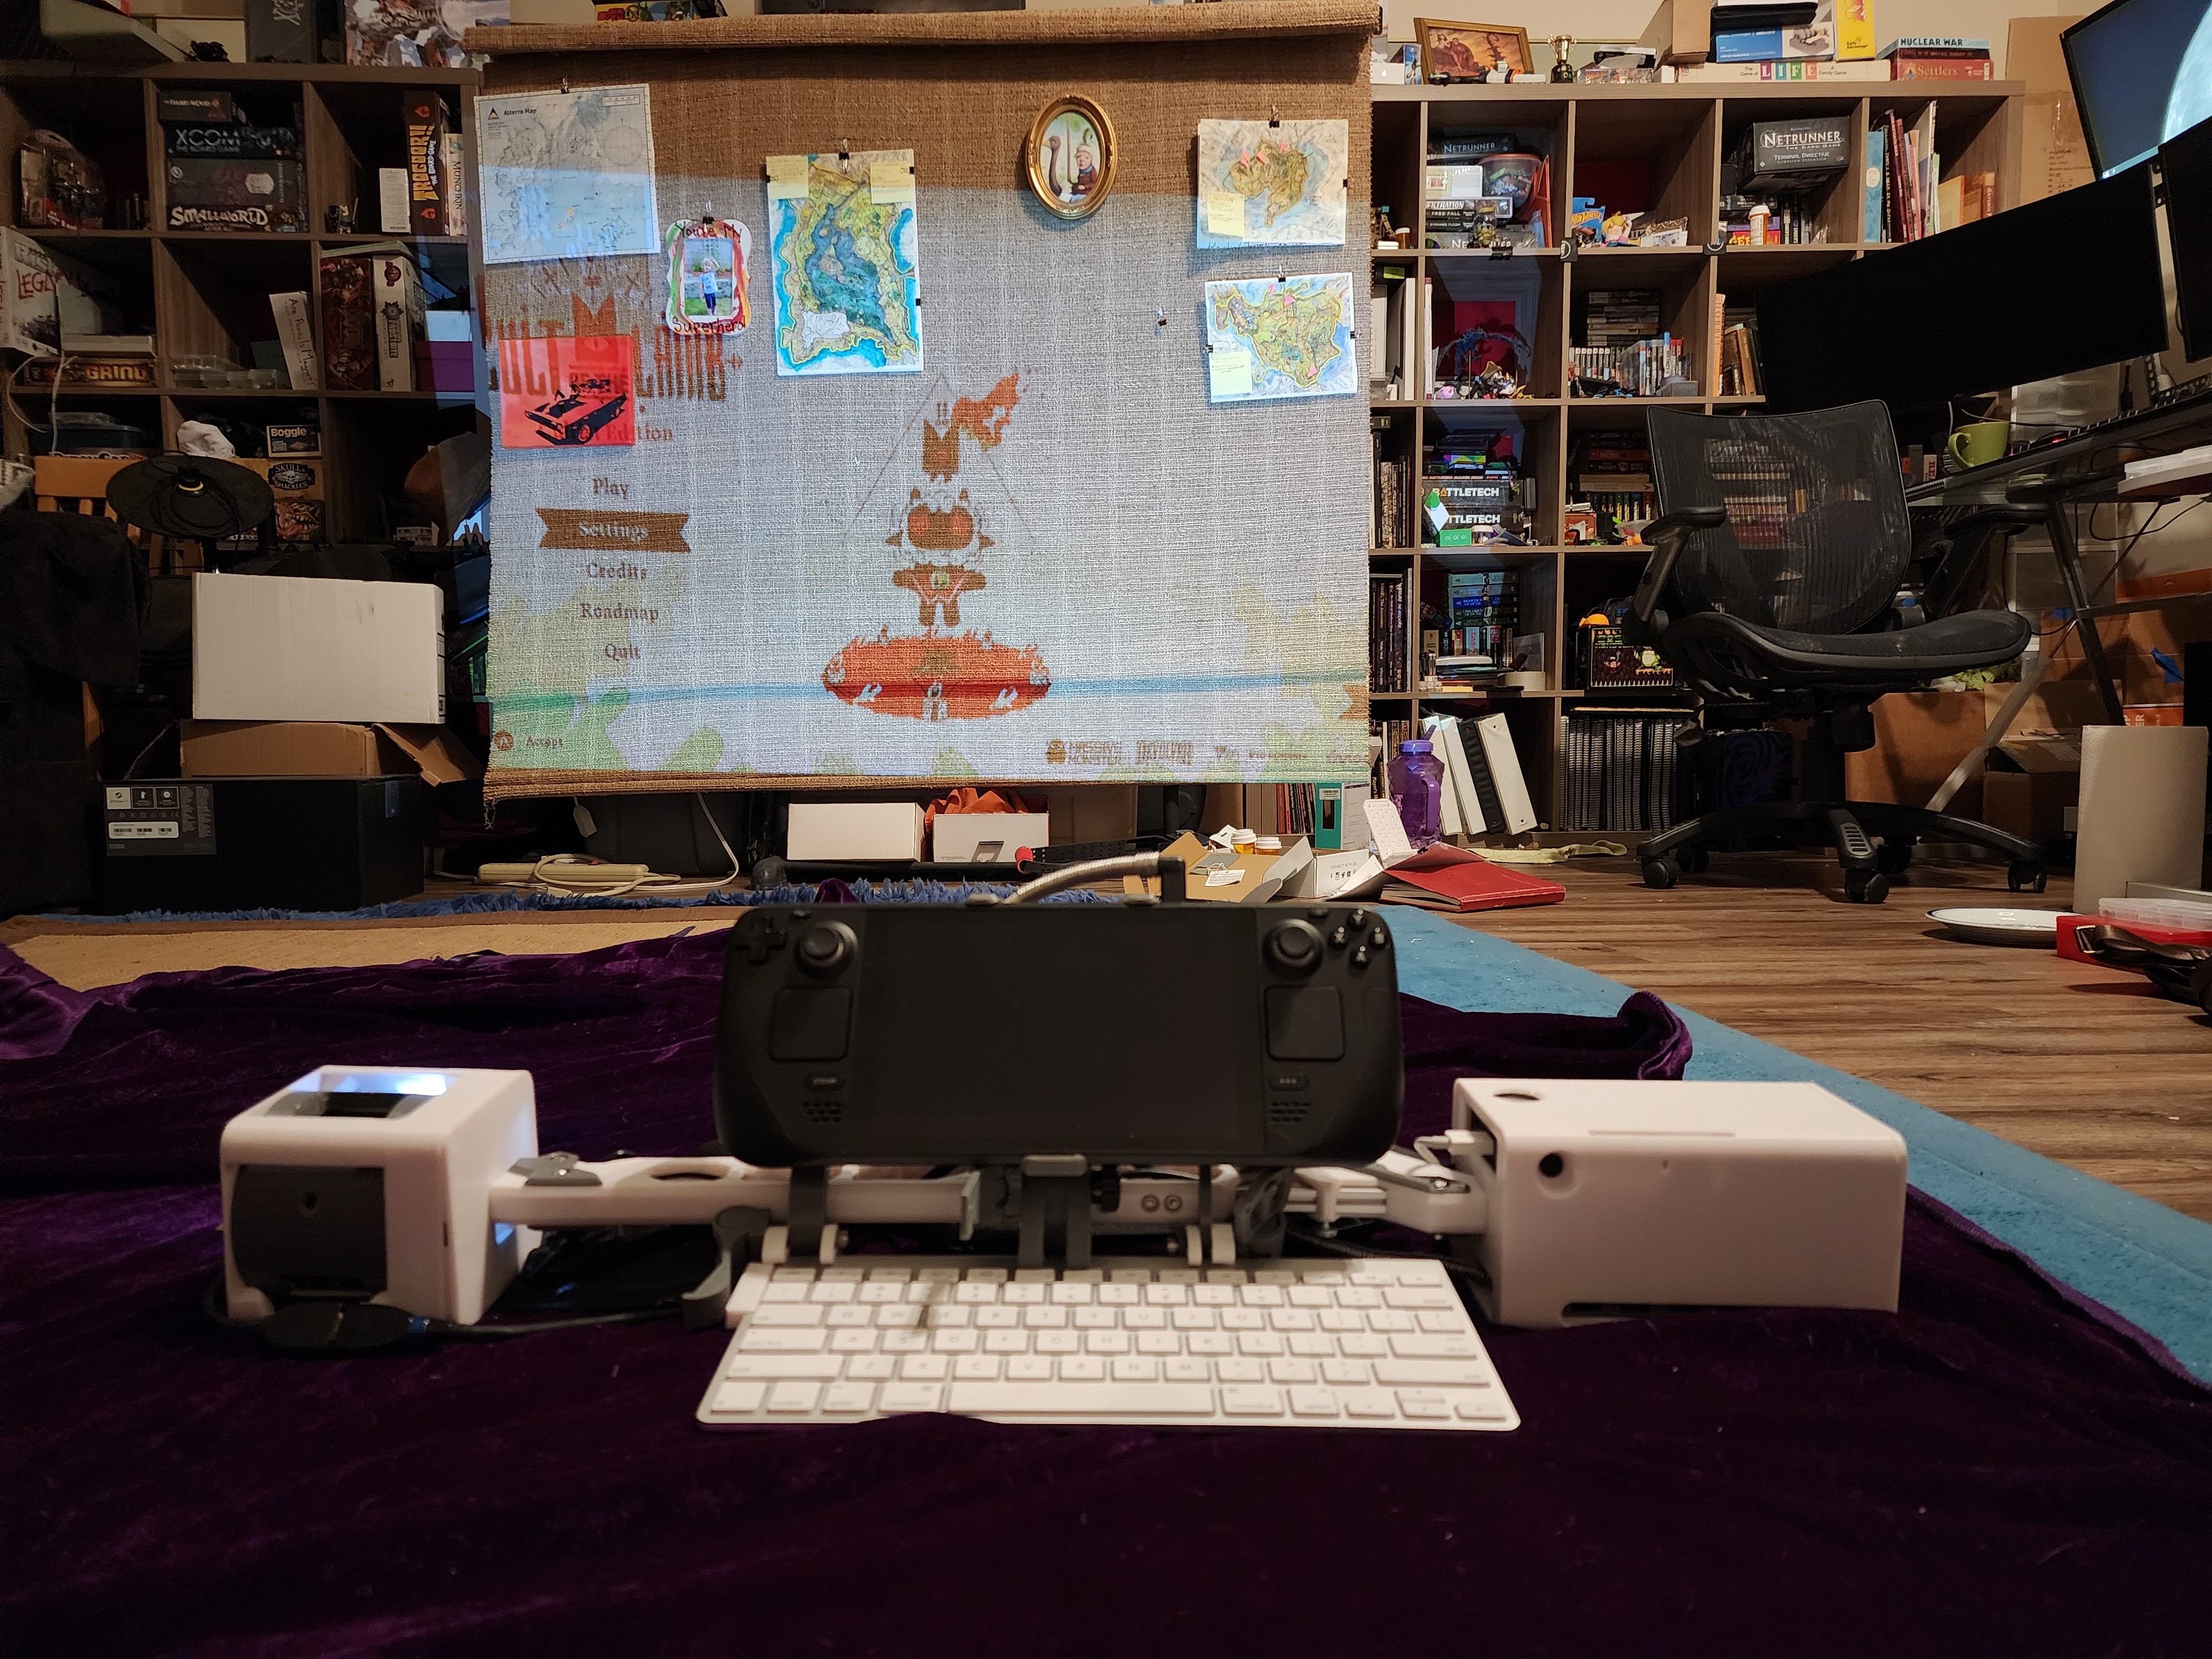
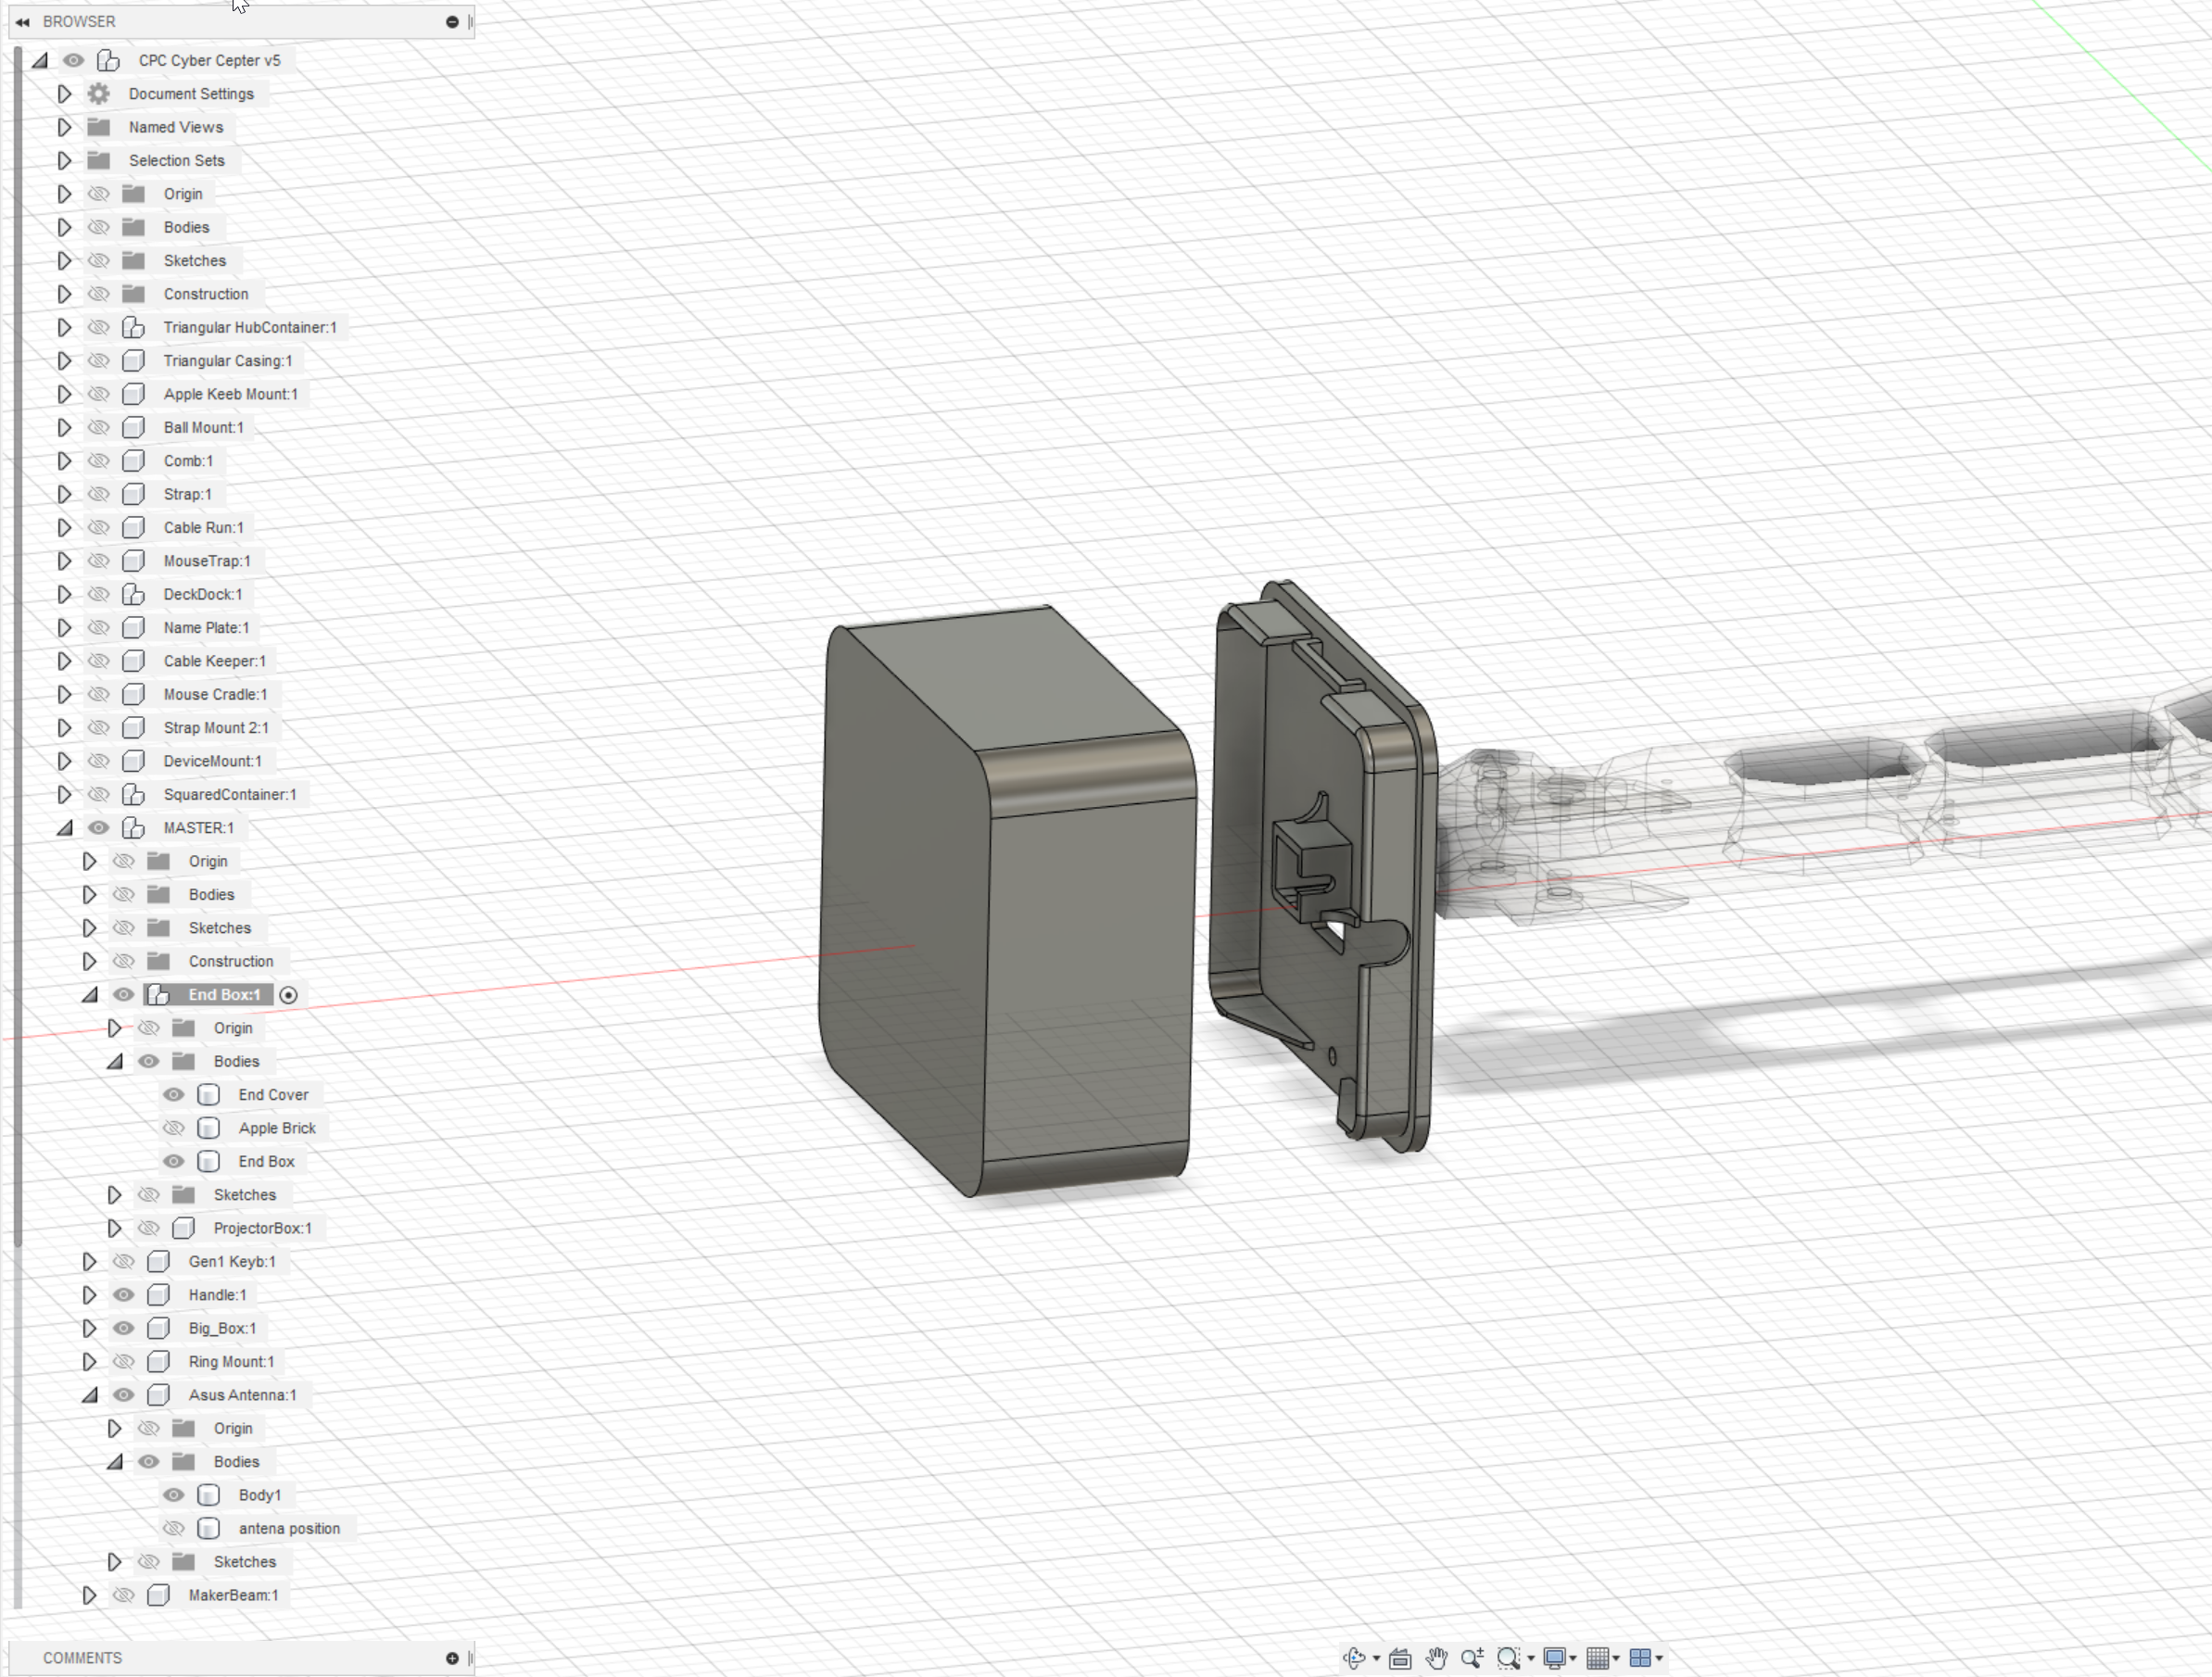
Projector Box (Pommel)
09/21/2022 at 03:23 • 0 commentsI needed a pommel of some sort to help keep the weight balanced.
Initially, I just made a storage box that would fit my laptop charger, or extra cables/tools.
![]()
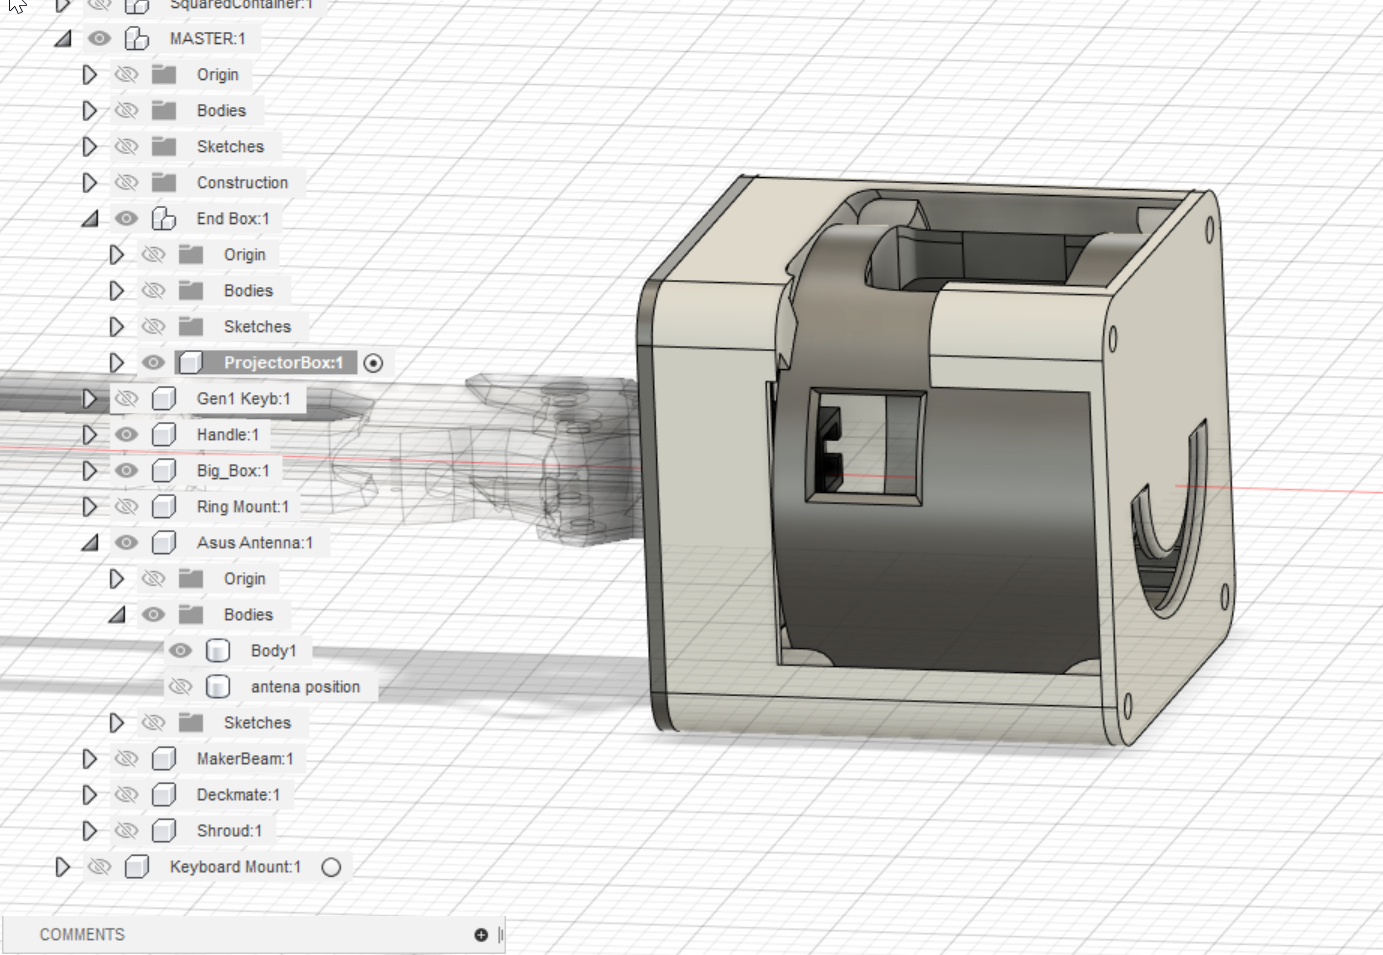
This was basically perfect, and painfully over-engineered. The "lid" of the box has a slot that lets the box seat easily, without needing maker-beam to attach to the far side of the box. This was good, but I was ahead of schedule, and I was going to VEGAS for a hacker convention (I HATE VEGAS SO MUCH). I had to kick it up a notch.
![]()
BAM! This little box houses a "PIQO" projector that I'd kickstarted a few years back. The projector is mounted inside a free-spinning cylinder that allows for Y-axis adjustment, while all necessary controls remain accessible. The projector also has its own batter, good for about 2 hours, though it can also be powered from the connected powerbank.
-
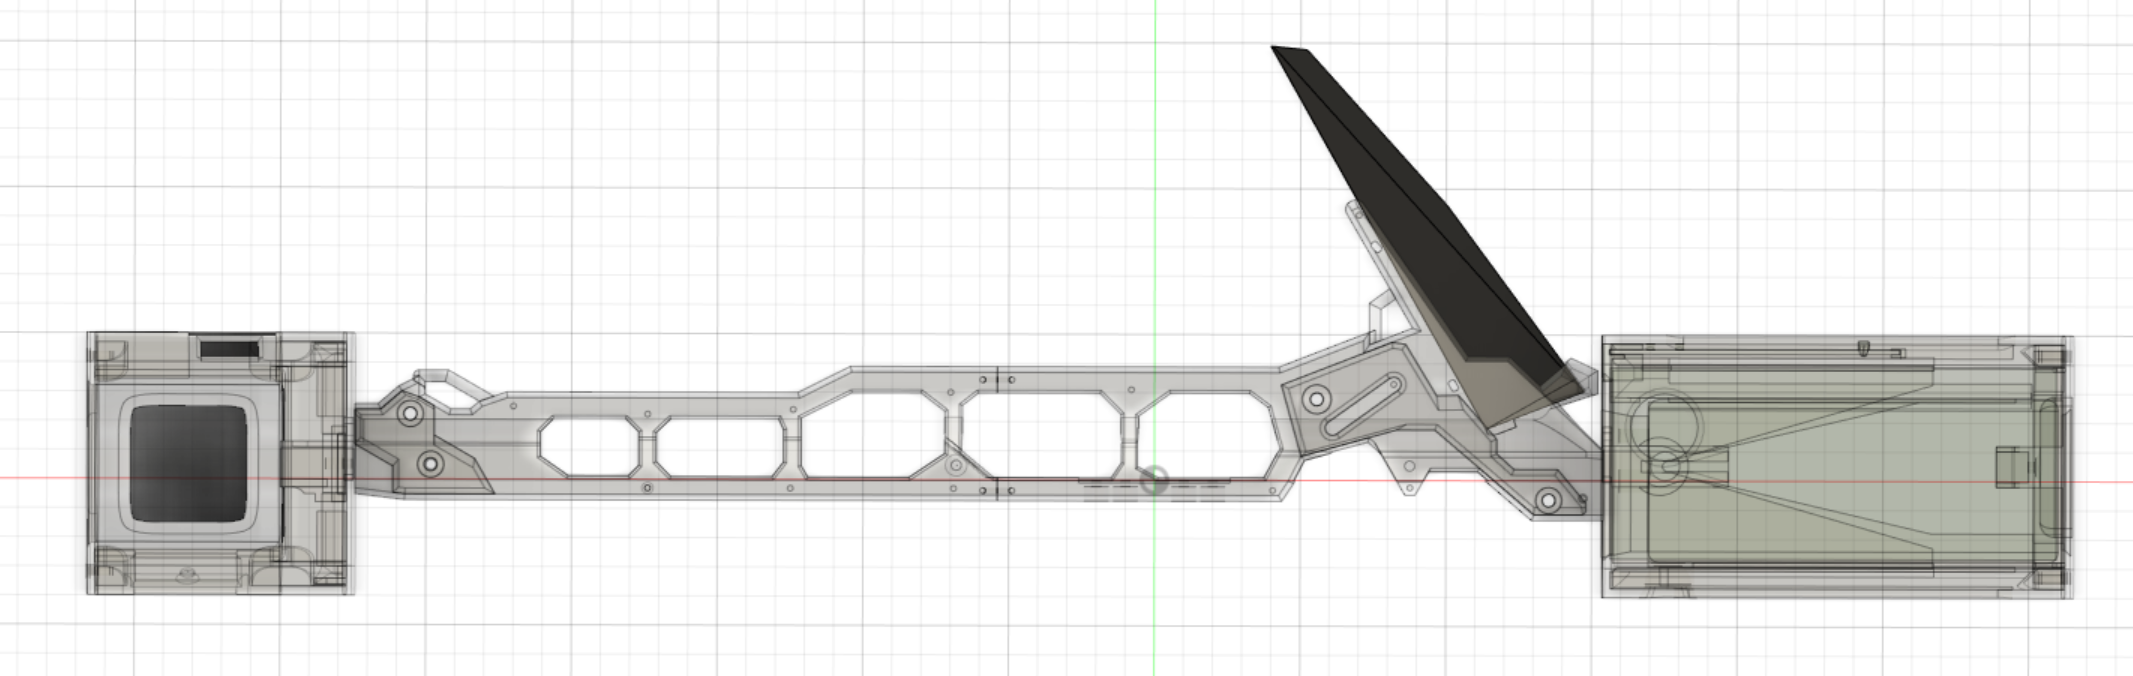
Constructing the Hilt
09/21/2022 at 03:09 • 0 commentsI apologize. I'd written a detailed and hilarious story about all the work I went through to build this hilt, and how I even considered building in an umbrella holder, but then my network connection pooped, and I lost my work. So this is what you get.
Starting from the awesome Katana design made by Grzywa on thingiverse, I traced over the mesh, and made my own copy that more specifically met my requirements. https://www.thingiverse.com/grzywa/designsI cut out material to allow the makerbeam (1 cm extruded aluminum bars) to run through the middle, added a cable channel, and made adjustments to the model to facilitate vertical, supportless printing.
![]()
I built in a cut-out, so I could add this dangerous looking wi-fi antenna that came with my motherboard. (It was too easy to get this on a plane initially).
![]()
This is the most substantial part of the build, and I ended up printing quite a few prototypes before I was satisfied.
-
The Big Box
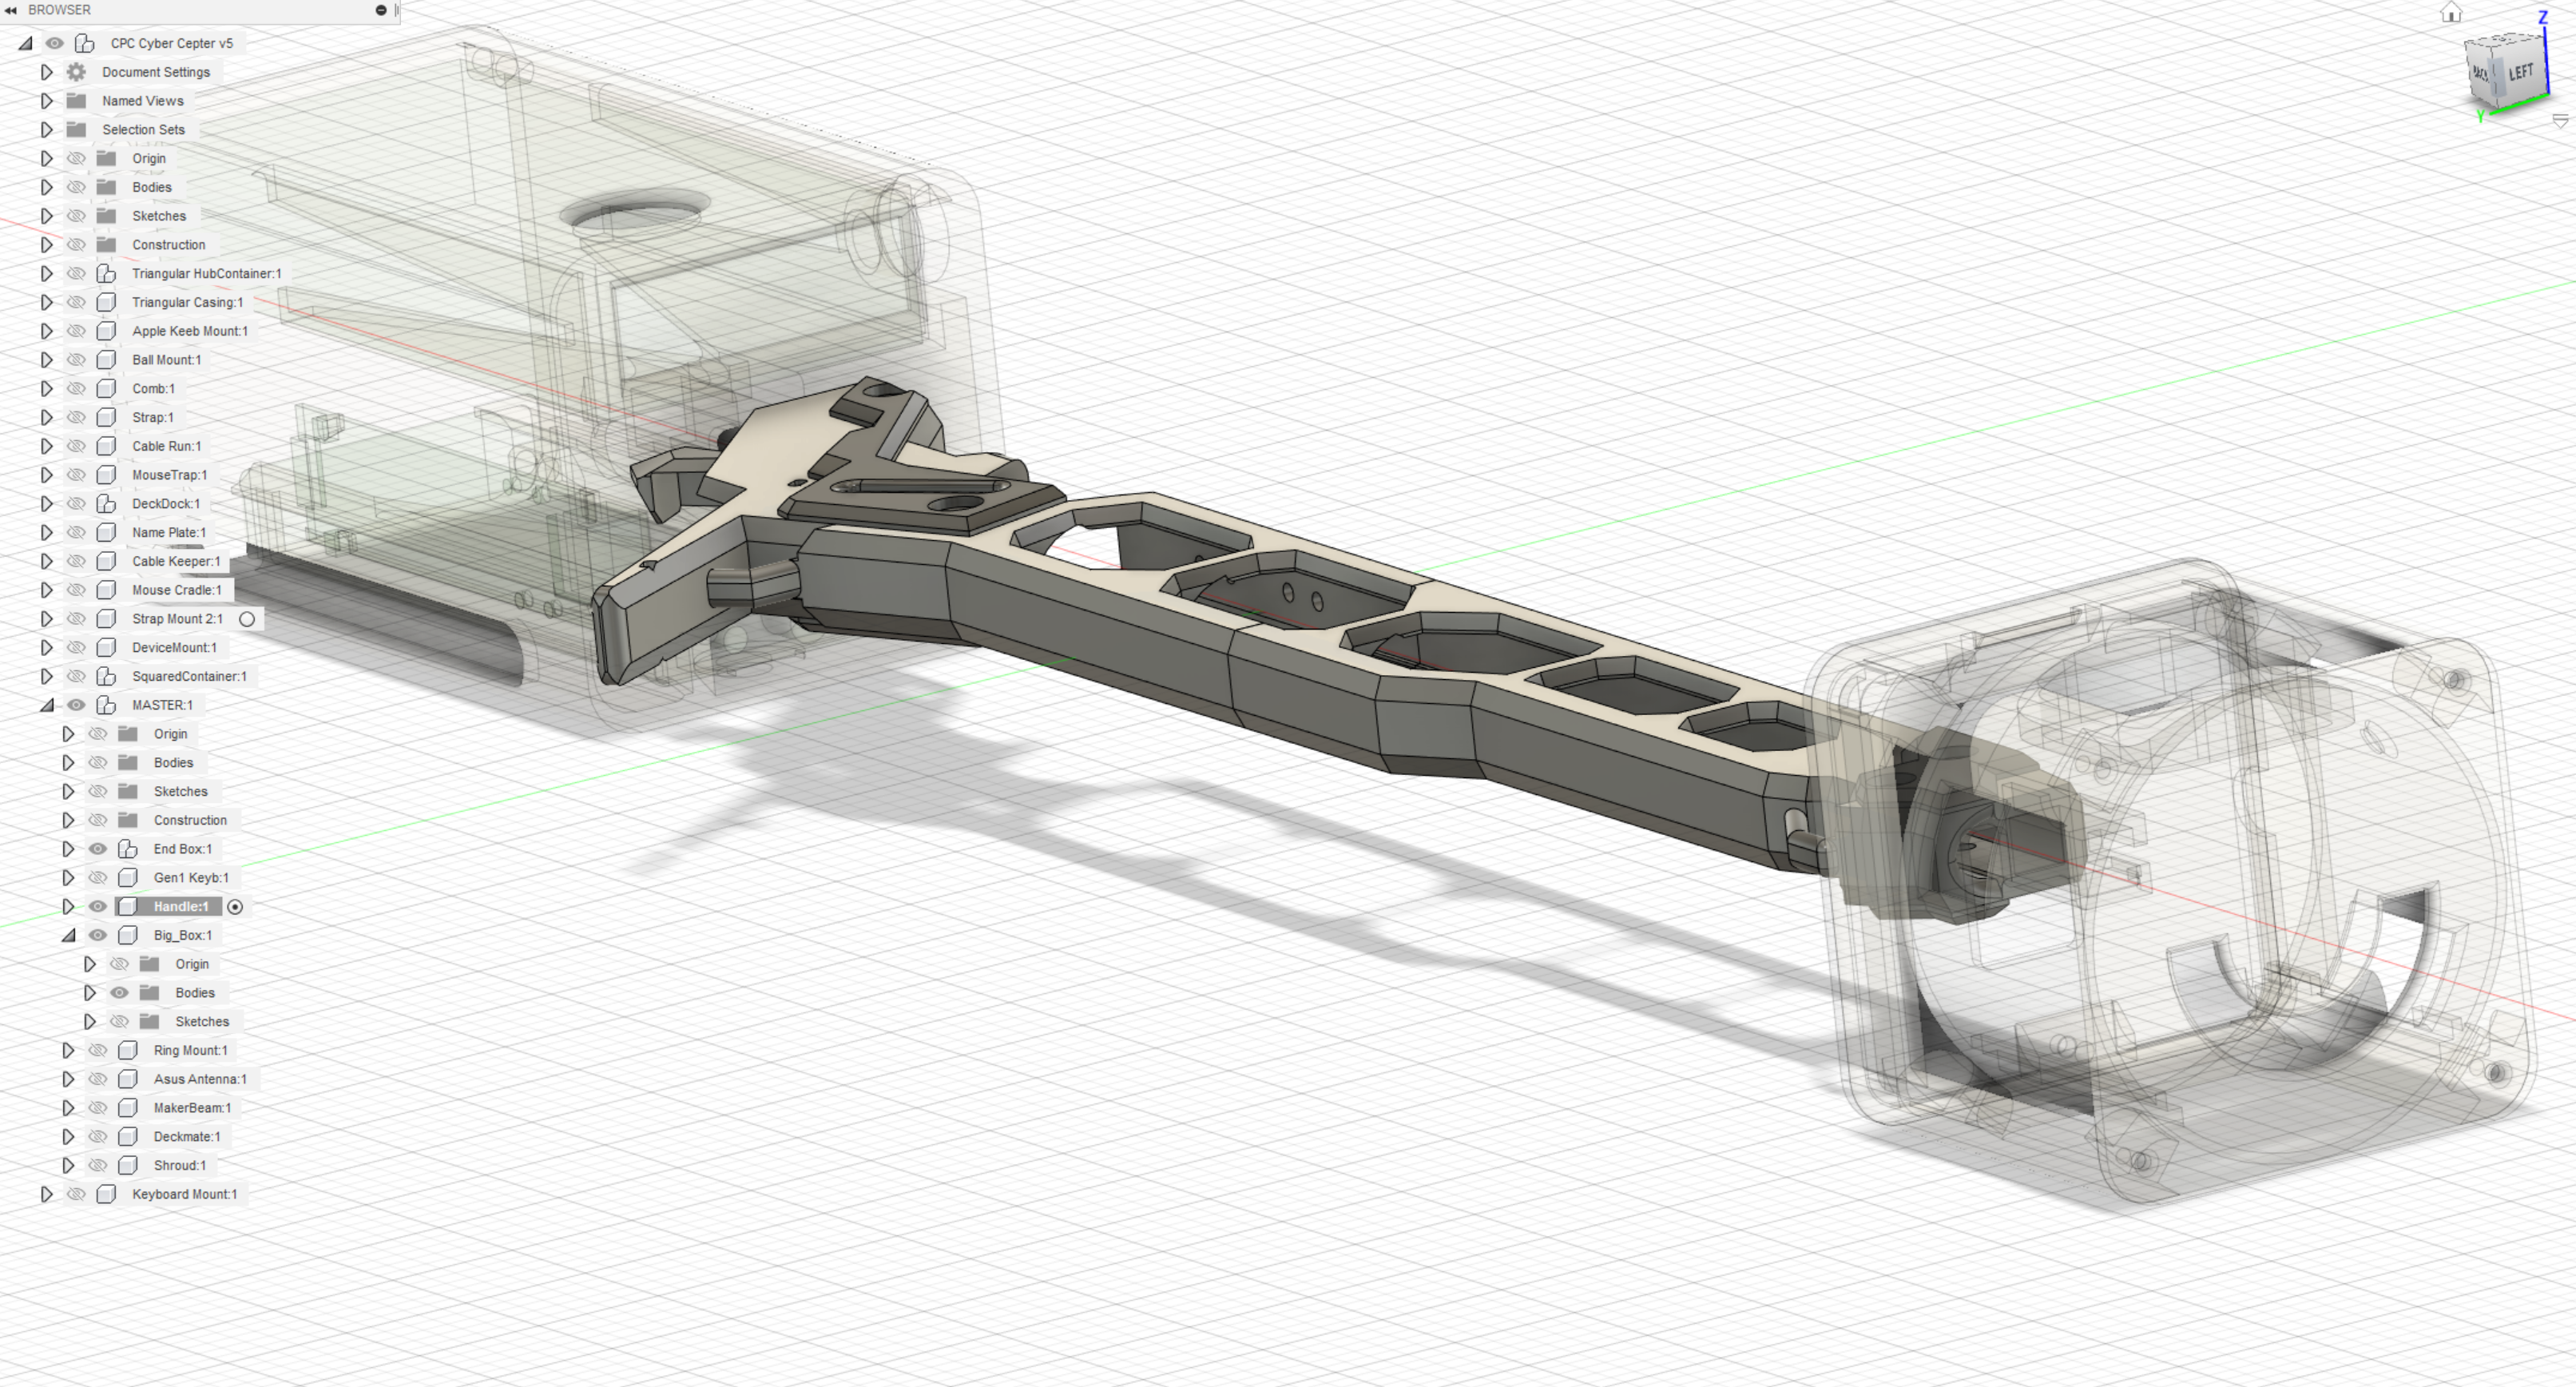
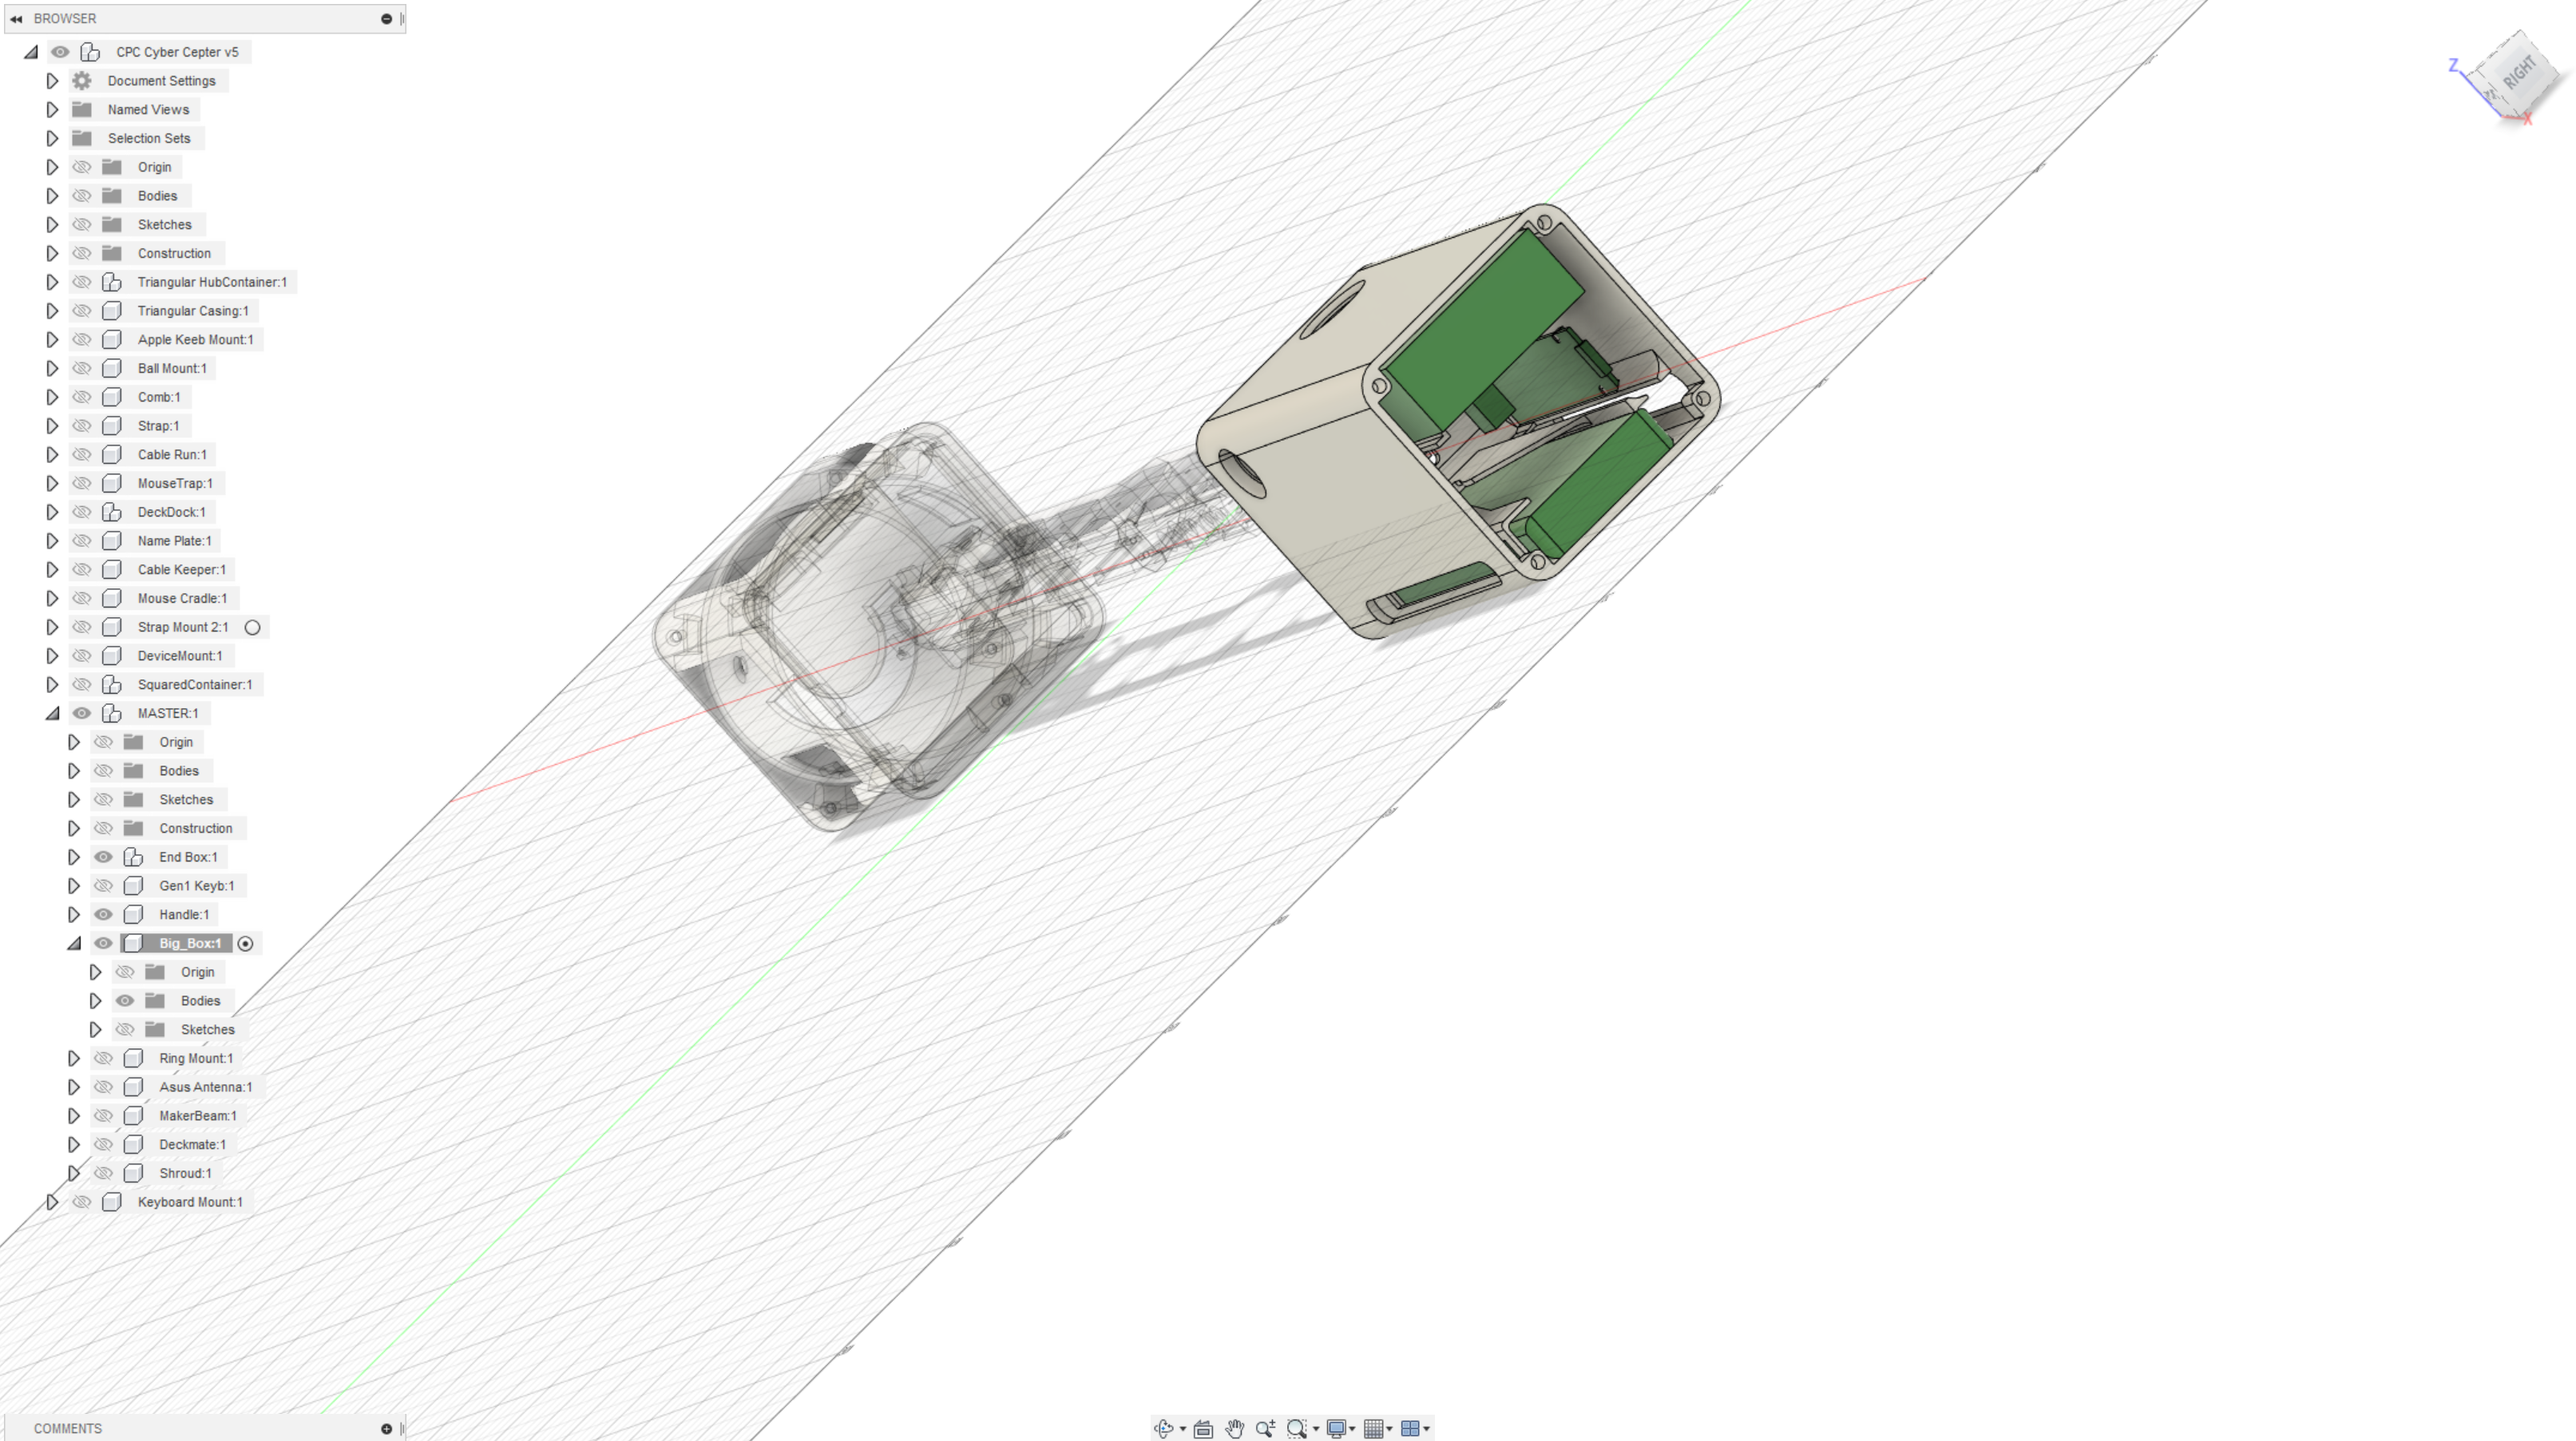
09/21/2022 at 02:25 • 0 commentsThe first thing I had to design was the "Big Box." Initially I made a triangular container, inspired by an awesome Lego Space ship... but it felt both too large, and was too small to house both the power bank and the hub :^(. So for Round 2, I went with a rounded square, and I thought that did the job just right. I sized it as small as I could while still fitting the power bank, and made slots for the hub as well. The whole thing is designed to be printed without supports, because supports are my nemesis.
![]()
I apologize for the terrible angle of this (and surely the rest) of the captures. I barely know how to use Fusion 360.
-
The Practical Use Case
09/21/2022 at 00:21 • 0 commentsThe Comprehensive Peripheral Cluster was born out of a need to connect a suite of dongled-devices to my various simpler computational slabs.
My Smartphone, Surface, Tablet and Steamdeck are all compatible with keyboard, mouse, and external displays, provided I've got a way to connect and transport them.
Hence, the Cyberdock. I say Dock, since the computational power is externally sourced.
-
Cam Lever 2.0
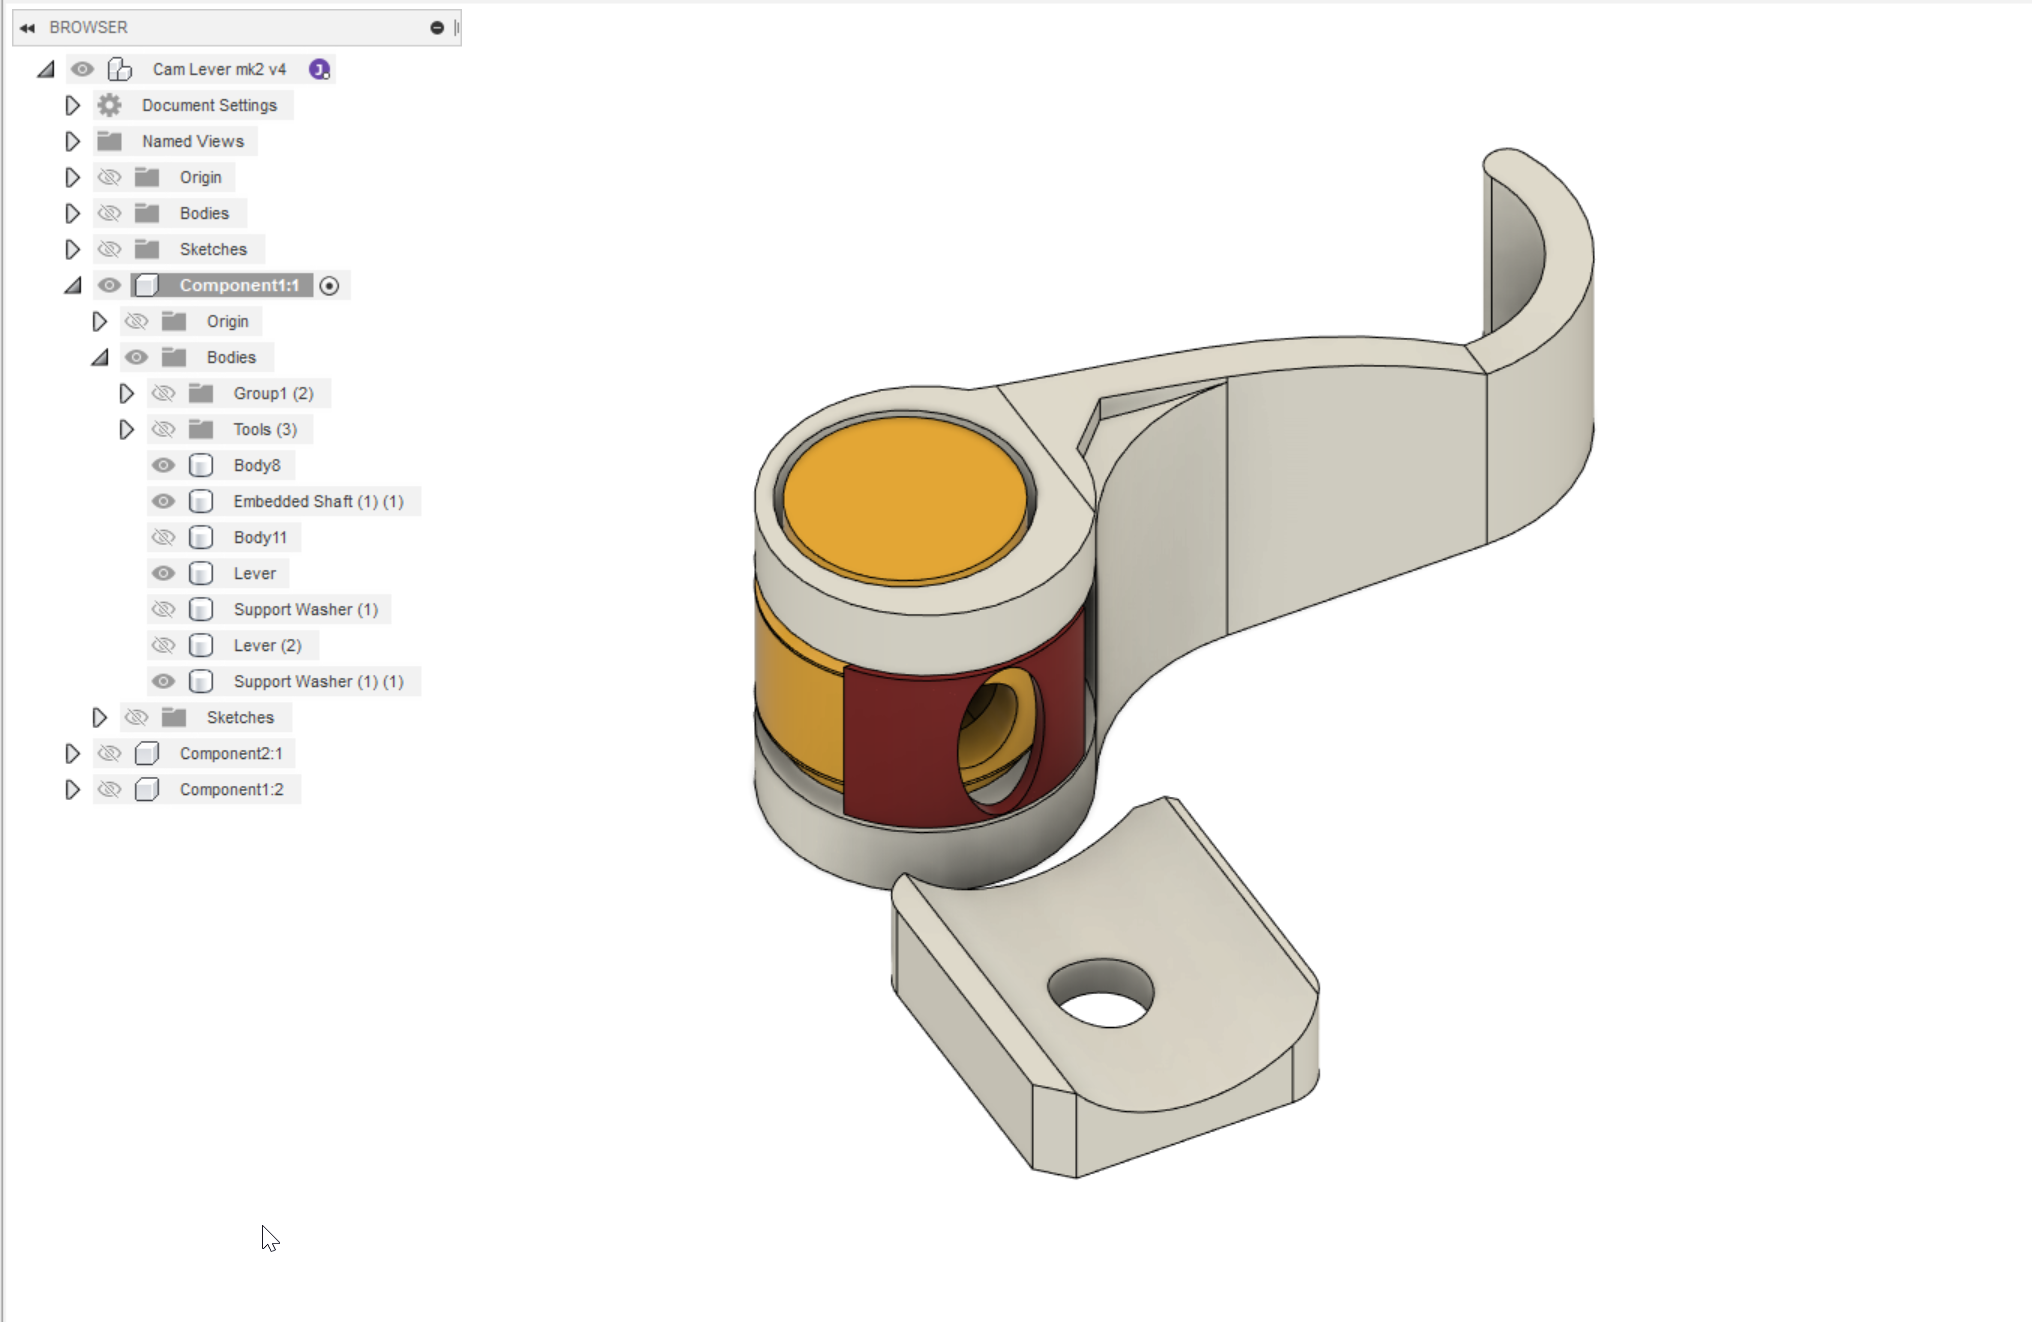
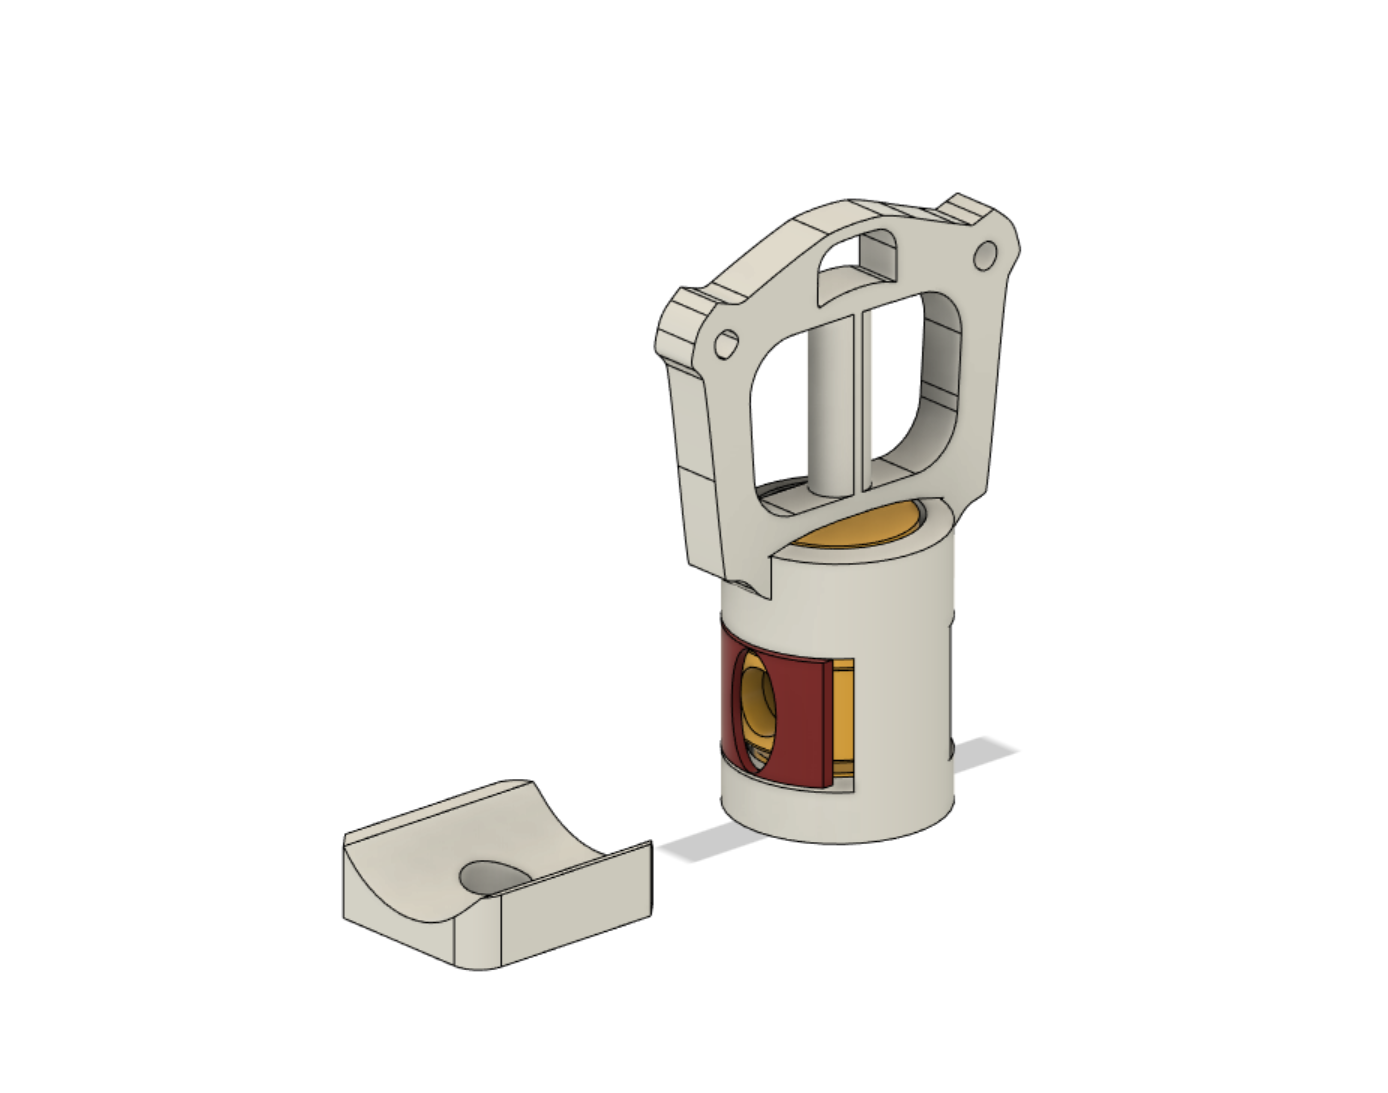
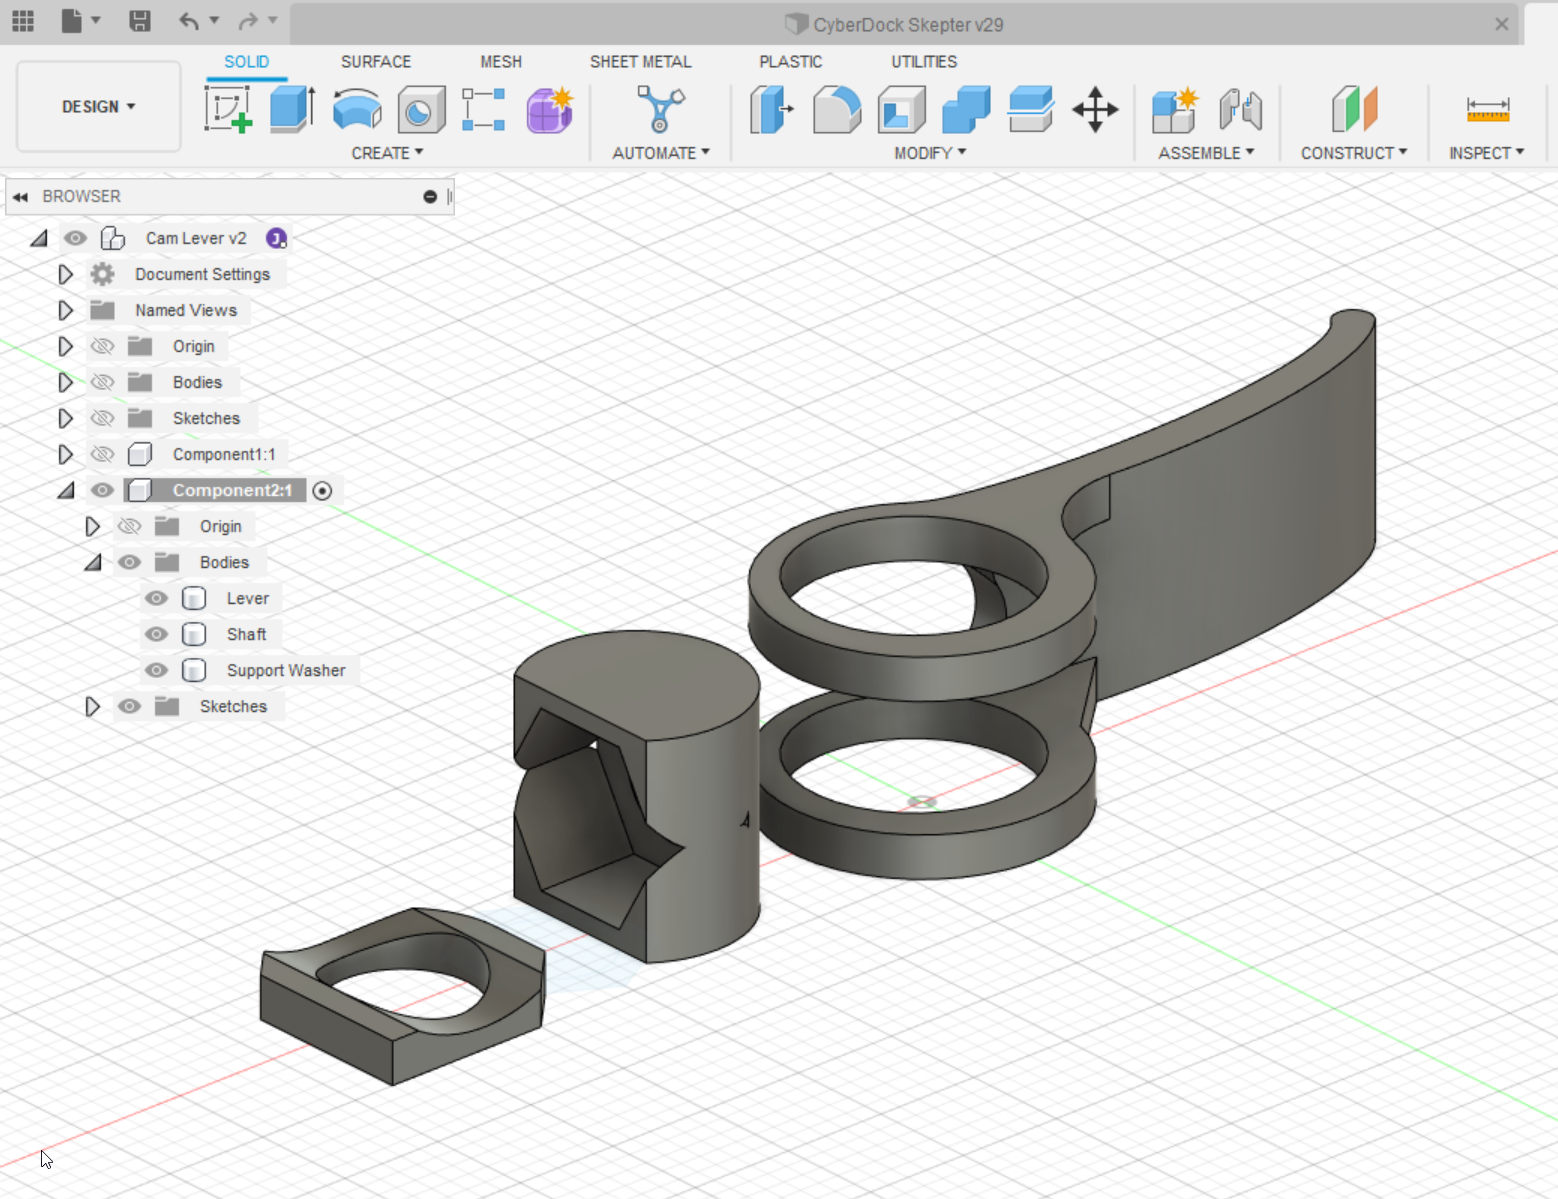
09/21/2022 at 00:15 • 0 commentsThe first version of my Cam Lever wasn't large enough, or strong enough.
However, sizing it up was easy, and with the help of some print-on supports, the whole thing prints in one piece, without supports. Hooray!
![]()
I also made a variation that uses a keyblade handle instead of a lever.
https://www.thingiverse.com/thing:5516126![]()
-
Building a Cam Lever
09/08/2022 at 13:52 • 0 commentsThis is my first post, which is weird, because my project is almost done. I have some back-filling to do.
I think a cam lever is a convenient way to attach and tighten the various bits and bobs to my ring mount, but the "real" ones are expensive. Even worse (or better?!) I can't find one for download online, free or paid.
This (and the summer heat) smells like an opportunity to make the world better!
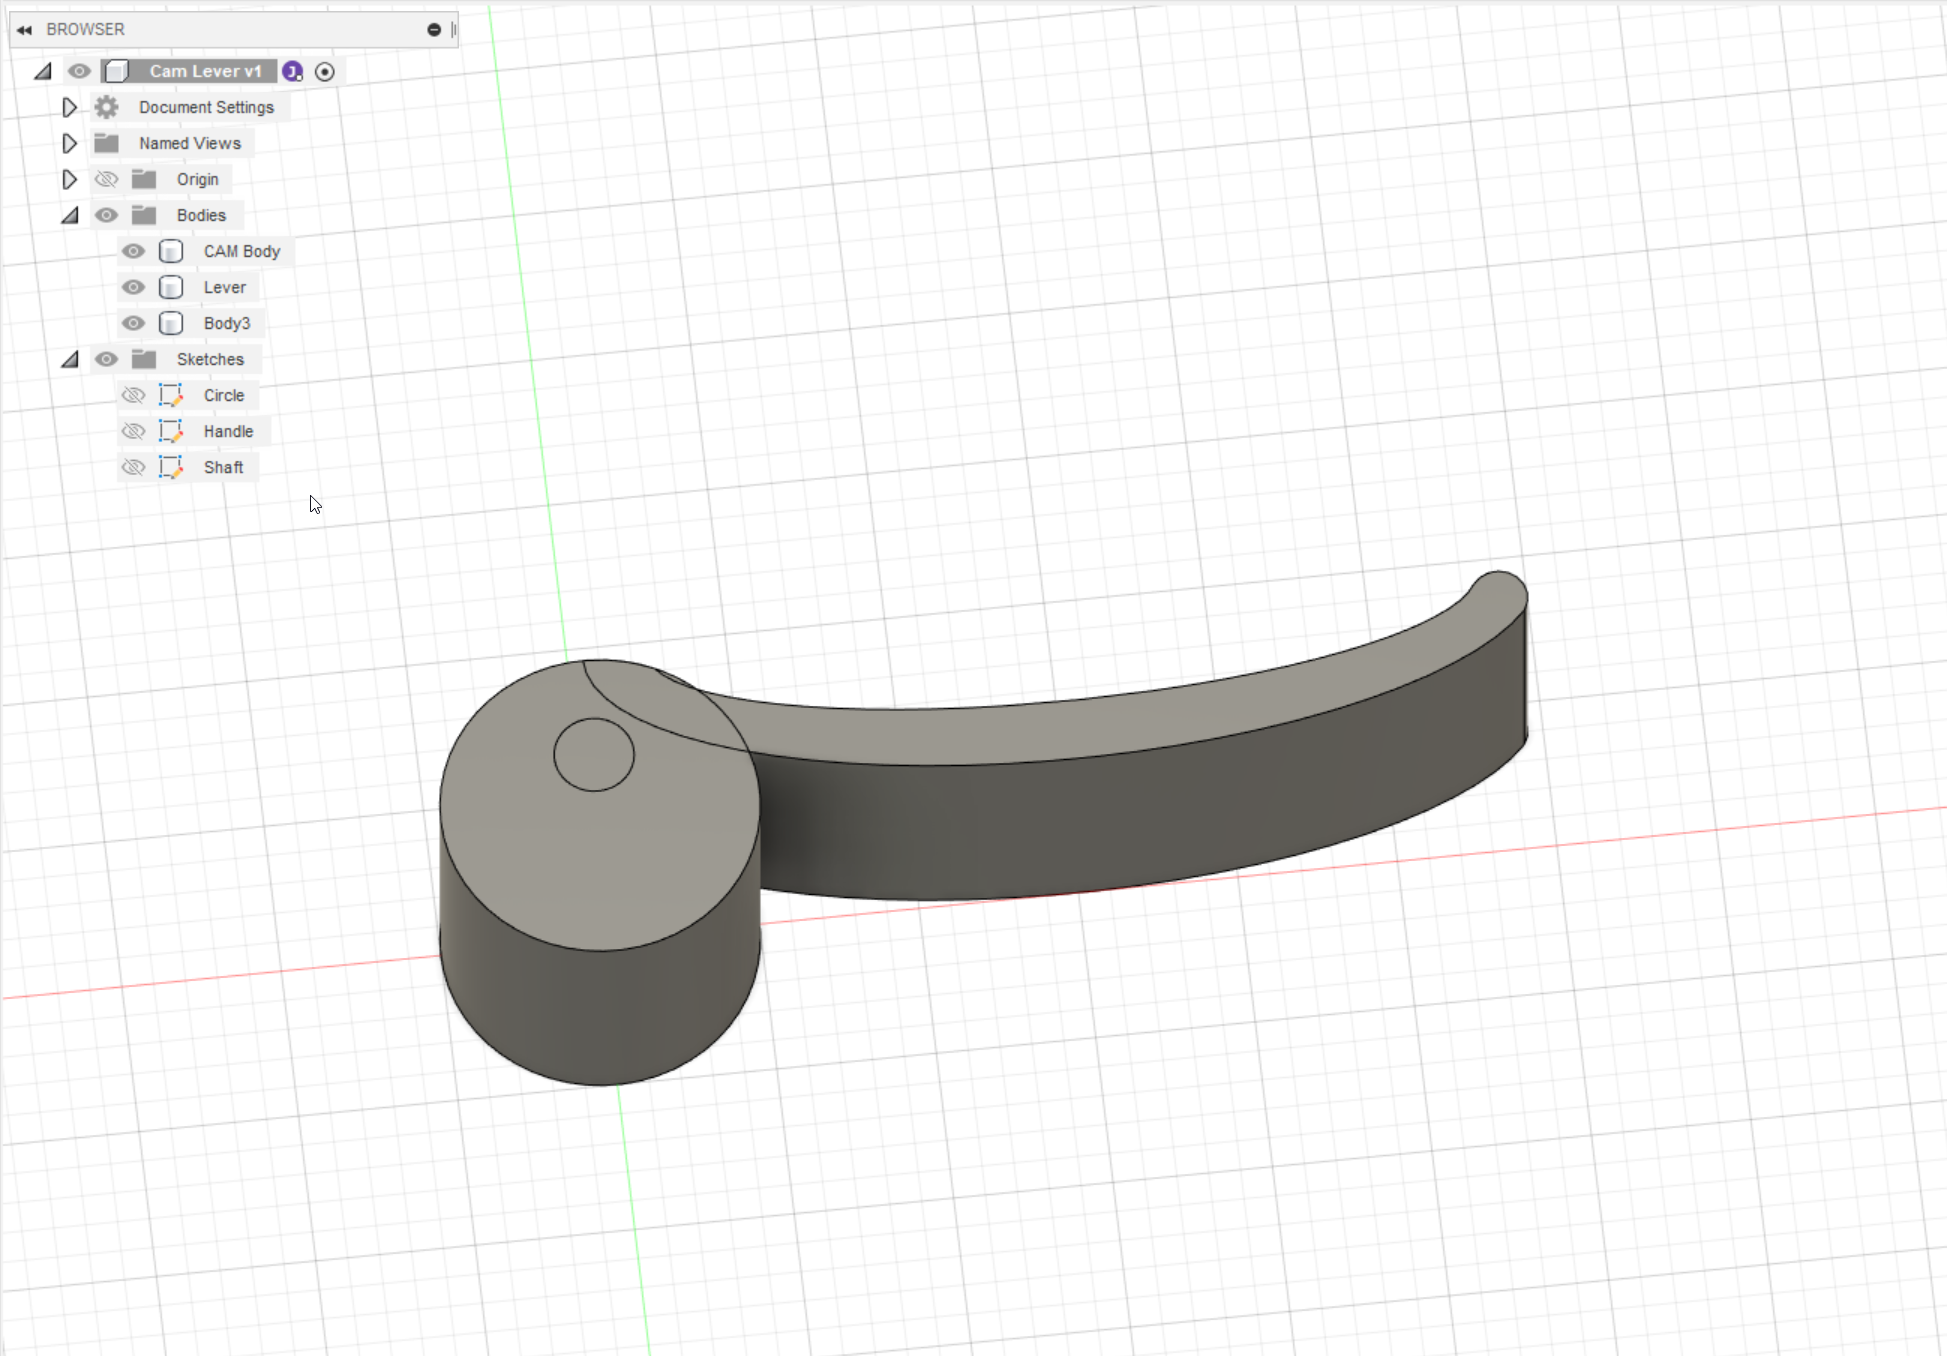
Time for CAD.Figure 1. I placed the cam-shaft hole too-far off-center. Can you tell this is my first time?
![]()
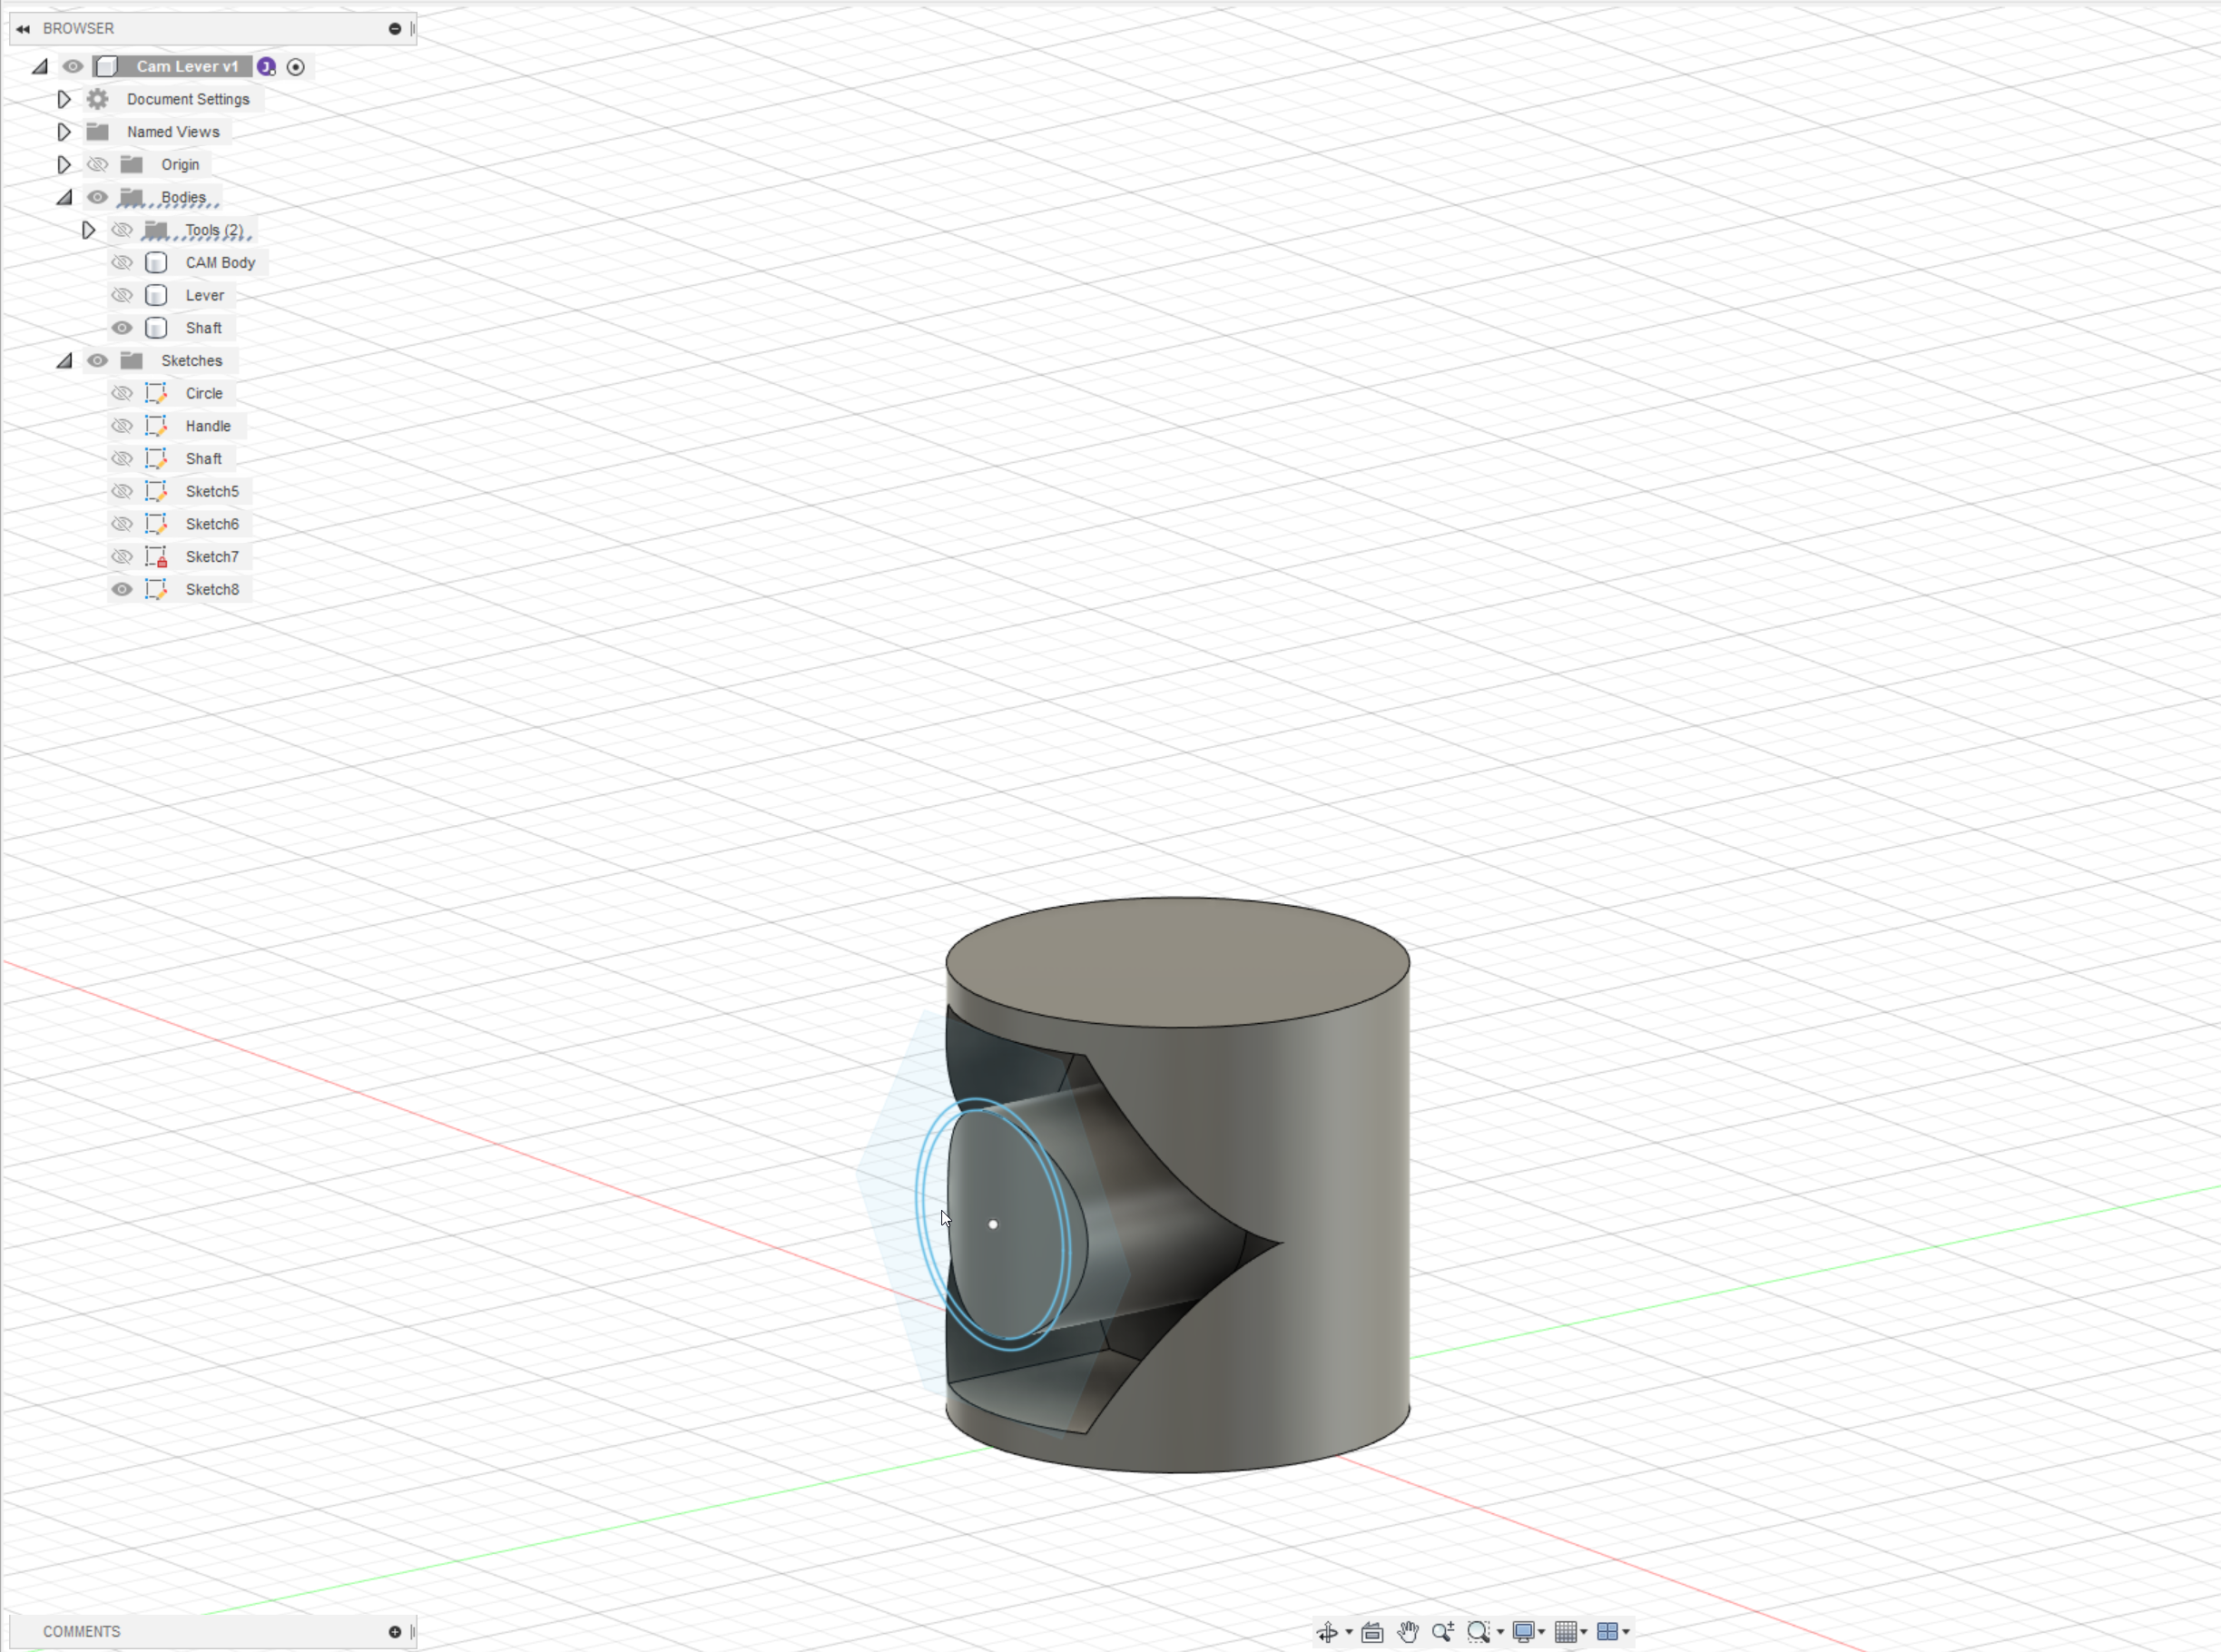
Figure 2. I'm self-taught in Fusion360, so there are always weird things that I don't understand. For example, I can't select the circular sketch here. No idea why.
![]()
Figure 3. Version 1 of the Cam Lever is ready for printing! I'll have to try it out tonight.![]()
This process took me about 2 1/2 hours.