Charles Stevenson
-
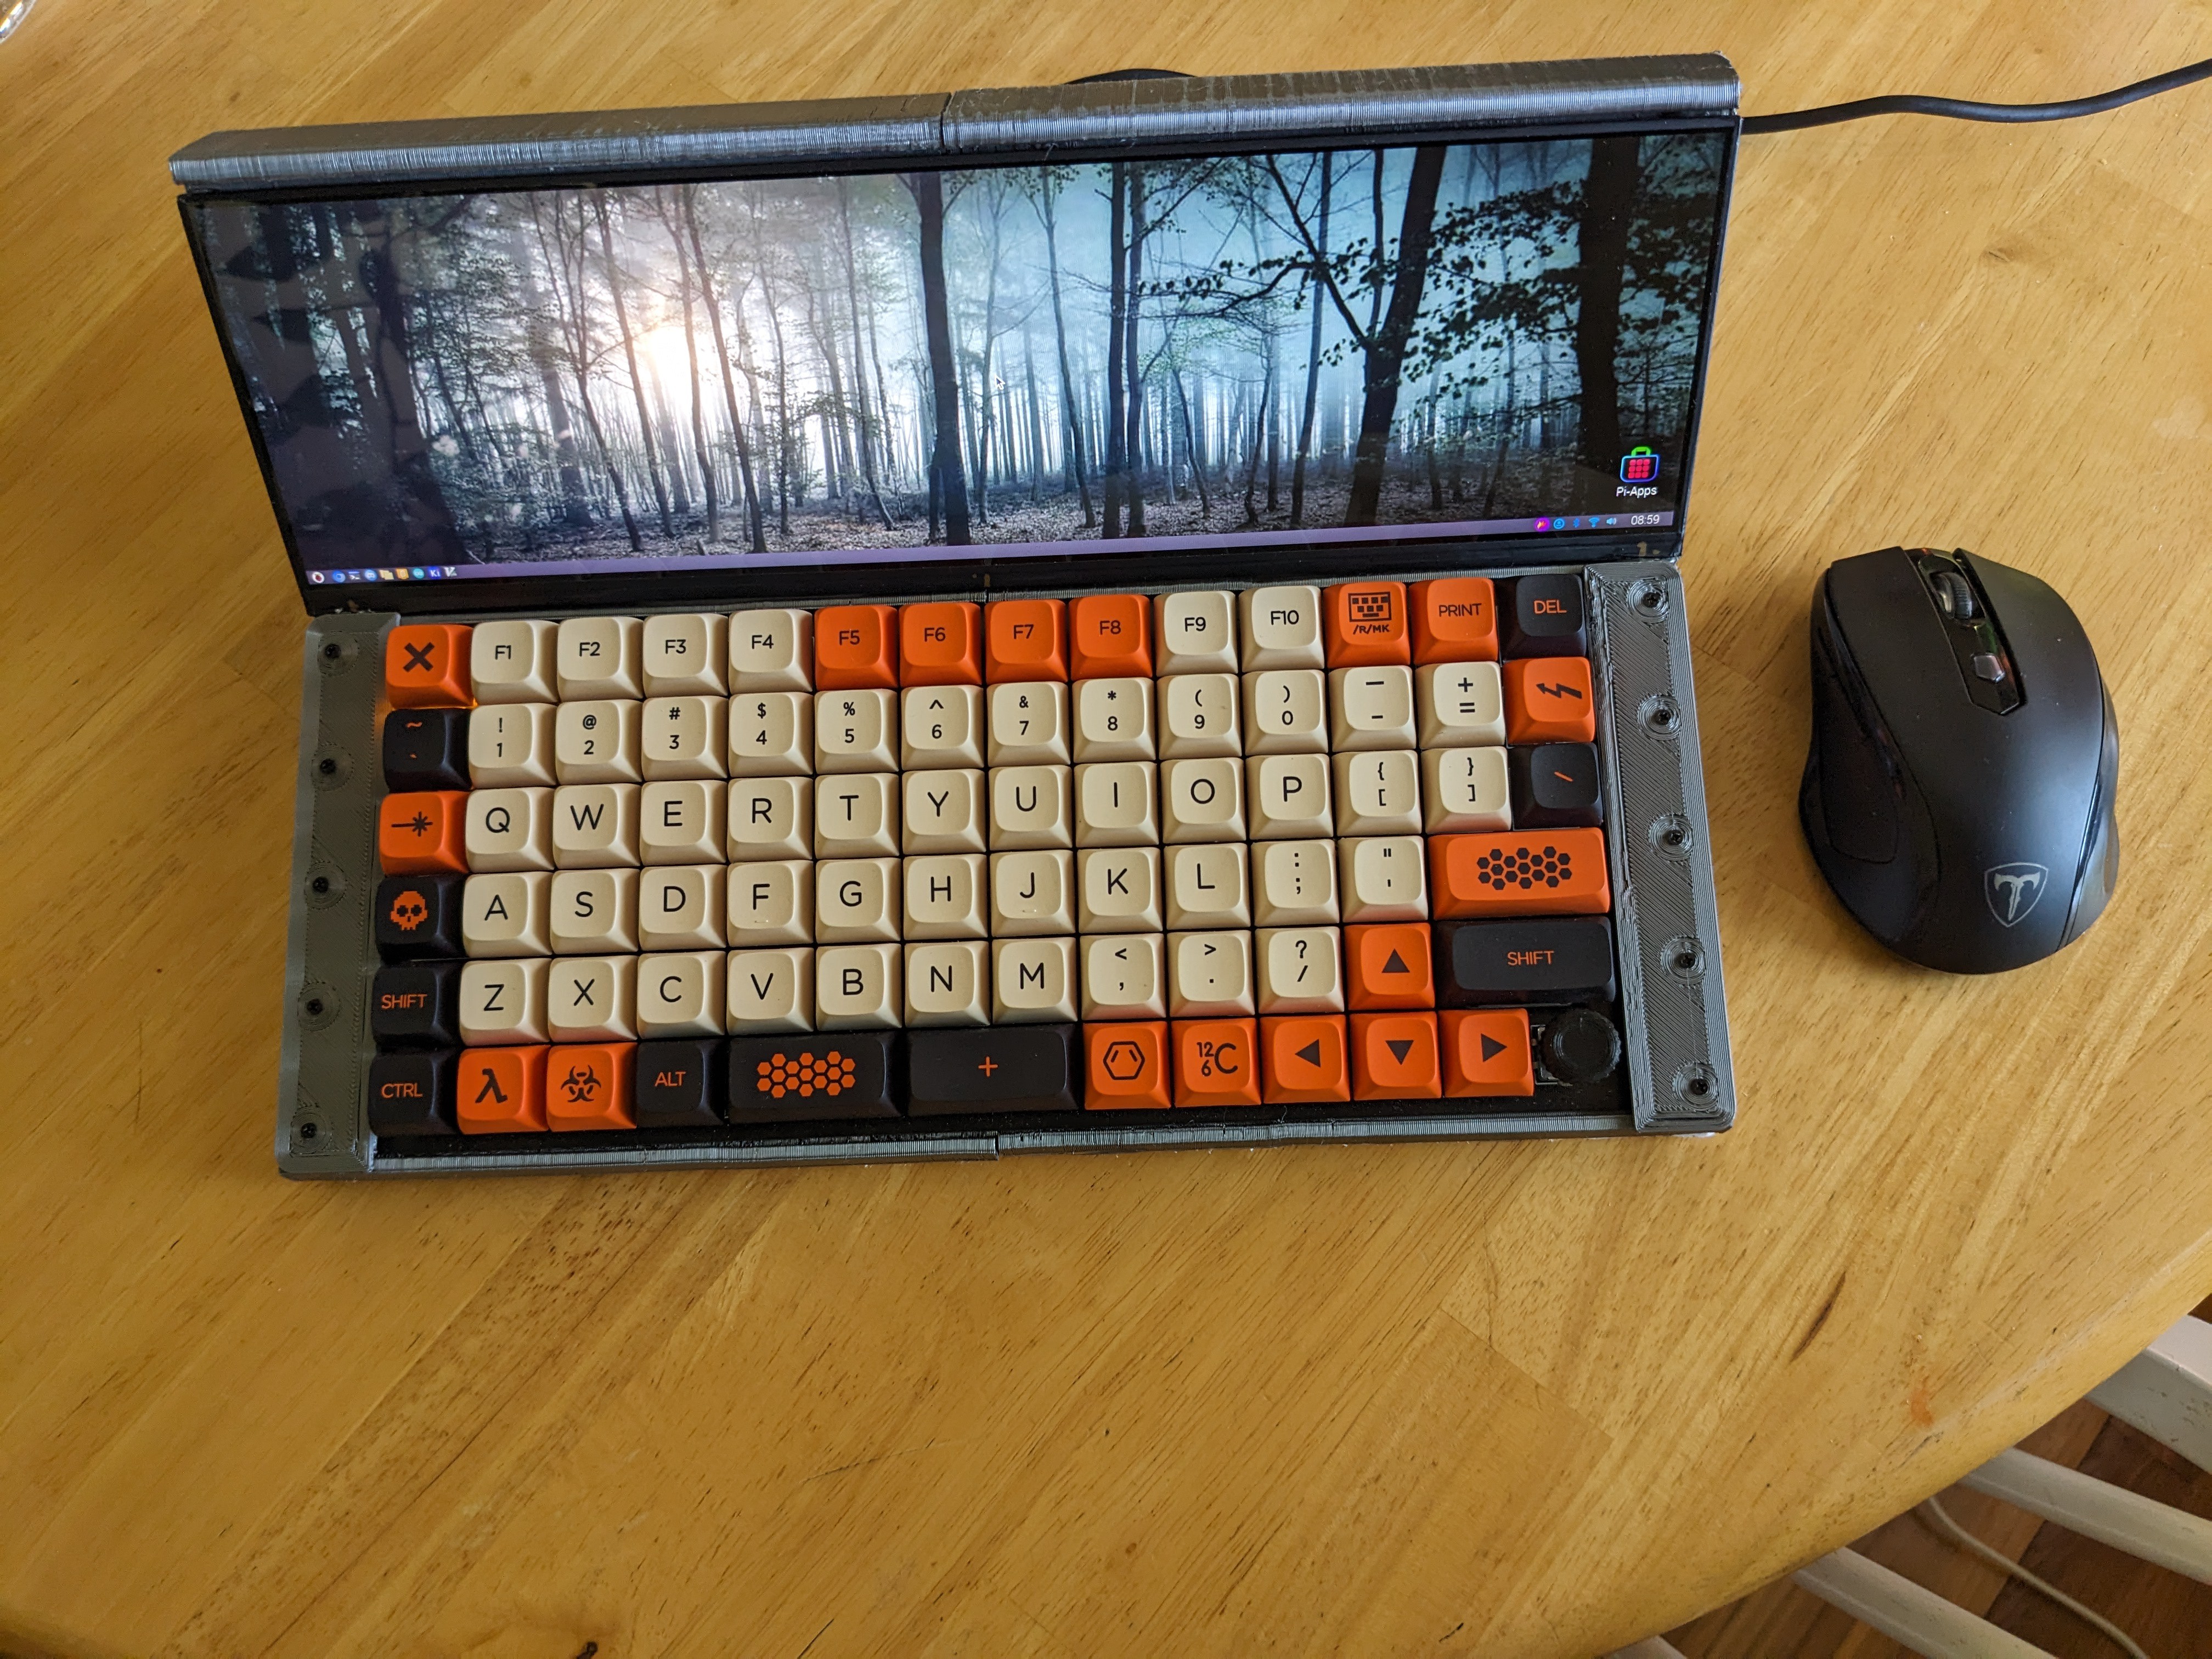
Daily Driver
06/02/2024 at 19:36 • 0 commentsI've cobbled it together enough to use daily. It's been fun playing with it the last several days. I'm hoping to redesign the case a bit eventually to get to a point where I can 3D print it without tremendous flaws and assemble it without hot glue and zip ties ;-)
![]()
![]()
-
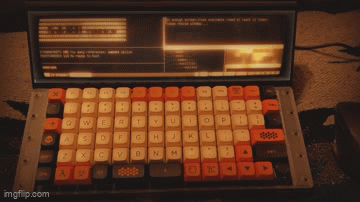
Cool Retro Term
06/01/2024 at 03:25 • 0 commentsThe app "Cool Retro Term" really brought my vision to life! When I run the app full screen it feels like I'm sitting behind the orange and black monochrome VAX/VMS terminal once more!
![]()
-
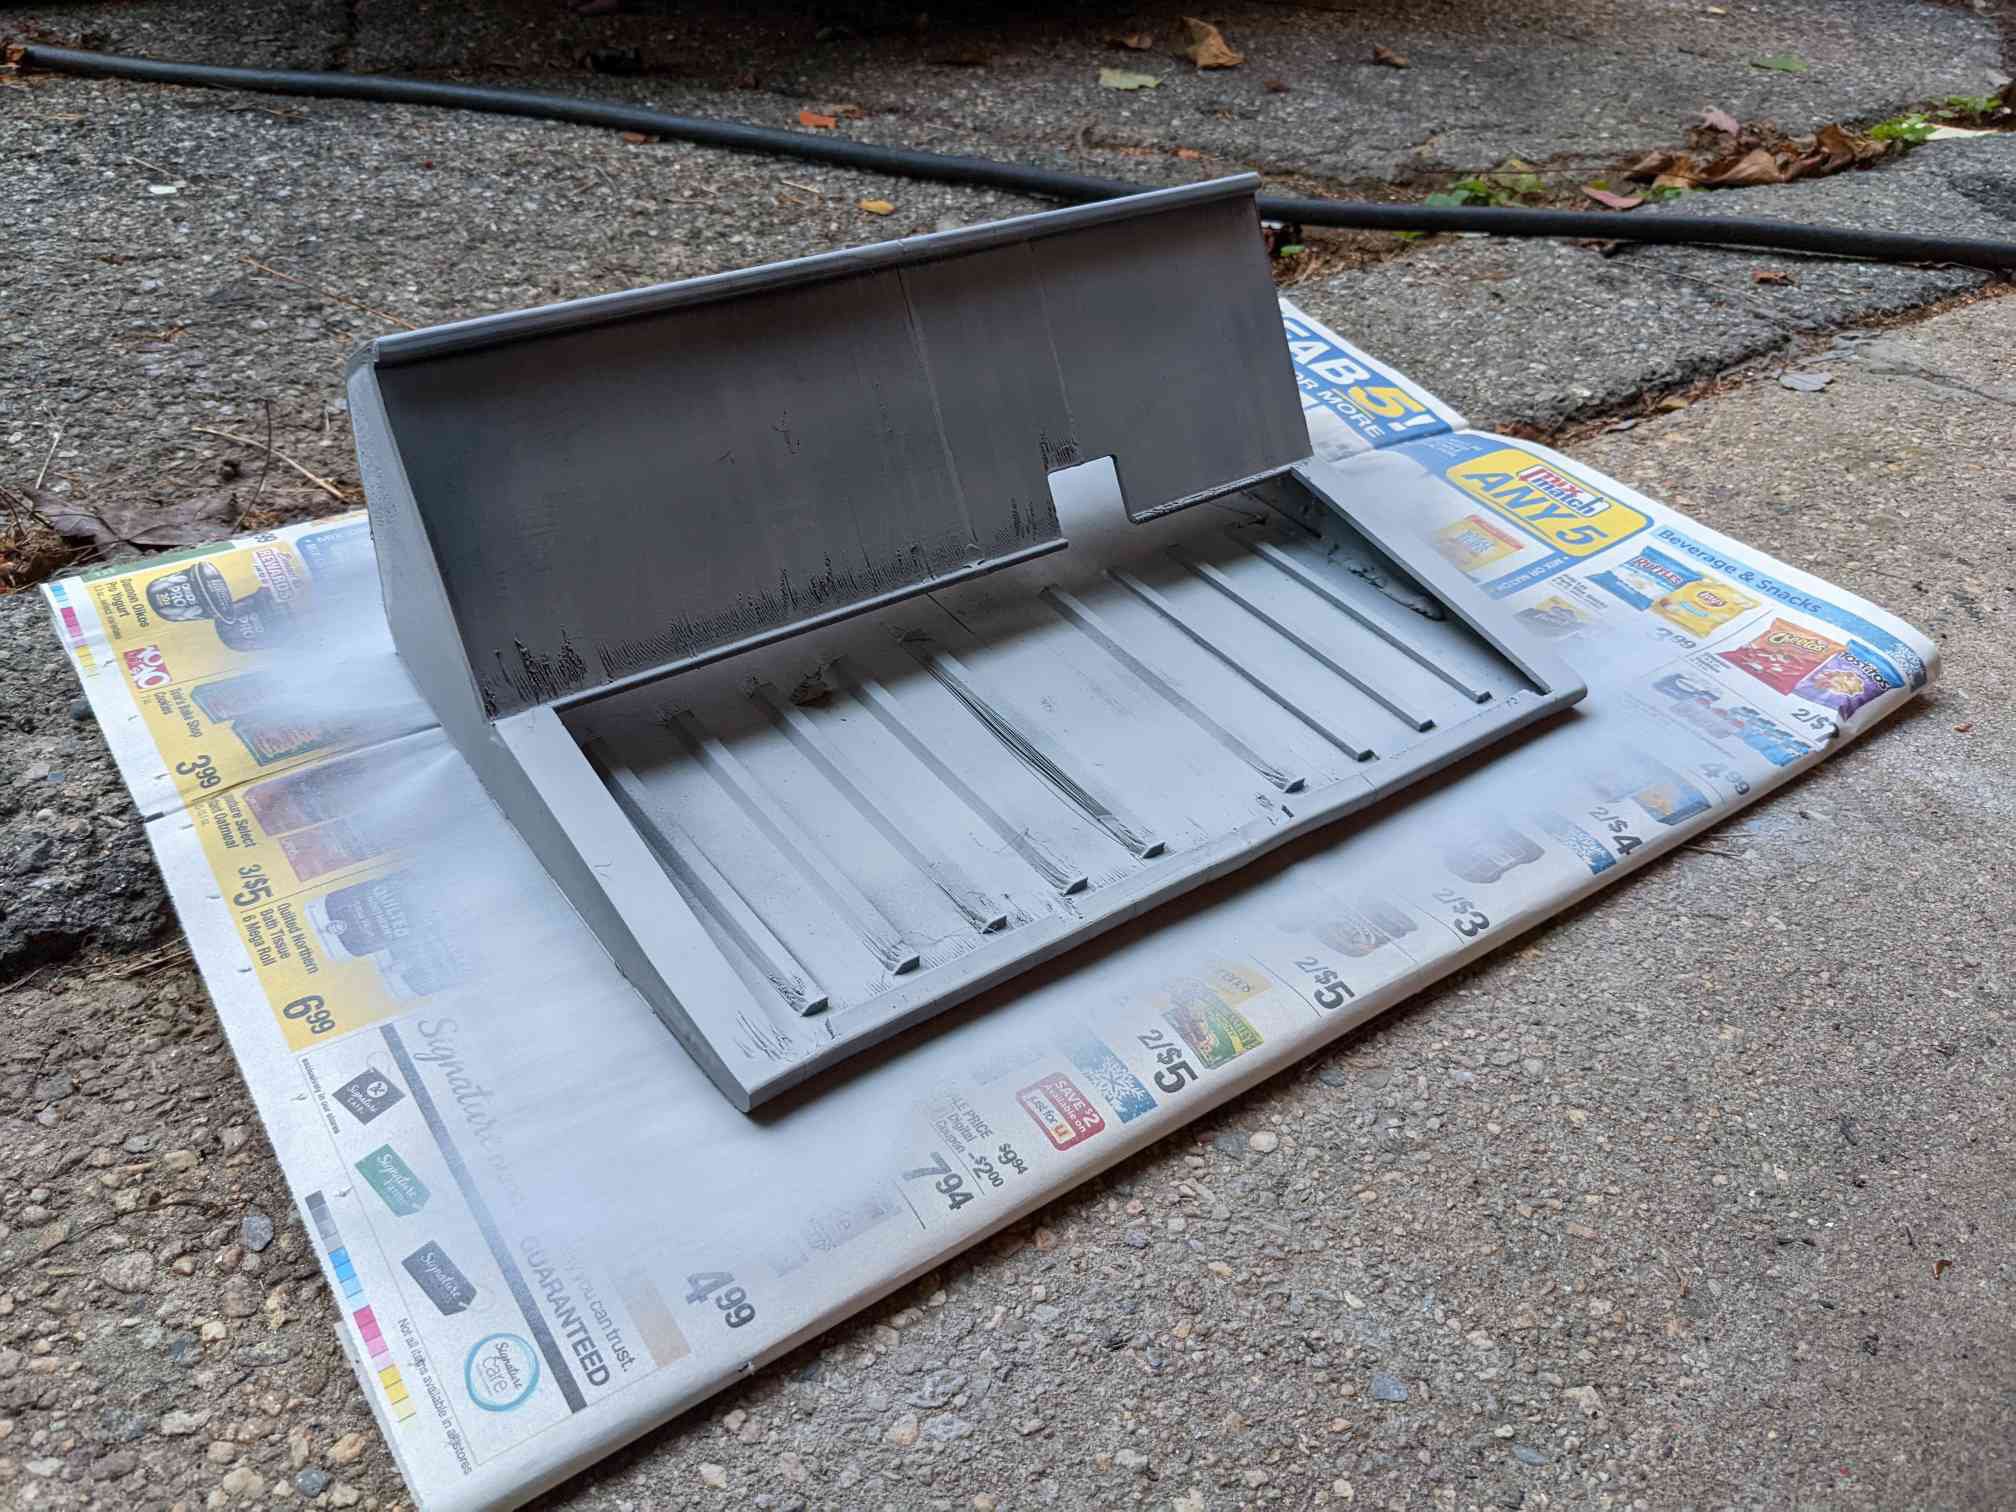
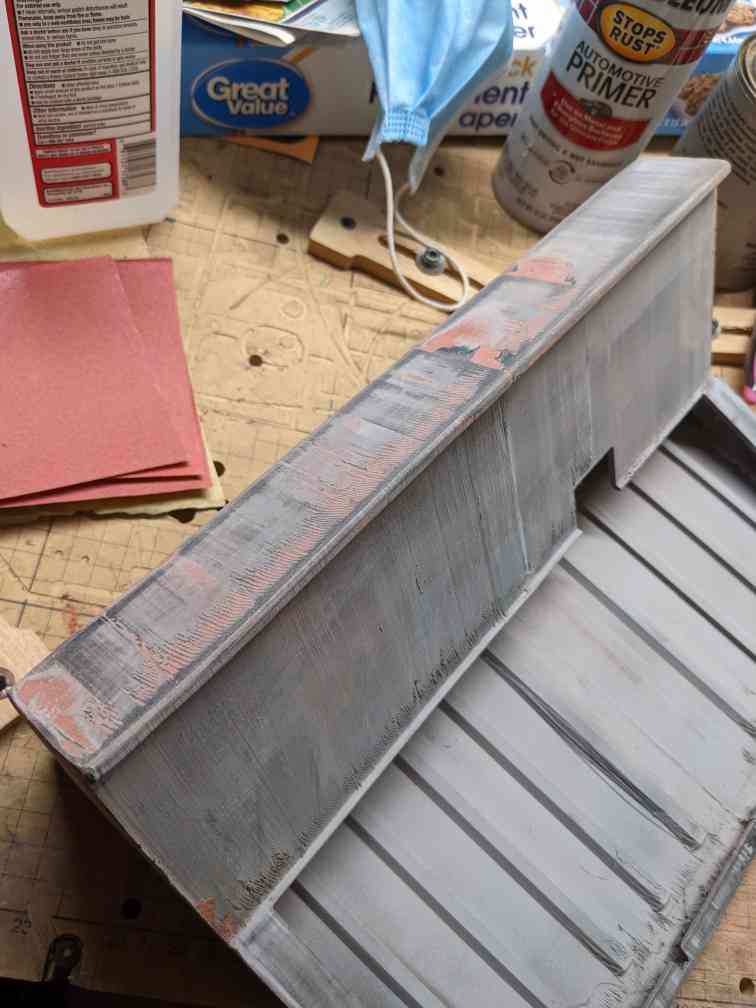
Primed and Sanded
09/29/2022 at 00:59 • 0 commentsI sprayed the PETG with automotive primer, filled some defects with spot putty, and sanded it. I've added another coat of primer. The vibration of the sander caused the epoxy to separate from the PETG along a few glue lines which is disheartening to me. I'll try gluing it up again tonight and painting it tomorrow. I'm thinking of using automotive undercoating which is a rubberized durable coating. I also found a can of orange paint that might go well with the keycaps.
![]()
![]()
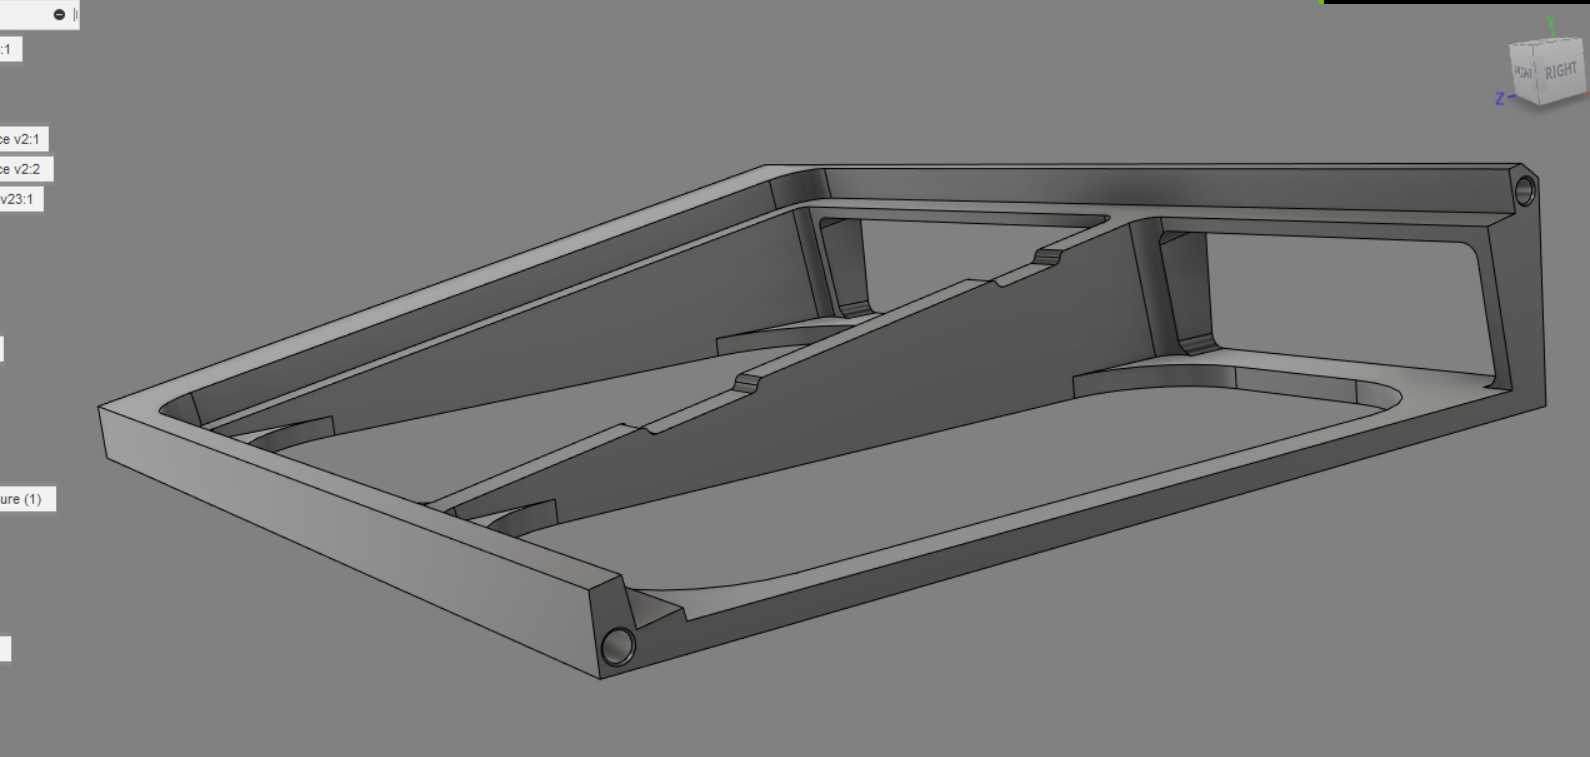
As a backup plan and hopefully something that will come out better I started tinkering with the design as something I could print entirely on the resin printer in 4 pieces that would glue together. Lessons learned from the FDM experiment show that some sort of rods/pins between the segments would be helpful so I've added holes for 3mm carbon fiber rod. Lychee slicer said 4 hours and the Photon Mono SE says 7 hours. I guess either way when I wake up I might see something like this with any luck! I am thinking of using the CNC to cut either plexiglass or fiber-reinforced plastic as a bottom plate.
![]()
Edit: forgot to upload the F360 screenshot
-
Cured!
09/27/2022 at 00:15 • 3 commentsWell.. the epoxy cured overnight and I did a tiny bit of sanding. There are some significant surface defects from the print warping, layer lines, etc that will need to be filled and sanded. With some body work and paint it might just look good! Tomorrow I'll go on the hunt for filler putty, primer, paint, and fresh sandpaper...
![]()
-
Epoxy Time!
09/26/2022 at 00:59 • 0 commentsGetting a late start to the log... You've missed all the design steps thus far. I've really struggled with designing a case that could be 3D printed and easily assembled and upgraded. This is the first draft printed in 3 pieces because of the Z axis limitations of my good printer. Experienced some warping and corners coming off the bed... Need to learn more about how to go about designing for 3D printing and DIY assembly. Got any tips??
For now I'm joining them together into a monolithic piece of plastic. The LCD will be VHB taped to the case. The Orthopi keyboard will drop in and sit on resin printed stabilizers/supports. See what the glue looks like in the morning. If it's a total fail then I'm back to the drawing board in Fusion 360 and/or fighting my printer.
![]()
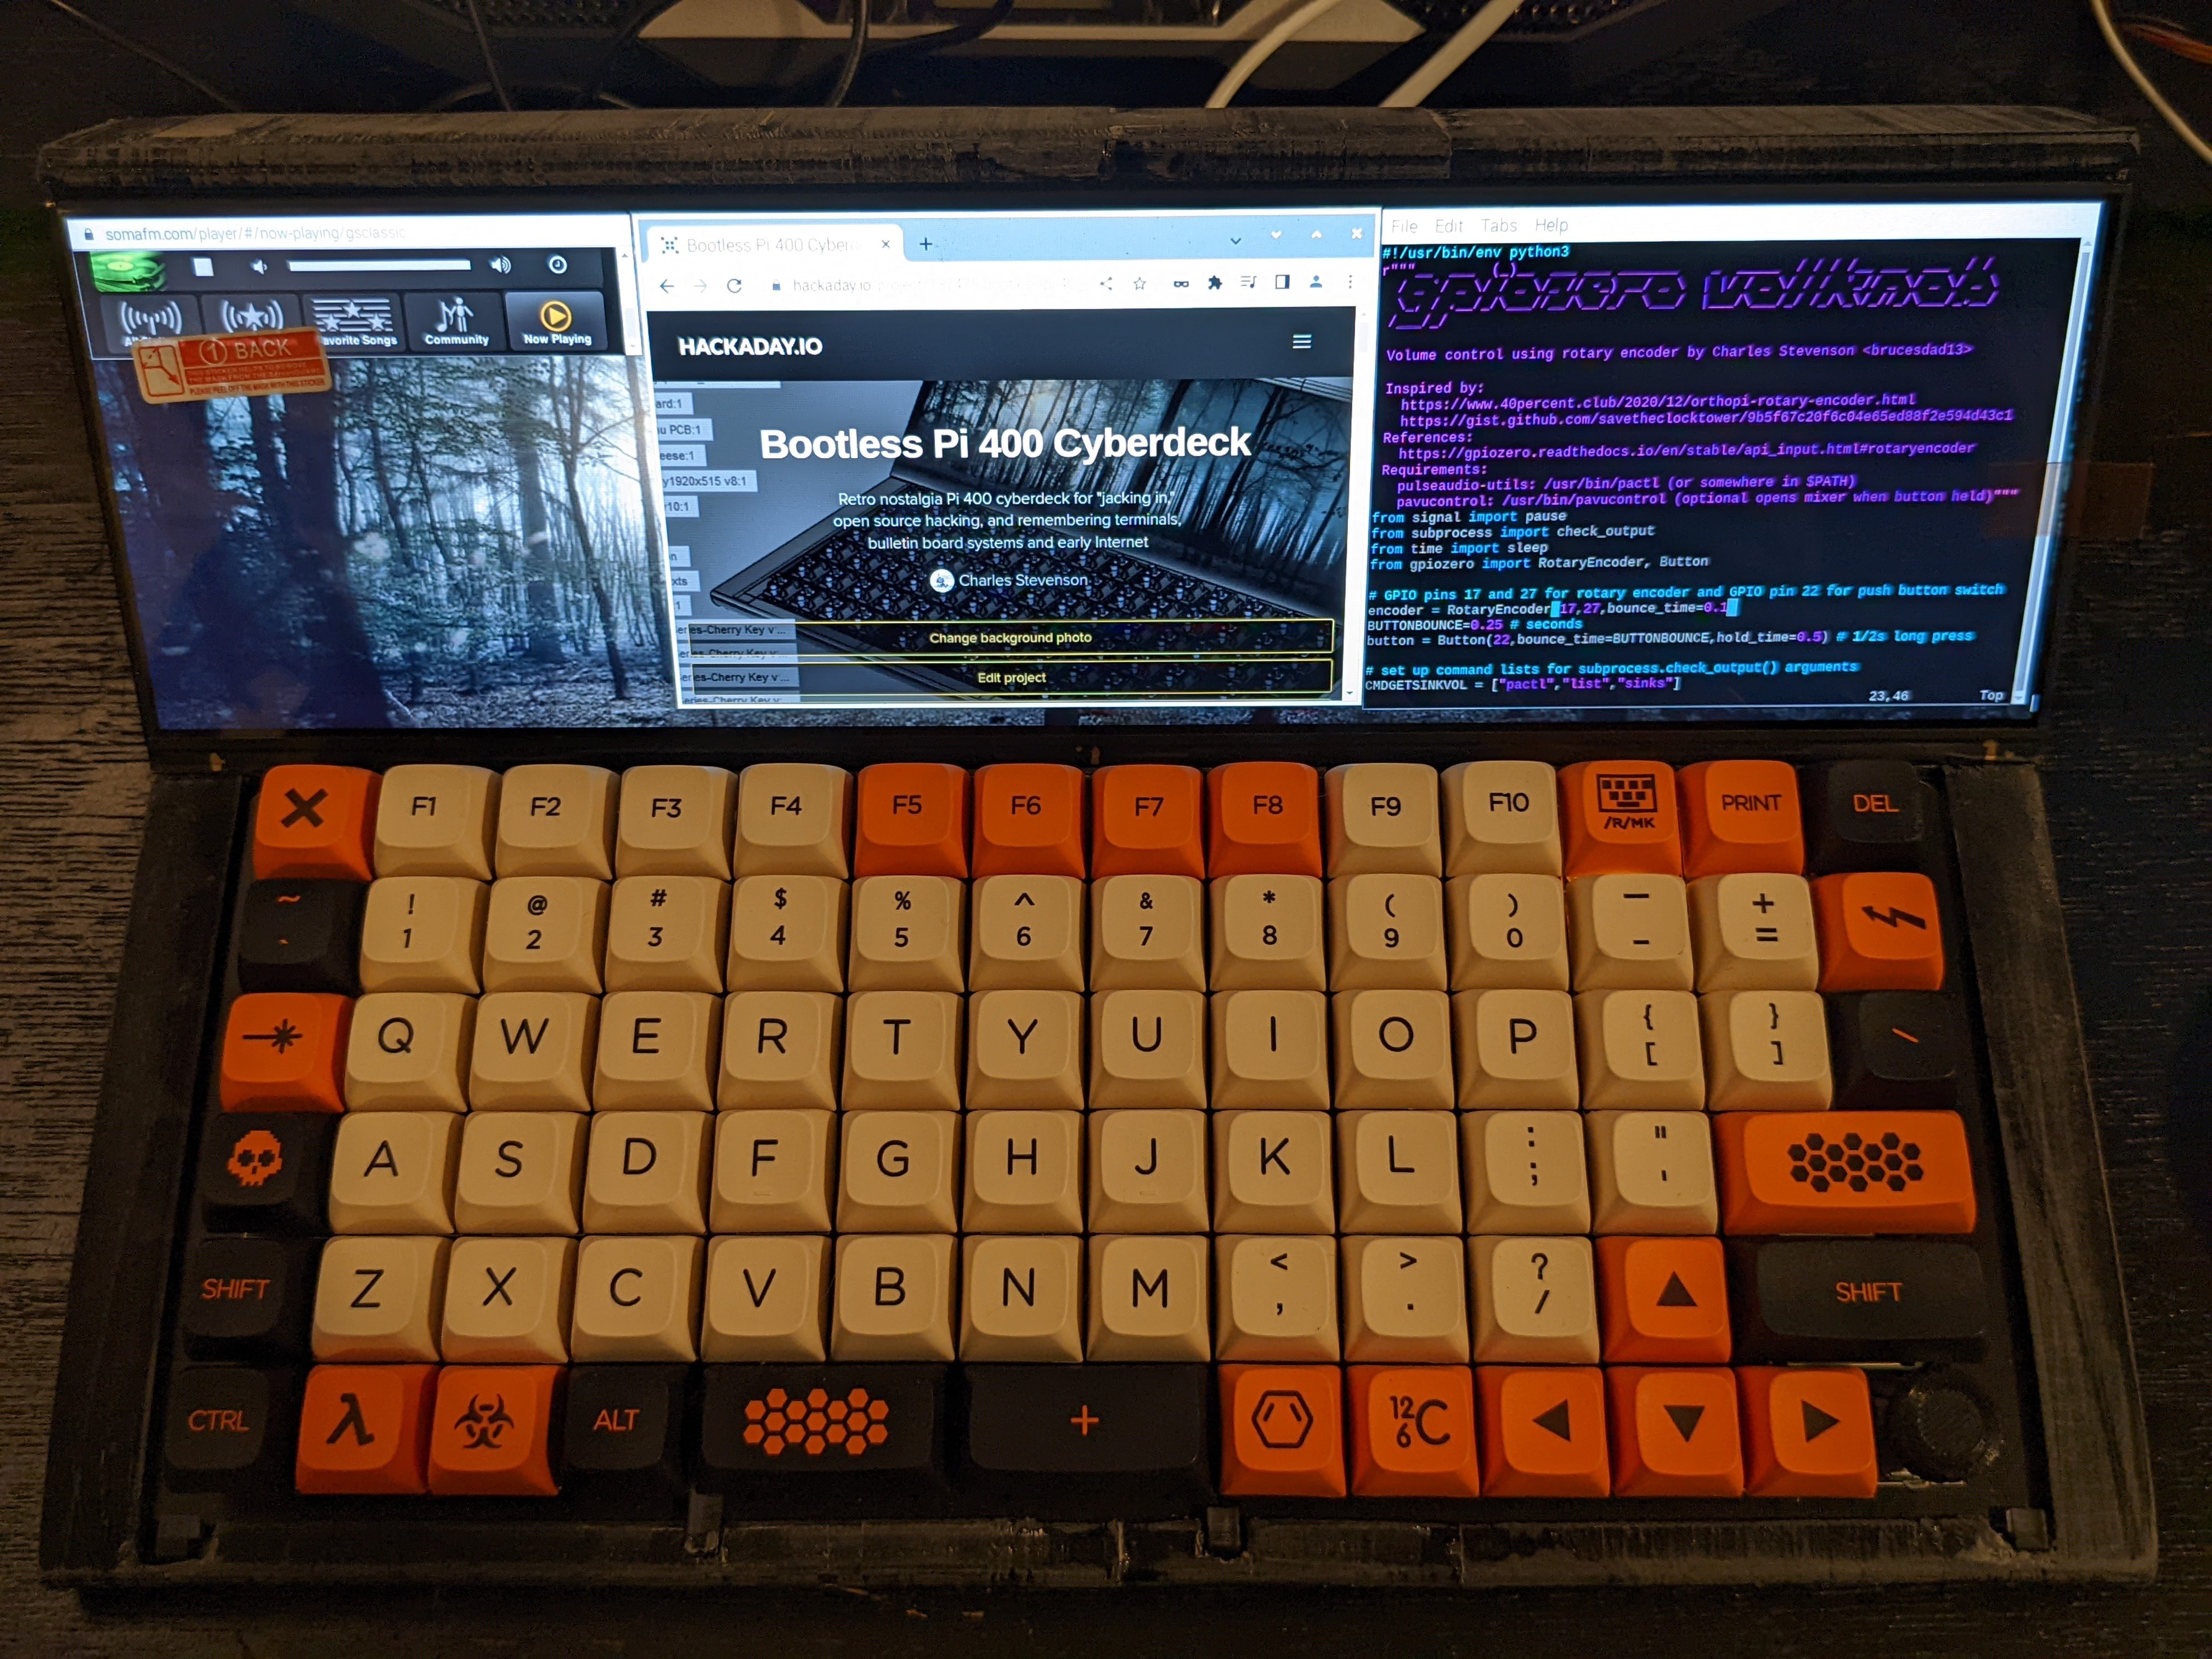
Bootless Pi 400 Cyberdeck
Retro nostalgia Pi 400 cyberdeck for "jacking in," open source hacking, and remembering terminals, bulletin board systems and early Internet