Close
0%
0%

Hack-in-the-box

A cardboard cyberdeck, decoupaged with an old comic book

Similar projects worth following
734 views
0 followers
I've been a cyberdeck enthusiast ever since they started appearing on Hackaday. I had a lot of cyberdeck components in my box of tricks that I collected through the years.

The cyberdeck I wanted to build would've been shaped like a Toshiba T1100. The case would've been a custom 3D printed job. It would've been black. It would've been rugged. There would've been neon lights shining from it. Unfortunately it might've been too ambitious, and it never got off the ground.

Then the apocalypse happened in 2020. The lockdowns left me with lots of time on my hands. I had just moved into my new home, so I also had a lot of cardboard boxes lying around.

One day inspiration struck: I could build the cyberdeck from the cardboard boxes lying around.

Then another bit of inspiration struck: I could decoupage it with an old comic book

When I saw that there was a category for "Post-Apocalyptic Cobbledeck" I knew it had found its niche.

Description

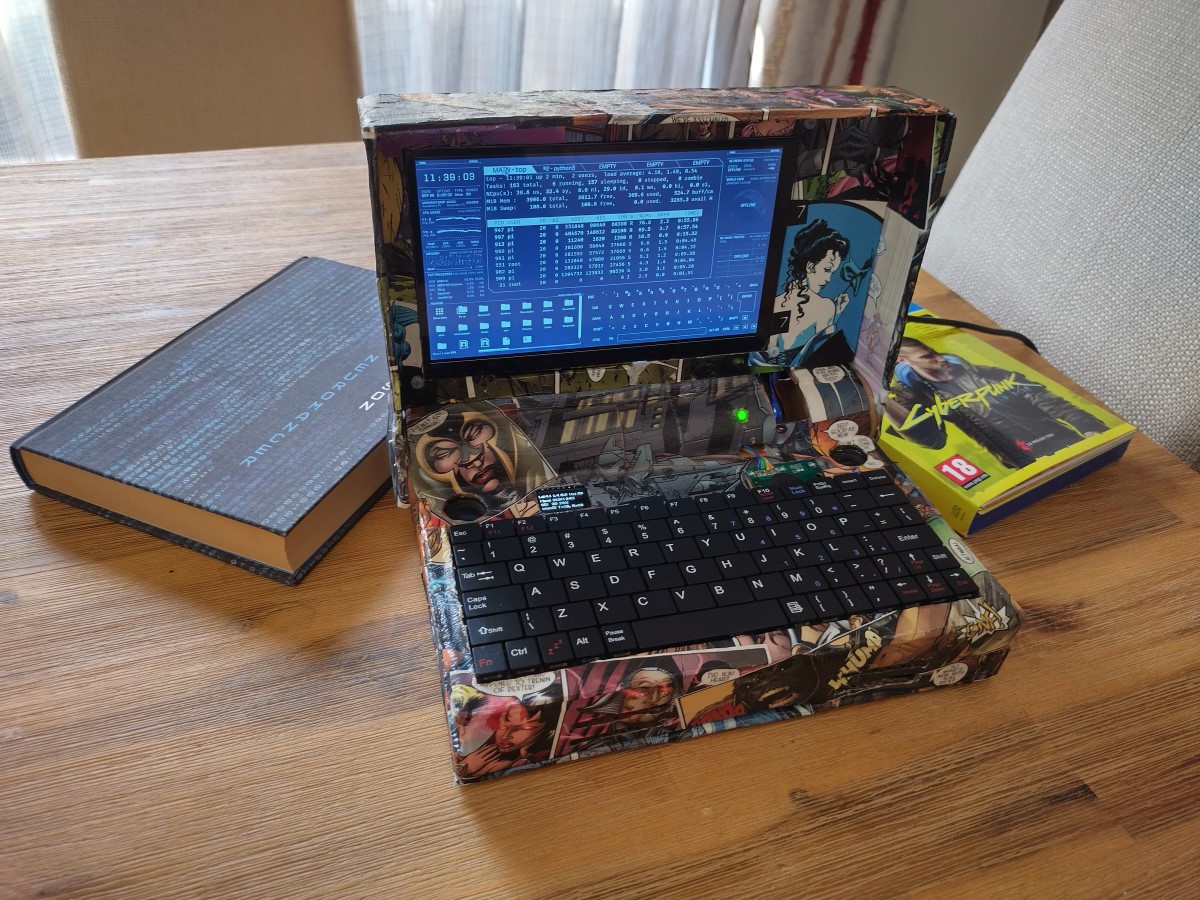
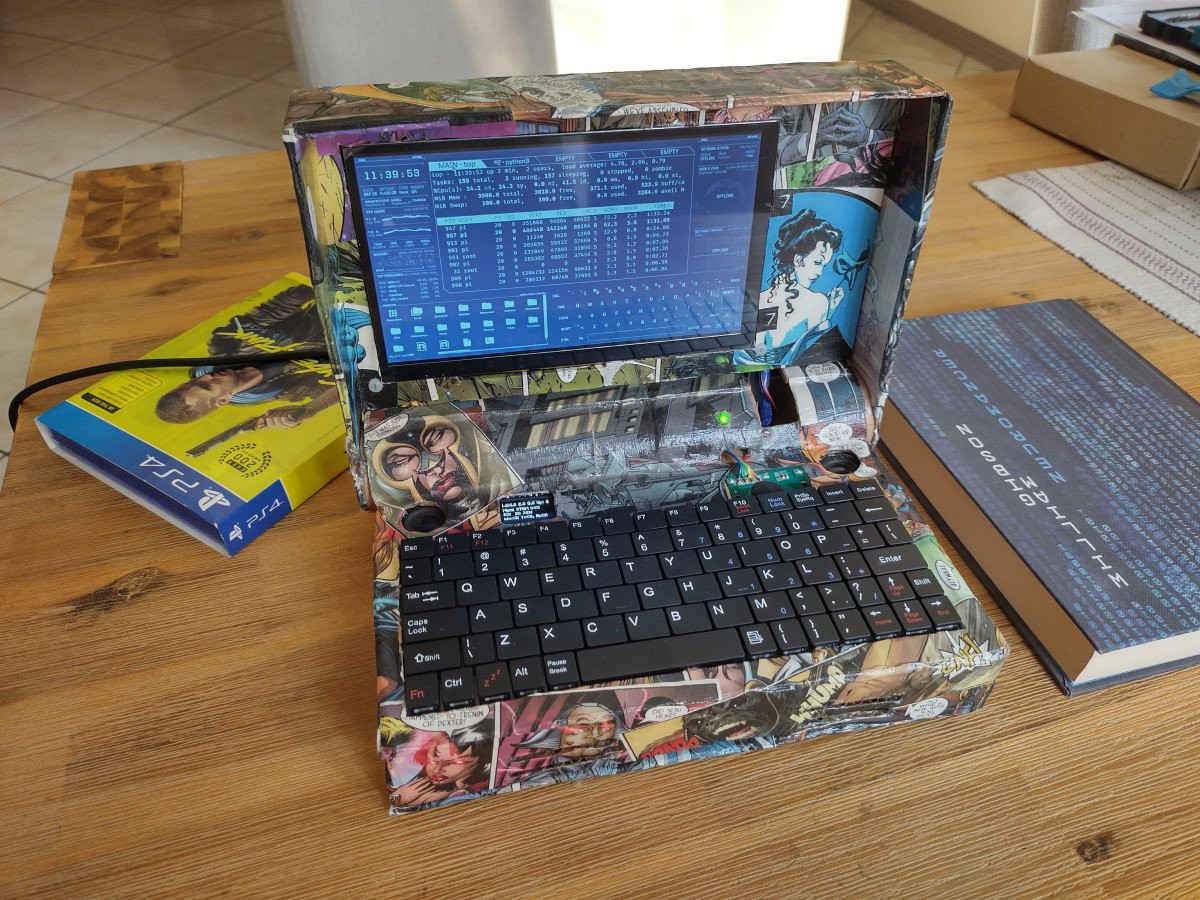
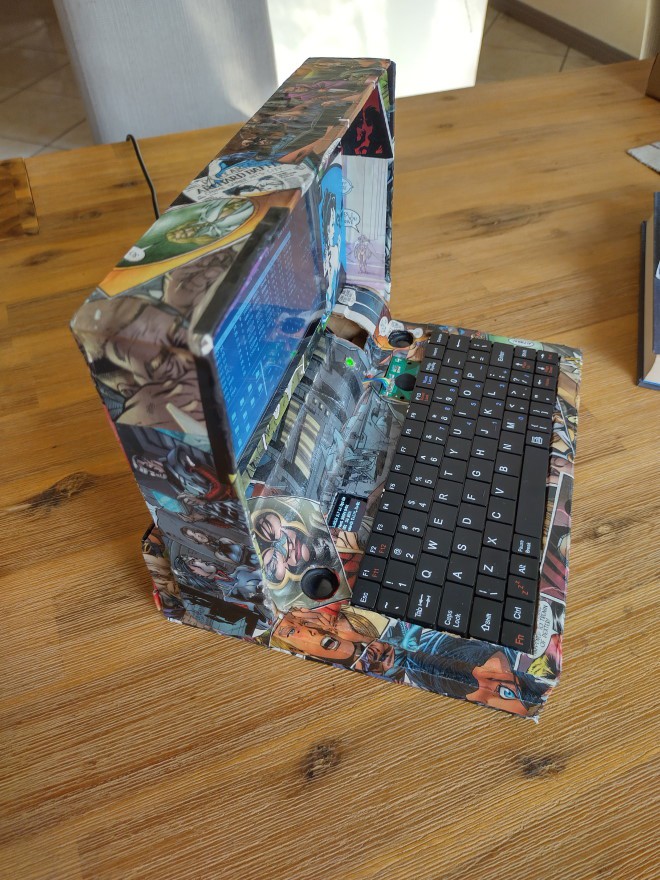
The Hack-in-the-Box is a Raspberry Pi 4-based Cyberdeck built from cardboard boxes.

It has

  • a 7" touch screen display,
  • a Qwerty keyboard scavenged off of a tablet cover
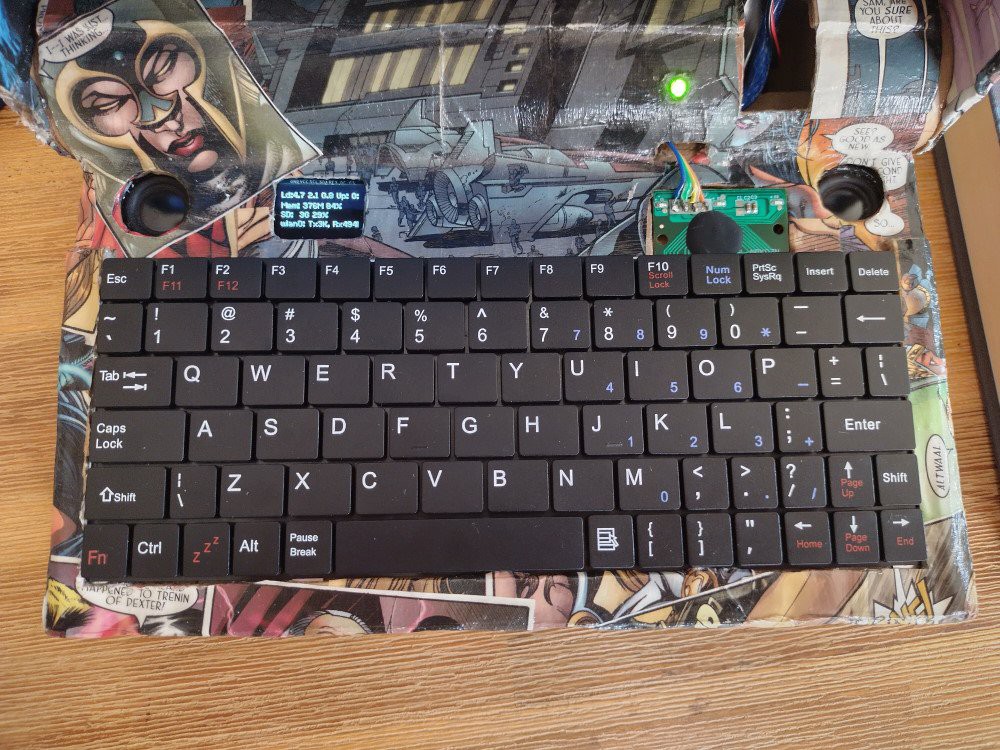
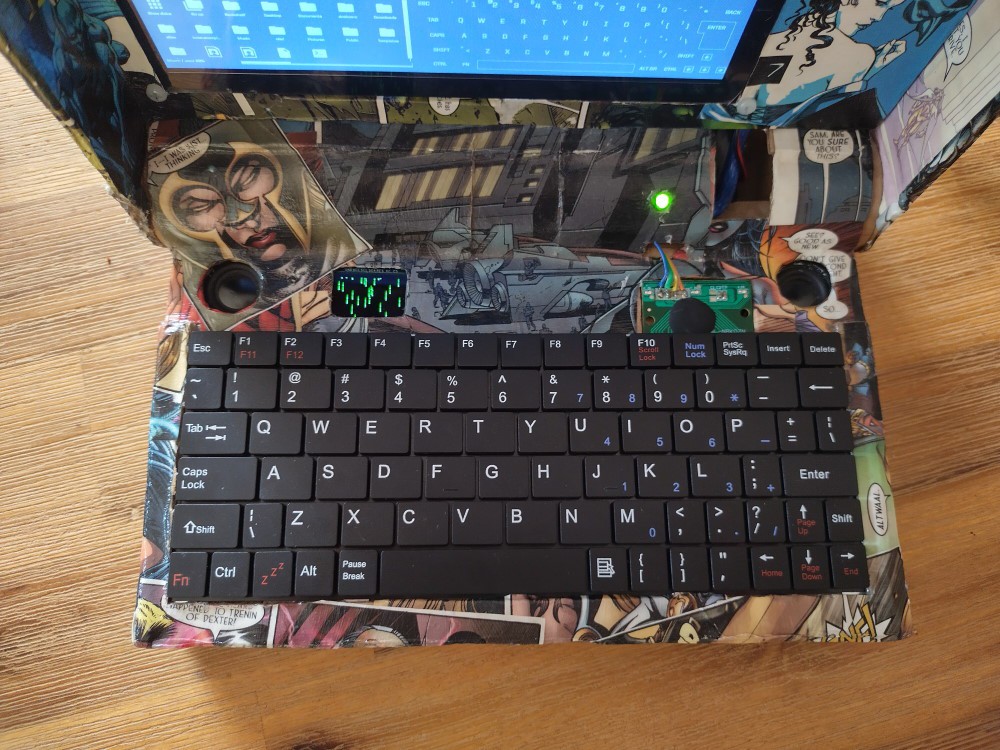
  • a small 0.95" OLED display above the keyboard
  • an audio amplifier and 2 3W speakers

Here it is posed next to the two most cyberpunk things in my house: my copy of Neuromancer and the PS4 edition of Cyberpunk 2077 I pre-ordered in an impulse purchase:
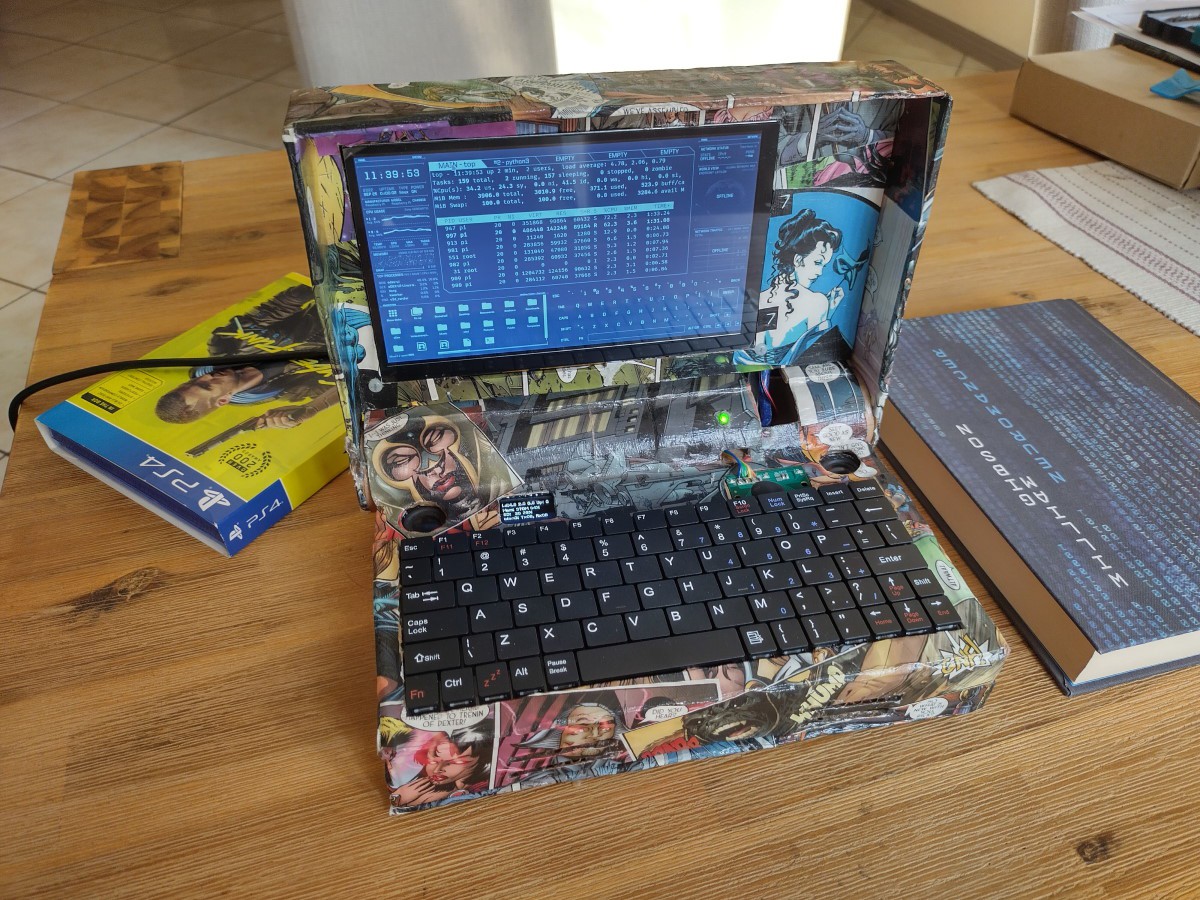
Here it just runs Raspbian, with the eDEX-UI terminal emulator.

The OLED display is connected to the Raspberry's SPI interface that can be used to any additional information you might be interested in. I've been using the luma.oled library to drive it from Python, but the interface is fairly well documented.

Bill of Materials

  • A Raspberry Pi 4
  • Screen: GeeekPi 7" 1024x600 Capacitive Touch Screen.
  • The keyboard is a "Volkano tablet cover 7" with USB Keyboard"
    • I had a note of where I originally bought it, but the link is now occupied by a domain squatter.
    • A web search for those terms yields the correct product, but I cannot vouch for any of those sites
  • 0.95" color SPI OLED display
  • This is the specific amplifier: PAM8403 Super Mini Digital Amplifier from Aliexpress - It is a very simple PCB based on a PAM8403 IC.
  • These are the speakers I used: 4R 3W 23MM Round Speaker also from Aliexpress.
    • Unfortunately they're also listed as unavailable
  • This cooling fan DC 2Pin Mini 3010 Cooling Fan
  • These heatsinks: 2 Pieces/Lot Aluminum Copper Cooling Cooler Heat Sink Heatsinks For Raspberry Pi
  • A variety of USB connectors, mostly USB-A
    • The keyboard has a USB-B connector, so it must be replaced with a USB-A connector to plug in to the Raspberry Pi.
    • The box has a female USB-A connector on the side where a mouse or a memory stick can be plugged in. On the other side of that cable is a male USB-A connector that plugs into the Raspberry Pi
    • The cable for the touch screen has a USB-B connector that goes into the screen and a USB-A connector that plugs into the Raspberry Pi
    • The screen is supplied 5V through a USB-B connector.
    • A male USB-C connector which will run from the power supply to the Raspberry
  • A reasonably flexible but short HDMI cable to connect the screen to the Raspberry Pi
  • A generic HDMI Female To Micro HDMI/TYPE D Male Plug Adapter
  • Wires
  • Vero board
  • Hot Glue
  • An old comic book
  • Mod Podge
  • Nylon laptop screws and standoffs
  • Some off-brand toy bricks

  • 1 × Raspberry Pi 4
  • 1 × GeeekPi 7" 1024x600 Capacitive Touch Screen
  • 1 × Volkano tablet cover 7" with USB Keyboard I stripped the keyboard out of this
  • 1 × 0.95" color SPI OLED display Displays additional system information
  • 1 × PAM8403 Super Mini Digital Amplifier a very simple PCB based on a PAM8403 IC.

View all 8 components

  • Photos

    Wernsey09/27/2022 at 17:48 0 comments

    Views from the front:


    View from the top,  showing the OLED display:

    The system info from Luma.oled's examples:


    The Matrix demo:

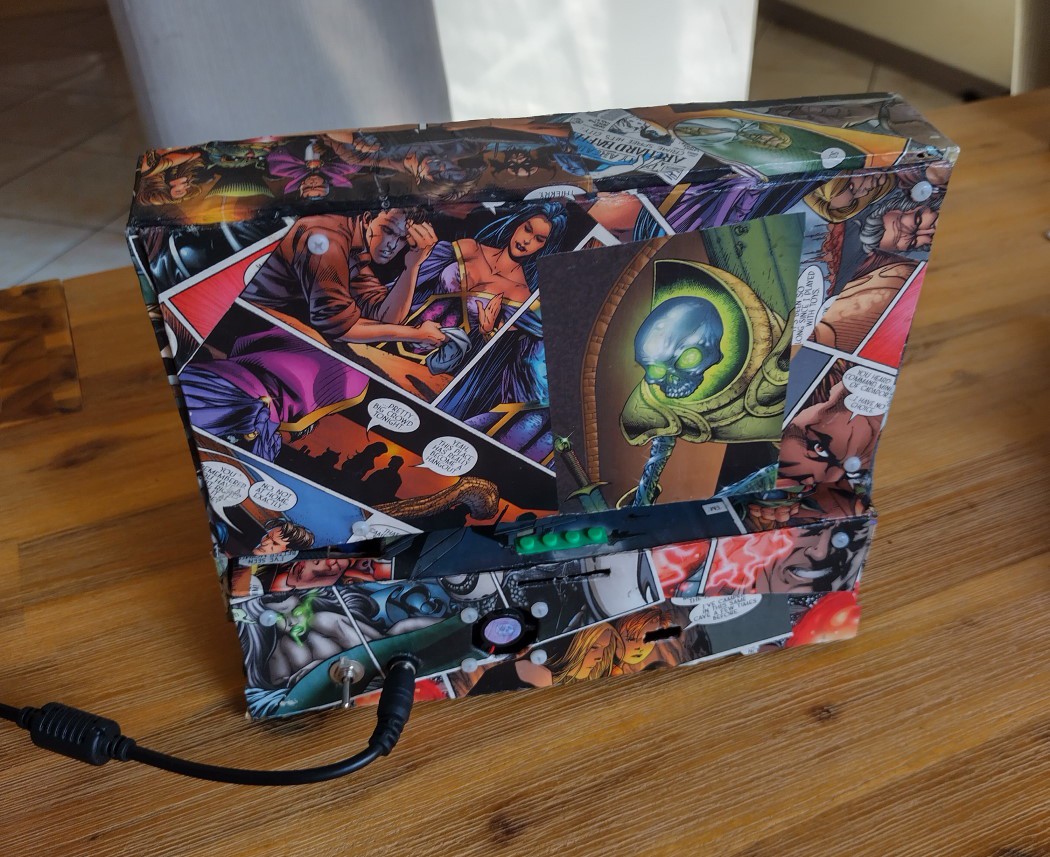
    View from the rear:

    View from the side:

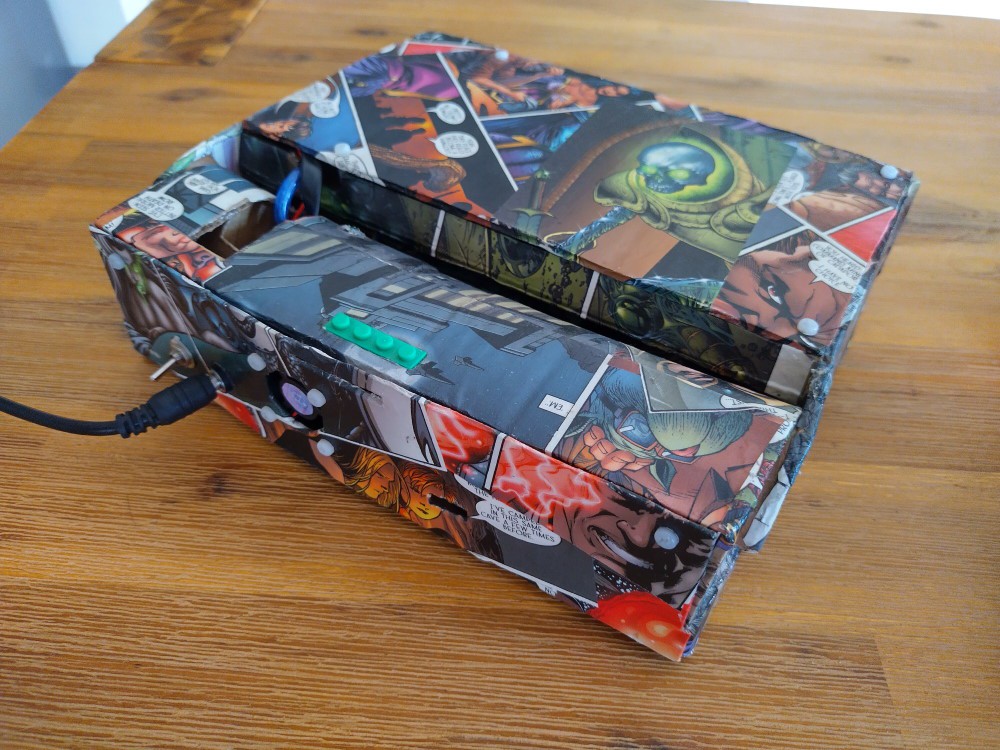
    View from the top with the lid closed:

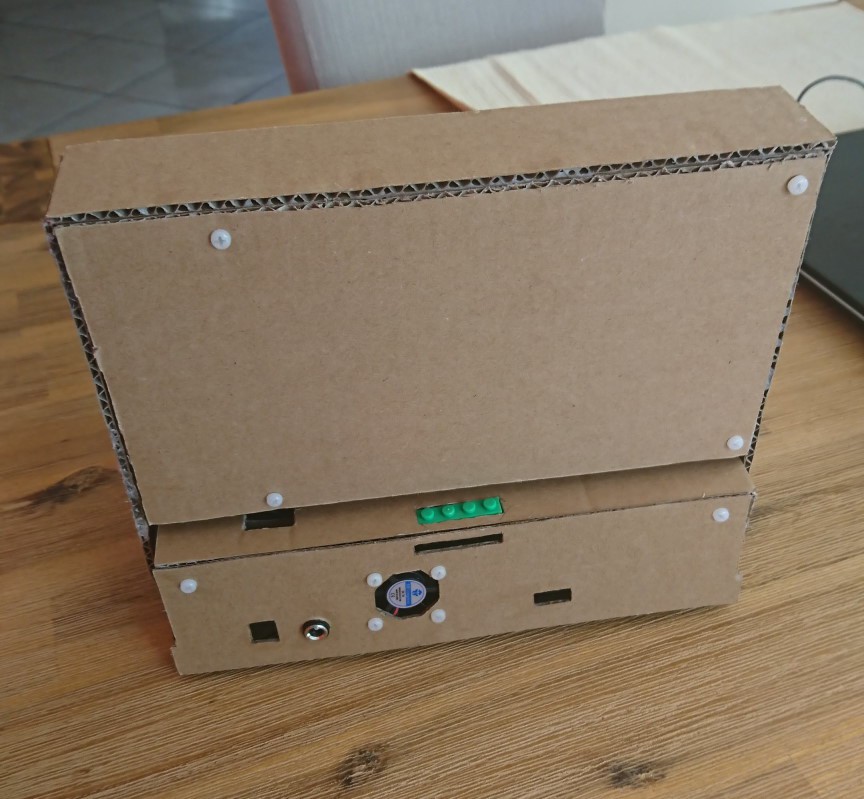
    View from behind with the lid closed:

  • Assembly

    Wernsey09/26/2022 at 17:42 0 comments

    The cyberdeck can be completely disassembled and reassembled.

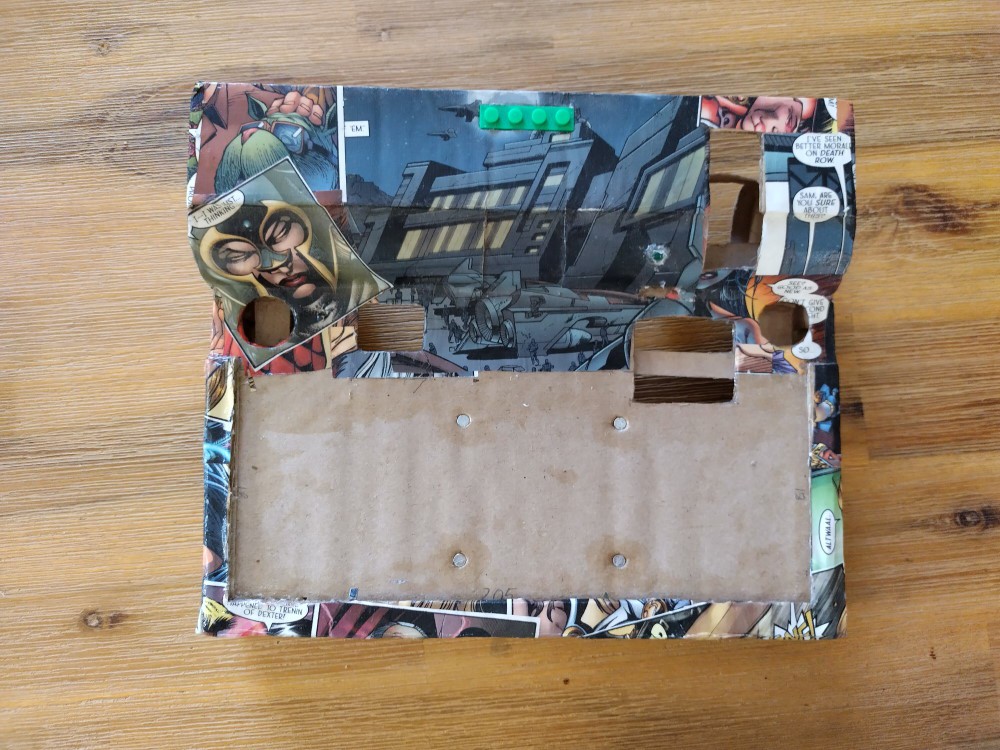
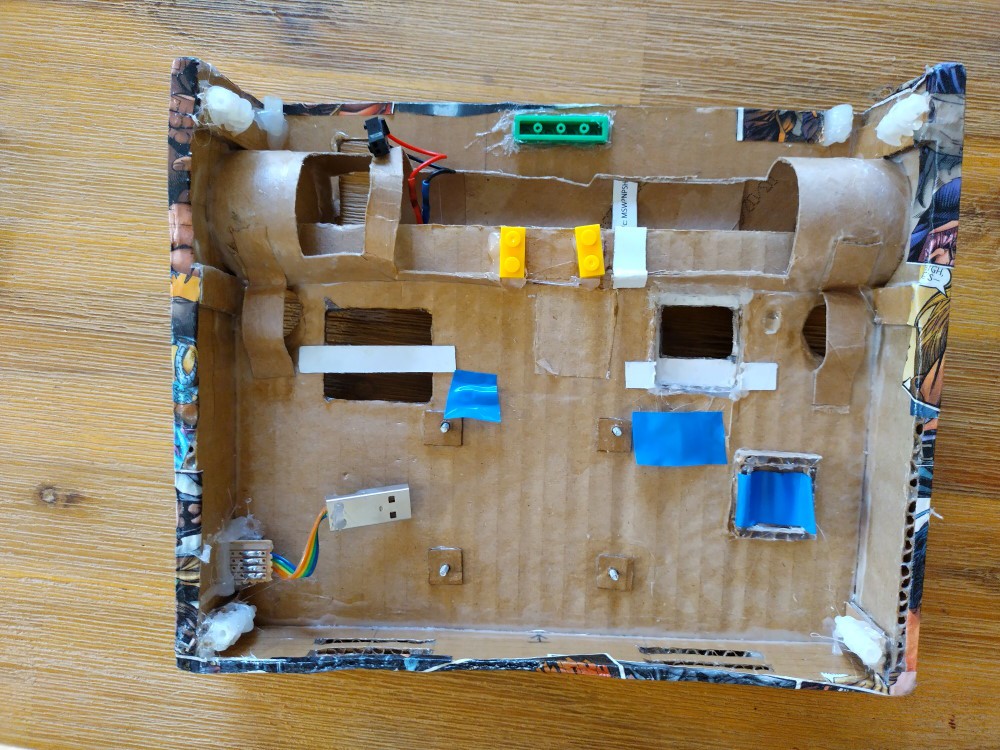
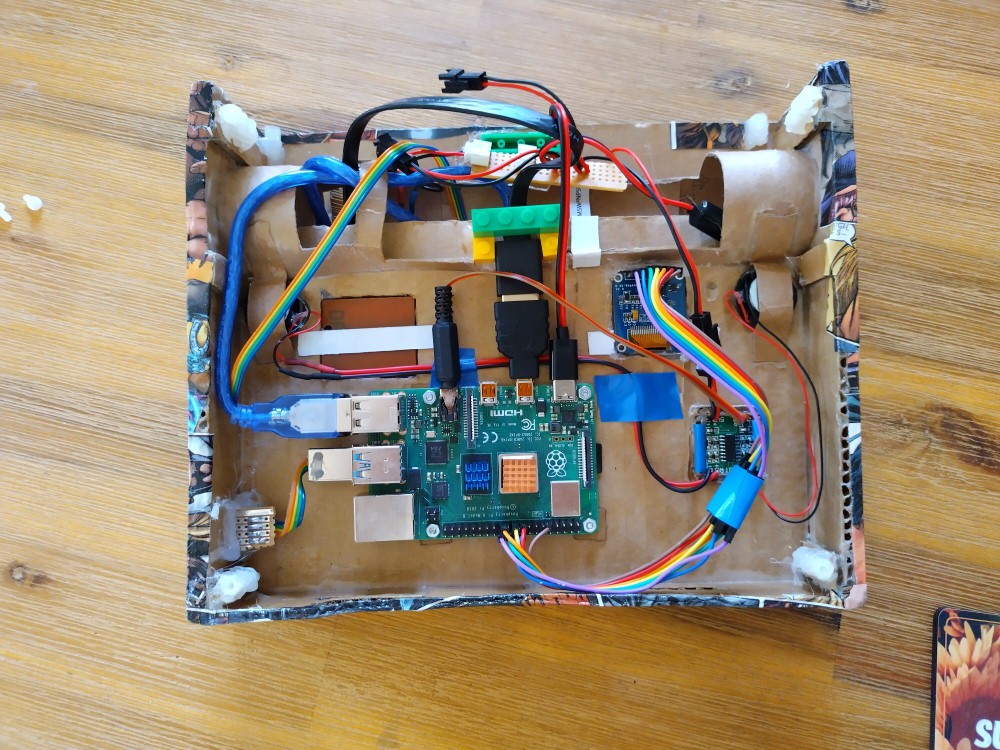
    This is what the base looks like from the top:

    Here is the view from the bottom:

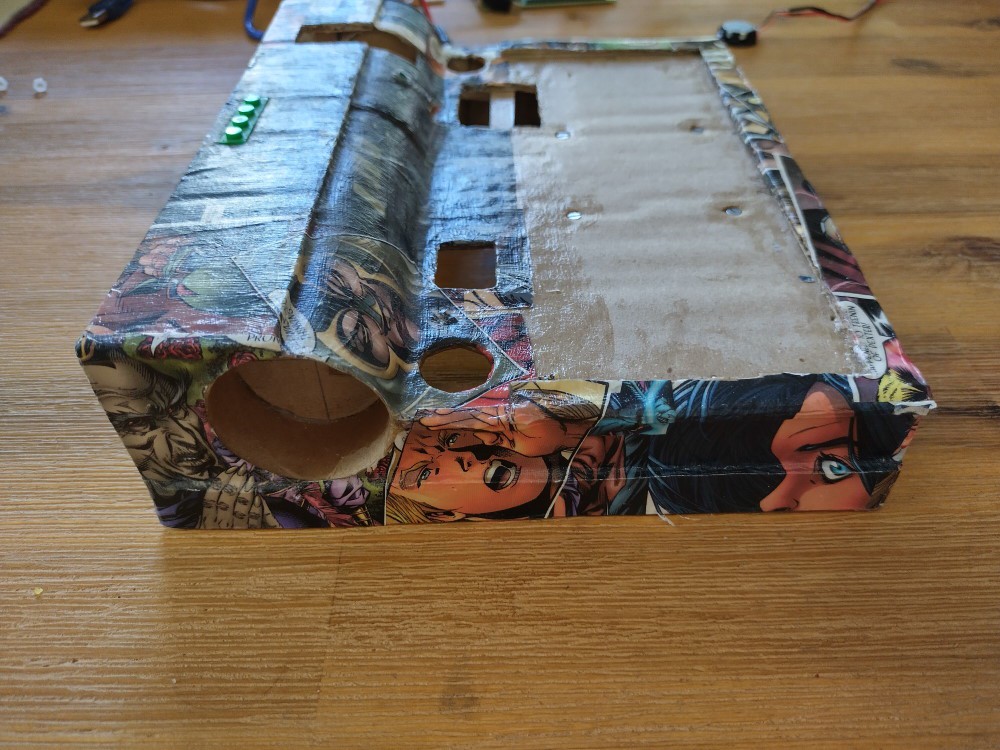
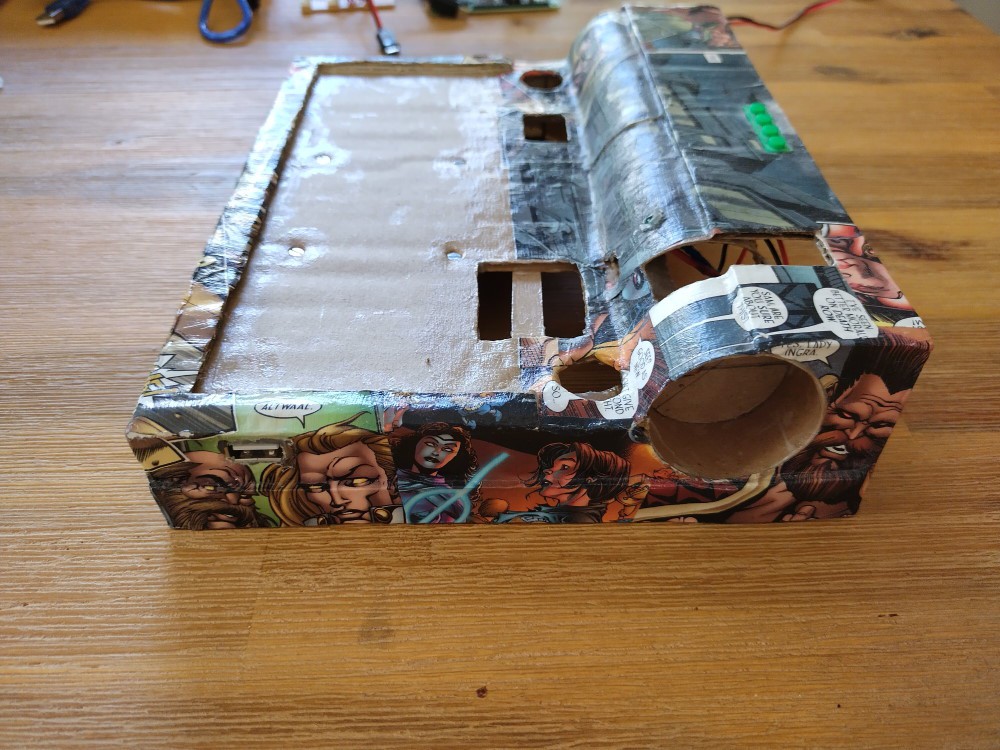
    Here are two views from the side:

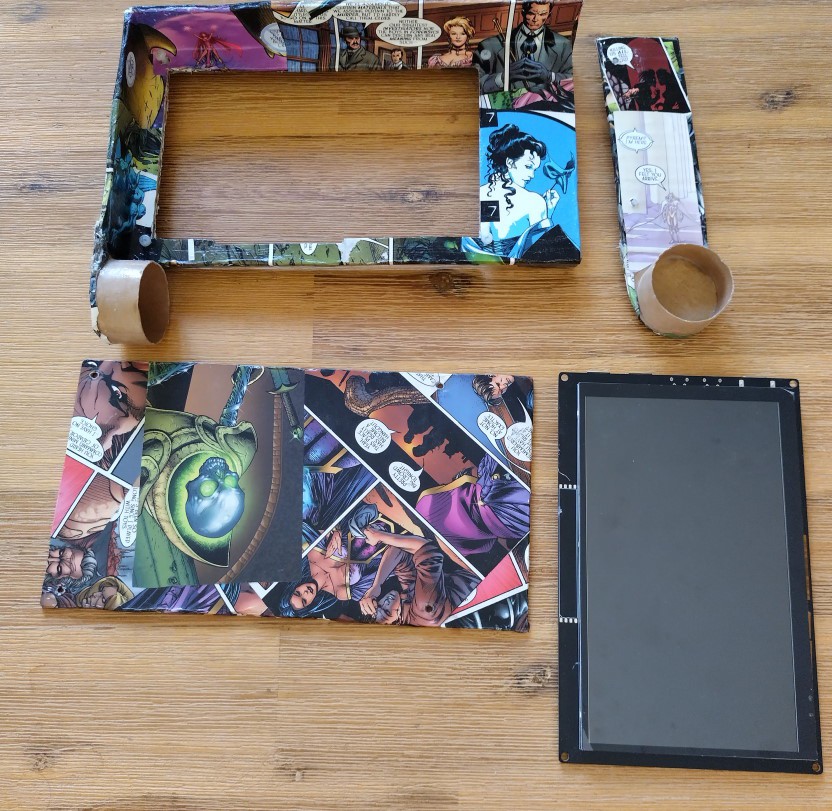
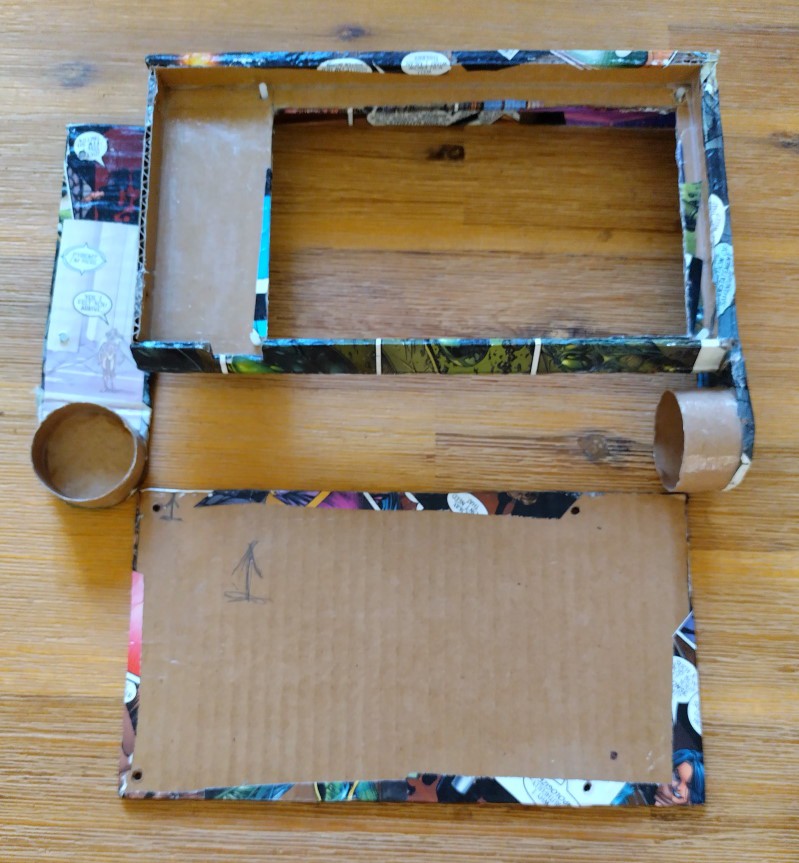
    This is the screen frame:


    ...and from the back:

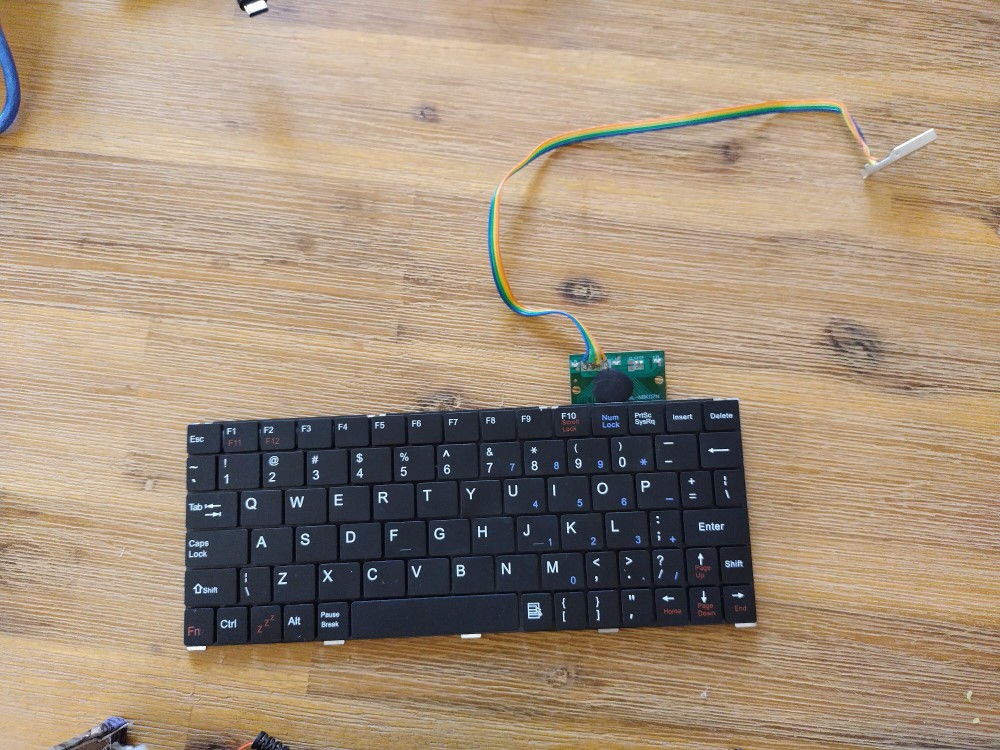
    The keyboard has a bit of an inconvenient circuit board. It also came with a USB-B connector which I replaced with a USB-A connector:

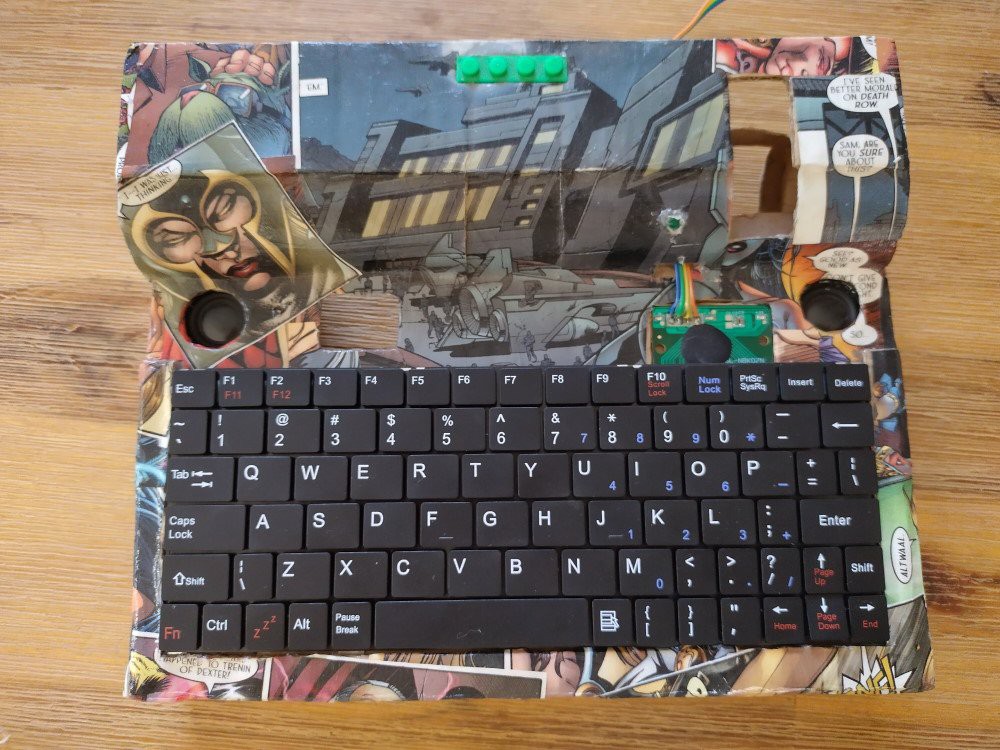
    The keyboard is quite flexible so it just clicks into the cardboard on top of the box:

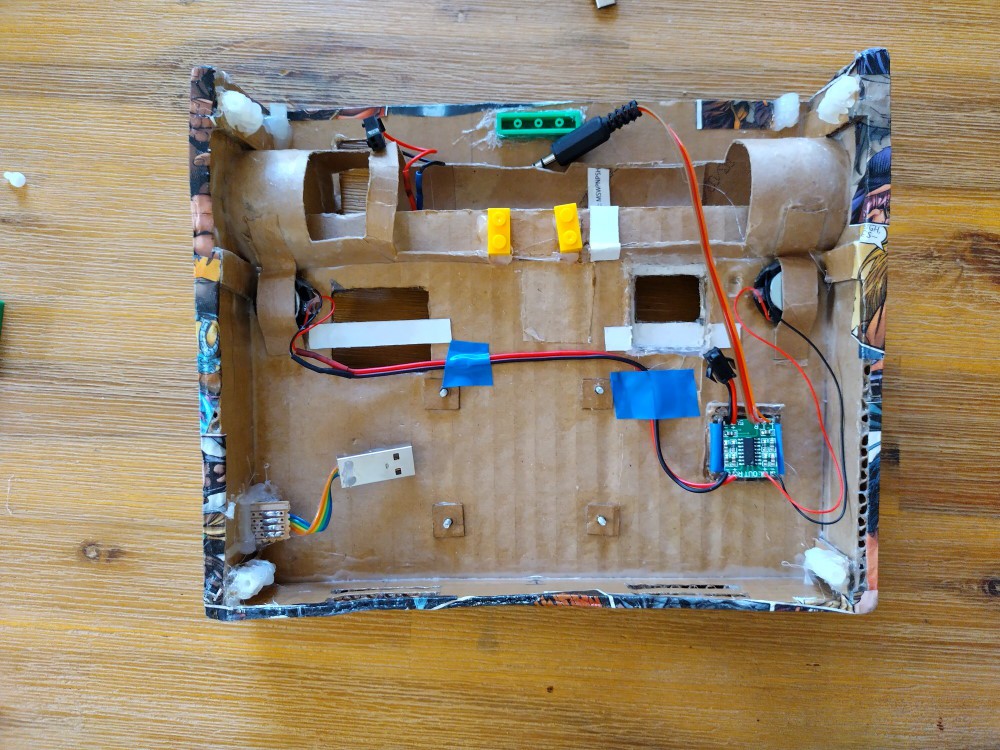
    This is what it looks like with the amplifier and speakers installed:

    The speakers slide into those little cardboard strips. The amplifier fits quite snugly into the little cardboard nest I built for it. The strip of electrical tape beneath the amplifier can be pulled to pop out the amplifier.


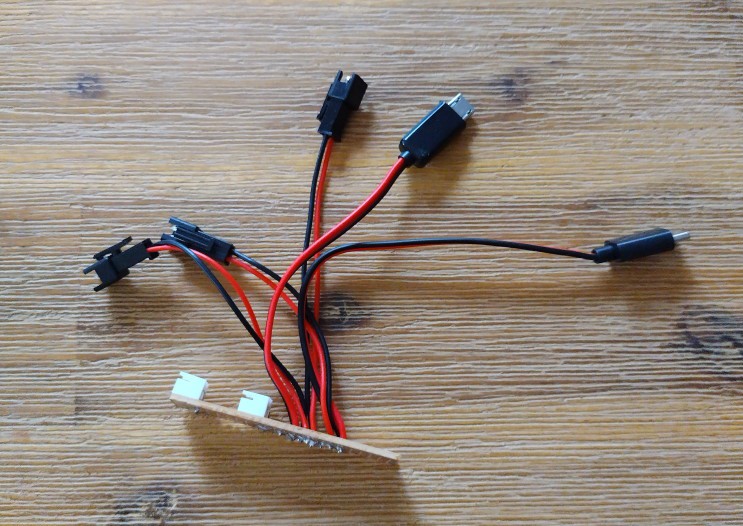
    It was fortunate that all the components can be driven off a 5V supply. The power socket at the back of the board plugs into a electronic spider soldered on a vero board that distributes power to all the components and looks like this:

    Here's a photo of everything installed

    I haven't mentioned the little 0.95" OLED screen yet. The edges of its opening was lined with hot glue, so it fits snugly in it.

    Also, the HDMI adapter was a bit loose, so I glued those bricks on the board next to it to keep in in place.

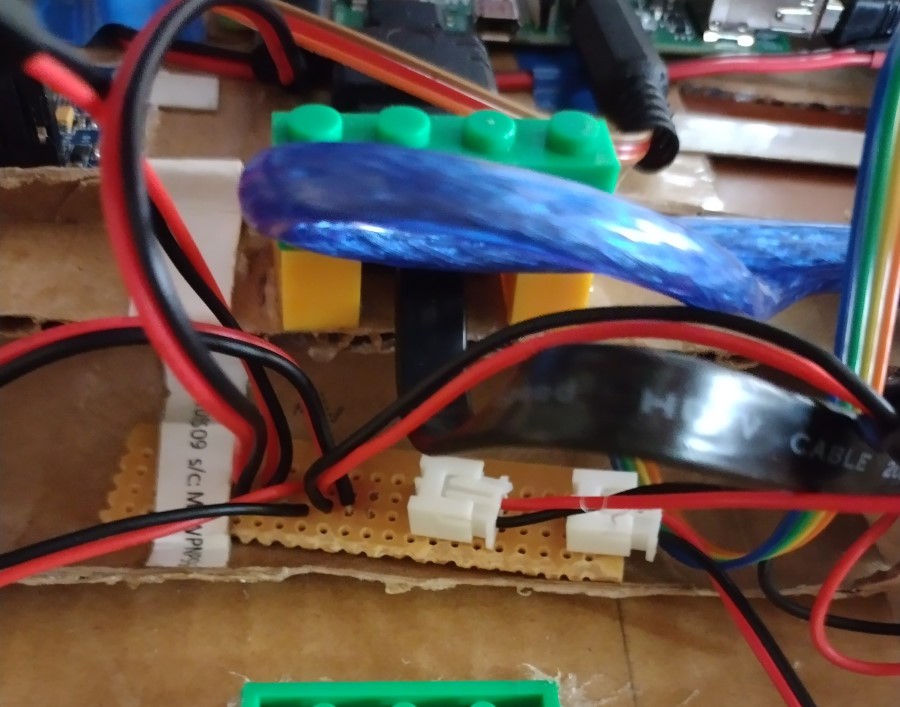
    The power distribution board just slides into a little cardboard tab at the bottom of the box that looks like this:

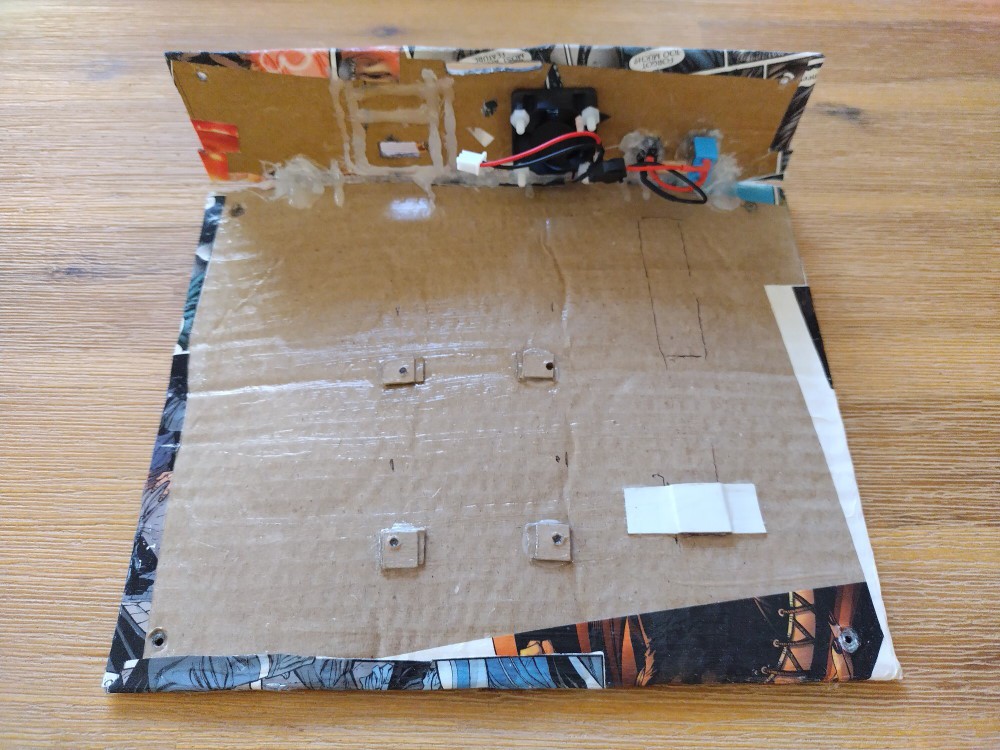
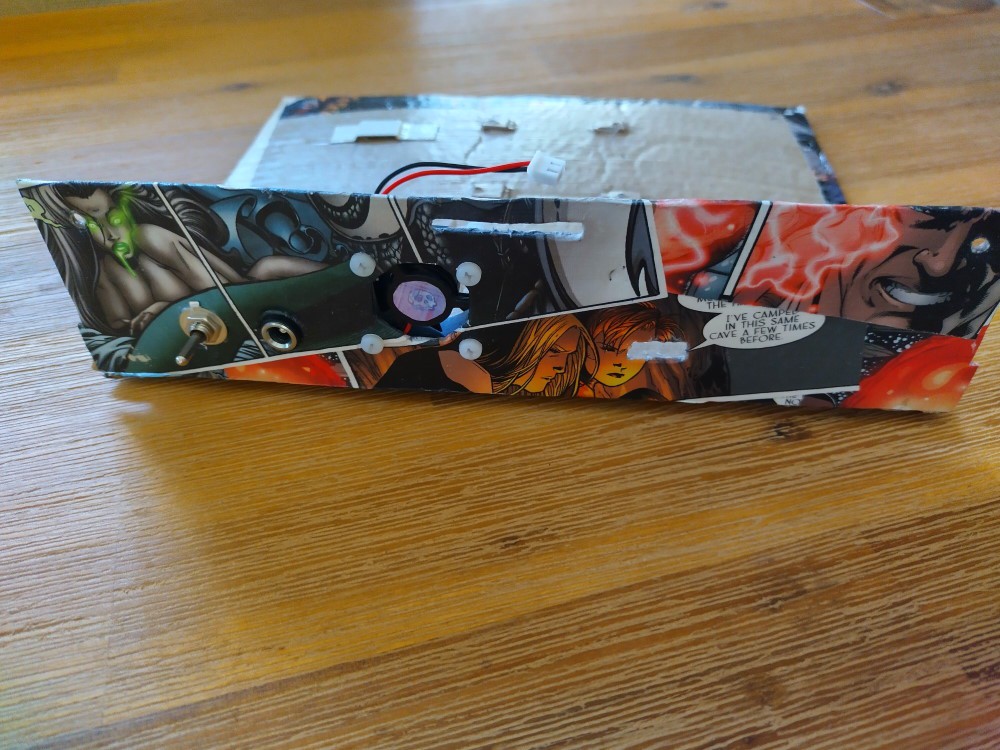
    Here's the base plate with the fan and power switch:

    And from the back:

    My one regret is that this was originally two separate parts and when I realised that the gap between them would be too big, I just glued them together with hot glue. I thought that there were too many wires and screws in the way of something better so it seemed like a good idea at the time.

    You can also see from the bottom plate that the Raspberry Pi and the power distribution board was supposed to be mounted on it. It worked, but it was to difficult to connect all the wires properly when you put everything together. Mounting the Raspberry Pi upside down under the keyboard makes assembly much easier.

    That is also why I abandoned the hole for a USB-A connector at the rear of the case.


  • Early Work

    Wernsey09/26/2022 at 17:26 0 comments

    I really regret that I didn't take more photos during construction. Here are the few I have.

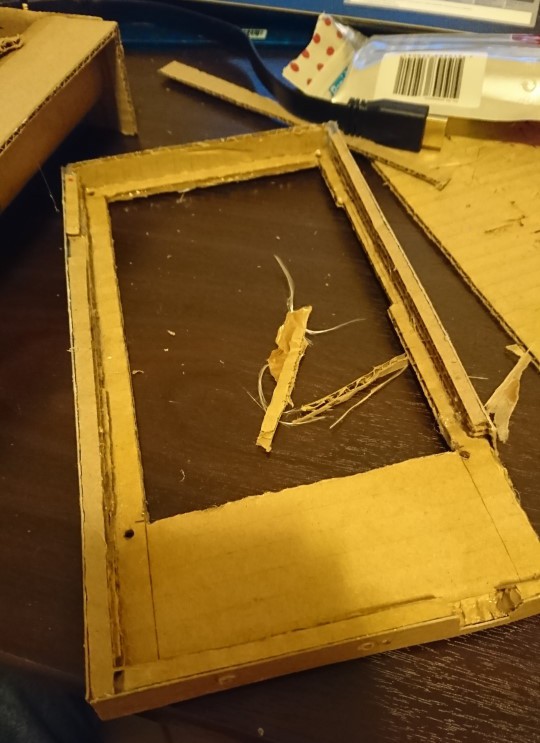
    This was taken while I constructed the screen frame:

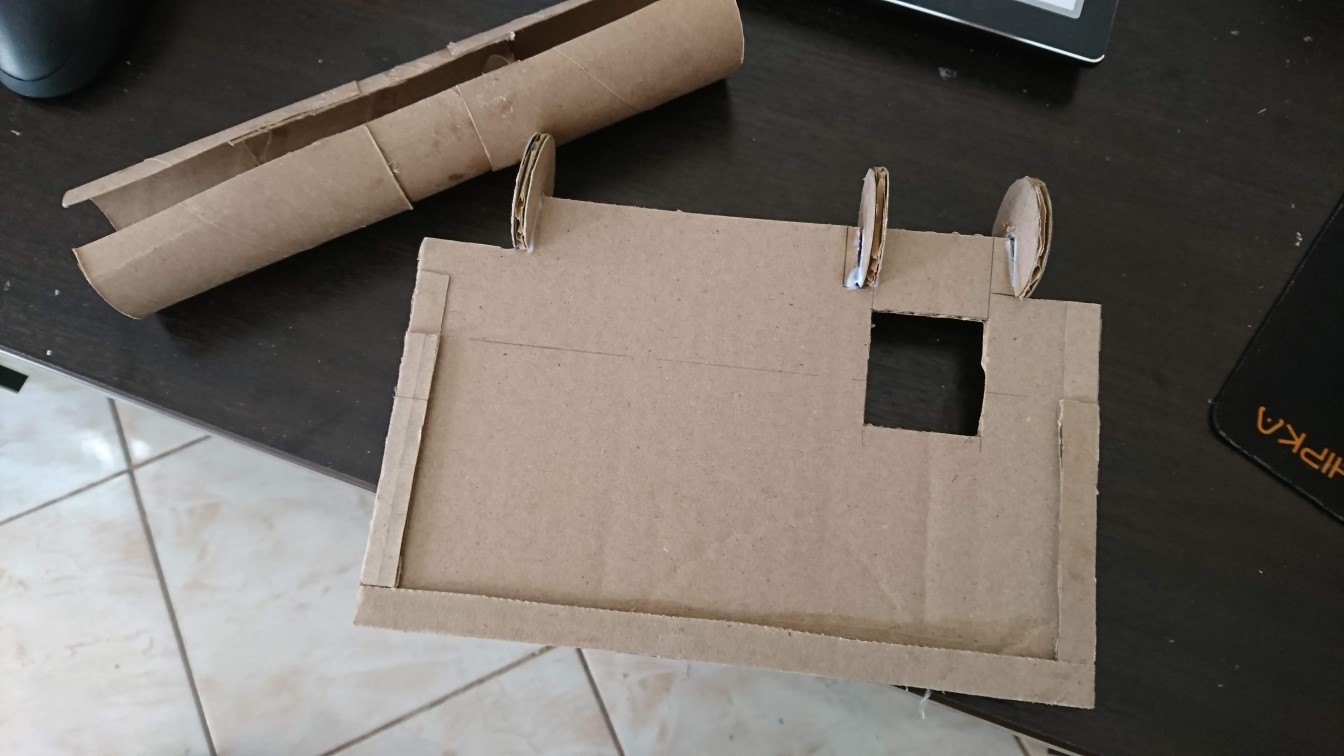
    This one shows how the hinge was put together:

    I made a couple of cuts in the cardboard afterwards for the wiring.

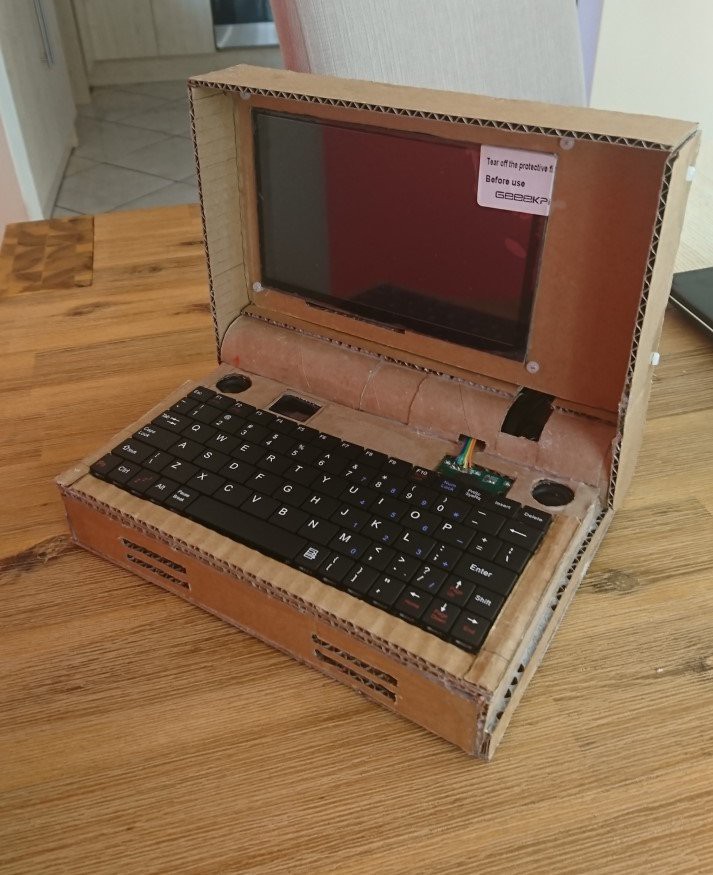
    Here are some more photos after the initial construction was done, before I decoupaged it:

View all 3 project logs

Enjoy this project?

Share

Discussions

Charles Stevenson wrote 09/29/2022 at 17:32 point

Looks great!

  Are you sure? yes | no

Similar Projects

Does this project spark your interest?

Become a member to follow this project and never miss any updates