-
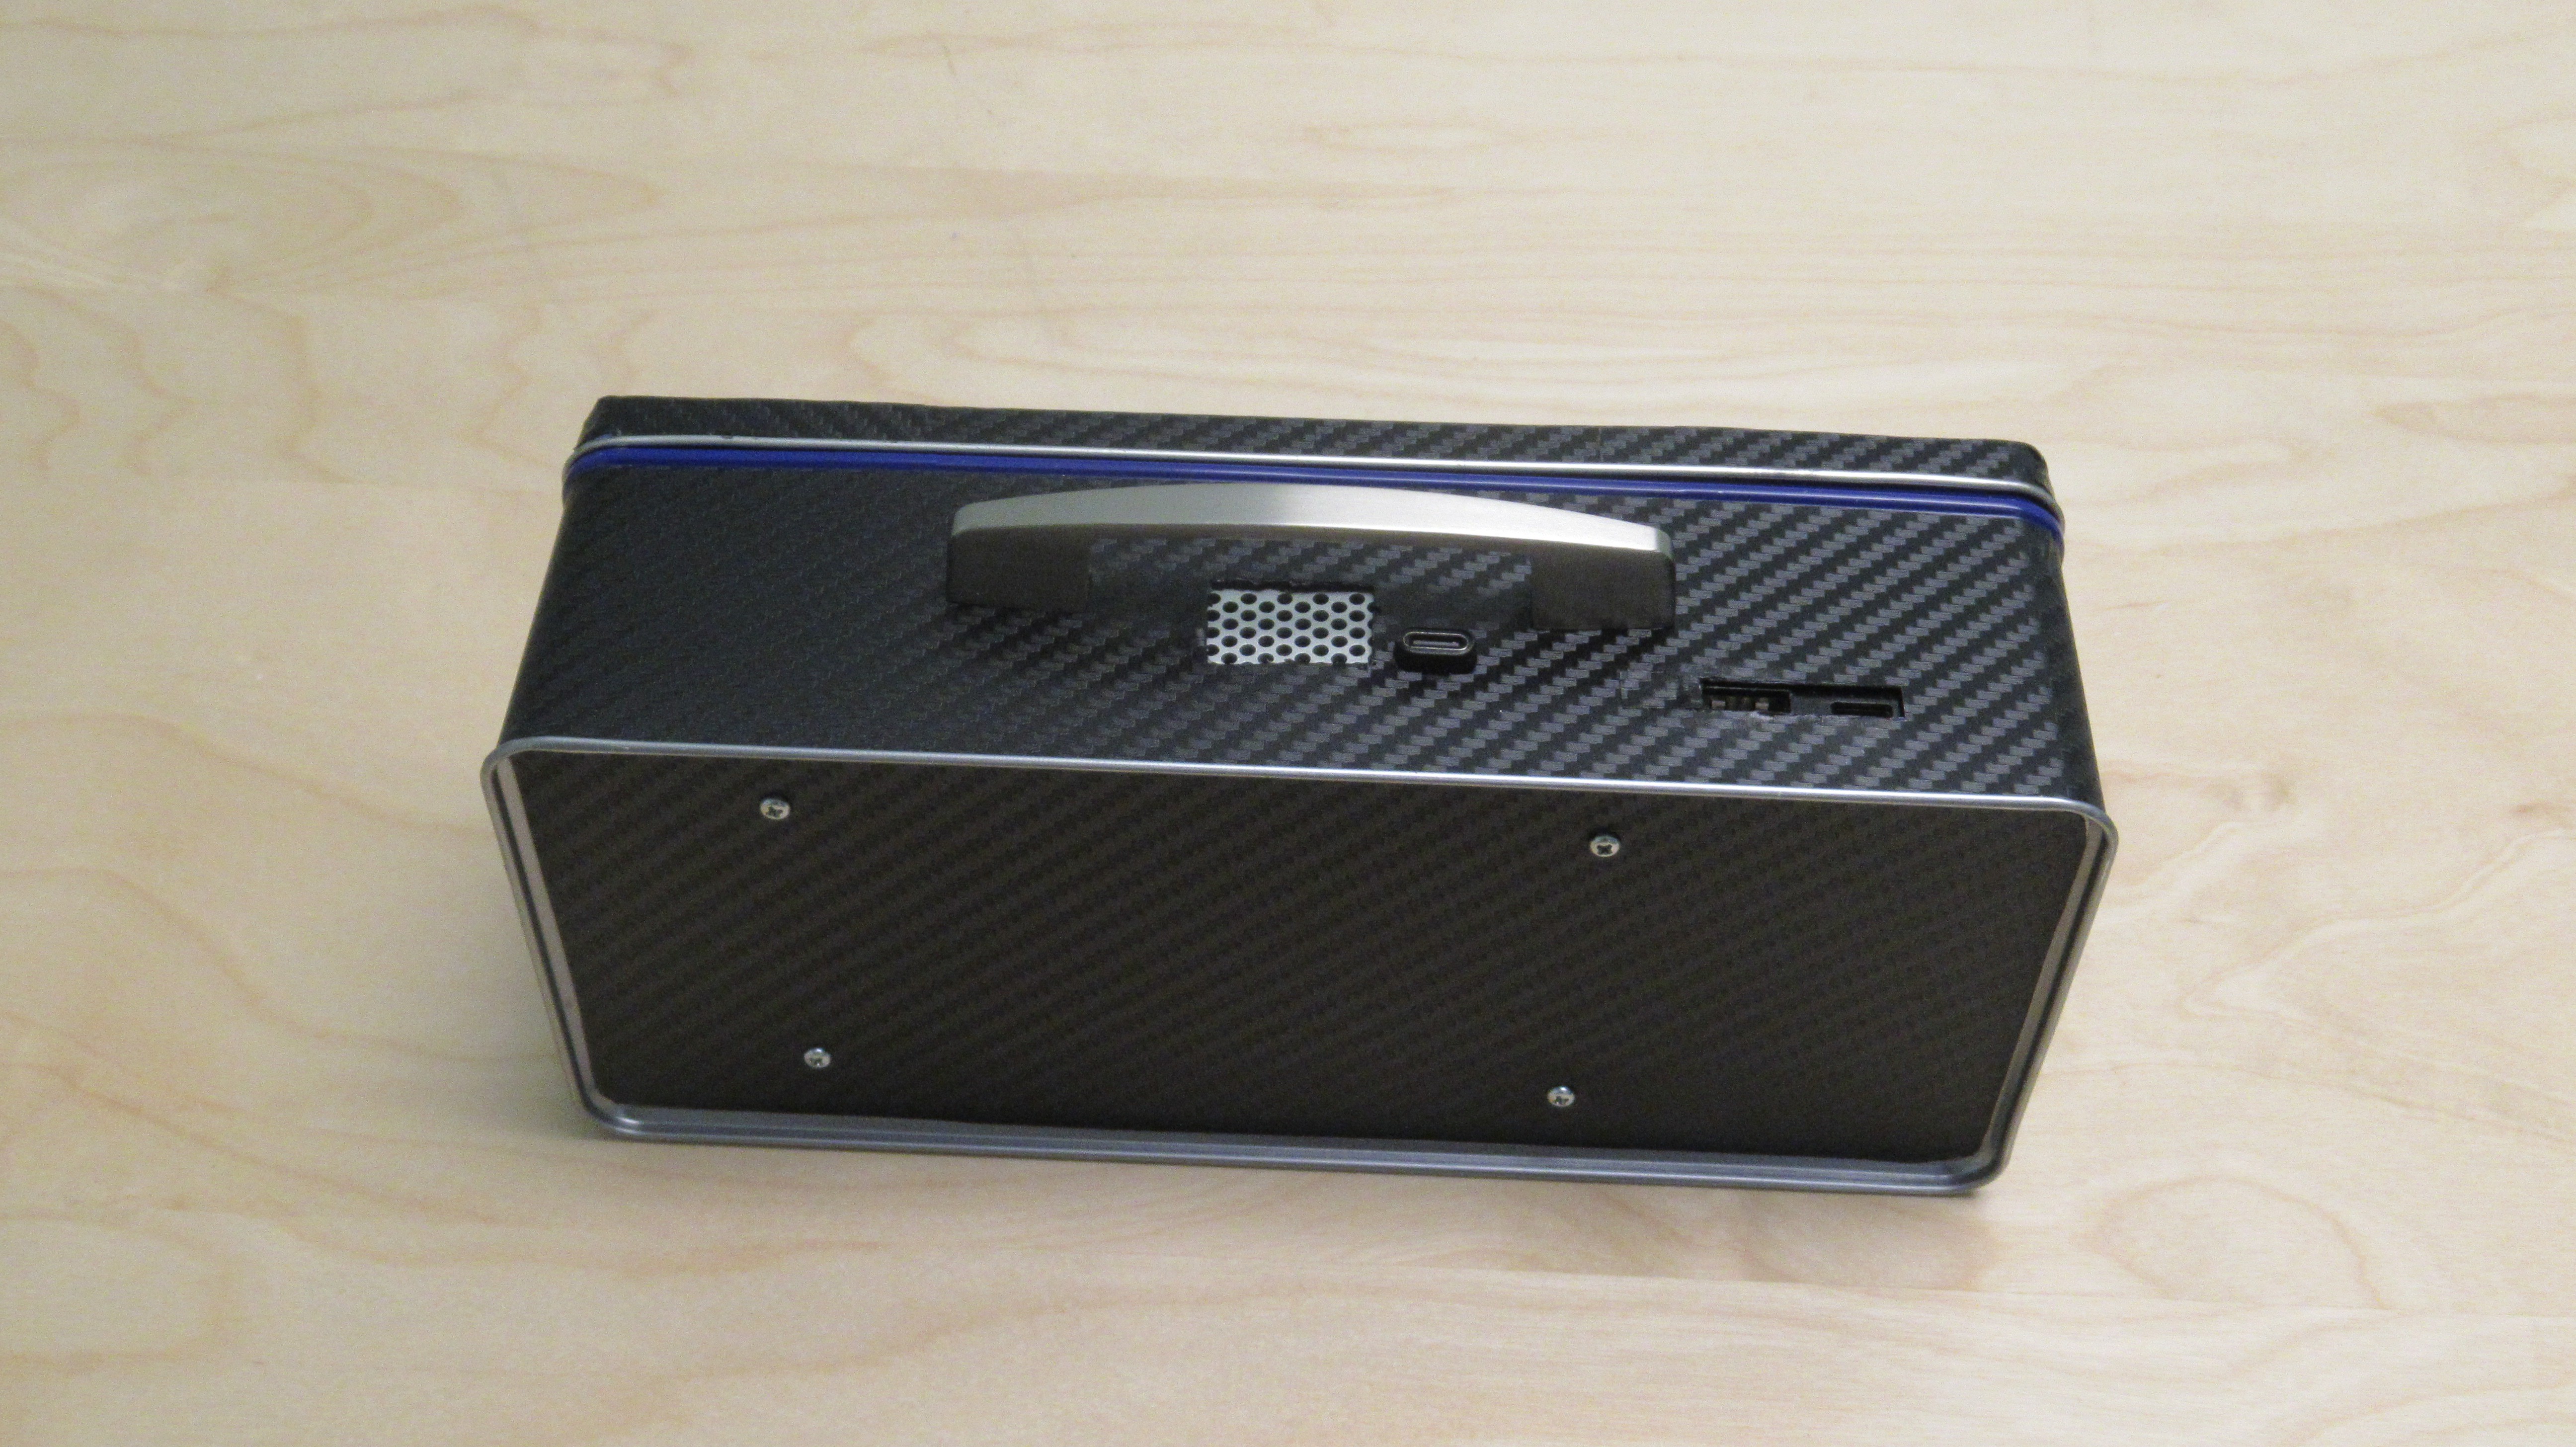
1Cut Holes for Ports
Cut holes in the box for ventilation, power bank ports, USB-C power port, and USB-A port. Cover the ventilation hole with mesh. Mine came from a RAM access port cover for an old 2009 iMac. I used double-sided foam tape to attach it.
-
2Cut Bezel
Cut the aluminum panel to fit in the tin box. Then cut a window in the panel to fit the LCD screen. I used a jig saw to cut the panel to fit the box and a nibbler tool to cut the window for the screen, as it allowed me more precise control.
-
3Drill Holes for Standoffs
Screw 1.5" brass standoffs to the LCD screen and place the screen into the box. Mark the location of the standoffs in the bottom of the box and drill holes for them, but don't secure the screen to the box yet.
-
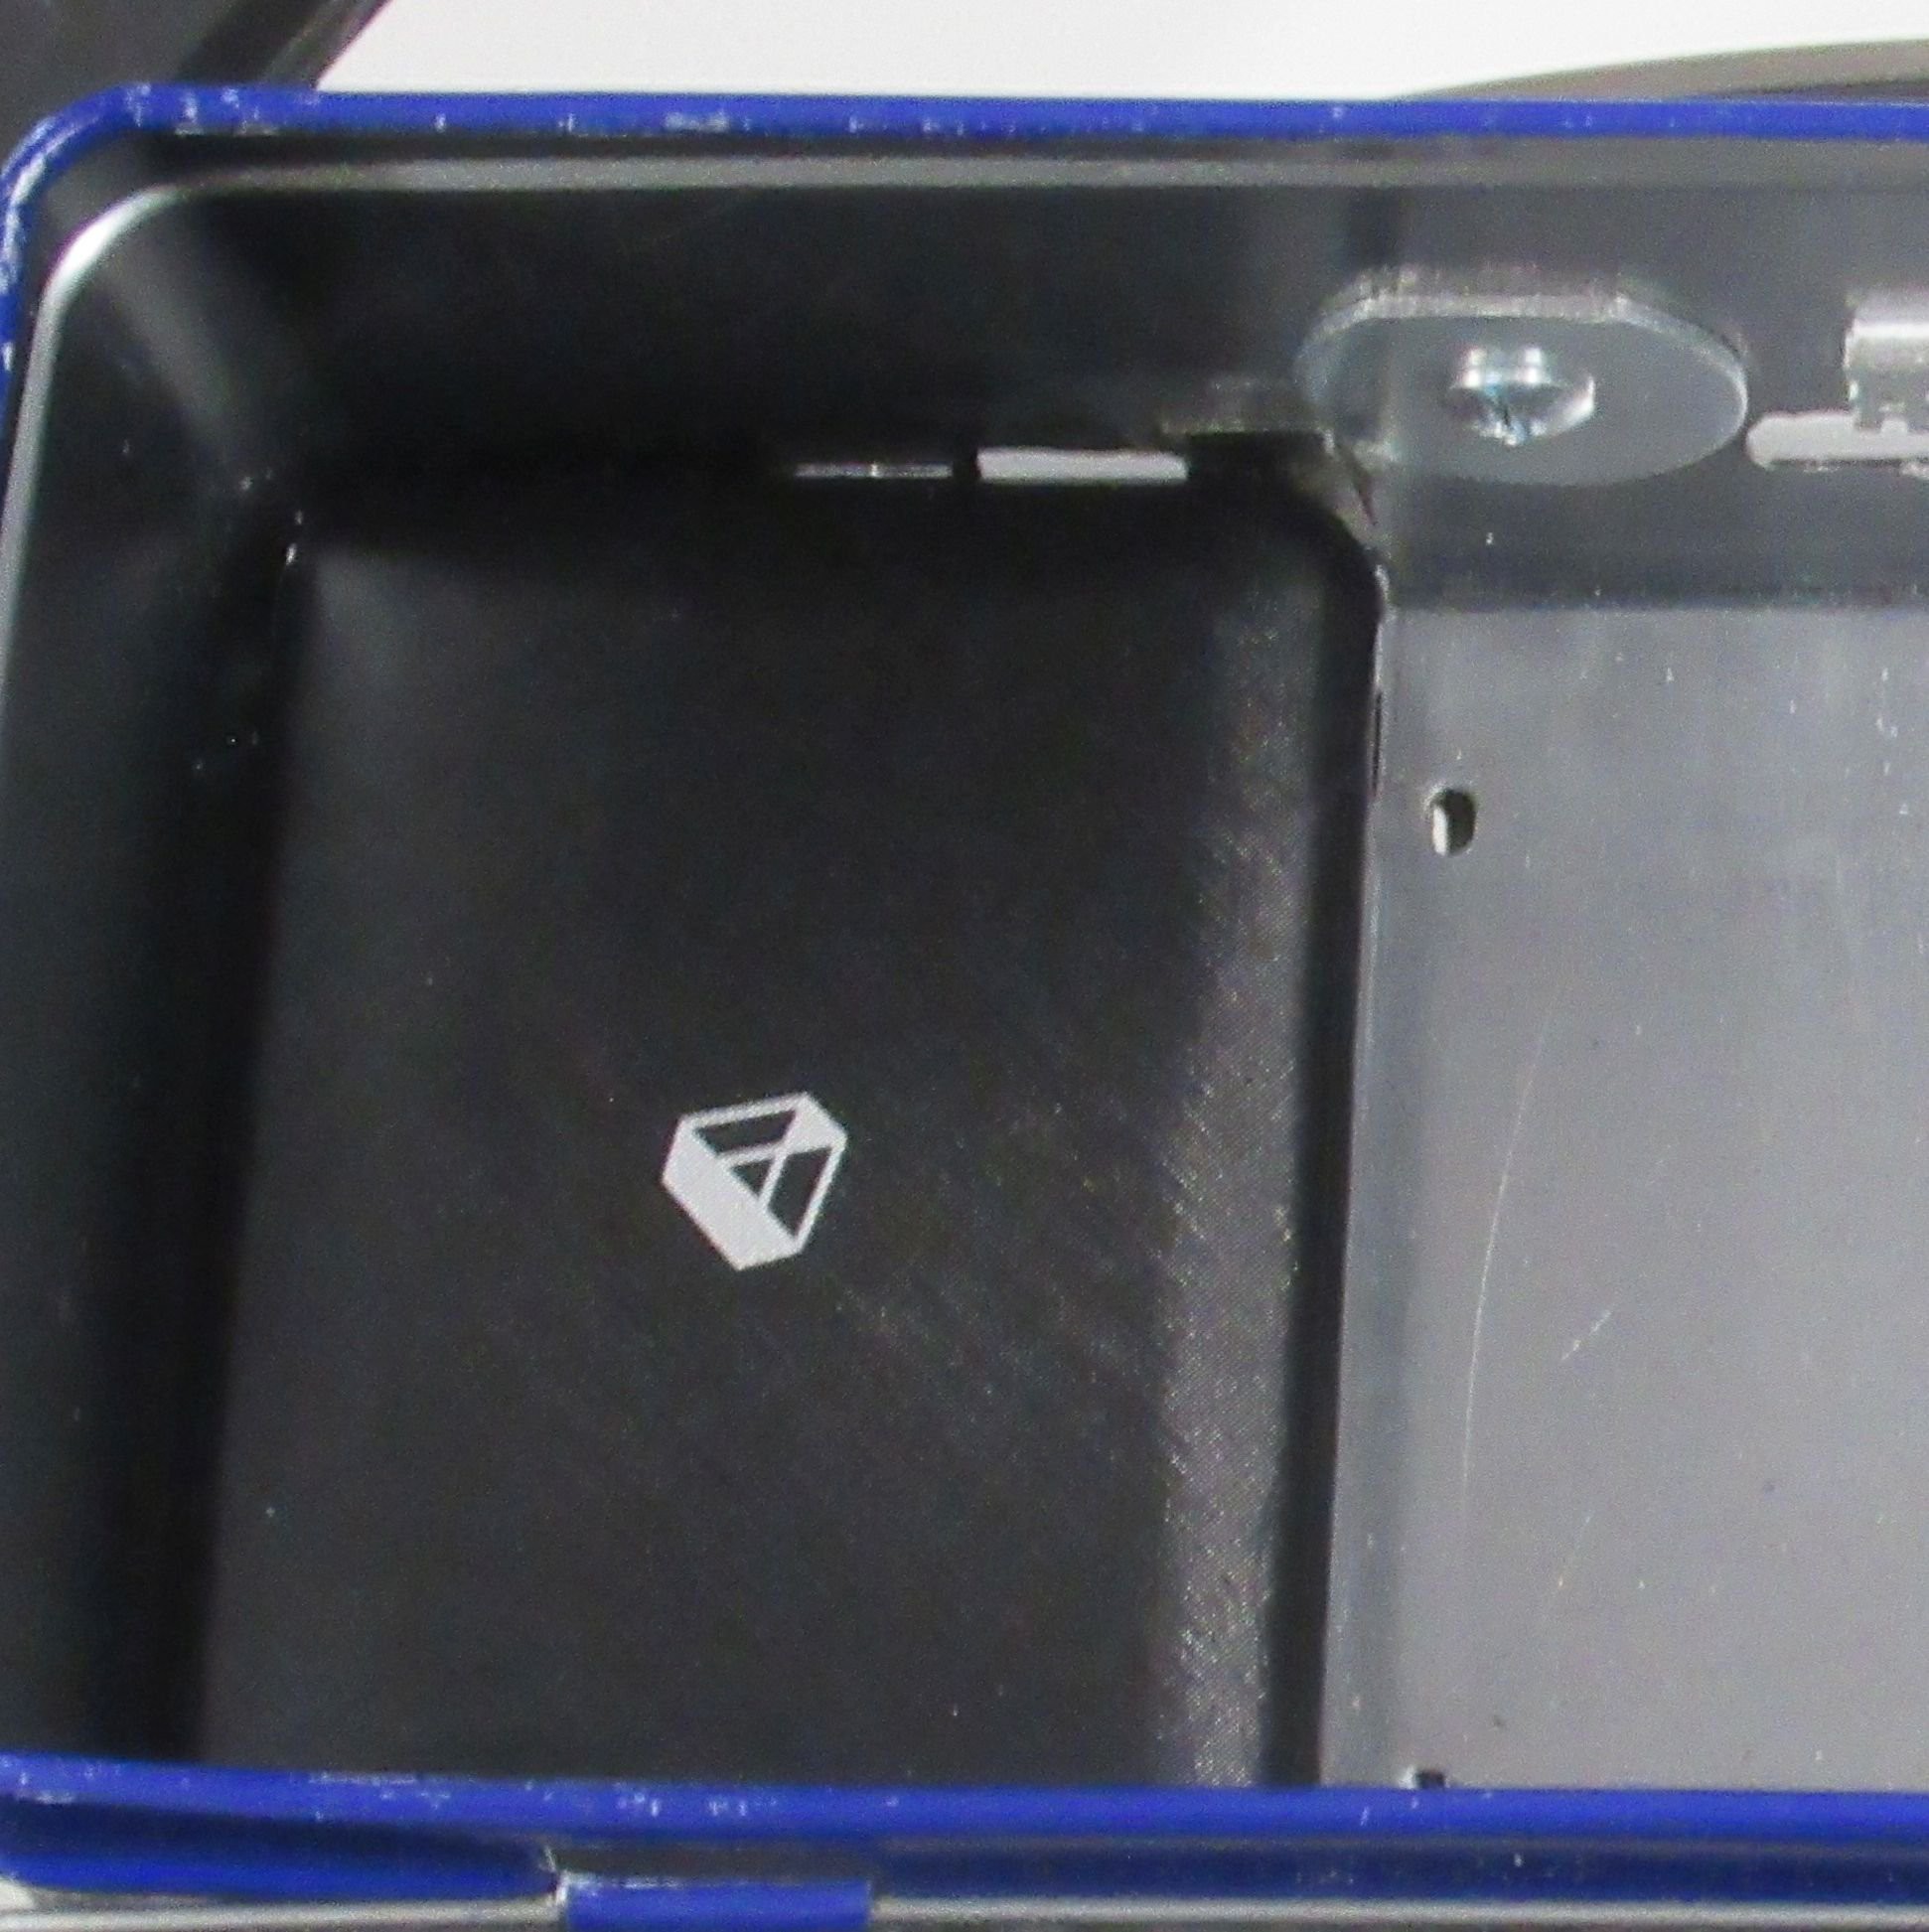
4Fit Power Bank into Box
Add Velcro strips to the underside of the power bank and secure it to the bottom of the tin box. The bank's ports should line up with the holes cut in Step 1.
![]()
-
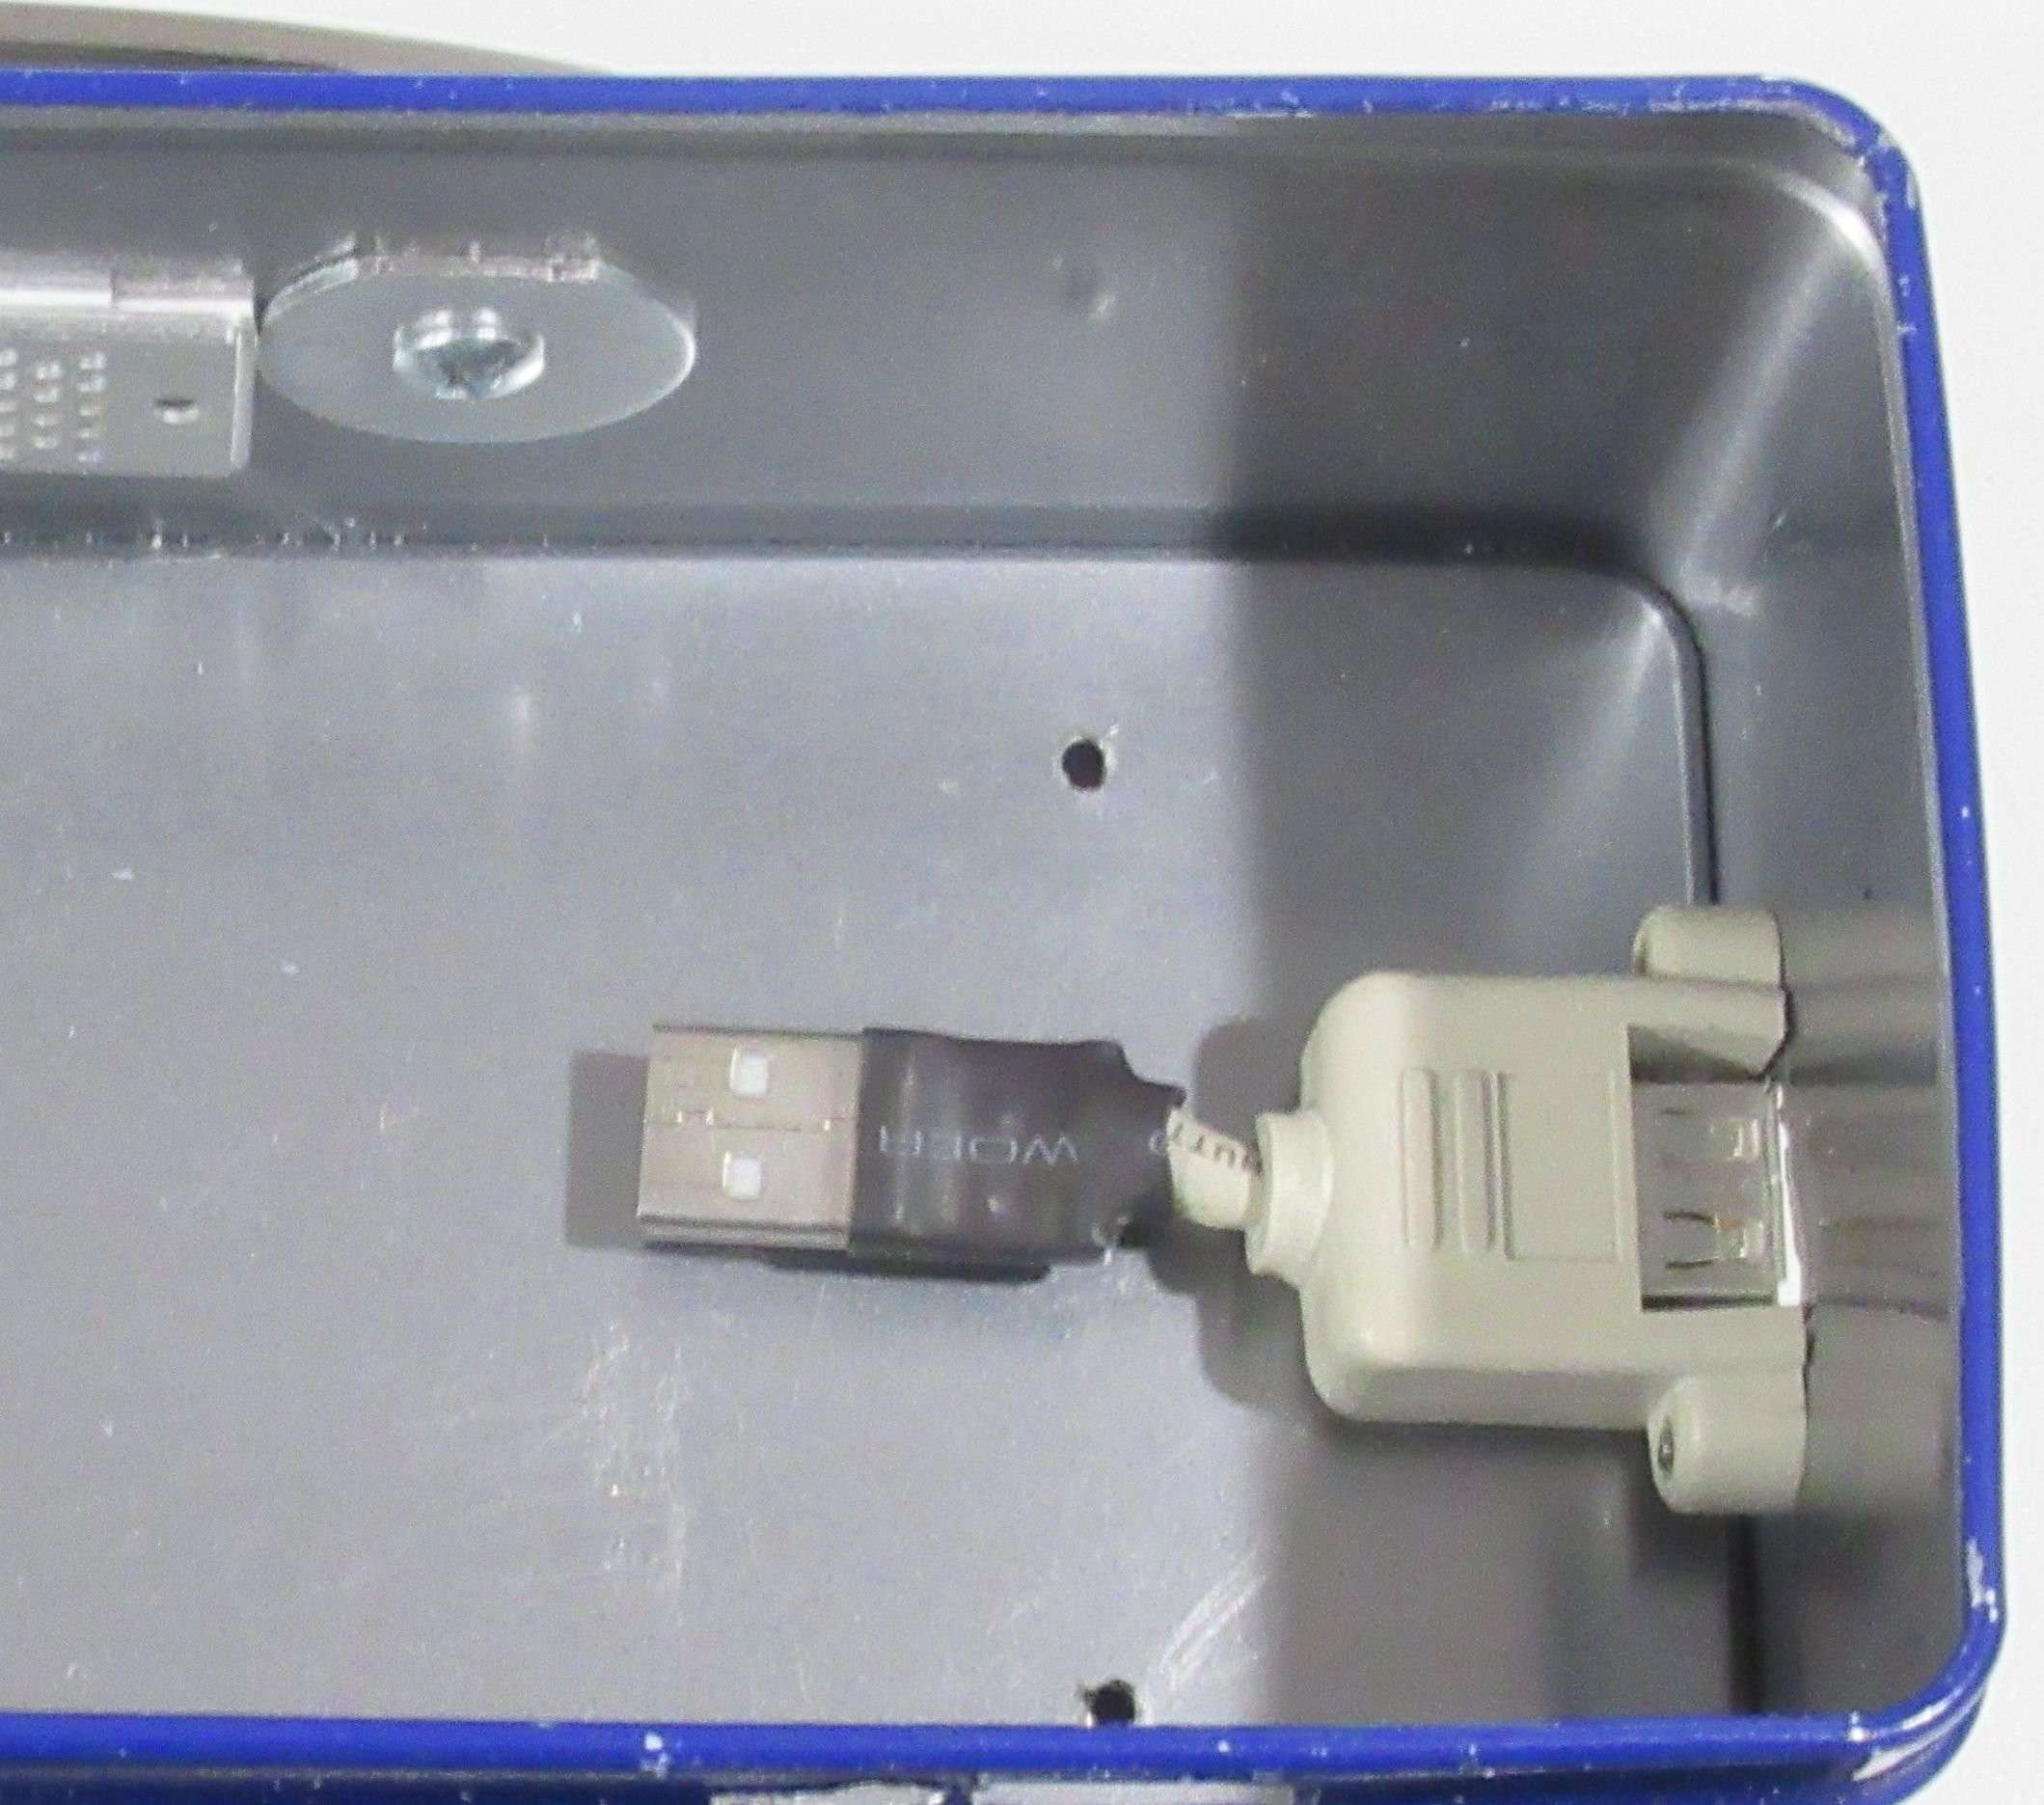
5Make Short Panel-Mount USB Cable and Attach it to the Box
In order to extend a USB port from the Raspberry Pi to the wall of the tin box, I made what might be the world's shortest panel-mount USB cable. I had initially tried to look for a male-to-female USB extender, but I couldn't find one that was exactly the right size. So I cut a panel-mount USB cable down to only 2" in length and resoldered the connector. Once the cable is made, attach the panel-mount side of the cable to the wall of the box with machine screws.
![]()
-
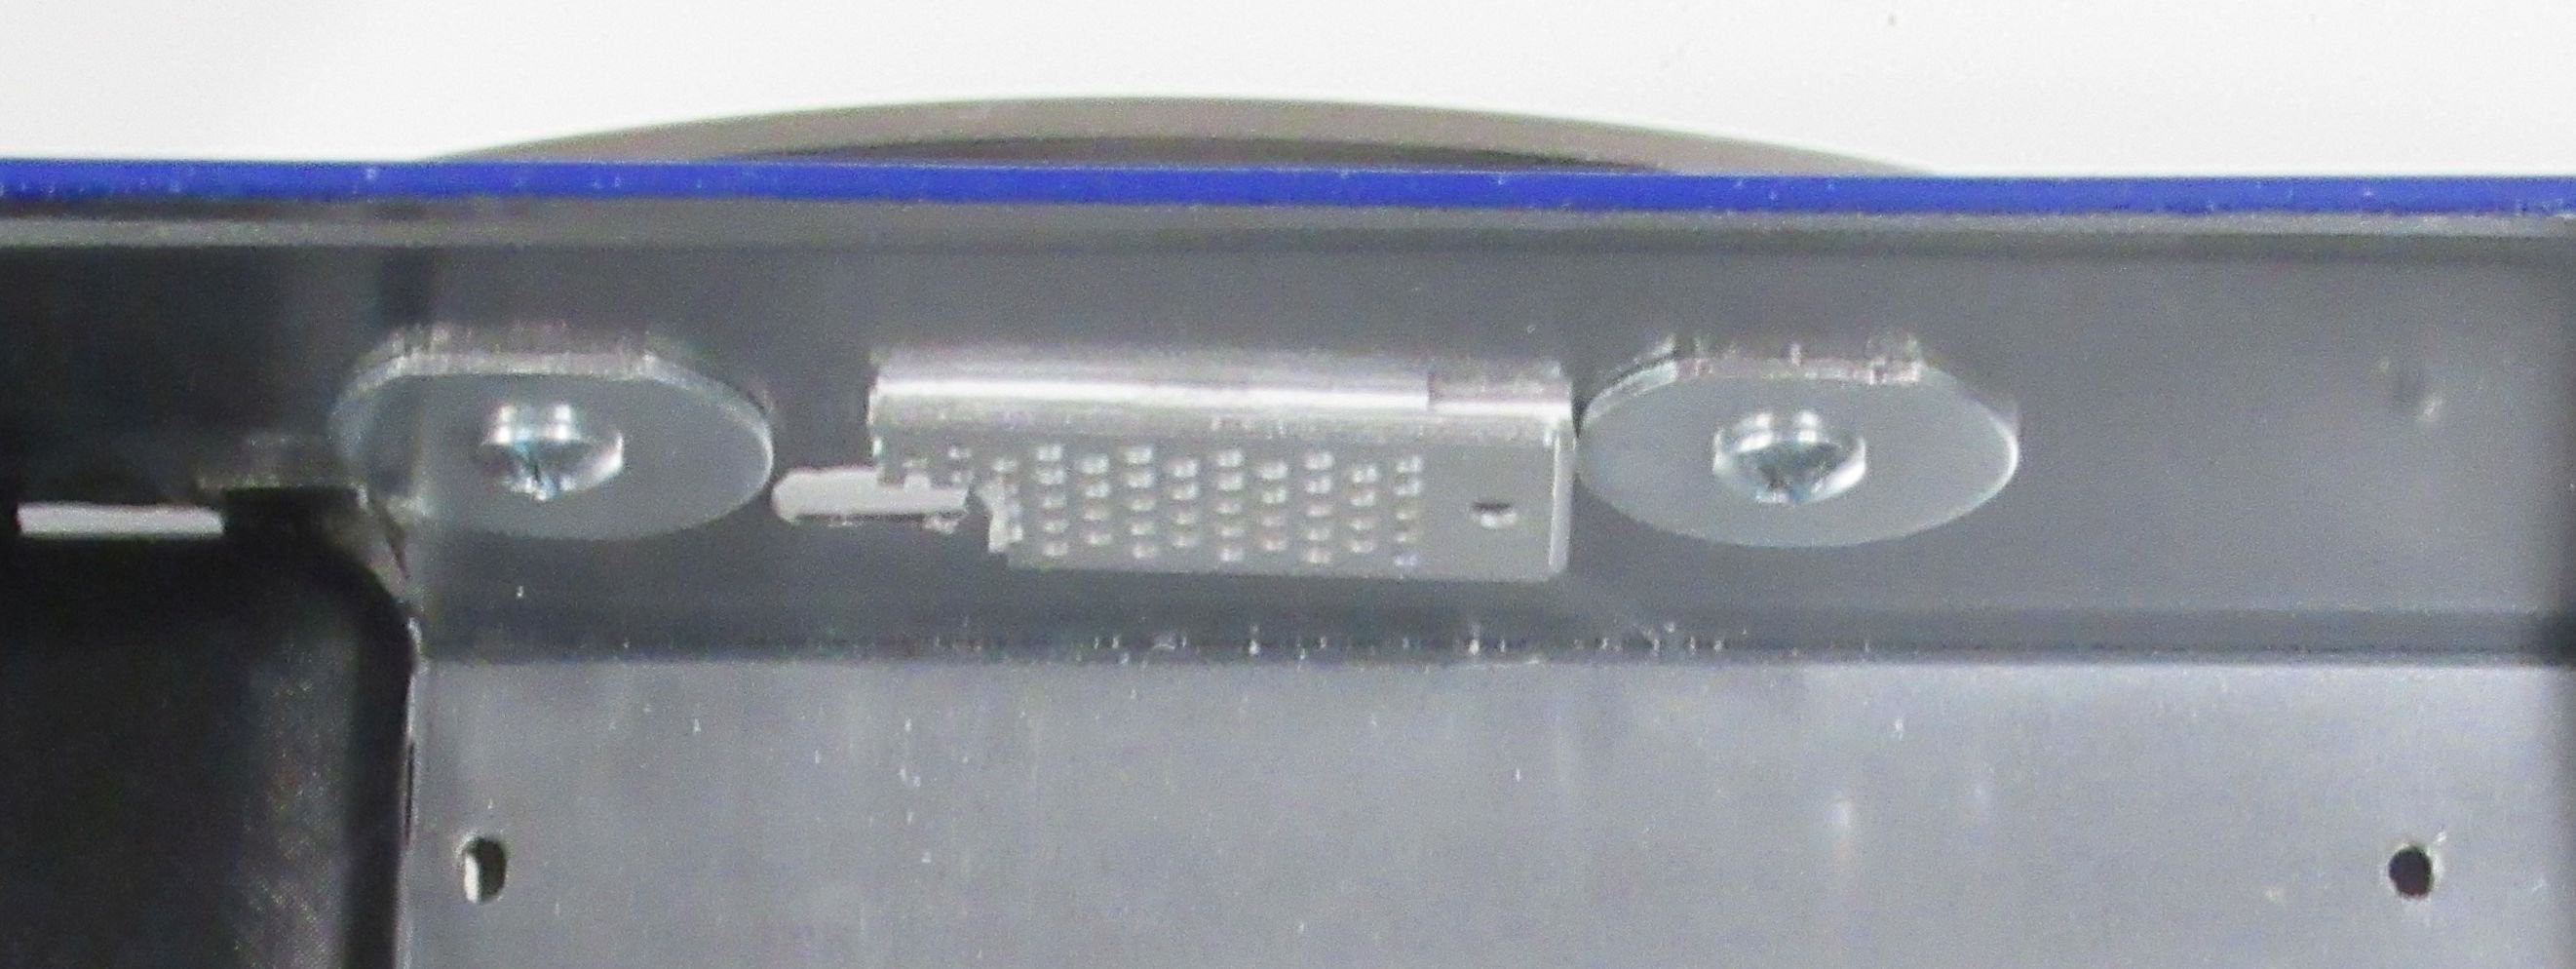
6Add Carrying Handle
I used a 3" brushed nickel drawer pull for the handle. I added large washers to the inside of the box to distribute the force from the screws of the handle, since the box's walls are pretty thin. The tops of the washers had to be cut because they impeded the bezel for the screen.
![]()
-
7Mount Raspberry Pi and LCD Screen in Box
Add heatsinks to the Raspberry Pi's CPU, DDR4 RAM chip, and the USB controller chip (see heatsink installation video). Mount the Raspberry Pi 4 to the back of the LCD screen with screws. Attach the right angle micro-HDMI to HDMI adapter that came with the screen to connect the Pi's micro-HDMI port to the screen. Do the same with the included right angle USB-A to micro-USB adapter to connect the screen's touch port to the Pi. Then mount the LCD in the box. As you are inserting the LCD into the box, you have to connect up the panel-mount USB cable to one of the Pi's USB ports.
Attach the LCD screen to the bottom of the box by threading screws from outside the box into the standoffs.
Extend the Pi's power port (USB-C) to the wall of the box by plugging the USB-C extender into the hole in the box cut for the power port. The extender should line up with the Pi's USB-C port and plug into it.
![]()
Screws in the bottom of tin box attaching to the standoffs inside the box for the LCD screen. -
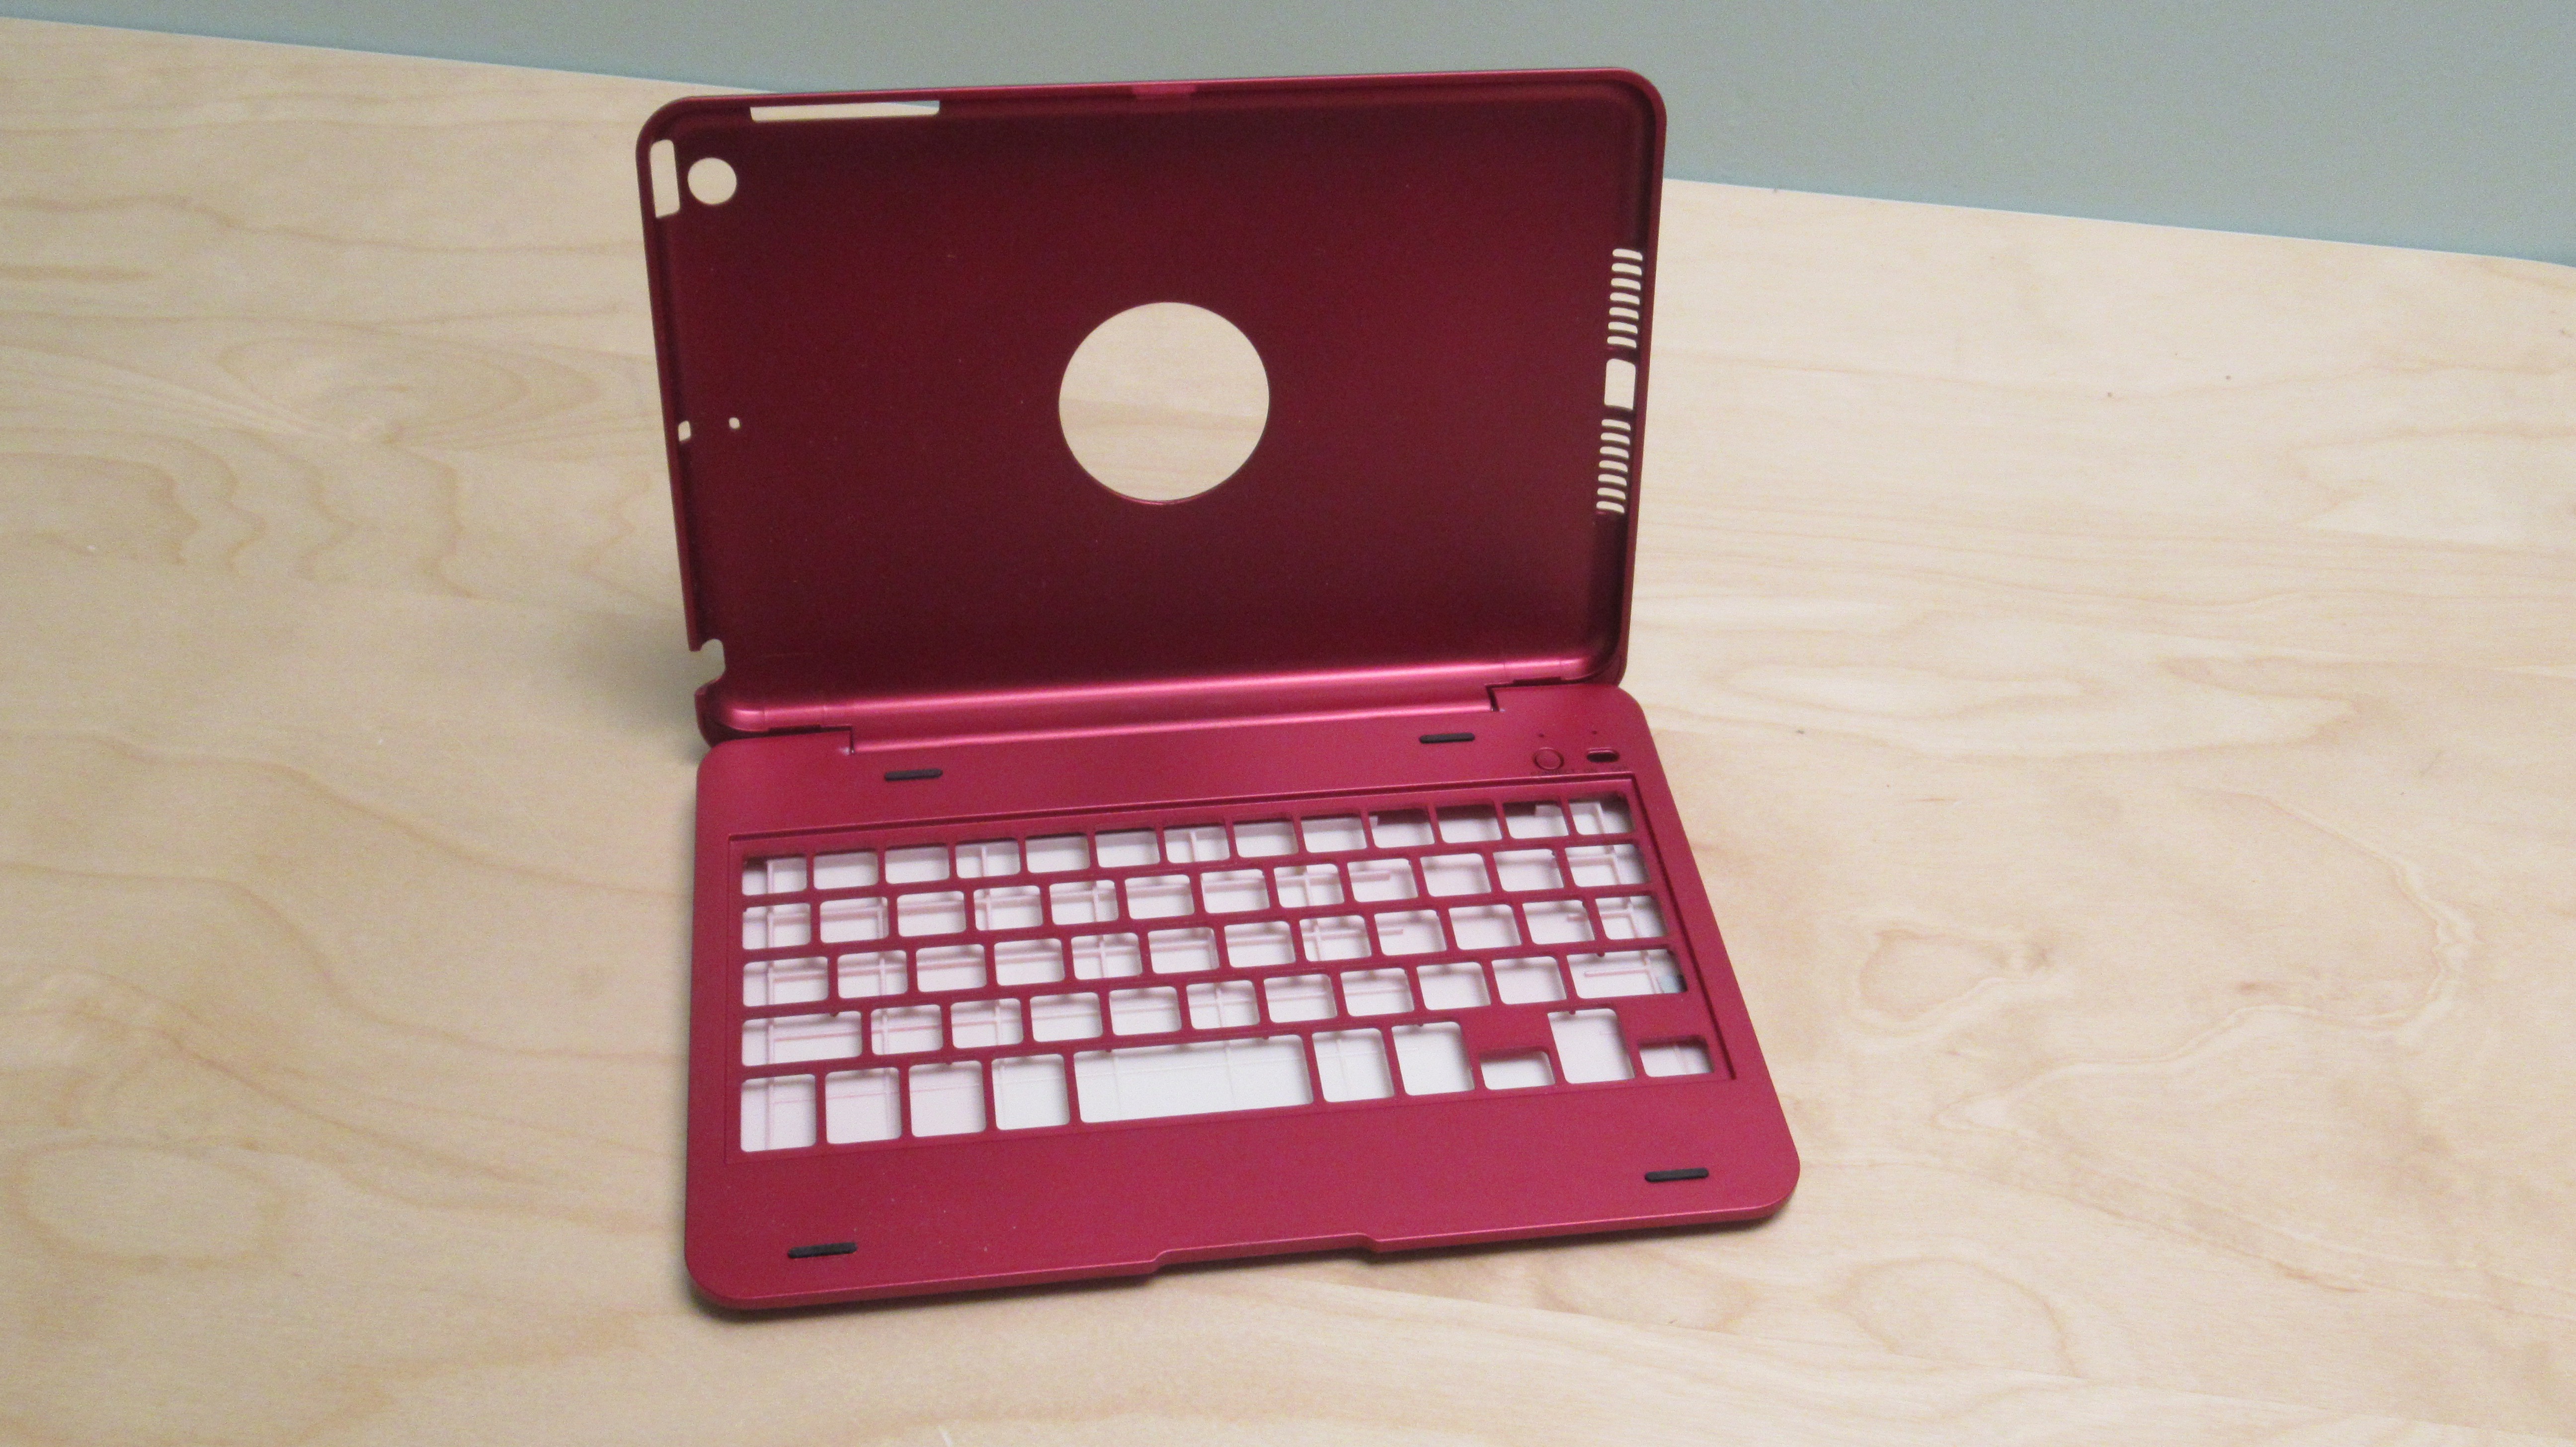
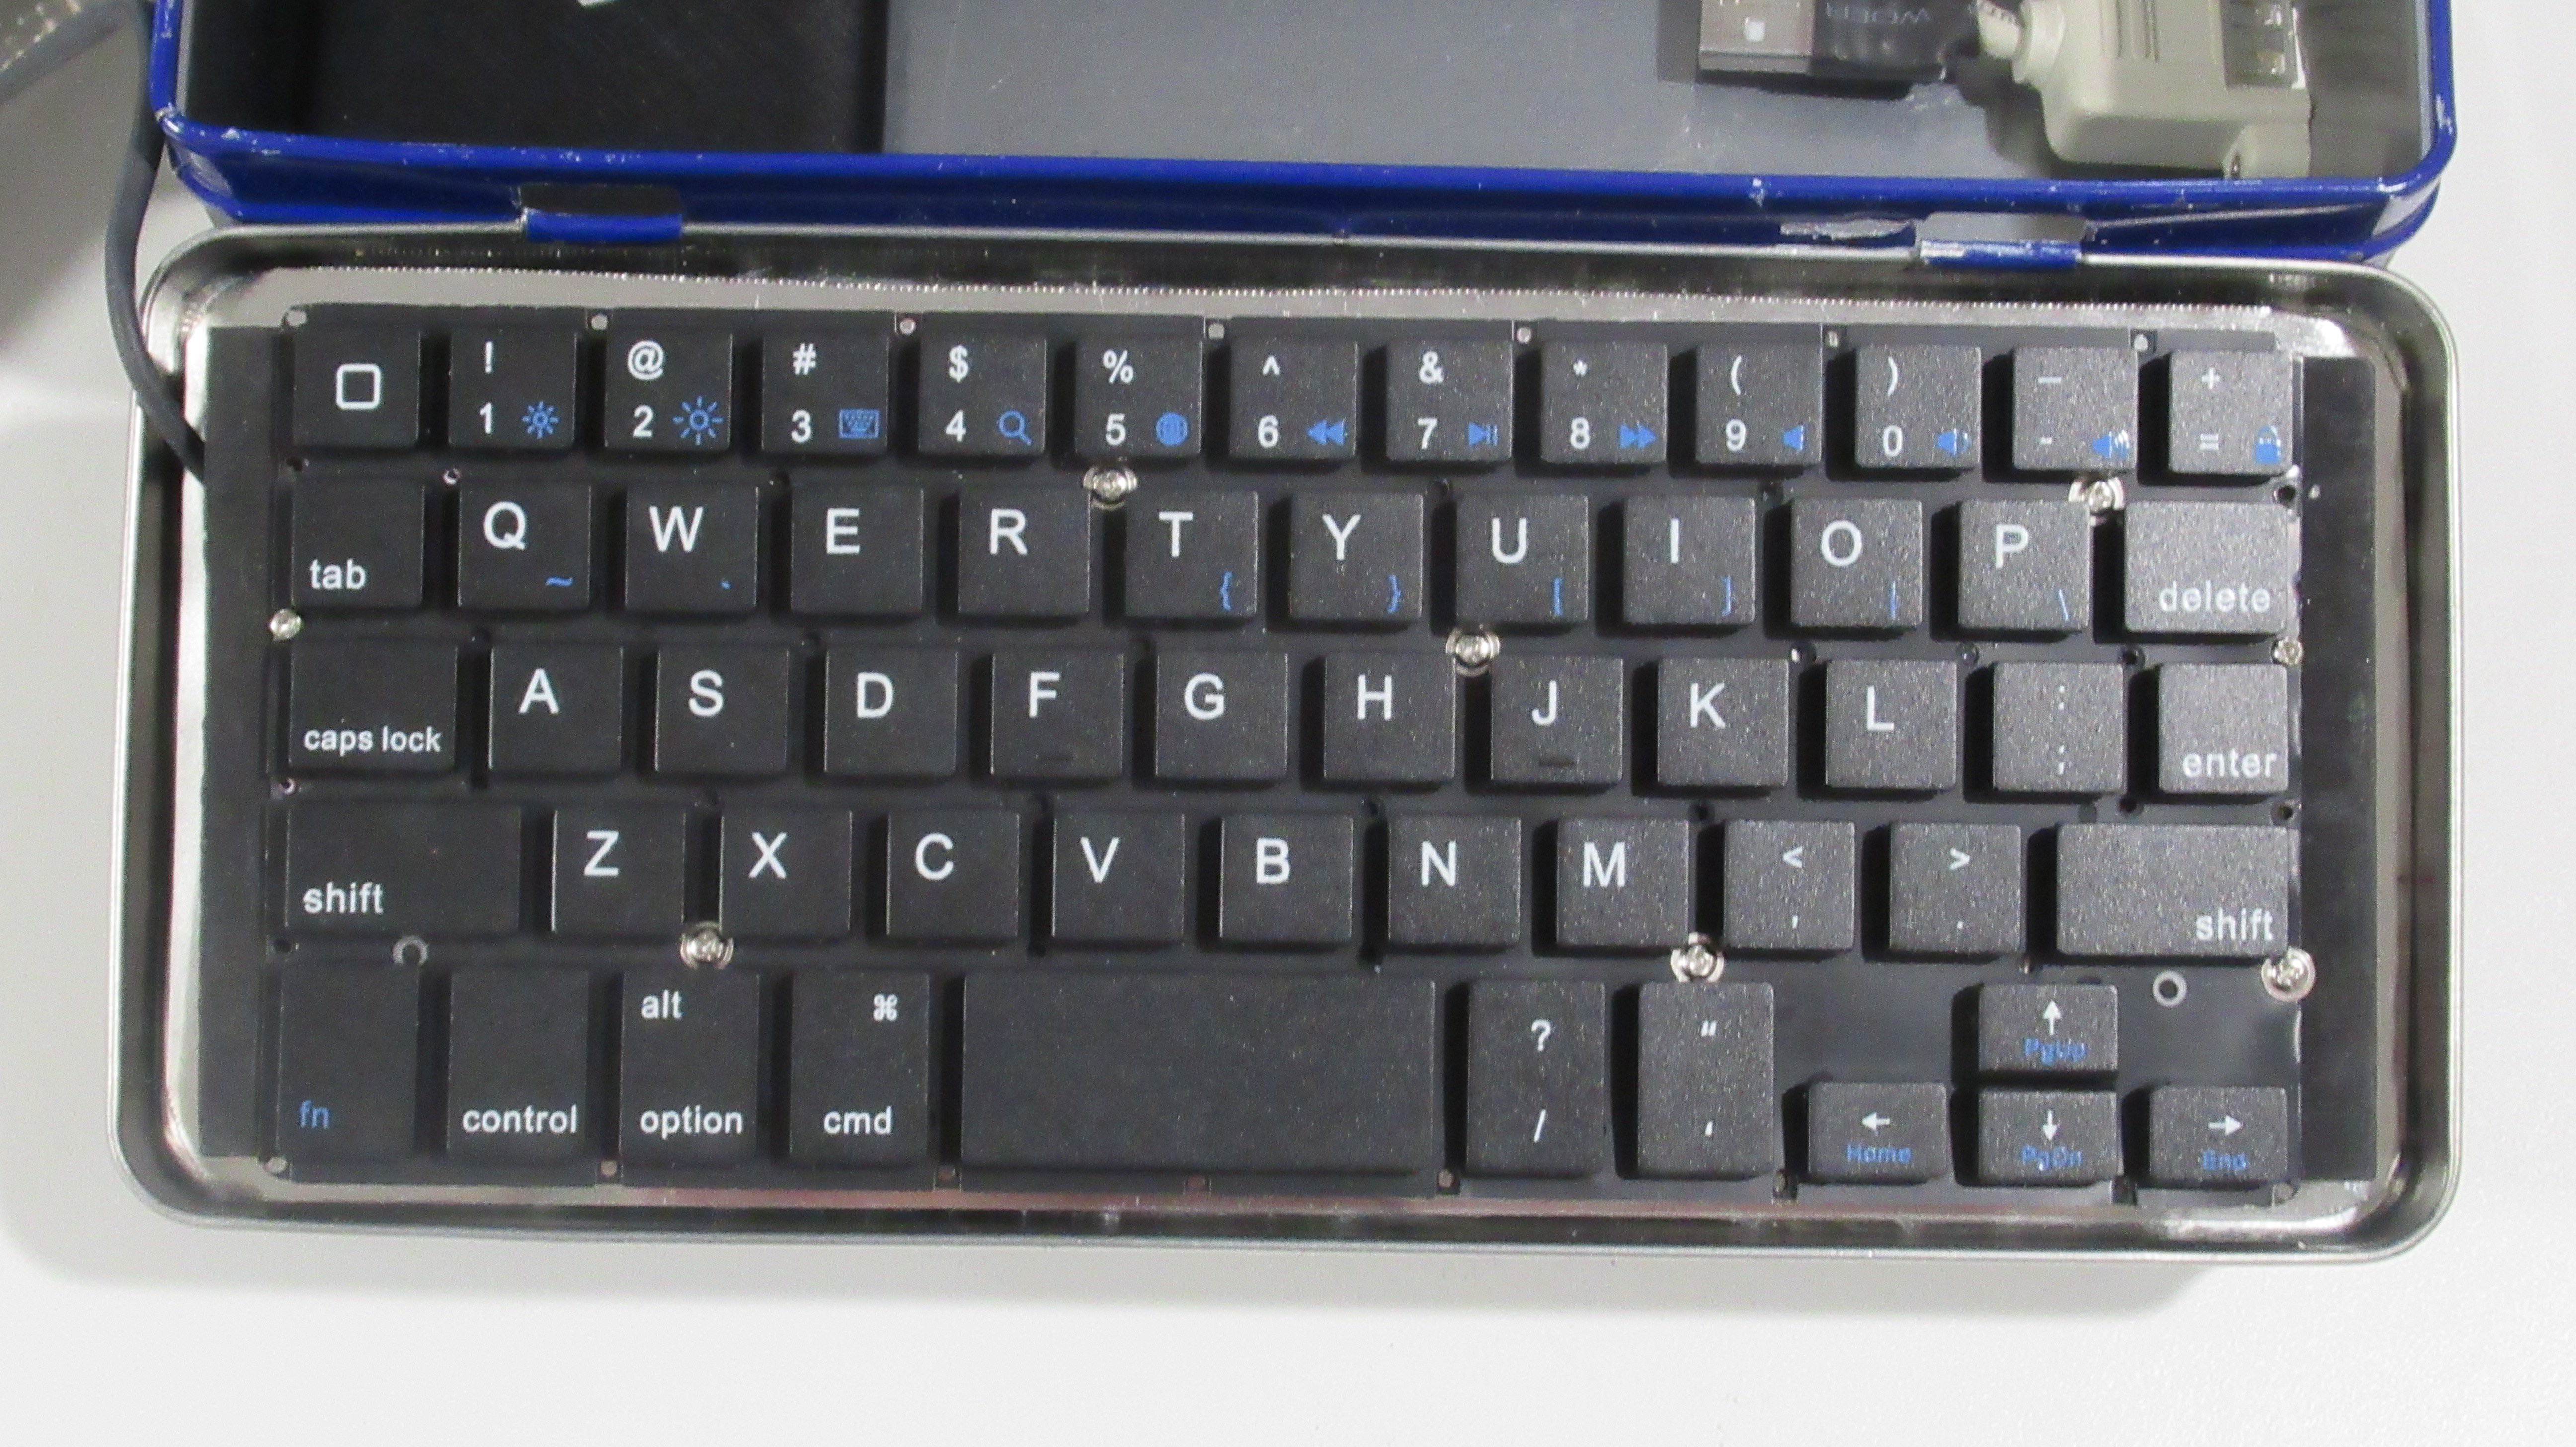
8Remove Keyboard from Keyboard Case Cover
Disassemble the tablet keyboard case cover and remove the keyboard and controller from the case cover.
![]()
Keyboard case cover after keyboard was removed. -
9Cut Wooden Spacer for Keyboard
To give the keyboard a firm backing and to raise its height in the lid of the box, a spacer was added to the back of the keyboard, made from basswood. Cut a piece of wood that is the length and width of the keyboard. (The spacer doesn't need to be wood; I just happened to have some basswood pieces on hand.)
-
10Mount Keyboard to Wooden Spacer
Attach the keyboard to the wooden spacer using screws. The keyboard had a few holes and notches on the sides where screws can pass through. Bend the flex ribbon cable of the keyboard controller board under the keyboard and around the spacer and mount it to the underside of the spacer using screws.
![]()
Keyboard attached to block of basswood that acted as a spacer to raise the height of the keyboard in the lid of the tin box.
Discussions
Become a Hackaday.io Member
Create an account to leave a comment. Already have an account? Log In.