-
1Download the gerber files attached
Get your fresh copy of SPIN and TWIST gerbers.
![]()
-
2Send the gerbers to your favorite PCB manufacturer
You might want to order a stencil as well to reflow the components instead of soldering them one by one.
-
3Order the BOM
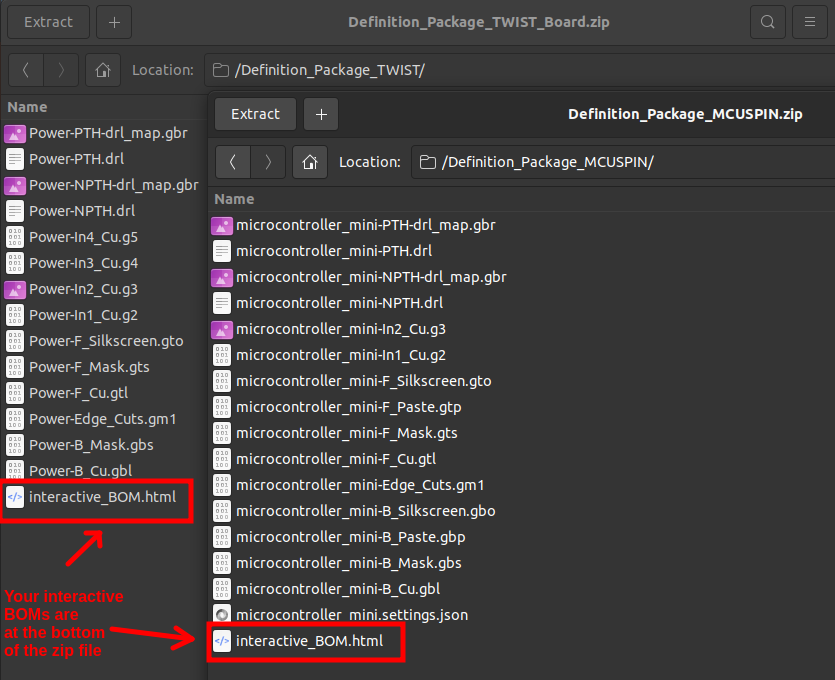
All the components references are available in the interactive BOM inside of the definition package.
![Find the html file provided Find the html file provided]()
Find the html file provided to order the BOM
The column Manf# provide the unique reference for each component.
Pro tip : #manf is thought to be compatible with KiCost plugin to source your part easily.![Interactive BOM Interactive BOM]()
Order the BOM that is given in Manf# column When your components are sourced, make sure you ticked the "sourced" tickbox :D
-
4Place the components using your stencil and solder paste - or solder them manually -
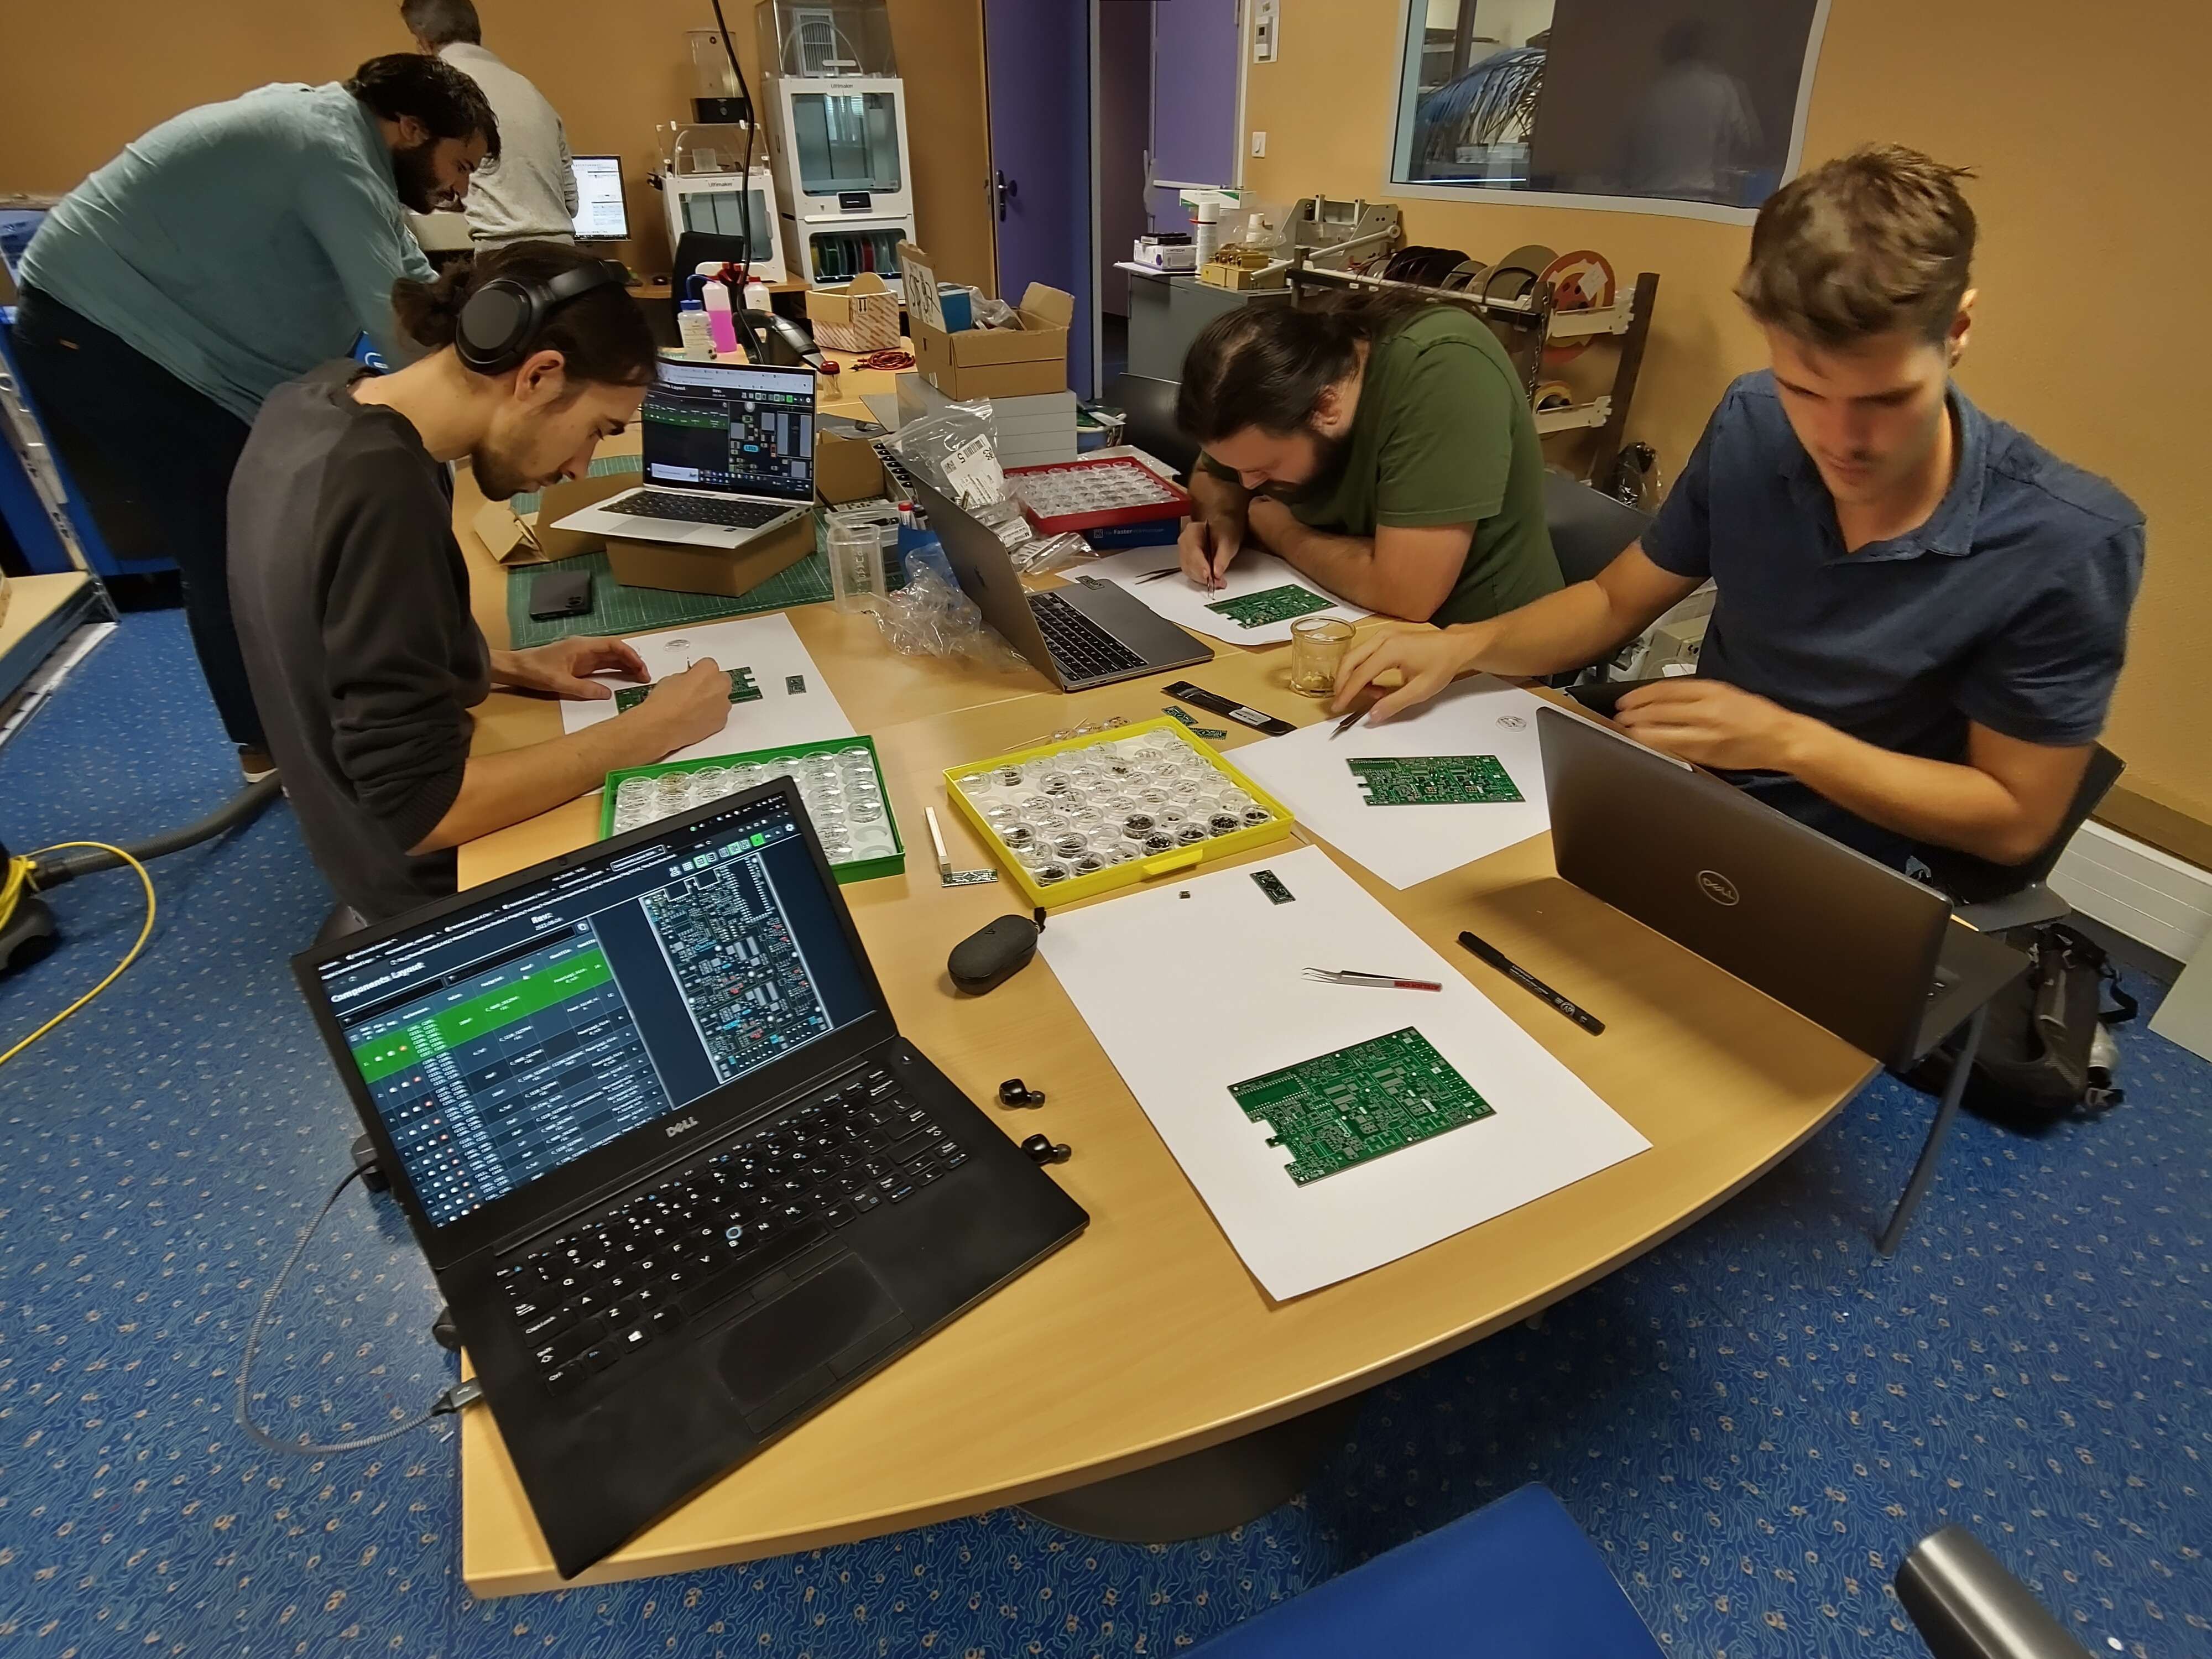
Placing components has never been so simple ! Use the IBOM.html file provided, it shows interactively where which component goes. When you have placed a reference, tick the "placed" box and repeat until all the board is populated.
![Placing components Placing components]()
Place your components using the IBOM.html file provided ! ![Twist in the reflow oven Twist in the reflow oven]()
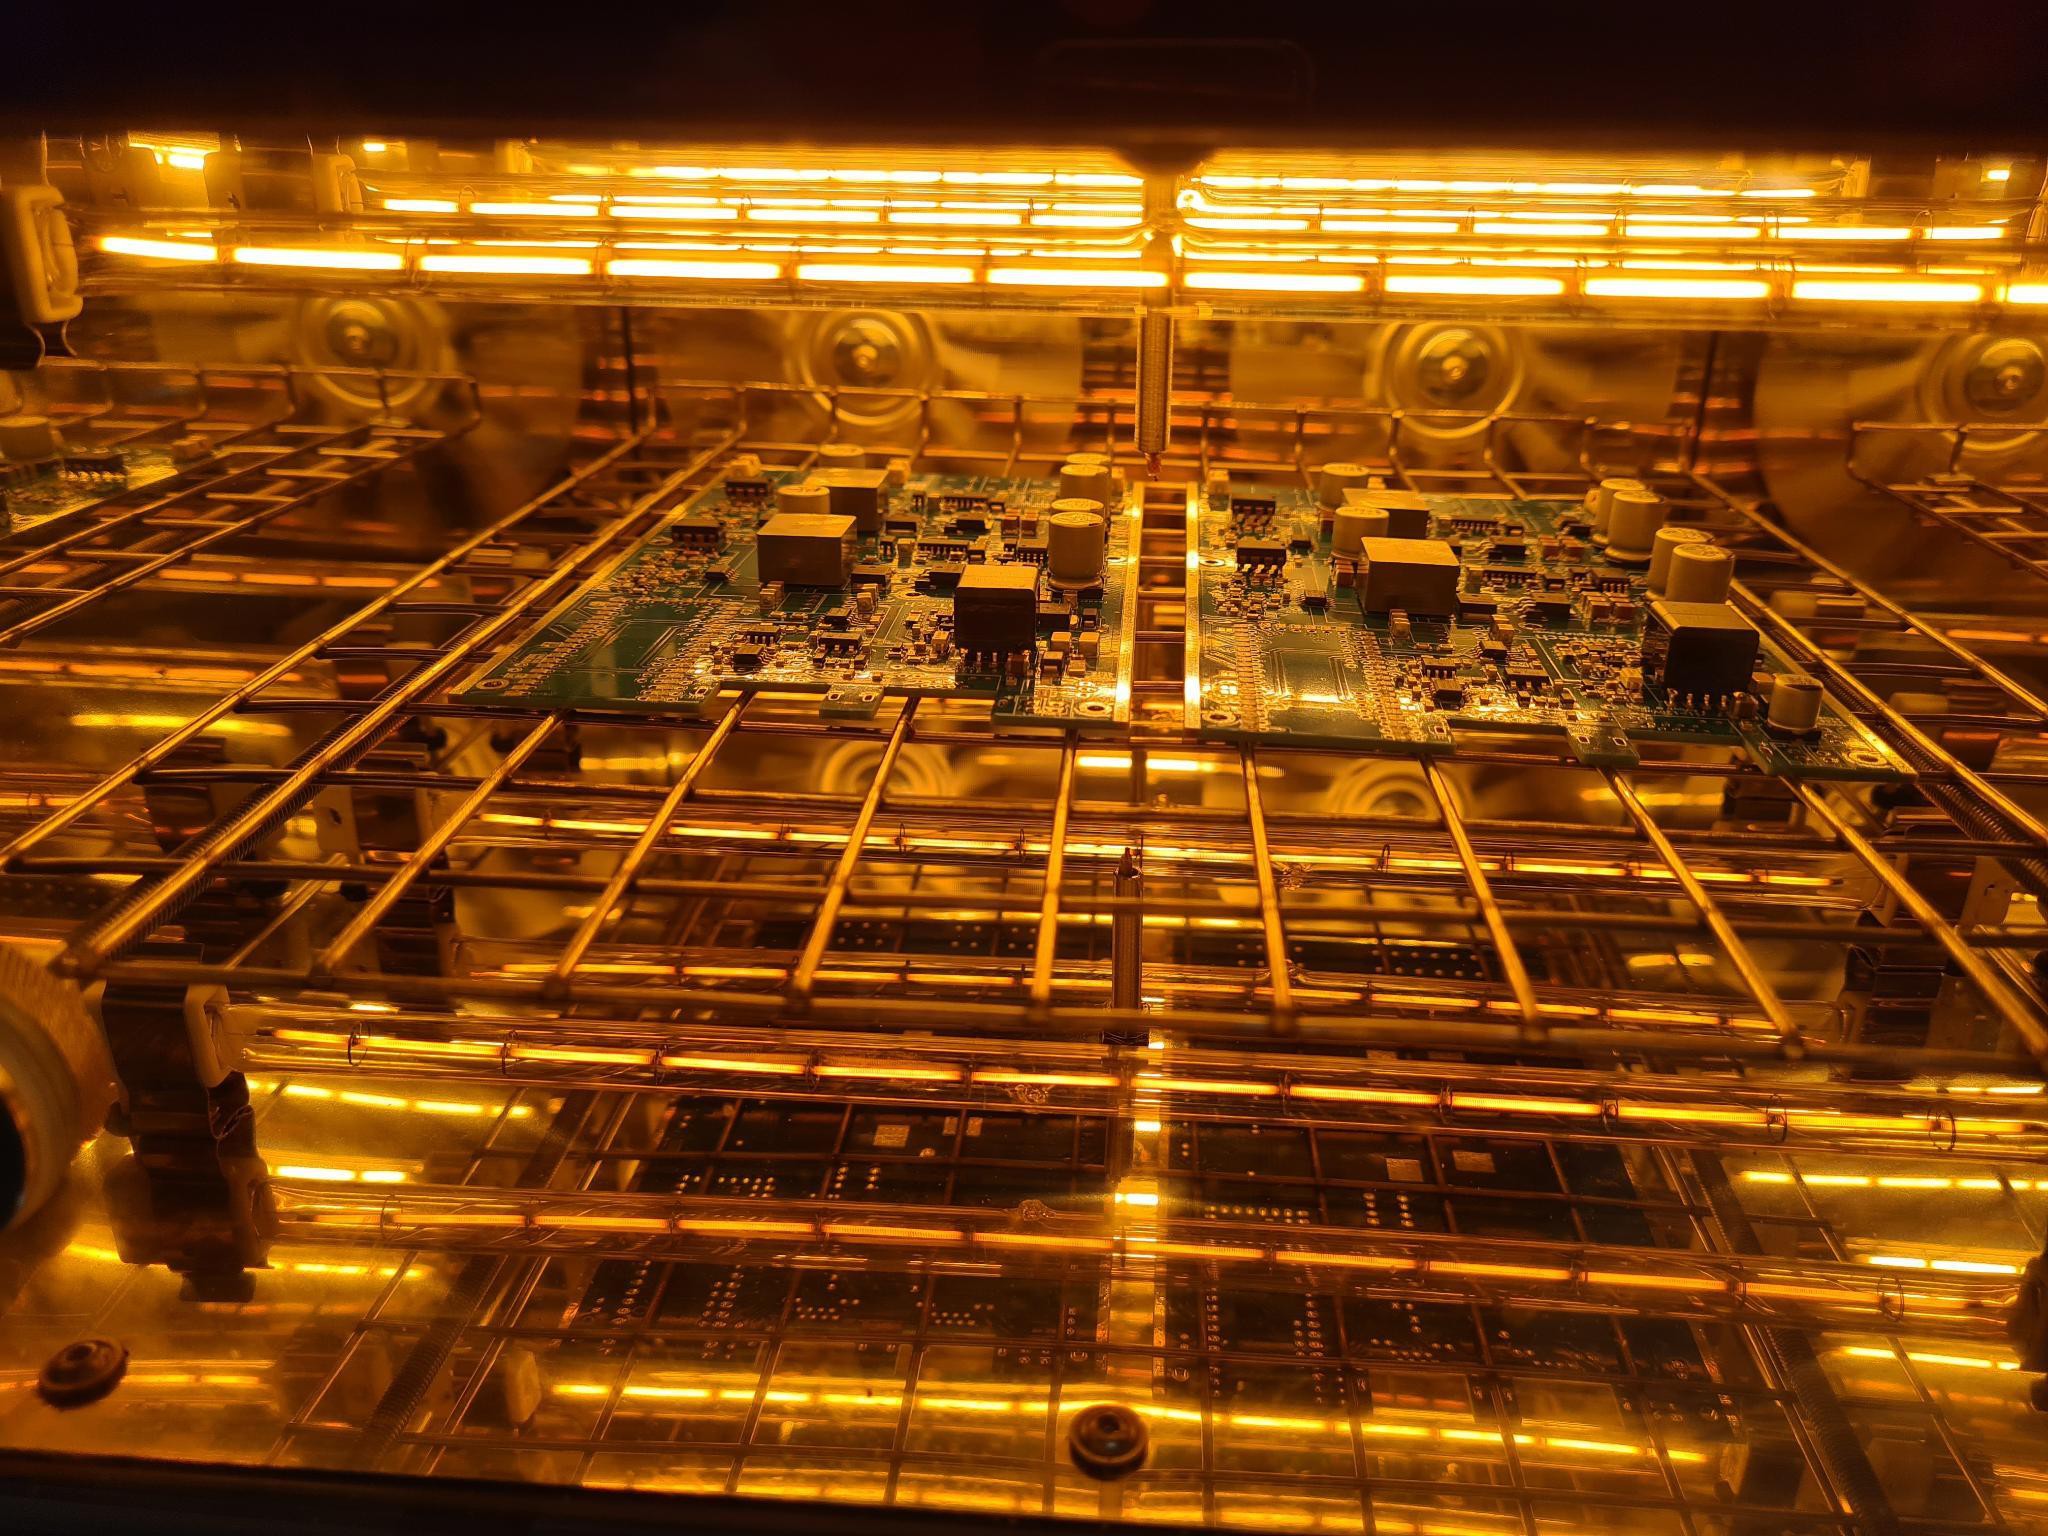
If you are using the reflow technique, you will end up baking your boards in a reflow oven like so :D -
5Install an IDE that supports PlatformIO
In our case we use VSCode.
Download Visual Studio Code, either from https://code.visualstudio.com/ or from the repository manager of your OS. Install it.
![Blinky step1 - Download VSCode]()
-
6Install PlatformIO
Installation of PlatformIO: Launch Visual Studio Code. On the left side menu, click on the extension icon.
In the search engine, type "PlatformIO IDE", and click install. Finally, restart Visual Studio Code when you are prompted to do so.
![Blinky step 2 - PlatformIO installation]()
-
7Get started by cloning the Power API
Now we will download the “Blinky” code from Git to Visual Studio, and compile it.
- Git ⚠ Make sure that you have Git installed on your machine.
- For Windows: Check this website GitForWindows
- In Visual Studio code, on the left side menu, click on PlatformIO icon !
- Pro tip: if the alien icon does not show up spontaneously, wait for a few more seconds, then press F1 key and type platformio home.
- In Platform.io, select "Clone Git Project ". PlatformIO will automatically open a field in which you can type
https://gitlab.laas.fr/owntech/tutorials.gitand press enter. PlatformIO will ask you in which folder to clone the project. Choose the folder you have created previously. A pop up will appear asking if you trust the authors. You can trust us. 😄 - ⚠ Make sure that the name of the cloned project has no space in its path as it would create issues.
![Blinky step4 - clone the git repository]()
- Git ⚠ Make sure that you have Git installed on your machine.
-
8Compile !
You are almost done ! The project you have downloaded already have all what you need to compile your very first project :
- Blinking the LED !
Click on the Compile Icon on the blue task bar on the bottom of the screen
![Blinky step 5 - File tree and main branch]()
-
9Flash it !
Now we will connect OwnTech’s SPIN Board to the PC.
- Connect the USB power supply cable as shown in the picture below. The LED2 of the SPIN should be ON.
- Connect the micro-JTAG connector of the SPIN to the PC thanks to the STLinkV3. The leds PWR and COM of the STLinkV3 should be ON.
![Connection of the SPIN]()
- In the bottom menu, click on the Build icon. This will launch the compilation of the code. If this is the first time that you compile, Visual Studio Code will download several extensions that are required to write the code onto OwnTech’s microprocessor. When the compilation is completed, you should see [SUCCESS] in the terminal.
- In the bottom menu, click on the Upload icon . This will flash the compiled code on the microcontroller of the SPIN. When the process is completed, you should see [SUCCESS] in the terminal.
⚠ For Linux users, you may have the LIBUSB_ERROR_ACCESS error when uploading to the board, check your udev permissions: https://community.platformio.org/t/stm32-vs-code-mbed-upload-issue-error-libusb-open-failed-with-libusb-error-access-error-open-failed/10650
- The LED1 of the SPIN should blink. You can change the blinking frequency by modifying the input of the k_msleep() function in the file src/main.cpp.
- In the bottom toolbar, click on the Serial Monitor icon. The O2 is printing “Hello world!” in the terminal.
PS: Very soon you will not need the STLink to flash anymore but we are still fighting a bit with Windows USB drivers for our bootloader.
-
10Develop your first programs and control electric power flows !
Congratulations ! The board is flashed and is now fully functional.
To create your first real application, browse the documentation to find :- an example
- or help on how to use the API to do what you want docs.owntech.org
DIY Power for all - OwnTech
A fully open-source digital power electronics technology framework for fast prototyping switch-mode power supplies
 Jean Alinei


Discussions
Become a Hackaday.io Member
Create an account to leave a comment. Already have an account? Log In.